-
Posts
286 -
Joined
-
Last visited
Content Type
Profiles
Forums
Events
Blogs
Gallery
Store
Everything posted by Pintodeluxe
-
If the thread was forced into the wrong slot, and not really threaded correctly, it would certainly cause problems. You were right to suspect timing issues. That's the first thing I'd check if it wasn't forming stitches at all. If it's leaving loops on the bottom, you need more upper tension. Assuming the bobbin tension is okay, try rethreading it, and make sure the thread snaps in the pre-tension disc. With Pfaff's you can actually hear it snap into the disc. If you're out of tension disc adjustments, then look to add more passive upper tension IE: go through both guide holes before the pre-tension disc (threaded right-to-left on both holes). Good luck with it.
-
It doesn't look like the thread is snapped behind the pre-tension disc before the main tension discs. Additionally, if you need more upper tension you can thread right to left through both holes leading up to the pre-tensioner disc.
-
Looks like you're missing the needle bar thread guide. I doubt that is the only problem if the thread is breaking after two stitches. Usually if I notice that my thread has slipped out of the needle bar thread guide, it will start to shred the thread after sewing for a while. It's an important part to replace, and luckily only costs a few dollars. Post pictures of your thread path, and list the needle size and thread size you're using. People here are glad to help. If you're using old thread... no matter how good it looks... throw it out! If you're using unmarked or loose needles... throw them out! I cannot tell you how many sewing problems are caused by old thread or bent / incorrect needles. Good luck with it.
-
"Vintage equivalent" of Juki 1541?
Pintodeluxe replied to SouthernCross's topic in Leather Sewing Machines
Consew 206rb-1 would be worth comparing, to see what specs matter most to you. Or Juki Lu-563 and Pfaff 545 H4 if you prefer a top loading bobbin. -
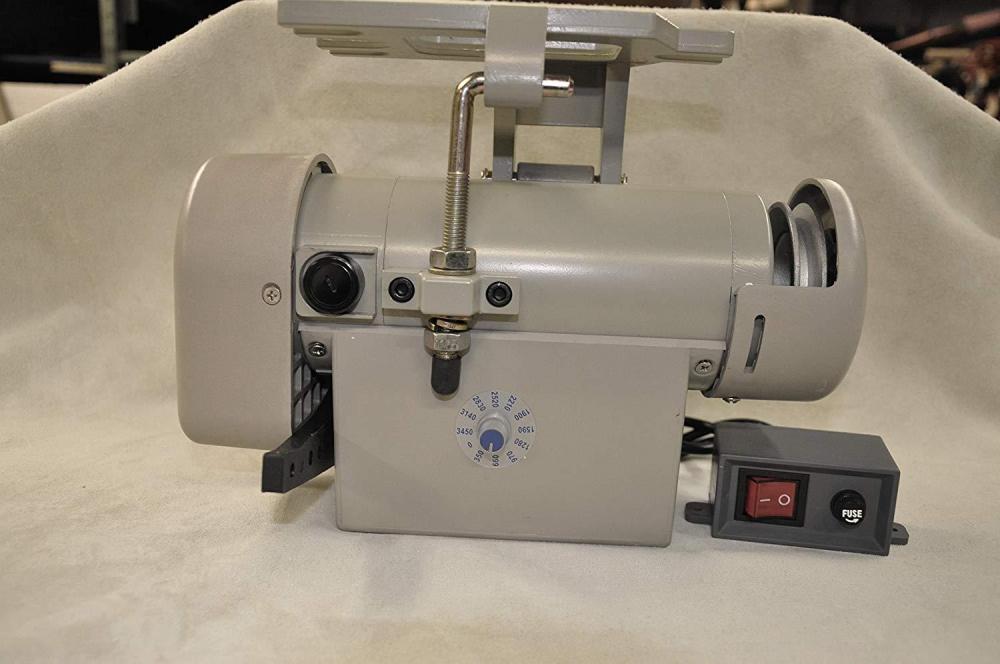
I really agree with Wizcrafts that the dial type servos are slower and easier to use. I have come across a few brushless servos that worked just as good though. The better models allow you to not only reduce the maximum speed, but to control startup speed. It's not obvious from the control panel on the motor. I usually pull up the manual online to see how to adjust all the features. You can reverse the motor rotation, adjust max speed, adjust startup speed etc. Some are adjustable that way, and some don't have all those features. You'll just have to consult the manual. Good luck with it.
-

Poor Quality Consew Parts from China?
Pintodeluxe replied to Jocker's topic in Leather Sewing Machines
I've noticed quality issues with Pfaff style feet made in China. Very inexpensive, and very cheaply made. Sometimes they work fine, and sometimes they create problems. Same as the accessories for Japanese machines. Pay a little more and order OEM when you can. That fact alone wouldn't make me switch machines though. -
Like Techsew, Tacsew, Yamata and several other badged names. Most are not triple-feed style machine. They have the feed dogs and the walking foot mechanisms, but not the needle feed.
-
Ok, go back to basics. Switch back to 90 weight thread and a #19 needle. Work on your tension settings starting with the bobbin tension. Set it for very light tension, with just a little resistance. Thread should feed easily and consistently from the bobbin case. Then adjust your top tension to match. Make a small change like a 1/4 turn, and retest. If it won't even sew a row of stitches by hand, it will be impossible to set the tension, and points you back to re-checking the hook timing with a fine toothed comb. I hope you find success with your machine and find it quickly. Can you post a picture of your tension assembly with the machine threaded? Thanks
-
I wouldn't expect that machine to sew with 207 thread without modifications. 138 would be the max thread size I would use. I agree to check hook timing and spacing. As a quick check, switch to 92 thread and a #19 or #20 needle. This is a very common thread and needle choice for upholstery grade machines. See if everything sews okay in a variety of situations with the lighter thread. This will help you sort out thread and needle issues versus machine issues.
-

Help! My machine is misbehaving.
Pintodeluxe replied to mrdabeetle's topic in Leather Sewing Machines
Why is it that when machines say "Heavy Duty" they rarely are. Same story with power tools. If it says Heavy Duty, I run the other way. If you post a couple pictures of the stitching on the top and bottom, as well as the thread path, I'm sure the experts here can give you some things to try. Any time I've tried to sew leather with a non-walking foot machine, it didn't go well. -
Look at item # 4 in the diagram above. See how the thread is supposed to continue horizontally from the tension discs to the check spring assembly? Your original photo doesn't do that. Yours incorrectly goes up and around the pin. I know many old pro's that thread their machine that way, but it's not standard.
-
1+ You're missing the thread stand. The cone shouldn't ever spin. The thread needs to come off the top. Also, don't go around the pin on the tension assembly. Check online manuals for proper thread path. Good luck with it.
-
Yes, I would just get a Rex 550 w servo. The simple kind with a dial to adjust the max speed is fine. Swap the 70mm motor pulley for a 45mm pulley and it helps a great deal. Try that for a while and see how it goes. You can always add a speed reducer down the road, but many people find in unnecessary. Standard G style bobbins for your machine. Feet are interchangeable with Consew 226, Consew 206, Juki LU-563
-
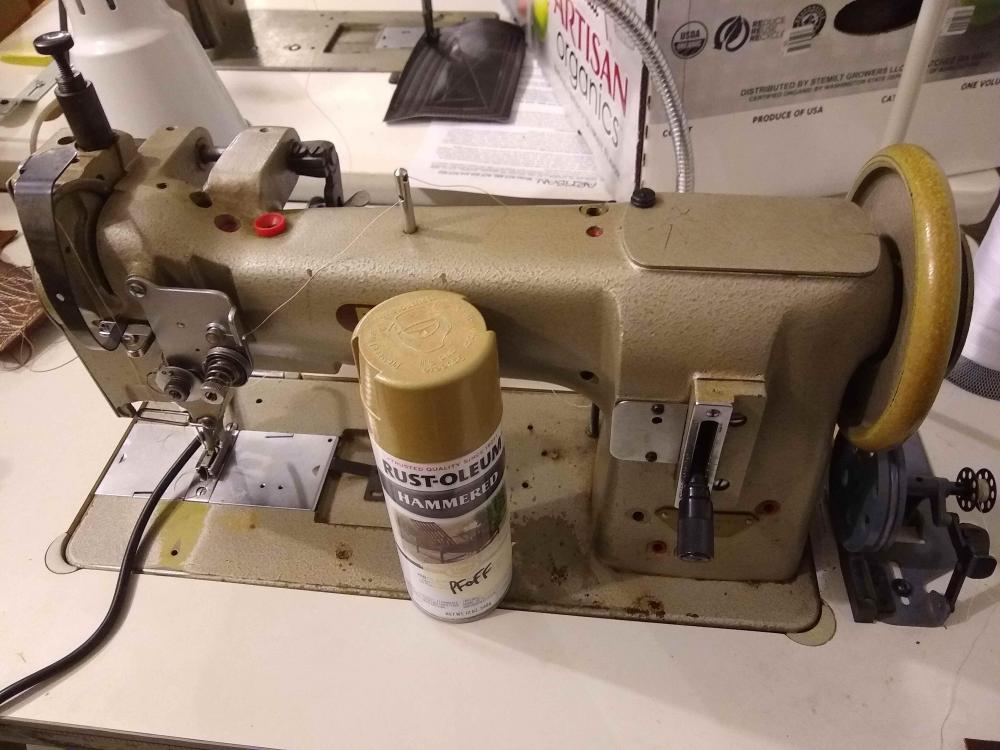
It's a CLPMN I believe. Pfaff codes for the type and duty of machine. Matching paint would be Rust-Oleum Hammered Oatmeal. The Pfaff 145 is a pretty good machine. I really like the type of 145 / 545 with the external spring bar on top. It's very easy to adjust the foot pressure with the double knurled nuts.
-

Singer 111W155 skipping stitches Help!
Pintodeluxe replied to paqman's topic in Leather Sewing Machines
A 125 / 20 is a pretty huge needle for 70 weight thread. I don't think that alone would fix your problem, but I would use a 110 / 18 needle for tex 70 thread. Try a new 110 /18 needle that's 135 x 17 (135 x 16 for leather) as you re-check the timing. Good luck with it. -

Singer 111W155 skipping stitches Help!
Pintodeluxe replied to paqman's topic in Leather Sewing Machines
If a worn part was the issue, I would suspect it would sew ok at slow speeds and skip stitches at higher speeds. I would go back to your timing setup and go through it in a meticulous way. I recommend watching Uwe Grosse's video series on the Consew 225. These timing procedures will apply to your machine. I cannot explain the timing procedure better that Ewe. In fact his videos are amazing. They are available here or on Youtube. Check hook timing and spacing, and needle bar height. Set the walking foot timing while you're at it. The simplest fix I ever had for skipped stitches was a bent needle! My wife bless her heart cleaned up my machine for me and wiped down the table. Her glove caught on the tip of the needle and apparently bent the needle. The next time I sat down to work, it was skipping stitches like crazy. Sounds like you've checked a lot of the important things. Have another look at the timing. -
Hi Miguel, I usually don't go by the numbers on the dial. If you turn the variable speed knob down too far, you'll lose all power. I usually set the dial to 1200-1500 max speed. It seems to start at 0 rpm, and ramp up in a slow and predictable way. If you need crawling slow, stitch by stitch, then you'll need to add a speed reducer.
-
To my eye it's a bit of silver, a bit of gold, and a bit of brown. Rust-Oleum used to make a hammered Rosemary color that was a dead ringer for the Gray/Green Juki color.
-
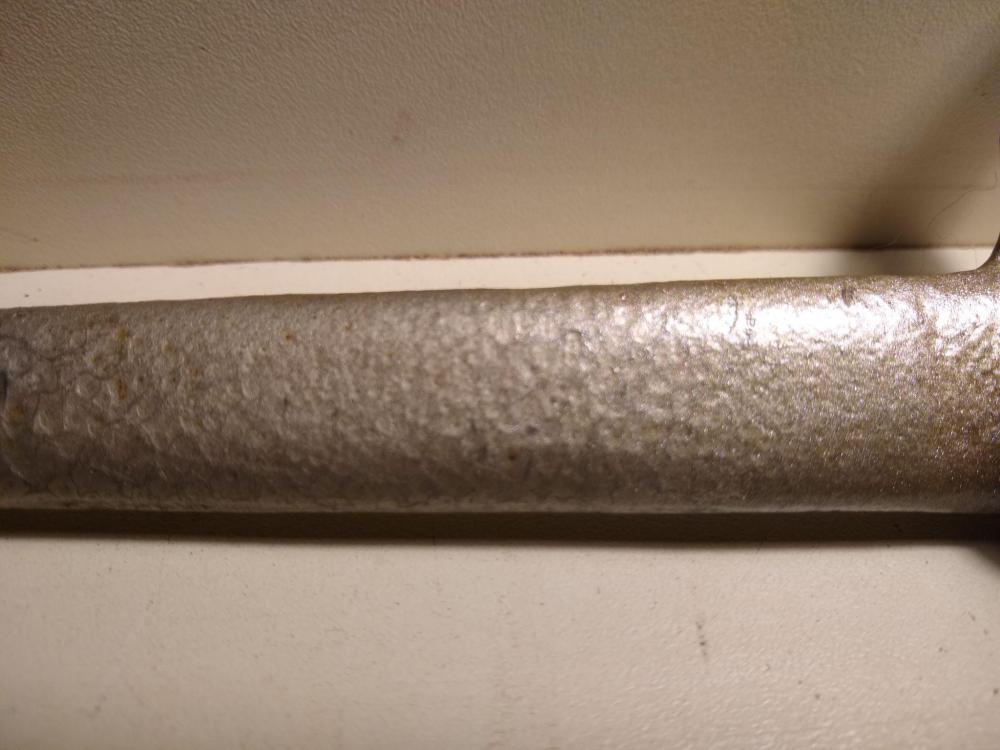
This is a Pfaff lifter arm off the back of the machine. The left side of the part is factory paint, while the right side is Rust-Oleum Hammered Oatmeal. I think it matches pretty good. If nothing else you gotta love the name hammered oatmeal! Sounds like the latest vegan craze.
-
No, the flywheel is just the factory primer. I didn't paint anything on the front of that machine, but I've used it on parts and other machines. Cheers
-
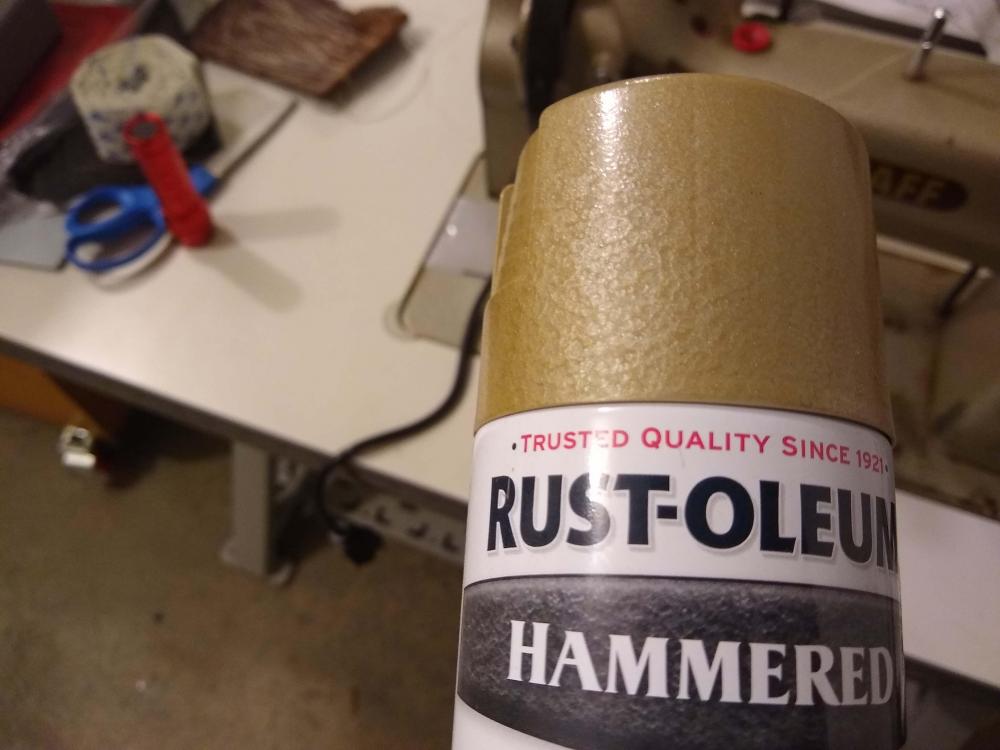
Rust-Oleum hammered oatmeal is a pretty good match to the typical gold/brown/silver Pfaff color. It's close enough that you can feather into unpainted areas and it will look good. The color match is better than what the cap would indicate.
-
I haven't enjoyed the brushless style servo very much. They can be a little jumpy when first starting out. Beyond that I really dislike the two button system to adjust speed and other features. I much prefer the simple variable speed servos with a dial to set the max speed. They are quite inexpensive in the states. Not sure what the availability and shipping is in Australia. I swap the pulley for an extra small 45mm pulley, and they work great. Good luck with it.
-

JUKI 1508 n servo motor confusion
Pintodeluxe replied to ScrapMonkey's topic in Leather Sewing Machines
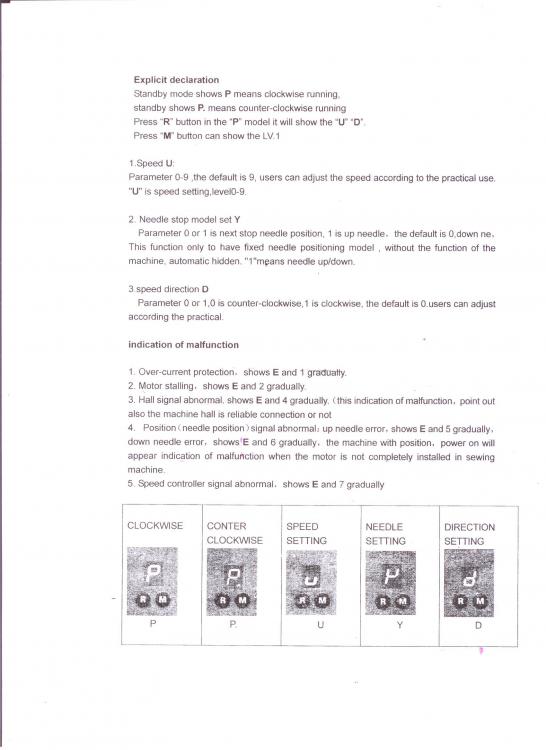
I don't know if you can read the attached table, but it has some general instructions for setting the buttons on Goldstar brushless servos. If you can't find model specific info, try widening your search to "brushless servo manual" or "Brushless servo 500." I recently went through this process with an Artisan brushless servo, and realize how maddening it can be until you decode what all the letters and symbols mean. On the bright side, it's very easy to set once you have directions in hand. Good luck with it. -
I've encountered thread fraying when I missed one of the guides close to the needle. I've also had the thread pop out of the needle bar thread guide before I noticed it. That lets the upper thread fray in a hurry. Another strange source of fraying top thread was bad needles. That one was super frustrating, because I changed the needle and still had the same problem. I had a whole pack of bad needles with sharp edges. I tossed that pack and never bought the knock off brand again. Went back to name brand needles and instantly solved the problem.
-
Used or new old stock is fine. Thanks


