RusticLeatherShop
-
Posts
187 -
Joined
-
Last visited
Content Type
Profiles
Forums
Events
Blogs
Gallery
Store
Everything posted by RusticLeatherShop
-
Acrylic aquarella paint used on leather edges!
RusticLeatherShop replied to RusticLeatherShop's topic in How Do I Do That?
Interesting that italian paint. If it feels rubberish, then IT IS probably rubber based. As does my brazilian textil paint as well. That flexes as well and fills fairly well the gap between sewn together leather layers. But it could do better. IMHO any non hard paint will crack eventually over time. I will make the effort and get some Brown and black fabric paint and see how that holds up. Maybe put a few layers so it gets closer to the ideal edge like fanninator showed here previously. -
Acrylic aquarella paint used on leather edges!
RusticLeatherShop replied to RusticLeatherShop's topic in How Do I Do That?
That Looks very nice. I dont use glue. So basically that "ceramic look" is done by adding layer over layer of paint while between layers sanding. How many times did you paint it then finally? How durable is it? Basically the paint pigments/resins are added layer upon layer till reaching that result? It must be a easier way to get to a nice result. Like sanding once and then painting for the same result. -
Acrylic aquarella paint used on leather edges!
RusticLeatherShop replied to RusticLeatherShop's topic in How Do I Do That?
This is the result of my testings today evening. Left: the blue is an disguised pistol Smartphone Holster painted edges with blue acryllic aquarella paint. No to impressing but the blue Color improves the result. Left Center: the red edge painted EDC Holster is first sanded, then painted red with aquarella then sanded (paint Comes off) then painted with textil (fabric) White rubberish paint, then painted over that red aquarella paint. Not to bad but yet not ideal. Right Center: red edge painted Smartphone case. Sames as EDC Holster. Left Center: black edge painted wallet. Painted edges with black aquarella paint. Not good results since layers of sewn together leather are distinguishable. Center behind: black edge aquarella painted Mag Lite holder. This is full grain pig leather. Best result Overall. Could be a viable Option since I sanded the edges a bit and those are White from inside. The leather is factory dyed. I painted These with black aquarella paint. This gave the best result and is an good Option. Probably going this way since I plan to use anyways pig full grain leather only in the future. Just sand it till layers are even, then paint that black with aquarella paint and the result is satisfactory IMHO. (The photo makes the light holder look a bit different as it really is).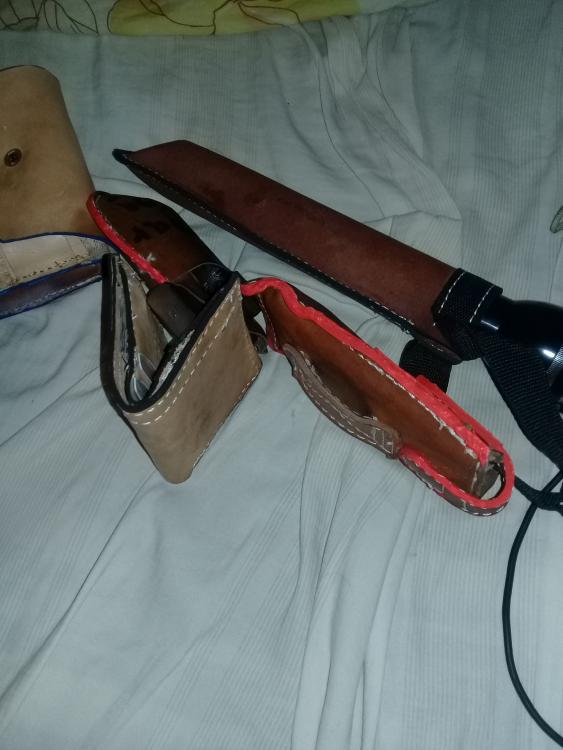
-
Acrylic aquarella paint used on leather edges!
RusticLeatherShop replied to RusticLeatherShop's topic in How Do I Do That?
I did another Experiment. On cow leather it does not work well finishing with aquarella paint. But on pig full grain leather the black Color aquarella paint is about the best finish even without sanding or burnishing (as Long as the sewn together leather edges are fairly even). The black aquarella paint matches well for darker pig leather edges. Maybe thats the way to go. It's not as nice as the "chinese" guy made his edges as they were glossy and Kind of an ceramic appearance (most likely some rubberish paint), but at least this aquarella acryllic paint will not come off, while the rubber based fabric paint can be peeled off with some effort and for sure after a few years will peel off as does my faux leather chair's edges (which I realise just now it must be a heavy thick rubber paint edge finish. It peels off allmost entirely after half a year). -
Acrylic aquarella paint used on leather edges!
RusticLeatherShop replied to RusticLeatherShop's topic in How Do I Do That?
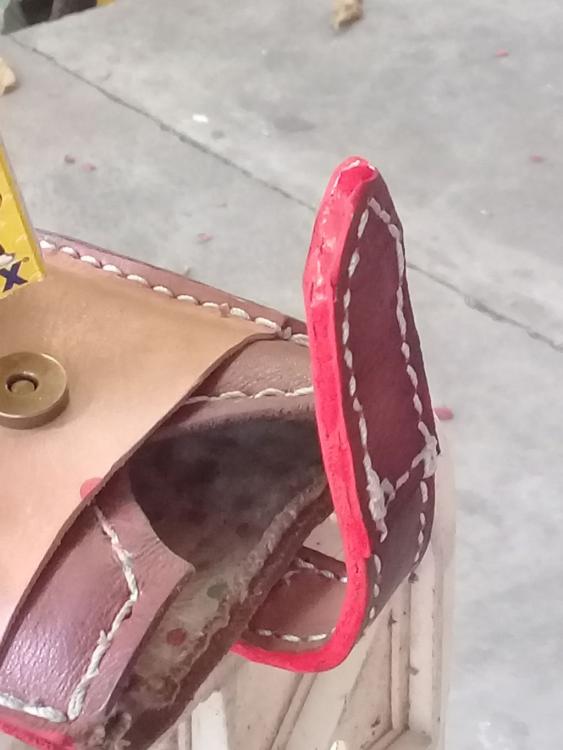
look at my Picture regards "sanding" the paint. The only Thing it does is sanding off the paint completely. Yes the part regards of thickness of acryllic paint may be the secret. This one soaks in only and does not give an "layer". I did first the rubberish fabric (textil) paint and then on top added again the acryllic aquarella paint. That seems to improve things. I realised the rubber textil paint can be peeled off with time, but the acryllic aquarella paint is Long Lasting. Maybe sanding the leather, aquarella painting, then textil painting, and then on top aquarella painting could do the trick. -
Acrylic aquarella paint used on leather edges!
RusticLeatherShop replied to RusticLeatherShop's topic in How Do I Do That?
That doesnt work out IMHO neighter. That sanding takes off only the paint. Even if it's done by Hand. sanding paper equals to sanding Stone. The chinese guy must have used a Special paint. Rubber or ceramic based. Wouldnt be surprised if the chinese guy used a type of ceramic paint which hardens glossy. But what I did is I had some textil paint (as well acryllic). I tried with that and that gives a glossier finish. I had just White colour left of this textil paint but it has a more rubberized finish. I now let that textil paint dry and we will see how it turns out. It Looks more promising... -
Acrylic aquarella paint used on leather edges!
RusticLeatherShop replied to RusticLeatherShop's topic in How Do I Do That?
Here the Picture of the paint, materials used and the cellphone case which I tried it on.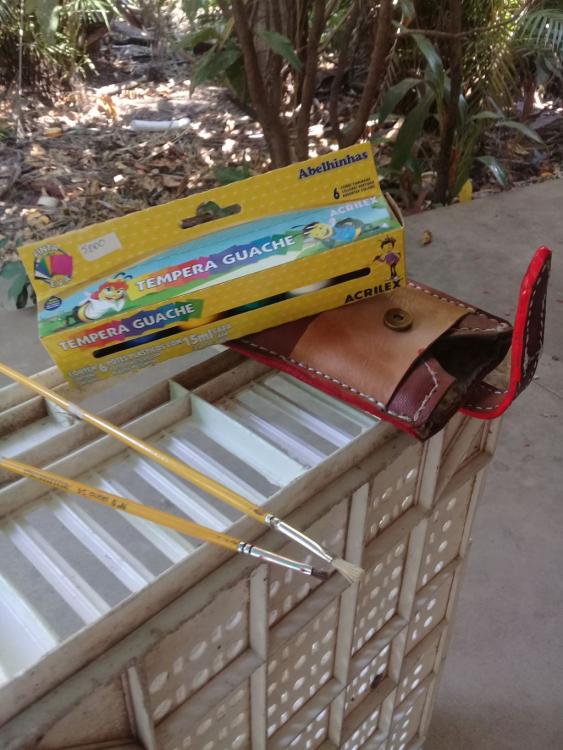
-
Acrylic aquarella paint used on leather edges!
RusticLeatherShop replied to RusticLeatherShop's topic in How Do I Do That?

-
Acrylic aquarella paint used on leather edges!
RusticLeatherShop posted a topic in How Do I Do That?
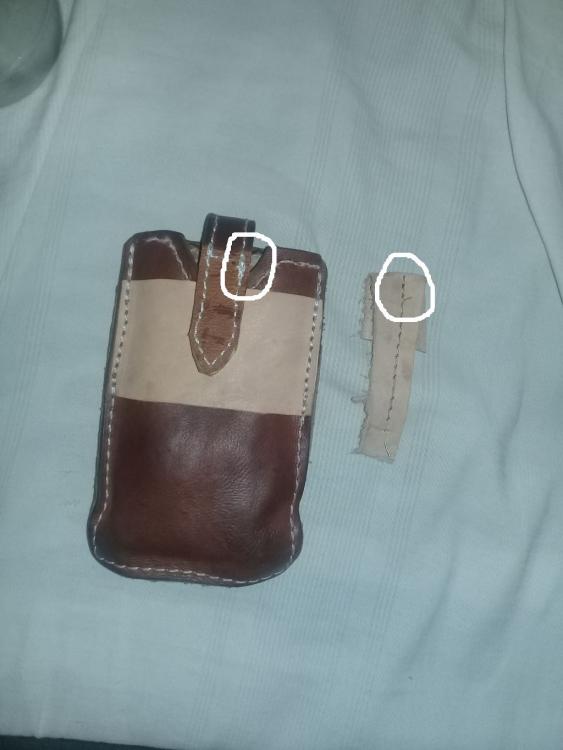
Hi, I did what other Posters suggested and that is using aquarella painters paint (paper, cardboard, E.V.A. paint) for finishing leather edges. It does not convince me yet but could be eventually an Option. It is regular brazilian made acryllic paint for Schools and other paper paint Jobs (like for Rembrandt, van Gogh, etc). First Picture is a first pass over with paint (red colour) over an semi burnished leather edge. It soaks in and does not be a shiny glossy layer of paint as in the thread about the chinese Genius of 250$-leather-wallet handcrafter we discussed before. It does not turn out as an shiny glase layer. Second photo is were I sanded the edge again and that makes that the paint Comes off totally. (So sanding is not working). Third Picture will be posted later wich Shows the painted, then sanded (paint Comes off), then repainted leather edge Surface. Does not convice me neighter. -
That would be an possibility. Using paint as for use in Aquarella painting on paper. That should be availlable here. that paint above Looks nice.
-
Nothing as such as I am "against all the experts on here". Dont jump on the bandwagon some try to send on the trip to mob me. Yes I bought the machin as a replacement for rivets, and such stuff. So acryllic Wood or iron paint will do it? I dont trust that since it can crack and peel in my experience. Paint with a brush? good receipe to mess up the rest of the work by smearing paint all over the dear Piece. Taping the rest of the Piece as in automotive tape painting, not gonna do it. I bought the machine for quick and easy work.
-
no binding by Hand. For what I did the expensive machine buy? Not to do anything by Hand whatsoever. Edge paint and threathments are not availlable over here in Southamerica. I feel even the Wood burhishing Attachements to a drill on Amazon will not do the trick. Still looking for an leather edge finish solution.
-
Best thread to resist UV and abbrasion?
RusticLeatherShop replied to blink1688's topic in Sewing Leather
I myself am really surprised how easy leather can be worn through or cracks by bending constantly. I made myself some Slippers with leather and the leather inner sole is on 3 spots completely gone. That was an genuine leather 5 oz sole sewn to the rubber outer sole. That saddle as well has cracked since the leather got weak because of bending. -
Back stitching and overstitching Question
RusticLeatherShop replied to Russ498's topic in Sewing Leather
Overstitching does IMHO the very same as backstitching. IMHO both only try to hit and intertwine with the existing thread and "lock" it that way. Otherwise I would not know the physics about the locking of the backstitch System. -
Back stitching and overstitching Question
RusticLeatherShop replied to Russ498's topic in Sewing Leather
I discussed that "bad looking" backstitch here as well: . What happens really while backstitching? How the machine "locks" the thread? I dont know for sure but I assume by backstitching the designer of that System was hoping the needle will hit into the other thread and "lock" it by intertwine the 2 stitches there as such as None can back out without the other giving them strength. I had till now just once unravel an single layer of thread (2 backstitches) but yeah it happened. Otherwise None other thread ever unraveled to me during my limited sewing history. With #277 and an #25 needle for sure the backstitching Looks messy and is just an Overall bad look and bad appearance. What did I do? I switched to an finer thread and finer needle. I went with #138 bonded Nylon thread and #23 Needle. These give an very clean thread Picture when backstitched 3 times. I recommend you to Switch over to #138 thread and the 23/160 (#23) Needle. That solves that backstich Problem. -
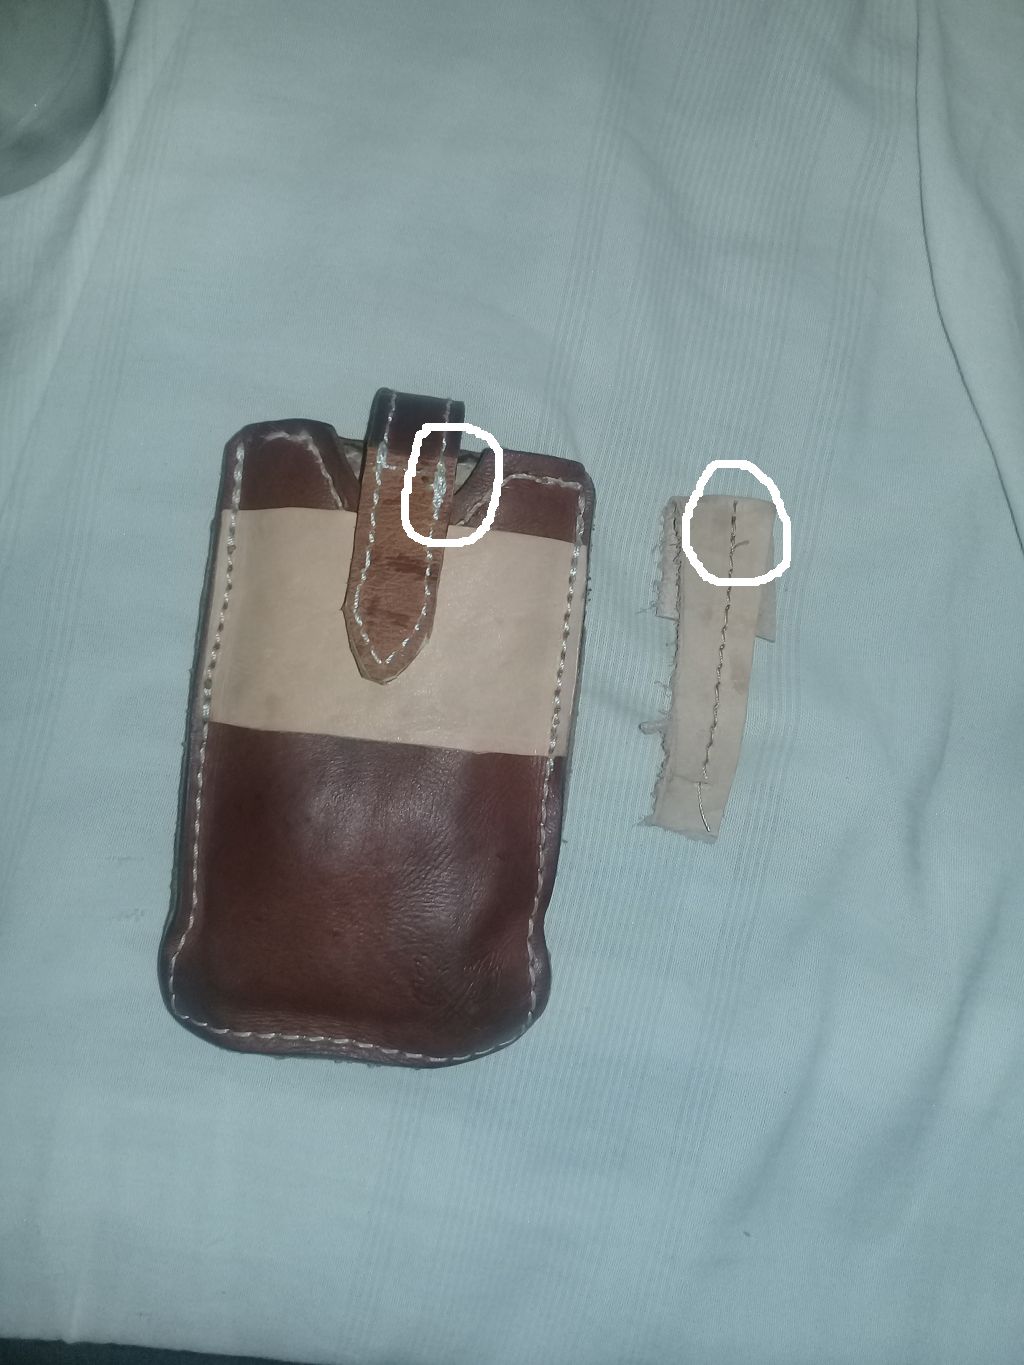
Hi, Look a this difference in appearance and Looks of the sewed thread and backstitching. On the left: Smartphone Holster is made with #25 Needle and #270 bonded Nylon thread. Wathch the thick uggly layers when backstitched to lock the threads. Color Plays a role as well. On the right: That Piece of leather is sewn with #23 needle an #138 bonded Nylon thread. Watch the allmost not noticeable backstitching (3 hole backstitch). It's way more beautifull than the thick thread. So there you have it. I believe I have solved my bad appearance Problem by using a finer thread which makes things way more elegant IMHO. The thread thickness and needle thickness makes all the difference.
-
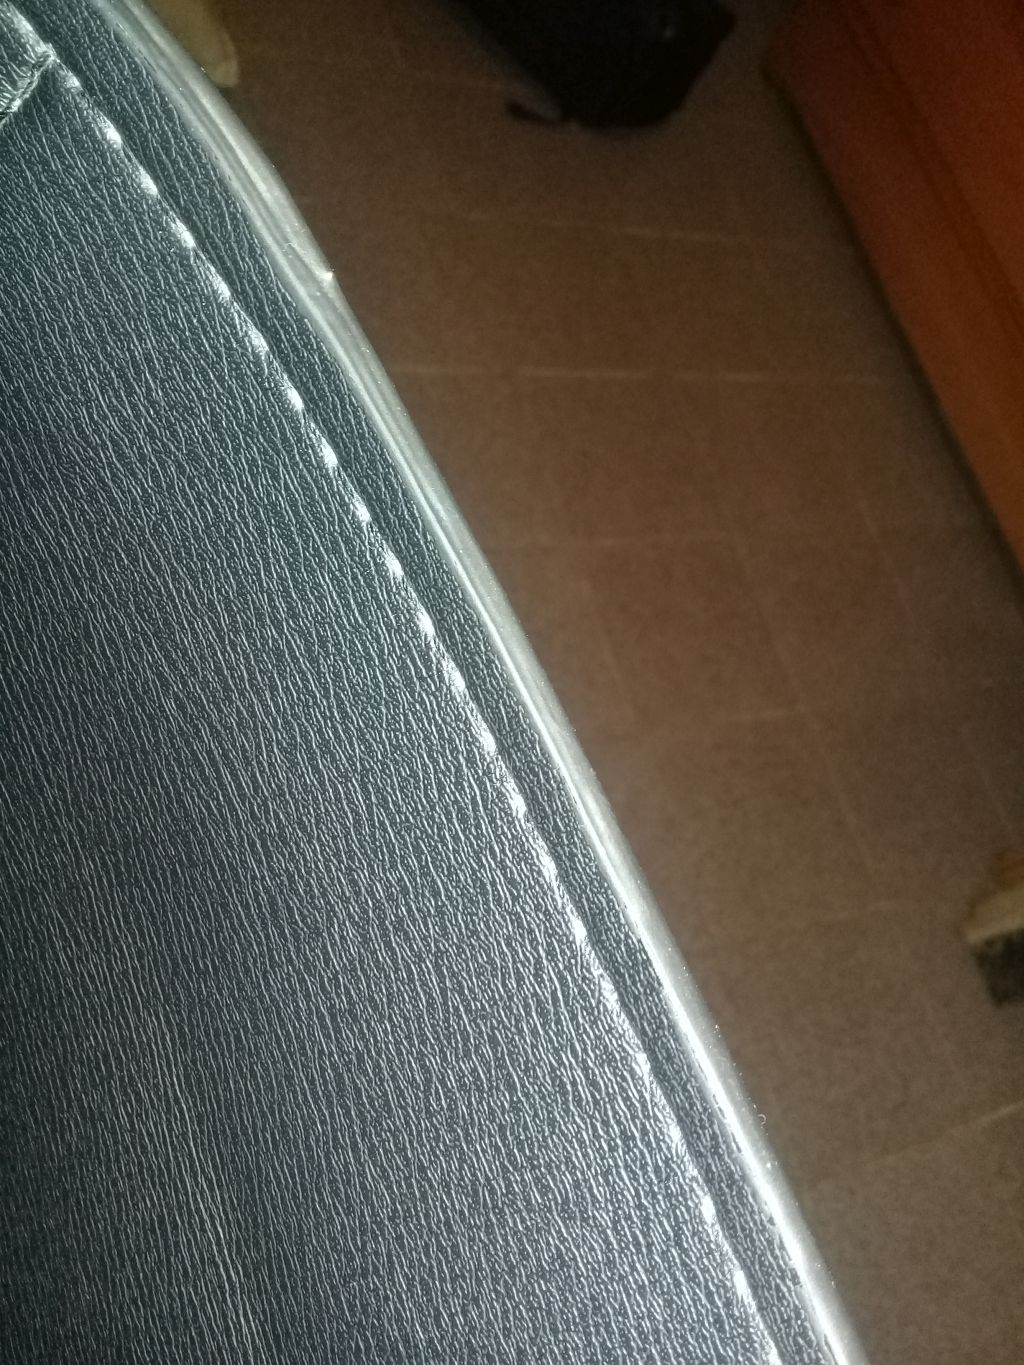
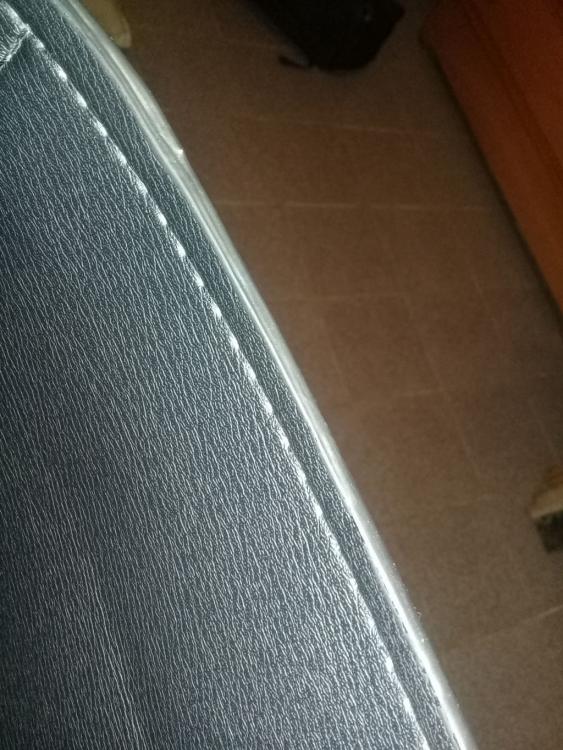
See here my Screenshot again. To me the sewn part (near the lower right Corner) is definatelly folded over to the other side. The side parts (lower lef Corner) seemed to me burnished and then dyed over gain. Kind of sanded straight and then redyed or repainted (??!!?!). The credit Card holders look to me suspiciously like my faux leather chair whose edges had an rubberish finish which peels off after 1 month of use. It must be some sort of chinese rubber finish only really known to them. Those rubber finishes look nice at the beginning but afterwards you know you got riped off. Below 2 Pictures of my rubberised chair. One with Peeling off and the other still on. The arm pieces rubberized parts are gone Long ago already.


-
Thats indeed an awesome burnish. I wished I could replica it.
-
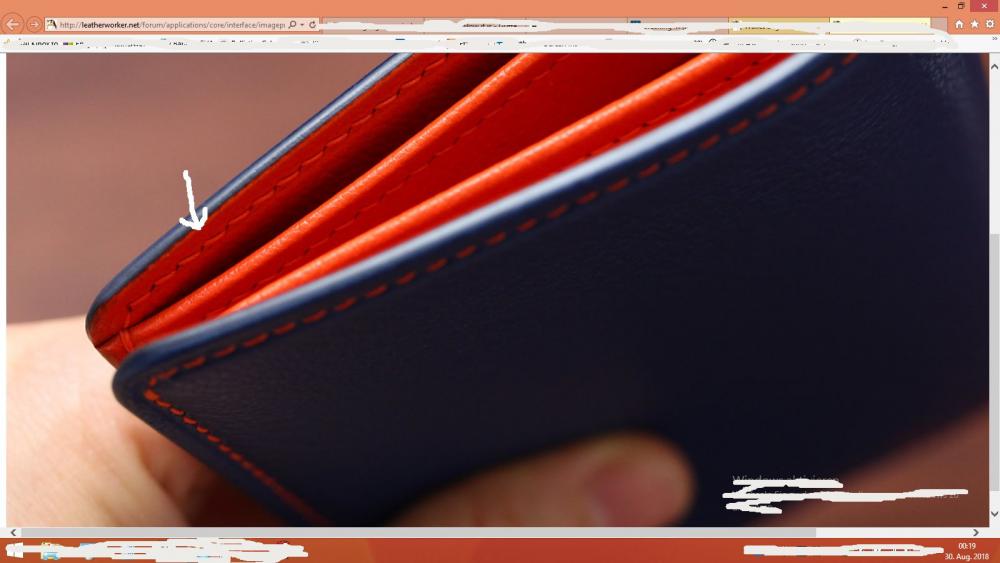
Referring to my photo before: That blue edge can not/or is very difficult to paint or burnish without affecting the very Close red leather fibers in the inside. That should tell me eighter he meticulously spends 1 day in painting/burnishing that edge or he painted/burnished it before sewing onto the red inside leather or he just folded the blue leather over and sew the red inline leather onto it. Eighter way it's a good workmanship which I wont nor would want to copy. The guy must be sitting a weak on a few wallets if they are genuine.
-
No it's NOT painted. Look at my enlarged Printscreen. The outer blue edges are folded in and over top is sewn on the inner leather layer as you can see the fibers. No painting at all. But seems to be legit French high Quality leather. Otherwise which turns me off that it's chinese. The guy is chinese and sells it trough an chinese Webpage as such as probably etsy.com is banned in China. Be carefull not to fall Prey to a scammer and ripp-off guy. Chinese like specially to steal wallets so no wonder this guy is selling his 250$ wallets like hot dogs just to be stolen right away again. In Southamerica that mentality is similar to China: rip off foreigners (like selling overpriced items through an governement controlled Website) is considered a chevalry delikt which gets you stars on your comunist uniform. It's a carefull folding technique to which 2 oz leather lends itself wonderfully. On top he most likely uses glue which I do not use at all.
-
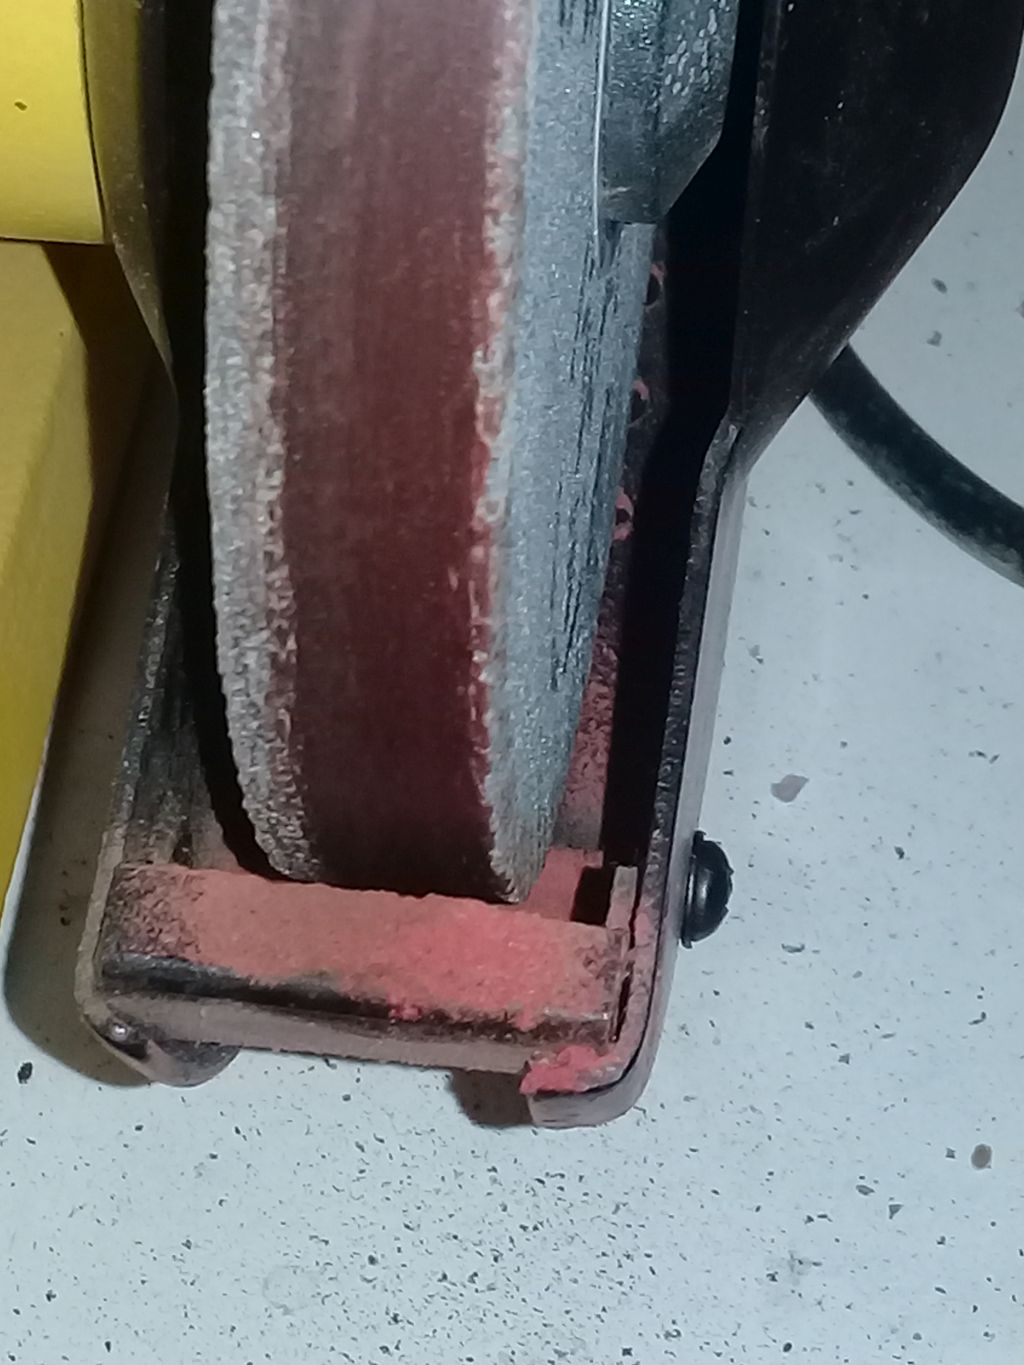
I had today switched to an aluminum fan belt wheel type for burnishing. At first it seemed promising but then I went back to the original bench grinder set up as that came from factory (one coarse and one middle sanding Stone). The sanding Stones give me a bit better shinier and even finish than the belt wheel.
-
The edges on some wallets (most of the time he avoided carefully closeup fotos of the edges) are definatelly bound (binder). Actually most of the edges are bound (binding) folded over to the other side and on the other side another leather sewn onto it so it appears painted when it's in reality binding. However the work is done carefully. I have no Intention to be "as talented" as that guy. Those wallets are more for City guys and Snobs who like to bragg to their friends to have shelled out 300$ for an wallet. As well 2.5 oz (1.1mm) leather? A Little weak I would say. I use 5 oz leather (1.7mm) for wallets. But yeah, high priced leather is used which appear almost as faux leather.
-
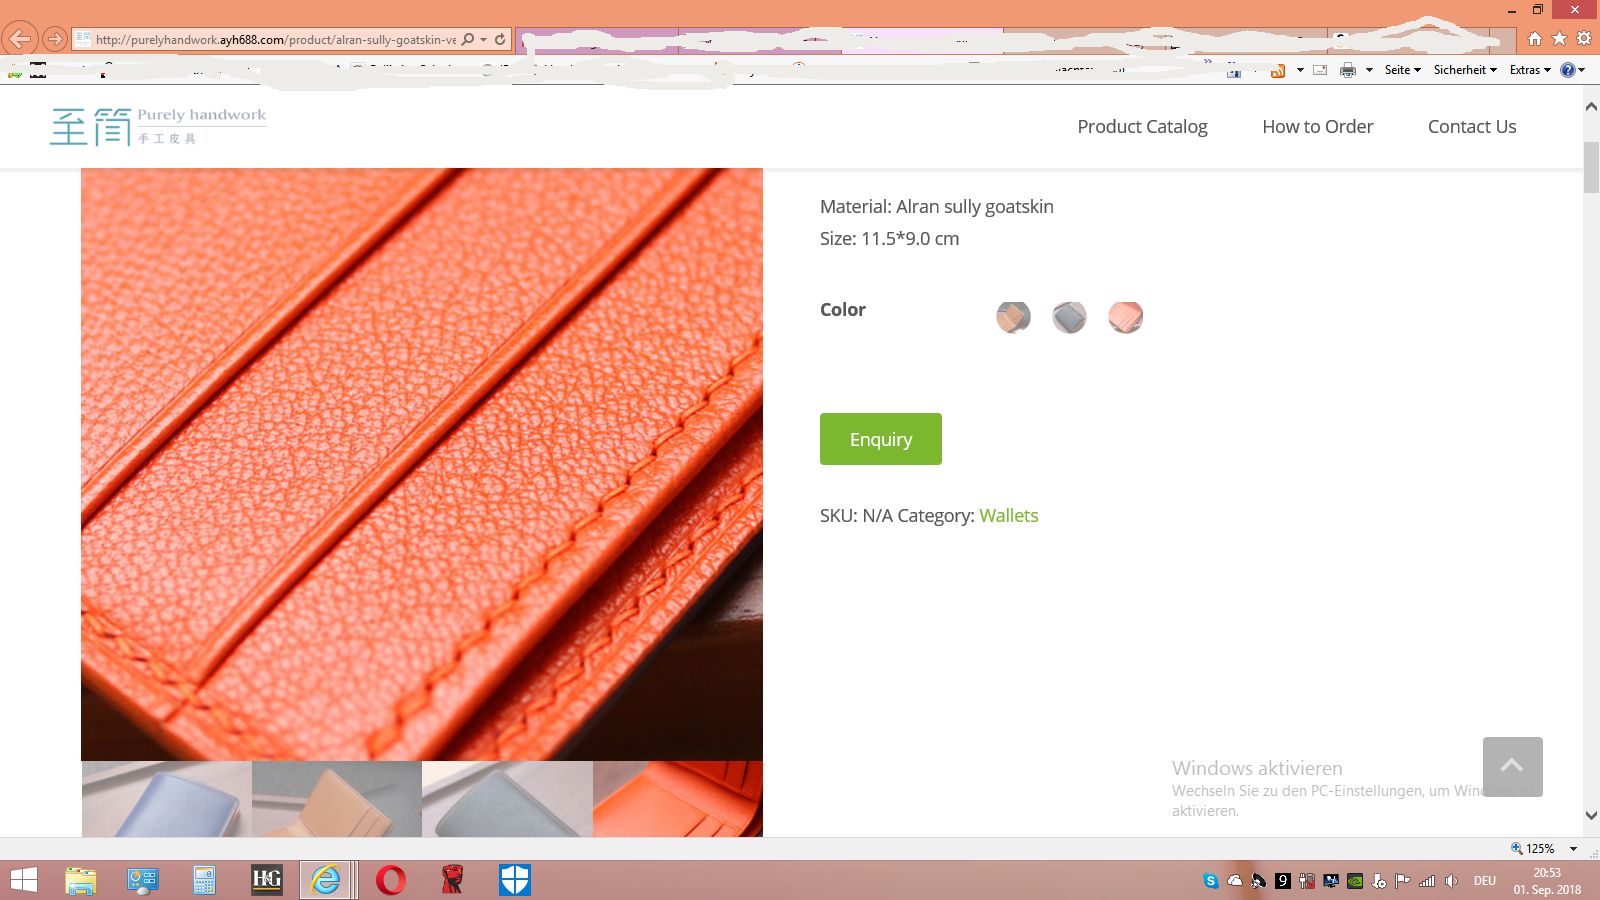
supposedly thats made of French high Quality leather. 14$ per square feet. It's 2.5 oz leather. If thats true, it's Quality. See here https://www.rmleathersupply.com/products/chevre-chagrin-sully-goat-leather-2-5oz-1-0-mm-made-in-france Well dunno. Still 223$ for a wallet.
-
..sounds like the crafter spent a week on that 1000$ wallet. If he spends lots of time and dedication sure it's an bespoke wallet for around 1000$ sold to Hollywood actors or Wallstreet banksters.
-
The blue wallet is definatelly finished with an edge binding attachment with an sewing machine. Both are done with an sewing machine (the sligthly Offset thread line is tipical of an leather needle). It's #69 or #138 thread (rather #69). The orange wallets I can not see as clear so I cant know for sure how the edge is done. But as well sewn with an machine. Nice work though! ... but painted edges?! maaah! Not for me.