Search the Community
Showing results for tags 'armour'.
-
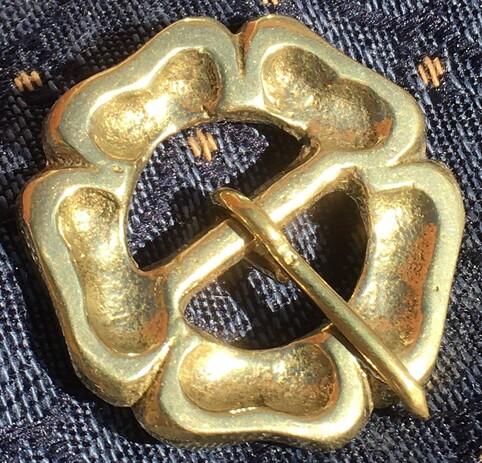
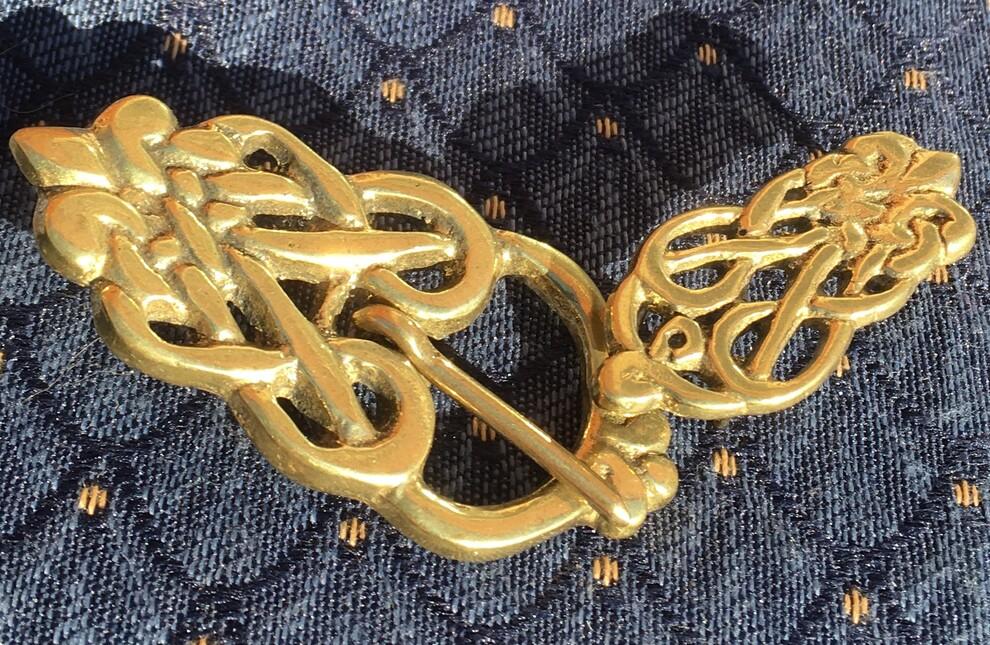
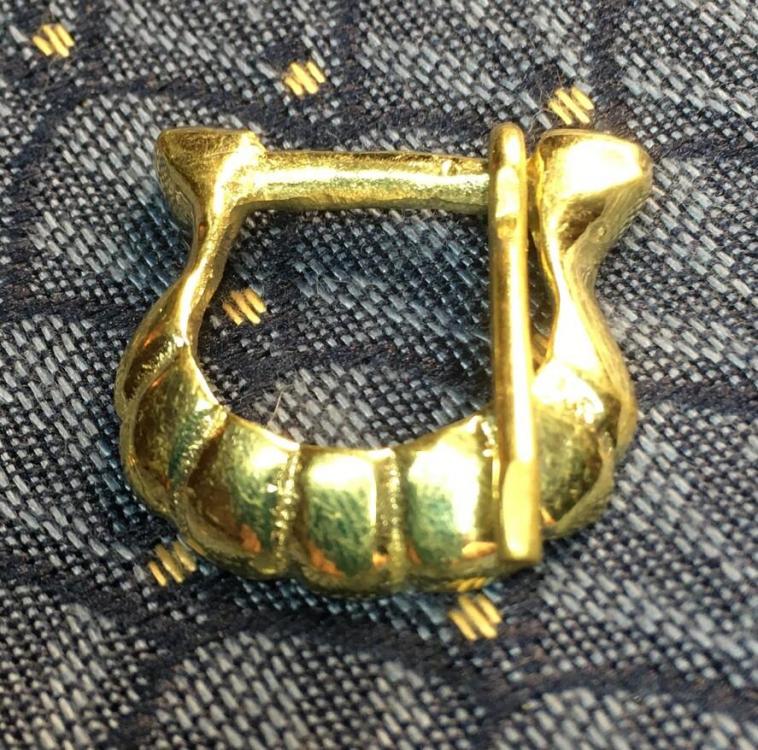
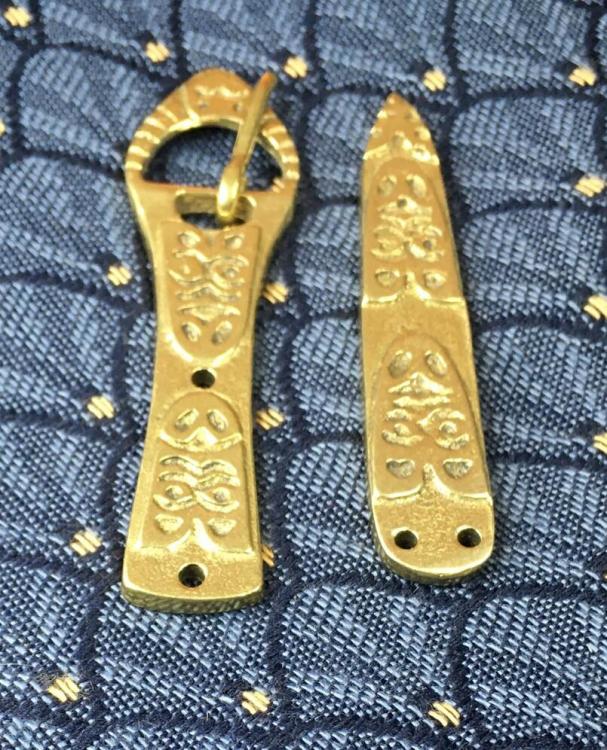
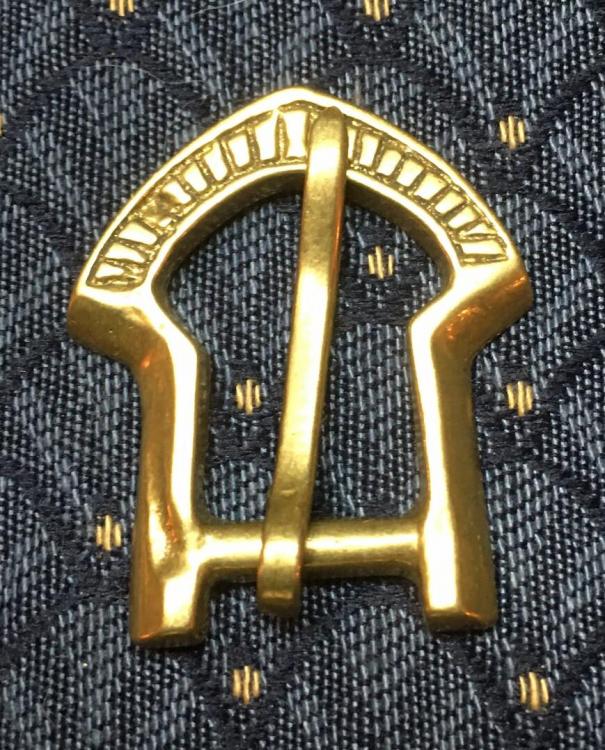
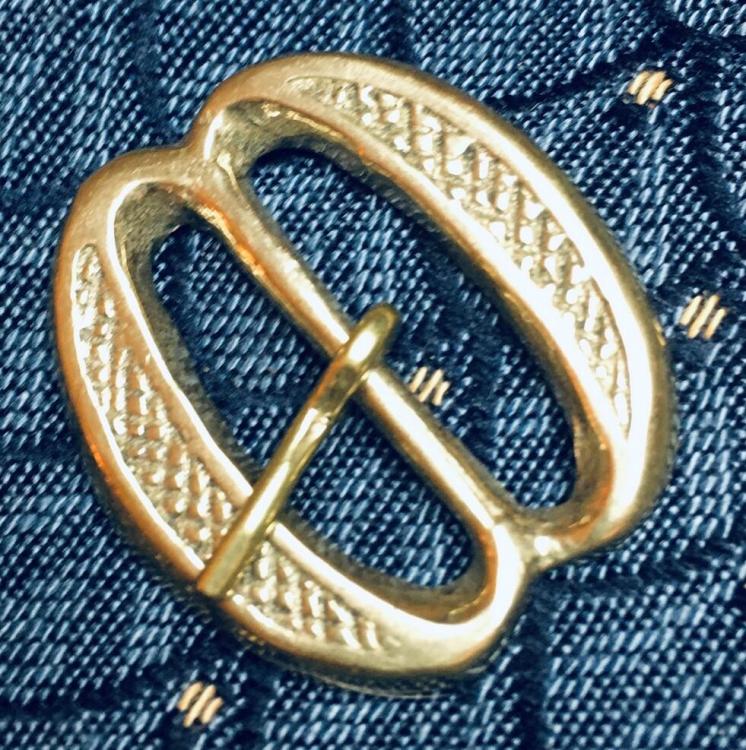
Hi everyone, I wanted to share that I have many new buckles for sale in my ETSY store https://www.etsy.com/ca/shop/ReliquariaMedieval . These are all authentic historical shapes, but the best part is, they are not the kind of designs you can find in the average craft store. I've been lucky enough to have a couple of fantasy armourers work with me and the buckles (and armour -wink!) look great. I've had some questions about the quality of these items - they are solid brass/bronze (depending on the amount of tin), very heavy and strong. They are cast pieces so each one is unique and you will see slight imperfections from the casting process. If there ever is a problem, I will always replace the broken piece (but of over 600 sales I've only had one broken piece). I would be honoured if you would consider using some of my items in your designs. -Ellaire Here's a couple more.
-
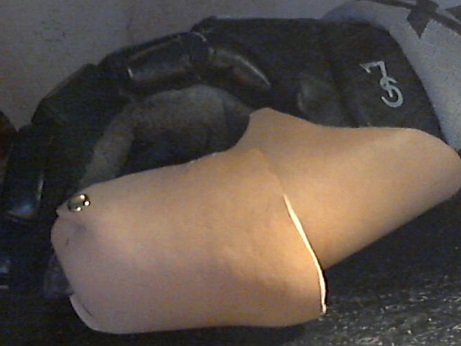
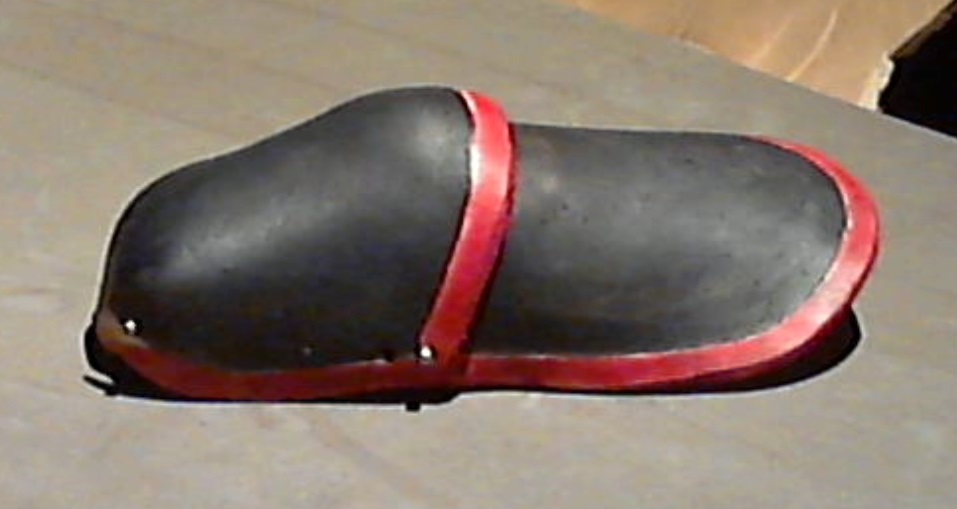
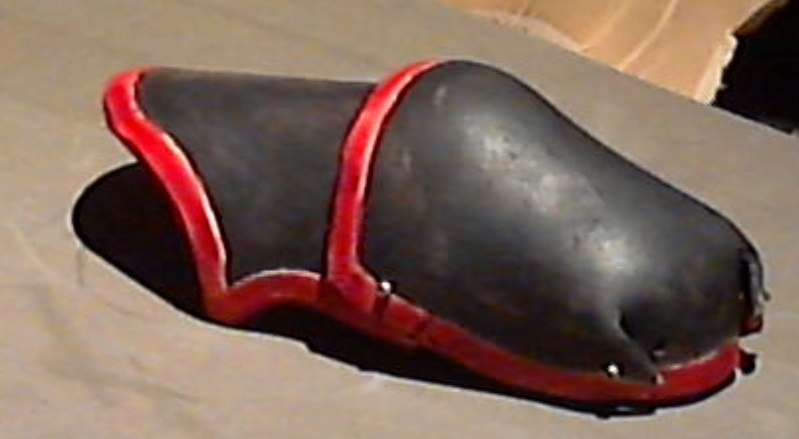
Here's my project for today-- I am making a heavy leather over-glove to go over some lighter hockey gloves that a couple people in my longsword class use. Hockey gloves aren't the best protection, so if they take a good strike to the hand it HURTS. And if you are worrying about hurting your hand all the time, it's hard to fight well. So I offered to help protect their hands better, and they thought that was a great idea! Here's the project so far: This is the thumb, two pieces wet molded onto the hockey glove and then hardened by hot air blowing over them. (I set them next to the electric wall heater nearby -- not too close, but enough so an hour or so dries the leather). Next step: Got the articulation point in the middle, and a nice curved dish shape, too. Here's a better view of the thumb tip: It curves around the thumb tip very nicely! Details: 8 to 10 oz veg tan, cut from tooling belly (I got them for a great sale price, so I don't feel bad about having to throw away a prototype that doesn't work). Dyes are Fiebing USMC black and Fiebing red. This is the right thumb -- the left thumb is drying off to my left a ways. Next step is riveting, and then on to the fingers.
-
I made this corset for my wife, who wanted a Lady Loki armour costume. The problem of course is corsets need to fit really well and I've never made one before. After searching the web I thought I had a good grasp on what to do. Ha! The front pieces were not much of a problem, but when it curves around the sides was a disaster. I drilled out rivets quite a few times. If you don't want to annoy your wife by getting her to "stop and try this on" I suggest you make a duct tape dummy. Long story, but eventually I got it right. It took me about three months on and off in the evenings. She loves it, but has only worn it once. Ha.
-
-
Recently finished a Norse style helm using a crystal anvil pattern. Did some wave tooling on the helm inspired from the 'The Great Wave off Kanagawa' its a Japanese art work but I like the wave design so rule of cool instead of historical. I think it turned out nicely although the center struts could be smoother. I posted it on the crystal anvil facebook page and Alex the author offered some good advice on how to smooth the ruckels.
-
I have been lurking for a while, but have never posted. I'm not formally trained. I just kind of stumble around with leather, dye, and tools, until I have armor. Here is my latest piece, the Odinhelm, along with the coif that I made from aluminum electric fence wire. The helm is riding a little high on my head, but the inside is adjustable.
-
Here are a couple of close-ups of a "scaled" cuirass (chest/torso armour) I'm making for a LARP I play. I'm more eager to show these off than I am waiting for a decent charge on my camera to get some better shots, instead of cellphone pics I uploaded for Instagram. What you're looking at is the upper back with the larger scales on the left/right side of the pic being the spine/middle of the piece. The tooling was done about two years ago on 10oz (I think) leather. The dye was only a couple of days ago. Still needs the top coat... and all the findings, metal plates, spikes, etc. It's slow going 'cause this is for me, so I'm losing money on it.
-
Hello all. I'm interested in crafting some armour. I've done a fair bit of research and i think i have the general idea, but i'd like to have a good reference book, or How To book on hand to see what else i might need and just for general knoledge, i want to avoid wasting too much leather, considering the cost. any suggestions?
-
So, first post. I figured someone here might have a better idea of how to do this than me trying to destroy my working copy because i'm prideful. I'm currently trying to attach a piece of 5-6oz leather to the back of a 2oz leather bracer, via rivets and rubber cement, so that the edges of the thicker top piece wont curl. The major problem I am forseeing is that if I glue the pieces together while they are both flat, that when it comes time to wear the bracer, that it will be too rigid to get it to flex around my arm, even if i soak the piece in water. So far I have three ideas that *might* work; Firstly I was going to just glue the outside of the piece onto the base while everything is flat, add the rivets. soak it in water, and then try to form the whole thing on my arm. The "hold on a second" plan, as i started to think of it lately, was to wet both pieces, attempt to form them loosely, and then glue the top layer onto the backing as both pieces were wet and on my arm. Rivet to finish. Then I started getting out of hand by planning on glueing a strip down the middle, riveting top and bottom to get it to stay there, soaking, partial drying to get a surface the glue can grab, and then just glueing and sticking the piece down with pressure until it holds. I'm kind of at an impasse. Opinions please? Veg tan leather, dyed chocolate cherry, and tandy's rubber cement, pieces in the picture below.


