Search the Community
Showing results for tags 'lined'.
-
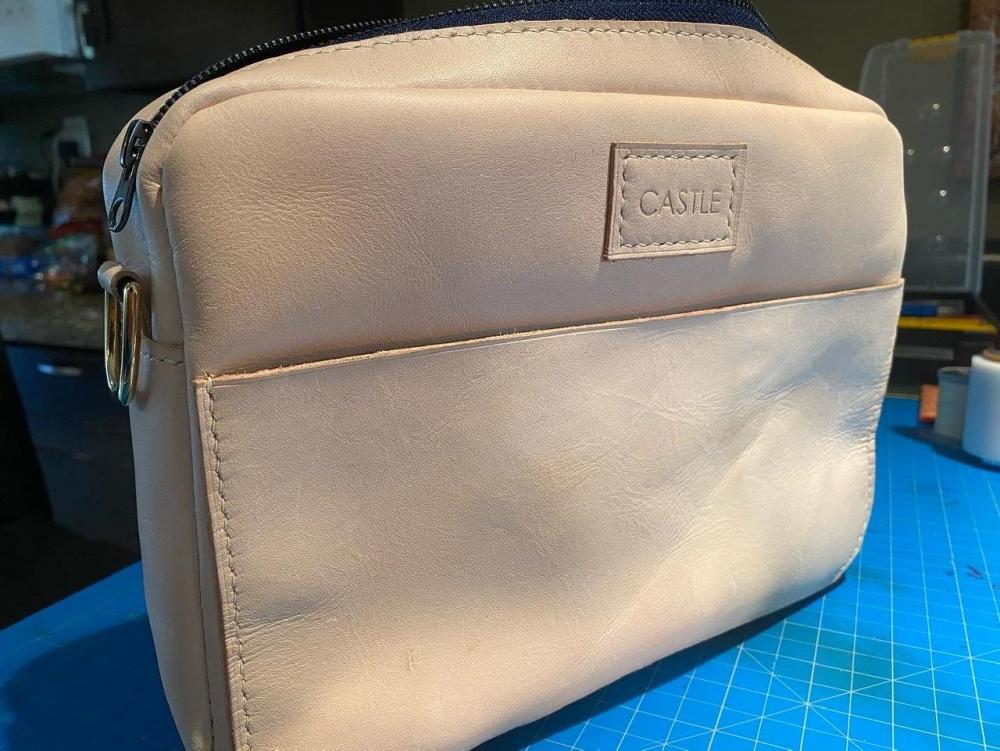
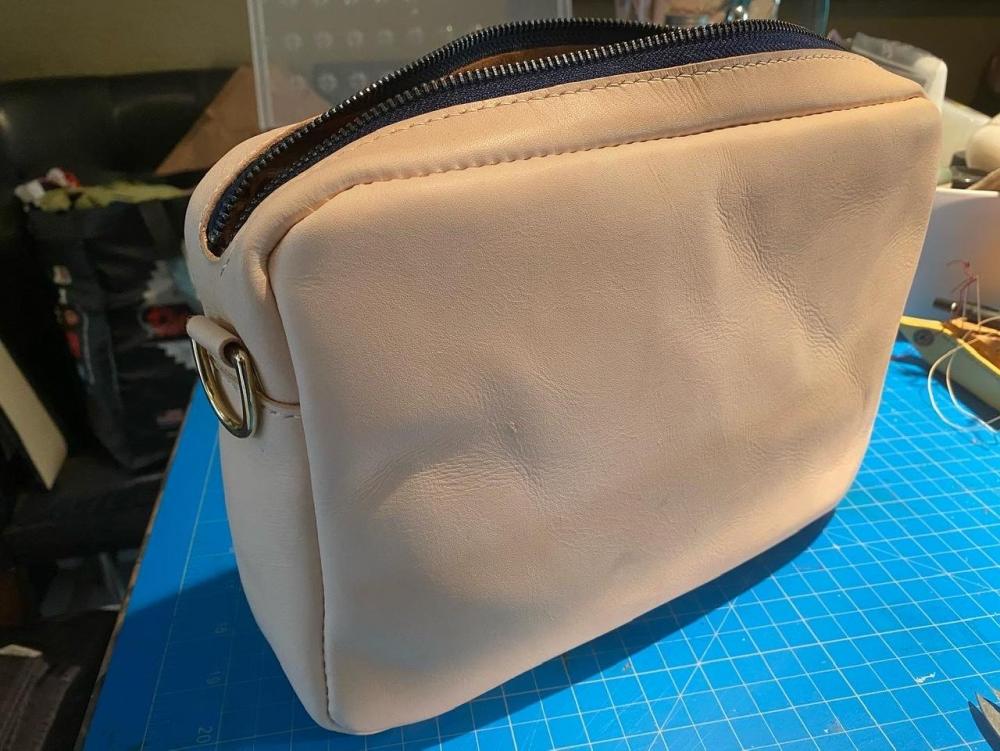
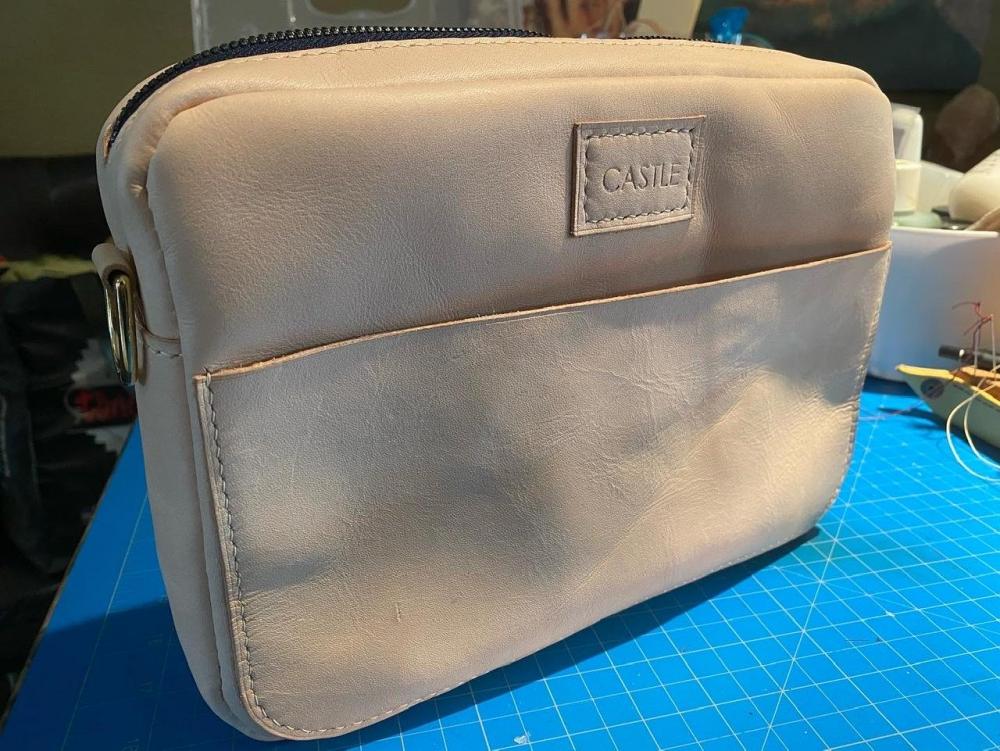
So this is my first attempt at making a bag of any sort. I’m actually really pleased with how it turned out. I’m calling this a prototype because I plan on making more with nicer leathers. While this looks pretty decent there’s quite a few scars on the leather and while it worked for this bag that’s not really the look I’m going for. Also I need to tweak the pattern a bit. And I need to make a strap just waiting on some leather to come in. The bag is made of 2.5/3.0oz European veg tan from Tandy. Stitched with twist 0.45 cream linen thread and I used some cheap 5mm pricking irons from Amazon. The liner is some sort of suede from an old jacket liner I believe (my aunt gave it to me when I told her I was making leather goods) I got the gold hardware from sav-more leather in Downtown LA. I’d really like to hear what you think or maybe offer some insight. I wasn’t sure if I was supposed to glue the seams before sewing ( I didn’t ) also I forgot to undo the zipper A little bit before closed it up so that was a total pain trying to get the zipper open so I could flip it. Here’s a lot of pics =) Thanks for looking !
-
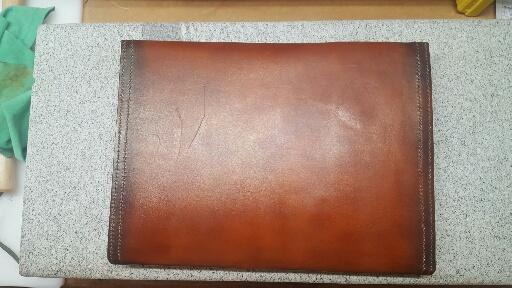
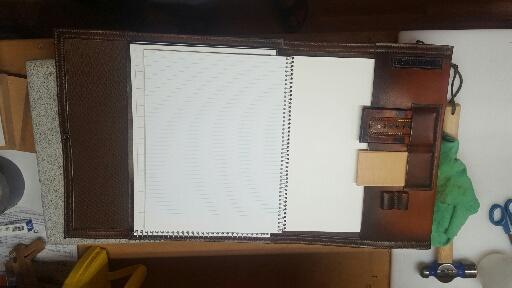
Made a laptop sleeve for my brother's birthday. Unfortunately his laptop just BARELY didn't fit. Measure 3x, cut once, and add an extra inch! Still need to punch the hole for the closure strap and give it away to someone. Overall outside dimensions 10x15 inches. Acadia Shellshock leather, Maine 0.035" thread, cotton flannel lining. A few more pics here: http://imgur.com/gallery/mSAJAYy
-
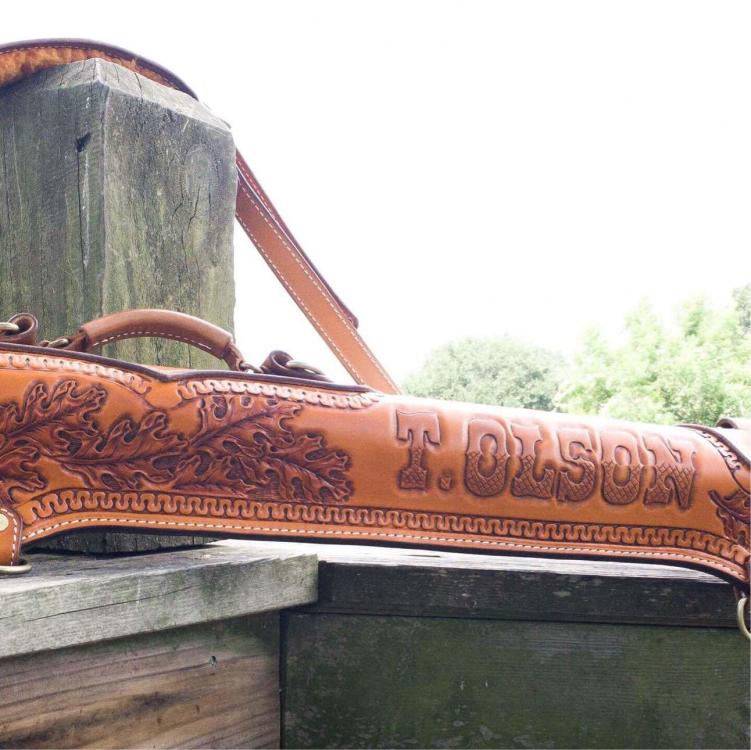
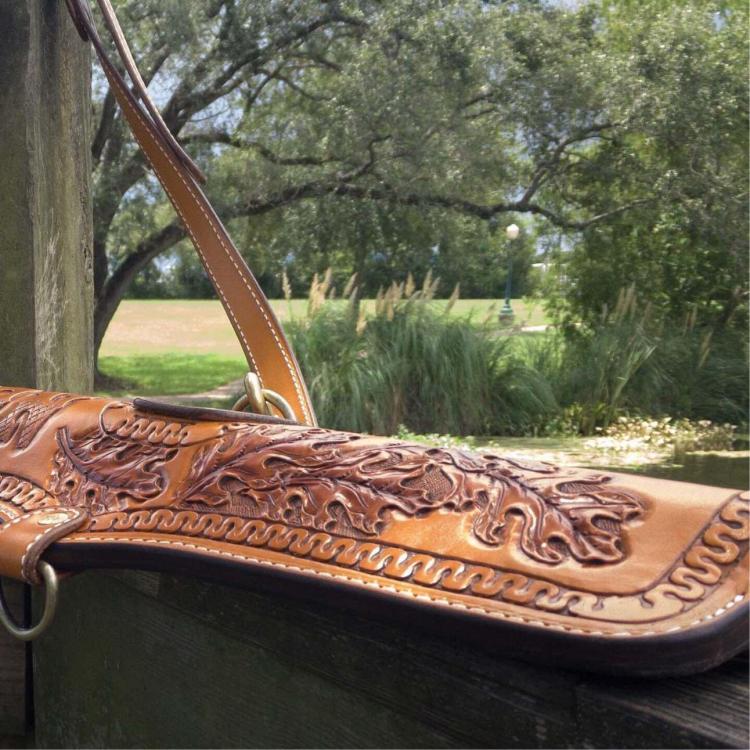
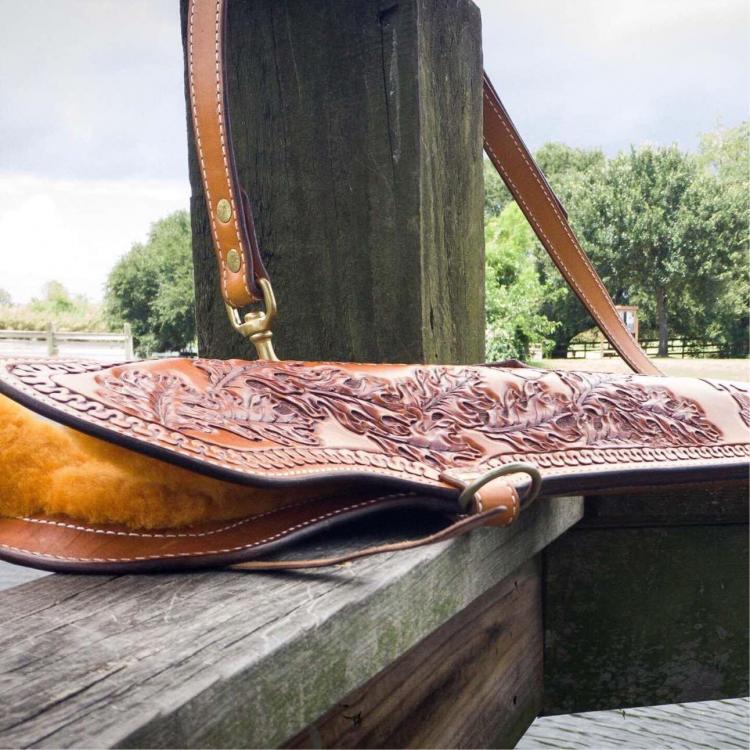
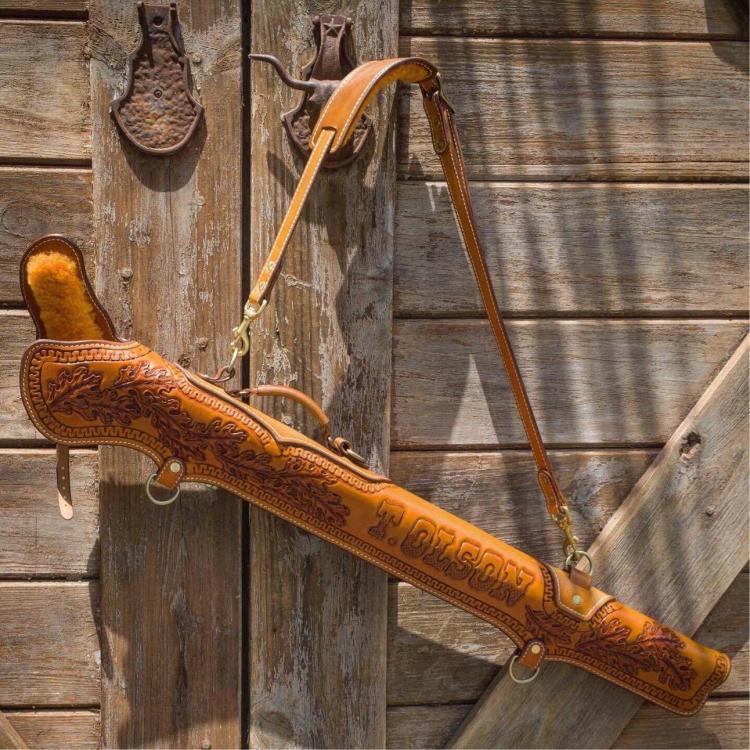
So I haven’t posted in a while which means I’ve been busy. Business is going good I’m hoping if thing keep growing like they have this time next year I can quit my day job. Only time will tell. ok so this is a rifle scabbard I finished about 2 months ago. It was made for a Kentucky long rifle. The customer wanted something he could hike with up in the pacific north west cascade mountains. It was definitely my most ambitious job so far. I did a lot of head scratching trying to get all my assembly steps in order and plan out all my tooling designs. The hardest part was I only had measurements to go off of for the rifle. I never was able to find a rifle in my area to compare to my pattern. it was made from 8-9 oz w&c with a bark tanned shearling liner. Stitched with my cobra class 4 using 277 white bonded thread. Fiebings saddle tan dye, And dark brown antique paste using fiebings pro resist as my resist for the antique. please give me critique if you something I can improve on. thanks.
-
3/4 oz HO with Fiebing's Oil Dye. Lined with brown duck canvas. Not exactly sure why the pics are upside down... Let me know what you think and thanks for looking!
- 9 replies
-
- hermann oak
- handstitched
-
(and 1 more)
Tagged with:
-
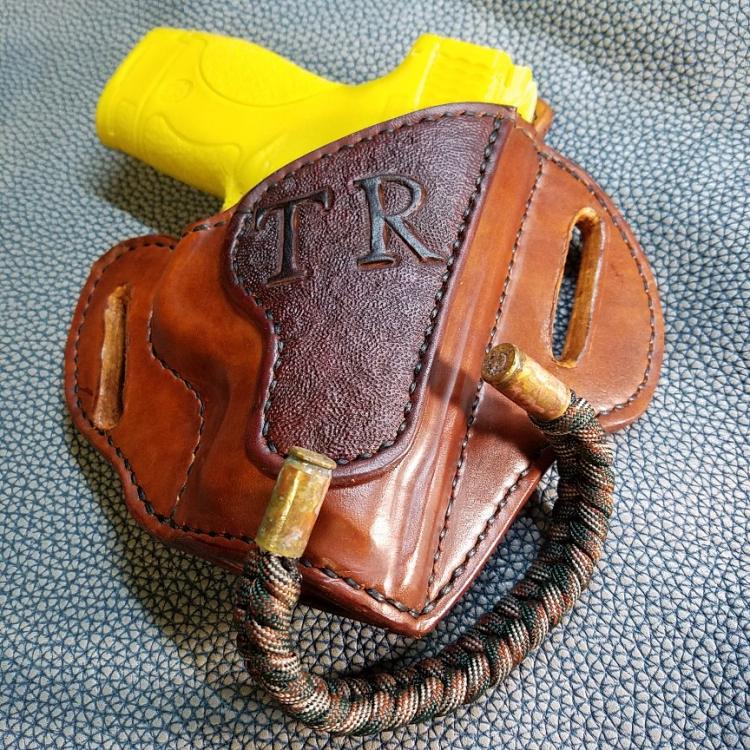
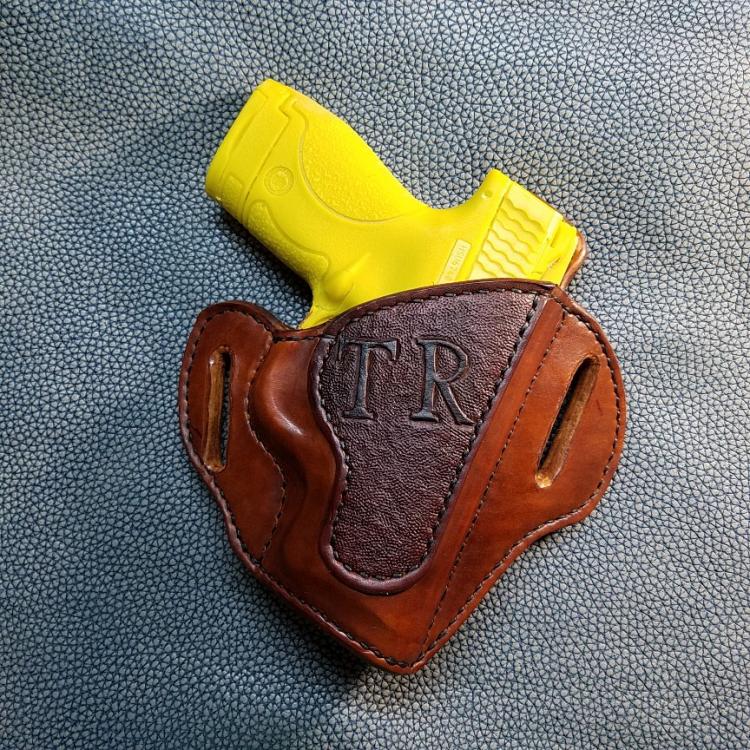
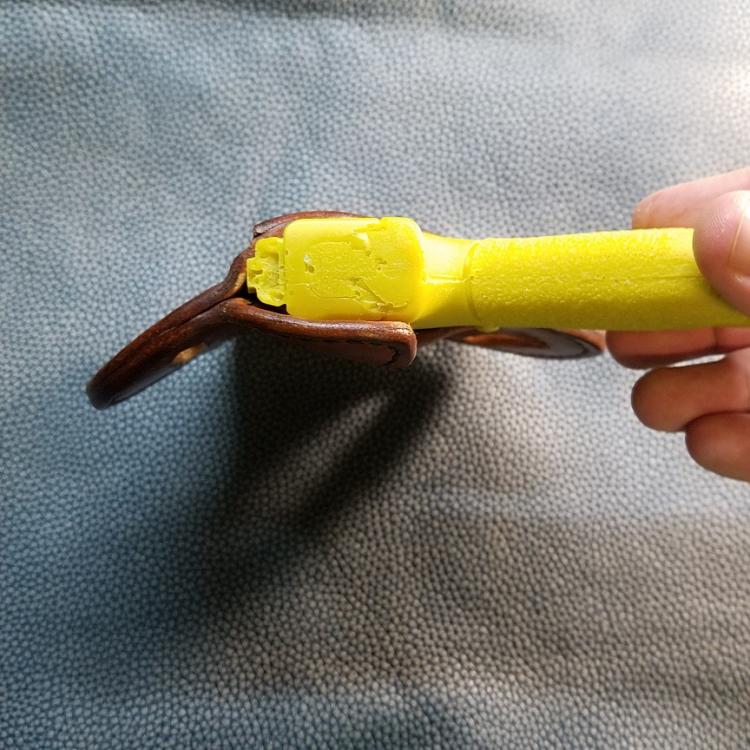
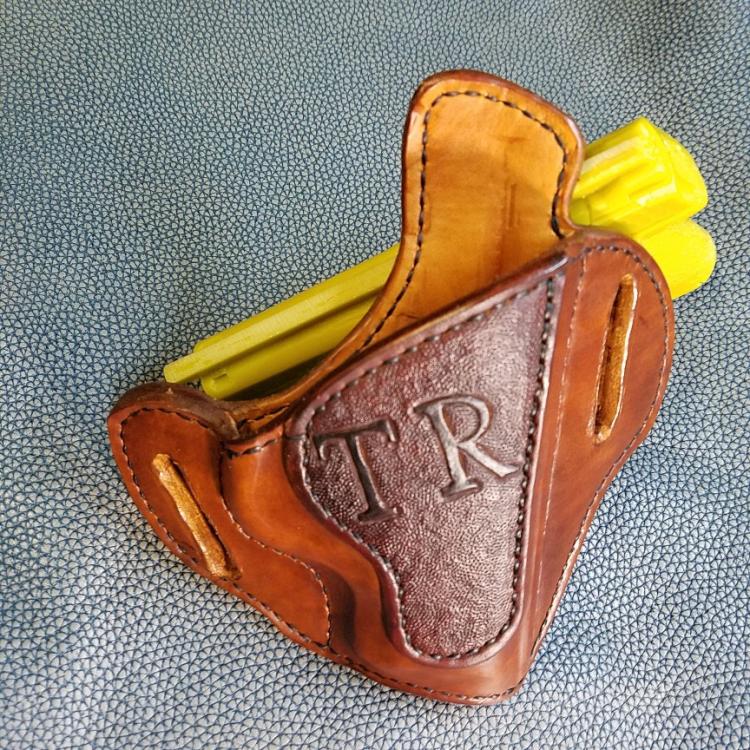
Here's another one off my bench. A holster for a SW Shield 9mm. I tried building it in the curved style. The retention on this one is really nice. I'm happy with that. Threw in a cool Paracord bullet bracelet for kicks, force patina 9mm shells to match haha. It is 2 layers of 4/5 oz stuck together. Critiques welcome. Thanks!
-
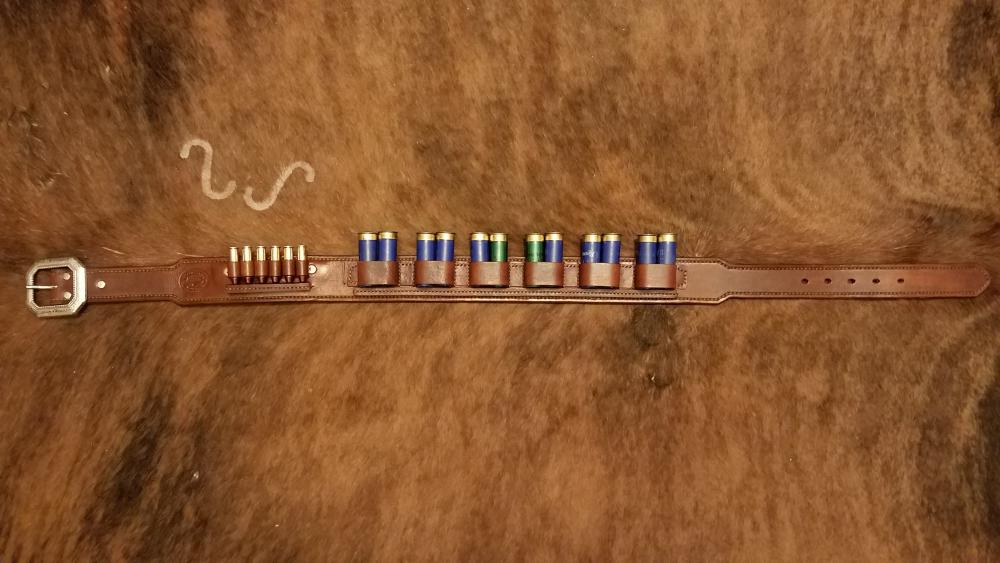
l followed Jim Simmons’ tutorial on making a Plains Gun Belt, but adopted it to be a shell belt for 6 pairs of 12 gauge shotgun shells and 6 .38 cal cartridges for Cowboy Action Shooting. The other alteration is that the belt is lined - made from two pieces of 7/8 oz. leather. Now I am making a pair of lined holsters and a Ranger style gun belt to go along with it. The belt will also be lined (made from 2 layers of 7/8 oz leather). My question is: Should the billets (both buckle and tongue) be made from 2 layers as well? I think yes for both strength and consistency, but is there a strong arguement for not doing so? Thanks, any input is welcome!
-
So well, I guess there is no need for two threads, so I´ll reduce it to one I had a work mate some time ago I came along with really nice and who teached me a lot for my daily job. So as we are both craftsmen and therefore like well (hand)made stuff I decided to make him a belt which turned out to be the best I made yet. For those of you who mention the different colour of the edge all along and the edge where the keeper sits (might be hard to see on the pictures... didn´t do a nice job on the pciture stuff this time): I started with the buckle using edge kote. But after that I visited my father who owns one of my belts and recognized, that the edge of hos belt - which I finished with some edge kote, too - was just fuzzy all along.... so I cried a little for help here, got some fingers pointed again on the thread "how to finish edges" and did it (nearly) as descriebed there... finally I got a nice (even nicer!) edge the with edge kote which hopefully should hold up much longer, as the only substance sitting on top is a really thin coat of Tan Kote finished with some parraffin. Thanks for that already guys! Acutally I never saw him since I gave it to him, but he was full of joy, so I assume the hours put into this piece were worth it. The belt itself is some 3,5mm belt croupon lined with some 0,8mm ... neck (I guess... ordered that seperately), hand dyed as always and handstitched with 8 SPI all around. The bucke is made of solid brass and the width is just about 38mm. As this is the second lined belt I made, I tried out some things like skiving the loop where the buckle sits down to the lining plus tapering the tip of the belt for a better sliding into the belt keeper. work worked just fine. The second piece is a sheath for a... "fancy" knife of a customer. He just wanted a simple sheath but made a lot more sturdier than his last one where the knife is hold by friction at least a little as is came out sometime before... The sheath is dyed with a light brown. After that I applied one coat of oil, let it dry and applied some heavy coat of my leatherbalm. The plan was to fit the handle colour of the knife which turned out quite good. I guess those are the moments where it´s good to know how the individual hide darkens when you use your "stuff (the balm) on it!! So always do a sample guys.... really! I guess If I didn´t know and wanted to be it light brown I´d have stuck in this head->table->head->table motion.... XD So here you see the difference between the old one the ne sheath As the blade got a little curve near the tip, it even cut a little hole into the old sheat... that was made poor and a little tight, so everytime the customer pushed the knif back into the sheath he unwillingly forced the tip into the leather.... poor little thing ^^
-
- 7 replies
-
- drawing
- sketchbook
- (and 5 more)
-
I have been looking at other leatherwork for inspiration, and I found this collar. I'm curious as to how both the black lining on the inside and the pink edging are attached. The first picture is of the front of the collar. It looks to me like a normal hem; the leathers were put facing each other, a stitch was run, and then the pink was folded back over. But then, how was the black lining piece in the back attached? If it was sewn, wouldn't it punch through to the front of the collar?
-
This is a belt for a friend. She bought like 1 new belt/year, because she was used to this standart-crap-belts which started to disintegrate after about 10 to 11 months.... so the Plan of her husband was to give her a lasting belt she could enjoy "a little longer" and which looks better than the stuff before. I used some 2mm veg tanned cowhide lined with about 1,5mm, so the backside of those rivet-like pyramids would scratch her pants and would be visible plus a nickel plated brass buckle, handstitched all the way around. (I know that the stichting line isn´t perfect.... but I am just waiting for my pricking irons to arrive! Hope they´ll come soon) Hope you like it
-

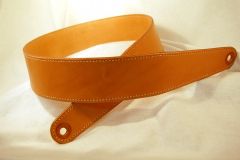
Natural Hand Stitched Leather Guitar Strap
Cyberthrasher posted a gallery image in Gallery- Our Leatherwork
From the album: Guitar Straps
2 1/2" guitar strap, lined and configured to accommodate Schaller strap locks.© Hellhound Kustoms
- 2 comments
-
- guitar strap
- lined
-
(and 5 more)
Tagged with:


