Search the Community
Showing results for tags 'quiver'.
-
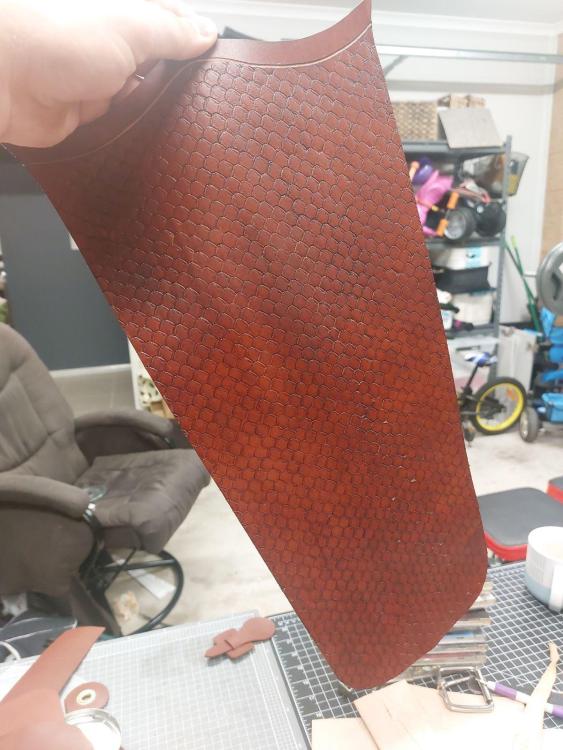
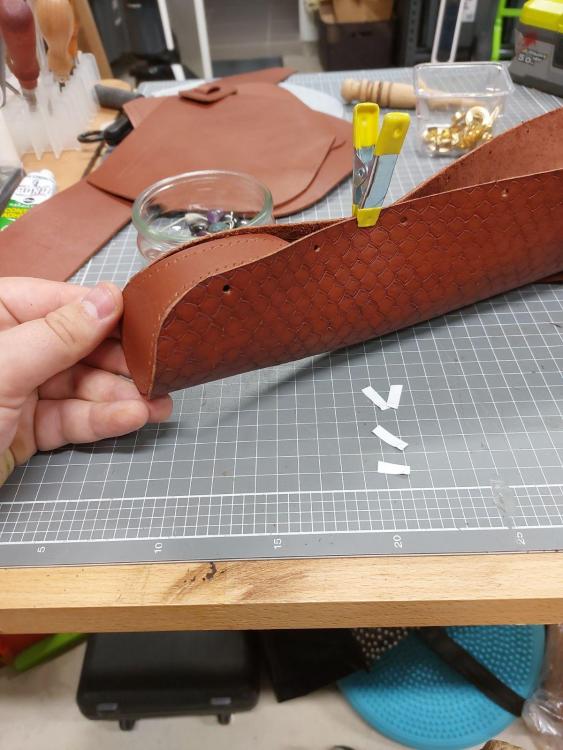
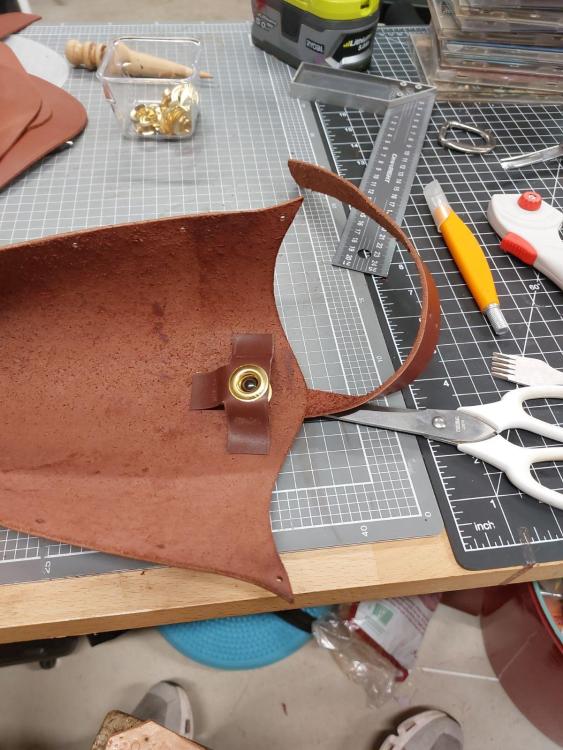
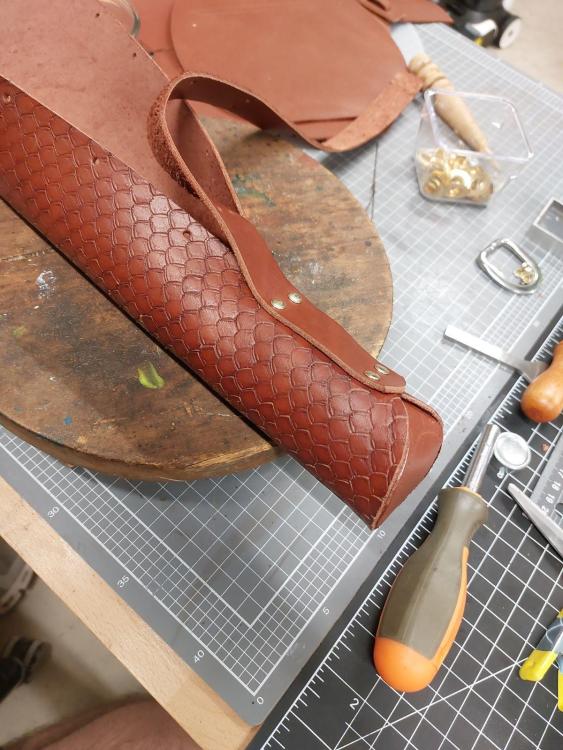
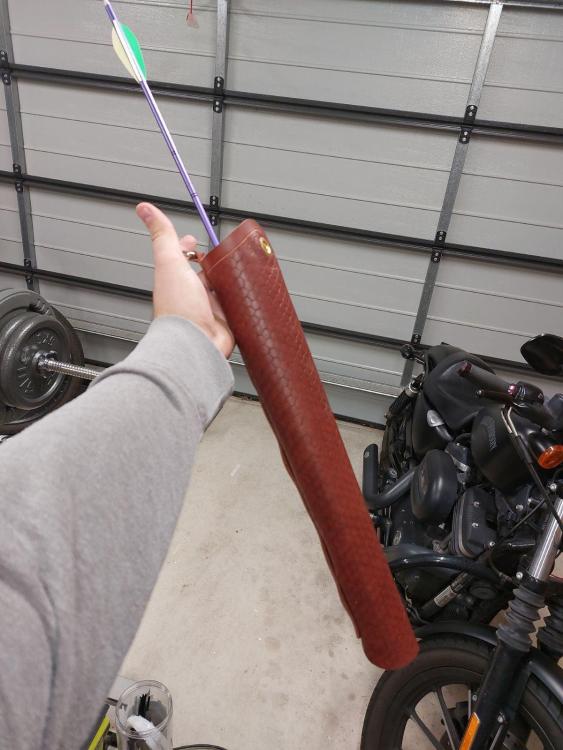
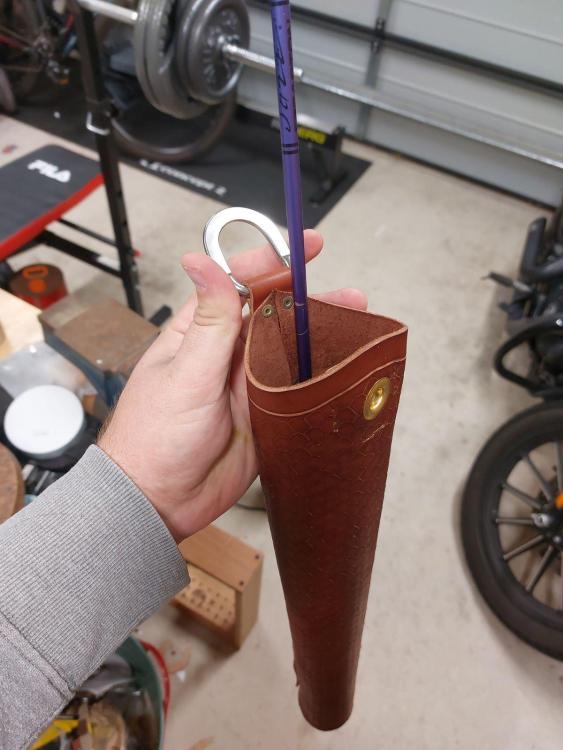
Bought a dragonscale punch, freehand drew the main body because I wanted it to look more medieval-faire-ish than cut-in-a-factory-ish. I set a glass bead into the throat with an eyelet on front and back to let the light through, so it refracts and shines through with the colour of the arrow stems. Colouring is just from one pass of hot-stuffing with dubbin. Base was my very first attempt at box stitching which I did in the wrong order because I sealed the cone before punching the stitch lines into the bottom of the body. Wet-moulded pouch and belt to be added soon.
-
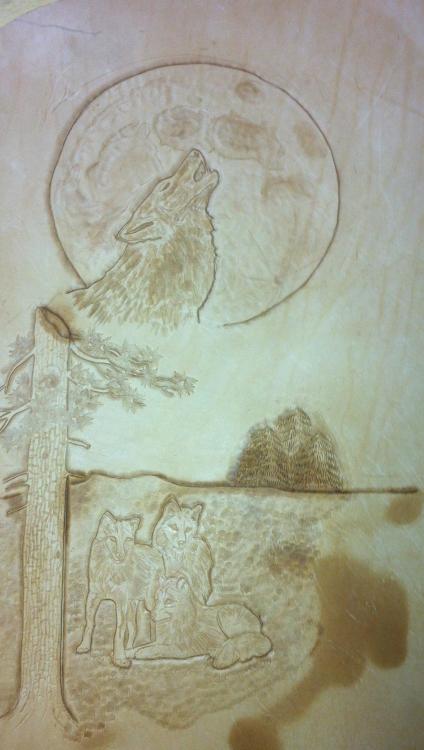
I did this for a girl who wanted me to make a gift for her boyfriend (now husband) for Christmas. I’ll just show the finished art without dyes. Each item was done individually and at separate times, when the picture was take it was still drying. Yes this is on 9/10 ounce leather!
-
I have some experience with veg tan but I’ve only ever connected pieces with rivets and buckles and so on. Very little stitching, no gluing. Now, I’m making a quiver. I’m buying new tools and doing a lot of research, as it’ll be my first times for carving, stitching, and gluing. I have some questions and concerns - I’m not working from an existing pattern. I’m thinking about closing the quiver’s long edge with a baseball stitch. The straps will be connected to that edge with overlays, and help reinforce the seam. Concerns: I’m designing the pattern with paper to start, and the construction paper warps into a teardrop shape without reinforcement at the seam. I worry I will have some weakness in the same area with 8 oz veg tan? Would it be more reasonable to use a butt stitch, even though I don’t prefer it aesthetically? Regardless of the stitch, should I, or would it be advisable to, contact cement (or otherwise glue) the butt edges of the leather together before stitching? Thanks for any tips, first time posting but I've been lurking for a long time.
-
Hey folks, I came here in the fall and asked some big questions, as this was an ambitious project. First time carving (the coaster in the album was my practice run) and first time stitching. I also hand-drafted the pattern (why make things easy?). I made tons of little mistakes (like why, or why, didn't I use an awl?). I also learned a lot, and I'm very happy with the overall results, and so was my niece! (it was a present for her). Thanks for all the help! The Making-of album: https://ibb.co/album/bbvb1X
-
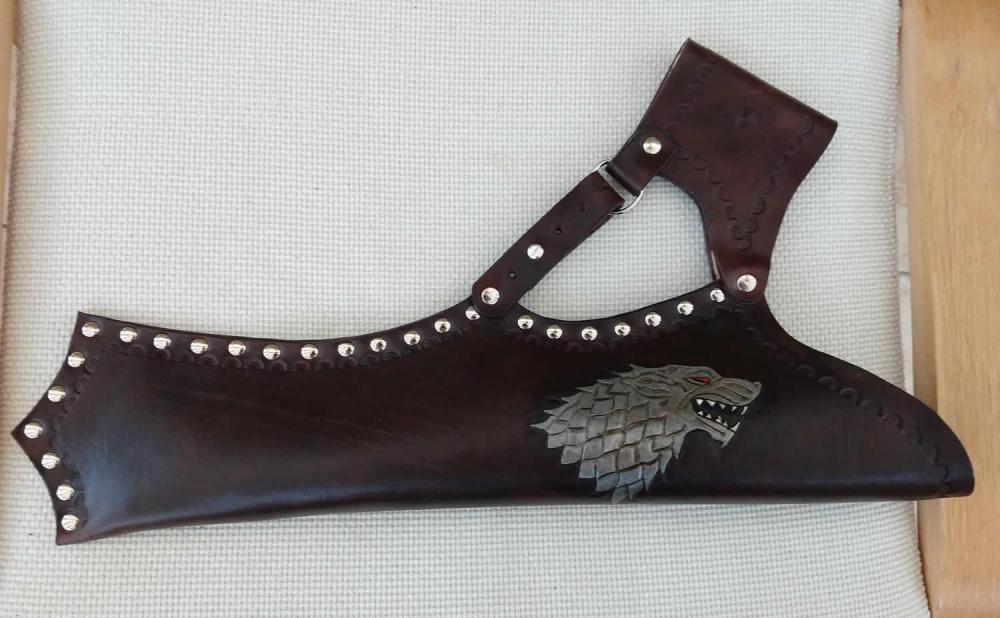
Here is my latest archery quiver. A special request for a Game of Thrones dire wolf. Design carved and tooled, then pained with Angelus leather paints. I had to antique this to get the definition on the design. I'm reasonably happy with the result and the owner is delighted.
-
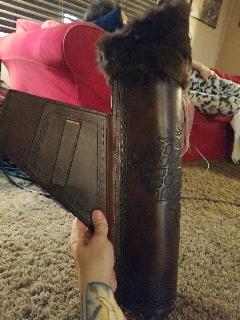
Hey everyone, Haven't posted for a little bit, but here it goes. I am almost finished with my recurve quiver for archery. I used 7 to 9 oz. Leather and tooled in the house stark sigil. Hand stitched with fiebings briar brown antiquing gel. I still have to burnish the edges and do the pouch that will connect to the hole you see cut. I am also going to make a custom belt to go with it. The rabbit fur is from hunting with my brother. He dyed it to a brown but not sure how he did it. Had to resize the images to fit on here. So quality is not the greatest
-
From the album: Ragingstallionleatherworks
I was asked to make a quiver like mine, and with having done it before, i was able to make it even better, now that I knew what I was doing. They didn't want anything fancy, which I tried to talk them into letting me add a basket weave to it, but they just wanted the rope border. Gave me a chance to go buy a new dye as well, forgot how much purple comes out in mahogany when its wet. -
Finished this beauty and had it delivered this last weekend. This was my fourth quiver, and the first Mongolian Horse Quiver I've made. This quiver was a blast to make, even if the stitching took way longer than I would have liked (the longer it takes the more movies I get to watch, right?). This style of quiver was design to wear strapped to the thigh and would traditionally hold six arrows.
-
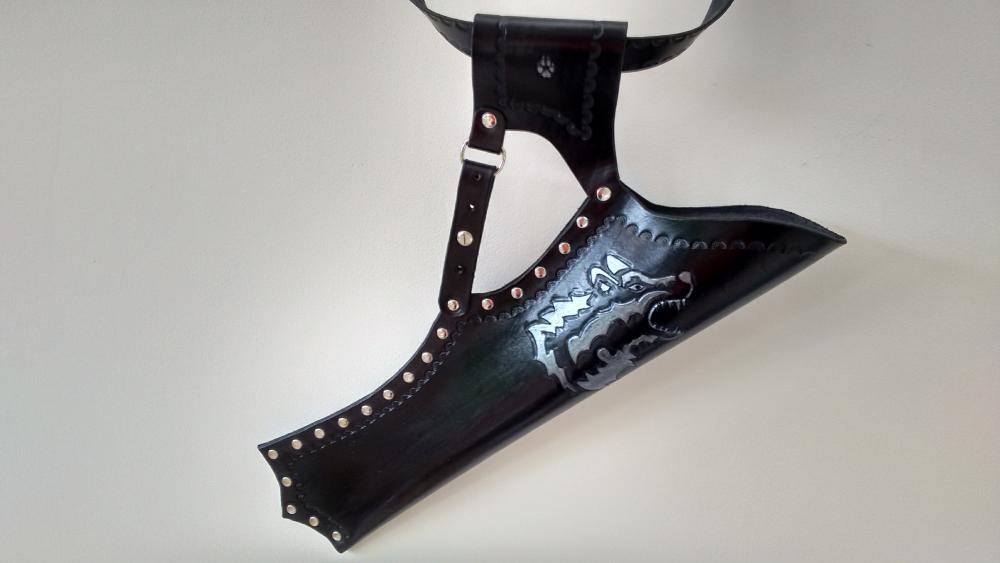
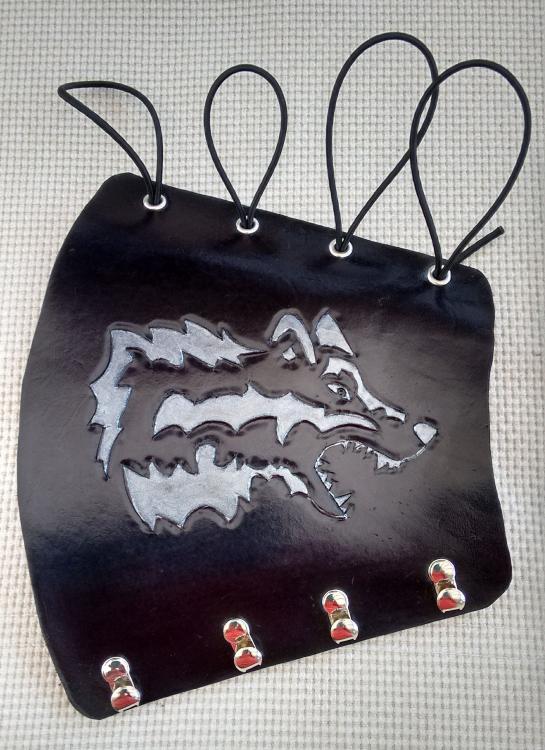
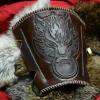
Here's a quiver and bracer I did recently. The hardest bit was doing the wolf head design, since I'm not much of an artist. I think it turned out OK.
-
Soooo we finished my Bow Quiver.. It was a hell of a weekend, but its alive!:D I hope you like it.
-
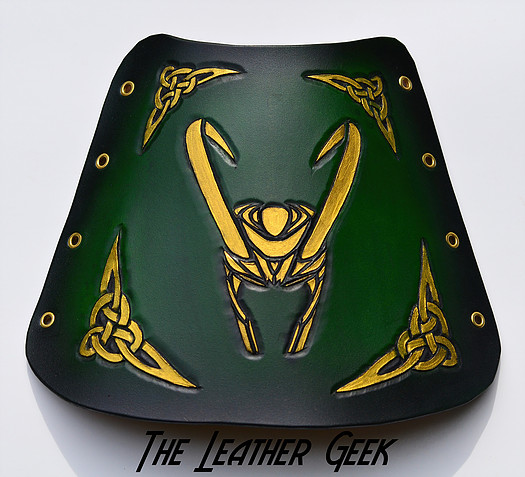
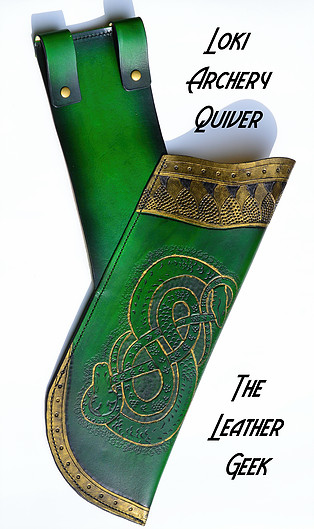
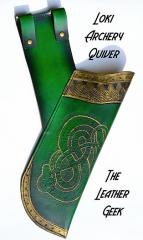
My friend commissioned me to make him a hip quiver and arm guard with a Loki theme. This is my first attempt at a quiver, I can't wait to see it in action. Any recommendations/comments on these pieces? I'd love to hear what I can improve on. Thanks! Corey www.theleathergeek.com
-
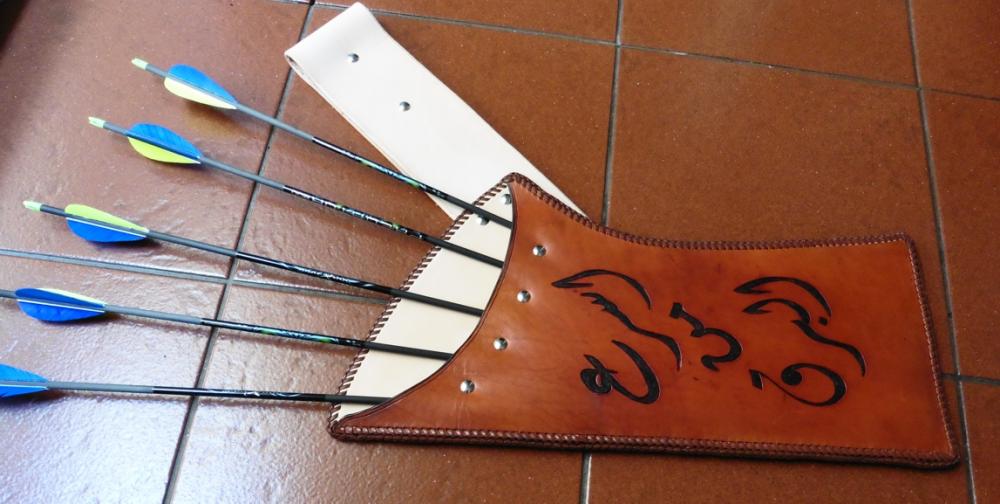
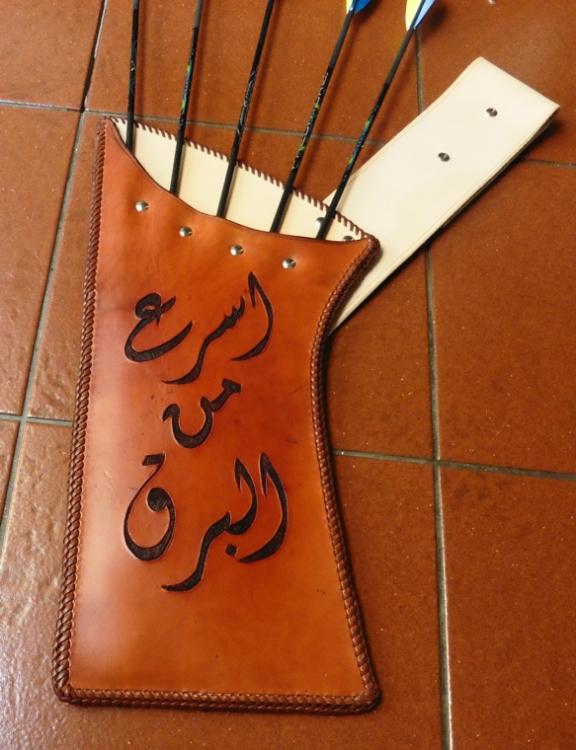
Recently I started to play with a horsebow and made an "orientalizing" hip quiver. The arabic writing boasts that my arrows are "faster than lightning". It's a prototype that will be tested tomorrow. In the future I'd replace the chicago screws by stitching. Critique, comments and advice as always most welcome.
-
I've been working on small leather projects off and on for the last several years...more off than on lately. I've had this in my head for the last year or so but haven't had the time to work on it. It's the biggest project I've done to date and I'm pretty pleased with the way it turned out. Now my hands need to recover from all those stitches. I couldn't get my son to model it for me so I had to hang it in the garage.
-
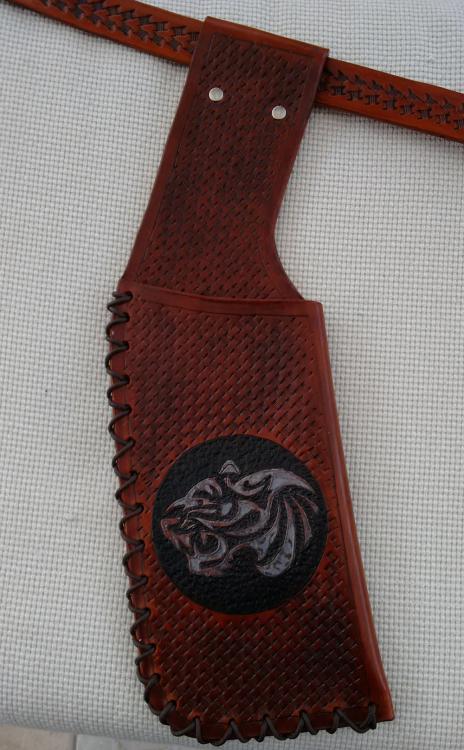
Here is my first big leatherwork project. I think its turned out OK. I'm quite pleased with the arrow basketweave on the belt, that worked really well. The tiger on the quiver could be better, but quite pleased with the overall appearance. Maybe I need better tools! The basketweave on the quiver bent the cheap ebay tool - now I have a much better one! I took the pattern off my existing quiver, so I'm happy that worked out. I did have some problems with the finishing after antiqueing, but did manage to recover. What do you think? I'll have to see how it stands up to actual use.
-
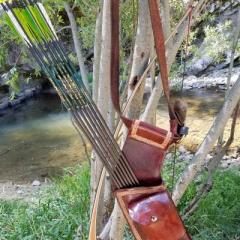
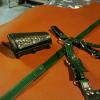
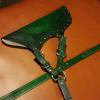
I really enjoy traditional archery and have been wanting to make this new quiver for quite a while. The quiver has two shoulder straps so it can be worn backpack style. It also has a couple extra D-ring attachments so it can be switched to a single shoulder carry or a hip carry. The pocket on the front of the quiver contains a small metal tin in which I store an extra bow string and some basic survival gear. (Matches, tinder, a small folding knife, etc.) The quiver has two buckled straps on each side for strapping on a lightweight bedroll and a small axe to be used on overnight bushcrafting trips. For the haversack I made one half of a 1920's model U.S. Cavalry saddle bags. I modified the front flap, eliminating the standard billet and buckle arrangement, so I could latch/unlatch the flap with one hand. I also stitched a couple of small patch pockets on the inside. The haversack is big enough to hold a small cook pot, a drinking cup, a small alcohol cook stove, some food, and assorted personal items. All in all, I'm quite pleased with this set-up. It gives me the ability to carry some minimal overnight gear when I get the urge to go for a trip into the woods with my longbow.
-
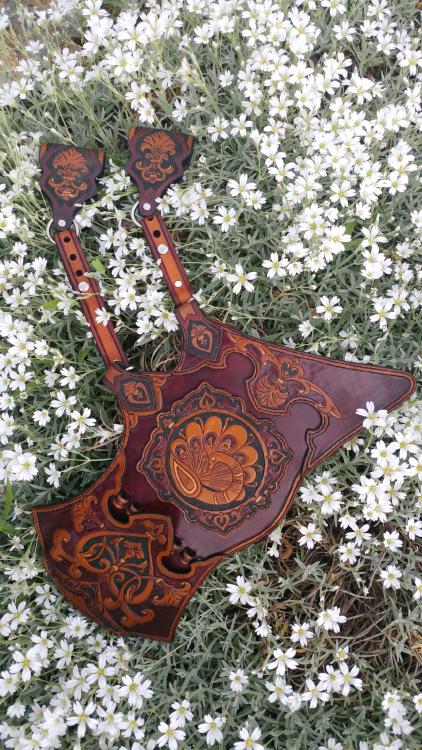
Hi! I continued the scythian pictographic writing collection. Its a side quiver. The middle picture mean: Before the eyes of the ancestors, born two families. The cone is my family crest. That two family tree grown two flowers. A girl and a boy. The girl is older than the boy, not so mutch. The leaves on the stem show that. These two people meet , and perhaps they create new "seeds". The waves at the bottom of the image mean: the portion of the image took place in the past. The above waves show the future. I hope it was interesting. :D
-
From the album: The Leather Geek
Loki themed hip quiver. part of a set with an archery arm guard. Tooled and painted by TheLeatherGeek -
I made these prototypes with a view to sell... the leather I used for the tooled part of the quiver isn't quite up to scratch but I'm happy with the bracer. Both made with 2.5mm veg tan leather (bracer is more like 2.8-3.0) with a waxed finish. I'd welcome any constructive criticism you guys have to share, otherwise enjoy
-
Hey folks! Thought I would share a custom quiver order I took last month. I really enjoyed the way it came out. This was for a repeat customer, but they wanted a hip quiver with adjustable angle and the option of adding a shoulder strap for a walking quiver. I also put together a matching black and green arm guard. On the quiver I tried what I thought was the technique for getting a gradient transition between colors, but I think maybe I need to use a lighter green or thin it out. I've seen some quivers on etsy with very striking color transitions but I haven't nailed down the way to do it yet. Thanks for lookin'!
-
Here is an arrow side quiver I made to be raffled off at the United Bowhunters of Missouri Rendezvous that was held last weekend. The body and strap are made from chrome-tanned bison leather and the tan trim is deer. The orange looking leather is caiman as is the black arrowhead. The lettering was done in ring lizard and the scaled leather is tanned carp hide. I carved the buttons from deer antler and the hanging ring from moose antler. Everything was sewn by hand using artificial sinew. This archery arm guard was commissioned by a friend of mine as a birthday present for a hunting buddy of his. It is ostrich leg skin backed with vegetable-tanned cowhide. The trim is deer and I carved the lace hooks from deer antler. Everything was sewn by hand using B-50 bow string material. This is an arm guard that I made for myself. My other arm guard wasn't worn out or anything but I get a hankering for something new every once in a while. I made this one from caiman and backed it with vegetable-tanned cowhide. The arrowhead in the middle is made from ring lizard. The trim is deer and the lace hooks are deer antler. I sewed this one up using artificial sinew. Darren
-
So I bought a few Tandy patterns and decided to finally get going with a large back quiver. I've already screwed up in that I burnished the edges before dying, whoops. Guess I was too eager to use my new burnisher. I'm posting pics in order, hopefully I'll have the whole thing finished up soon. I designed a celtic-knot style arrowhead, didn't want to go too crazy with complexity but wanted something interesting to go below the pouch. Used a backgrounder around the arrow and along the edges of the quiver, the leather has some flaws in it that I hope will be disguised at least a bit by that. I wanted to try out some more of my stamps though, so I made a "vine" by going back and forth with a thin scallop edge tool and stuck some leaves on each of the joins. Thought it turned out better than it had any right to, really. Then the dying, I almost went with green but figured I'd save that for another day. I like how much the arrow pops out now.
-
I'm kind of stumped and would like some input. I'm making my first large back quiver based off a Tandy pattern I bought, and it calls for a pouch that gets folded at the corners with a zipper going up the center, something like this: The thing is, I don't particularly care for a zipper, it just doesn't suit my recurve bow and wooden arrows all that much. So what options do I have? I like the fact that it can be opened from the center, so I can grab whatever little things are in there. Should I make buttons and loops to hold the flap shut? Grommets and lace it? Something else I haven't thought of?
-
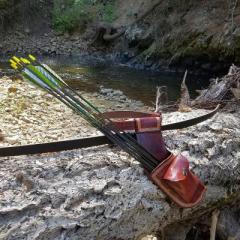
This is my first Hill style quiver. I normally do gun holsters. What do you all think? I'm trying to figure out what price to sell it at.


