All Activity
- Past hour
-
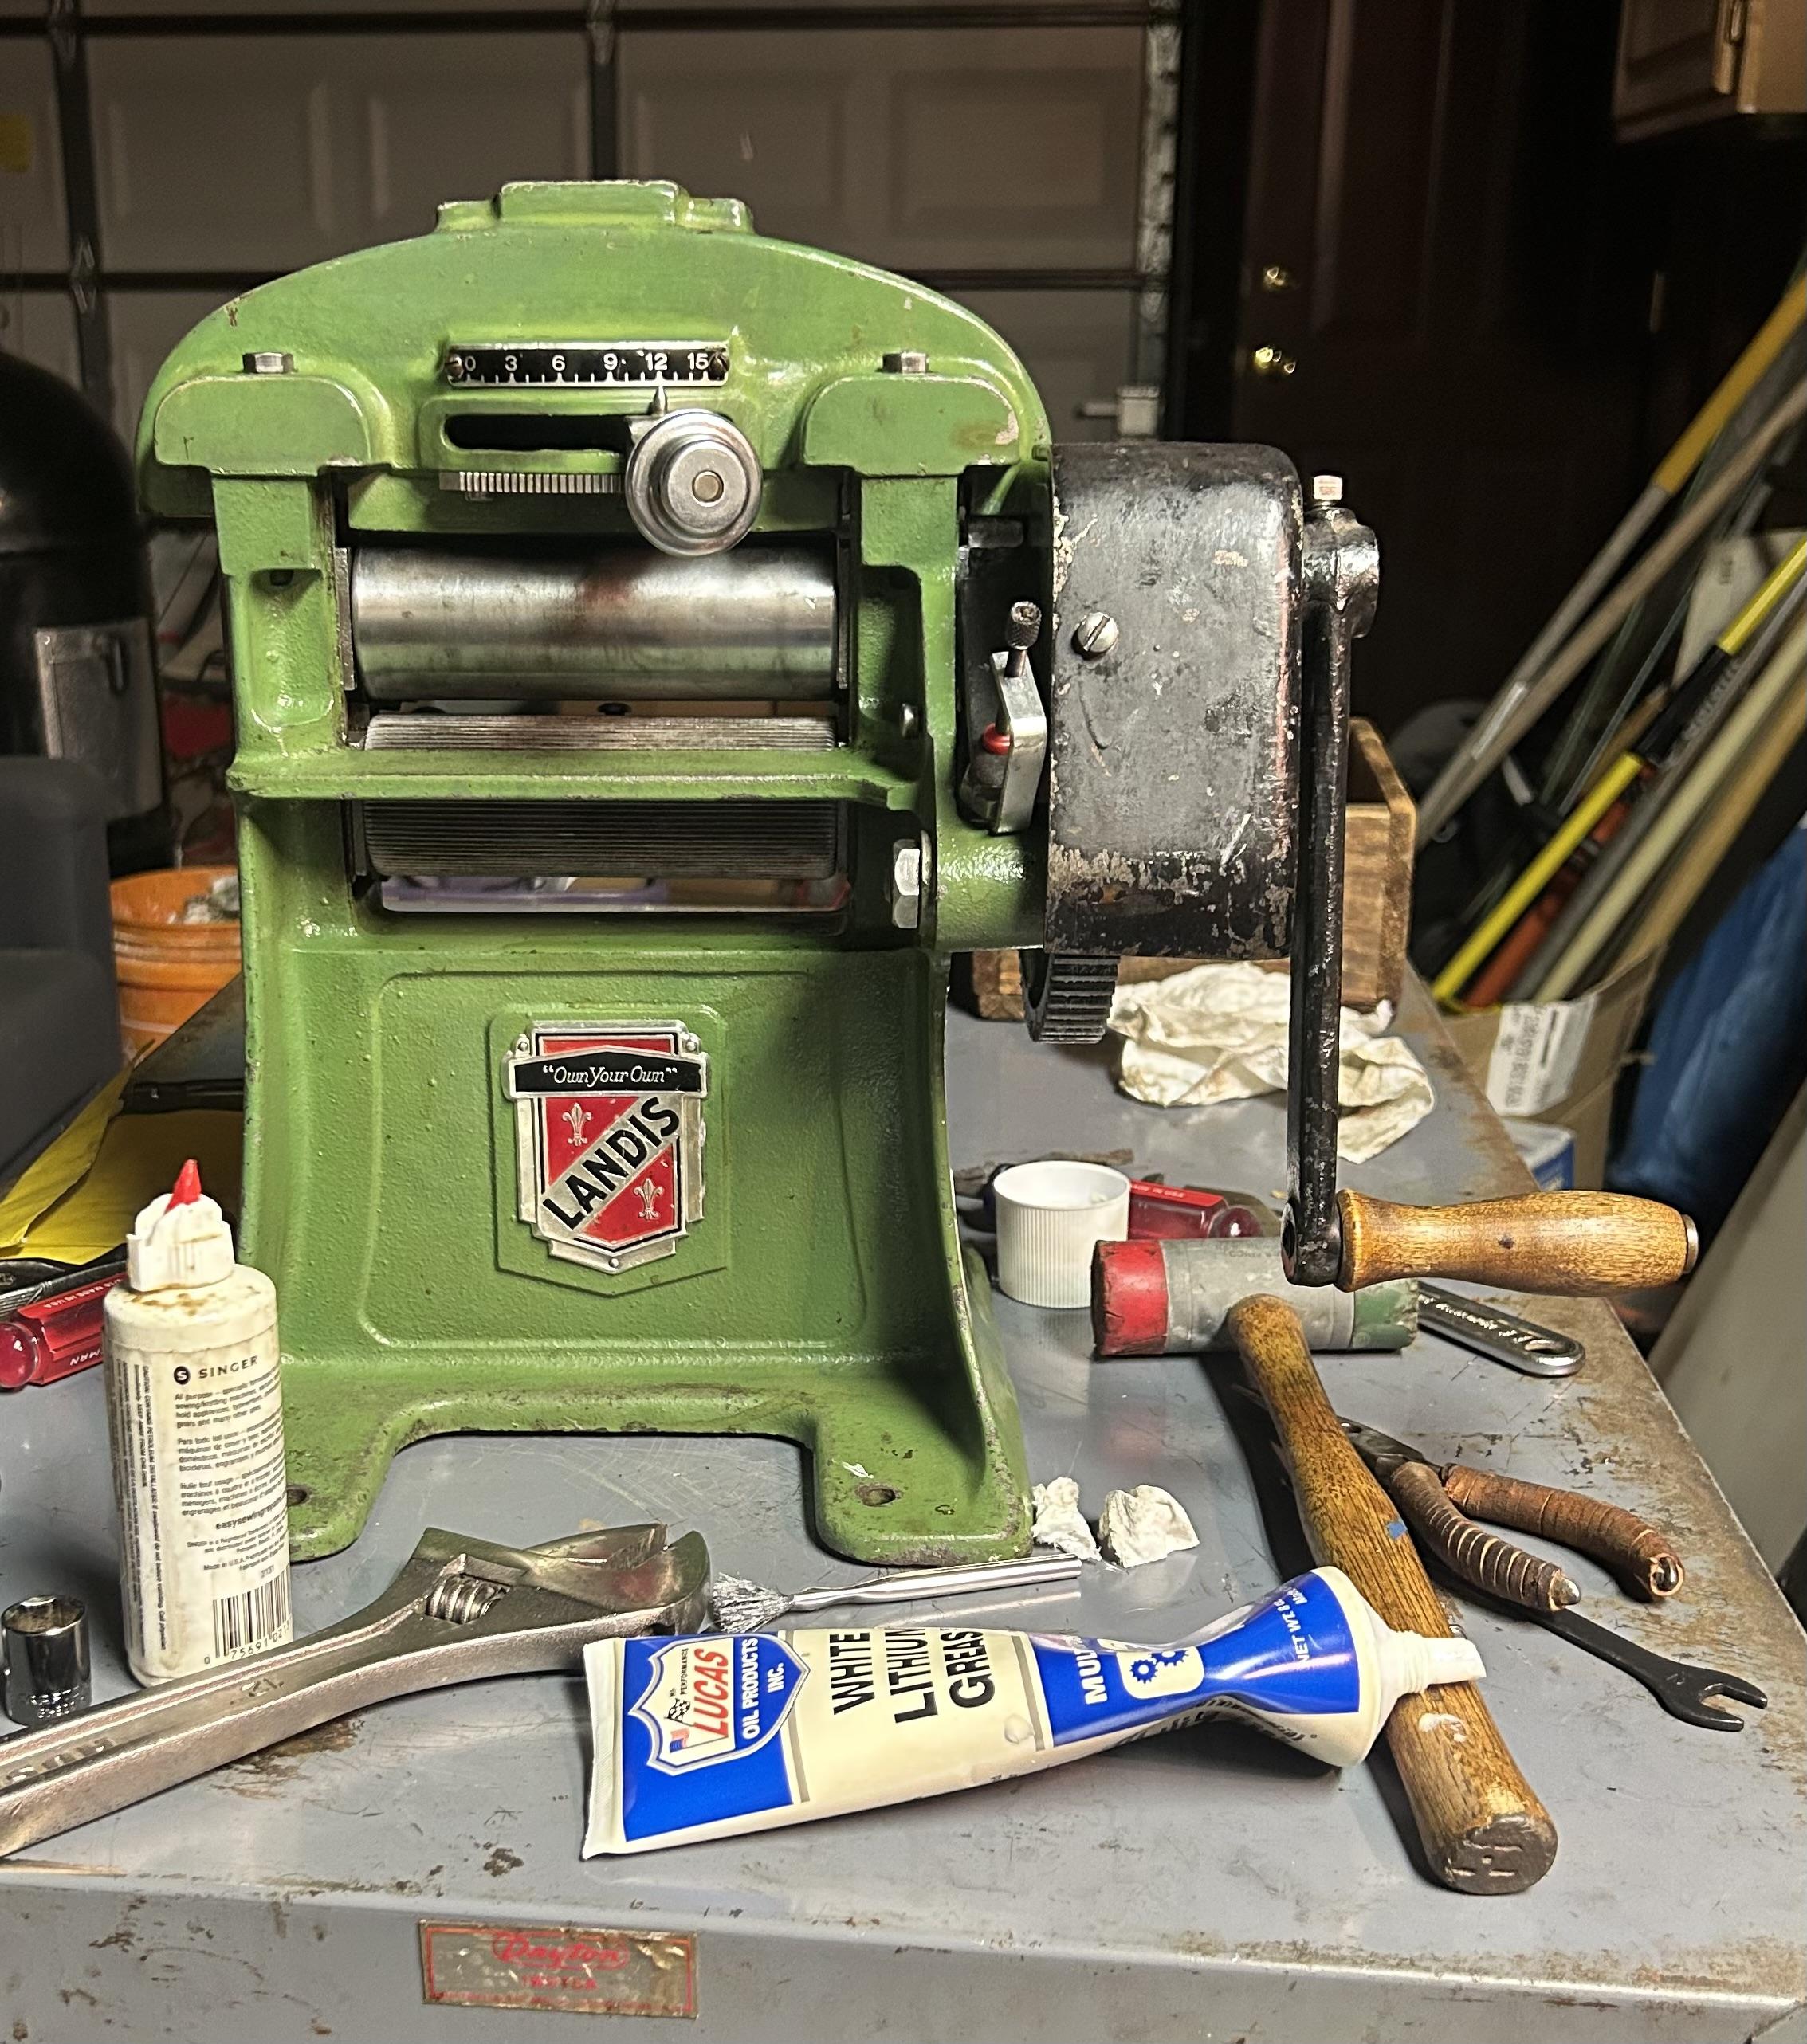
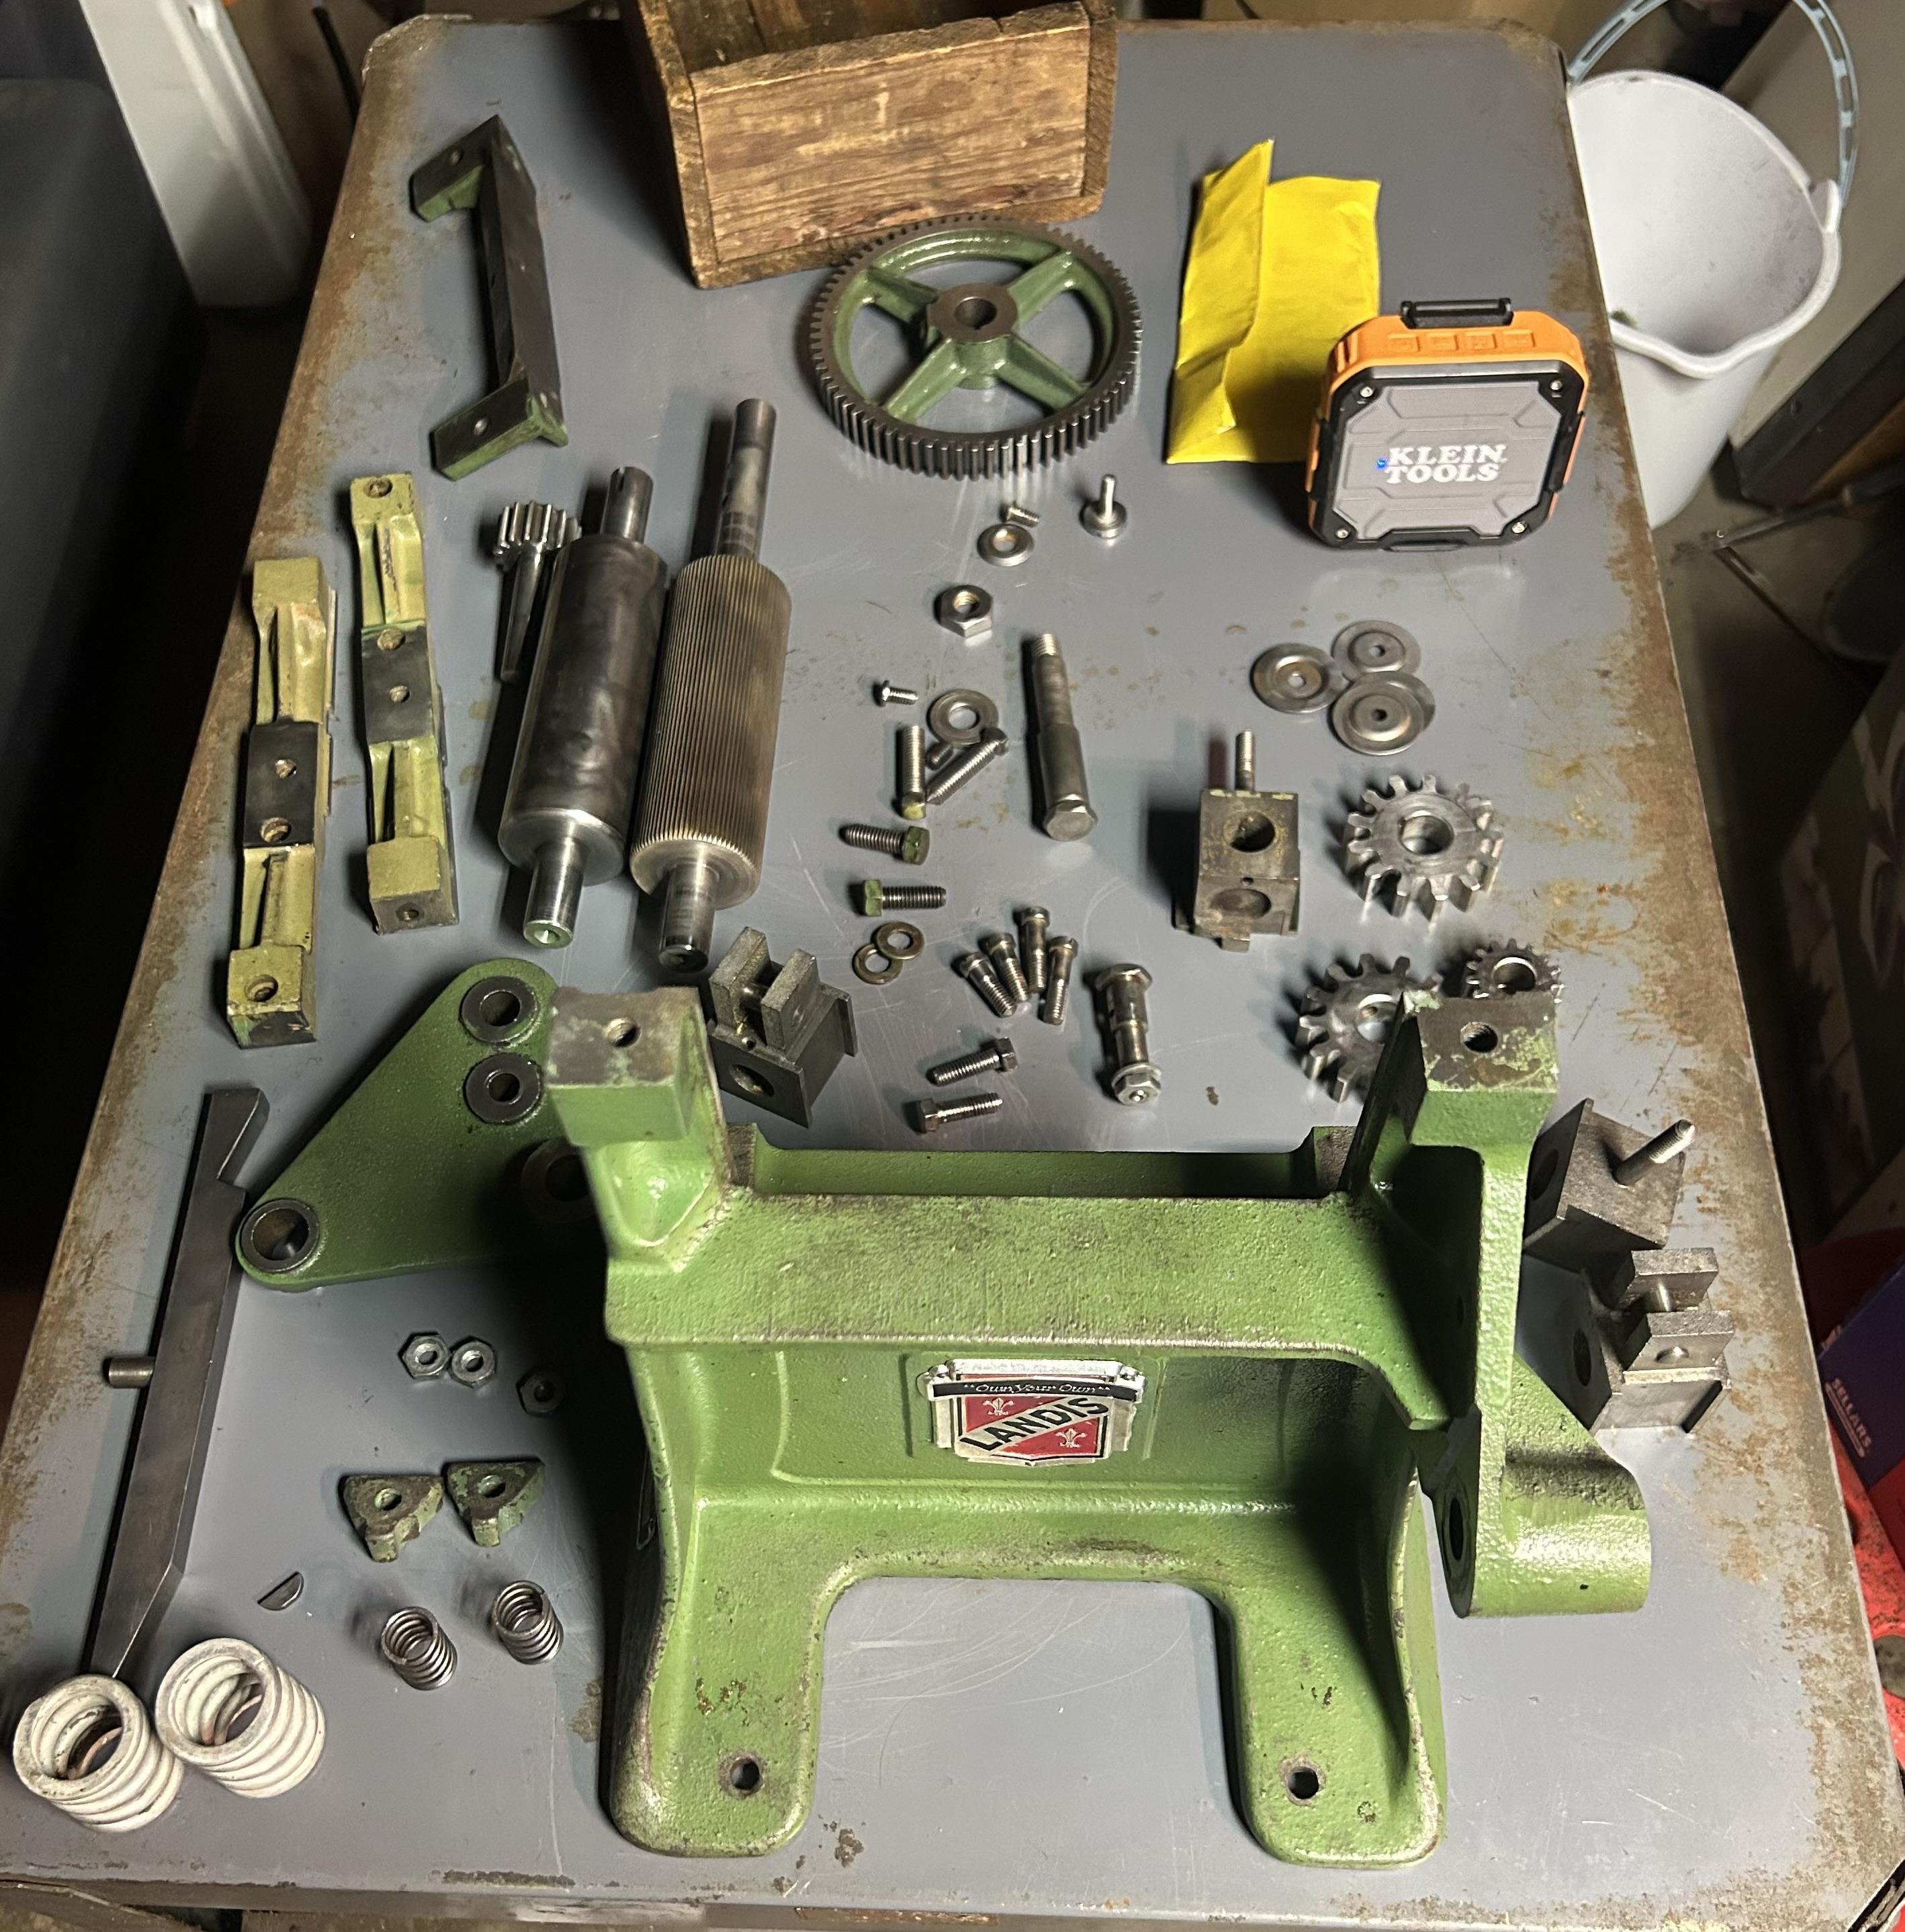
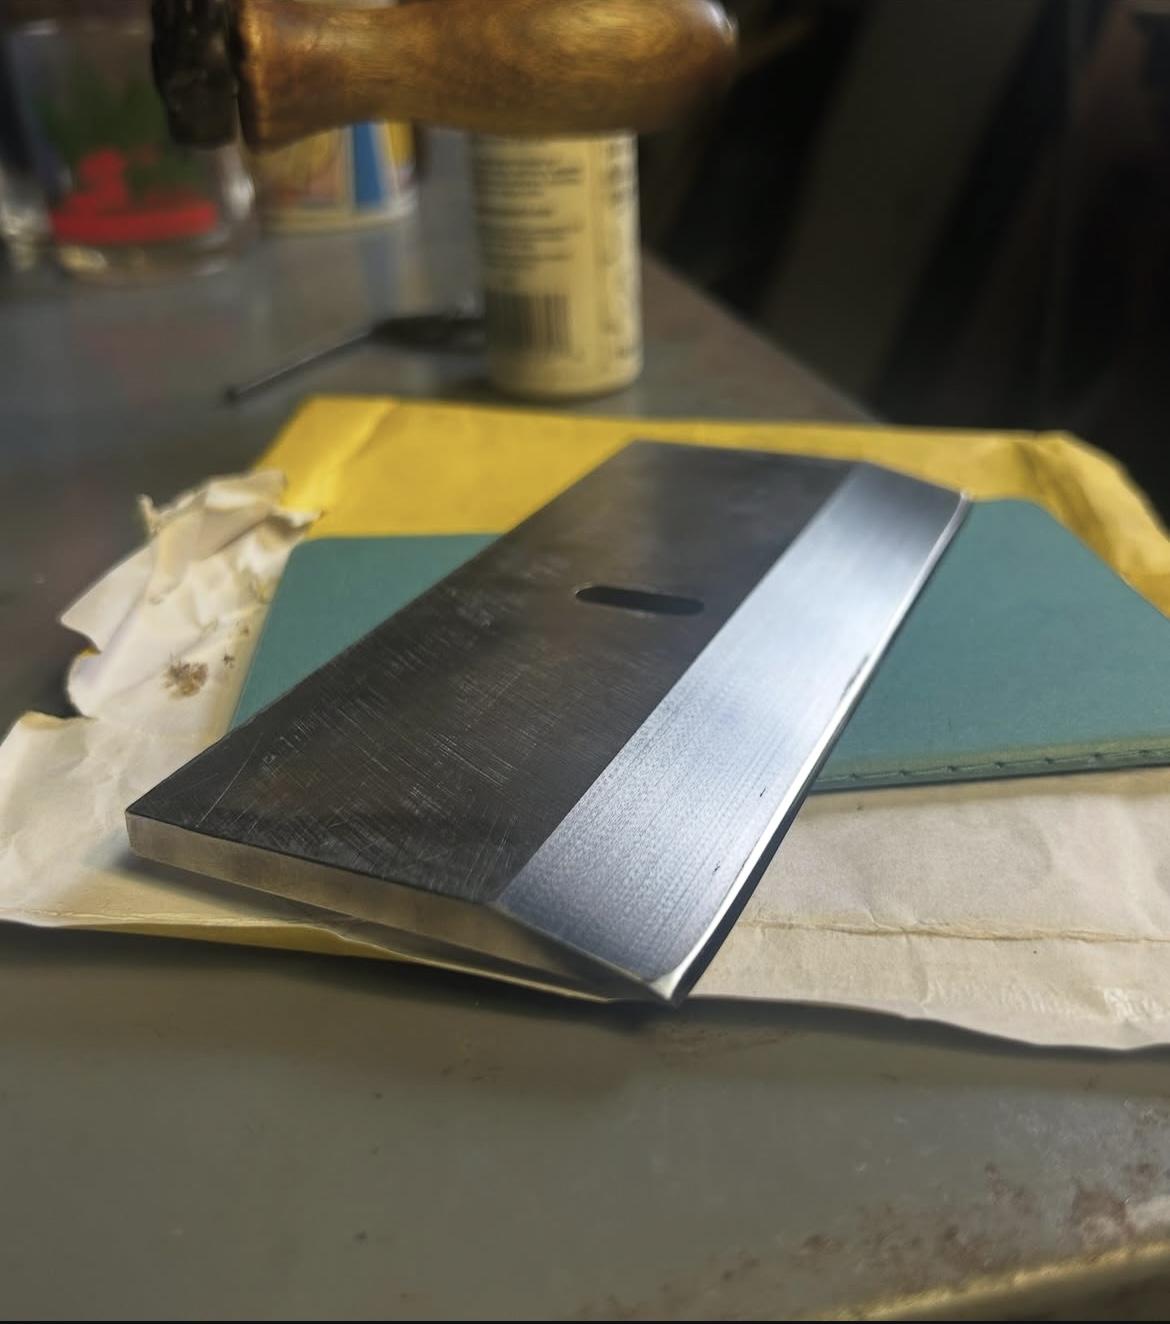
I just finished getting this into working order. I have completely disassembled, cleaned, oil, and greased this machine per Landis' instructions. I had a local sharpener get the blade nice and sharp, a machinist surface ground the primary bevel to get it cleaned up, flat, smooth. At this point, it just needs some fine tuning and adjustment. I did not paint it because I prefer to leave these old machines as original as possible, but it has in fact been carefully gone over. There are two things of note: 1.) A small piece of the gear cover broke at some point. I have the piece, it is where a screw is meant to hold it in place. I just have a small clamp holding it. Works fine, I will include it. 2.) It was missing one of the blade support screws (they support it from the back and have a broad base), so I fabbed two little screw parts that do the same job. Other than that, it's ready for a new home. I enjoyed working on it. Asking $1250 shipped within the continental U.S. Money order, Cashier's Check, or PayPal.
-
 Valletta joined the community
 - Today
-
Very nice 👌 All of my rolls of leather are under benches,, scraps, off cuts etc are stuffed in bags, boxes, on home made shelves under benches and in every conceivable gap in my workshop, and i've run out of those. I have a 20 x 20 and it's getting rather tight in there with 4 sewing machines, and a USM press, and a " partridge in a pear tree " 🌳 😀 Time for me to do what you've done, go up in stackable boxes, either that or have a ' clearance sale ' . HS
-
Thank you! Thank you!
-
Beiler's lists the lengths and widths of their bag punches in their catalog. Probably standard widths. Beveling the edge of the slot with a fine edger on the flesh side can help fit the tongue in the slot.
-
i had one made for belt cutouts on holsters. Very reasonable. http://www.usacuttingdie.com/die-examples.html
-
Well done. Very clean stitching and tooling. Beautiful!
-
Nice you should get good use of it. kgg
-
Quite nice. Very skillful hand with those stamping tools, too.
-
Hello Can you help? I've looked extensively on here, YT and Google but can't find what I'm looking for. Does anyone have photos, a link to a video or scans from a manual of the needle making the loop and picking up the bobbin thread. I have an original instruction manual but there are no images, just a place the shuttle in the machine, hold the needle thread, turn the handle and basically away you go! Starting to wonder if there is something not quite right with my machine. I am familiar with boat shuttles (have an Atlas and several domestic bullet shuttle machines), but this beastie is just confounding us ! Any help will be gratefully received. Thanks .... PS I requested to join the FB Pearson #6 group - waiting to be let in !
-
Being in Australia getting dies made by Weaver isn't really an option. I'd like to have a go at making dies but so far haven't been able to source rule steel here in Oz.
-
Yeah I got 1 of the vevor's about a year ago. It does everything i need it to do. I also had some custom dies made by weaver & i highly recommend them if ever looking for cutter dies.
-
Hello. I'm looking for wider bag/oblong punches for large harness buckles. Does anyone happen to know where I can find anything? I have all tje oblong punches in lengths I need. However I'm now working with heavier harness leather and large buckles so I need larger buckle slots. Thanks in advance Brian Merrick
-

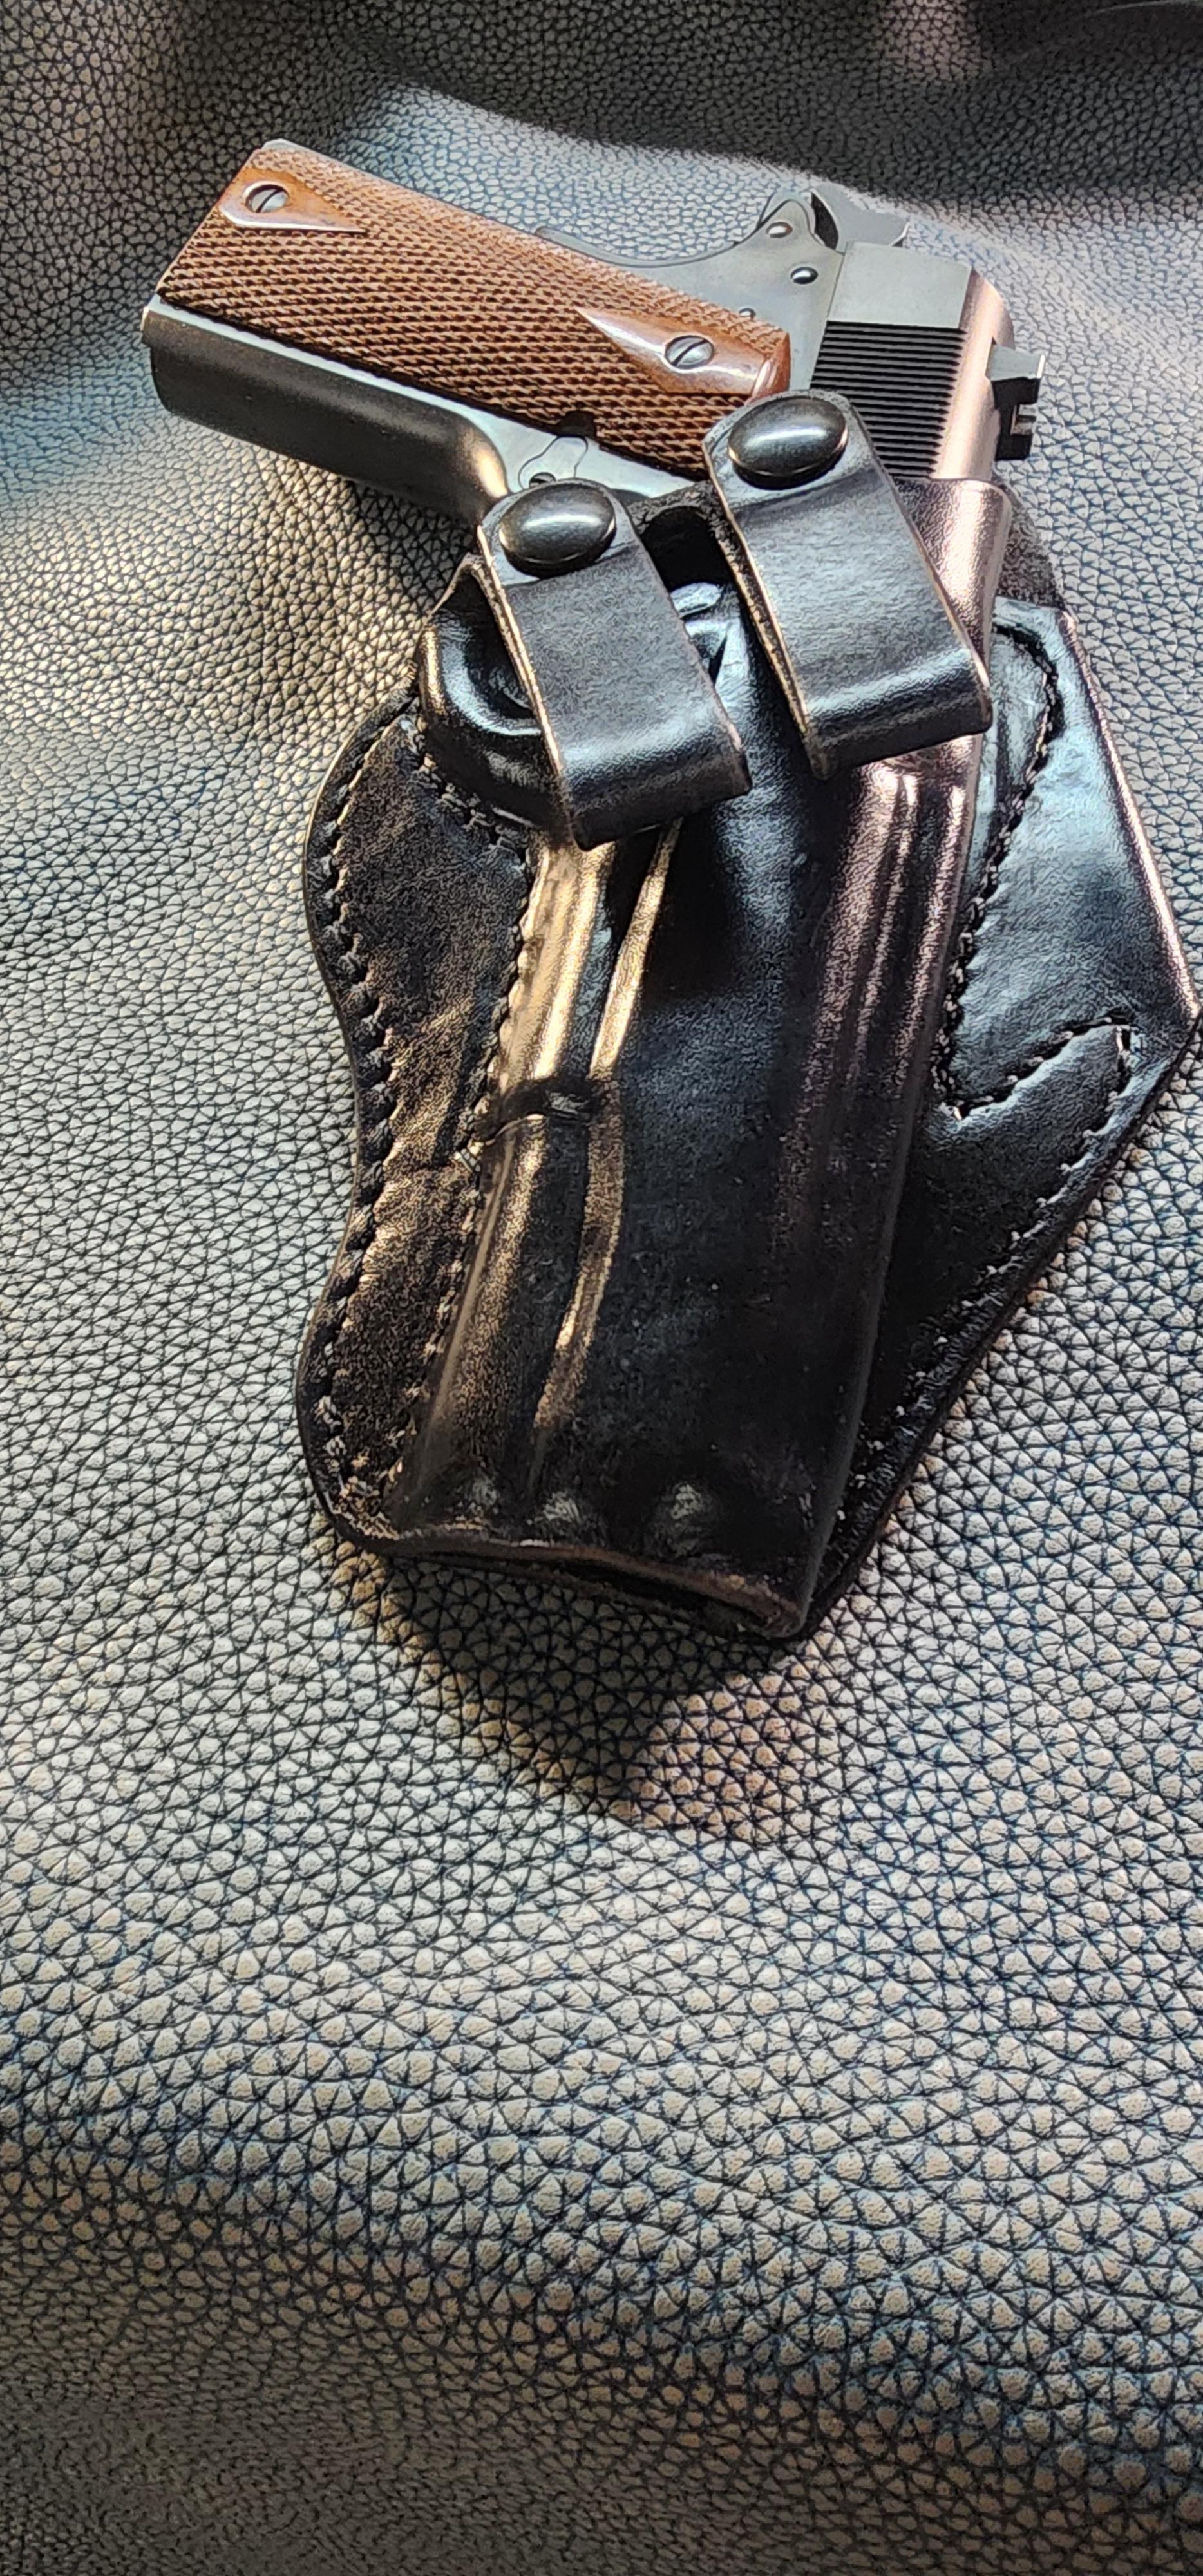
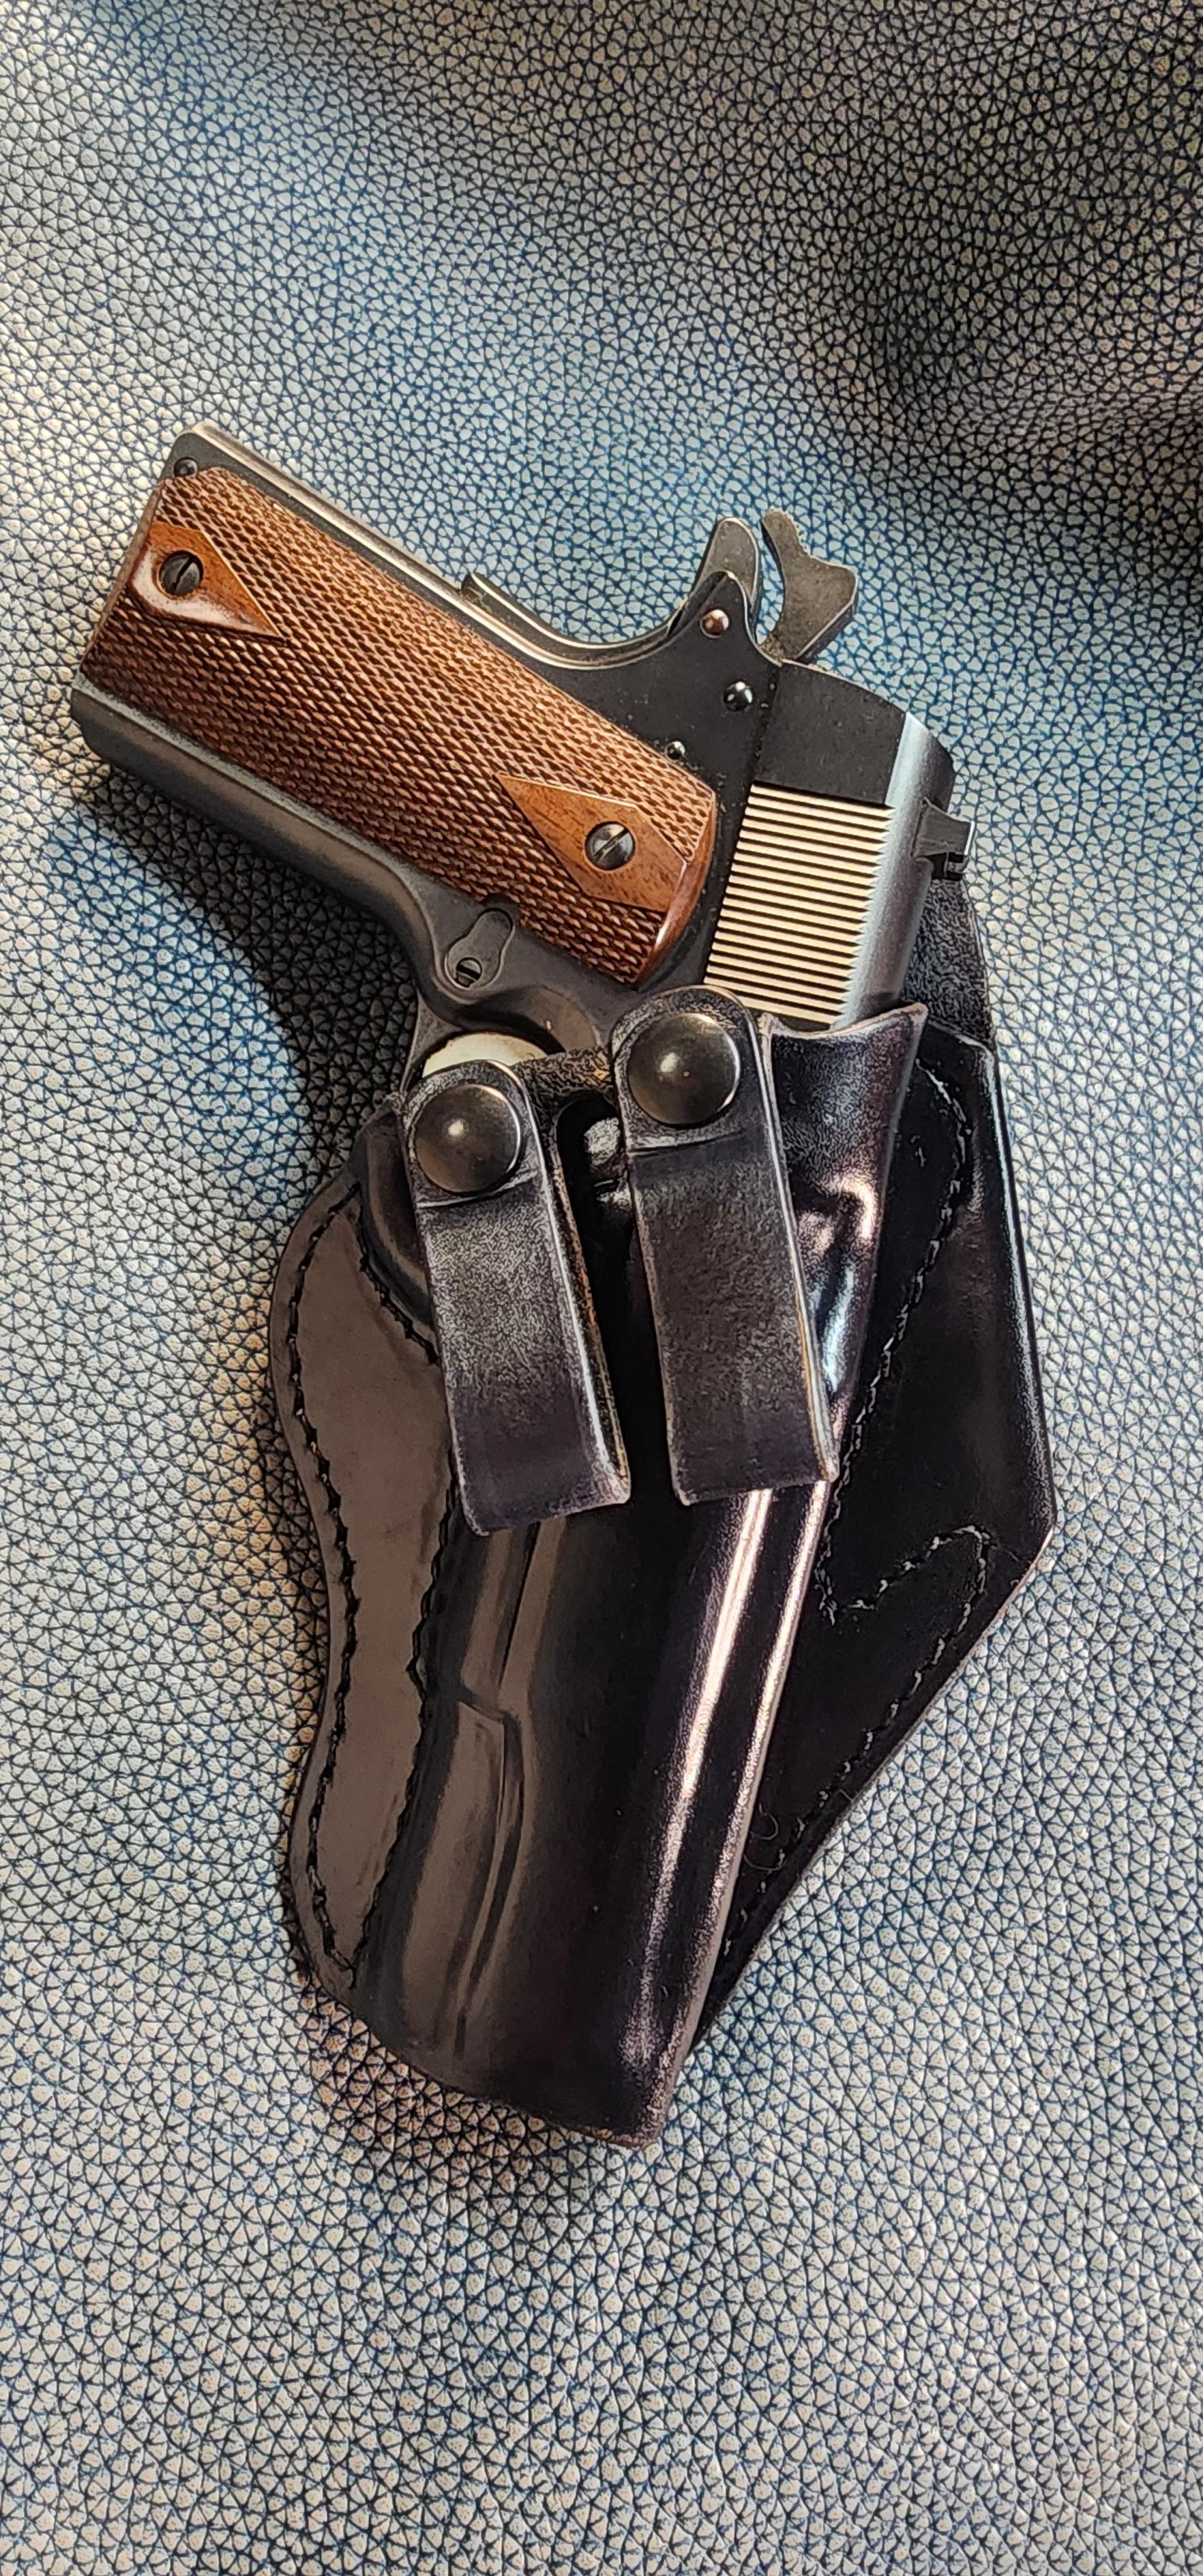
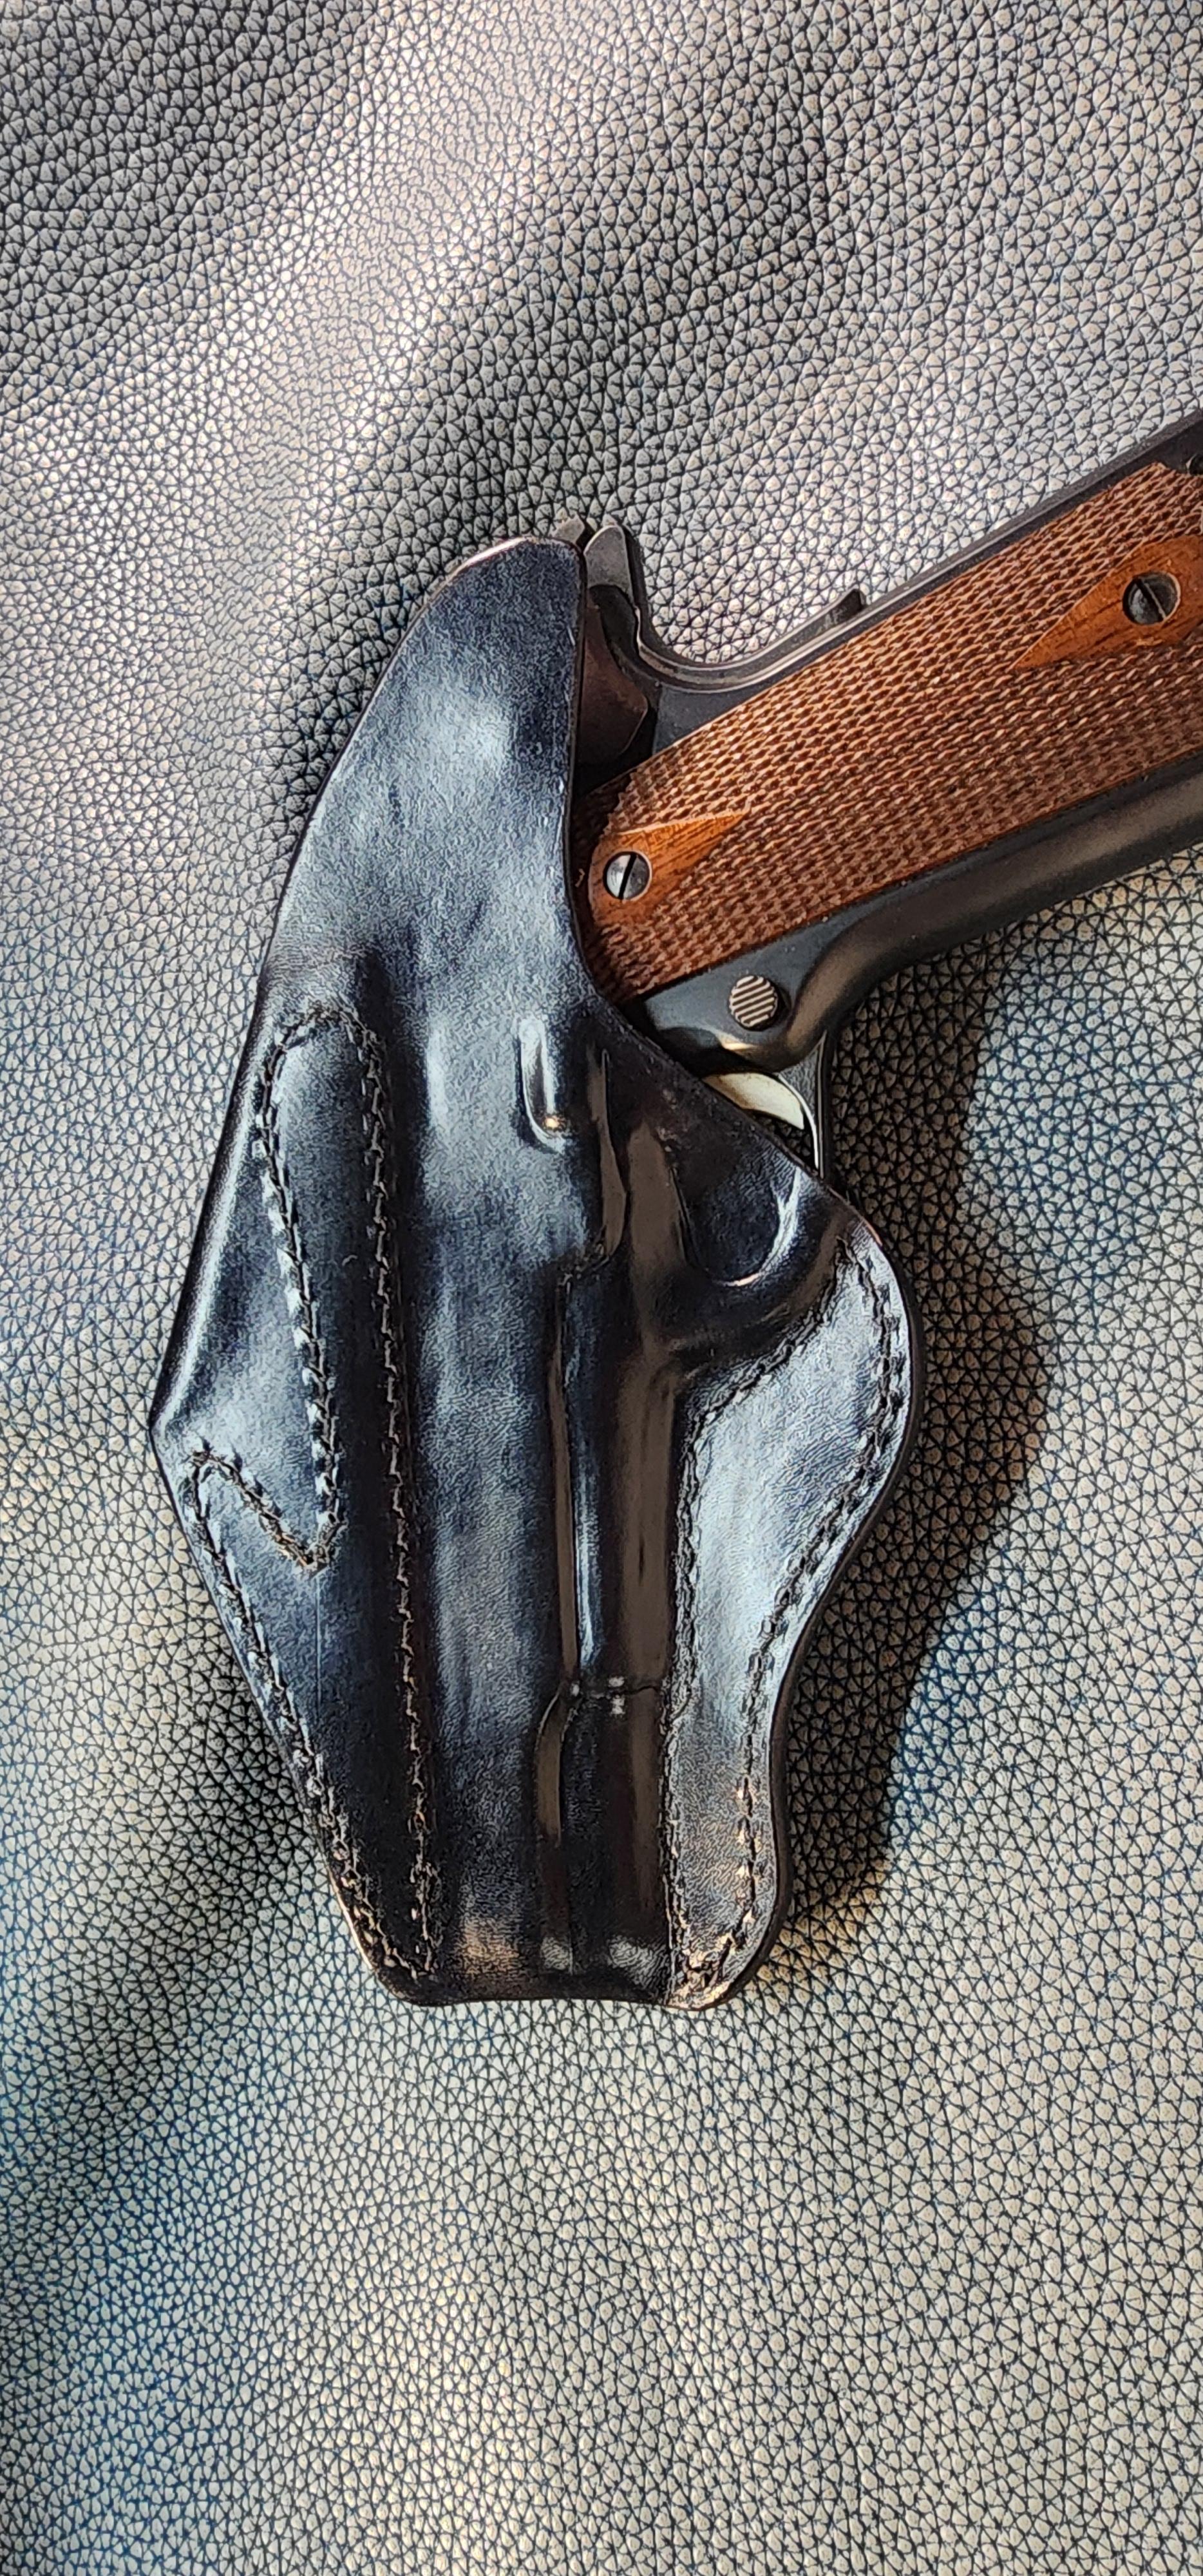
My take on the Alessi PCH IWB
Stetson912 replied to Stetson912's topic in Gun Holsters, Rifle Slings and Knife Sheathes
Thanks, it's a fun little thing to make too. It does use a lot of leather though. Rather, with it being one piece it requires a larger piece. But, if you make the loops separate and stitch them on, it would free up some space on the hide. But, Sticking with tradition ya know. -
My take on the Alessi PCH IWB
larry1096 replied to Stetson912's topic in Gun Holsters, Rifle Slings and Knife Sheathes
Very nice work-worthy of 'Uncle Lou's' design. Larry -
Is anyone there now taking classes? Is anyone planning on going to the show this weekend? I'm heading to Waco on Wednesday. Hope to see old friends and make new ones. Link to show info, sponsored by the Leathercrafters Journal.
-
This is an interesting one for me. A unique design I haven't seen before and therefore had to figure out. Lou alessi designed this to be made from one piece of leather. It utilizes an 's' curve that creates an arch along the slide side. This keeps the mouth open and prevents collapse. Really a genius design, and one you seldom see.
-
Removing molding marks?
Stetson912 replied to larry1096's topic in Gun Holsters, Rifle Slings and Knife Sheathes
That's looking pretty good. Leather weight is also a factor. I believe jason uses 7/8oz. As for retention, the trigger area and ejection port are the only places retention can be achieved with molding, so focus on those areas. The rest is, as you said, is more for looks -
Removing molding marks?
Stetson912 replied to larry1096's topic in Gun Holsters, Rifle Slings and Knife Sheathes
Jason is a great holster maker. His work is top notch. He does his molding by hand. Molding is an art form in itself. Learn leather has a video of him molding a holster in detail if memory serves. But, In a nutshell; proper casing, smooth tools, and progressive molding. Start with the larger molding tools and work down to finer tools as the leather dries. As it dries it holds more detail but be careful, if you slip thats it, leather is marked. Burnishing in my experience comes as a result of rubbing the leather with something that causes friction, like a wood handle or slicker that isn't completely polished and smooth. Popular molding materials are bone/antler, stainless steel, and smooth plastic. But really anything smooth is your friend. Look up Eric larsen (of hbe leatherworks) youtube. He has a few short videos of holster molding that are useful too. -
Looks a bit chunky to me. I think it's cuz your leather is a bit on the thinner side. The second photo looks like your holes are getting blown out too, which can happen with improper needle feeding or overly large thread or dull stitching chisels. Thicker leather will allow you to seat your stitches better with more tension. I'd try .8mm or .7mm and see how that works for you.
-
Thanks for the replies, I think I’ll go ahead and get that Big Red just in case. Never underestimate my ability to break things.
-
I refurbished one of those Model 127s in 2019 and I got it to sew with #92 bonded nylon thread using a #19 or 20 leather point needle, into a 10-12 ounce piece of bridle leather, at 5 to the inch! I sold the machine for $200 to the first person who asked about it. Here is a YouTube video showing the author cleaning her Singer Model 99. The details should be the same for your machine, except for the different shuttle type.
-
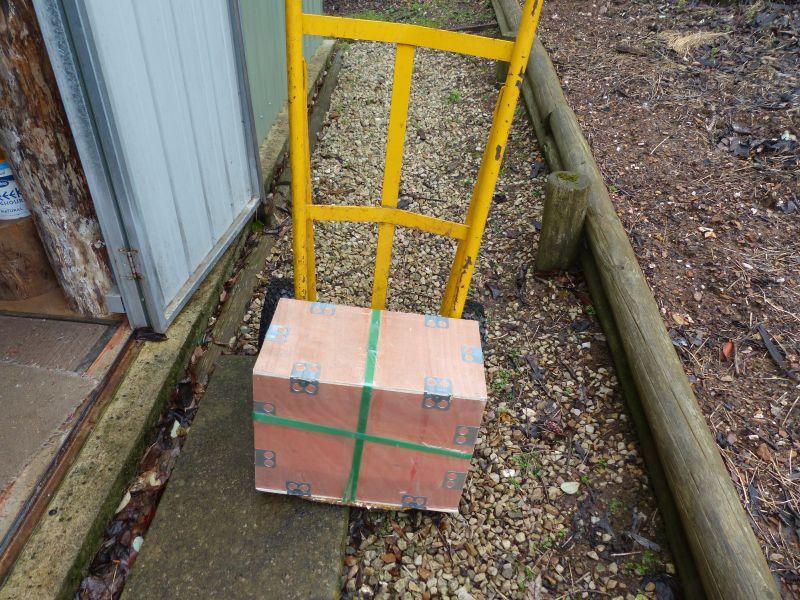
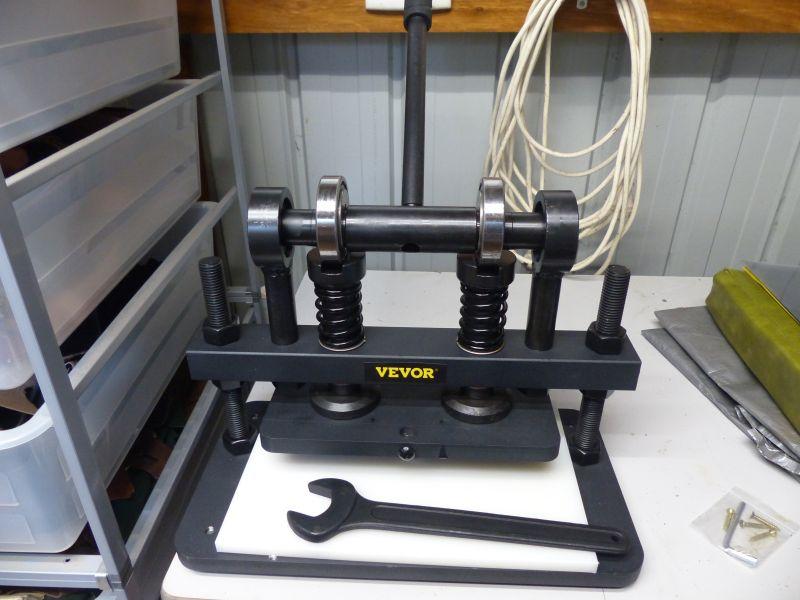
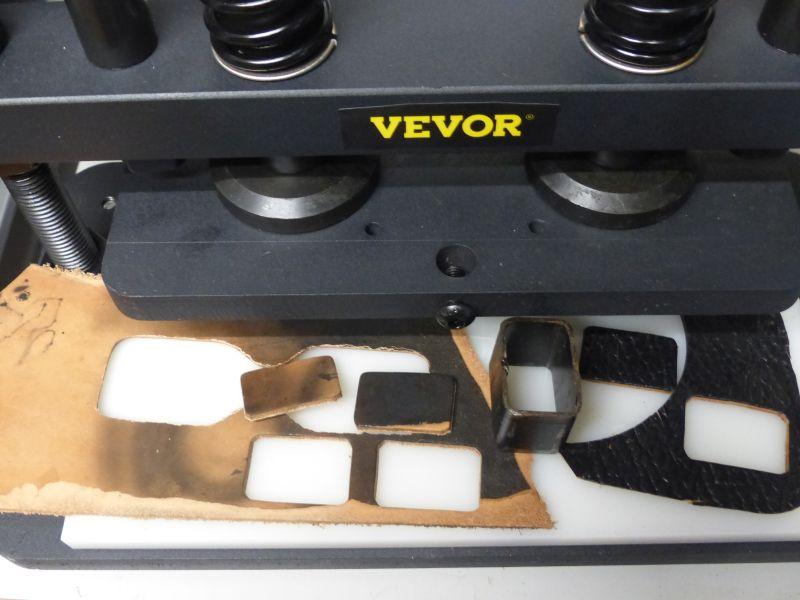
Basically a manual clicker press, I saw one on youtube and thought that looked useful. Amazon (Aus) had what was an older version with needle bearings on the shaft end for what was a good price ($178) and by signing up to their app (which I won't use again as I prefer using my computer) I got another $20 0ff. $158 delivered was too good to pass up. It arrived today, well packed, and I forgot how heavy 50lbs is!!! This thing is built like a tank! As a bonus it is the later model with big bearings on the shaft ends. So, the base and pressure plate are made from 5/8"/16mm plate steel, the main support bar is 1 1/4"/30mm bar and the upright bolts are 3/4"/17mm rod. The end bearings are 1 3/4"/45mm diameter and the pressure plate 10.2" x 4.7"/260 x 120mm. I'm glad I didn't get a bigger one because of the added weight. It has a travel of 1/2"/12mm and claimed downward pressure of between 1 - 1 1/2 ton, depending on which article you read. A quick trial of the only clicker die I have handy (lent my other ones to a mate) and it went through the leather like butter! Should be good for imprinting things too. Me happy.
-
My thoughts and experience. 1 - You can’t change the overall blade angle much with stropping compounds even if you use black emery. If You can do that, you have my respect for perserverence. 2. You can however round over a blade edge very easily using mild compound on a strop and either a) - not keeping a constant angle or rolling that angle b) keeping the angle too high or c) using a soft strop 3. Use a mild compound on a firm surface like card stock, file folder, or hard roll horsebutt for stropping a swivel knife. And don’t do it a ton. A few strokes to clean but much more than will violate point #2 above. I like purple compound but green or white is OK. Whatever you’ve got that isn’t black or red. Round and cutting knives can use a “softer” strop like vegan leather because a little convexing of the edge can make a “Moran edge” that is durable. On the other hand Swivel knives I feel need a flat edge all the way out for easier and cleaner cutting. That means a harder strop and less aggressive compound. I’ve had a bunch of swivel knife blades through here in all tiers of quality and use. I probably have 75 blades right now. When I sharpen one I set the blade up in a jig and mark the facets with fluid. . I can guarantee that more than 95% of them will not scratch the marking fluid off the very edge intially because the edges have been rounded from in inconsistent angle on an abrasive maybe but mostly due to over stropping. I go back up the grits to something coarser to flatten the facets and bring back the angle and then run through my grits to 5000. Then I strop with the jig at 1 to 1.5 degrees higher with purple compound to take off the burr edge. It’s literally almost just a touch on each side for the bur. By hand, there are a few jigs I like and the Big Red you mentioned is sure one of them. I think hitting a blade on 2000 if needed and then 5000 wet/dry with a jig and a light strop as above to maintain is better to maintain than stropping the crap out of them like has been recommended by a lot of people the last 50 years. My thoughts for what it’s worth.
-
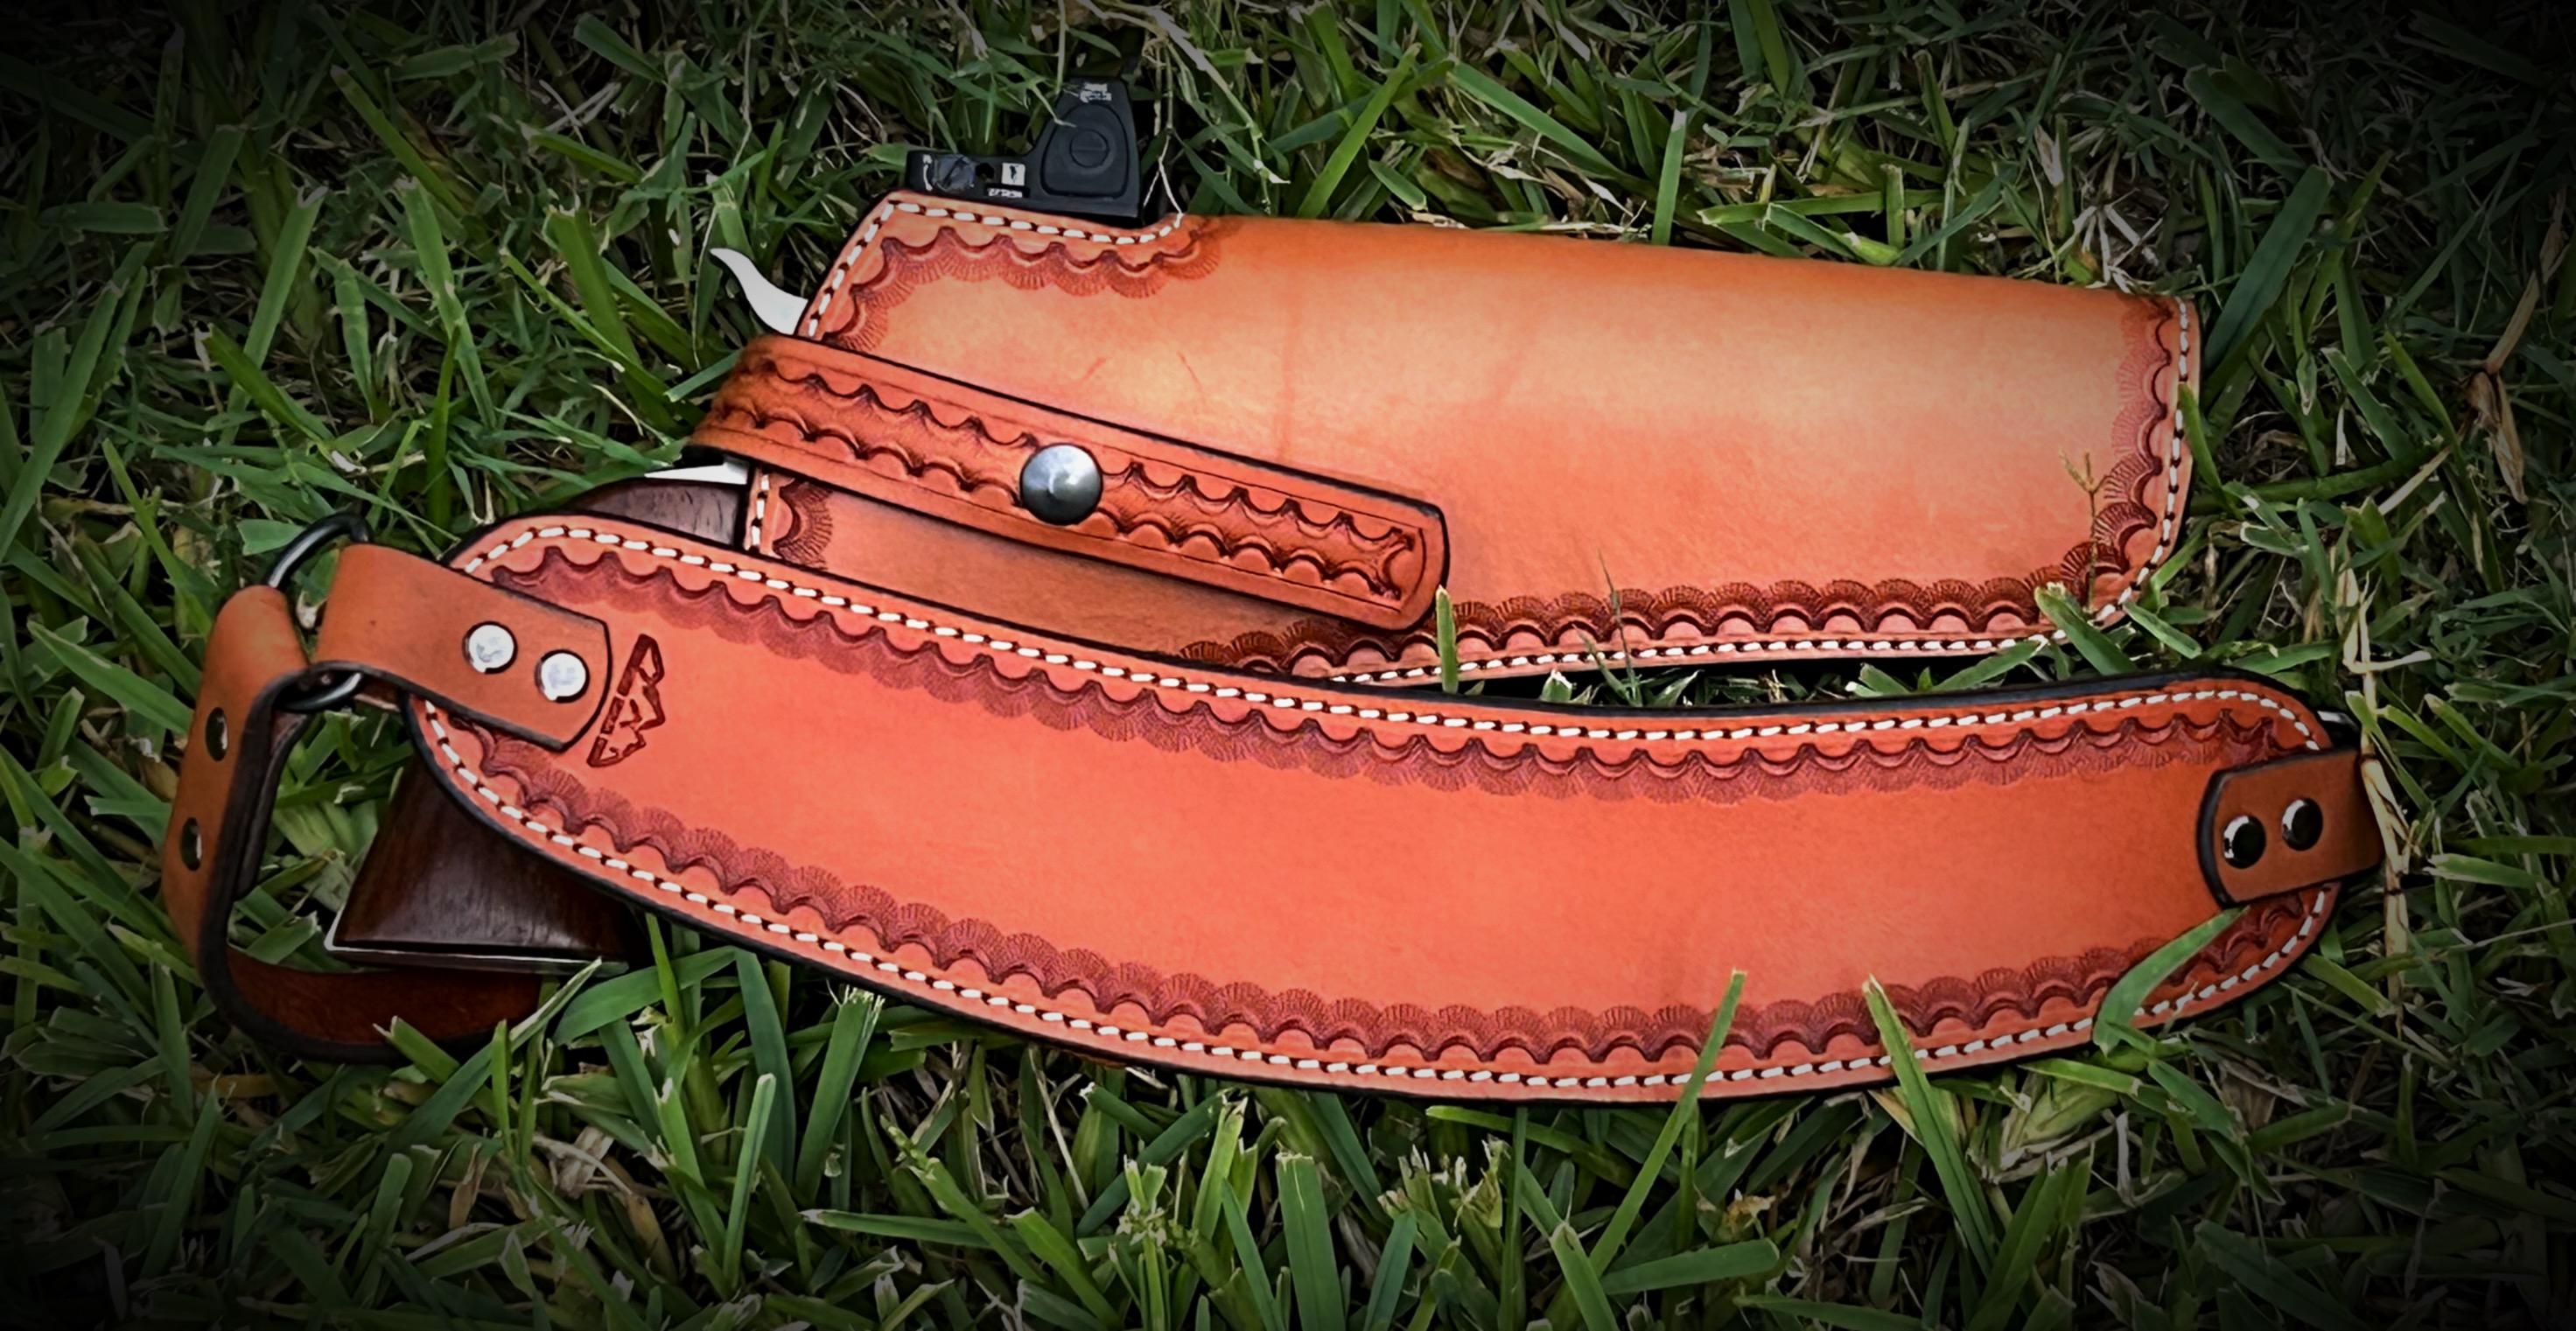
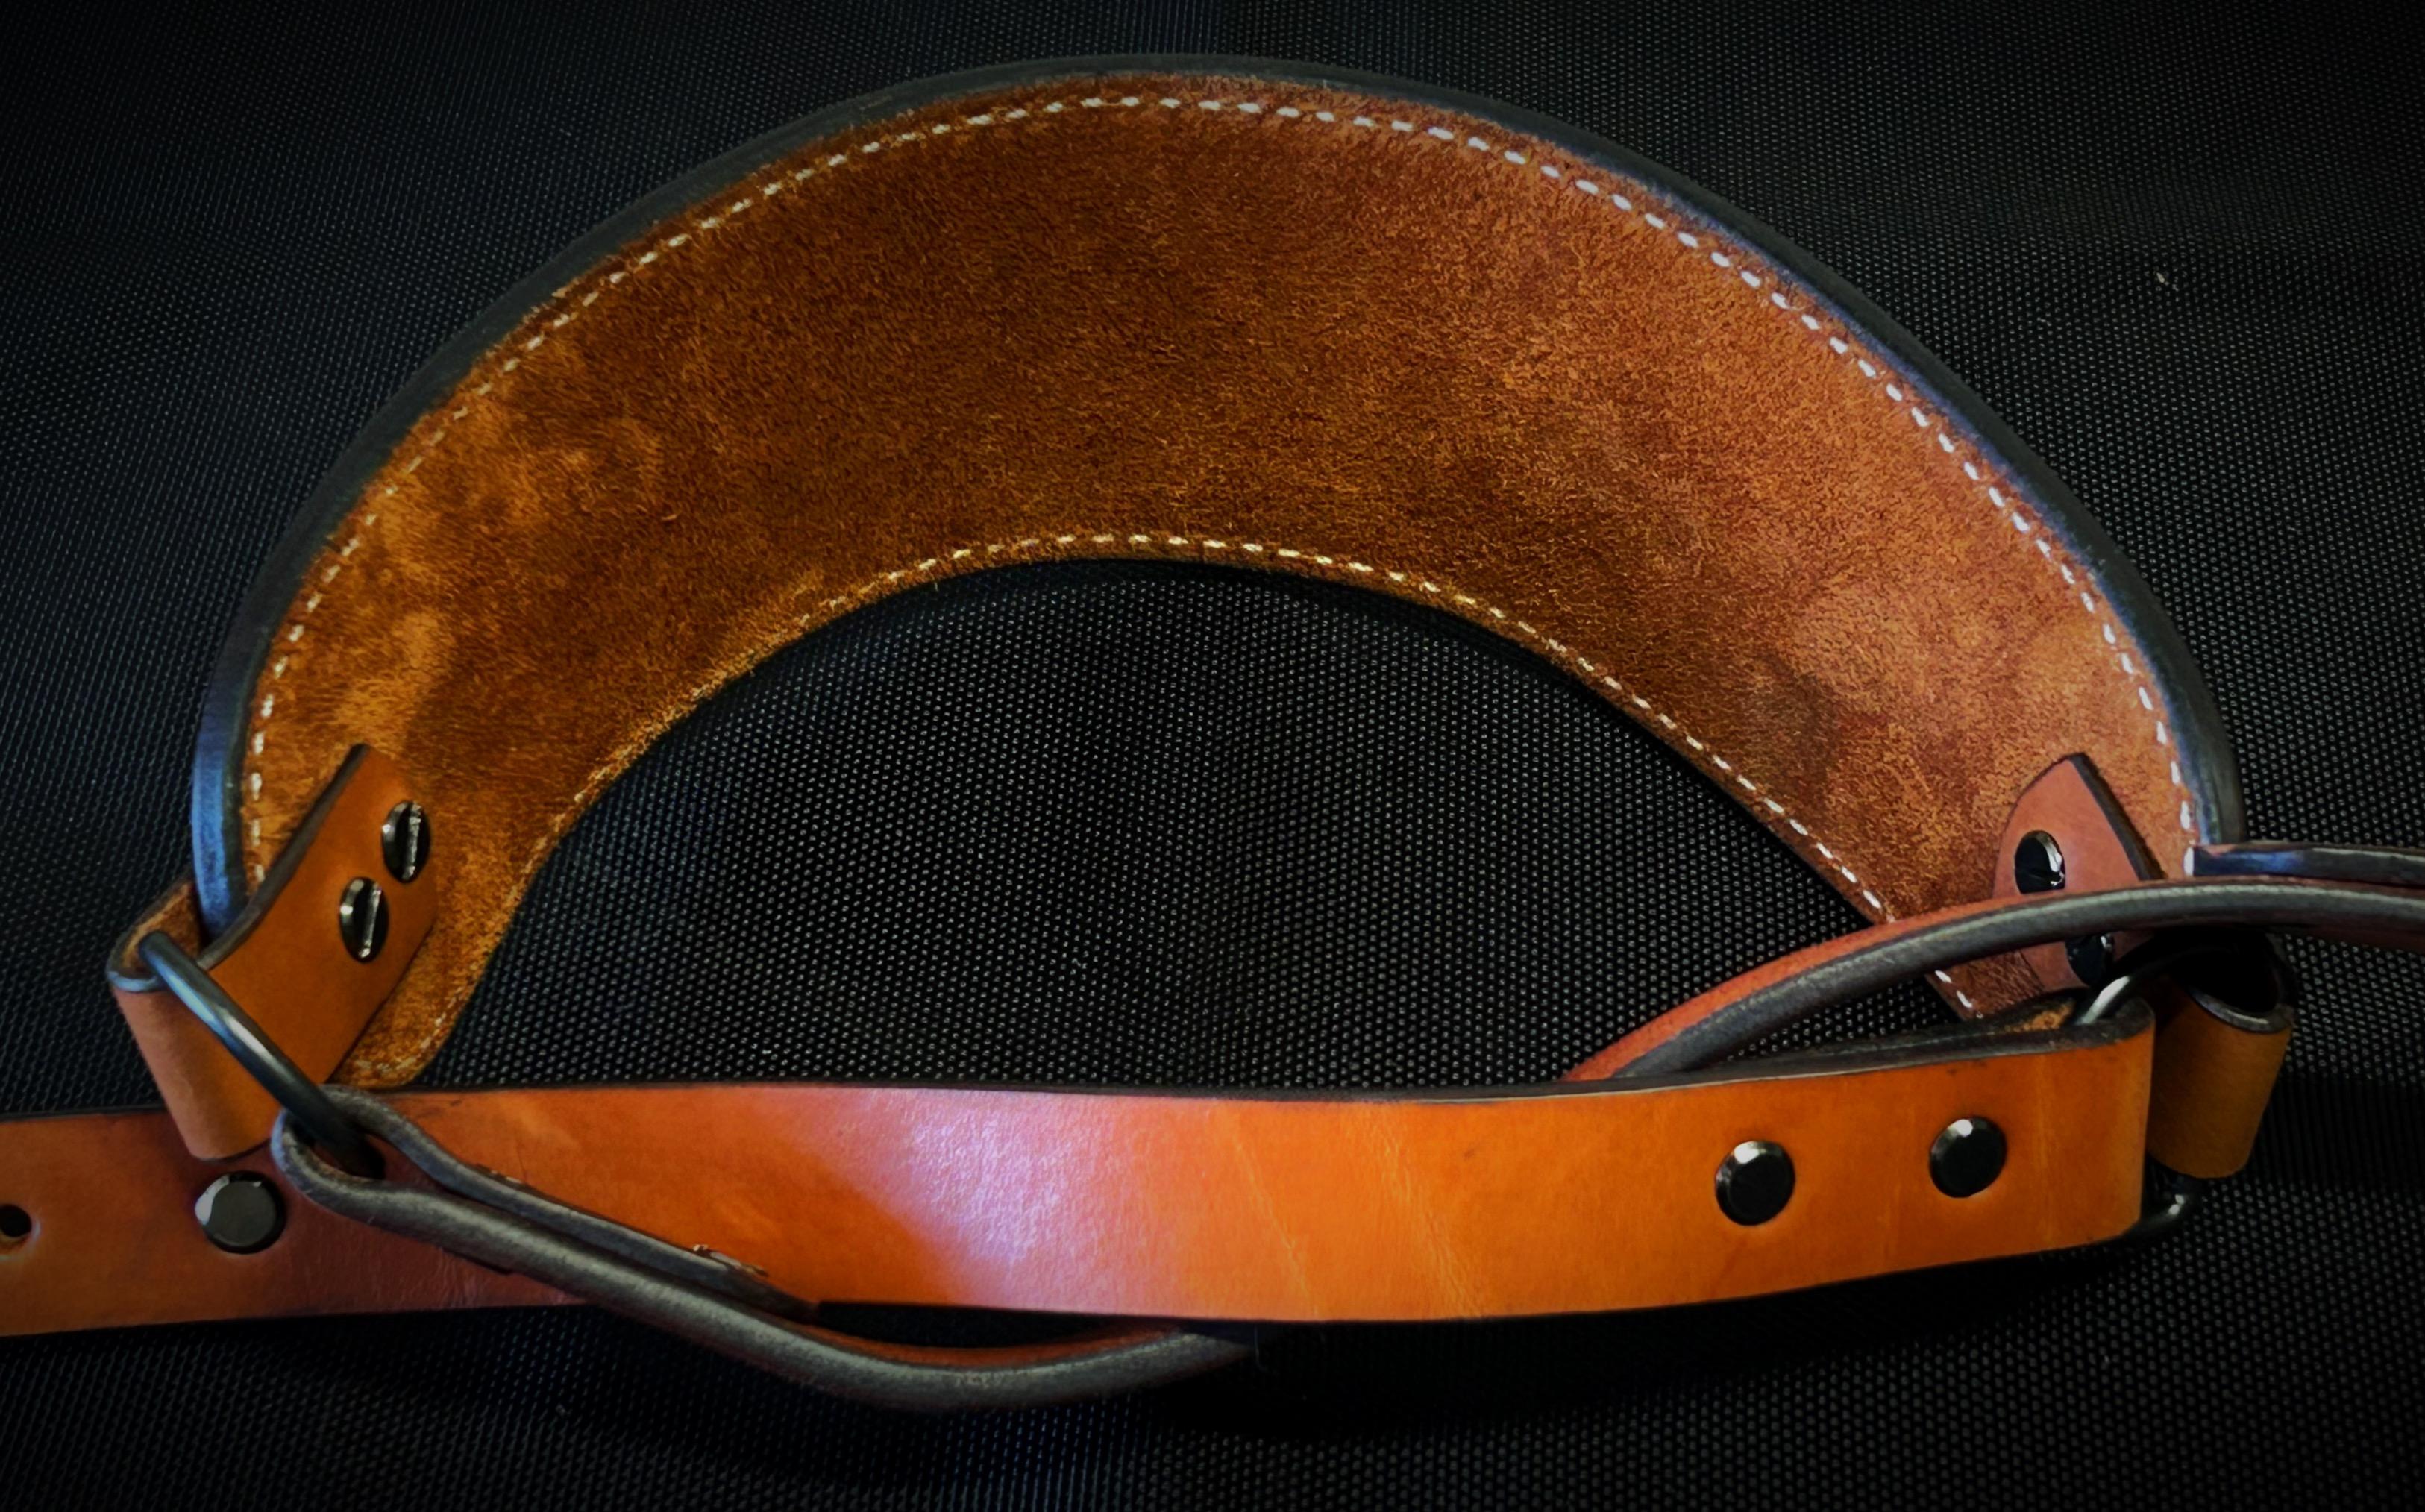
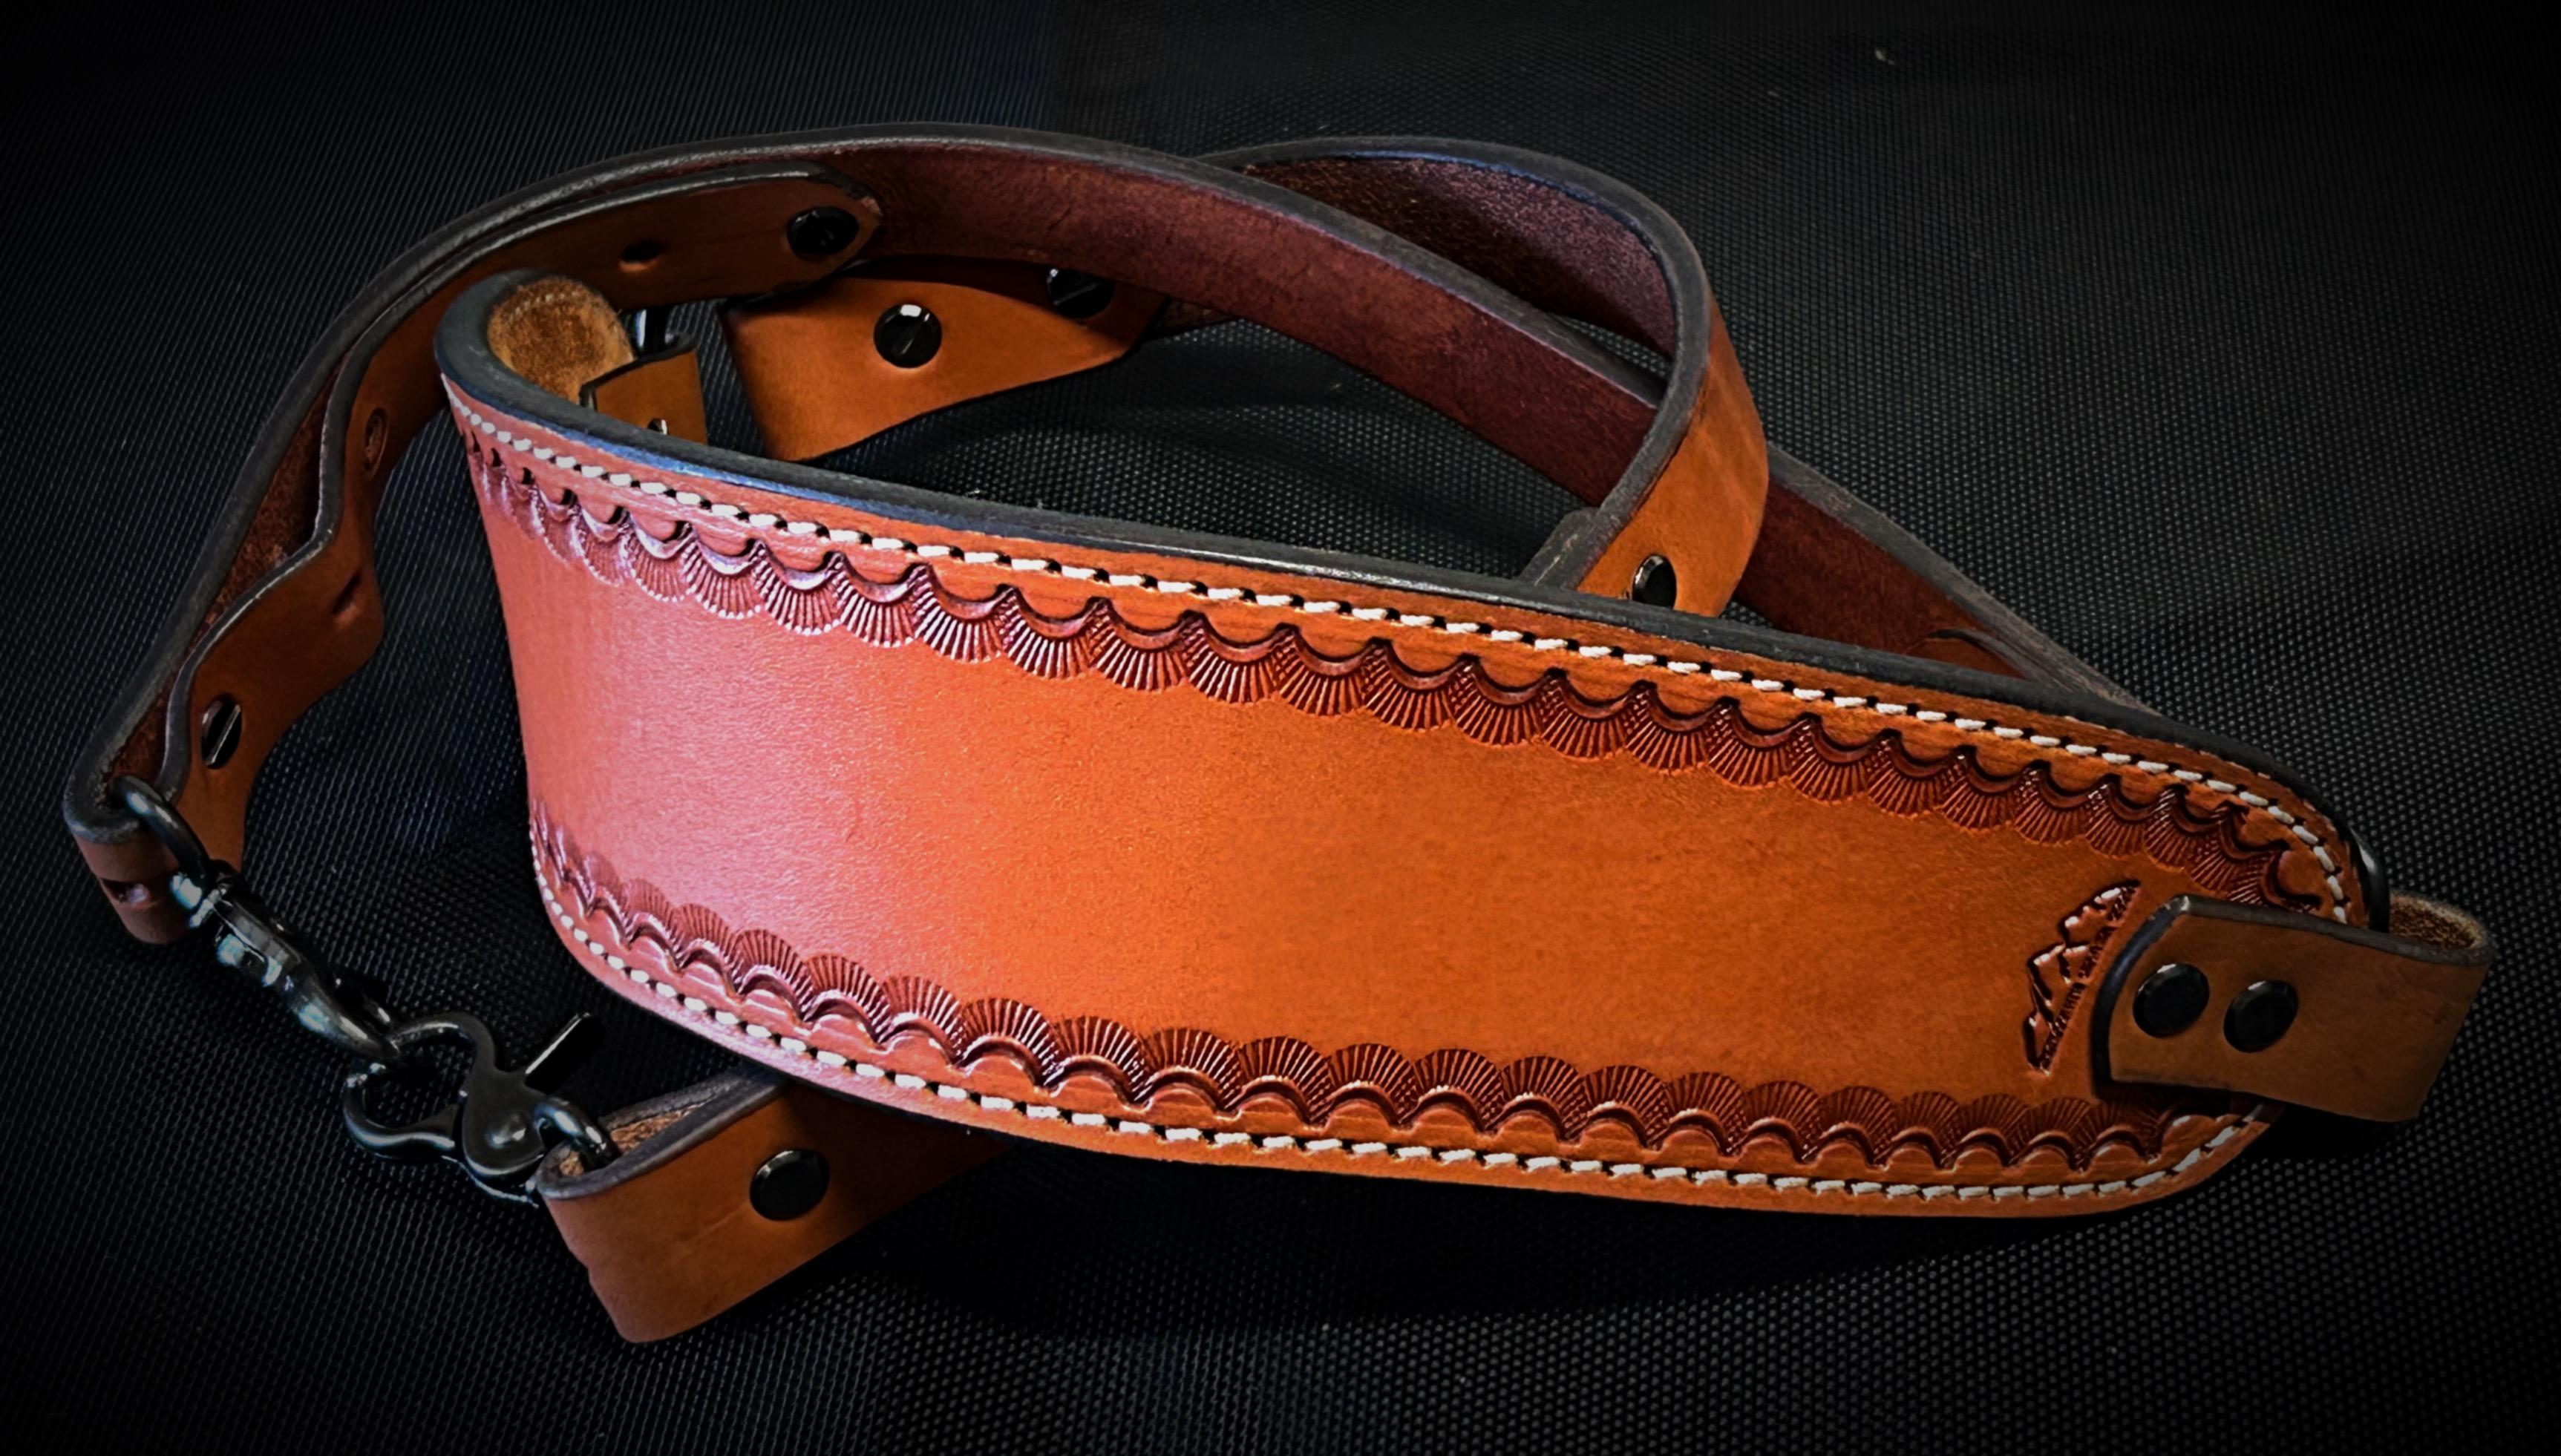
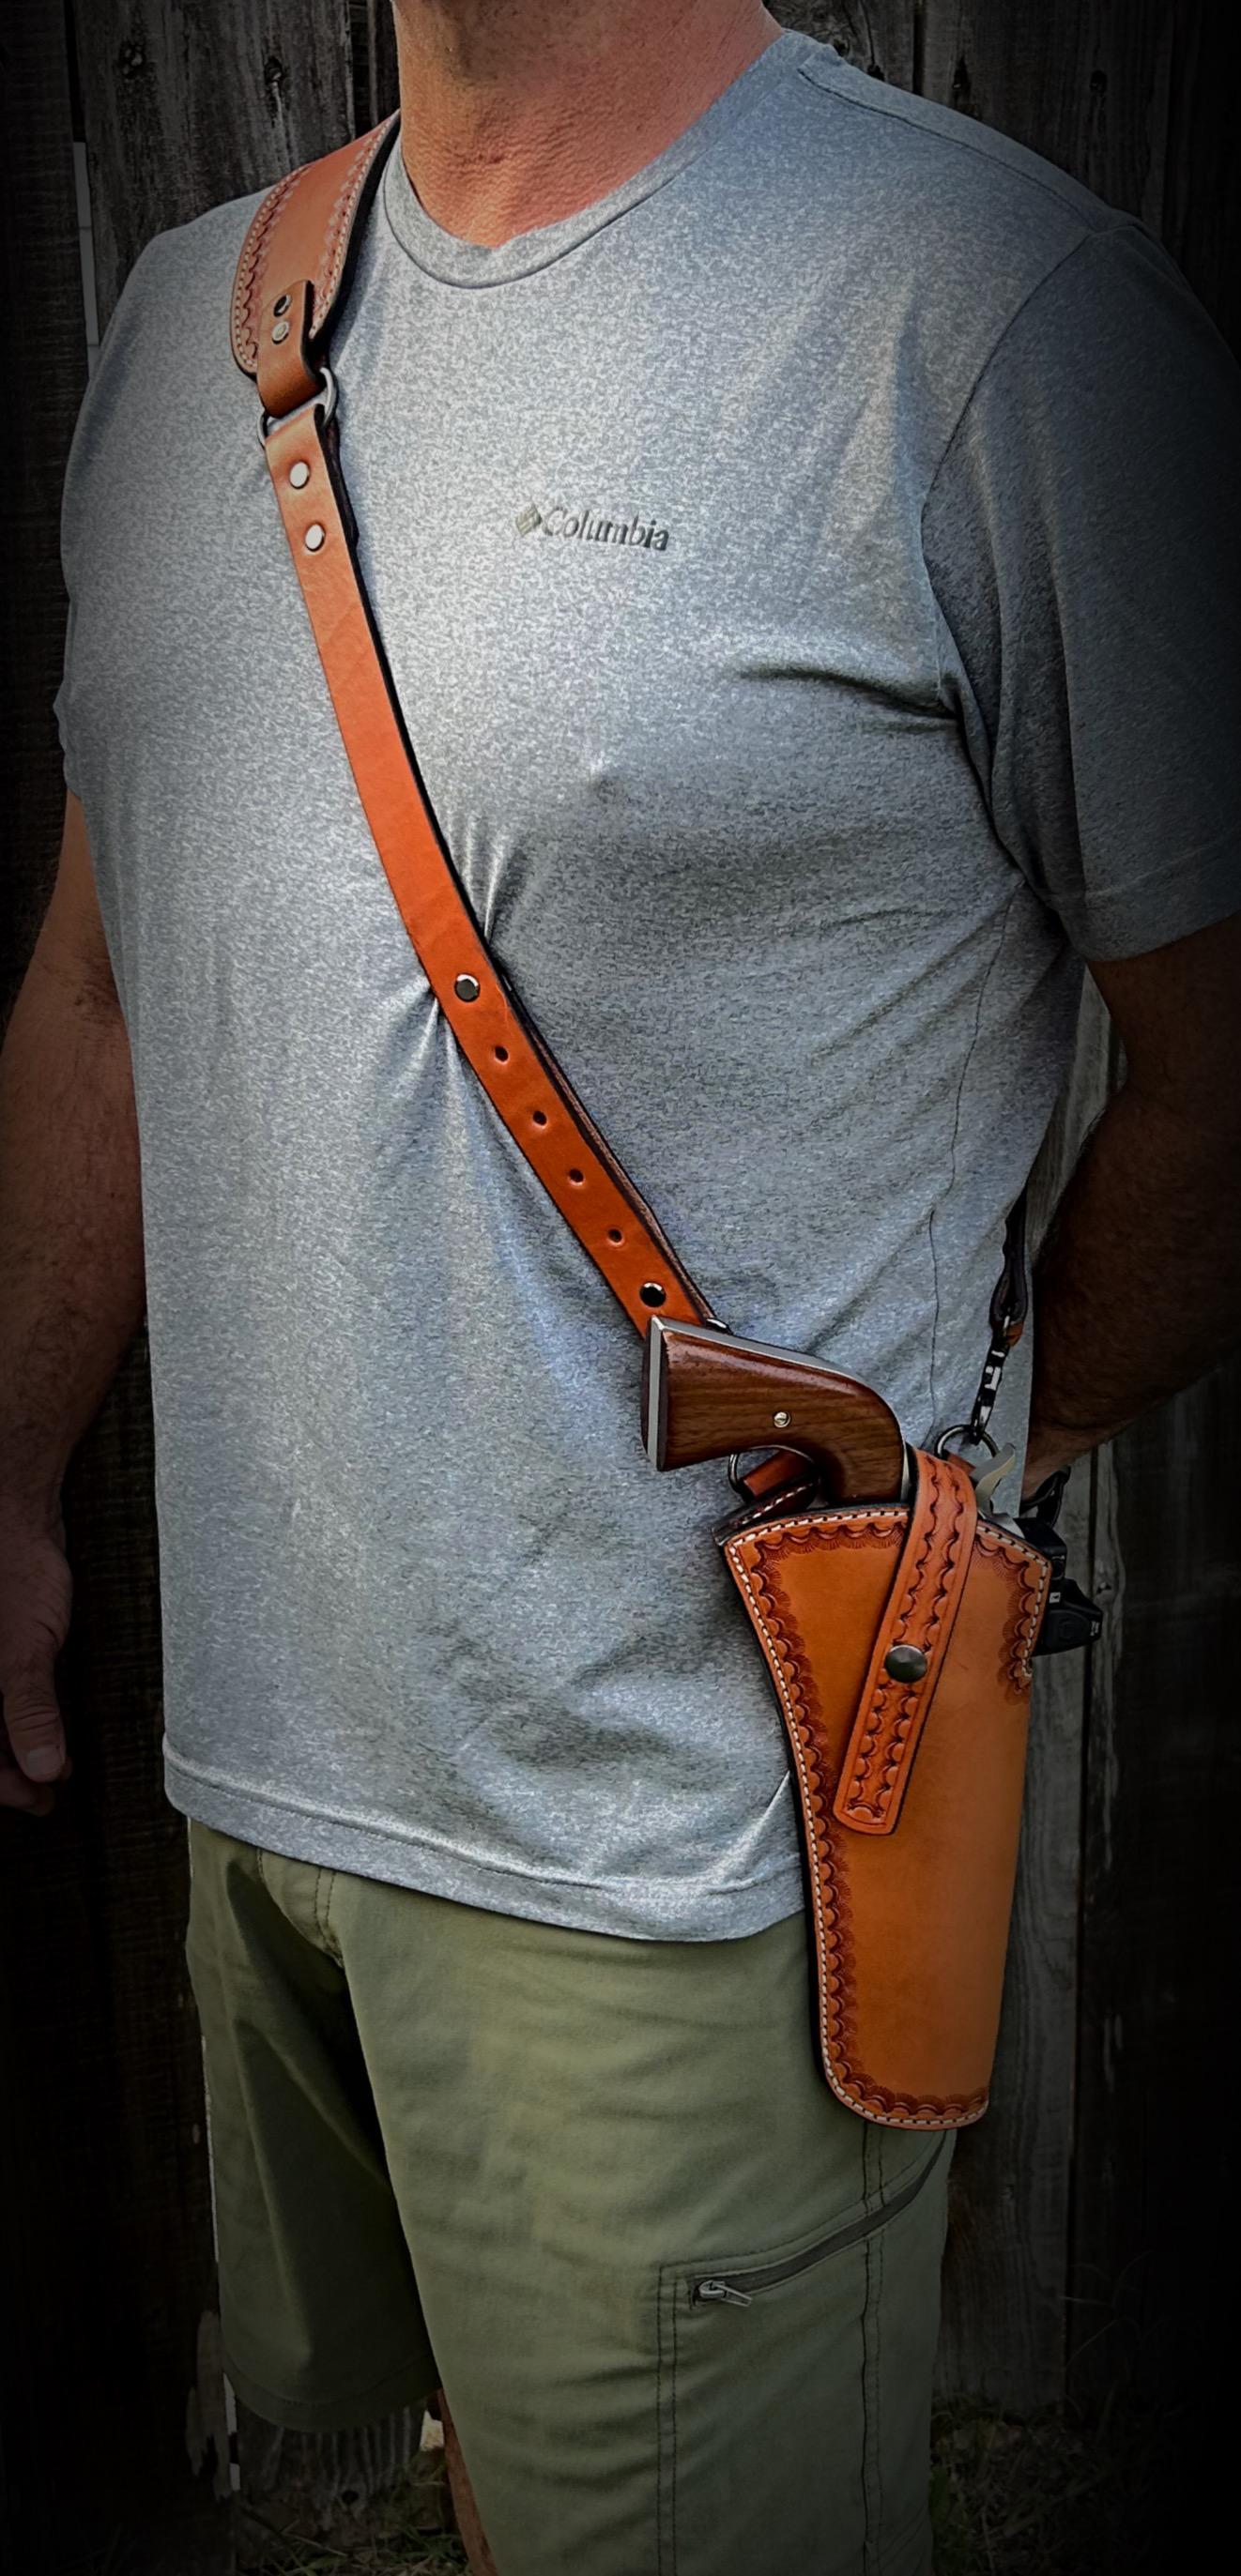
New offering. I’ve had requests for a true bandolier style rig so about a year ago I started working on one. After much field testing, here it is! Fully adjustable, non slip shoulder strap, and works perfectly with my existing chest rig holsters (as a conversion). Please ignore the model-he’s rough around the edges, but works cheap…

-
Yes, when my eyesight was good enough. When I was a member we had access to all military small arms (semi and full auto), ammo and training. Back then the DCRA competitions were limited to military ( commonwealth countries only), Canadian police forces and DCRA members. The DCRA was limited to military, ex military or reservists and police. All firearms and ammo had to be military compliant and no scopes. I am surprised you managed to get across the border without some of those pretty silver brackets. kgg