All Activity
- Past hour
-
actually, it's not for leather, it's for sacks. And so, it has no feed dogs or such. I wonder, if anybody has informations on it. Or pictures /ideas to build transportation (stitching plate and feed dog are available on ebay, other parts not. But I could also think about something like on Singer 29) The other special about: it lifts the foot between stitches (shure, very useful, when repairing bags), maybe I can use it for fat embroidery😁
-
Not sure if this topic is acceptable, but I'll ask anyway. I am getting ready to tweak an Adler 70-30, which, in my opinion, a very solid machine for leather work. But..., I also have a Kenmore 158.352 that is capable of sewing light leather and is a lot of fun to use. My question is: Does this forum allow questions regarding sewing machines of the homemaker type, such as the Kenmore 158.352? I have a timing question if so. Thanks for yout replies.
-
Just leave the leather unlaminated?
- Today
-

Tutorial, replacing zippers in riding boots.
TomE replied to Mulesaw's topic in Shoes, Boots, Sandals and Moccassins
This YKK Zippers 101 document has some useful information and styles I hadn't seen before. 0001.pdf -
an older freeby Sadly I can not answer to that topic directly. Just searching infos on some machines shown here: - picture 3 and 4: the black machine in front of the light golden Pfaff - pic 17 (on pic 20 between No 61 (Singer 11) and No 73), 2 yellow bonds: which type? (maybe 7 double-needle type) Grats to the lucky one, who could take the collection: Those are not just industrial machines, many, maybe most are real special ones
-
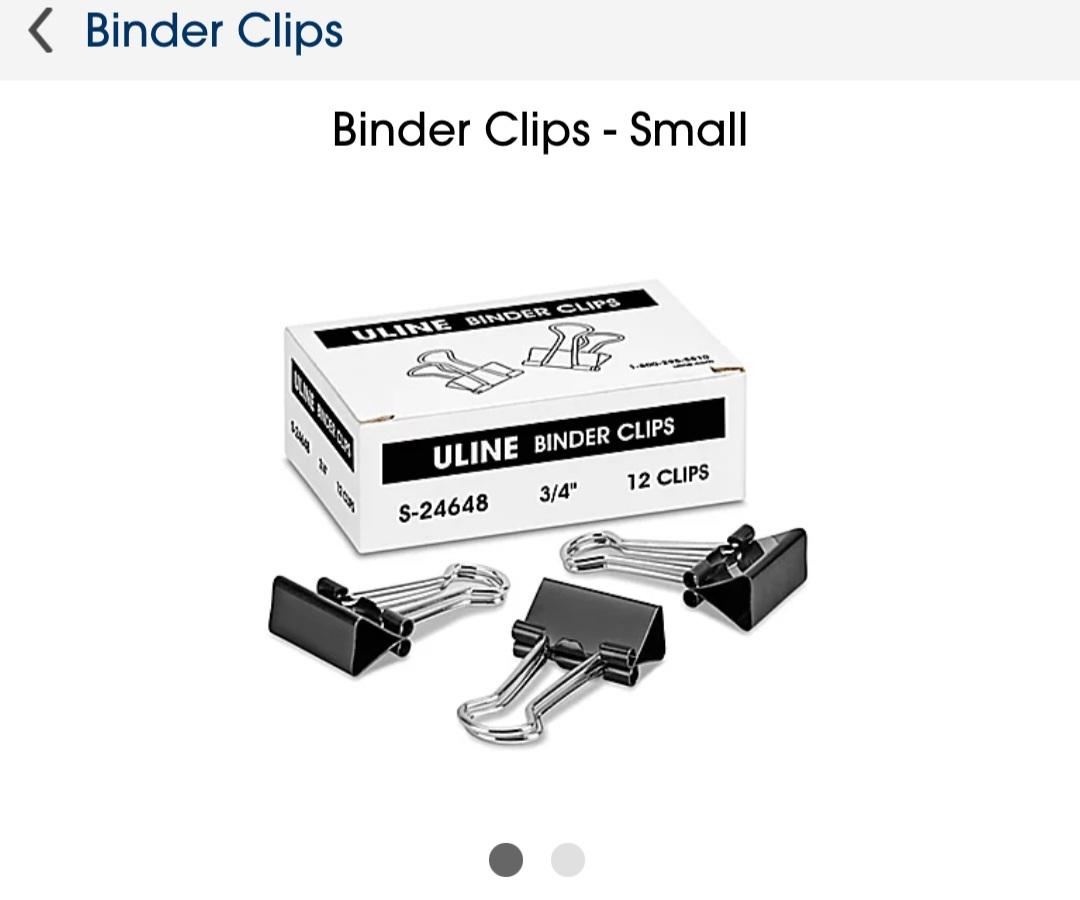
Buy a couple hundred binder clips & hold your project together with them. As you are sewing remove 1 or2 clips at a time & continue to sew it together
-
Ditto!
-
I have the 4500 . . . which will sew a bit thicker and use some heavier thread . . . but from my perspective . . . the 3200 would very probably do what you need with no trouble. I have nothing but good words to say for the Cowboy sewing machine I own . . . was worried to spend as much as I did for it . . . but am certainly glad I did . . . May God bless, Dwight
-

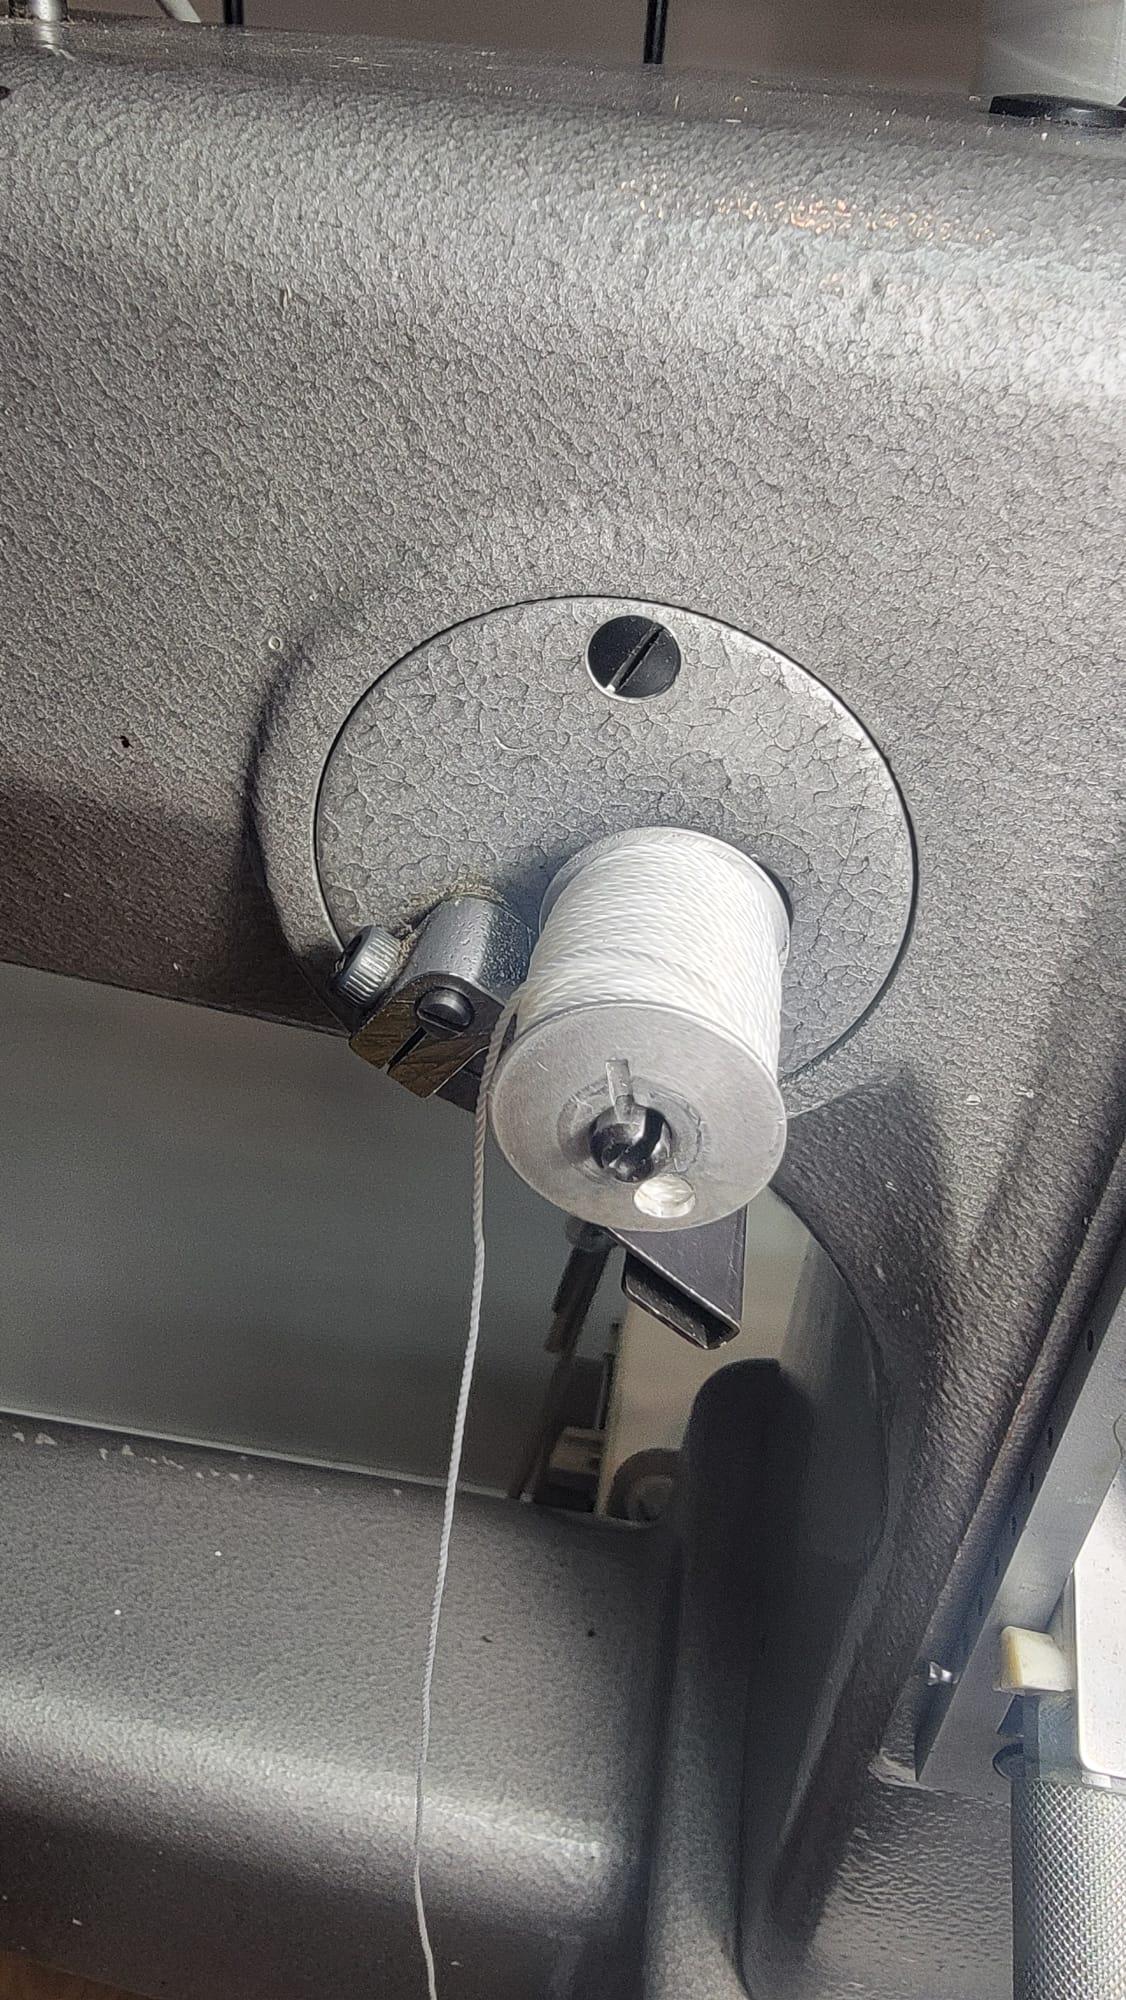
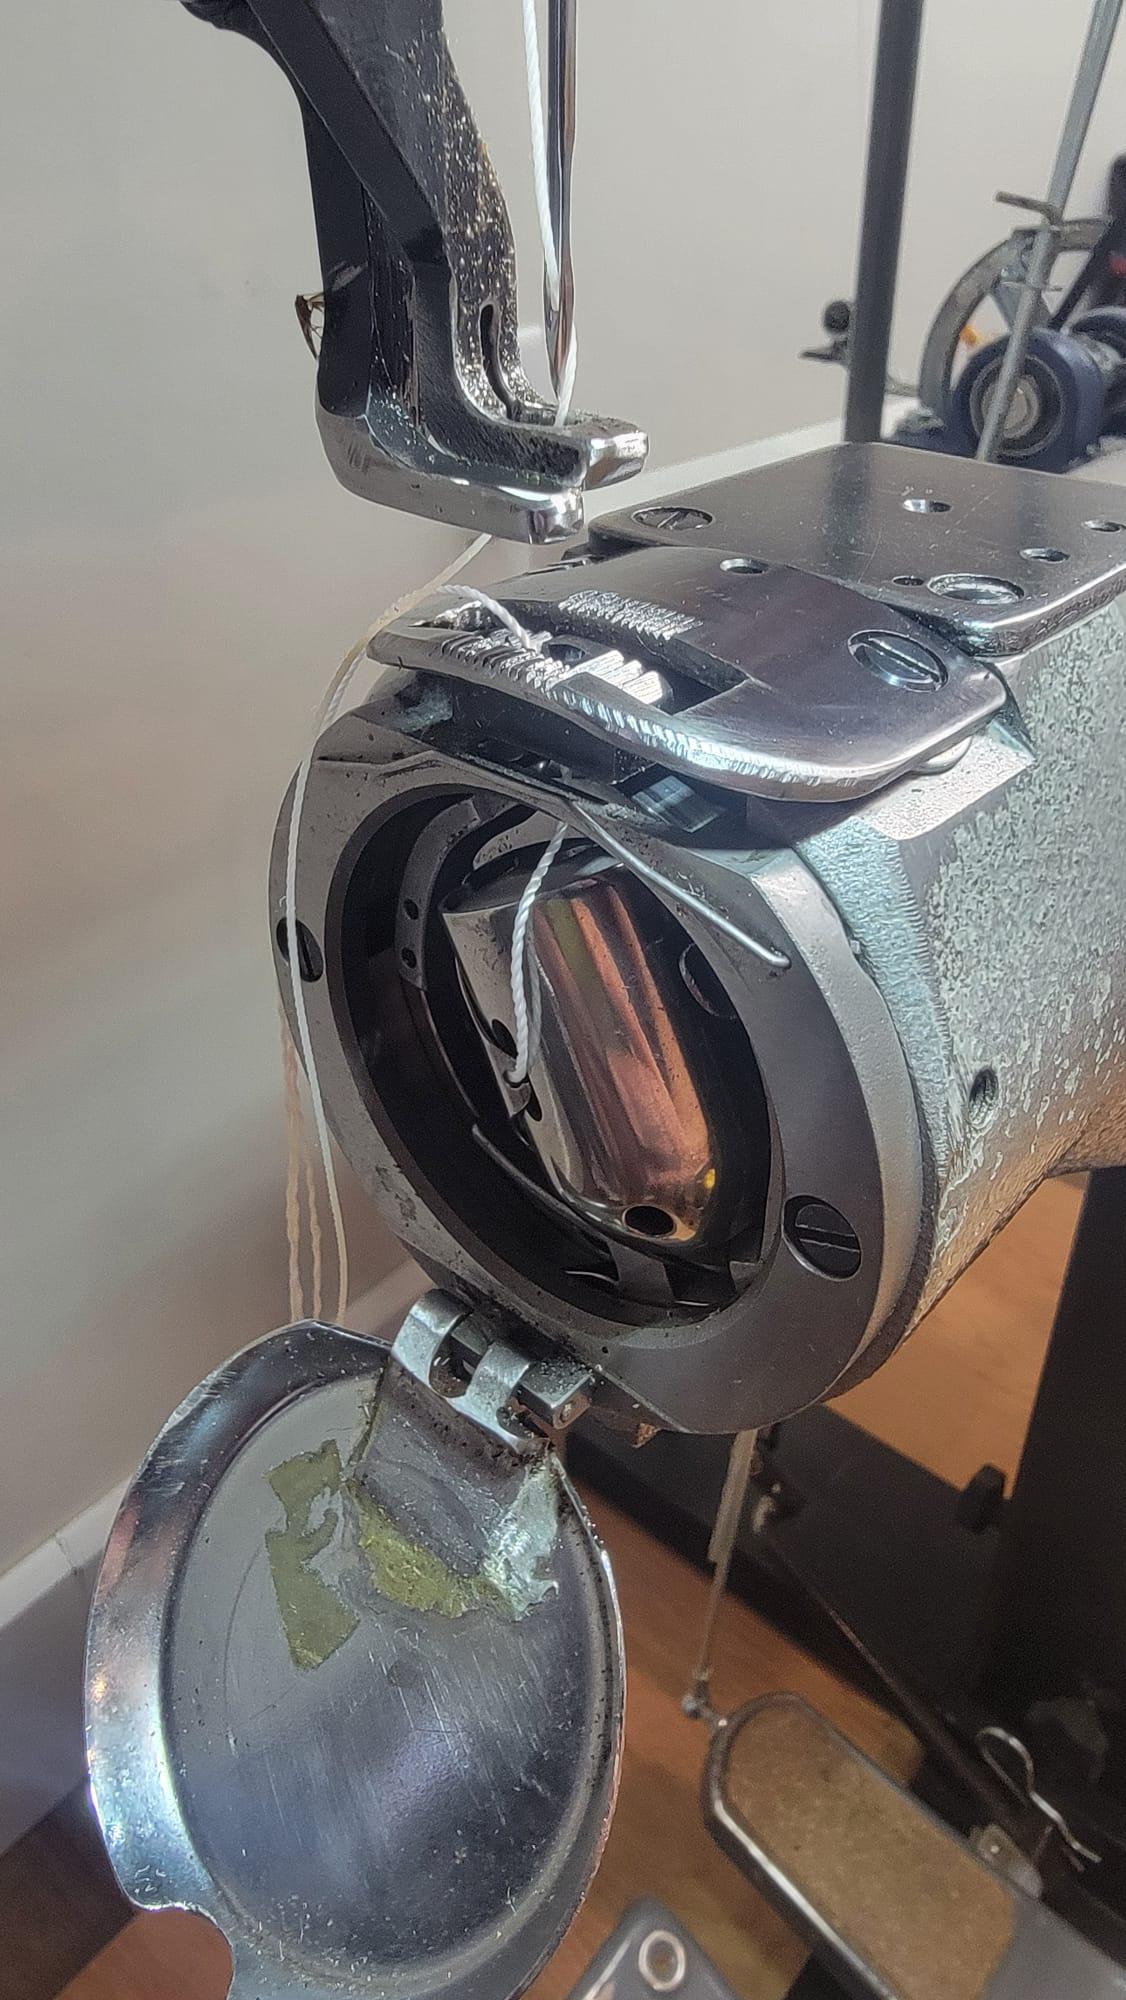
Seems I broke my Juki-LS-341, again... (Bobbin Shuttle)
AlZilla replied to Yoshi888's topic in Leather Sewing Machines
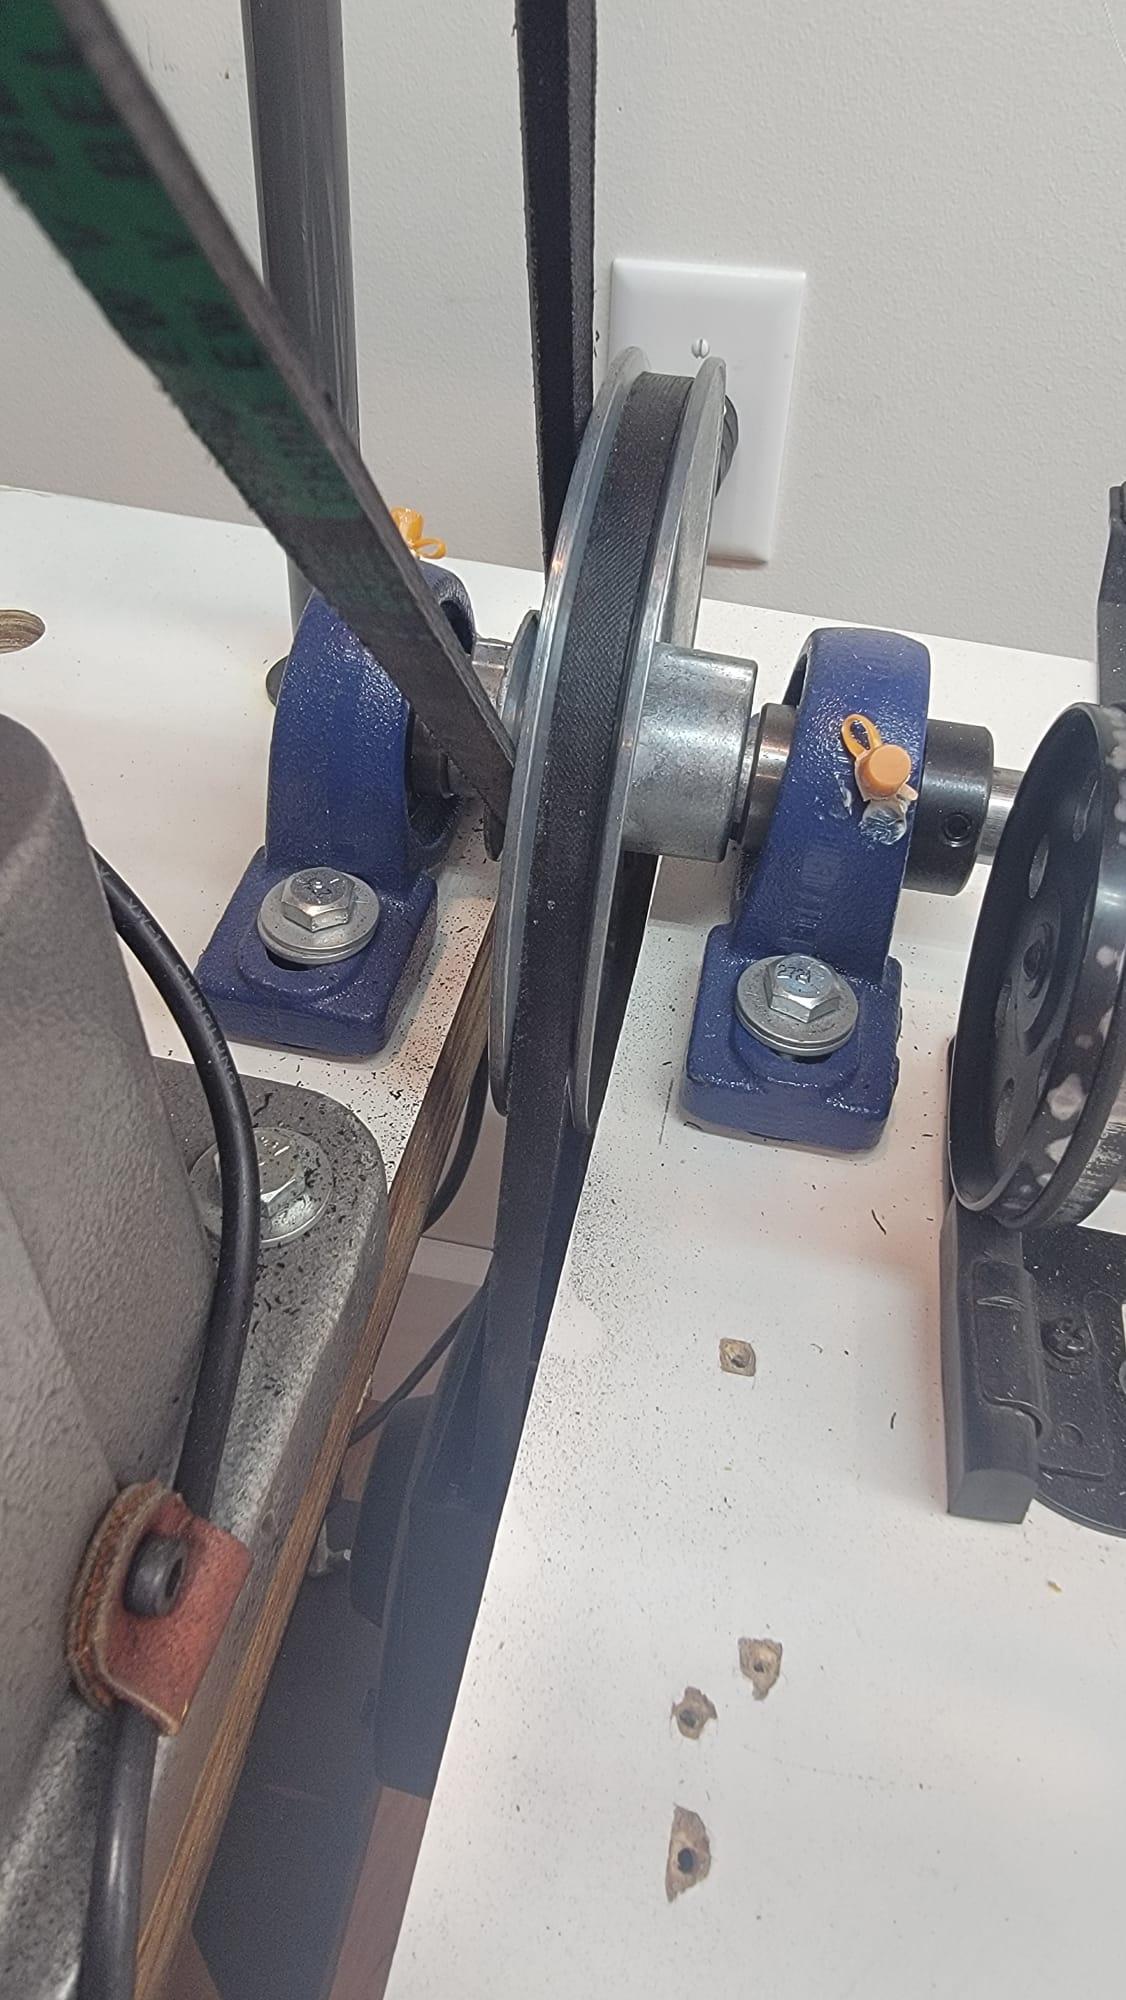
Seems like it ought to turn. Heat from a hair dryer or heat gun and/or I'd take one or more of those screws all the way out and put some kind of penetrating oil in there. -
Thanks guys, Ill try what you suggest and see what works. If no luck maybe Ill have to switch to apholstery? Especially if they keep fading out after only a years time.
-
What I found too work the best whether it is chrome or veg tan is to apply one coat of contact cement let sit to soak into and dry. Then apply a second coat and when it has dried to the point of not being sticky to the touch put both pieces together, clamp or weight down depending on the size. My theory is the first coat seals the fibres of the leather and the second binds both pieces together. kgg
- Yesterday
-
Right-o Frank I'll send them in PMs. One per cos their memory can be large
-
Now you're just showing off. Oh wait, this IS the Show Off section. Looks amazing!
-

Tandy gun holster pattern wanted
FrankHester replied to Wildwest2029leathercraft's topic in Resources
Hi Fred. I would take the patterns also. Thanks. -
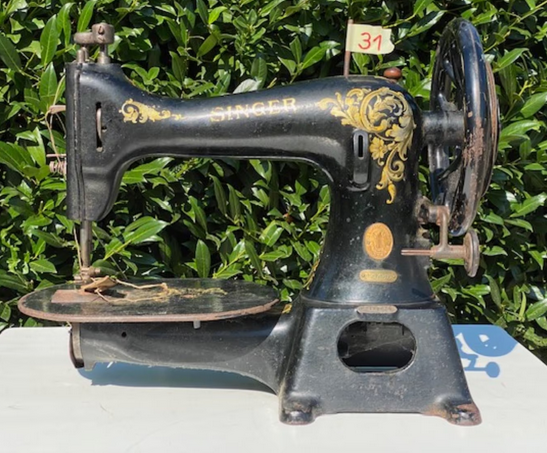
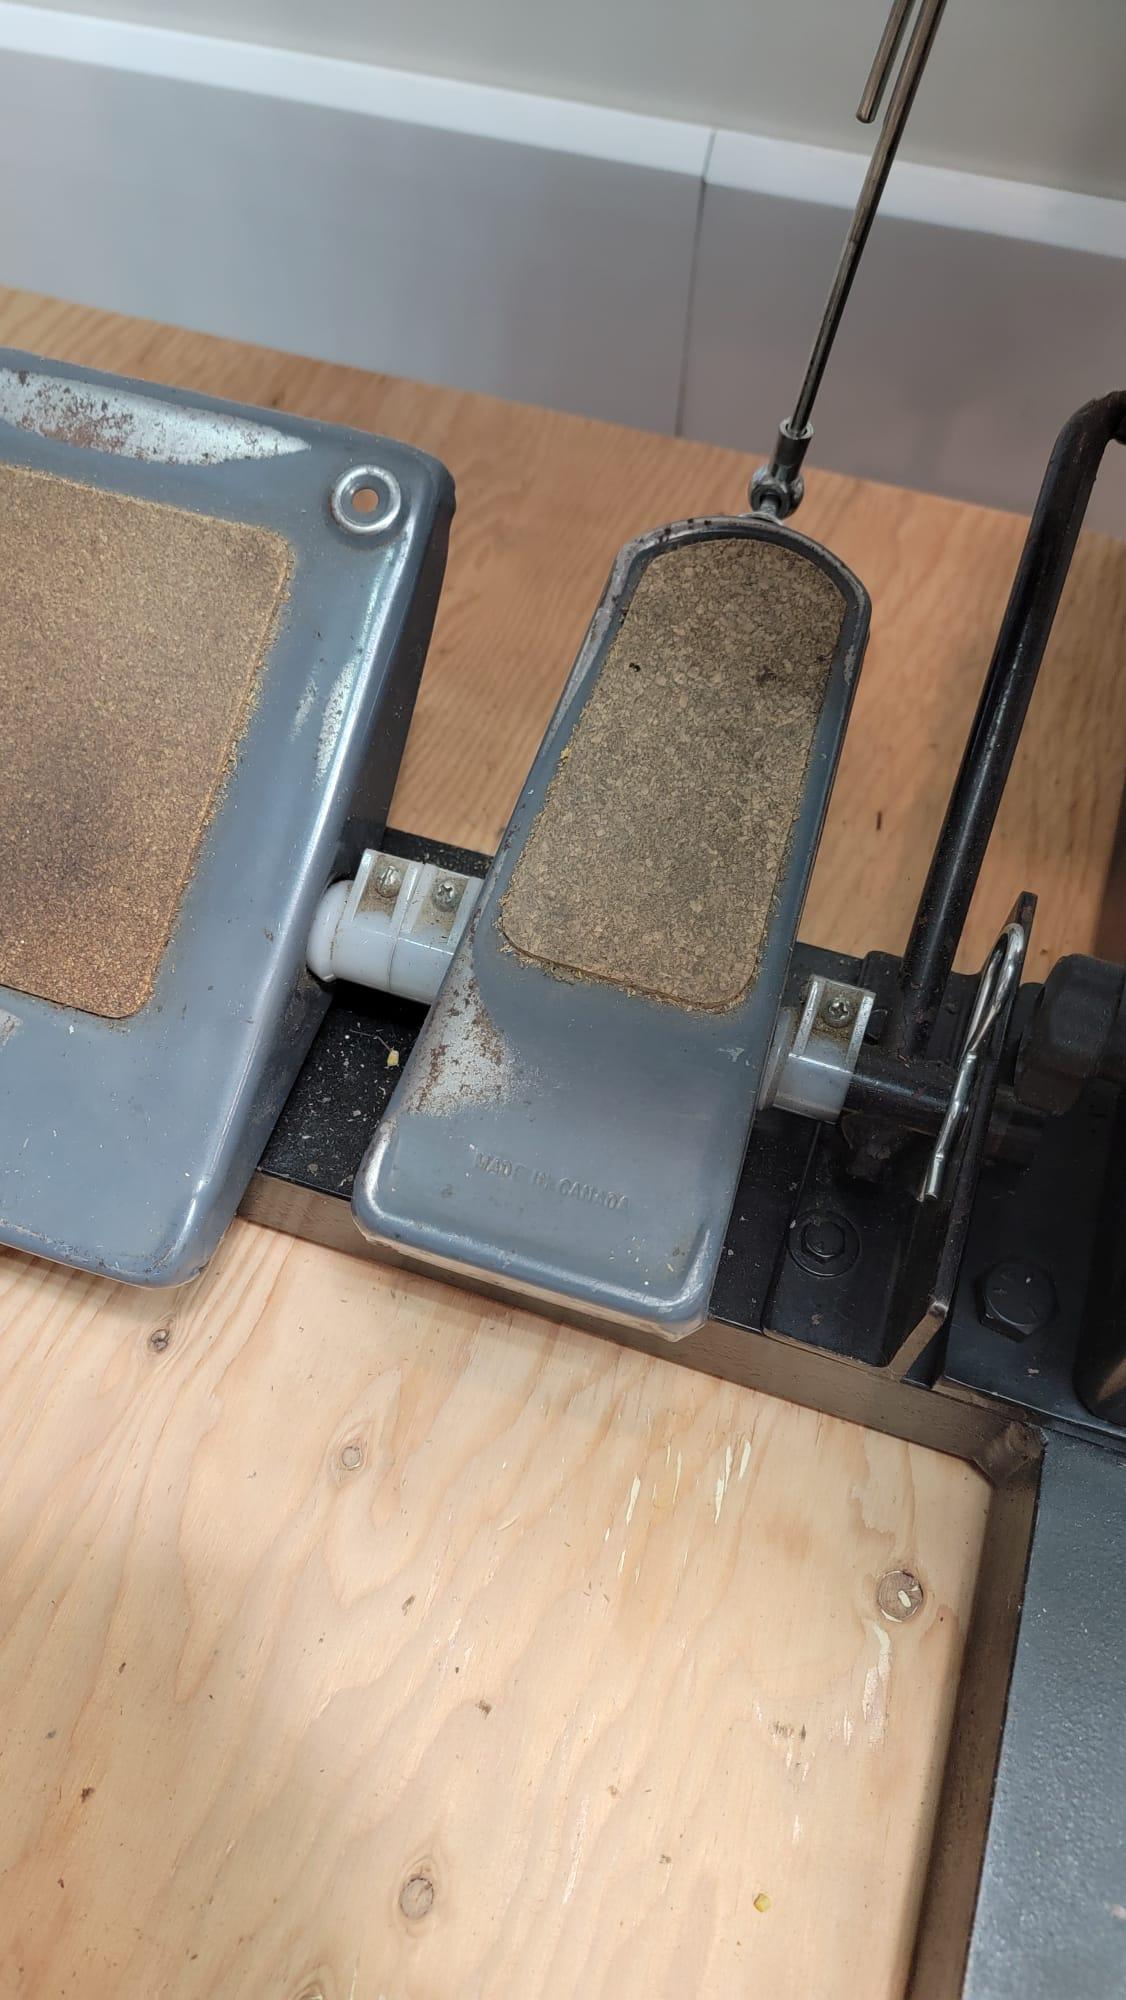
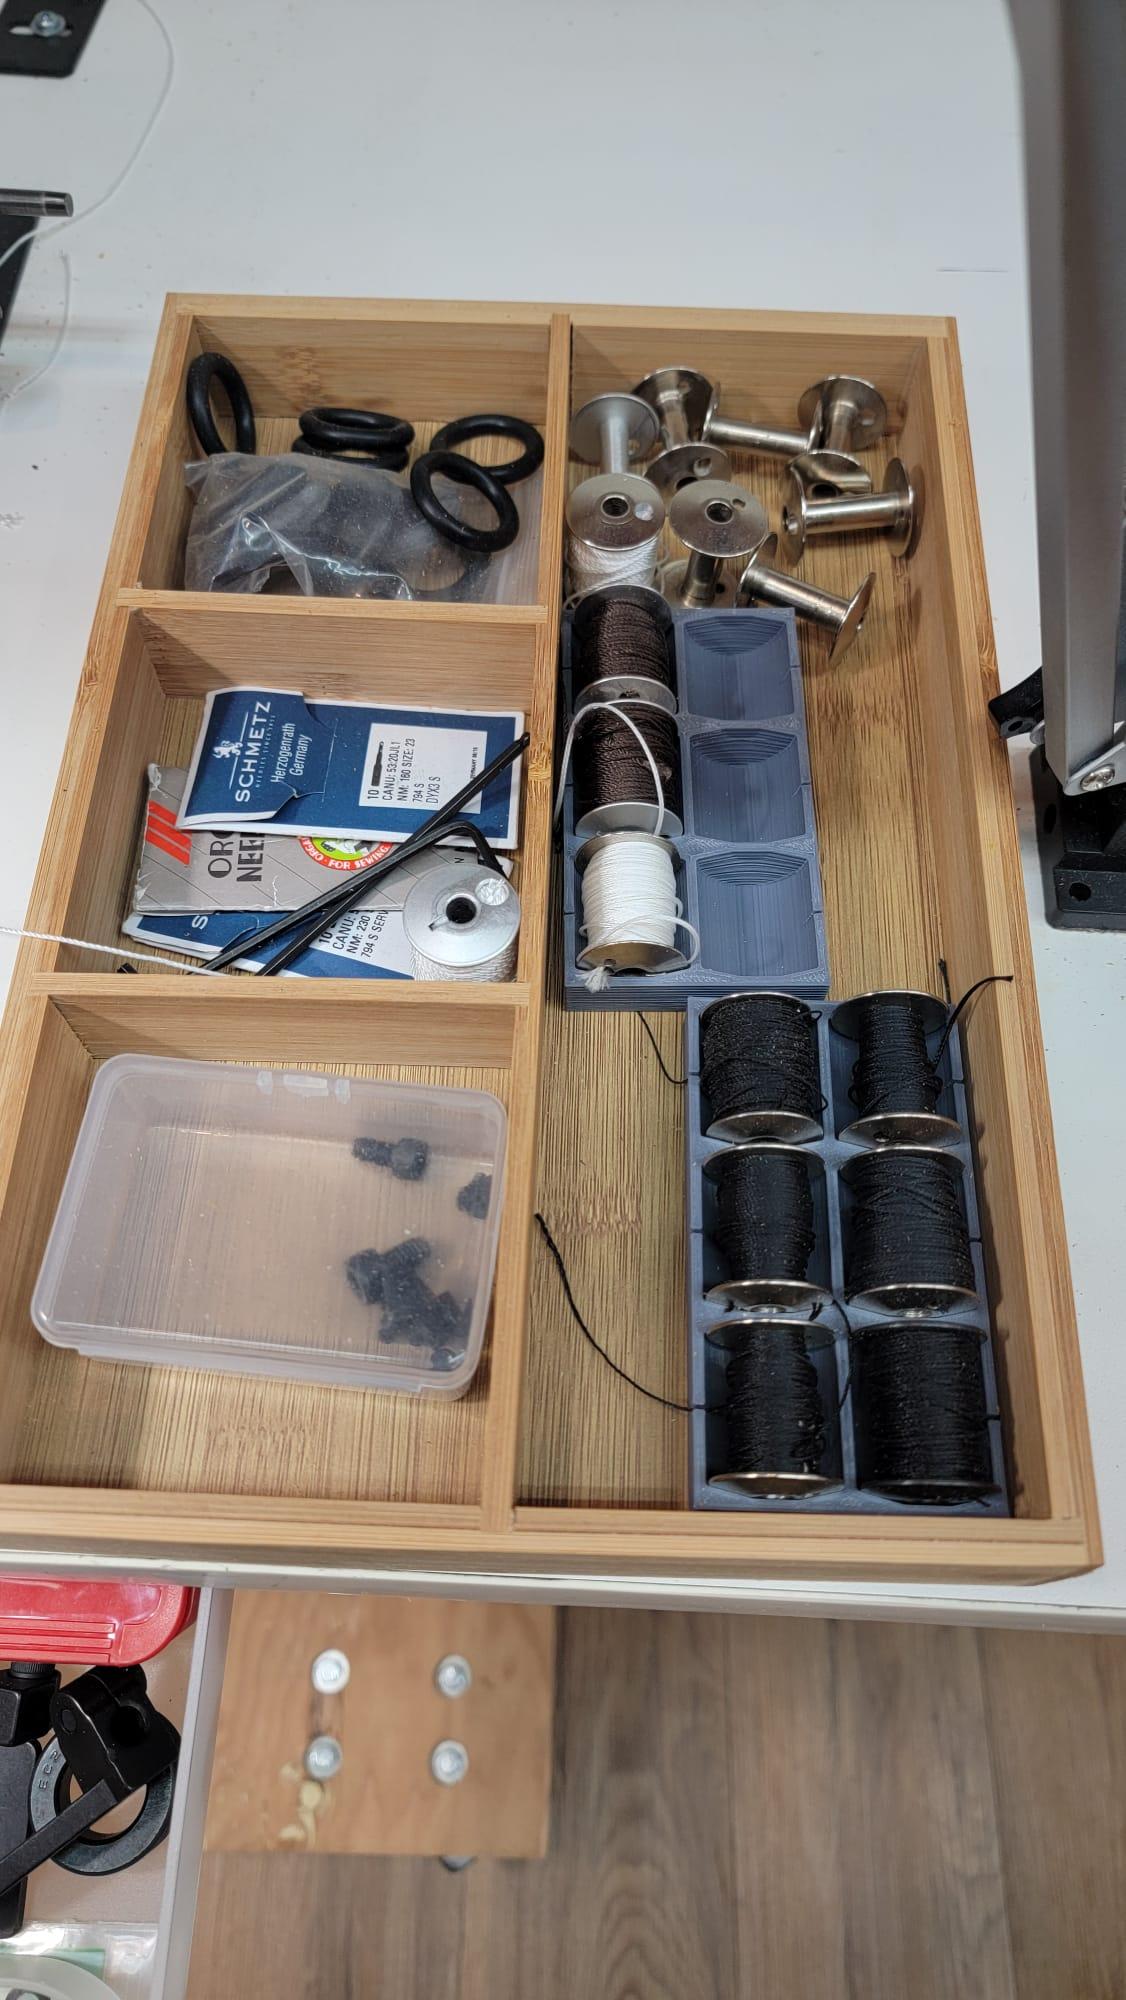
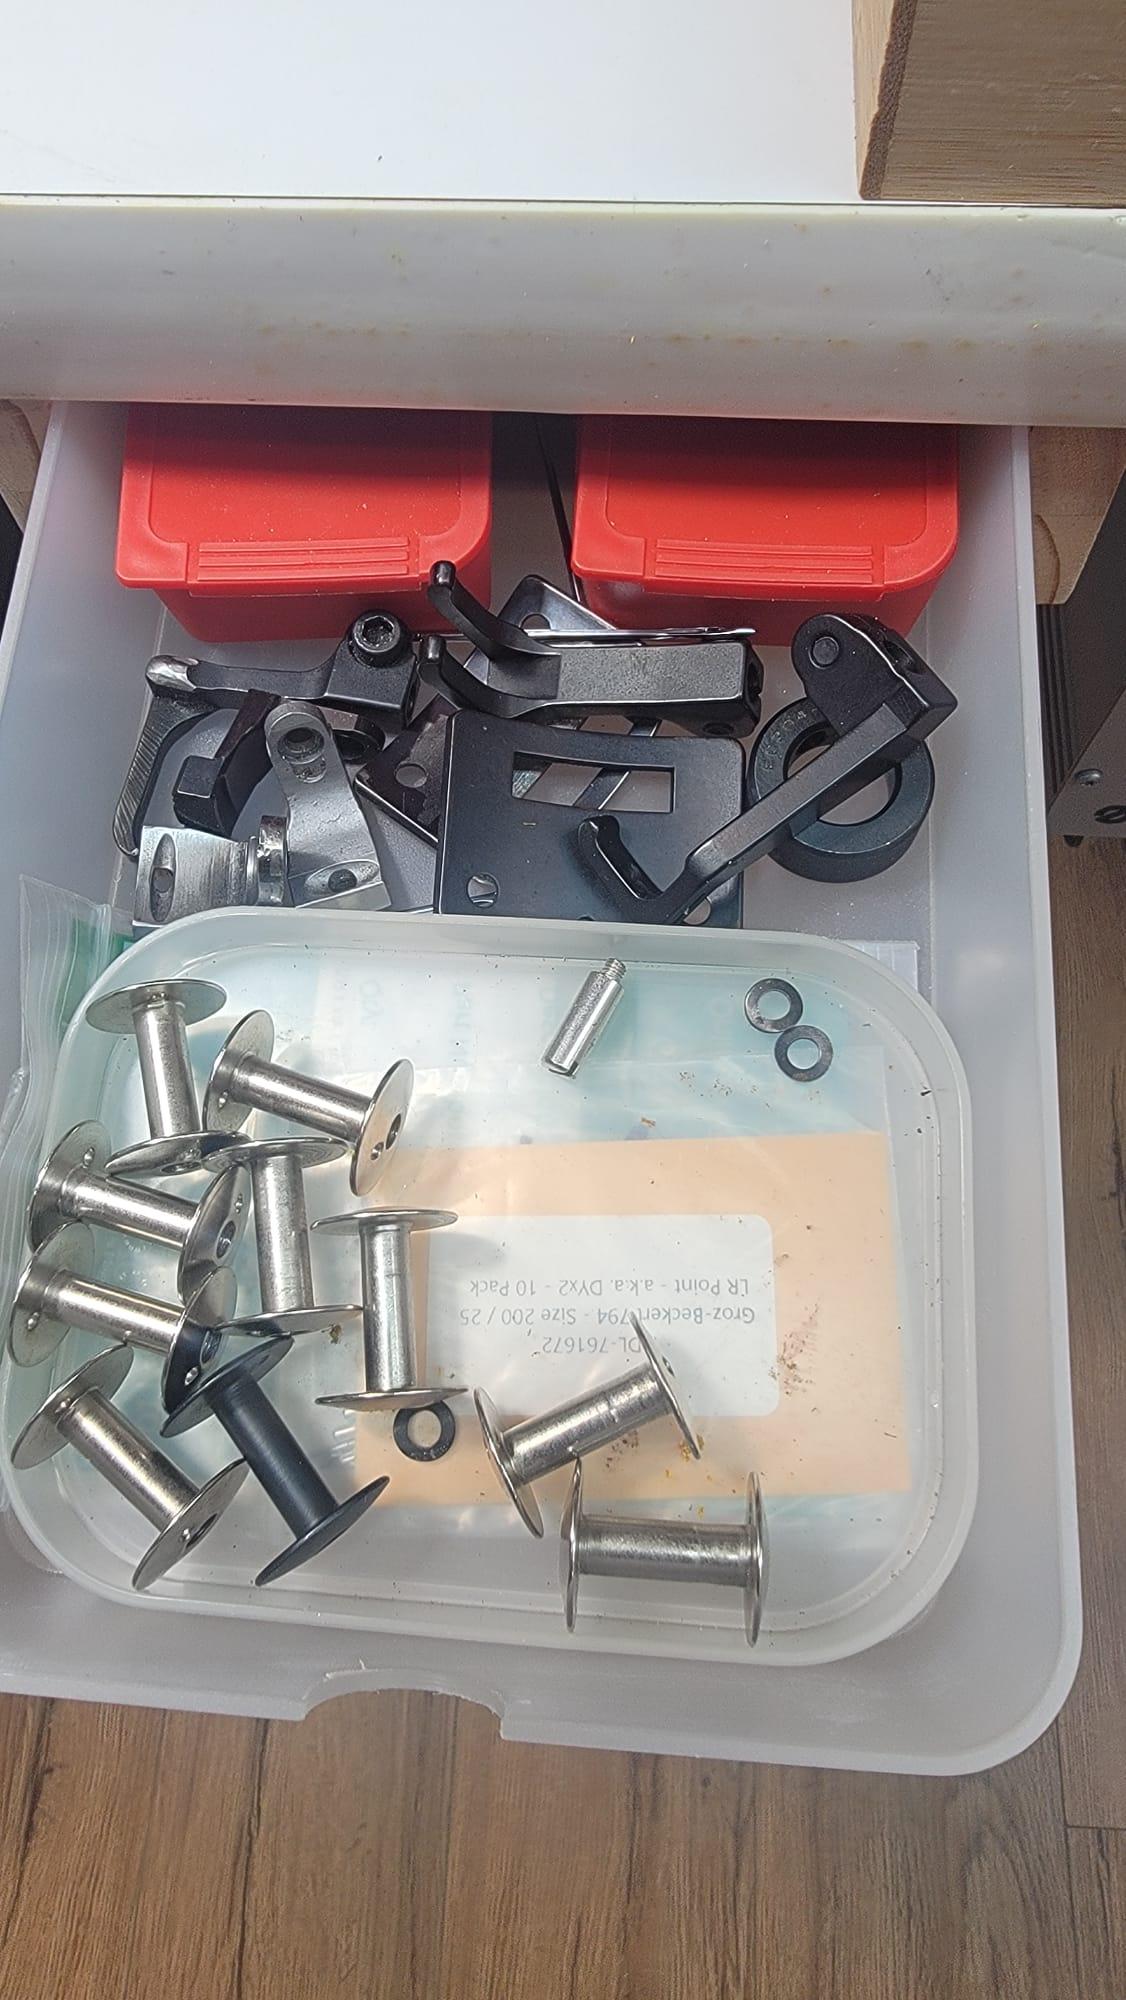
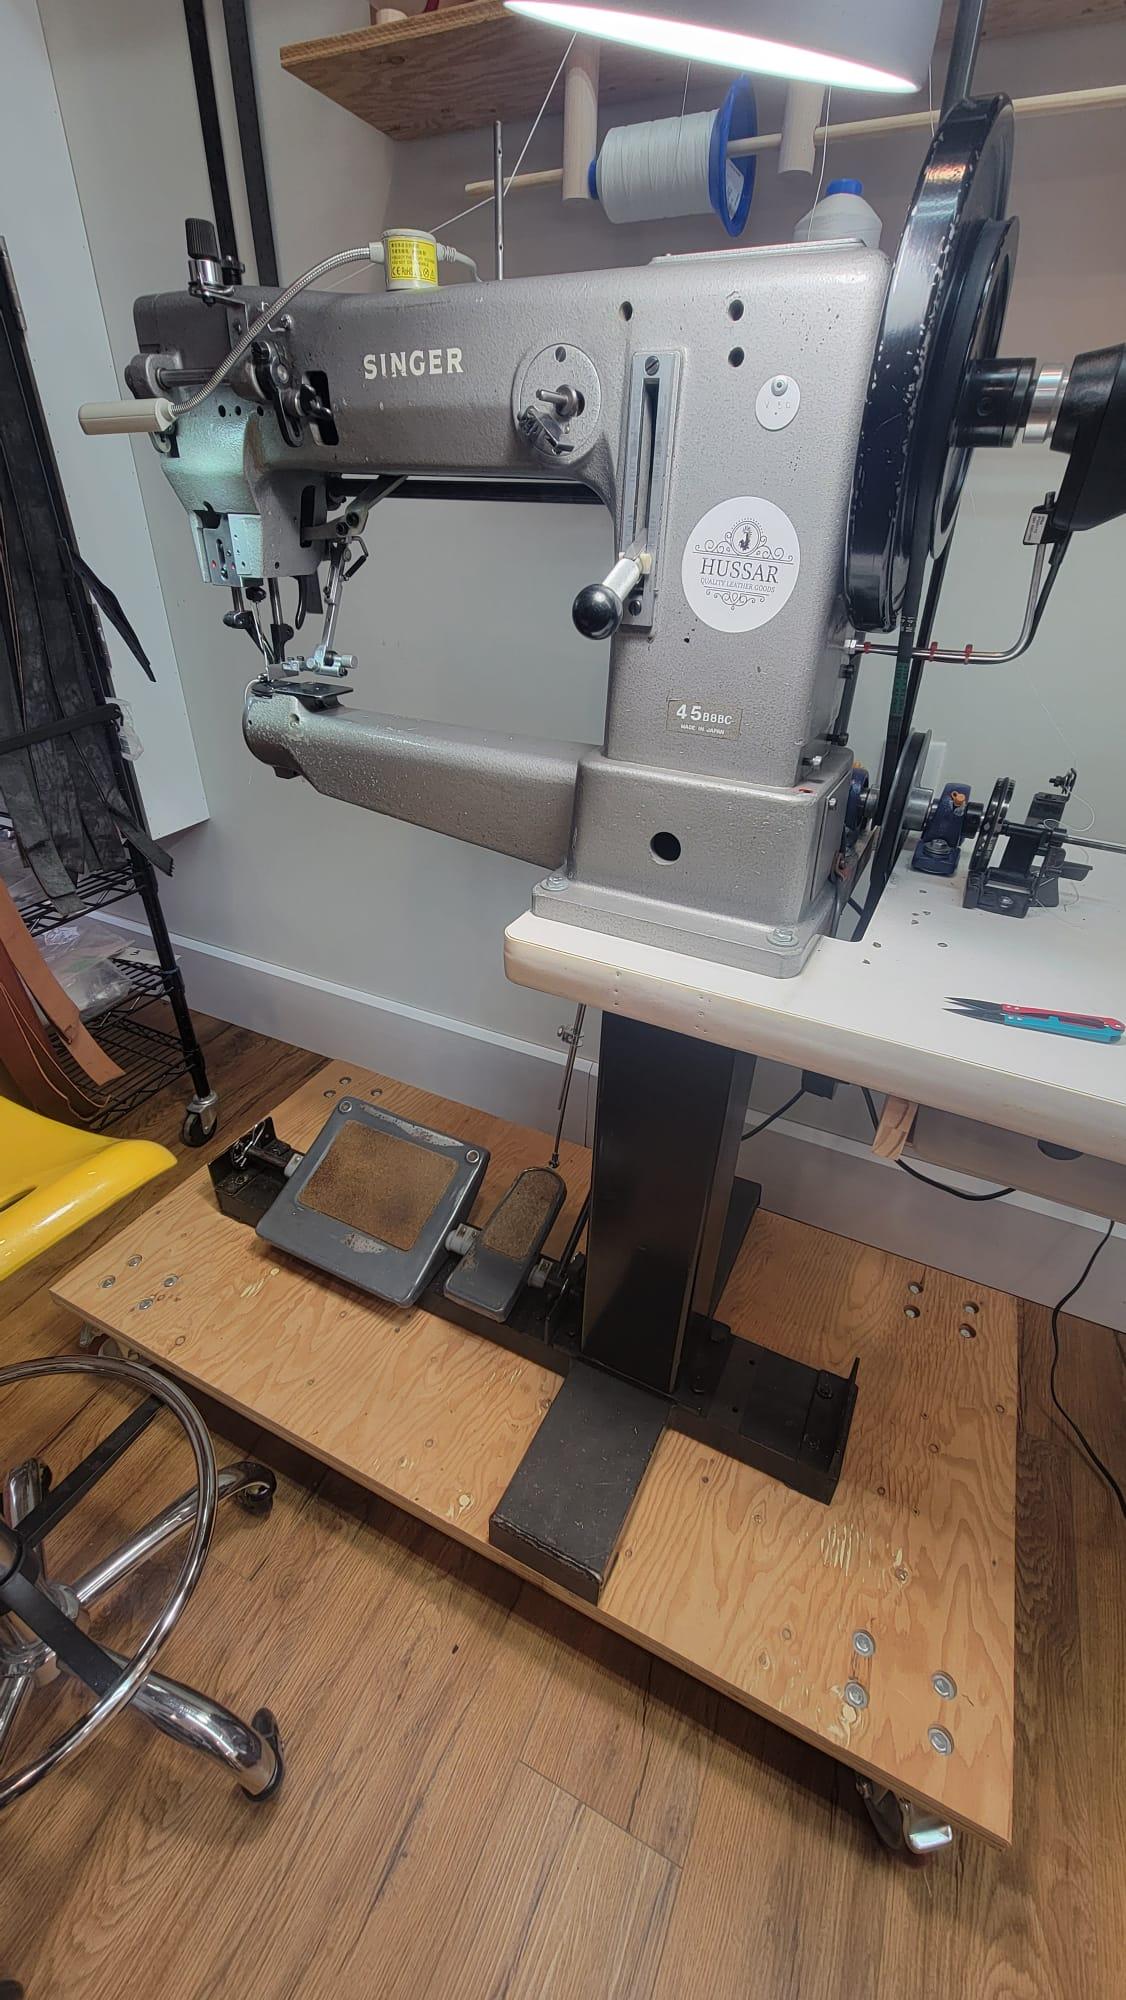
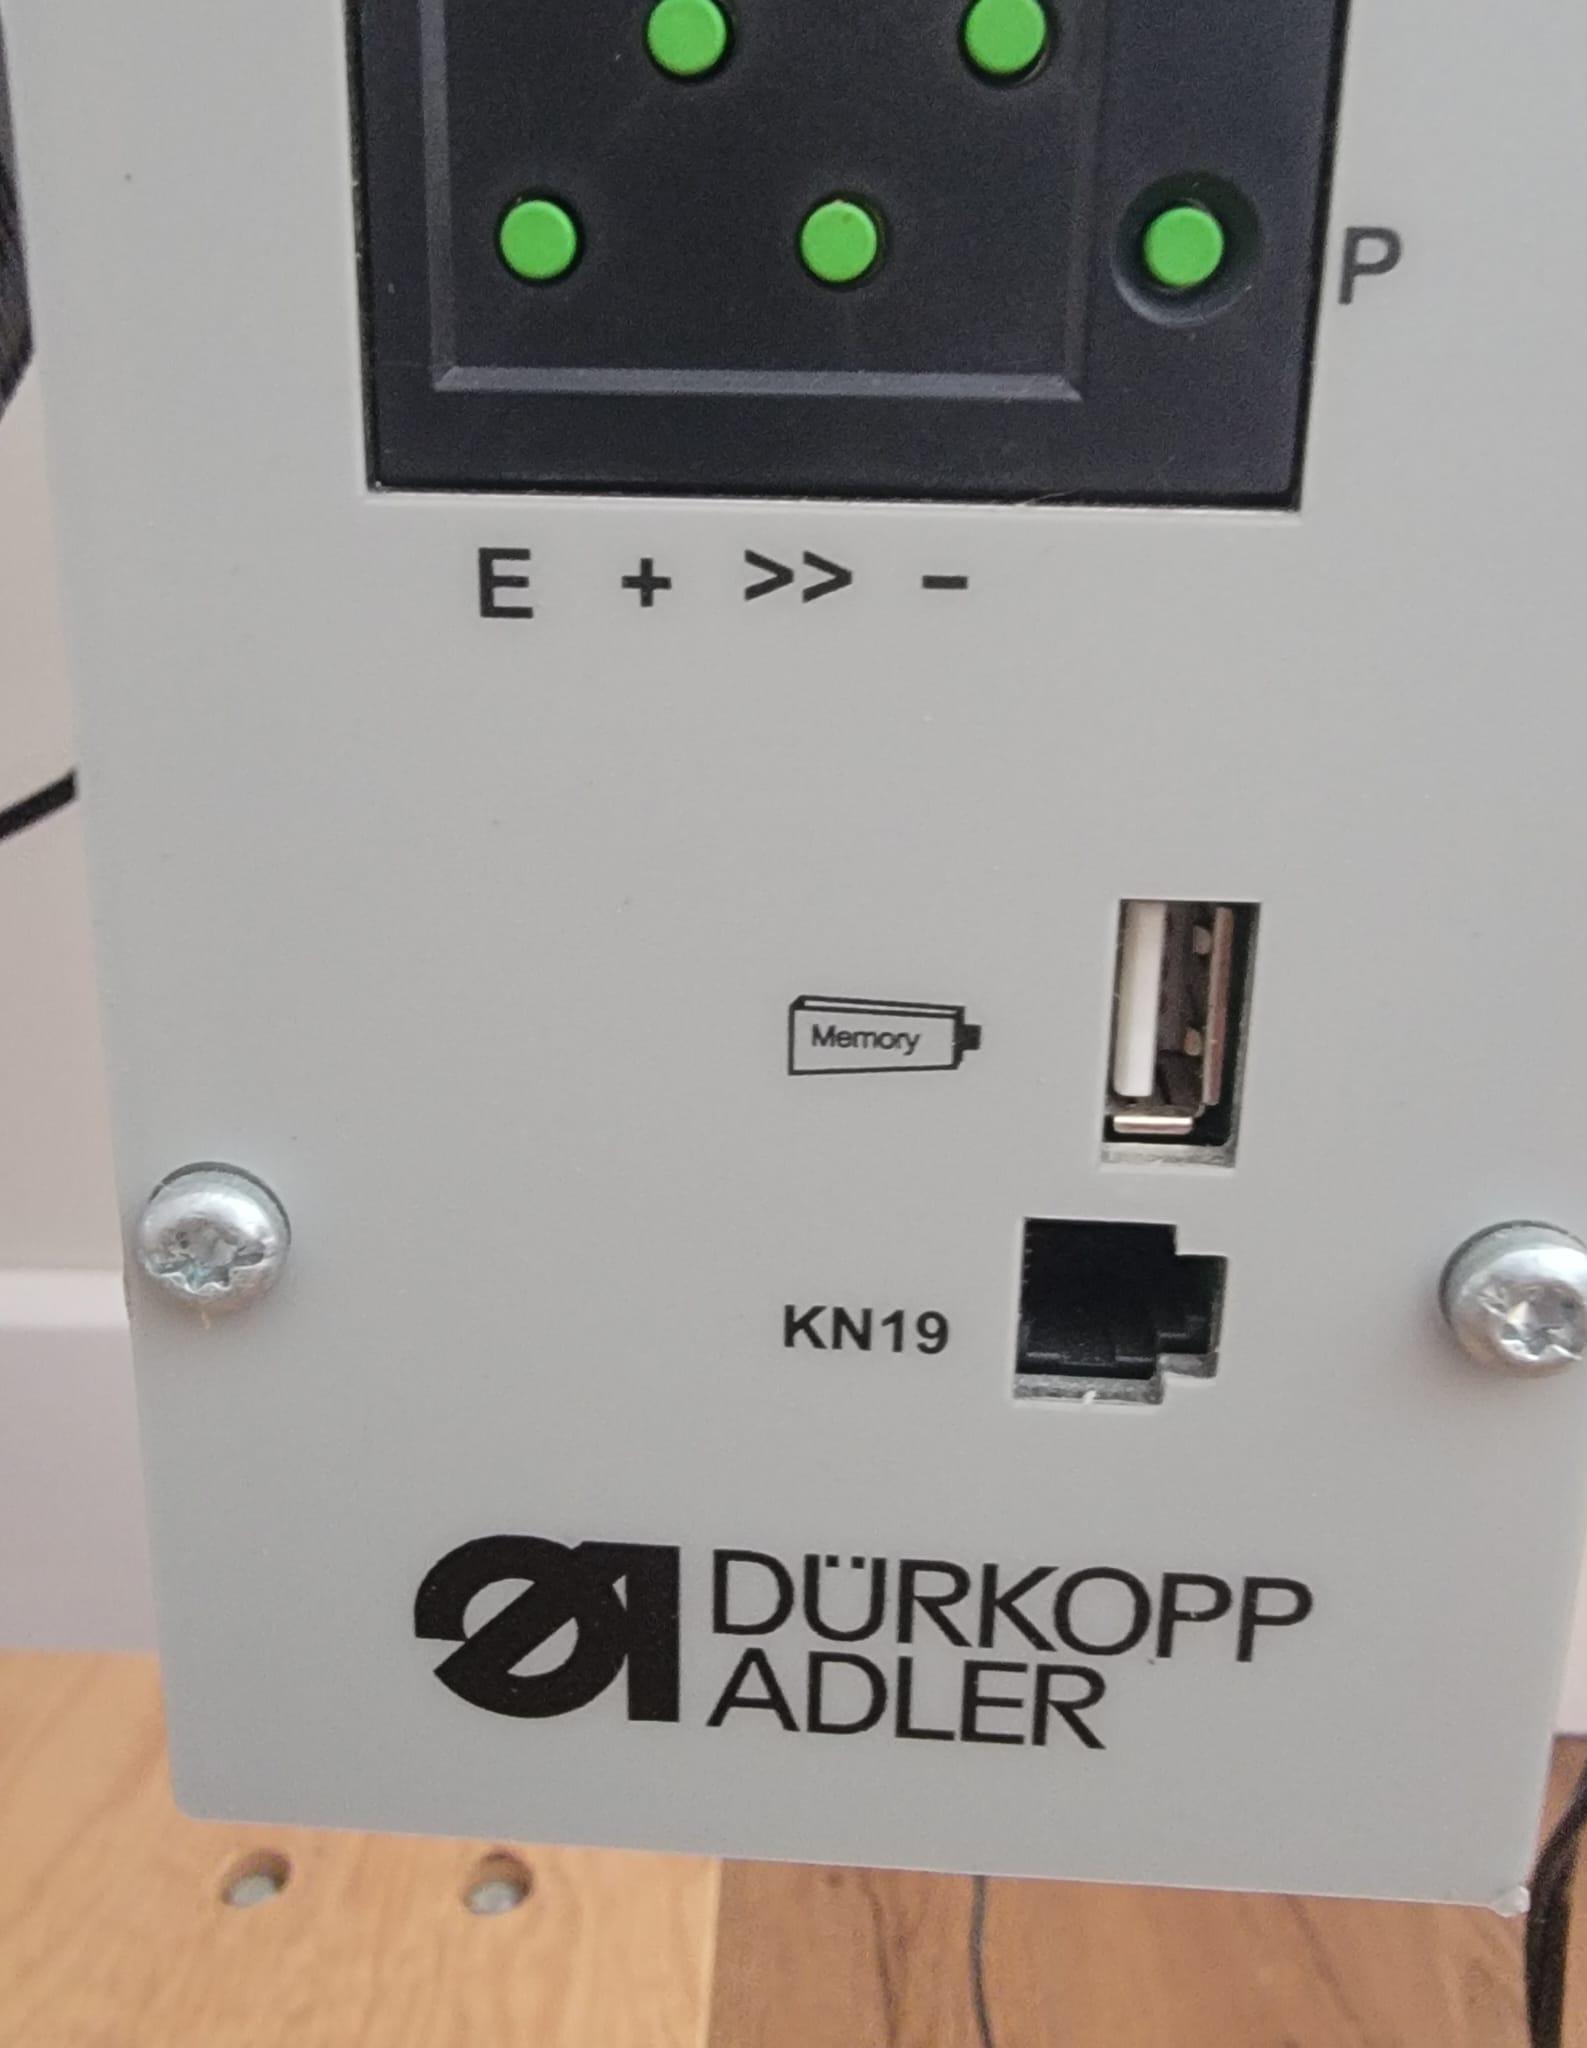
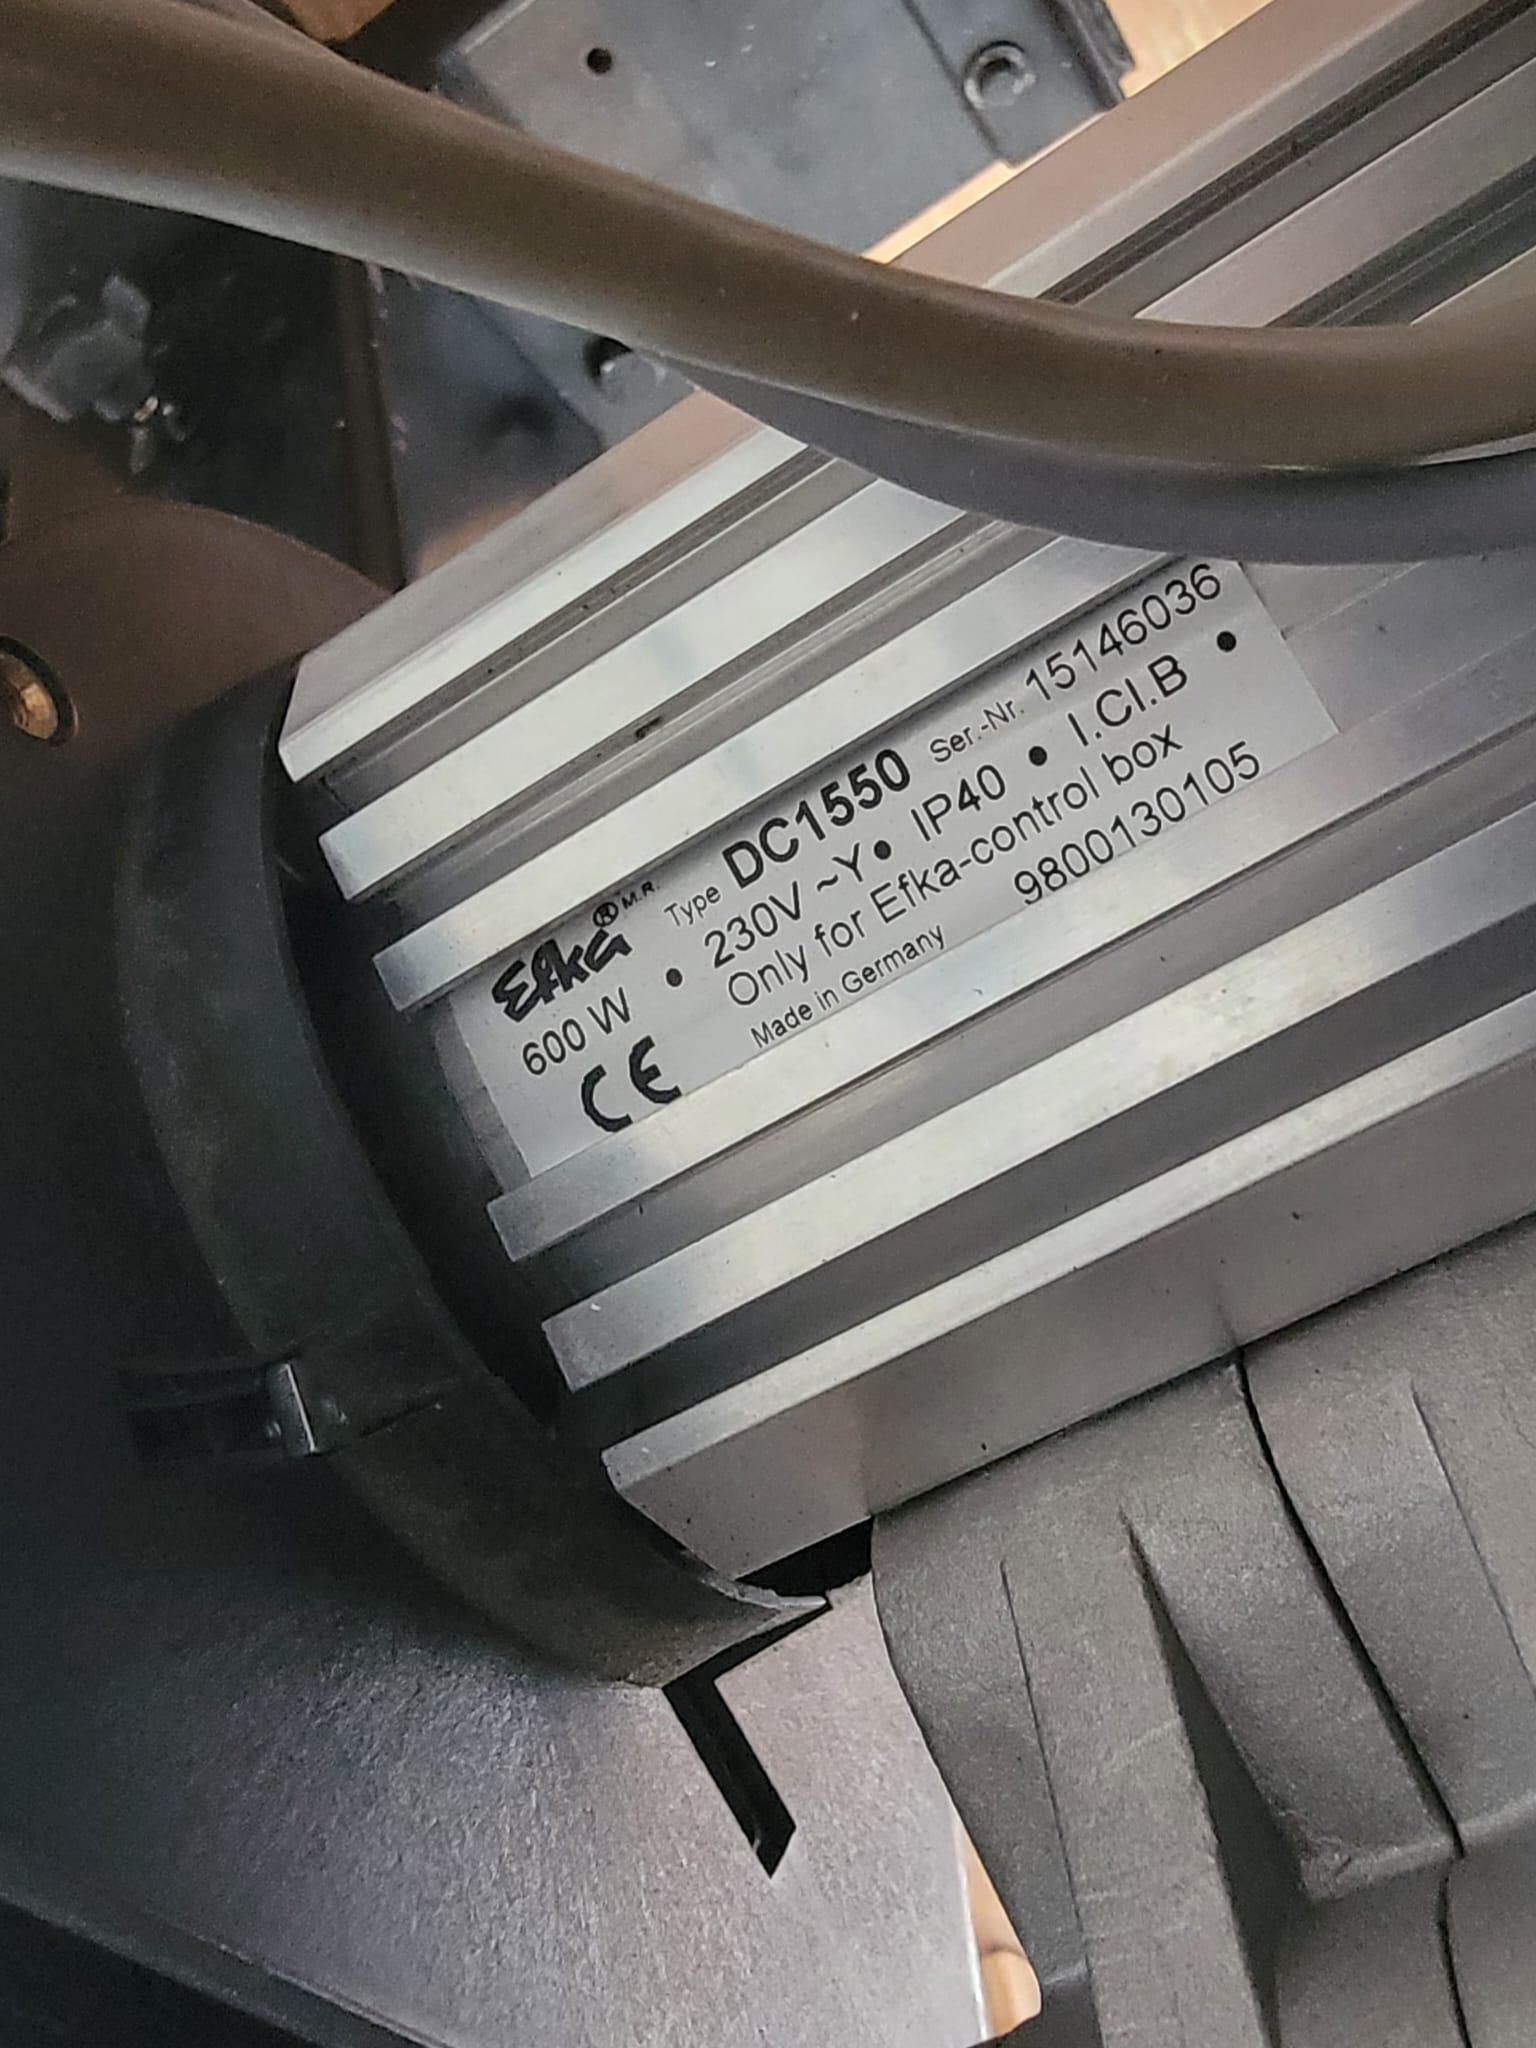
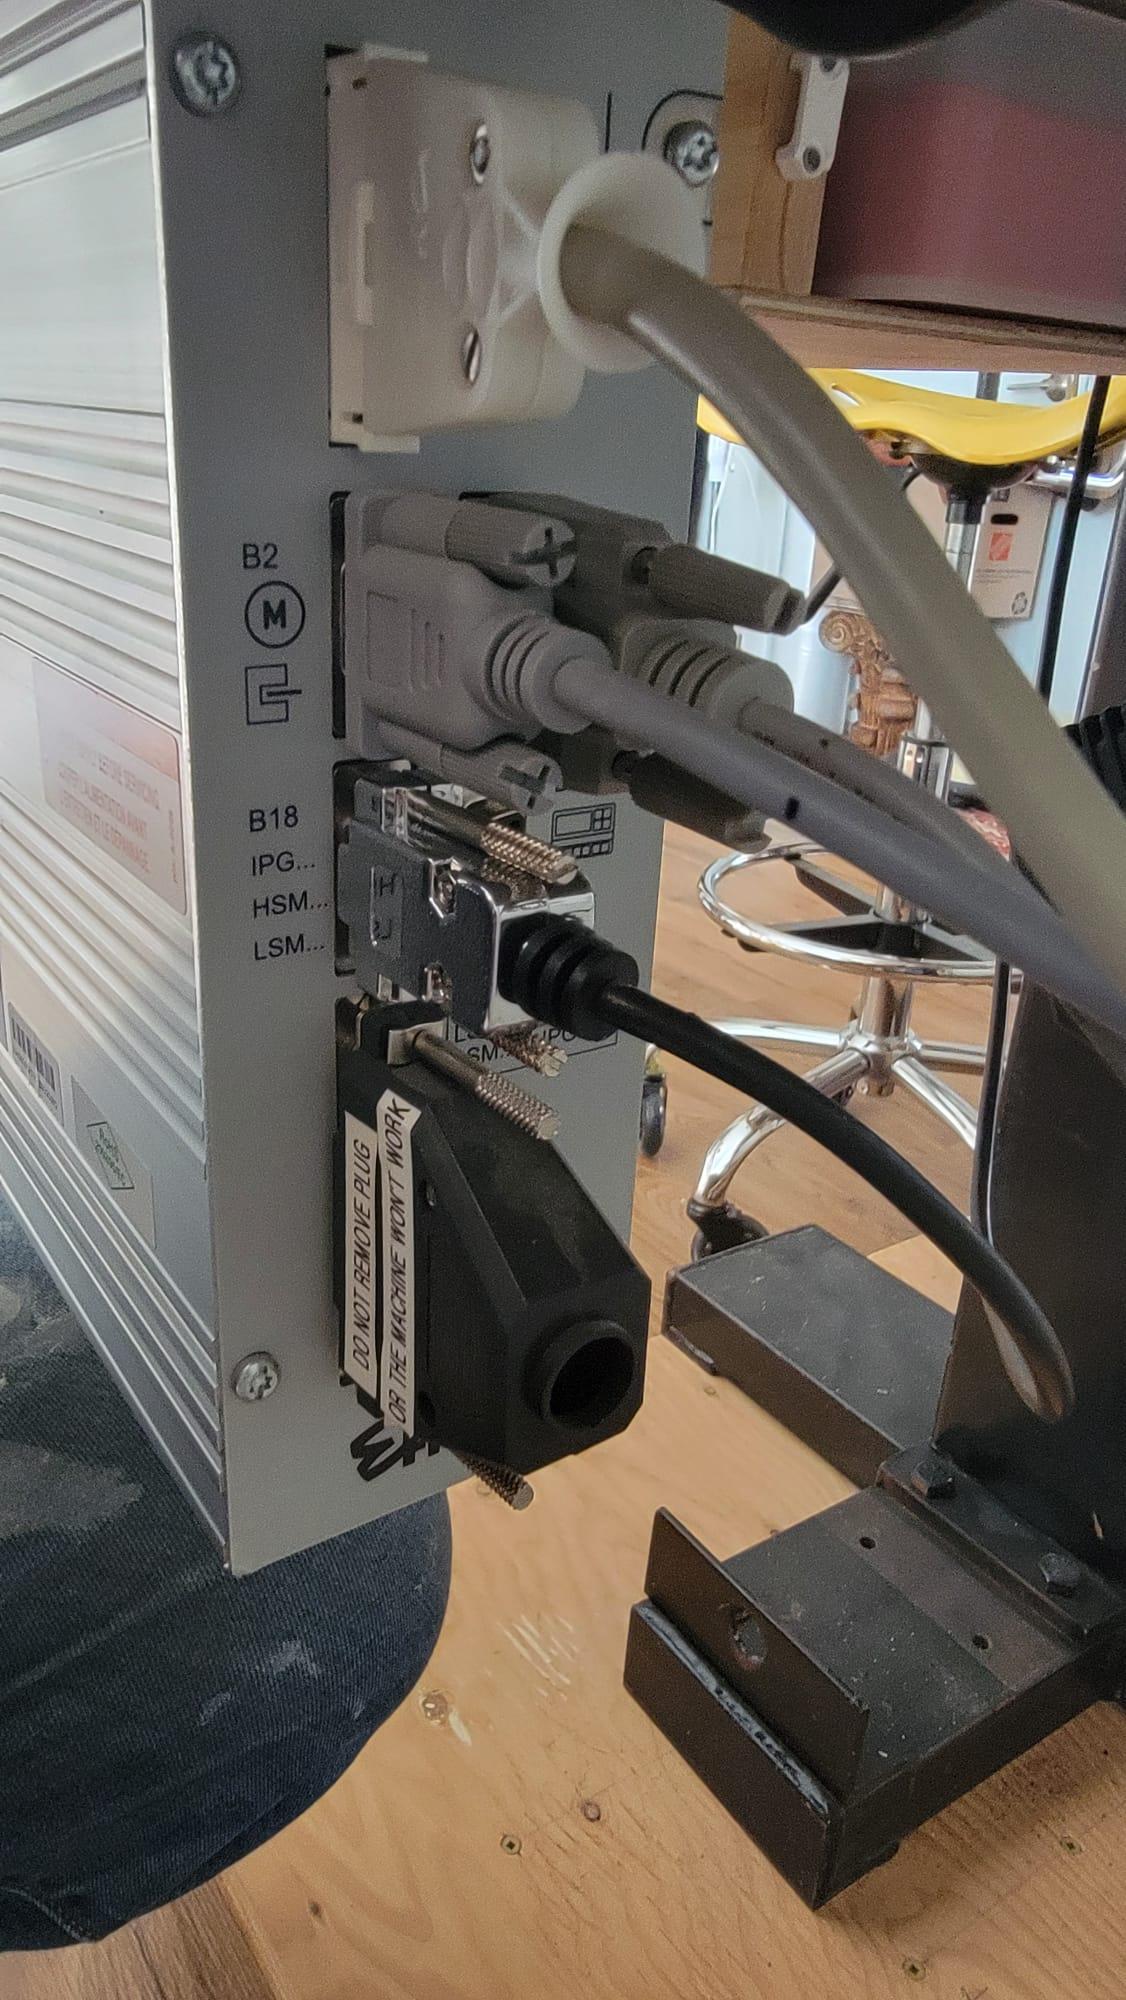
ello, I am selling heavy duty cylinder arm SINGER B8BC ( Seiko CH-8B ) Made in Japan sewing machine used for making leather goods. In excellent working condition. Serviced regularly. Made in Germany EFKA DC1550 motor SINGLE PHASE 230V (its NOT 3 phase) with speed reducer. Lotsa spare parts and bobbins. $2500 USD Machine is located in GLASCOTT, ONTARIO, CANADA. I can quote and ship within Canada and USA. I can split shipping cost to some degree. More info and specs about this machine : https://www.industrialsewmachine.com/webdoc1/singer/45b.htm Thank You Jack
-Copy.jpeg.e4750edaf0e15a684aad8d0990f25d2f.jpeg)
-Copy.jpeg.0c3effc89f00e9b3b9dfc5919d476cb9.jpeg)
-Copy.jpeg.cef82af613f5067dd39445b70350375a.jpeg)
-Copy.jpeg.f9c06f645d0e321821232ba65e539241.jpeg)
-Copy.jpeg.ac5c3a037d95f7975dbd4890dd55cb09.jpeg)
-Copy.jpeg.a257b6cc905a46e8a3e12b444bb67a24.jpeg)
-Copy.jpeg.58ab5332f37beece5ece2c697d30e360.jpeg)
-Copy.jpeg.1ad691a9fdeb59d01f59e3ed475b5385.jpeg)
.jpeg.46a133258493f485edb681b3907c8c6a.jpeg)
.jpeg.4fa6fd6a4f253ade674368b84bd3cf0a.jpeg)
.jpeg.7b8588671000c032caf5386273238c27.jpeg)
.jpeg.7d41d718485b48b7457fcc05accbfc26.jpeg)
-
The piece of leather I treated with acetone was a piece of veg tan that I had dyed. I wet a clean rag with the acetone and wiped it over the leather a couple of times. It didn't take any dye out nor change the colour I would suggest you first try it out on a piece cut from each of the hides you have. If it works then use it to clean each piece after its cut and shaped and just before you glue it The other cleaner I use is cellulose thinners, aka lacquer thinners. It is a much more aggressive cleaner and will take dye out. Thats when I use it. I have things made 25 years ago of the leather that got a real wetting with the cellulose and they are still good. No change in the temper or colour of the leather
-

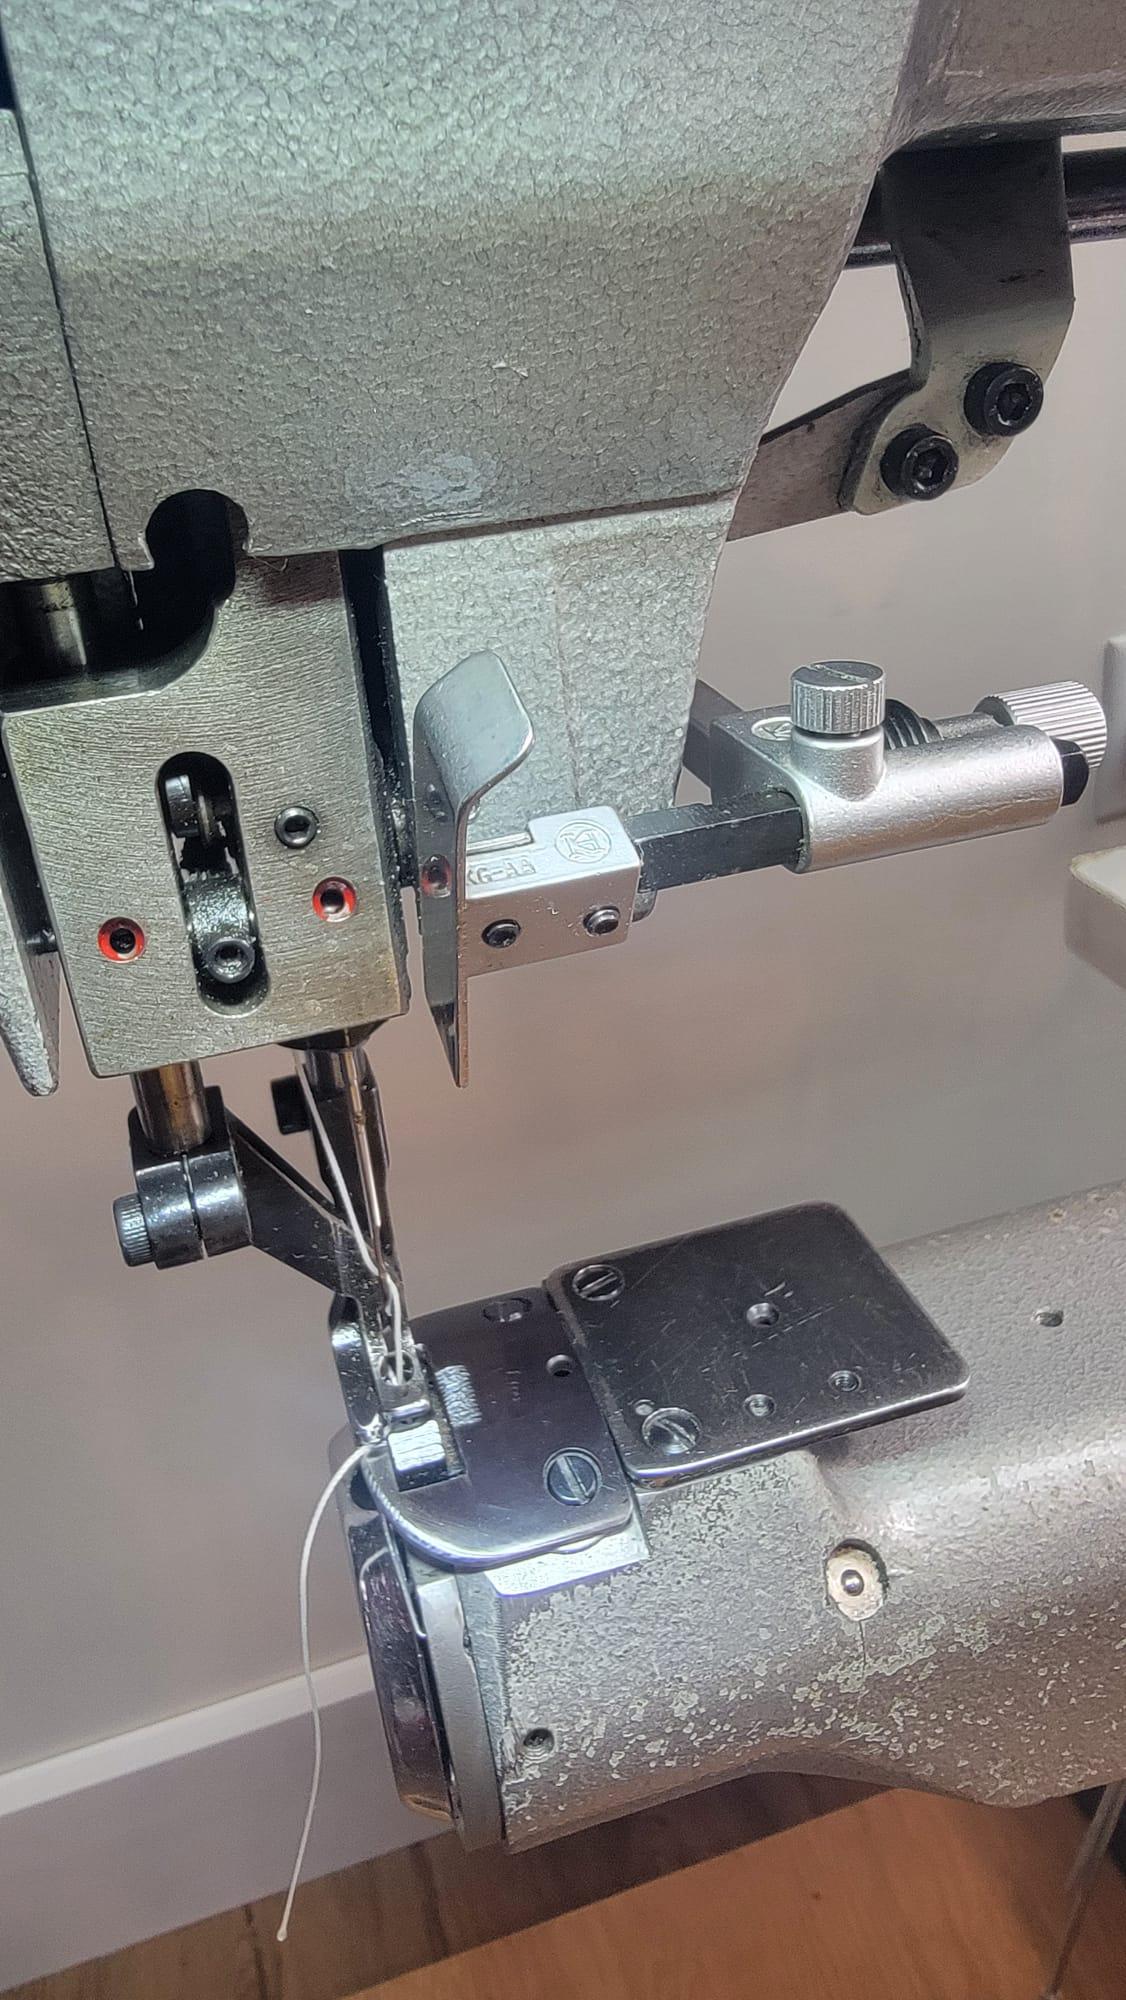
Binding with a right angle binder on a walking foot machine
Dave9111 replied to Dave9111's topic in Leather Sewing Machines
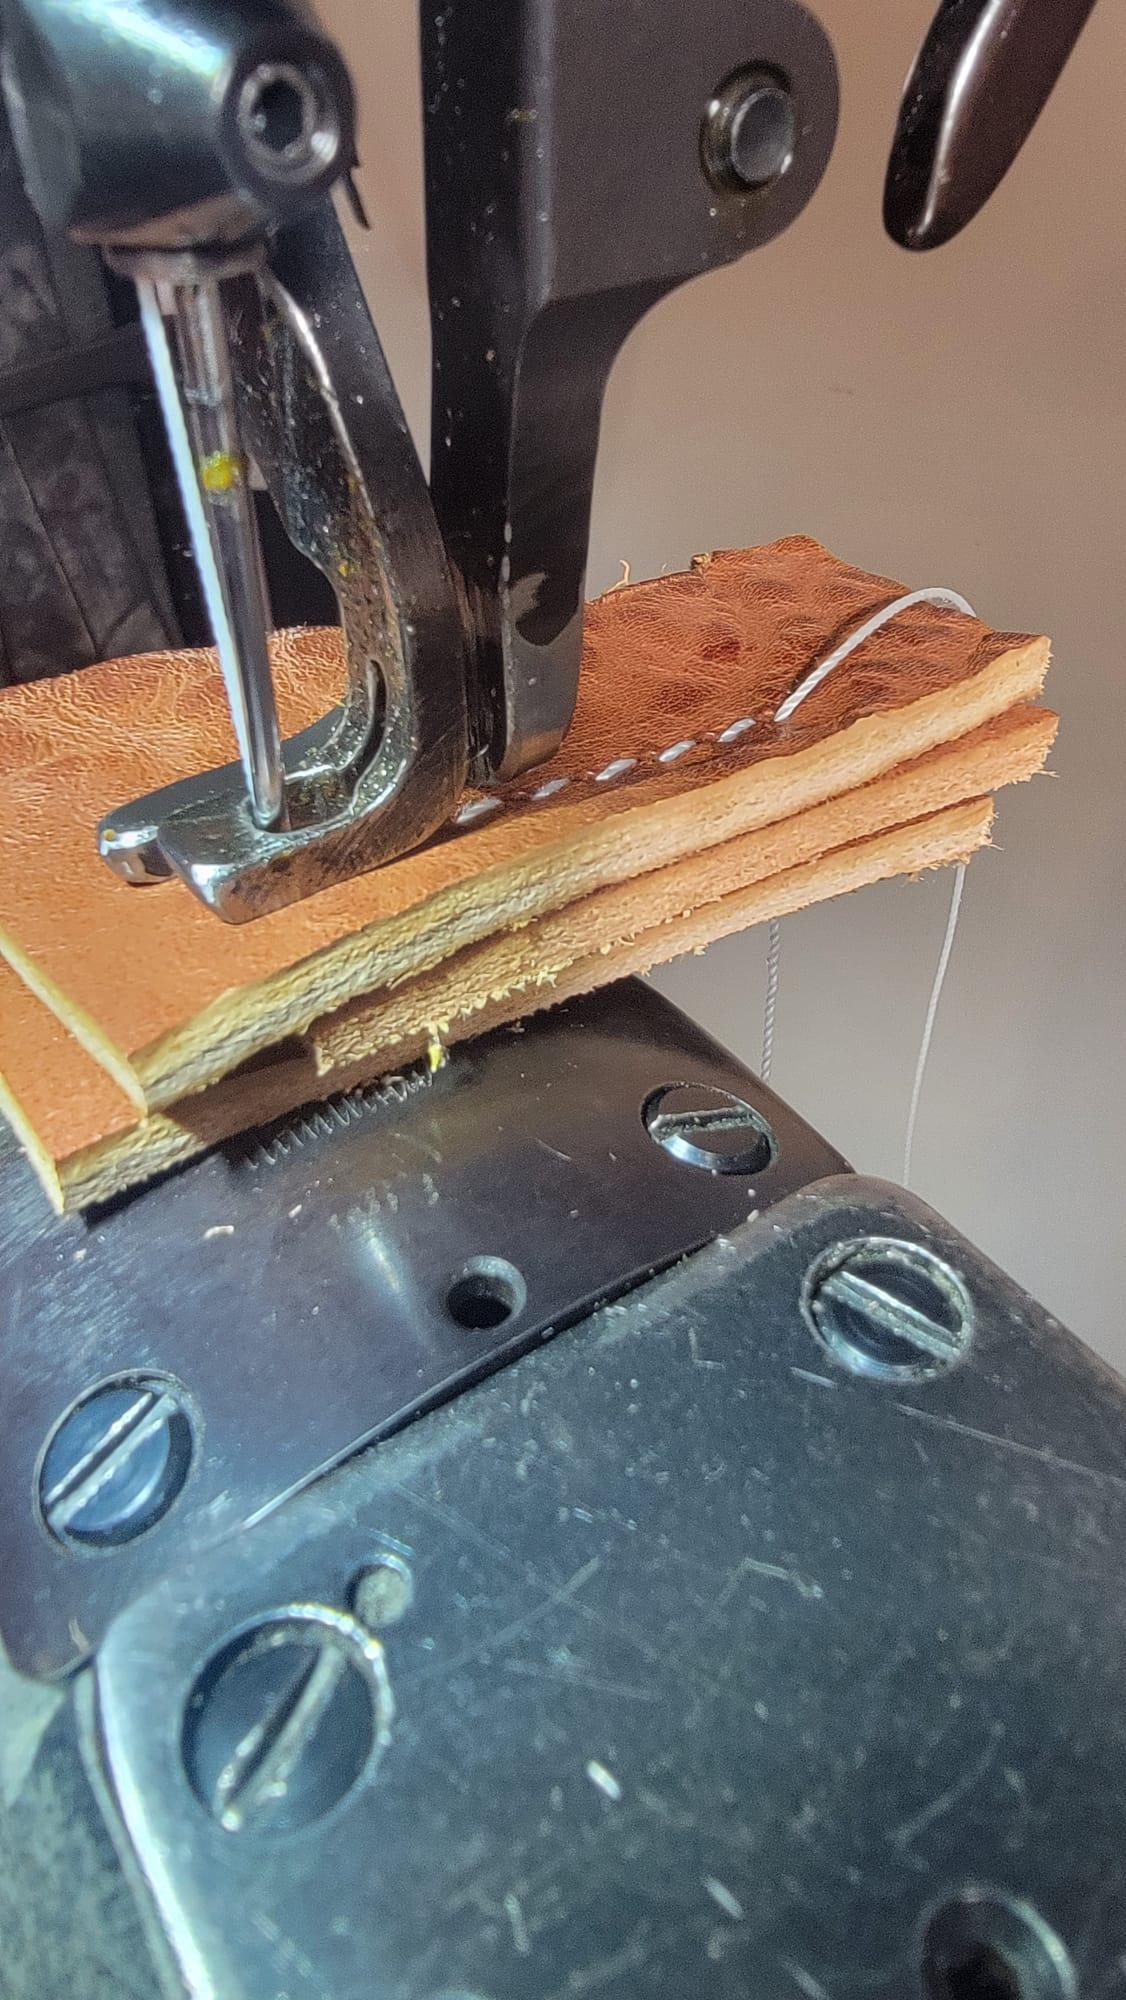
Hi Guys, so binding has been going fine on my Pfaff 1245 with the synchronized binder. Most of the things I work on are larger. A 24" x 12" cover is small. My Dad had a need for a small pouch he could wear on his belt. The pouch is only about 5 inches long by 3 inches tall. Really small for me. I made a couple, each time with improvements. I decided to bind the edges with 3/4" nylon 4088 tape. That went fine. But then I realized I didnt have a great way to finish the binding. I usually just run the binding over the beginning of the tape, then run it off the edge. Then burn/melt the tail off with a hot knife. Is there a better way? My crude method looks crude when done on a small piece. What fo you guys do? Small stuff is hard! -
Seems I broke my Juki-LS-341, again... (Bobbin Shuttle)
Yoshi888 replied to Yoshi888's topic in Leather Sewing Machines
Thank you very much @friquant for the videos. They were very helpful. I had been wondering how I get these measurements right and the tips from the video were extremely useful! I have also found the needed measurements from mine in the Manual. But alas it seems theres one problem left. I have prepared everything and removed the screws (4,8) as instructed. But the gear on the horizontal shaft does not move or rotate an inch. I understood from the manual that after loosening the screws I could retract it to disengage with the wheel on the vertical shaft, allowing me to adjust the hook in the proper position before engaging and fixing the gear in place again. But I absolutely can't get it to move and didn't want to use more force in case I misunderstood how this steps works. Did I misunderstand the process or is the gear just very stuck? Kind regards Josh 😇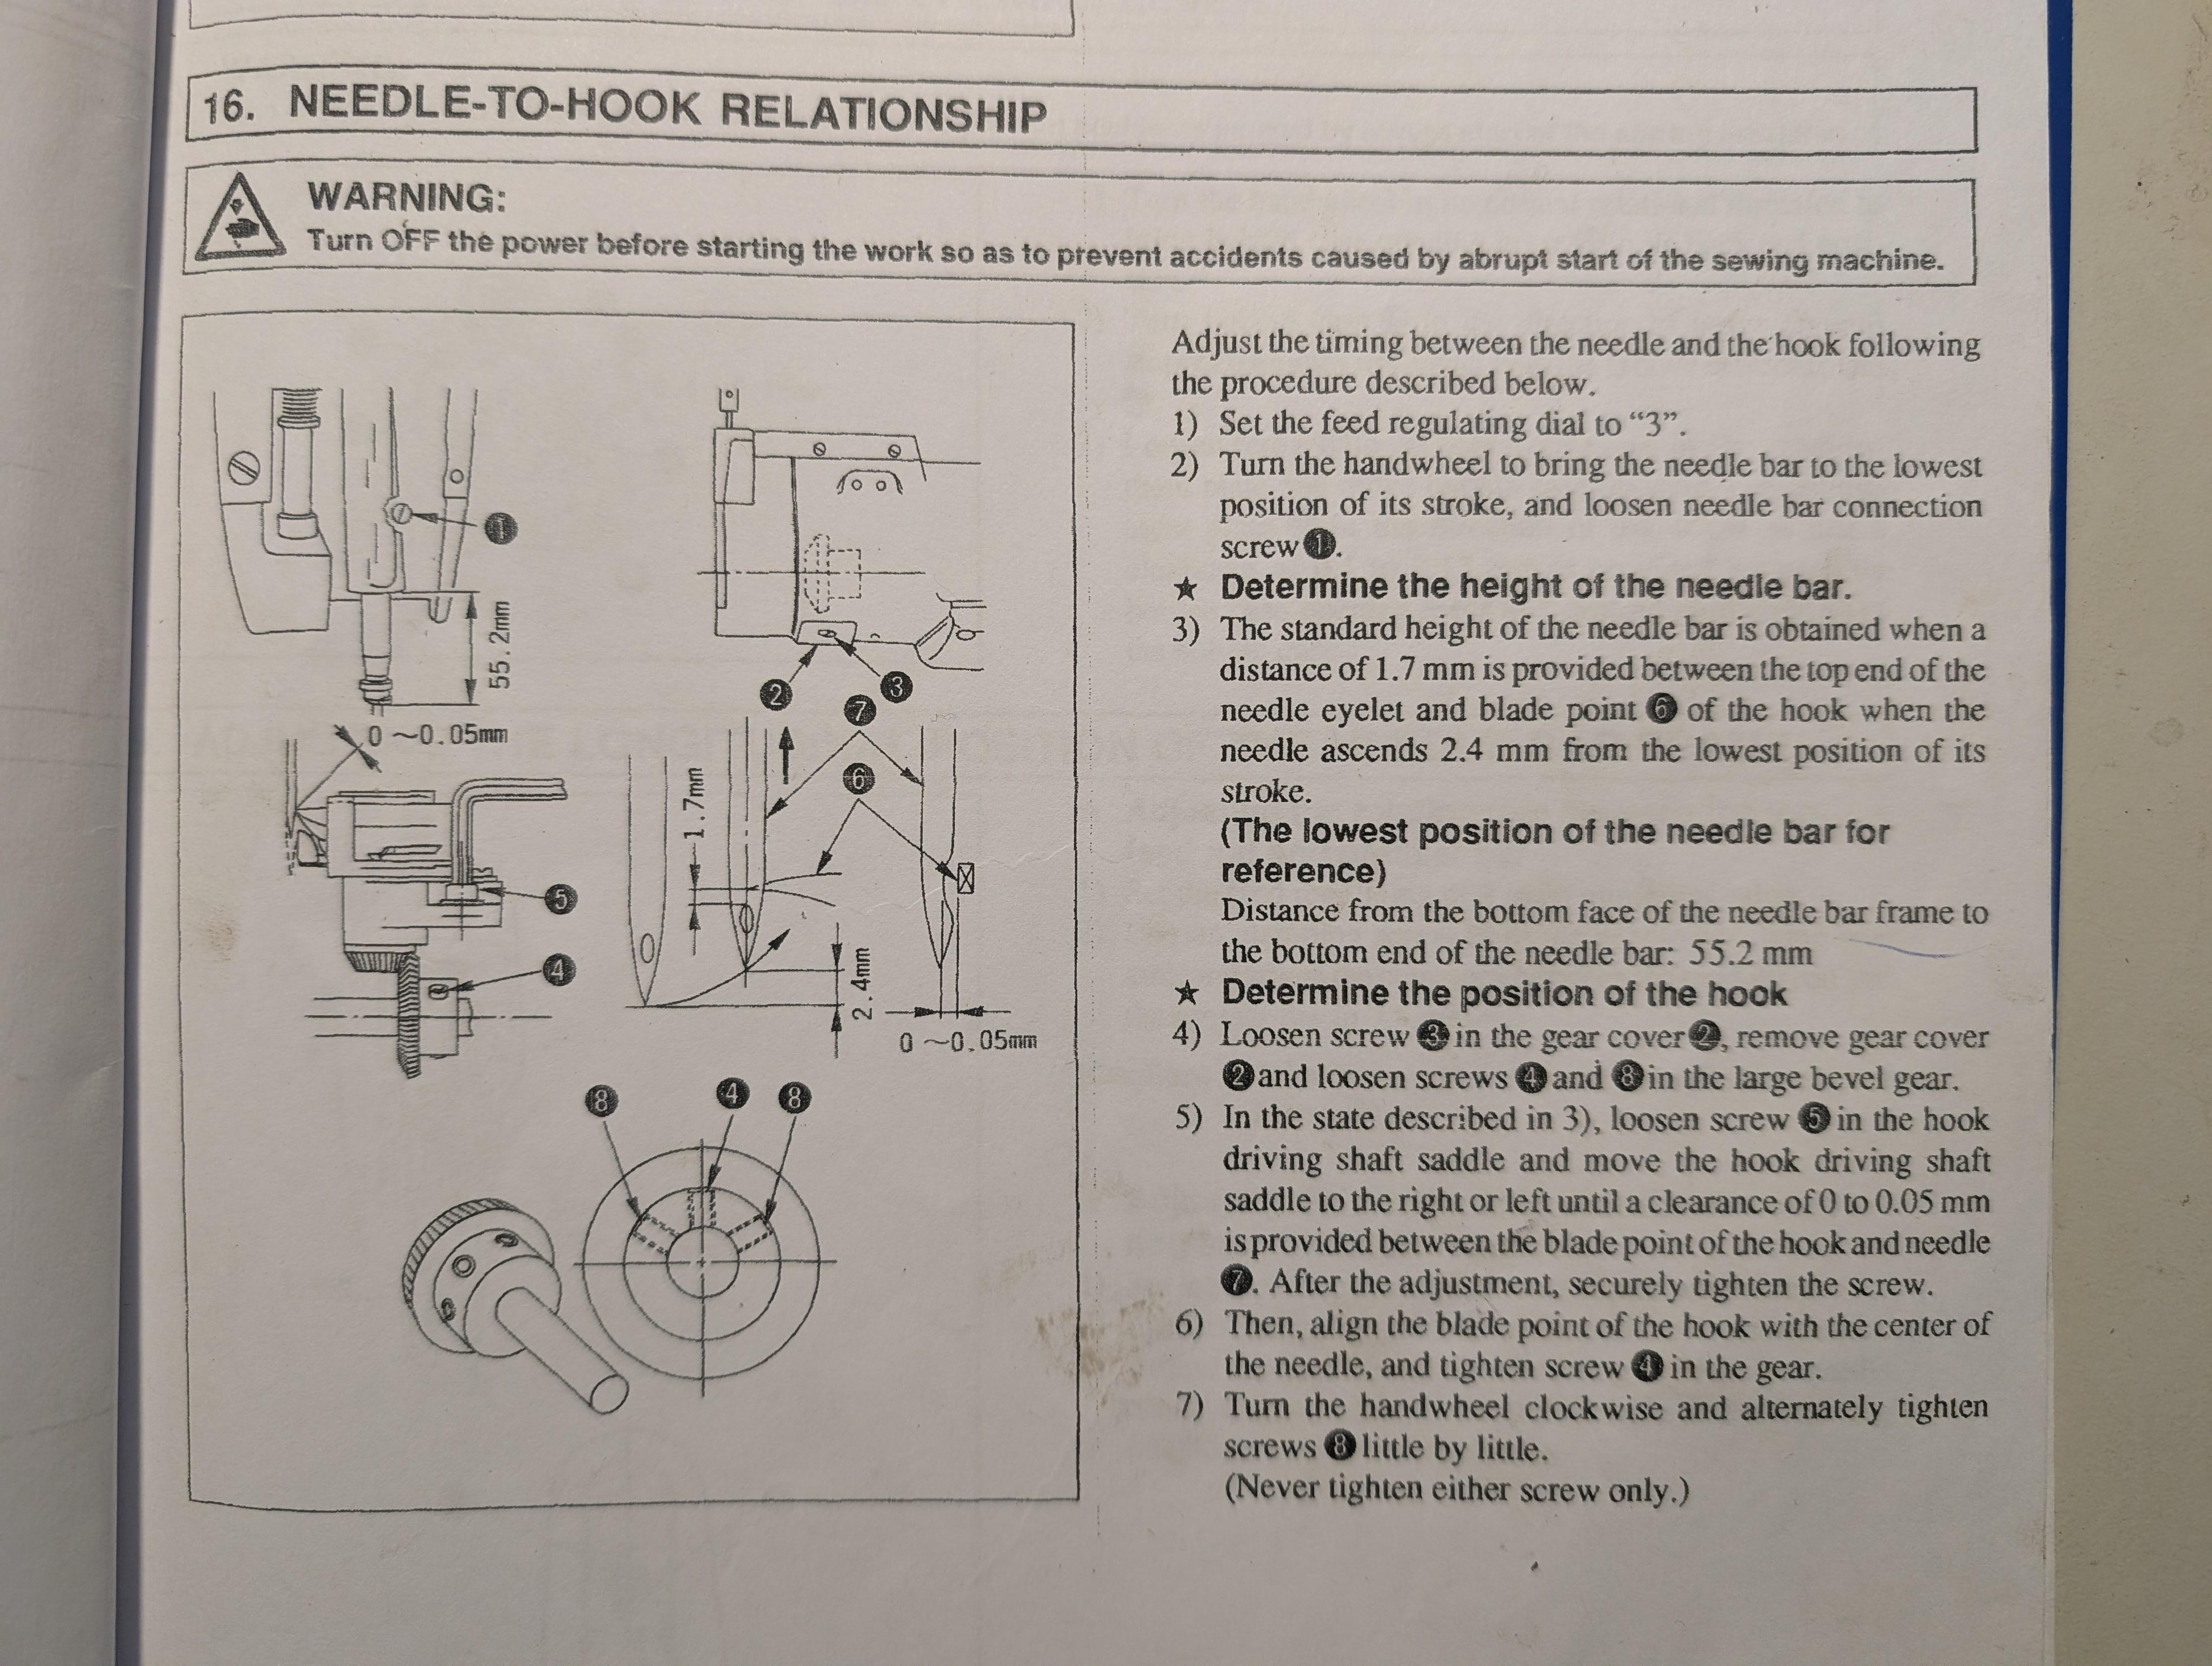
-
That's interesting, After leaving it glued under weight for several hours the table top had an oil slick , I thought it was glue residual but your comment about oil sounds correct. How would I wash 3 sides of leather and how will it effect the color and longevity of the leather? At the present time, it matches the color of my bike seat and graphics perfectly. The last batch of red leather (different brand) I used for bike bags faded to brown in only one summer (it was always protected under a 4duck canvas tarp I built for it except when riding). Will this leather fade to brown or worse yet pink if I wash the oil out?
-
I tried going to that link to check out the leather but the Tandy website keeps redirecting me to the UK site which doesn't have that leather Any hoo, it sounds like the leather might have oil on it or in it. It might be intentional or accidental I had a piece of leather that wouldn't take contact glue and stick. Other pieces cut from the same hide were fine with the glue What I did was give the piece a good cleaning with acetone. That seemed to cure the problem. I don't think Feibings Dye Prep or anything similar would have been aggressive enuf for the job
-
Thanks a lot! That confirms what parts I'm looking for, also confirms similarity and partially shared same exact parts with 120-22 I'm also found chart confirming that shuttle is interchangeable with: Singer 7-33 class, parts number: #58669 Seiko SLH-2B and SLH-2B-FH-1H, parts number: #35224 Hightex 733, parts number: #HSH-7-9 Consew model 733R-5, parts number: #35224 Durkopp Adler 120, Parts #120-15-018-4 Global WF 920 XLH, parts number: HH530F7101 This Adler 20-20 diagram gives different part number for shuttle when compared to 120-22 model, but I'm relatively sure it would still work. Also presser feet should be good if taken from Consew 733R It looks like that part keeping shuttle in place (is it called race or what?) is the hardest one to find. Now I only need to find reasonable source for these, I'll try to find original parts first, if that's not going to work out I now have a plan with these.
-
Yeppers! You scored the Motherload with that type of adjuster. You can position the brake pad as close or far away as you want, within the limits of the housing.
-
 salinas joined the community
 -
Aaaaaand I feel even more inadequate…
-
That is a lot of patience and finesse there. Nice work.
-
Here is a parts diagram of the Adler 20-20 - hope it helps Adler_Parts_class_20-20.pdf