

All Activity
- Past hour
-

spring flowers and good food
chuck123wapati replied to chuck123wapati's topic in All About Us and Off Topic
Its a suburban lol Its my nickname for this thing I drive out in the boonies (offroad). There is still plenty of nowhere out here to get lost, stuck, or broke down in. 6" lift, 37"deep lug tires, 10,000 lb winch gets me through the shit and back home. i would look great driving her to elk camp with that red hat of yours, which is really cool btw, but i doubt i would make it out of the Dixon Bar safe with it on LOL.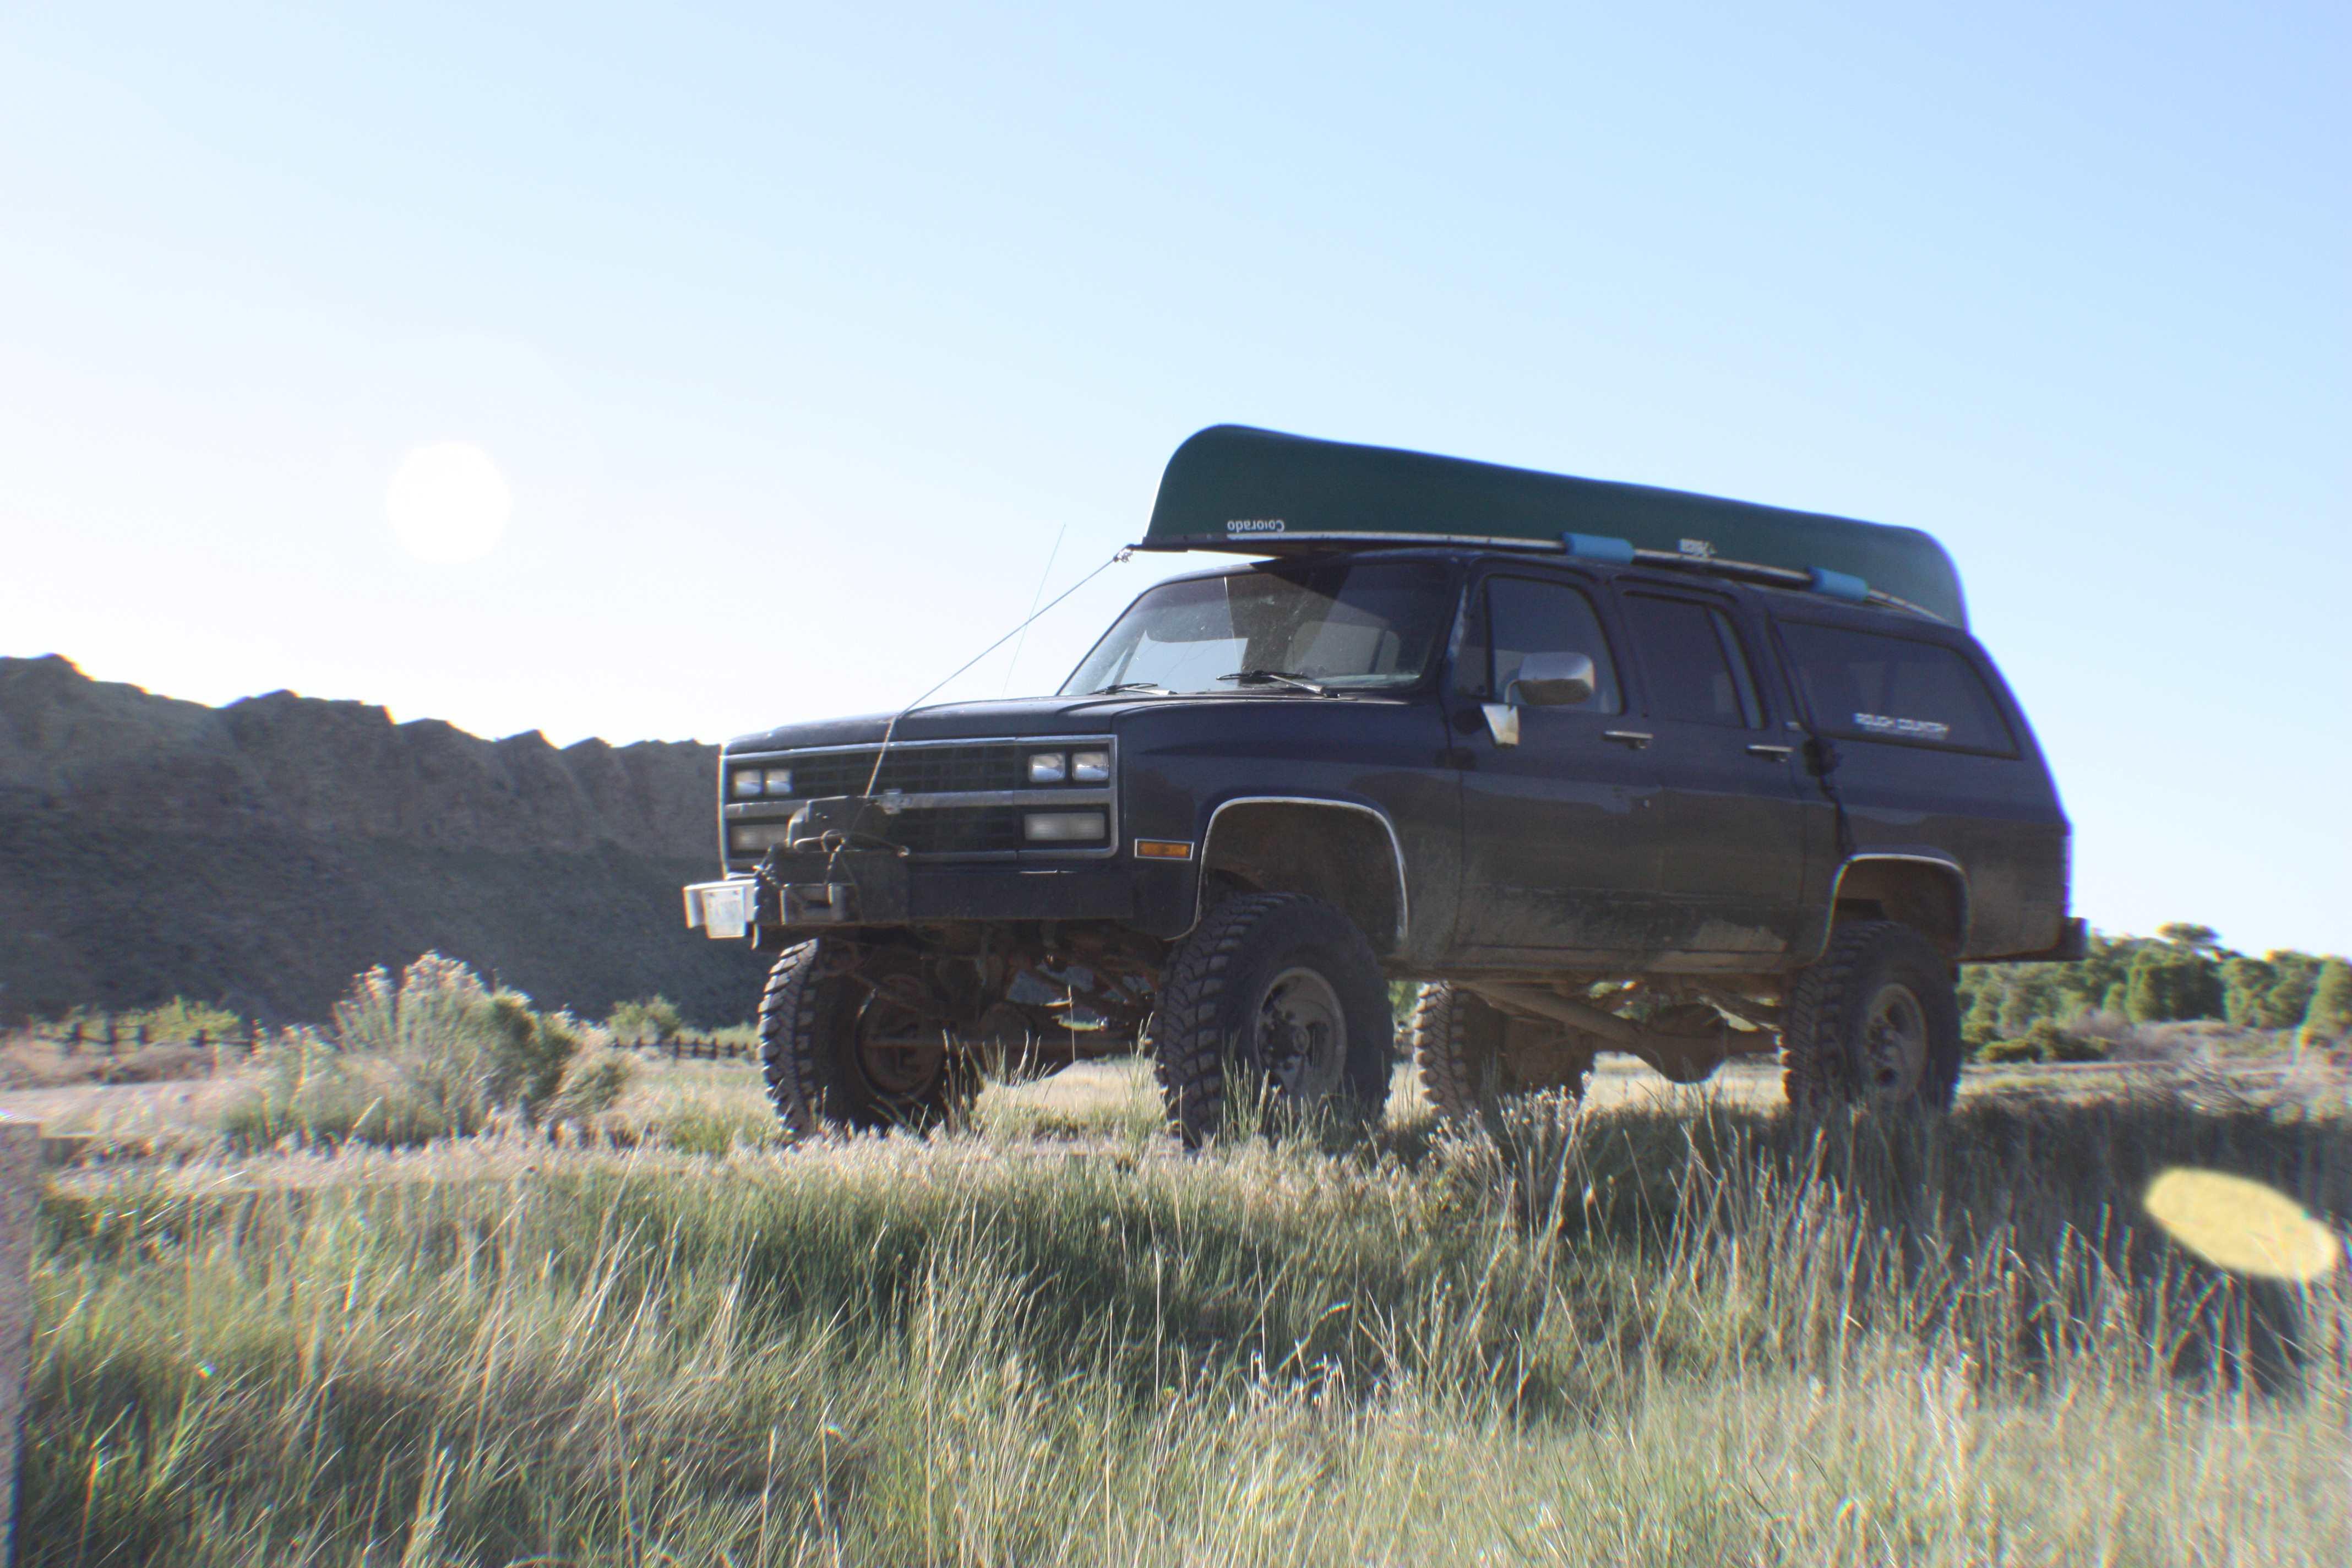
-
Thank you! That's a huge help. I do have liquid wax running through the wax pot and I'm also waxing the thread on the bobbin. I might try putting a bit of silicone on the awl itself. See if that helps. But I'll definetly try switching around the needle and awl sizes to see if that helps. And tightening down the presser foot too. Thank you!
-
I applaud your skills Chuck but I do wish you guys would talk English. Wots a burb?
-
Don't order your rabbit food from Amazon, it's a scam. The other day I put in an order and almost as soon as I got it, they sent me an email wanting my feedback.
-
spring flowers and good food
chuck123wapati replied to chuck123wapati's topic in All About Us and Off Topic
just the right size for two !! Dang that looks good. All ive been cooking is mud lol, but that is kinda fun too. I've been wrenchin on the Burb, getting it ready for the hunt and winter. It was missing and running like crap so i decided to give her a tune-up. The plugs were pretty worn so i replaced them but he darn distributor cap i dont think was ever replaced lol. The rotor button was completely worn down and the terminals had big gobs of carbon burnt to them. So i figured it solved the problem, it ran better but still was not right so i rebuilt the throttle body next and found a vacuum port completely plugged with mud and someone had tried to set the idle by drilling out the idle screw, which is factory sealed, that throws off the ECM which controls air gas mix and was the biggest problem with the way she ran and the hardest to find as that shouldnt happen. Adjusted that back to the original reset the downshift cable which was also set to short and not allowing full throtle or proper shifting. I also threw on a new muffler, when i cut it off i found the one on it was to small it had just been shoved inside the exhaust pipe and welded on 2 1/2" muffler on a 3" exhaust so it had too much back pressure. Damn thing runs like new now. My son bought this thing used then traded it to us It was running well then, or so i thought, so i just drove it for a few years lol. Now for the hard stuff, My daughter gave us another burb, same year so I'm switching out the radiator supports, then fixing the other burb for my son to drive as well as having an unlifted unmodded truck for the road and town driving. The days are getting short and the mornings brisk It won't be long until snow flies here. Take care my friend!! Chuck -
Welcome, nice looking products on your website. Brgds Jonas
-
Welcome to the forum, Really nice looking tooling! Brgds Jonas
- Today
-
This was a female spaded English Bulldog about 60lbs. There seems to be more of the Bull "dogge" type dogs like the American and Olde English around then the English Bulldog. What appears to be creeping in is the unpredictability similar to Cocker madness and Springer rage. kgg
-
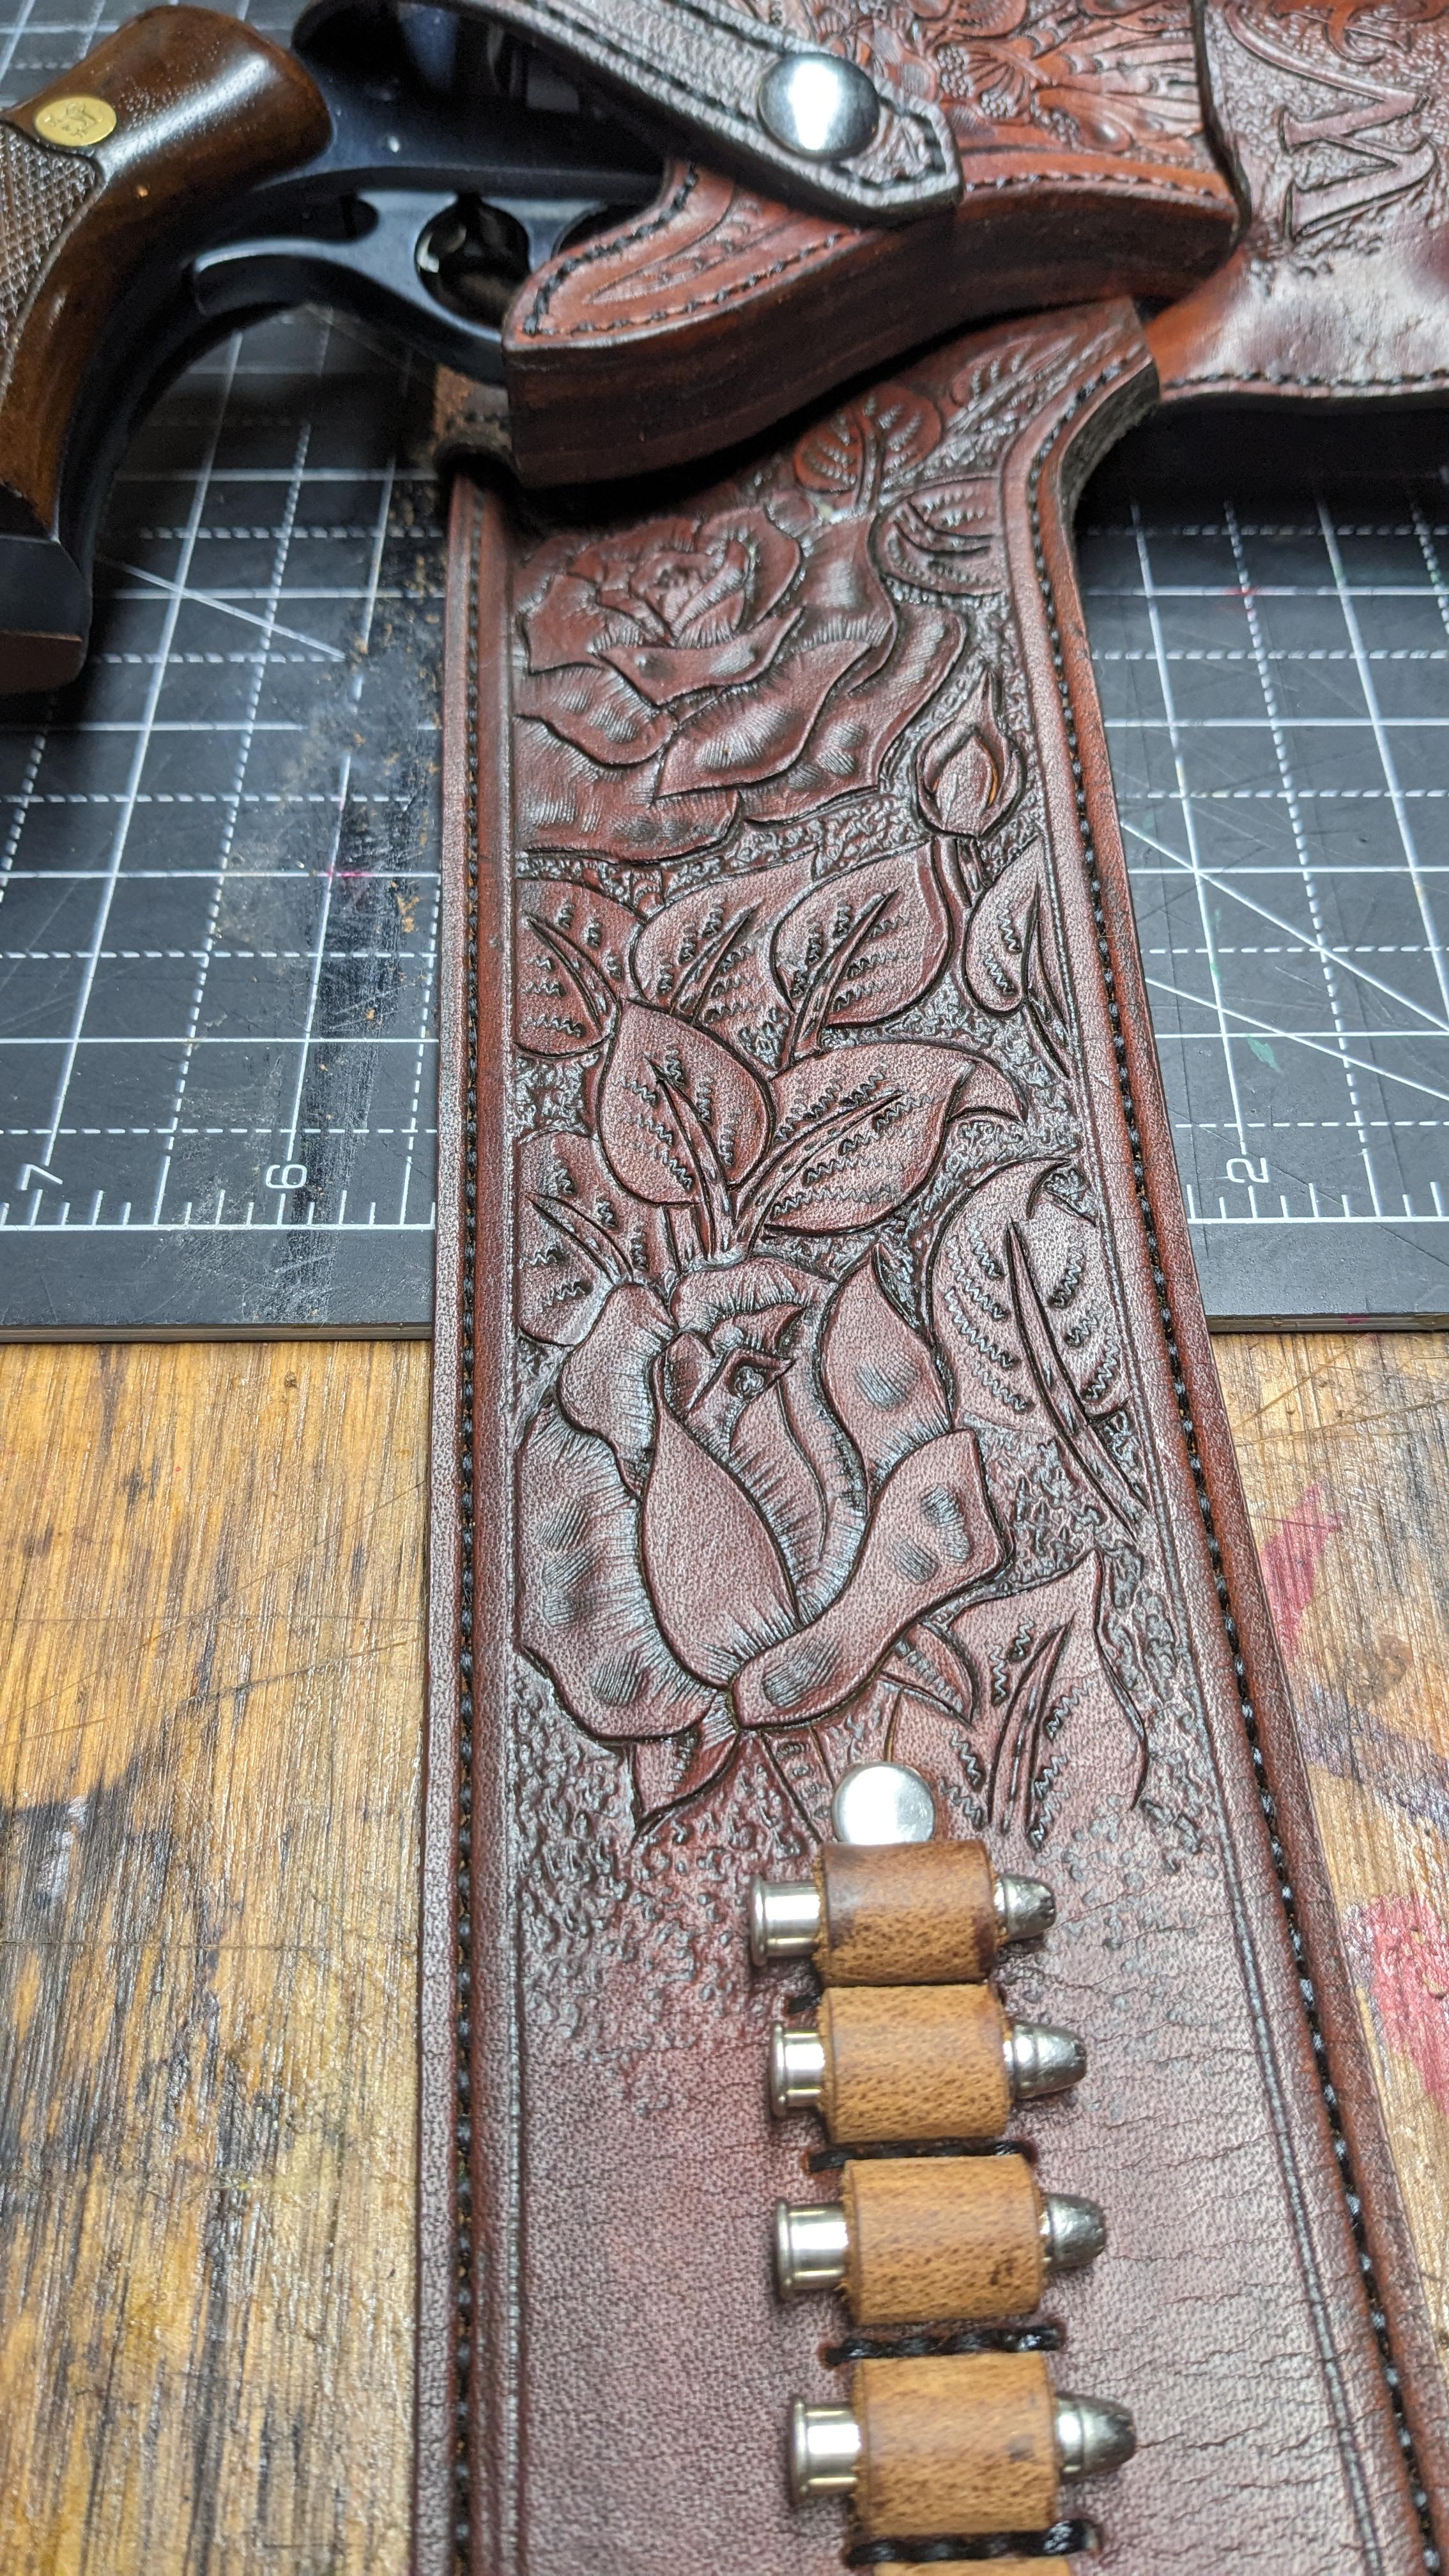
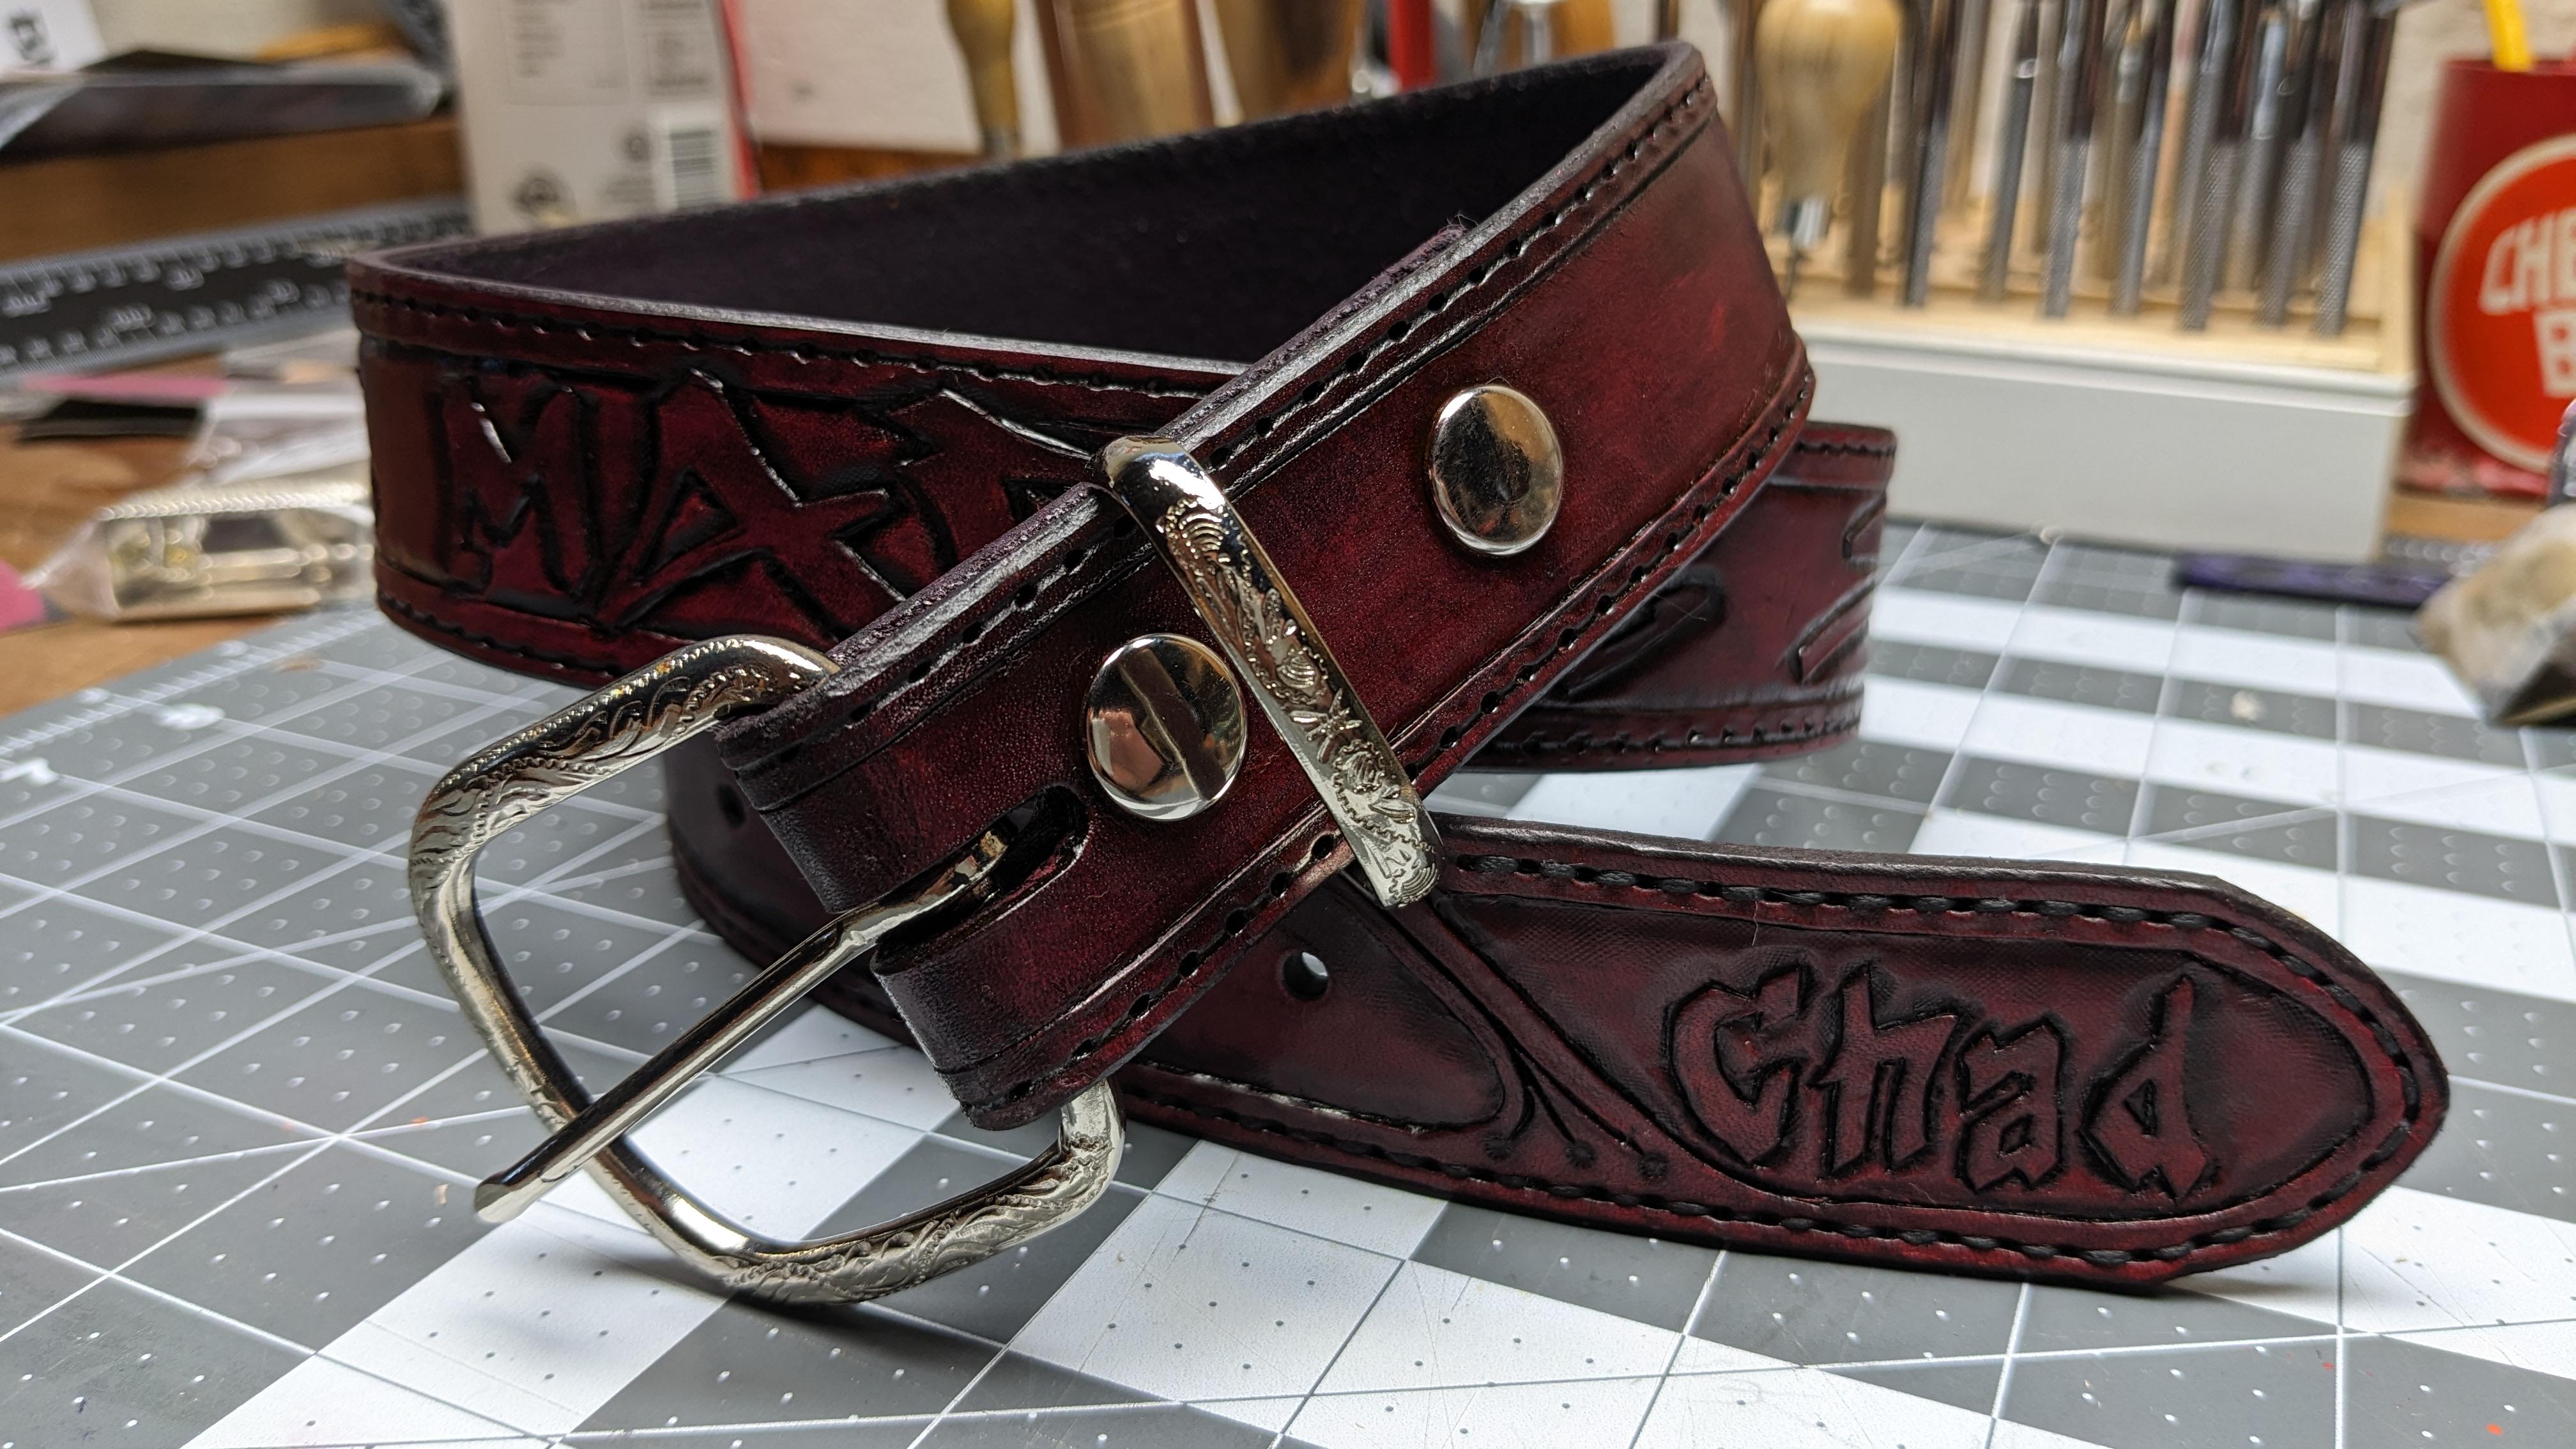
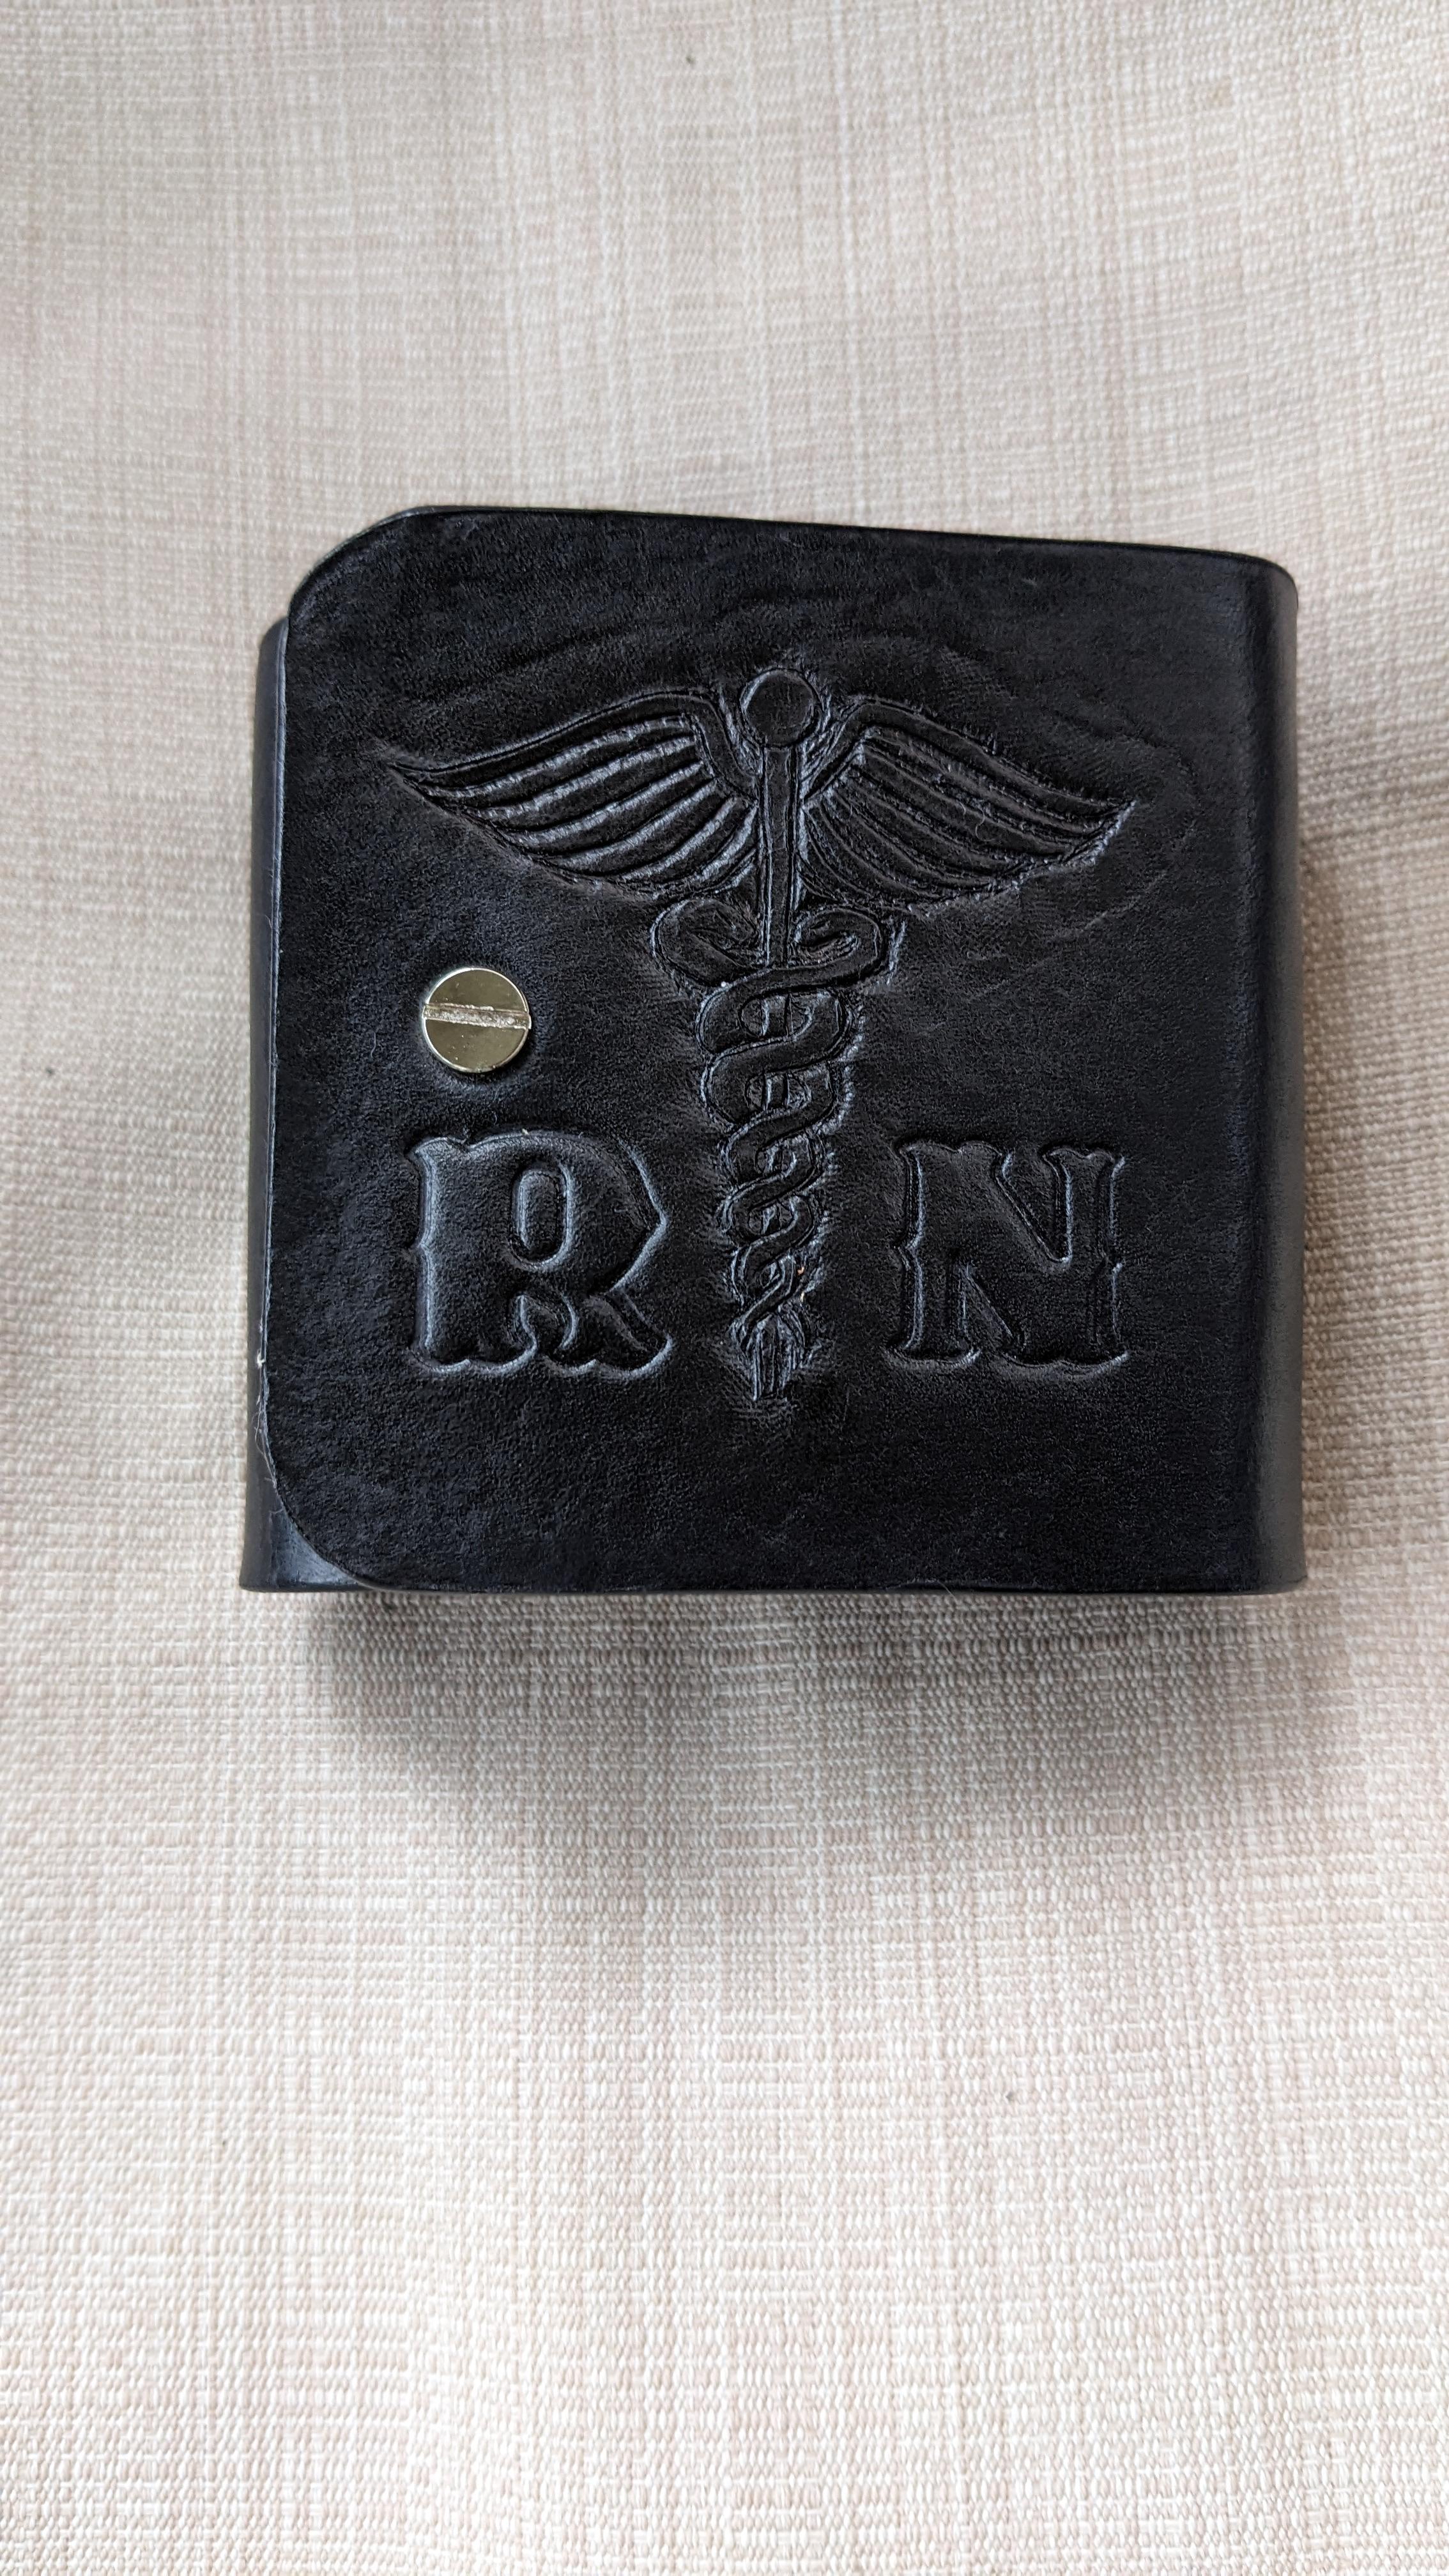
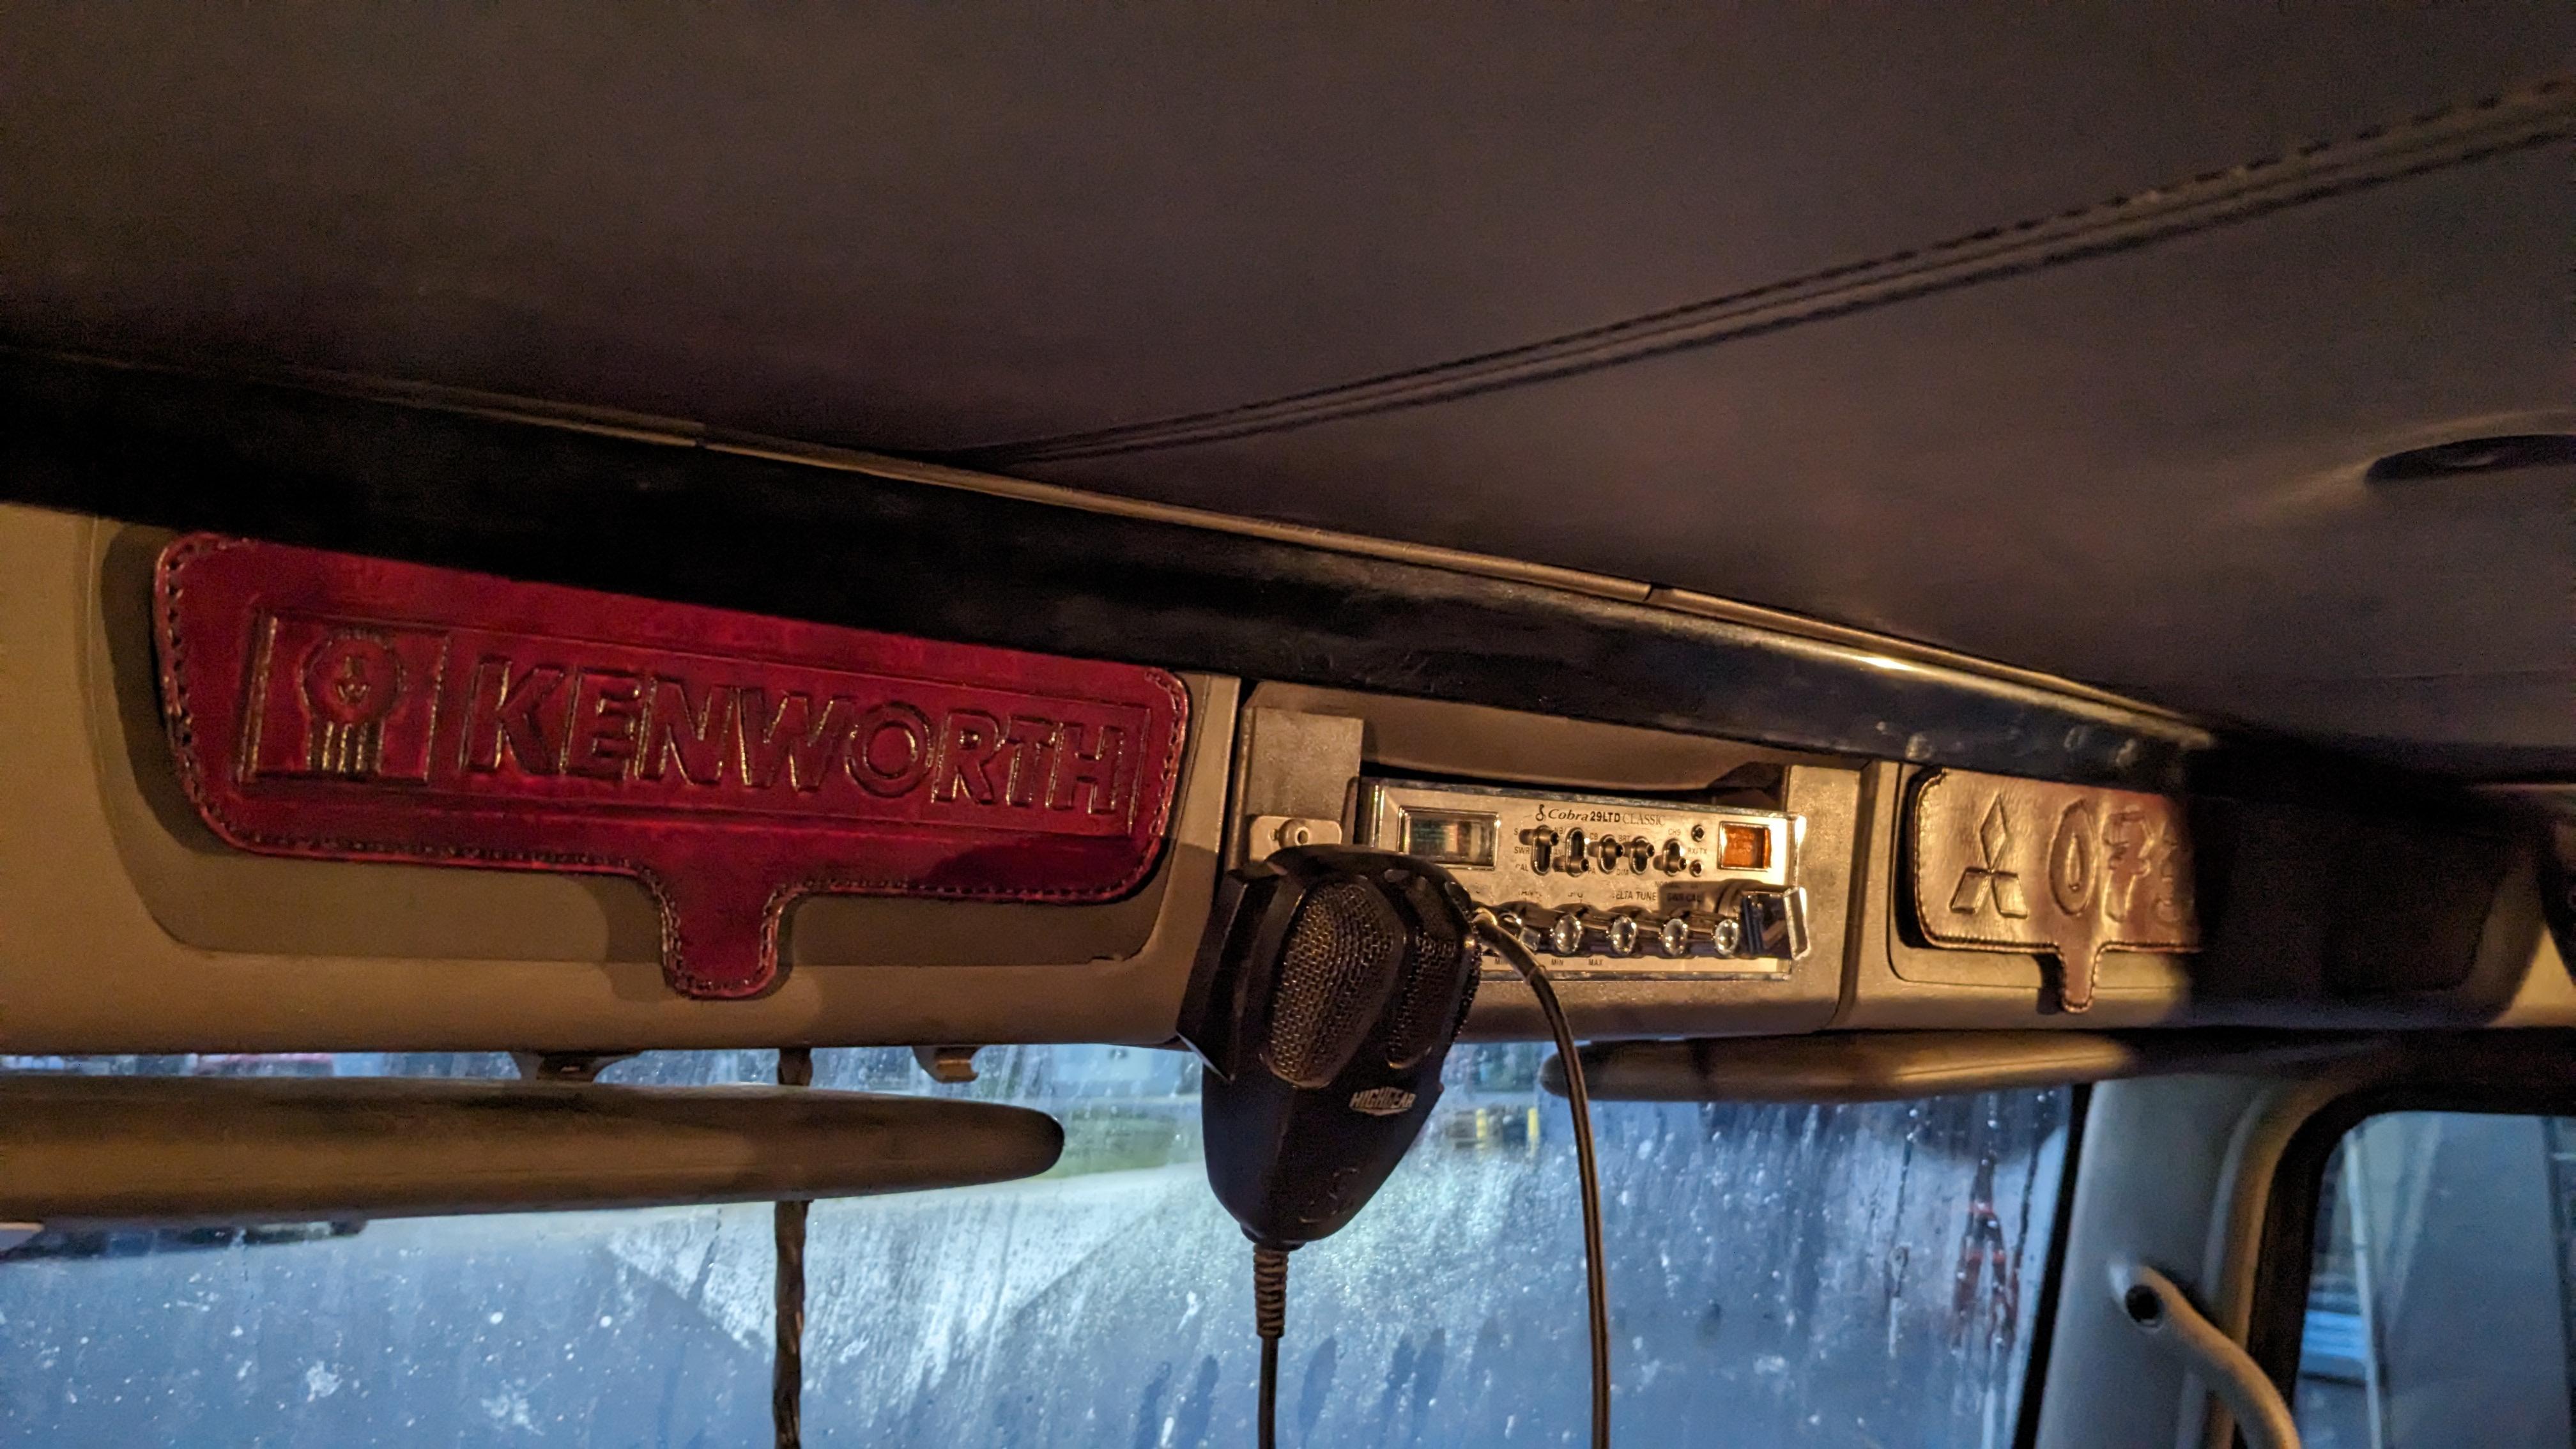
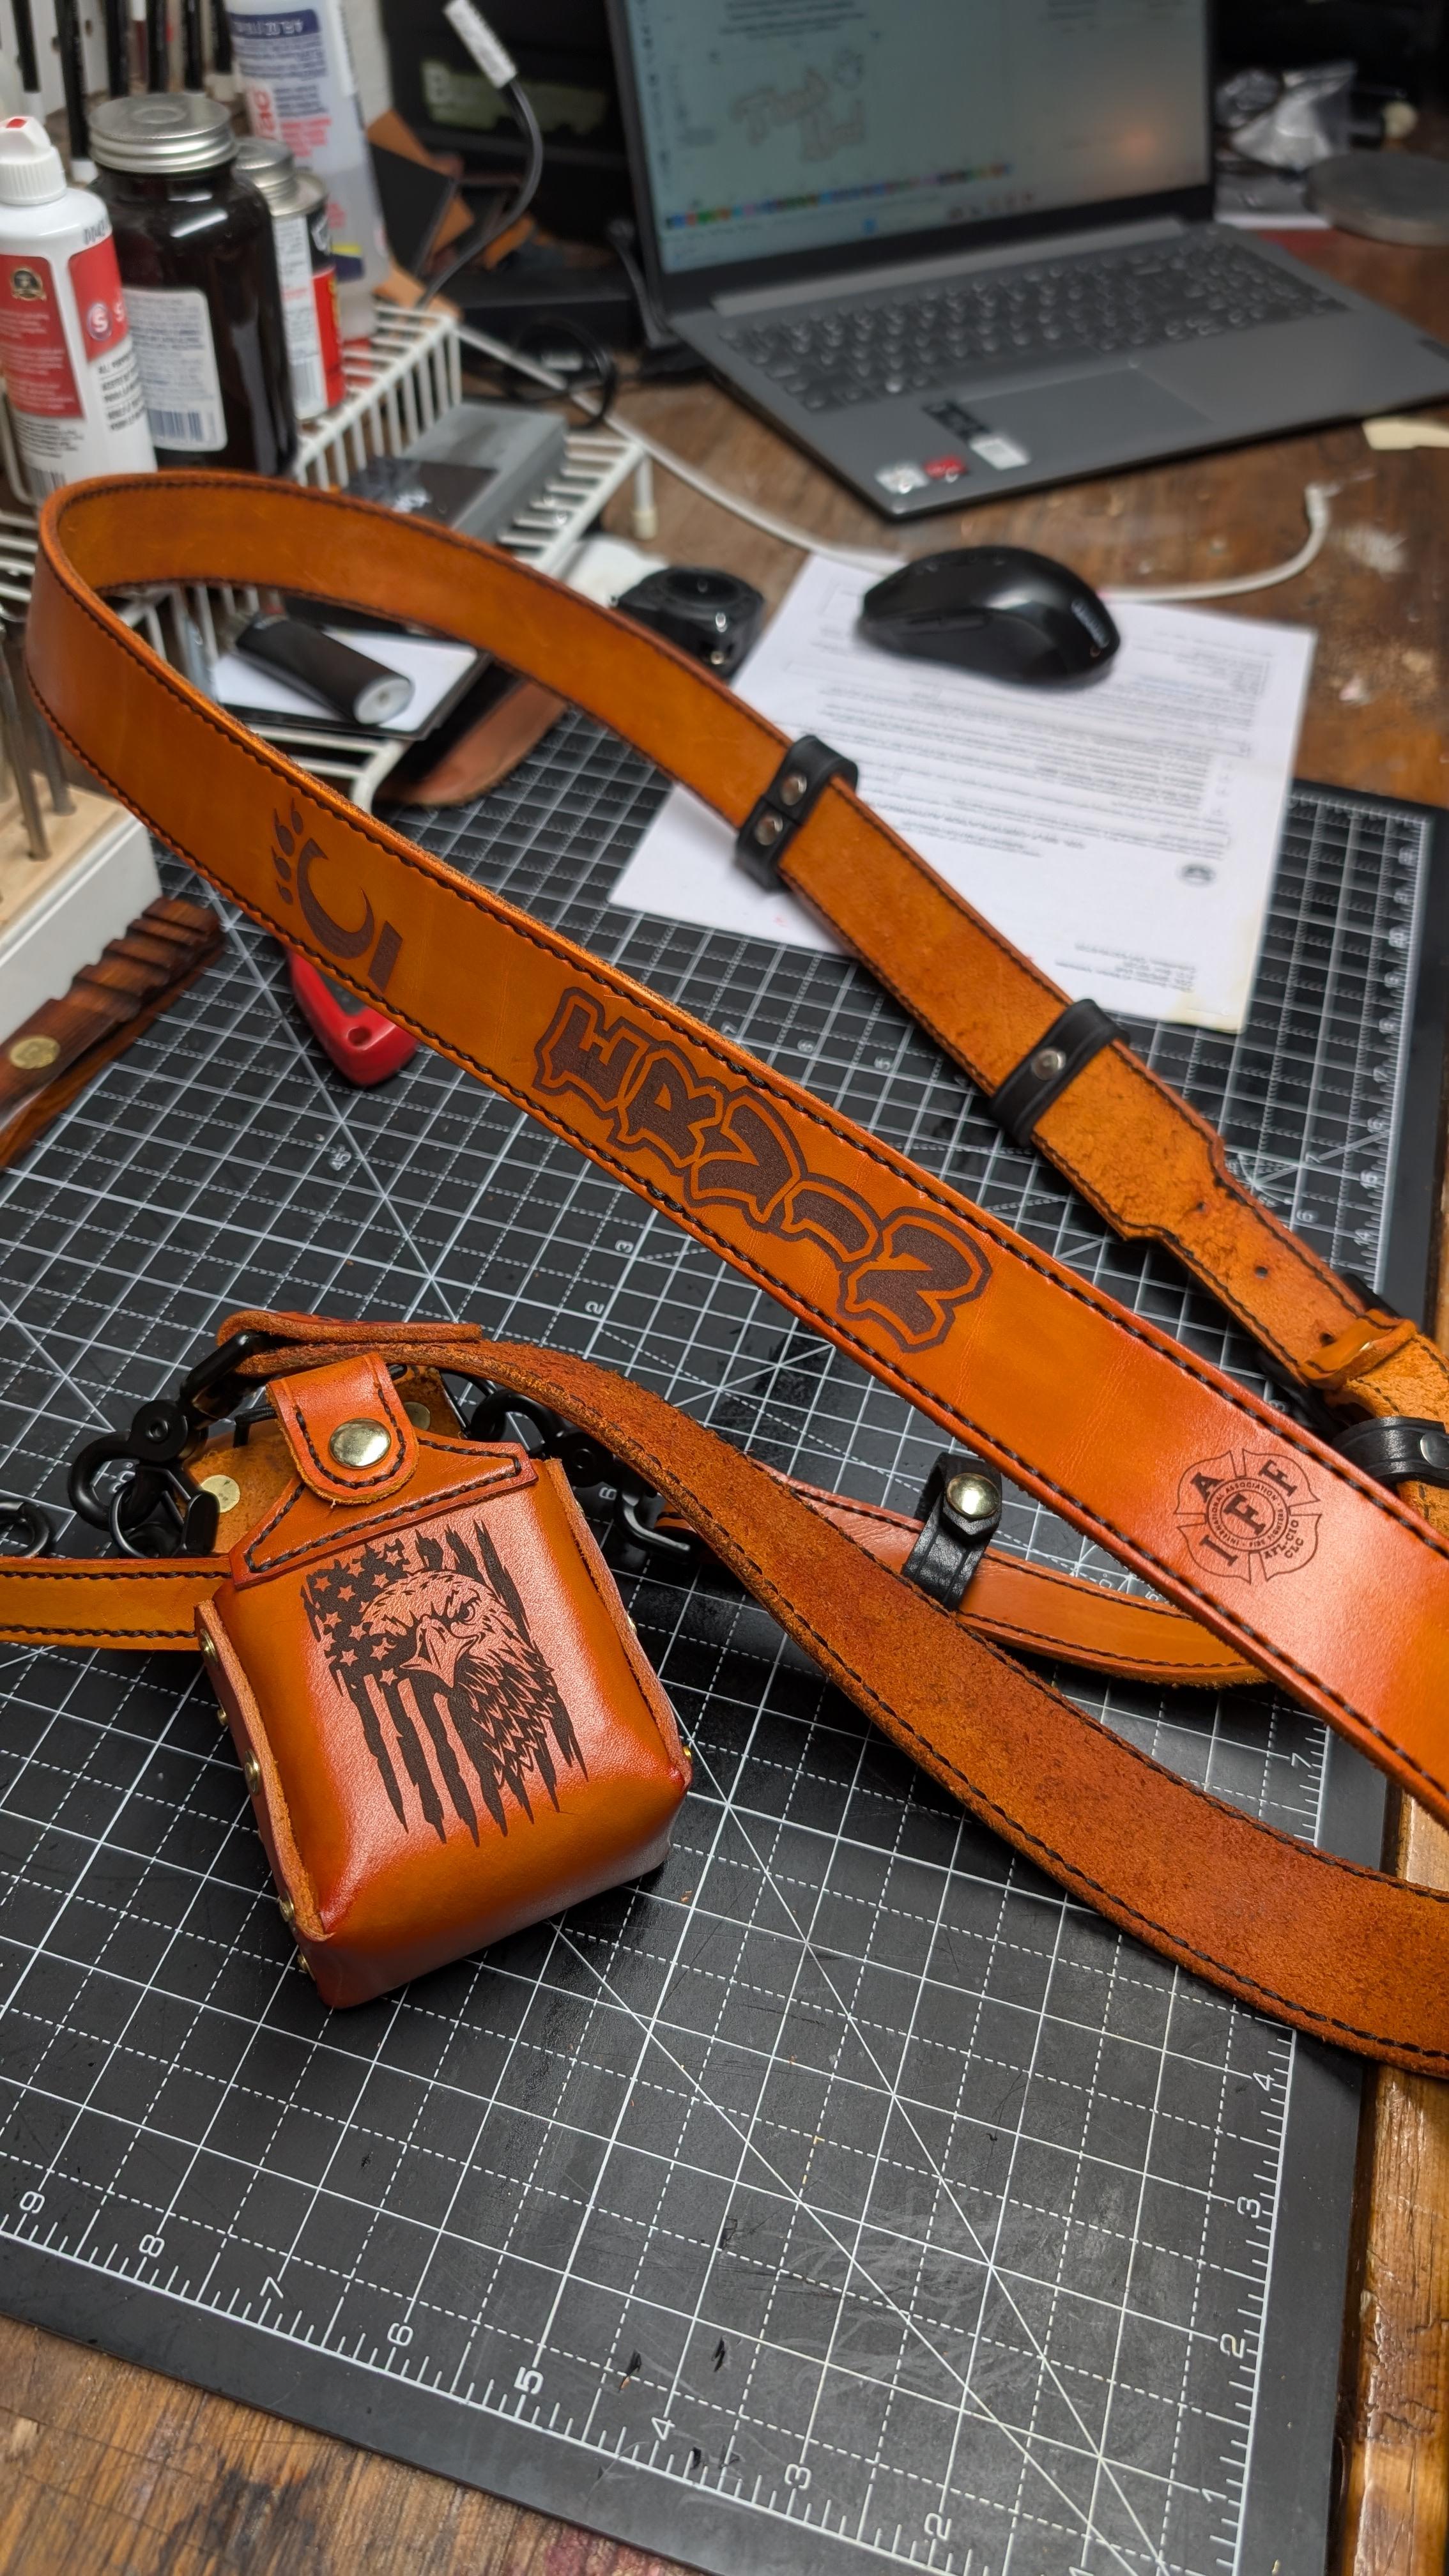
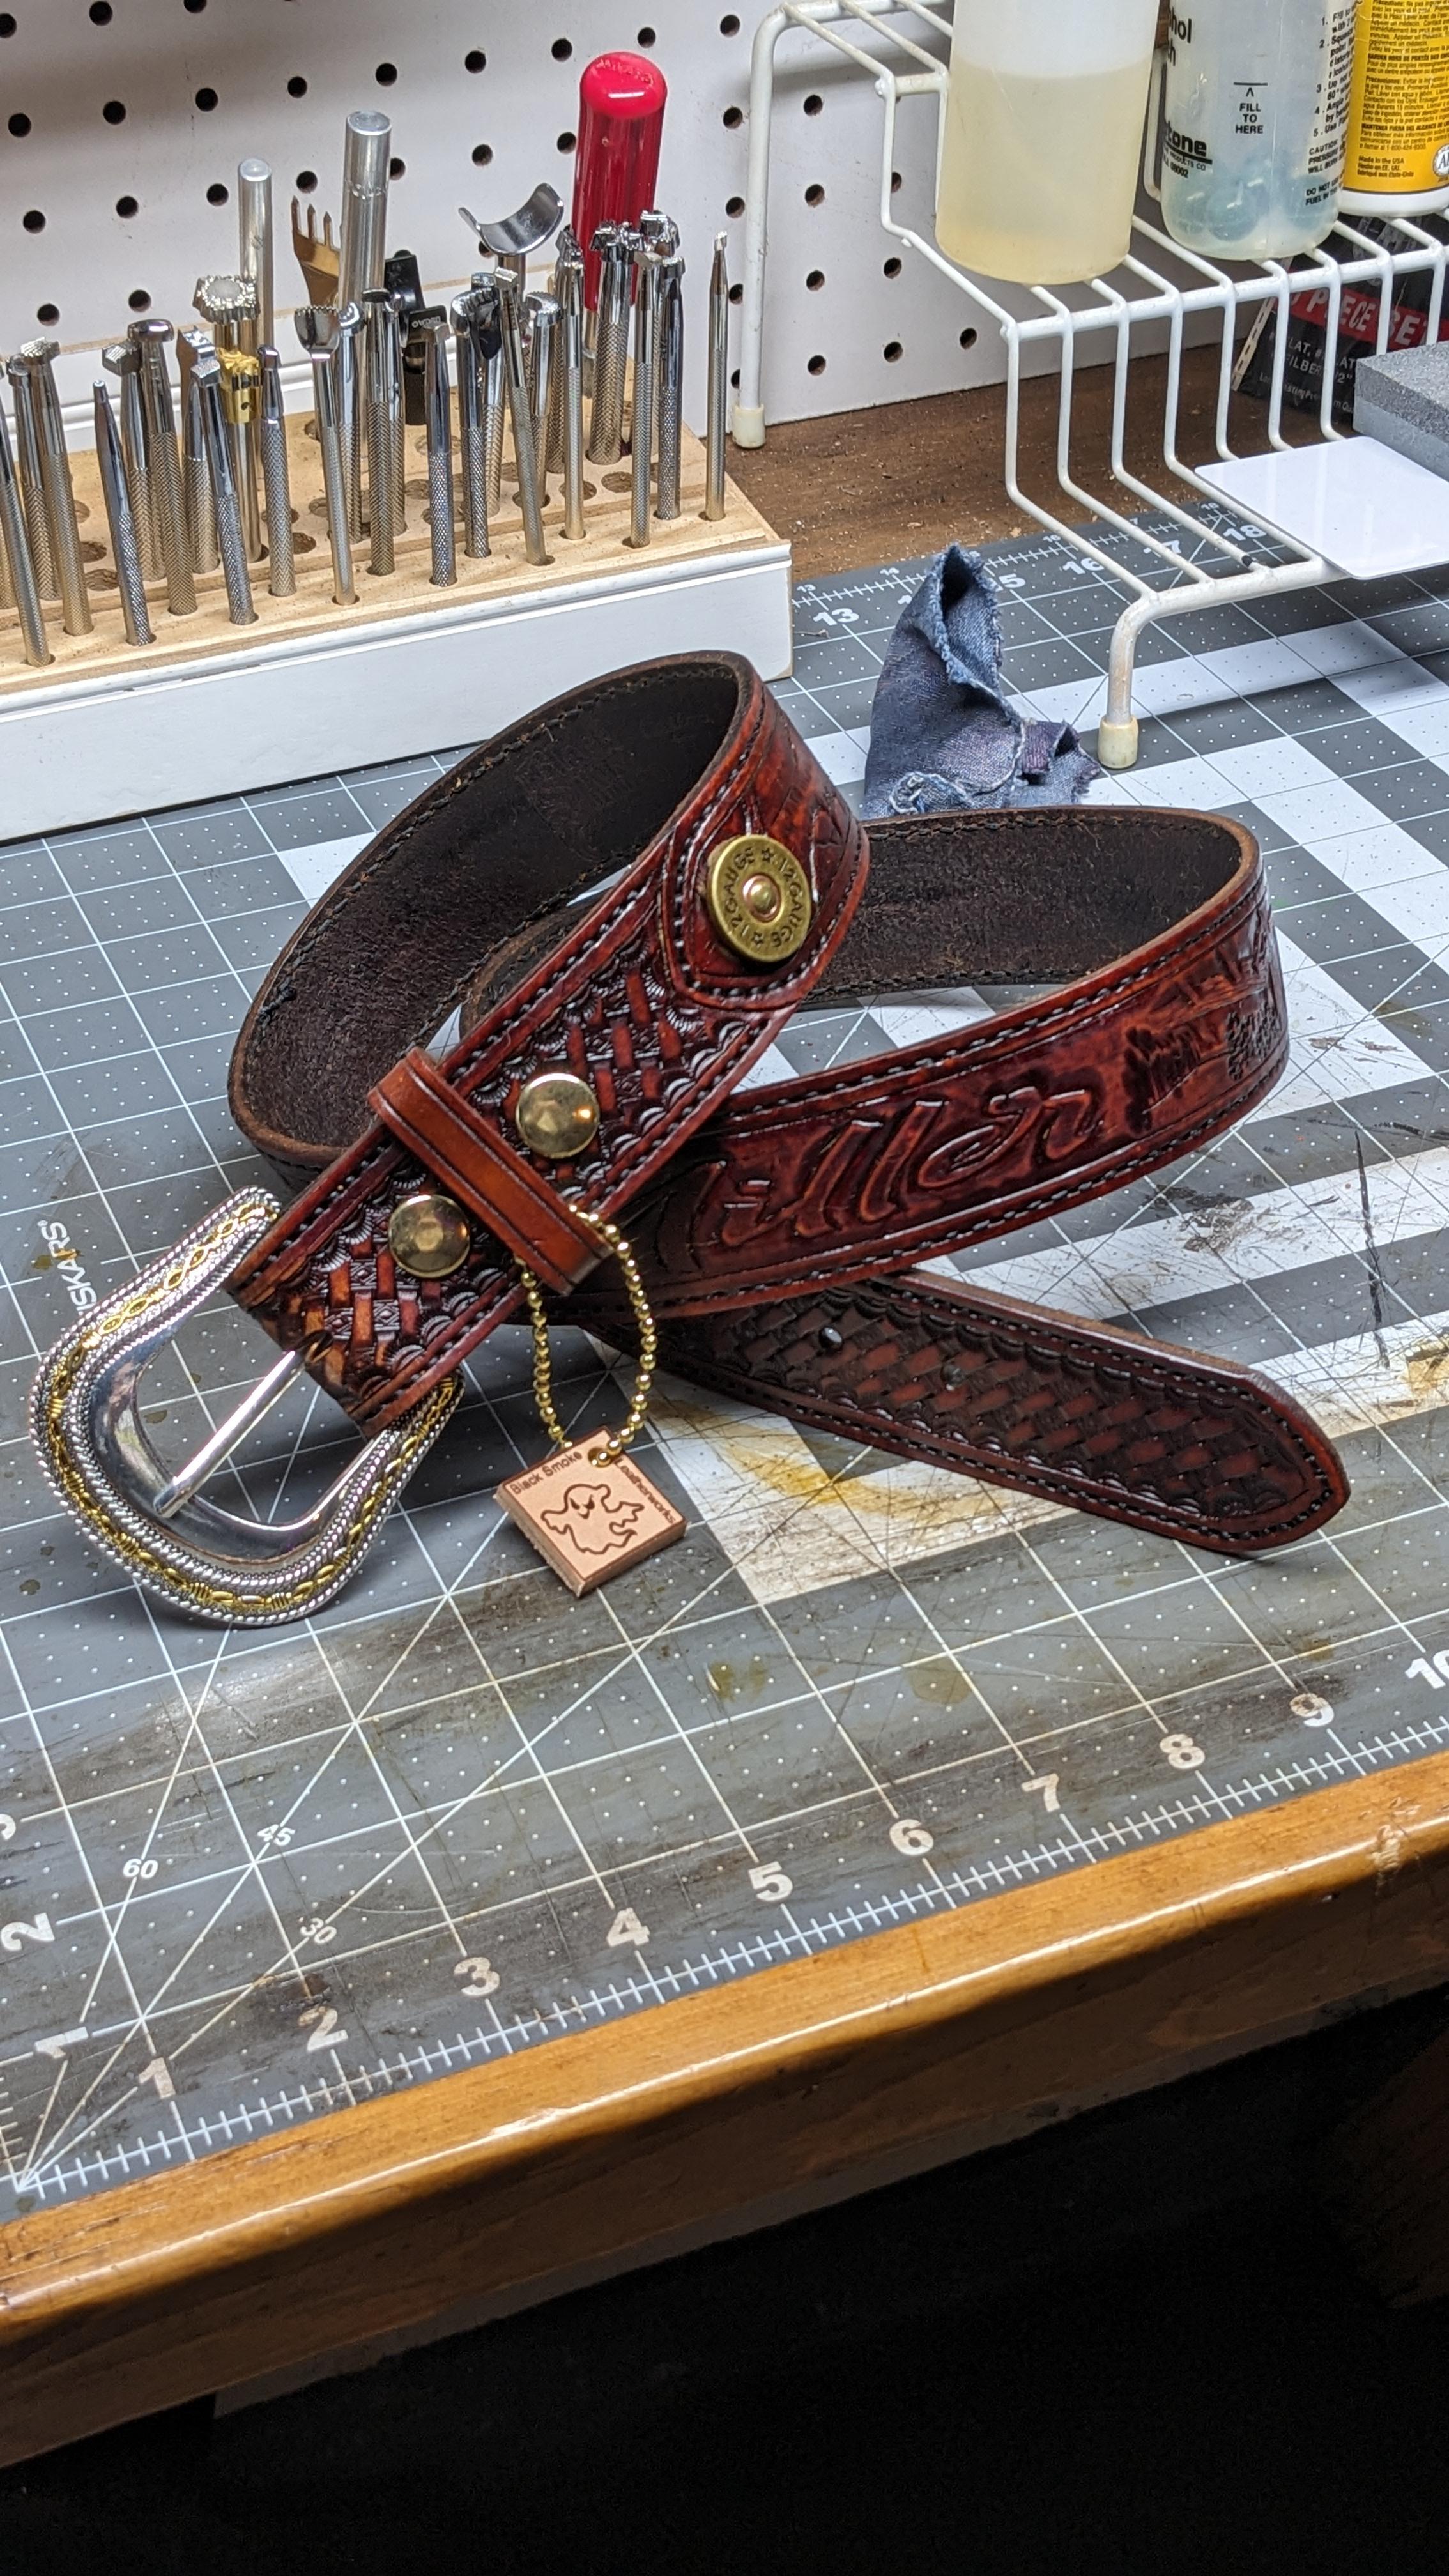
I'm a retired firefighter/Chief. New job is driving a truck for a construction company. I built a center console for my work truck a few years ago. My buddy saw it and challenged me to make a sheath for his custom knife, and so my leatherwork started. I try to keep my projects "old school" traditional styling with carving/tooling as much as possible. Collars, belts, sheaths, holsters and one-off custom pieces seem to be my specialty. Thanks for having me here! IMG_20250130_065640.heic


-
Welcome neighbour! Website looking good. Lots of friends here.
-
Thanks Bill. Appreciate it.
-
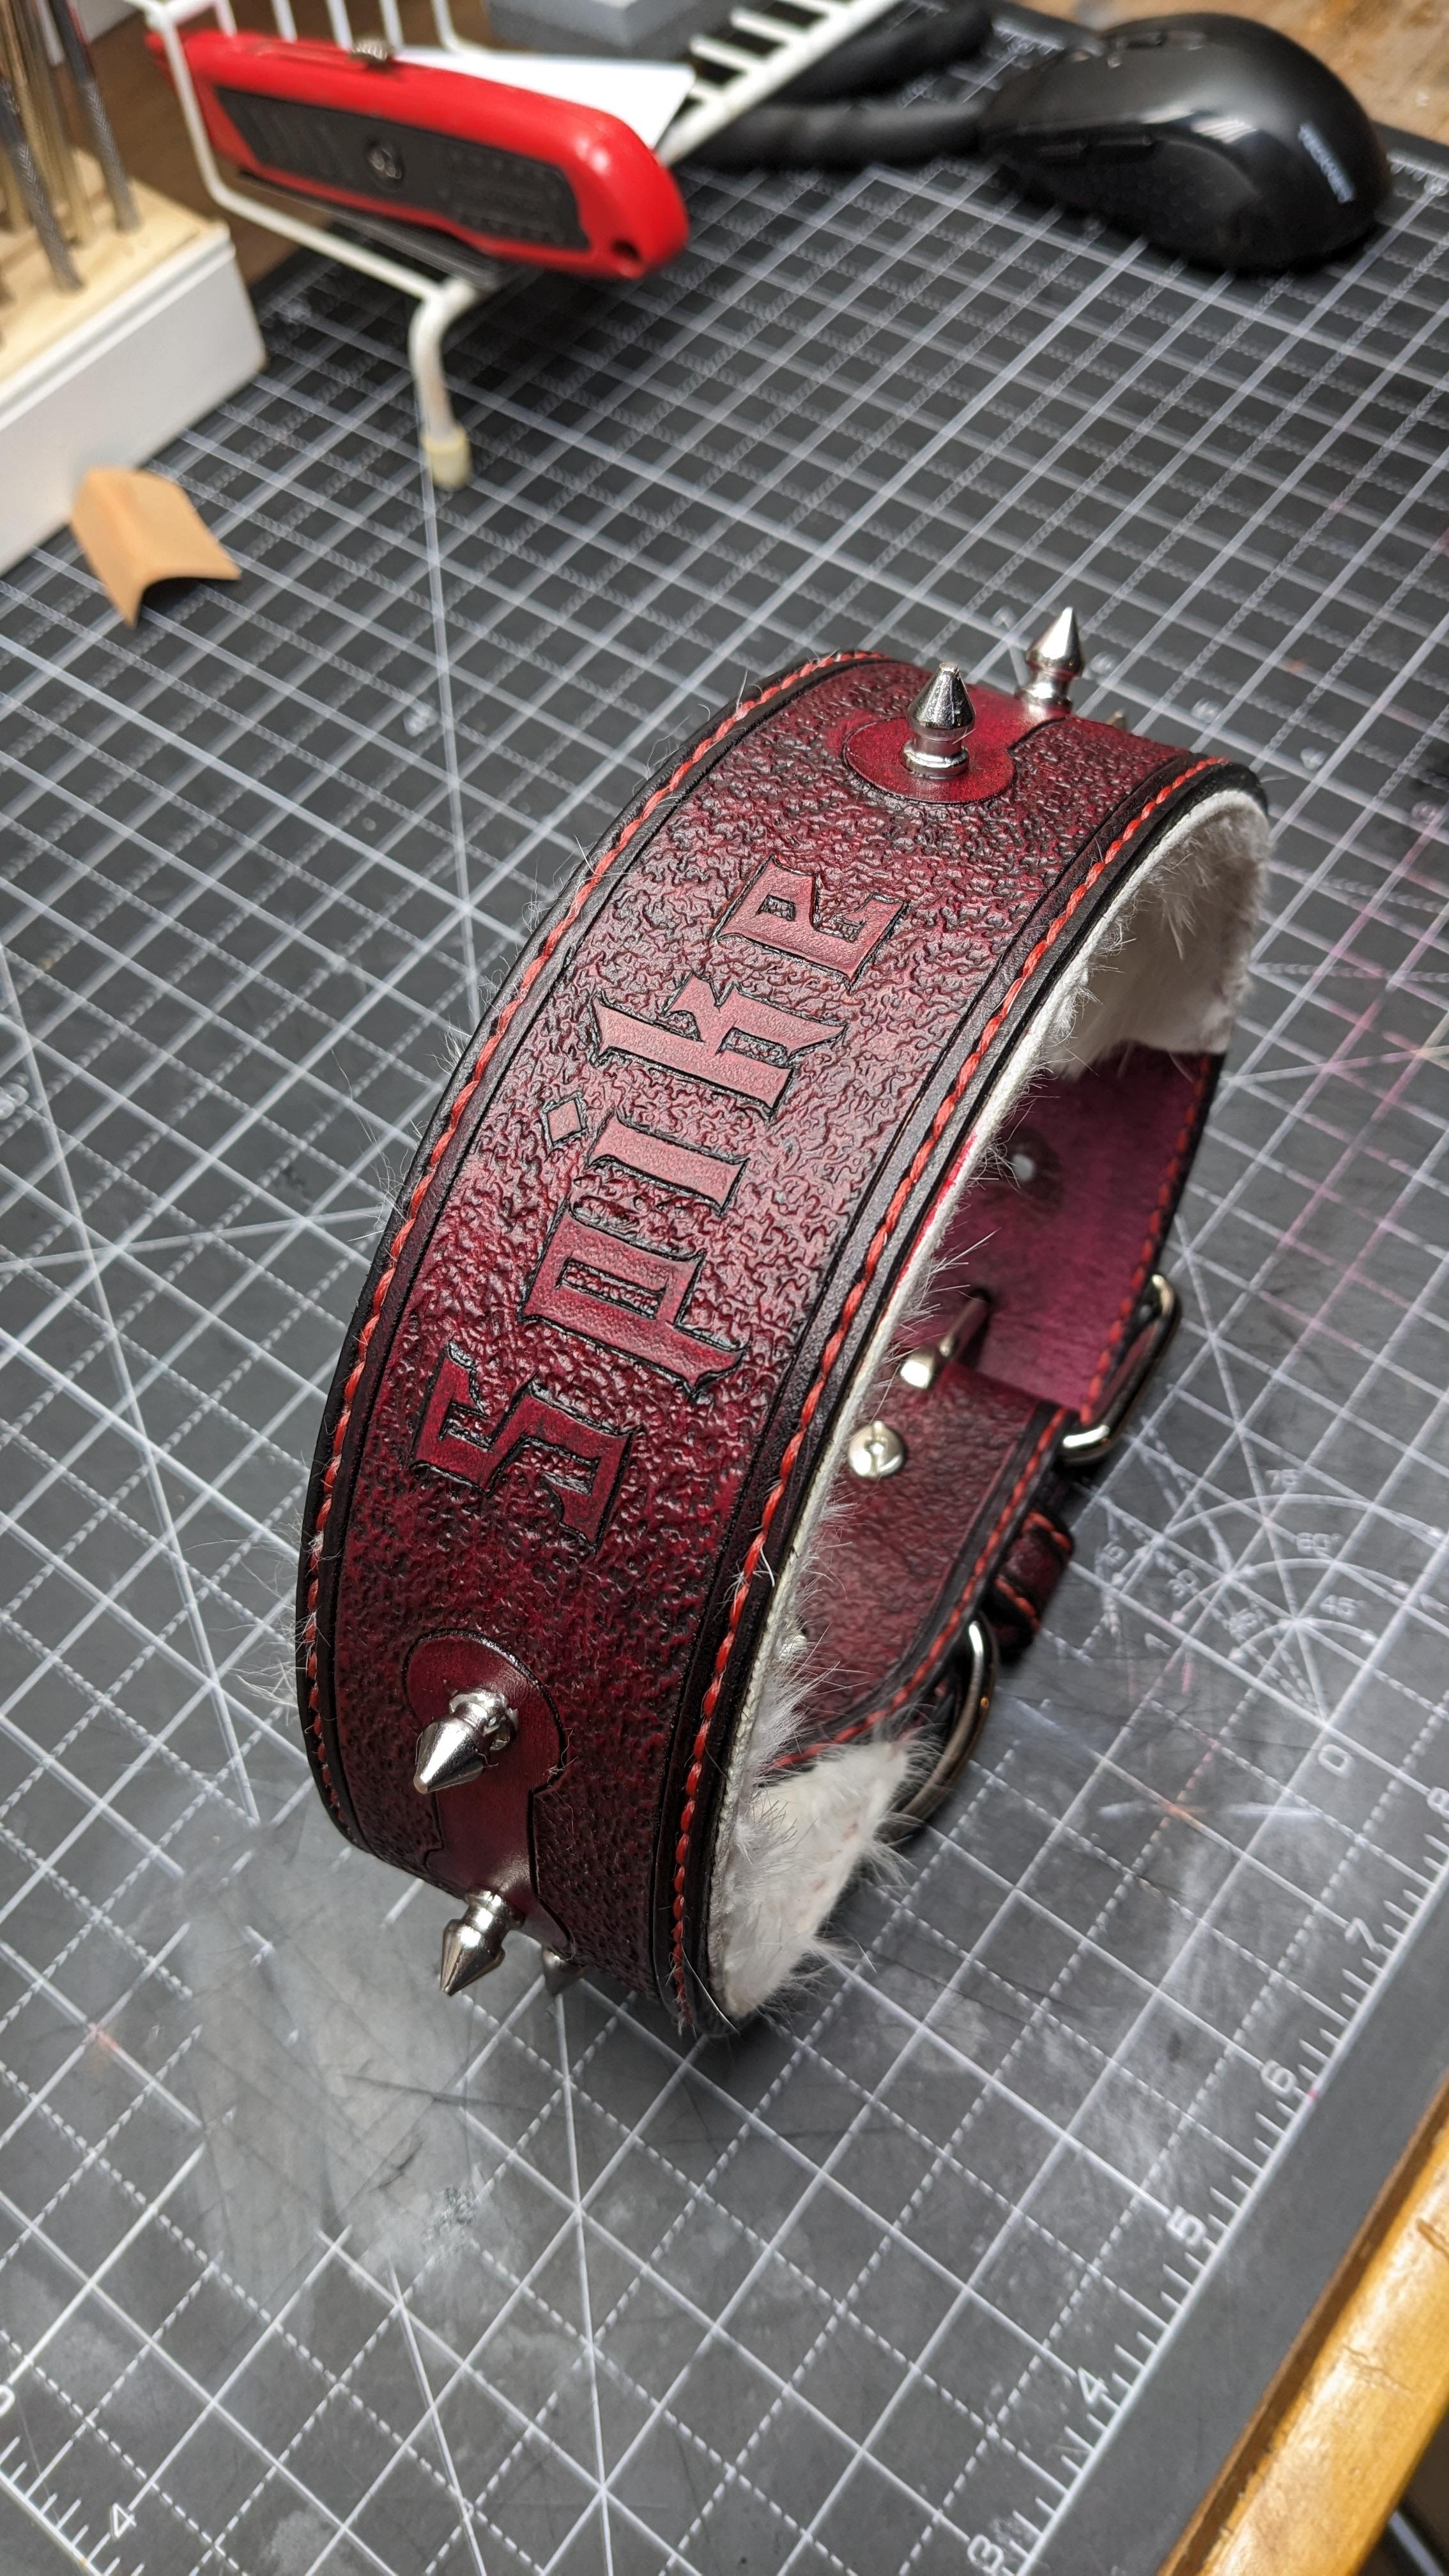
This is cool! I really like how you blended the dye with red/black. Black cord was the right choice.
-
@speedybri This sounds like a case of the leather is too dry and dense. Is it the awl or the needle that is getting stuck and lifting the stack of leather? If it's the awl, you may need to oil the leather to soften it a little. Or, run the thread through liquid stitching wax or silicon in the wax pot. If it's the needle, either move down one needle size or move up one awl size. And, add more foot pressure until you figure out the real problem.
-
How to increase pressure of roller on a pfaff 491? the stitch length is inconsistent.. hoping more pressure will help the material move better while stitching, and keep the stitches even
-
Hello everyone, first timer here. And I suppose a relatively new comer to the world of leather making. I started about 3 years ago as a creative outlet to keep me sane whilst doing my usual day job... I'm hoping that eventually I can turn my leatherwork into my day job. Not that it will be any less hard work, but certainly more enjoyable. I shall be posting again soon. Thanks for having me x You can find see some of my work here www.headboneleather.com
-
Hello. I picked up a landis three a few days ago. It's running good however it keeps lifting the leather. I've tried adjusting the feeder foot pressure. I'm sewing 3 layers of 12/13oz together. Making lead harness traces. So it's pretty heavy. Does anyone know what might be causing the lifting and how to correct it? Thank you for any and all help.
-
Helps if you quote a part of the post or tag the user so they get a notification in case they don't have notifications setup correctly. @esheeran
-

Singer 211 U166A walking foot problem
friquant replied to NowhereMan01's topic in Leather Sewing Machines
Closer, and much slower. 😉 With the machine moving at an even speed (a snail's pace) and never moving in reverse. And with the phone on its side (landscape) instead of up and down. Here is an example of close, slow videos from today: https://leatherworker.net/forum/topic/131845-pfaff-345-issues/ I agree with ALZilla. From your latest video, the hook is about 150 degrees ahead of where it should be. (Love those timing marks, so visible!) It would be ideal if you could master the art of tripping the safety clutch and then resetting it. Because there is no point in setting the hook timing unless the safety clutch has been re-engaged. While you're making friends with the safety clutch you could also adjust it so that it trips with less torque. That way you won't end up with the belt skipping time again the next time the hook gets bound up. "A" for persistence 🏆 -
Nice job on the videos! Adequately slow, in focus, and that second was such a CLOSEUP!!! 🤩 As the others have indicated, the hook timing needs to be retarded. In the first video, see the loop of thread that gets dragged around the bobbin the first time the hook grabs it? That loop is what gets pulled tight to form the next stitch, and the loop needs to be in front of the hook point in order to do so. Otherwise the hook will grab that loop on the hook's second time around and the machine will bind. To fix, you retard the hook timing until that loop is safely 5-10mm ahead of the hook point when the hook comes around the second time. (Or you can set the hook timing according to factory specs---that will probably accomplish the same goal.) 😀
- Yesterday
-
I'd like to sharpen the hook on my Singer 144W103 in order to reduce skipped stitches. With the needle guard removed, the hook is barely close enough to graze the needle. But it's not the tip of the hook that strikes the needle. About 2mm back from the hook tip---that's the part of the hook that actually strikes the needle. I don't know if that means the hook is simply dull, or if it has been improperly sharpened in the past. When sharpening scissors, for example, the going strategy is to only grind on one face of the blade. So what are the rules of thumb for sharpening a hook? File one side, or both? What angle to use? Here are photos of the hook


-
Thank you, that’s what I needed
-

Singer 211 U166A walking foot problem
AlZilla replied to NowhereMan01's topic in Leather Sewing Machines
Looking back through this thread, I don't see where you checked the hook timing. Did I miss that part? It seems to have started with the walking foot problem and progressed to not catching the bobbin thread. -

Singer 211 U166A walking foot problem
NowhereMan01 replied to NowhereMan01's topic in Leather Sewing Machines
I really appreciate all of the help and I feel like it is very close to being resolved, but it's not quite there yet. Apparently, I did have the wrong set screw engaged with the V slot, and I've now got the slightly-rounded one in the slot. I also did the clutch engagement trick, and I did not hear a significant click (as I saw/heard on a YouTube video), but it did seem to have a small bit of "give" when pushed with some force, so it might have been out. Yet, the issue persists... Here is another video of the bobbin area, with me turning the wheel by hand. LMK if any other view might be helpful. -
This post and the few that follow talk about timing a 545. Maybe it'll be helpful to you:
-
thanks a lot to everyone for your help


.thumb.jpg.6e903dd66163ad5672f00f144058c571.jpg)

