All Activity
- Past hour
-
Black powder double shot snake need help
Mulesaw replied to DoubleKCustomLeathercraft's topic in Leatherwork Conversation
@dikman Ah, yes, that is a mistake from my side 🙂 In my head it was for powder, not the lead shots. I have never seen one of those before, so I thought it was for simultaneously filling powder in a double barrel muzzle loaded shotgun. But is the idea that you carry 2 sizes of shots? Or is it for a double barrel shotgun ? Brgds Jonas -
Beautiful job, Tim, as your work always is.
-
Here is he previous post i was referring to . I am sure it is the same machine as this post mentions only a different brand name .
-
I have seen the same machine with a different name. The machine in question i have seen was a Hugo Wertheim Melbourne . From my previous research i believe the machine was made under licence in melbourne. Hugo Werthiem also made smaller domestic machines and even piano's. Its been 5 years since i saw the machine and i really regret not buying it for $1200. If memory serves correct there was a recent post which has a picture of the Werthiem patcher .
-
Welcome from SW Missouri! Looks like you have been busy! Nice work!!
-

Belt extension, tooled English bridle
PastorBob replied to DoubleKCustomLeathercraft's topic in Show Off!!
Great save! I haven't had to do that yet, but will file it away if I ever get the wrong measurement.- 7 replies
-
- belt
- belt extension
-
(and 2 more)
Tagged with:
- Today
-
@kgg, well spotted! I wonder if turning the needle will better center it in the hole? I recently was playing with a domestic machine, having a problem shredding the top thread. Turned out the needle was off center and backwards, shredding the non groove side against the needle plate.
-
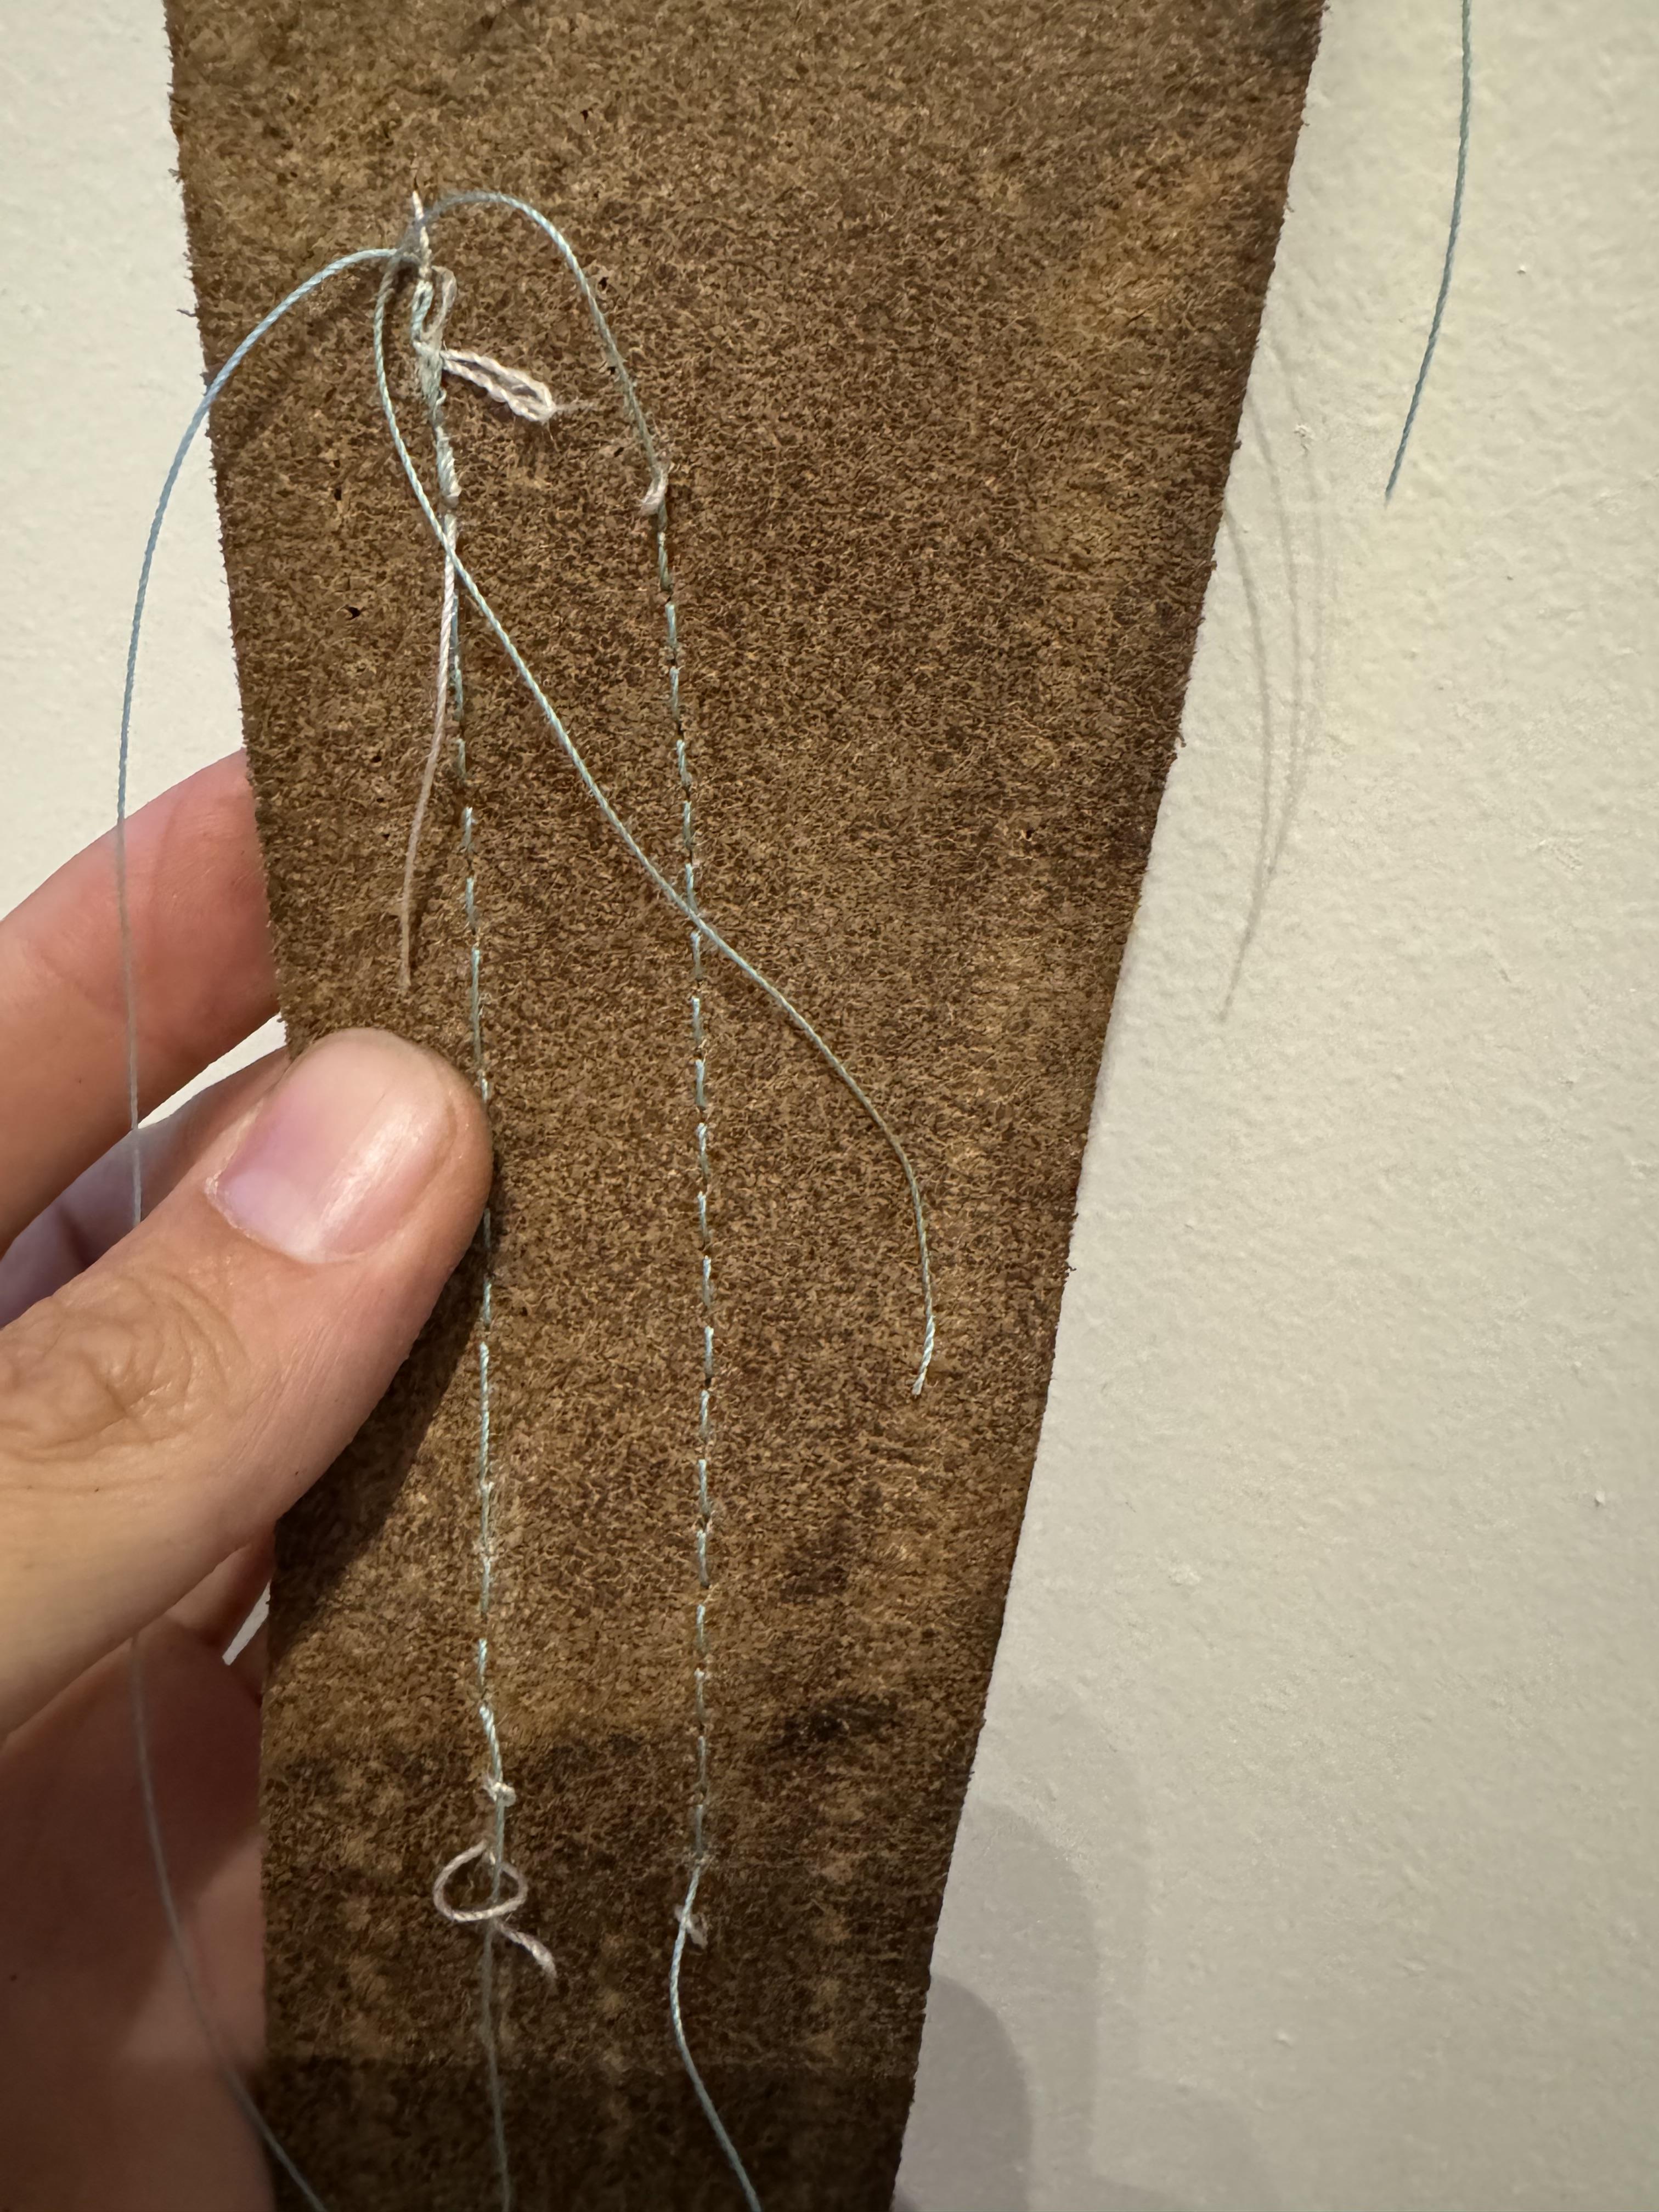
A couple of problems I found with your threading of the top thread. Without these corrected you will never get good stitching. 1. The needle is installed backwards. 2. Needle bar thread guide is missing. kgg
-
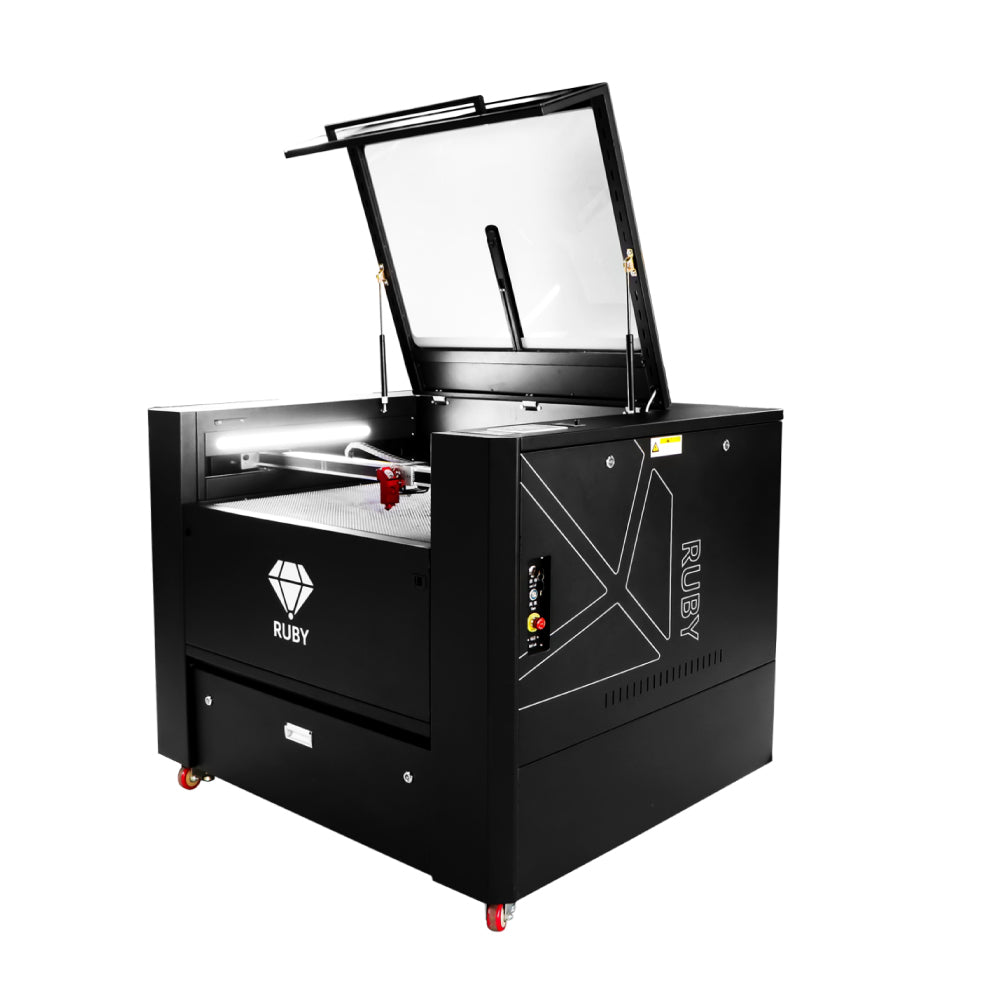
Why Choose a CO2 Laser Cutting Machine?
A CO2 laser cutter has become a reliable tool for workshops, woodworkers, artists, and makers. Known for its precision and versatility, it offers users a practical way to cut and engrave a wide variety of materials.
The biggest advantage of a CO2 laser cutting machine lies in its versatility and cutting quality. It works with wood, acrylic, leather, textiles, paper, rubber, and more, delivering smooth edges and consistent results without the need for extra finishing. Users also value its long-term cost efficiency, as it requires less maintenance and has lower operating expenses compared to many other laser technologies.
In addition, a CO2 laser cutter and engraver is easy to operate. Most models come with intuitive software that shortens the learning curve for beginners while supporting advanced needs for professionals. Whether you are creating custom signs, personalized engravings, or complex artistic designs, a CO2 laser cutting machine delivers precision, flexibility, and Versatility, a smart choice for anyone looking to performance and cost-effectiveness.
-

Hand-cast solid Brass Buckles from a small foundry
Origibelts replied to Origibelts's topic in Suppliers
@dikman Hi Dikman, Good question — you’re not missing anything obvious. The prong/tongue area where it pivots is what tends to give out first on a lot of buckles. That’s what DieselTech was flagging. I’ve been beefing up that joint in my castings so it holds up better under stress. Best, John -

Hand-cast solid Brass Buckles from a small foundry
Origibelts replied to Origibelts's topic in Suppliers
@DieselTech Hi DieselTech, Thanks for pointing that out. The prong and the joint where it nests in the frame is definitely the area I’ve focused most on reinforcing during casting and finishing. I’ve been testing different thicknesses and alloys to make sure that part stands up to stress, since I know that’s where buckles usually fail. Best, John -

Hand-cast solid Brass Buckles from a small foundry
Origibelts replied to Origibelts's topic in Suppliers
@Mulesaw Hi Jonas, Thanks so much for the thoughtful feedback — that’s exactly the kind of perspective I was hoping to hear. I’m glad you noticed the little “dip” for the prong; that was something I experimented with to make the buckle both more solid and a bit easier to use. I’ll definitely take your points on board: strength and solidity first, then style and sizing in the 1.25" and 1.5" range. Roller and center bar buckles are already on my sketch pad, so it’s encouraging to hear those are useful for your work as well. And I hear you on finish — a straightforward brass look is also my preference, no plating or “bling.” It keeps the buckle honest, and it develops a patina that works well with leather over time. Really appreciate you taking the time to share your view. It helps me make sure what I produce is actually useful to makers like you. Best, John -
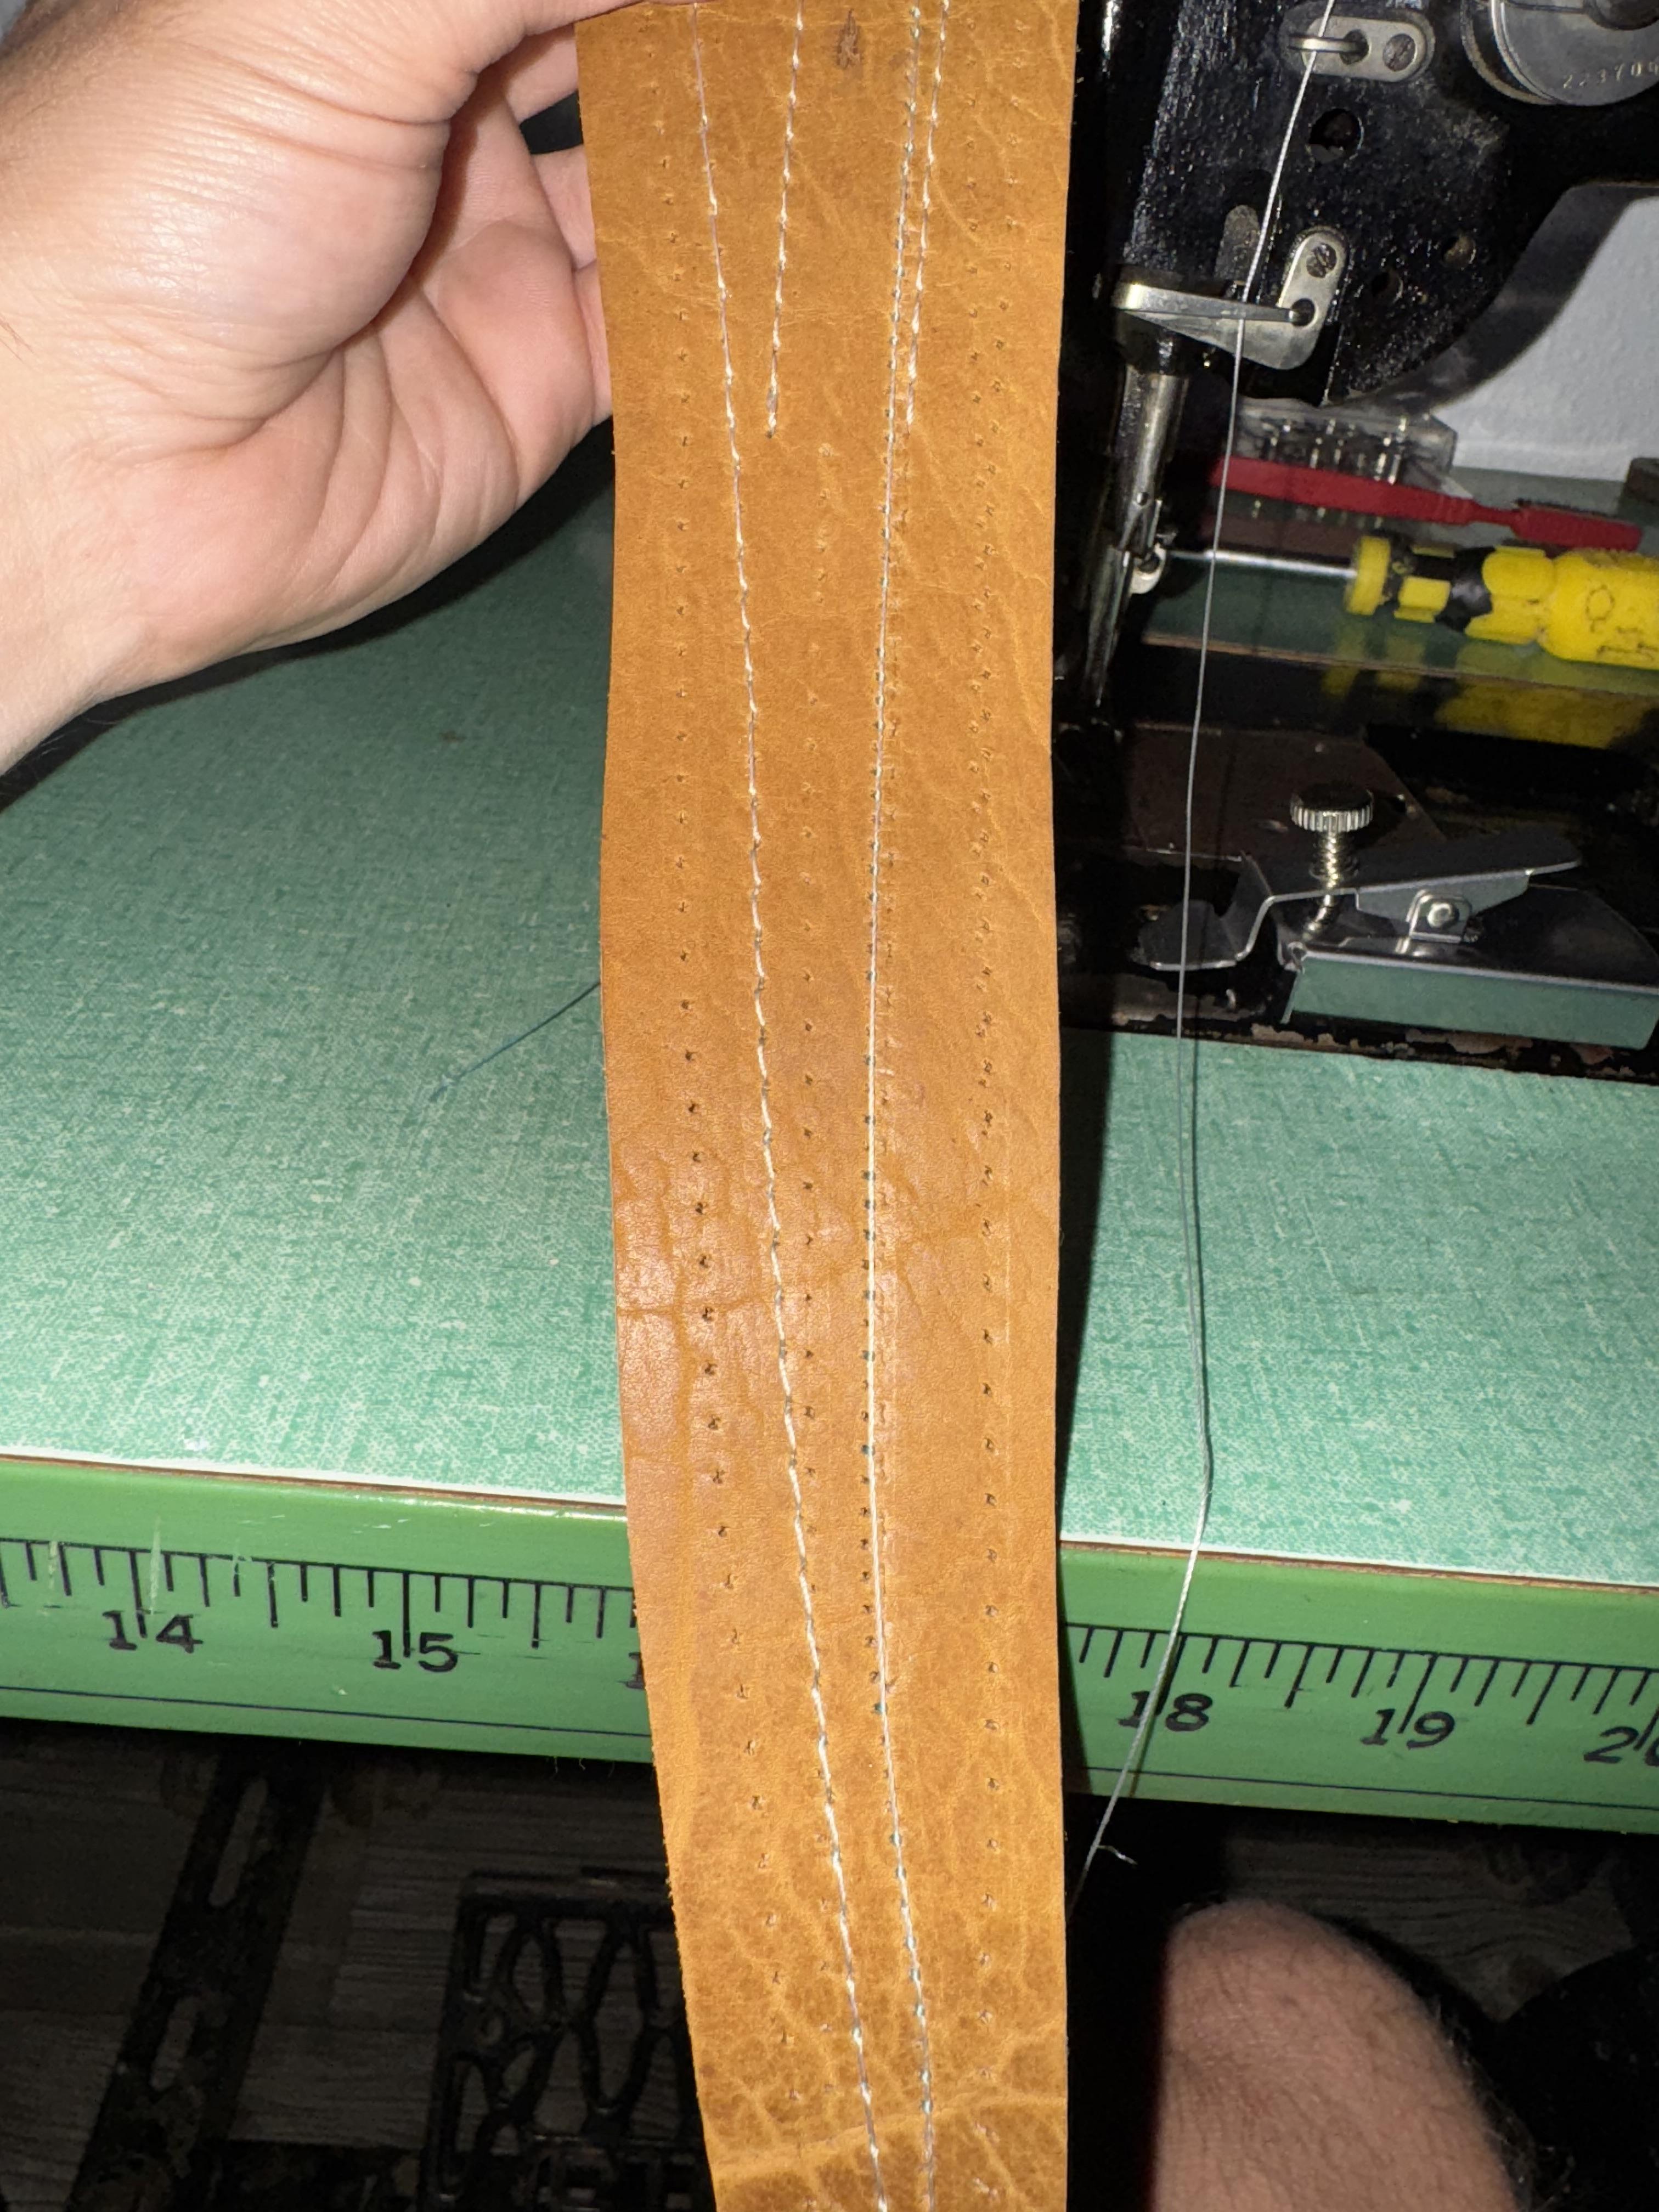
When you turn the work, first bury the needle and raise it up a quarter inch. Raise the presser foot and turn the material. This allows the hook to catch the bobbin thread and prevent skipped stitches. Same thing with turning a corner. To begin a stitch line, start about 3 stitches down the line and sew back to where you wanted to start. Turn around and go in the direction you wanted to in the first place. At the end, you can just turn around and sew back 3 stitches. If you begin at the start, sew 3 ahead, then turn around and sew back to the beginning and THEN turn around yet again, sewing in the "right" direction, you have gone over the first 3 stitches 3 times! Way too many stitches in leather. Practice, practice, practice ...
-
The locking stitch is what I’m practicing right now on some scrap. I’m trying to go forward a few stitches. Spin it around do it again and then spin it around one more time but it’s tough realigning the holes. It was doing really good until this began happening. Messing with the tightness of the different thread tension points to get it perfect. I’ll check your other forum below to see what’s going on. Thanks so much!
-
Funny enough, I'll refer you back to my old post when I was where you are. KGG and Wizcrafts were kind enough to explain thread locking without reverse to me:
-
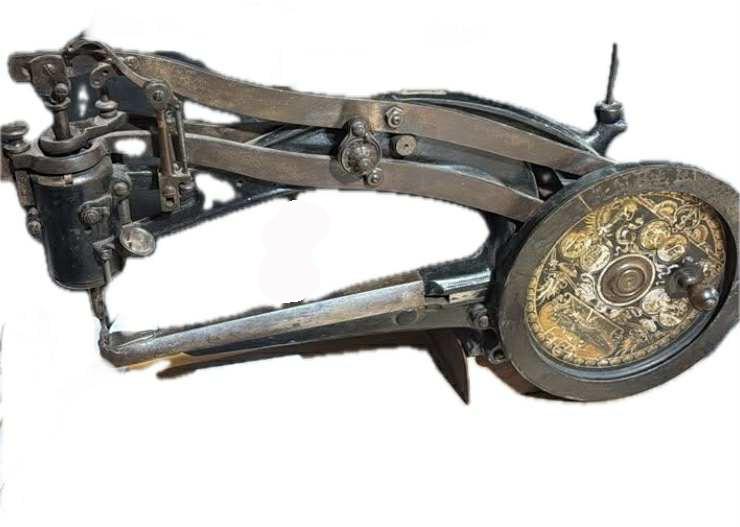
I am late to the party and perhaps this information is well known and documented so I apologize in advance for asking. Do we know who is the original designer / maker of the Patent Elastique machine and what year it was created? I have read the whole of the "Mystery Machine" thread with all of the great information there, and @shoepatcher thread gathering any and all makers. I apologize if I have missed a definitive statement of the origin of this machine type design and creator. The machine pictured below shows faint lettering ANKER and is posted here as an example of the type of machine I am asking about. Many thanks in advance for your consideration and information. @Constabulary @Uwe @Harfindel @mikesc @HatoriKun @Et Al
-
Cool. You may have some learning curve with starting and stopping but the stuff in the middle looks great. I'll look for a post about locking your stitch without reverse. I had a long learning curve getting proficient with mine. Somewhere I read to hold back hard on the tails when starting and that was wrong. Just hold the threads and hold an ounce or two of pressure for the 1st 2 or 3 stitches. Good job getting it worked out!
-
NJIPENS:We do not engage in exaggerated promotion. We adhere to the principle of meticulously crafting every leather bag, making it convenient for everyone to use and enhancing the convenience of daily life and work. This is a large-capacity, fully handmade, completely original, and entirely leather handbag.
-
-
It looks like you have the check spring wrong and the 3-hole flag at the top wrong. On my machine, the 3 holes are horizontal and the thread goes down through the first hole, up into the second and back down through the 3rd. Then into the tension unit and on to the check spring, where you need to pull up on it until it "pops" and goes behind the little ear. The tension unit looks pretty tightly screwed down, but the looping says it's too loose. I'd make those couple of changes an see what happens.


