All Activity
- Past hour
-

mountain man moccasins pattern #3 By Gene Noland
chuck123wapati replied to chuck123wapati's topic in Patterns and Templates
the good two tones lol. been wearing these for two days, and they are so comfy I forget they are on. Just 11.5 oz each. you can see the vamp on the dark shoe is kinda wonky, that's the third attempt, and really, when I realized you have to stretch the vamp into place. You also have to trim very close at the toe and heel awl holes and even cut out a V between the stitches in the toe and heel areas. Anyway, I have found my answer to sore feet and plastic garbage!!!


-
So after throwing a perfectly terrible pair of nearly brand new 100+dollar Chinese shoes in the trash. I set out on an adventure, or maybe a quest is better.. To find a pattern i can make and use daily until I die or until someone in the USA makes a damn shoe. I am so tired of the living by buying cheap plastic garbage mindset that we have been led into i could puke, especially when your feet hurt after ten minutes. Any ways i decided that a decent moccasin pattern is the answer, but I have tried and failed miserably in making my own pattern. I have about six patterns downloaded and even looked at the steampunk dudes driving moc pattern as an option. I looked at several mocs on the net and decided on the basic shape of a chukka-type moc with thicker soles. I decided that Genes pattern could work, so I set to work. First off, most moc patterns call for softer leathers than veg tan, usually moose or bison, so I knew the challenge would be to utilize the heavy veg tan for soles. I figured a form would be the answer, so I cut one out the basic shape of the insole, then also an outside form slightly bigger, double the leather thickness. So I glued in the insole, then wet-formed the sole. I used 2mm leather for the vamp and set about sewing it up as close to the exact pattern I could and followed the instructions. What I learned!!!! You need flexible or softer leather, the vamp started tearing at an obvious weak pointso was ruined before finishing, but i finished anyway to find all the bugs. There were holes in both sides at the tongue edge and there were wrinkles inside and out at the toe and heel so uncomfortable, also to small and just ugly. I also learned that you need to stretch the vamp as you go in order for the stitching holes to line up properly or your stitches wont be tight. The stitching holes were so far from the edge that big wrinkles were formed inside and out. Plus the sewing just looked like s@#t. What i did Changed the vamp from a one-piece to a three-piece design, widened the tongue so there would be no open holes in the sides of the mocs As I formed the sole, I took a ballpeen hammer and pounded out all the wrinkles and bumps on the heel and toe section. Then, after drying, I trimmed up the sole evenly all the way around. After forming i doused the sole in NFO as well as the vamp to get some flex, skived the edges of the sole, burnished, then used a round awl to punch the stitch line up closer to the edge like 1/8" or so. I did the same on the vamp, moved the holes to 1/8th inch from the edge that gave me enough room for my foot plus i lost all the insde bumps and wrinkles. Stitching was the key to a nice loking job, and i now understand why the particular stitch was used. The process to sew these is simple: but not explained in the pattern!!!! you do about six stitches, then go back and tighten them up, then do a few more. There are places where the holes get way funky but if you use a needle as a lever and stretch the vamp as you go then they all line up and the shoe forms perfectly. Any way, here are some pics and my two-toned shoes lol, I used a piece of hide that had been partially sunburned, so after screwing one shoe up i had to use the lighter stuff, which will darken up with time lol. I now have a usable pattern, and my next pair will have a gusseted tongue as well.


- Today
-
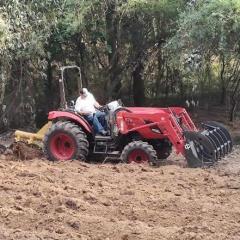
Looks like about $140 US. If I'm going to part with one that I've gone through and made good as new, it takes at least $100 US to pry it away. Most people would rather go the Walmart and drop that same money on a less capable, low end plastic machine. The difference is a couple years of service vs a couple of lifetimes. Here's hoping this works out for you. I've made a lot of denim bags on 237's and similar Kenmores.
-
spring flowers and good food
chuck123wapati replied to chuck123wapati's topic in All About Us and Off Topic
whats interesting is understanding why a certain stitch was used and how they work in that situation. It's rarely mentioned in patterns why the pattern maker used the stitch and how to sew the stitch correctly. In my case, the holes seemingly were way off, but as I tightened the stitches and stretched the leather into place, the holes made sense and the moc formed perfectly. -
Heck yeah, treat yourself !! Merry Christmas, friend!!! You know i have studied your work to death its simply perfect every time.
-
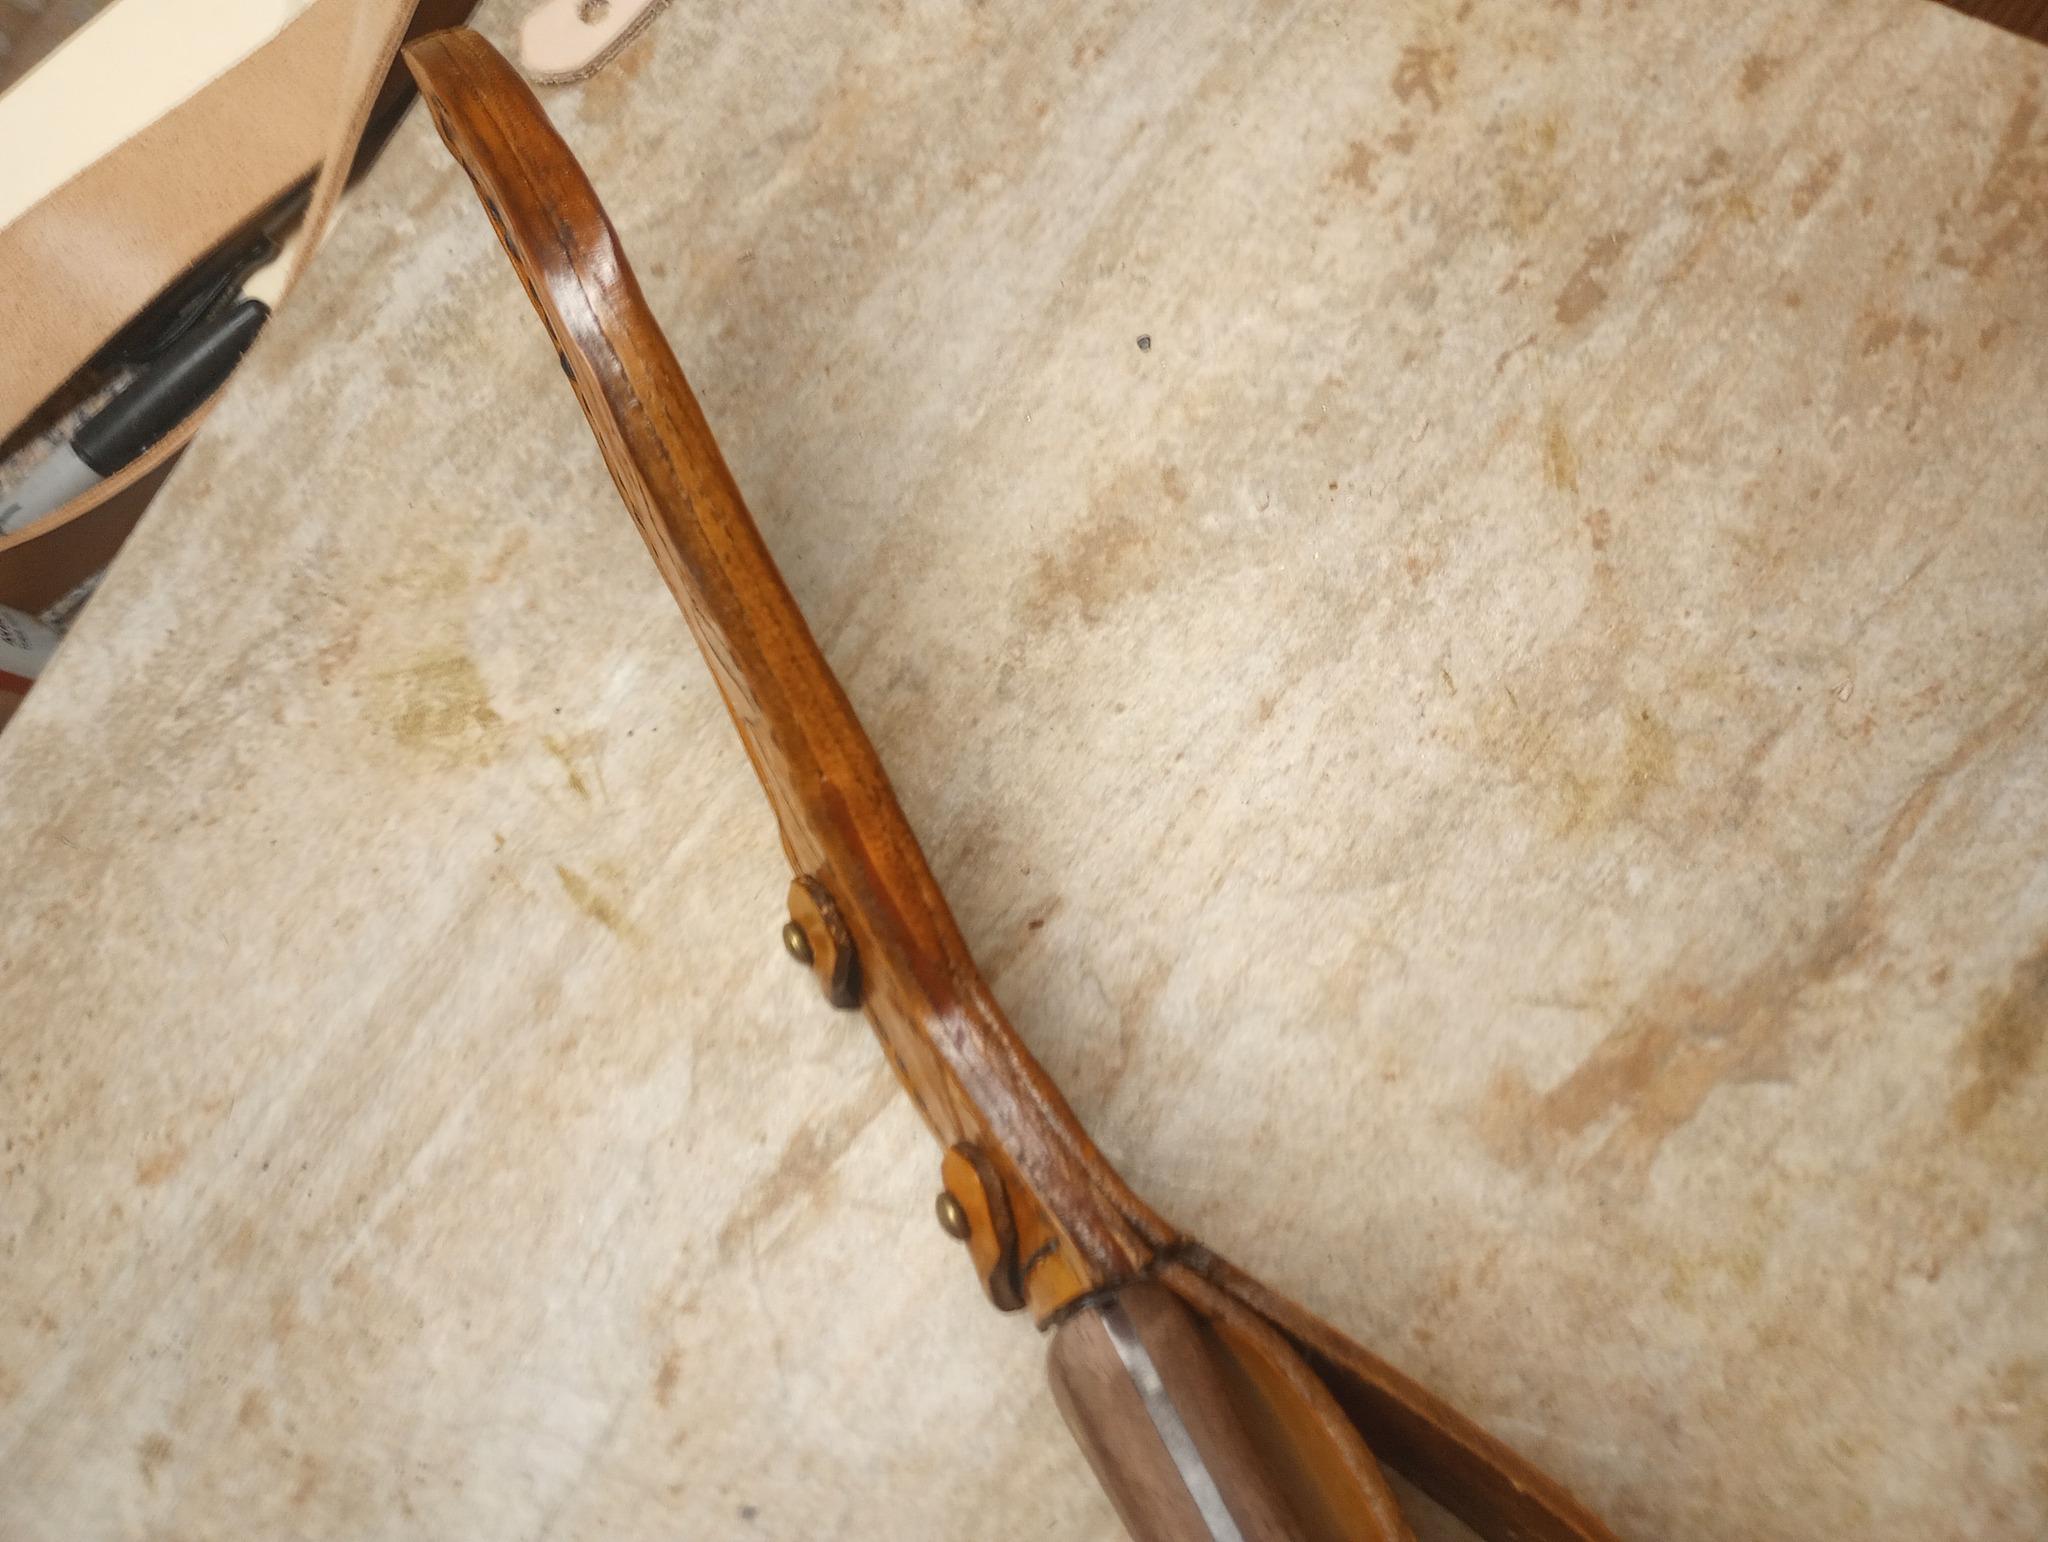
That's a nice set!!! They are better than anything on the net. It's really pretty easy to make a lot of the tools we use. It's too bad more folks don't do it. Back in the day, it was a requirement for most tradesmen apprentiseship was about making your own tools as you learned to use them. Nowadays, folks can barely push a button to order them without two hours of internet research and reading 500 reviews. I made mine from stainless all thread, scrap leather and brass nuts. Chuck up the all-thread in a hand drill and turn it against a belt sander to get the profile and size you want then just polish the tip. Tighten down the brass nuts dope it up with resolene, let it dry, and do the same with the handle, and you're done. I have two double-ended lifters and also a double modeling tool/ stylus i made pretty much the same way. Can you imagine paying 30 40 bucks for a tool you can make in minutes for less than a couple bucks? I also use d2 rod and a map gas torch to forge smaller cutting tools.

-
Thanks for the kind words everybody. I was checking the inside veg tan and it is only .8 mm. I have found some Kangaroo to make the insides out of again. The Kangaroo is really soft and has a matt finish. I think I will make myself a new wallet after Christmas.
-
@Wizcrafts Thanks for the tips on the machines Wiz, my issue is one of space however, as I mentioned at the start of this thread, I don't have the space for another machine with it's own table, which is the reason I'm hoping a domestic will serve the purpose.
-
 I believe that the Juki LU-1508 series may be too heavy duty for the thinner leather you want to sew. This series is beefed up in order to sew into denser and thicker stacks of material. The DNU-1541(s) is probably a better match. It can sew over thick seams and has a thread range more suitable for thinner and softer leather and broad cloth, or denim. Now, if you will be sewing leather or heavy canvas jackets, with flannel, quilted, or fur linings, the LU-1508NH is the better machine. But, it may eat thin vest linings.
 -
Bingo! This is a much overlooked issue among leathercrafters who sew on machines. Some of use have a room full of walking foot machines of varying capacities. I do! One thing they all have in common is their lust for linings and broadcloth lunches! They love to eat these thin, soft fabrics. If you are going to be sewing this kind of cloth, you need a bottom feed machine with a flat foot. The actual machine can be any ancient Singer tailoring machine, like a 31-15, or 96k40. Juki makes some superior high speed bottom feeders that have oil pumps in an oil bath and can sew at 8000 stitches per minute! My first industrial sewing machine was a Singer 96k40. I used it to sew a soft leather vest and a lining. But, when I tried to sew on a panel with fringes, that machine balked. I bought a walking foot machine that was better equipped to go over thicker seams and denser leather. You can often find tailoring machines for sale in local ads or marketplaces. A lot of them will have a clutch motor that you can either learn to feather, or replace with a servo motor.
-
Yeah, I tend to be a bit of a hoarder, but these struck me as relics deserving to be kept.
-
@kgg I hear you on the needles, I also have #140 needles but it seems to produce a good tight stitch on most things I sew with the 130 so I stick with those unless I move onto firmer leather. I have a table attachment for switching to a more flatbed orientation. The main reason I wanted a lighter machine is for sewing light stuff, it tends to bunch up with the heavy threads. Obviously on a site called leatherworker asking about sewing fabrics is maybe barking up the wrong tree, but I know the expertise of the people who hang out here is respectable, I have often dug through the archives to answer any questions, regarding not just machines. Thanks to everyone for taking the time to reply.
-
-
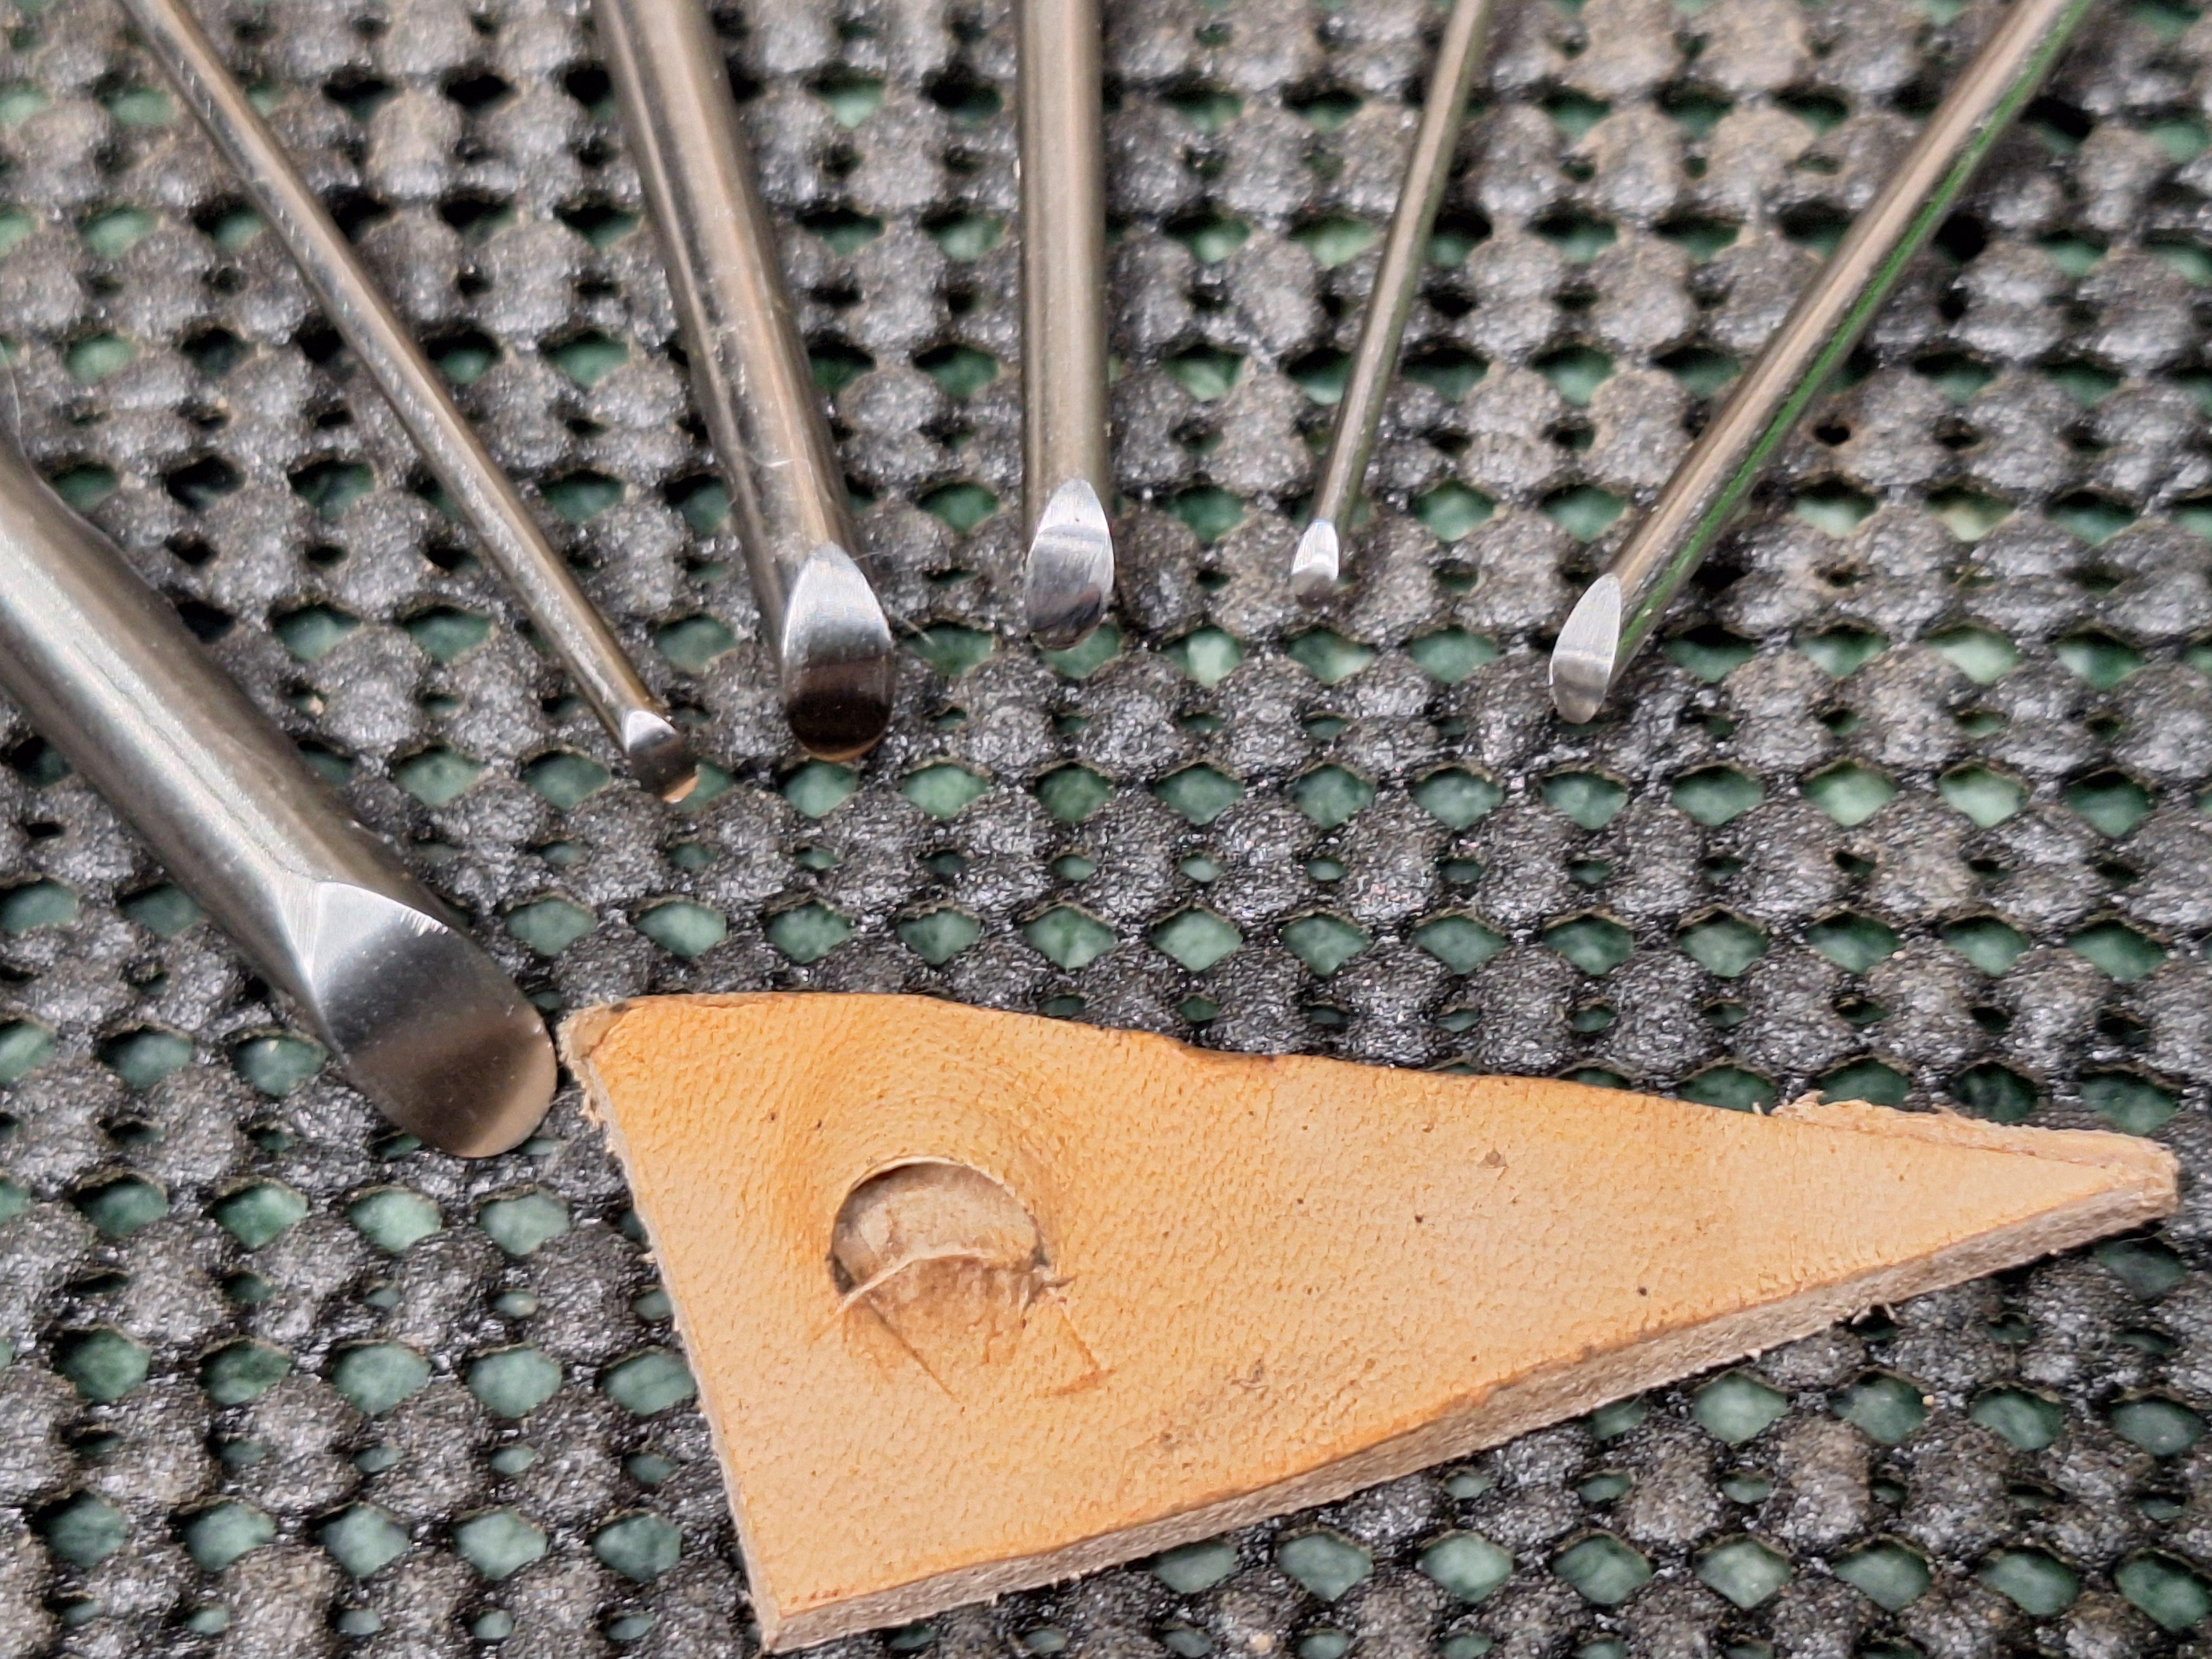
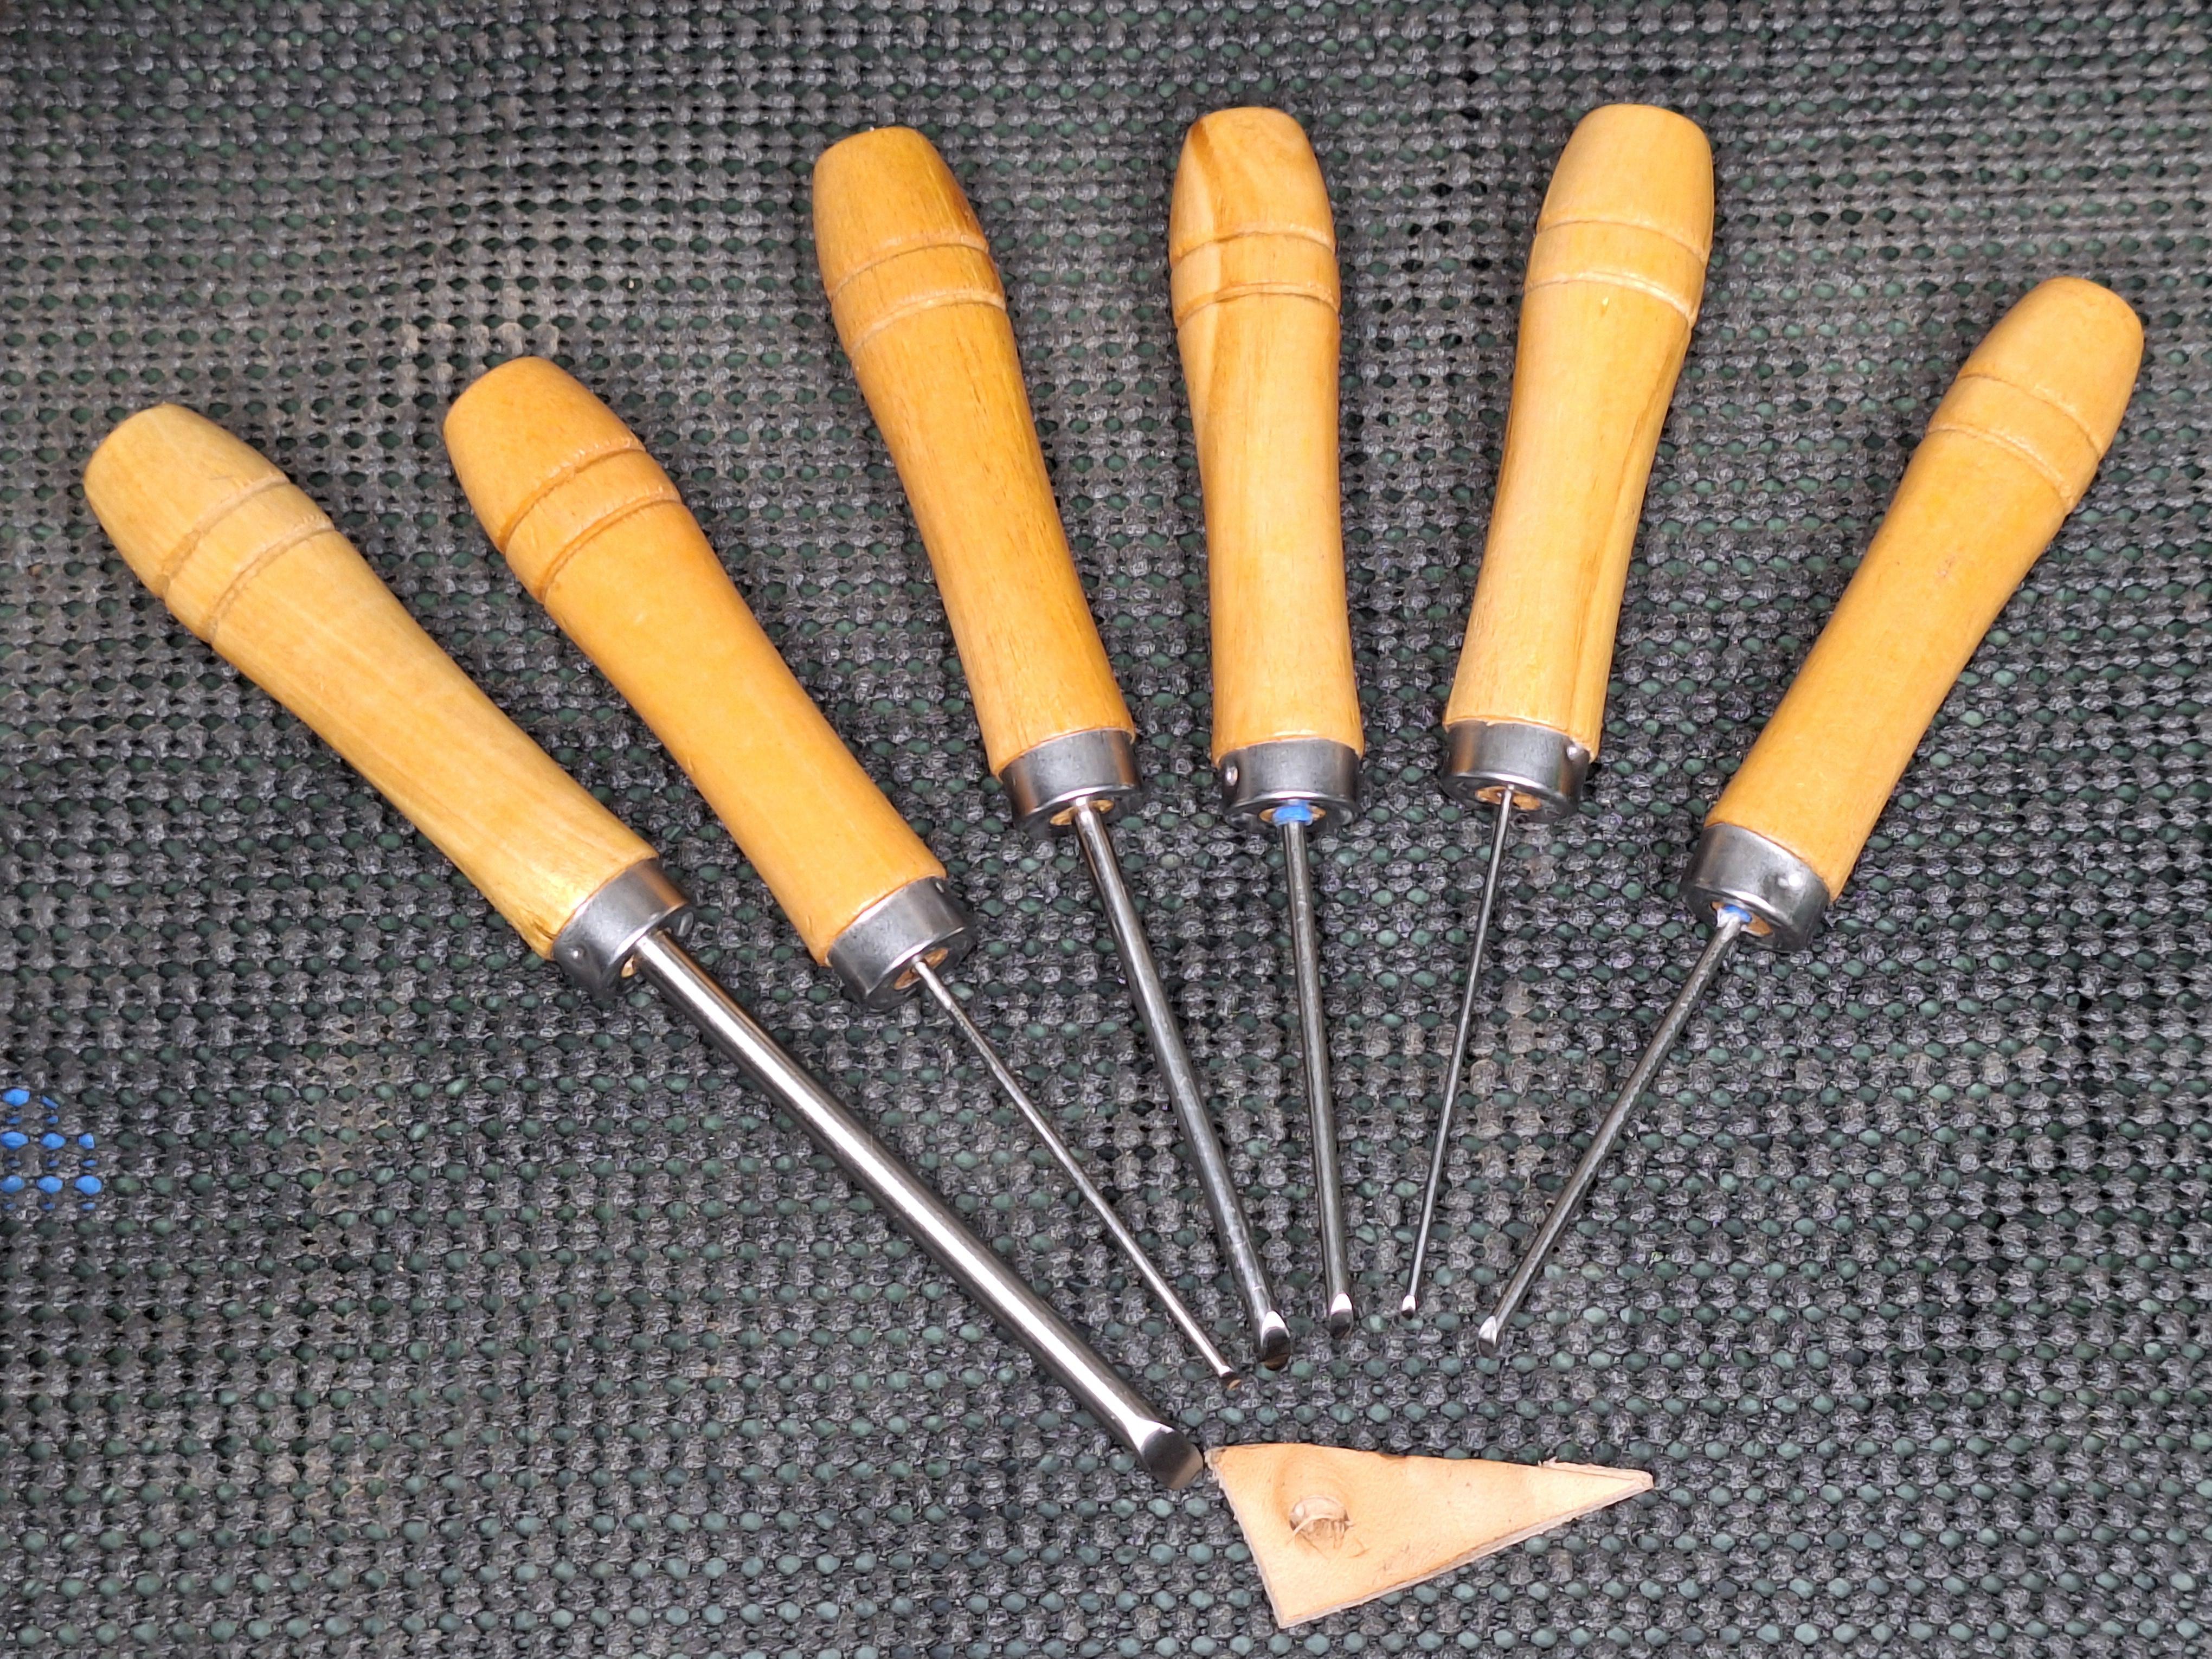
Wanted to do some petal lifting, making the leather look more 3d by stretching up certain sections. Mine are in NC, didn't want to buy an expensive set. For under 20 dollars and an hours work here we are. Pretty happy. The items, Stainless rods, handles, super glue, I found a set of stainless rods 1.5mm to 8mm x 60mm long these were 8.99, the handles are file handles got 12, 6 large not used and 6 small, 6.99. Put the rods in the handles, for the small ones wrapped painters tape around the top for a snug fit then used some super glue down the hole to fix them. The grinding to shape can be done many ways bench grinder, files, dremmels, the angle isn't precise we are after a cutting edge. I like the angle around 45 degrees with the heel radiused. Used a course grinder to get shape and then went to a finer belt grinder. Then used sharpening stones to clean up the scratches, finished with 2000 on the stones and then used a strop with polishing compound to bring a mirror polish, we want it to be razor sharp at the tip as it is a cutting tool..
-
Nicely done, very clean.
-
 ogilvy joined the community
 -
 Bringing this thread back to life. Which of these models could someone recommend for making leather jackets? I use an .8mm and a different 1mm cowhide mostly and will start to use horsehides soon. I also will run some horween veg 5oz or less through it some times. Jackets will be the primary and my vintage Adler 167-373 has trouble getting over thicker seams.
 -
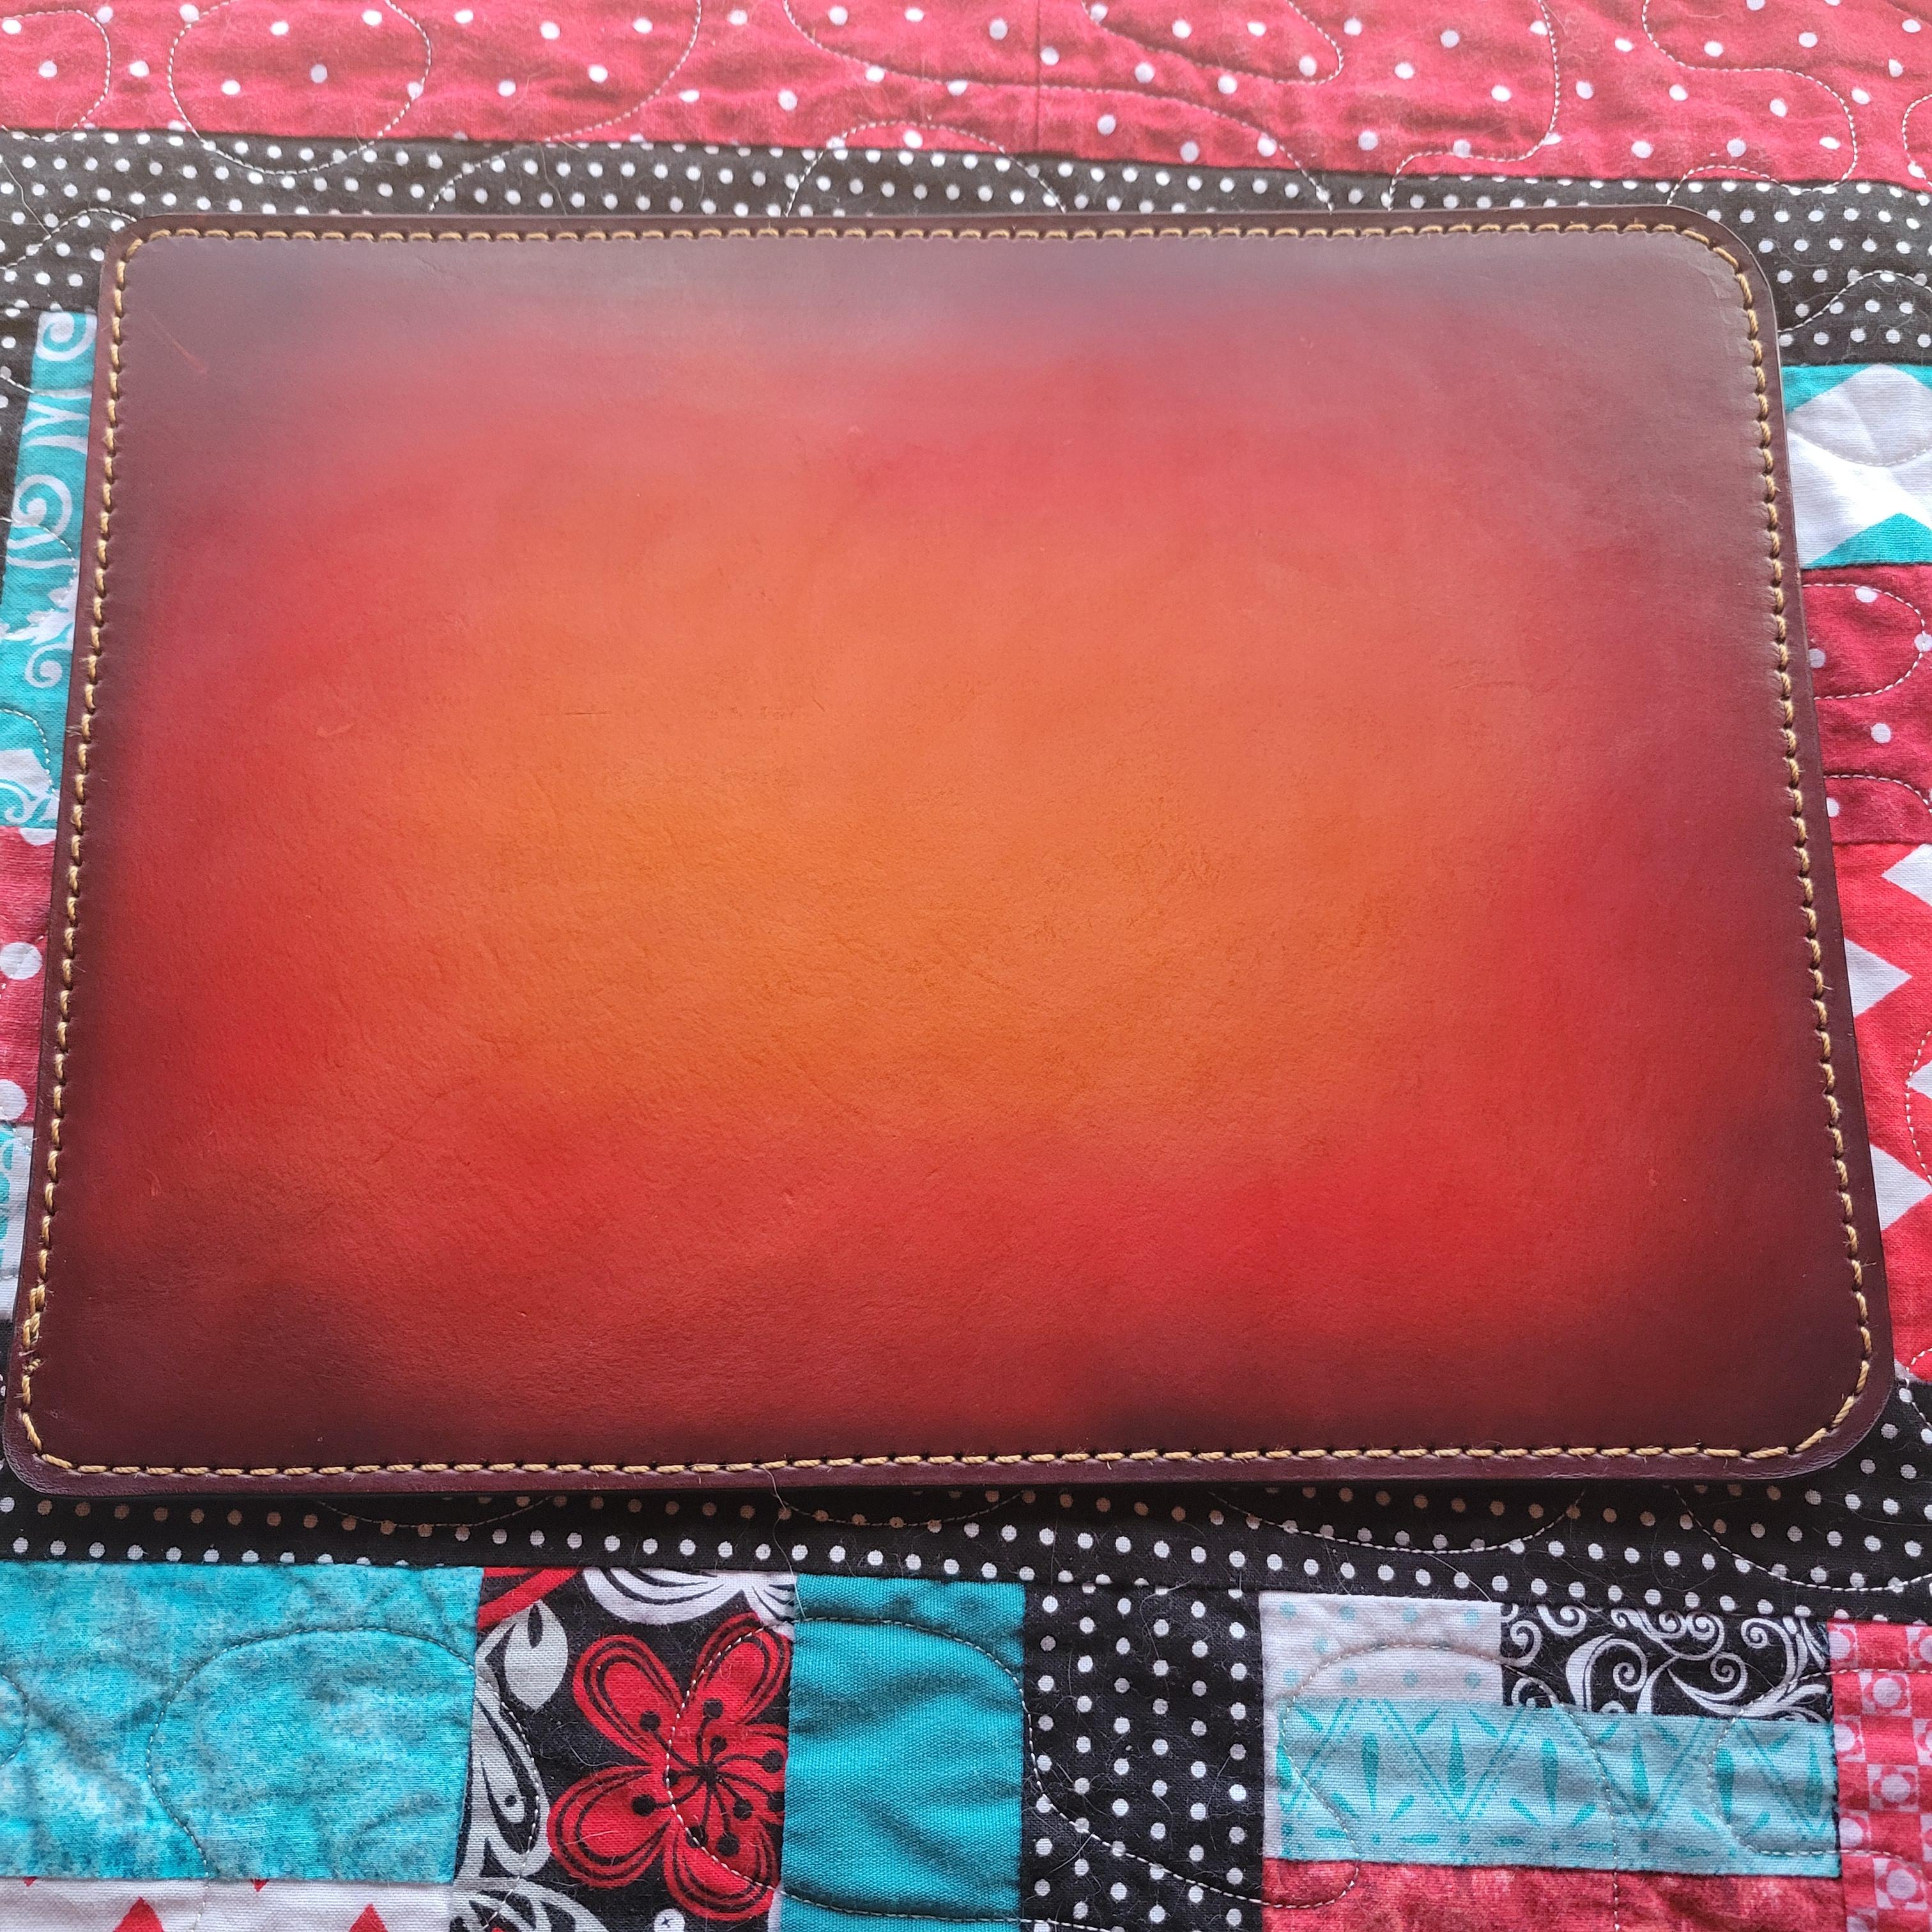
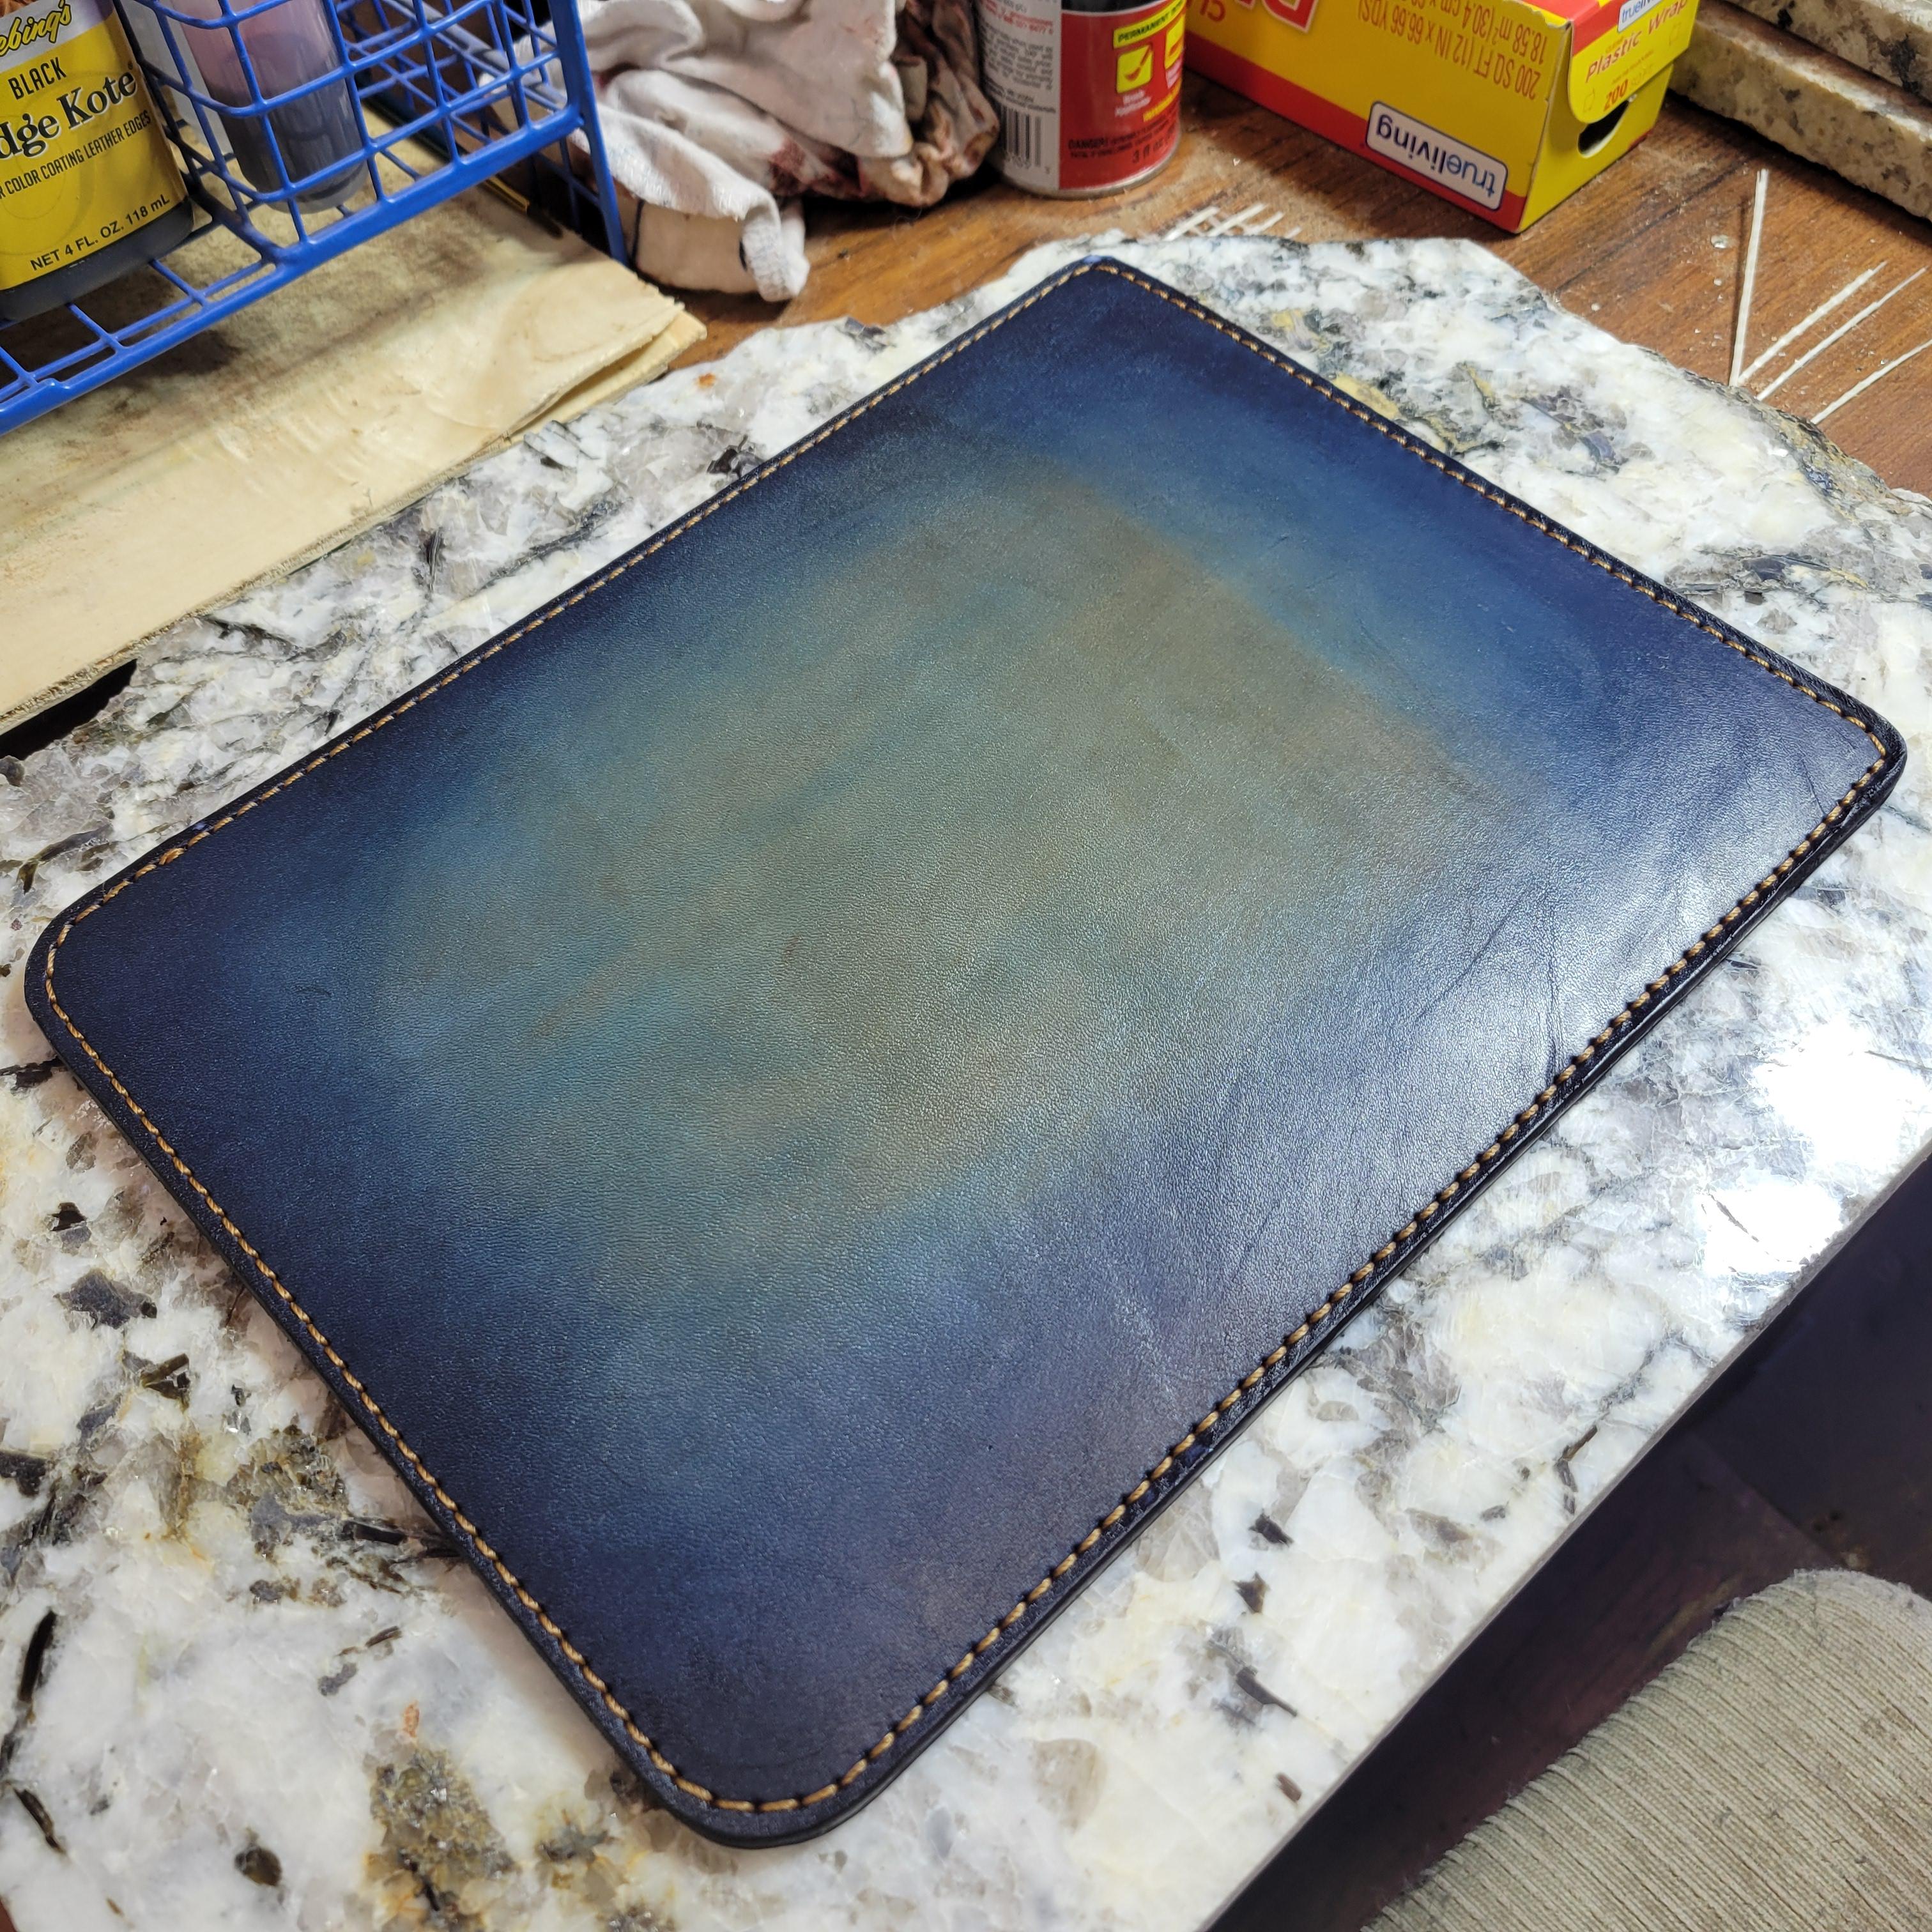
Finished a second mousepad that's been on my to do bench for months. Both backed with 1/8th neoprene for heft and to help it not slide so much. First one I made a few months ago: And the one I just finished (sadly the leather quality is a bit lower) : Finished with a resoline coating. Both were airbrushed with dye by my wife as her first projects. Honestly I think they both turned out really well.
-
Depends. If it's a personal item and I can't fix it, I might live with it. If it's a sale item and I can't fix it, I'd start over.
-
I guess we need a Cobra guy to come along and say if it's right or wrong.
-
Gotcha, I misunderstood your question. That does seem a little odd.
- Yesterday
-
I lightly case the leather and mark with my wing dividers, and typically run over the groove 2-3x for a nice deeper groove without cutting through, so only my irons (and maybe my awl) actually pierce the grain. — AZR
-
Yes but I don't see a slot on the Cobra. It's where it goes after the tension spring that's got me puzzled? There's no way my thread can double back after coming out of the tension spring and go through the little notch on the bobbin retainer on the top like it is on the Cobra.
-
Yep. The bobbin thread runs through a slot/notch and under the tension spring on the bobbin case. EDIT: I'm not sure what machine you have but when you drop the bobbin in, there will be an angled slot somewhere in the case. The bobbin thread will go into that slot *in the same direction that the slot is angled up*. That notch you refer to should be the top end of the slot. Pull the bobbin thread up and out that notch. The bobbin thread then changes direction and passes under the spring. Every machine I have operates this way.
-
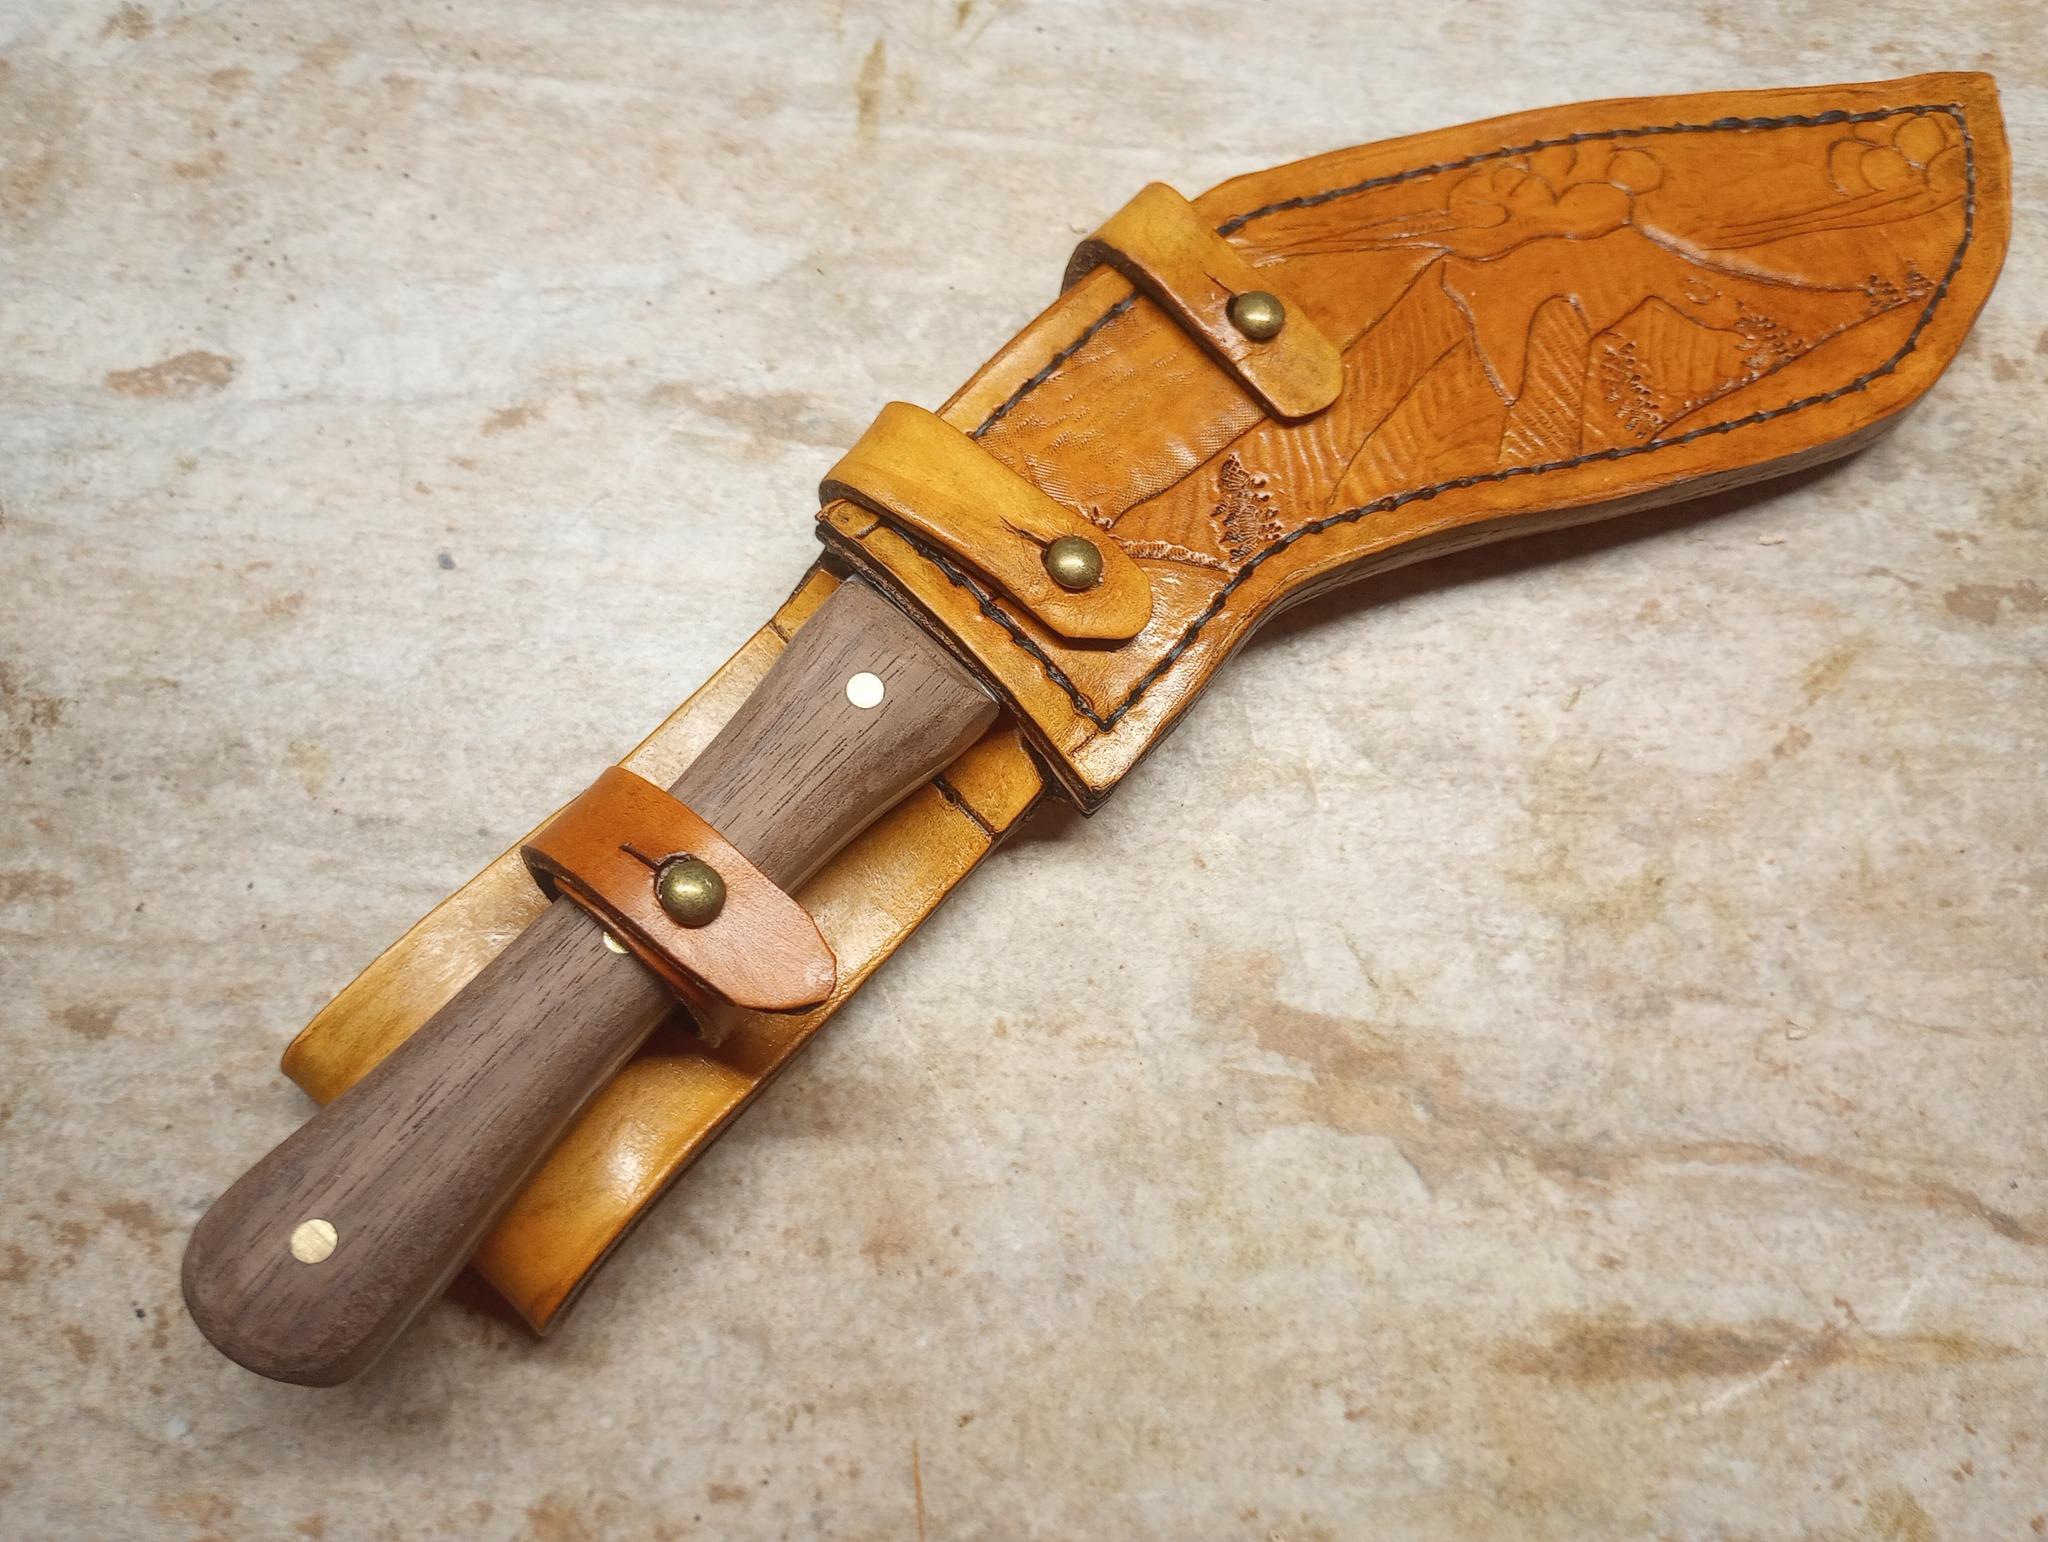
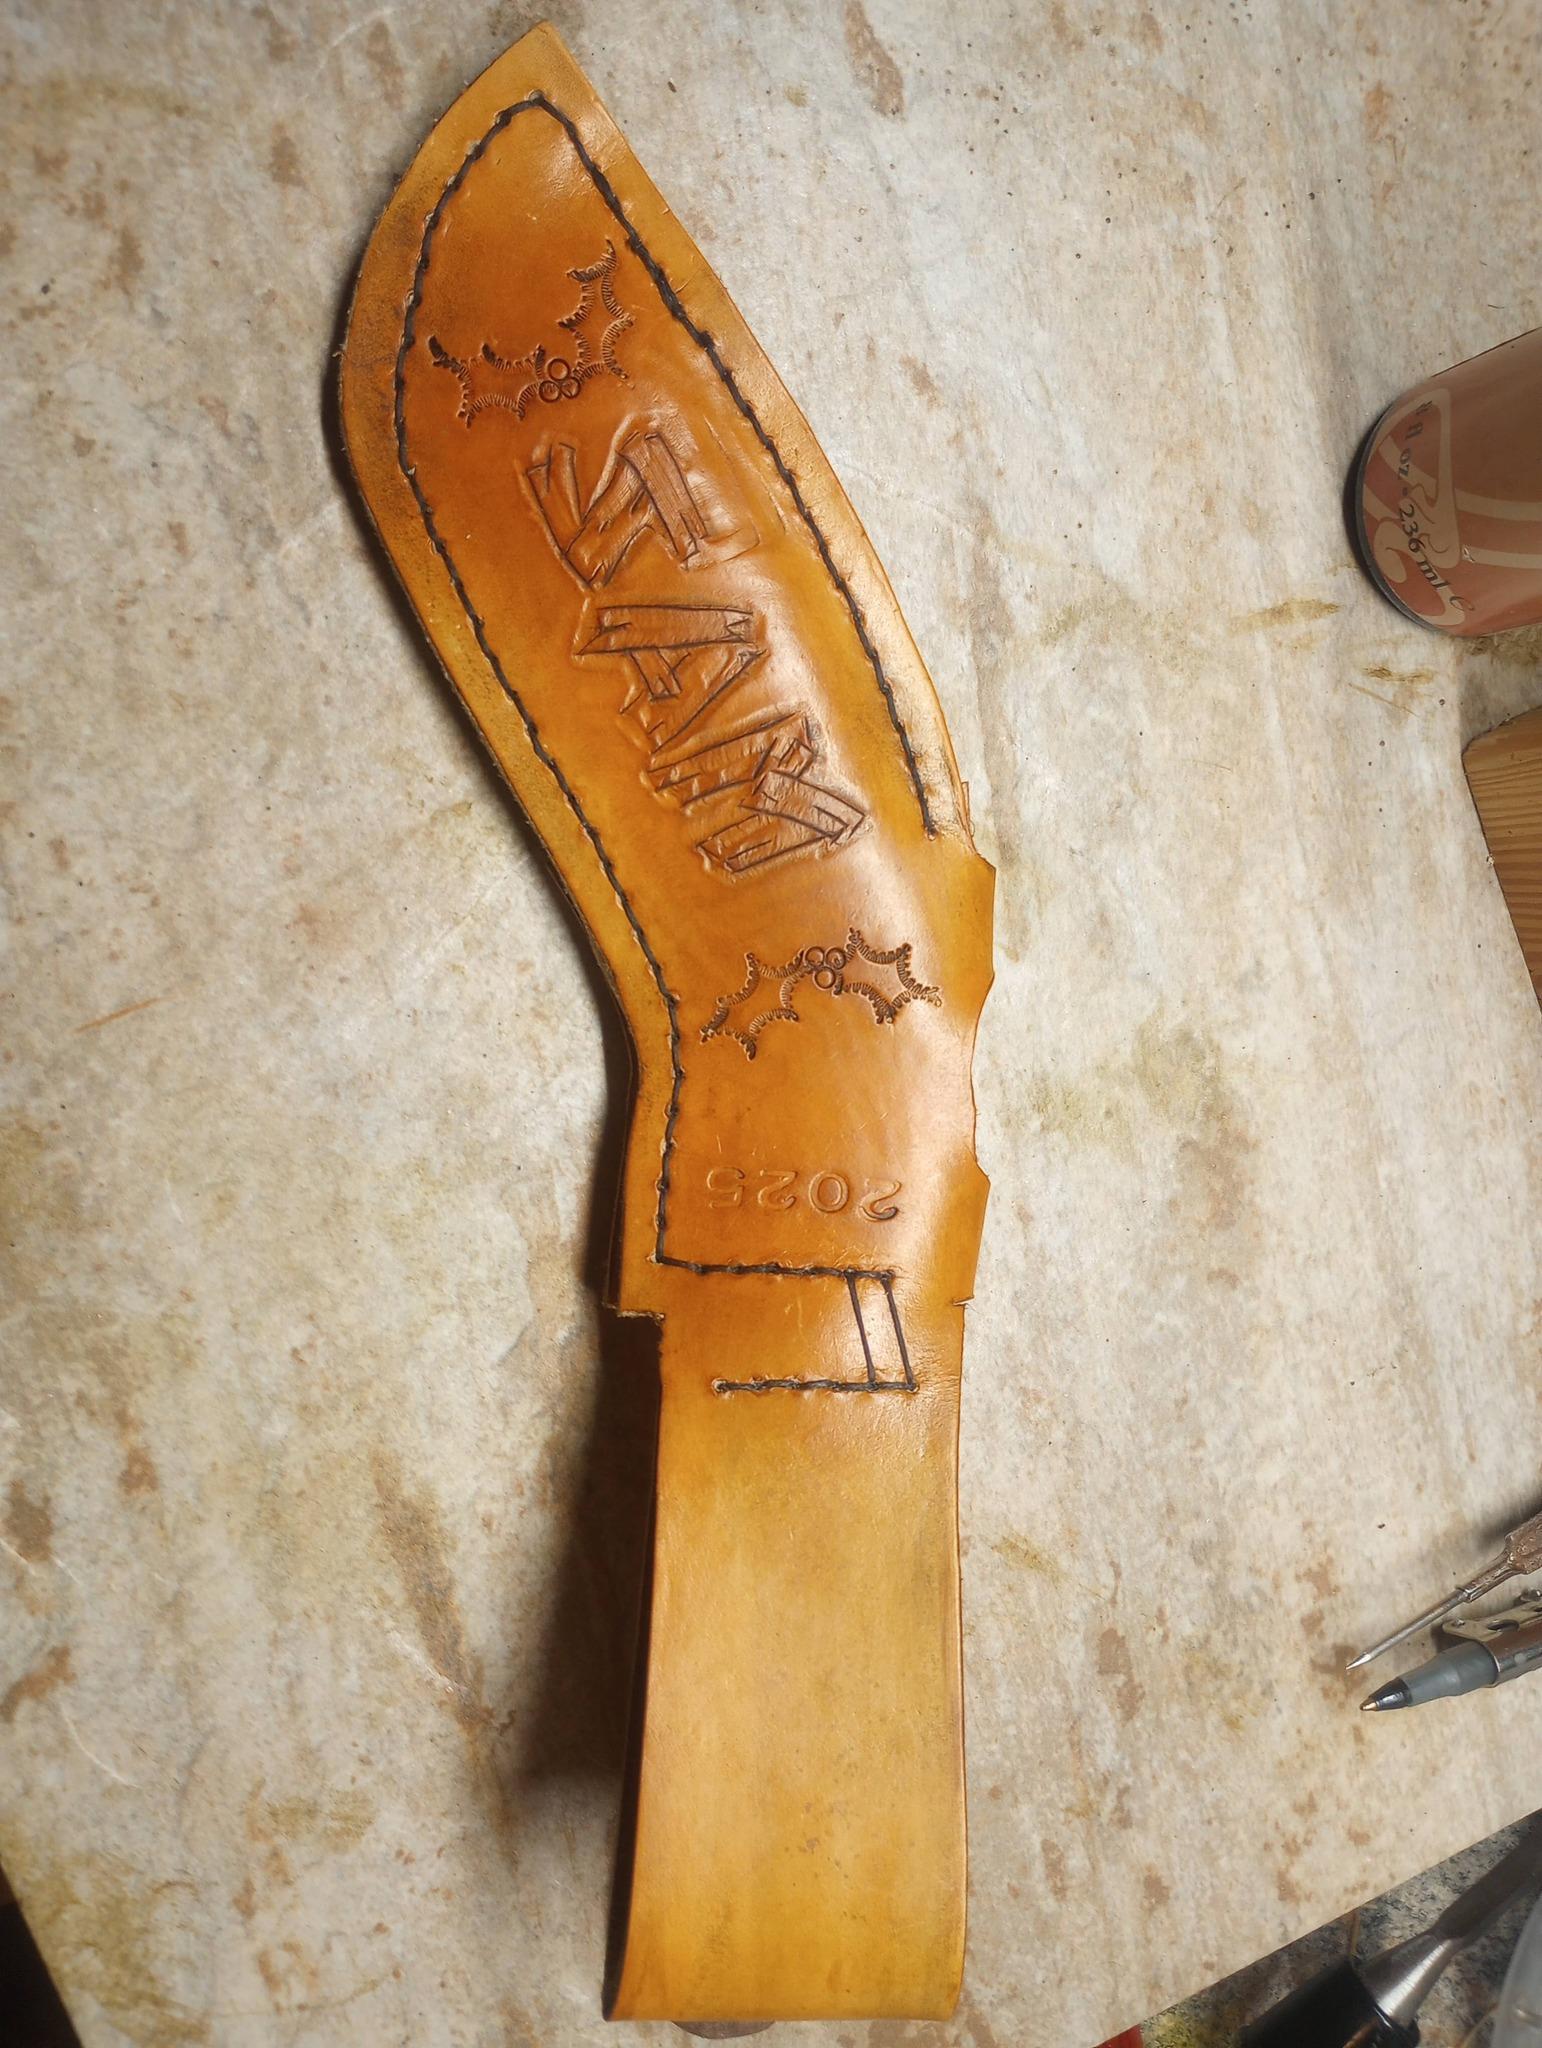
Damn I love you all and this community... Any kind of advice is good I really appreciate it . Seems like some people that are also starting are getting and providing some knowledge from this thread. For sure I will show you some of the work i make once I start. Thanks for the advice on the knife sheat I work in a kitchen so I think would be nice to make some sheats for my knives of even a knife roll (yeah ). Thank you all.
-
Very good advice. Making all your rookie mistakes on the first project.