All Activity
- Past hour
-
Old, Faded Saddle
Majolica15 replied to Majolica15's topic in Saddle Identification, Restoration & Repair
Thanks. -
Singer 111w155 stitch length issues
cadet4x4 replied to Glaciersew's topic in Leather Sewing Machines
-
Singer 111w155 stitch length issues
cadet4x4 replied to Glaciersew's topic in Leather Sewing Machines
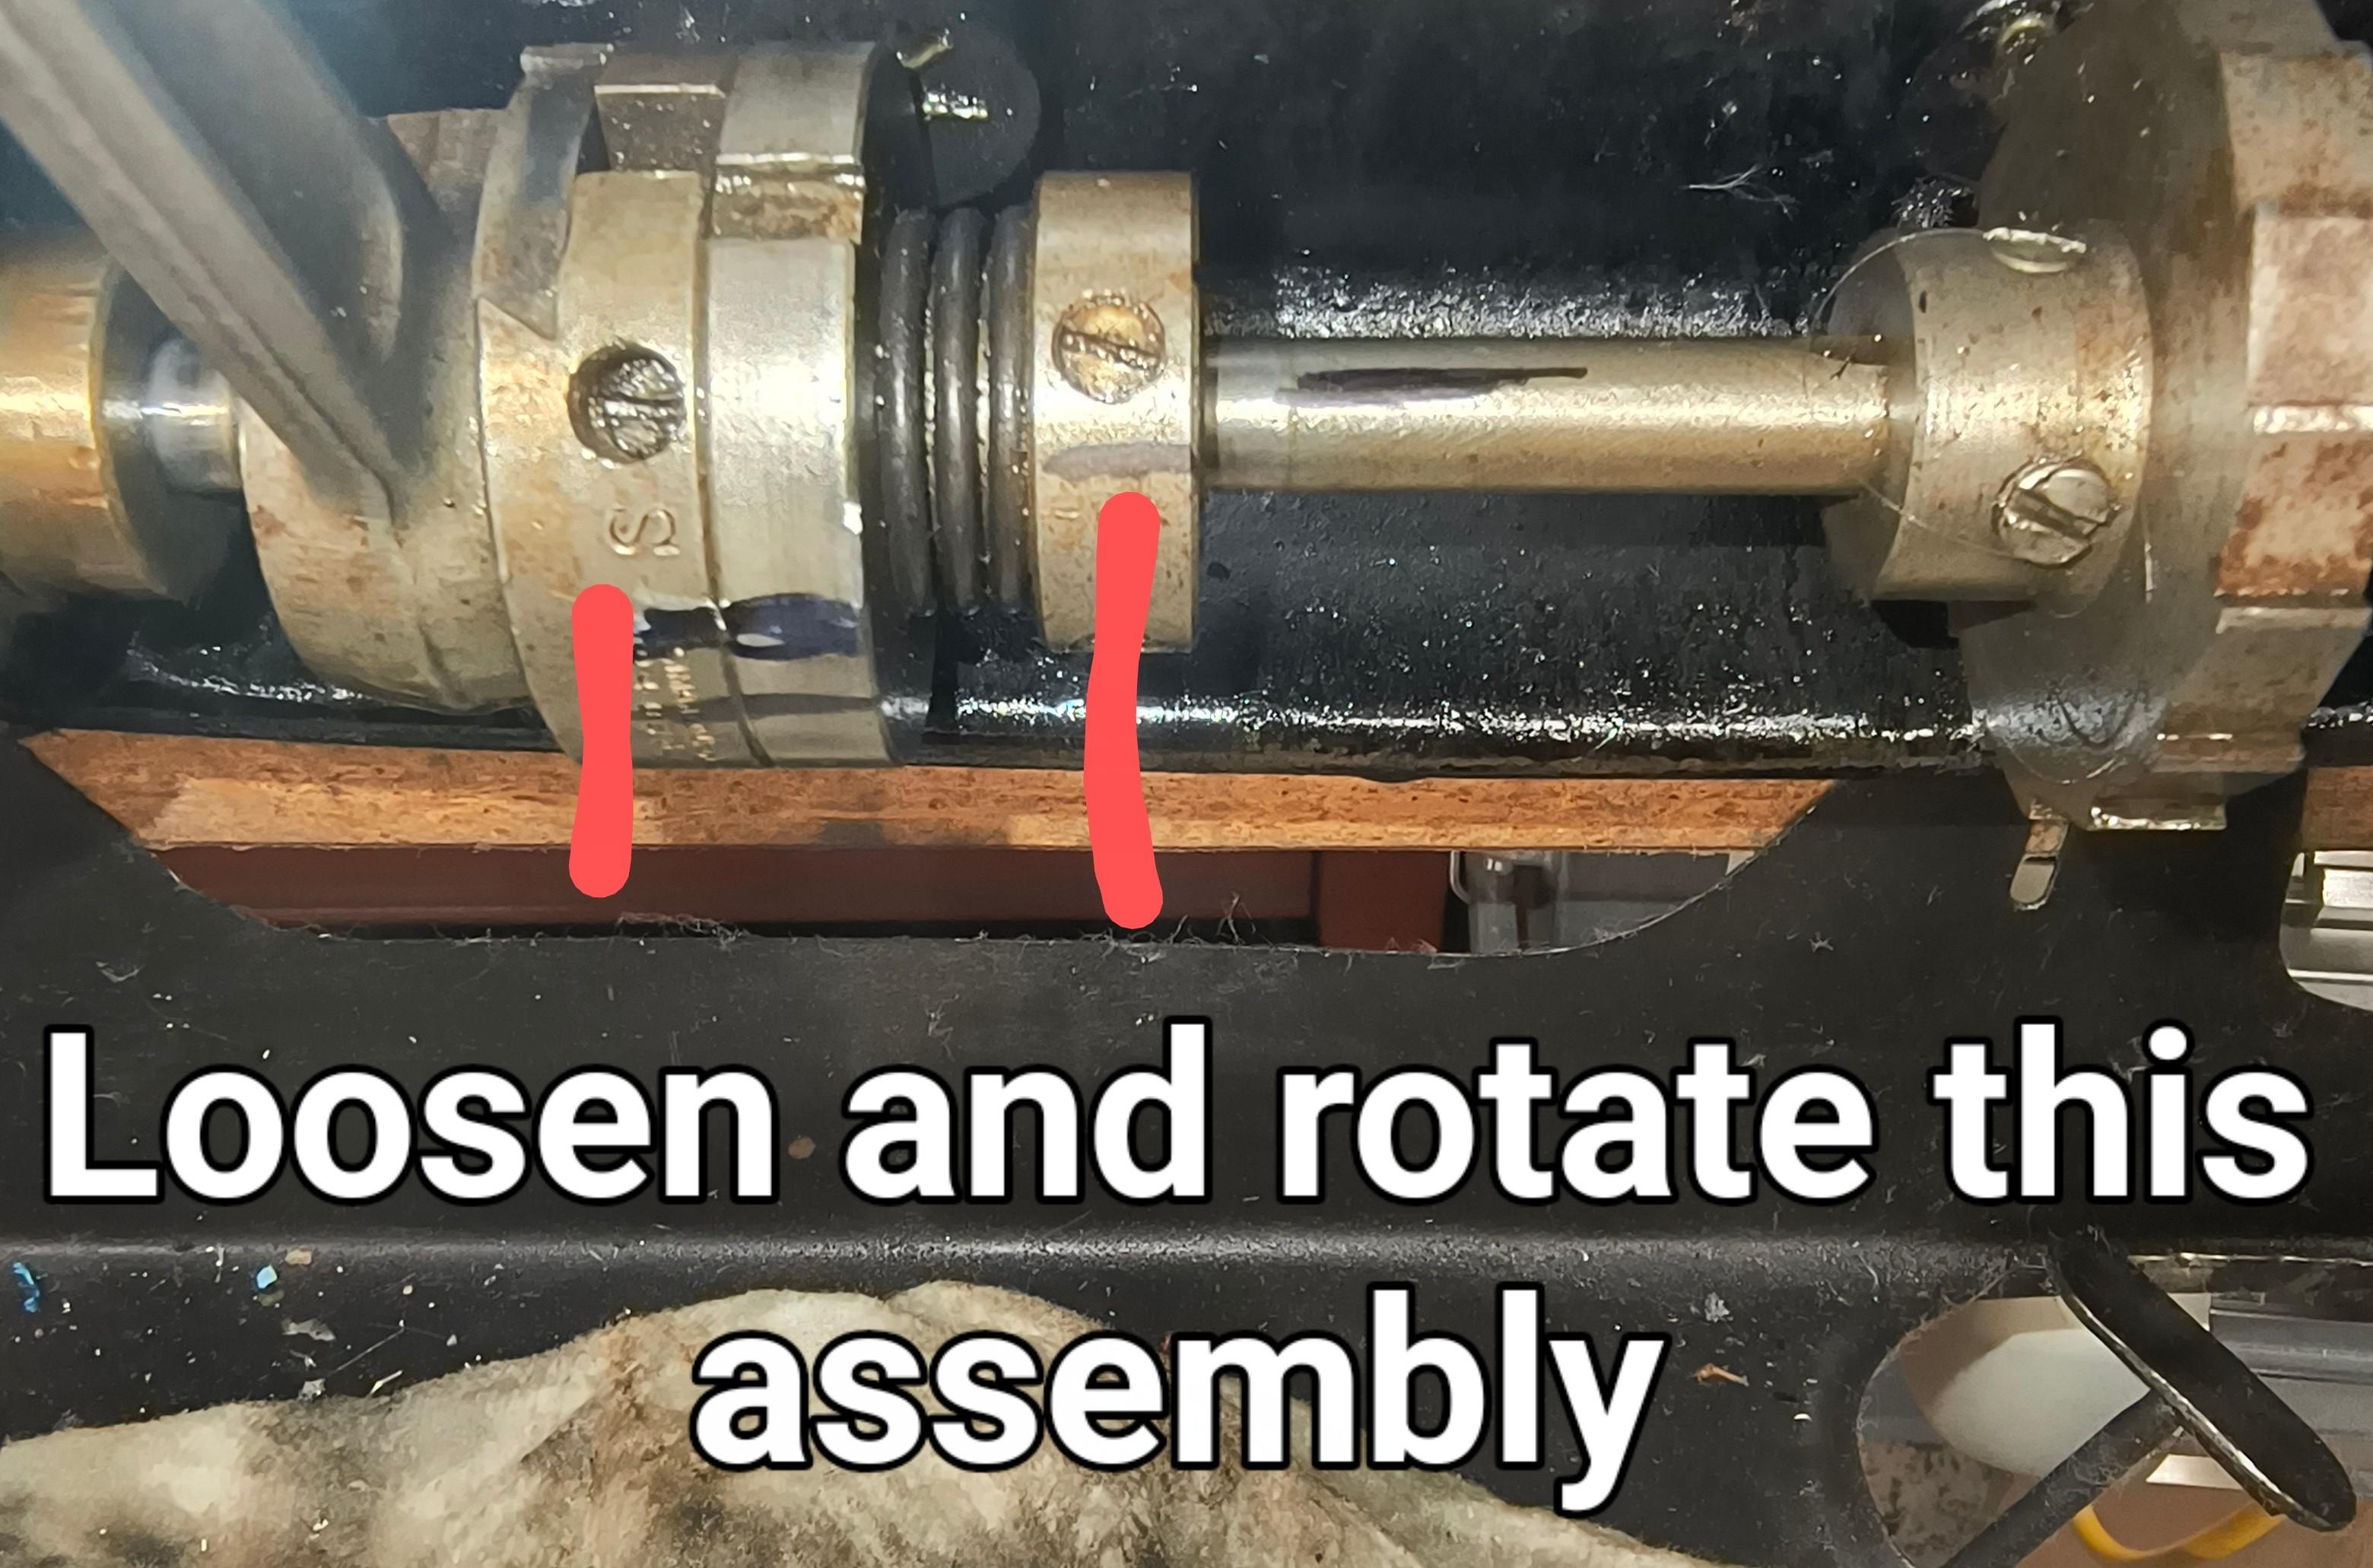
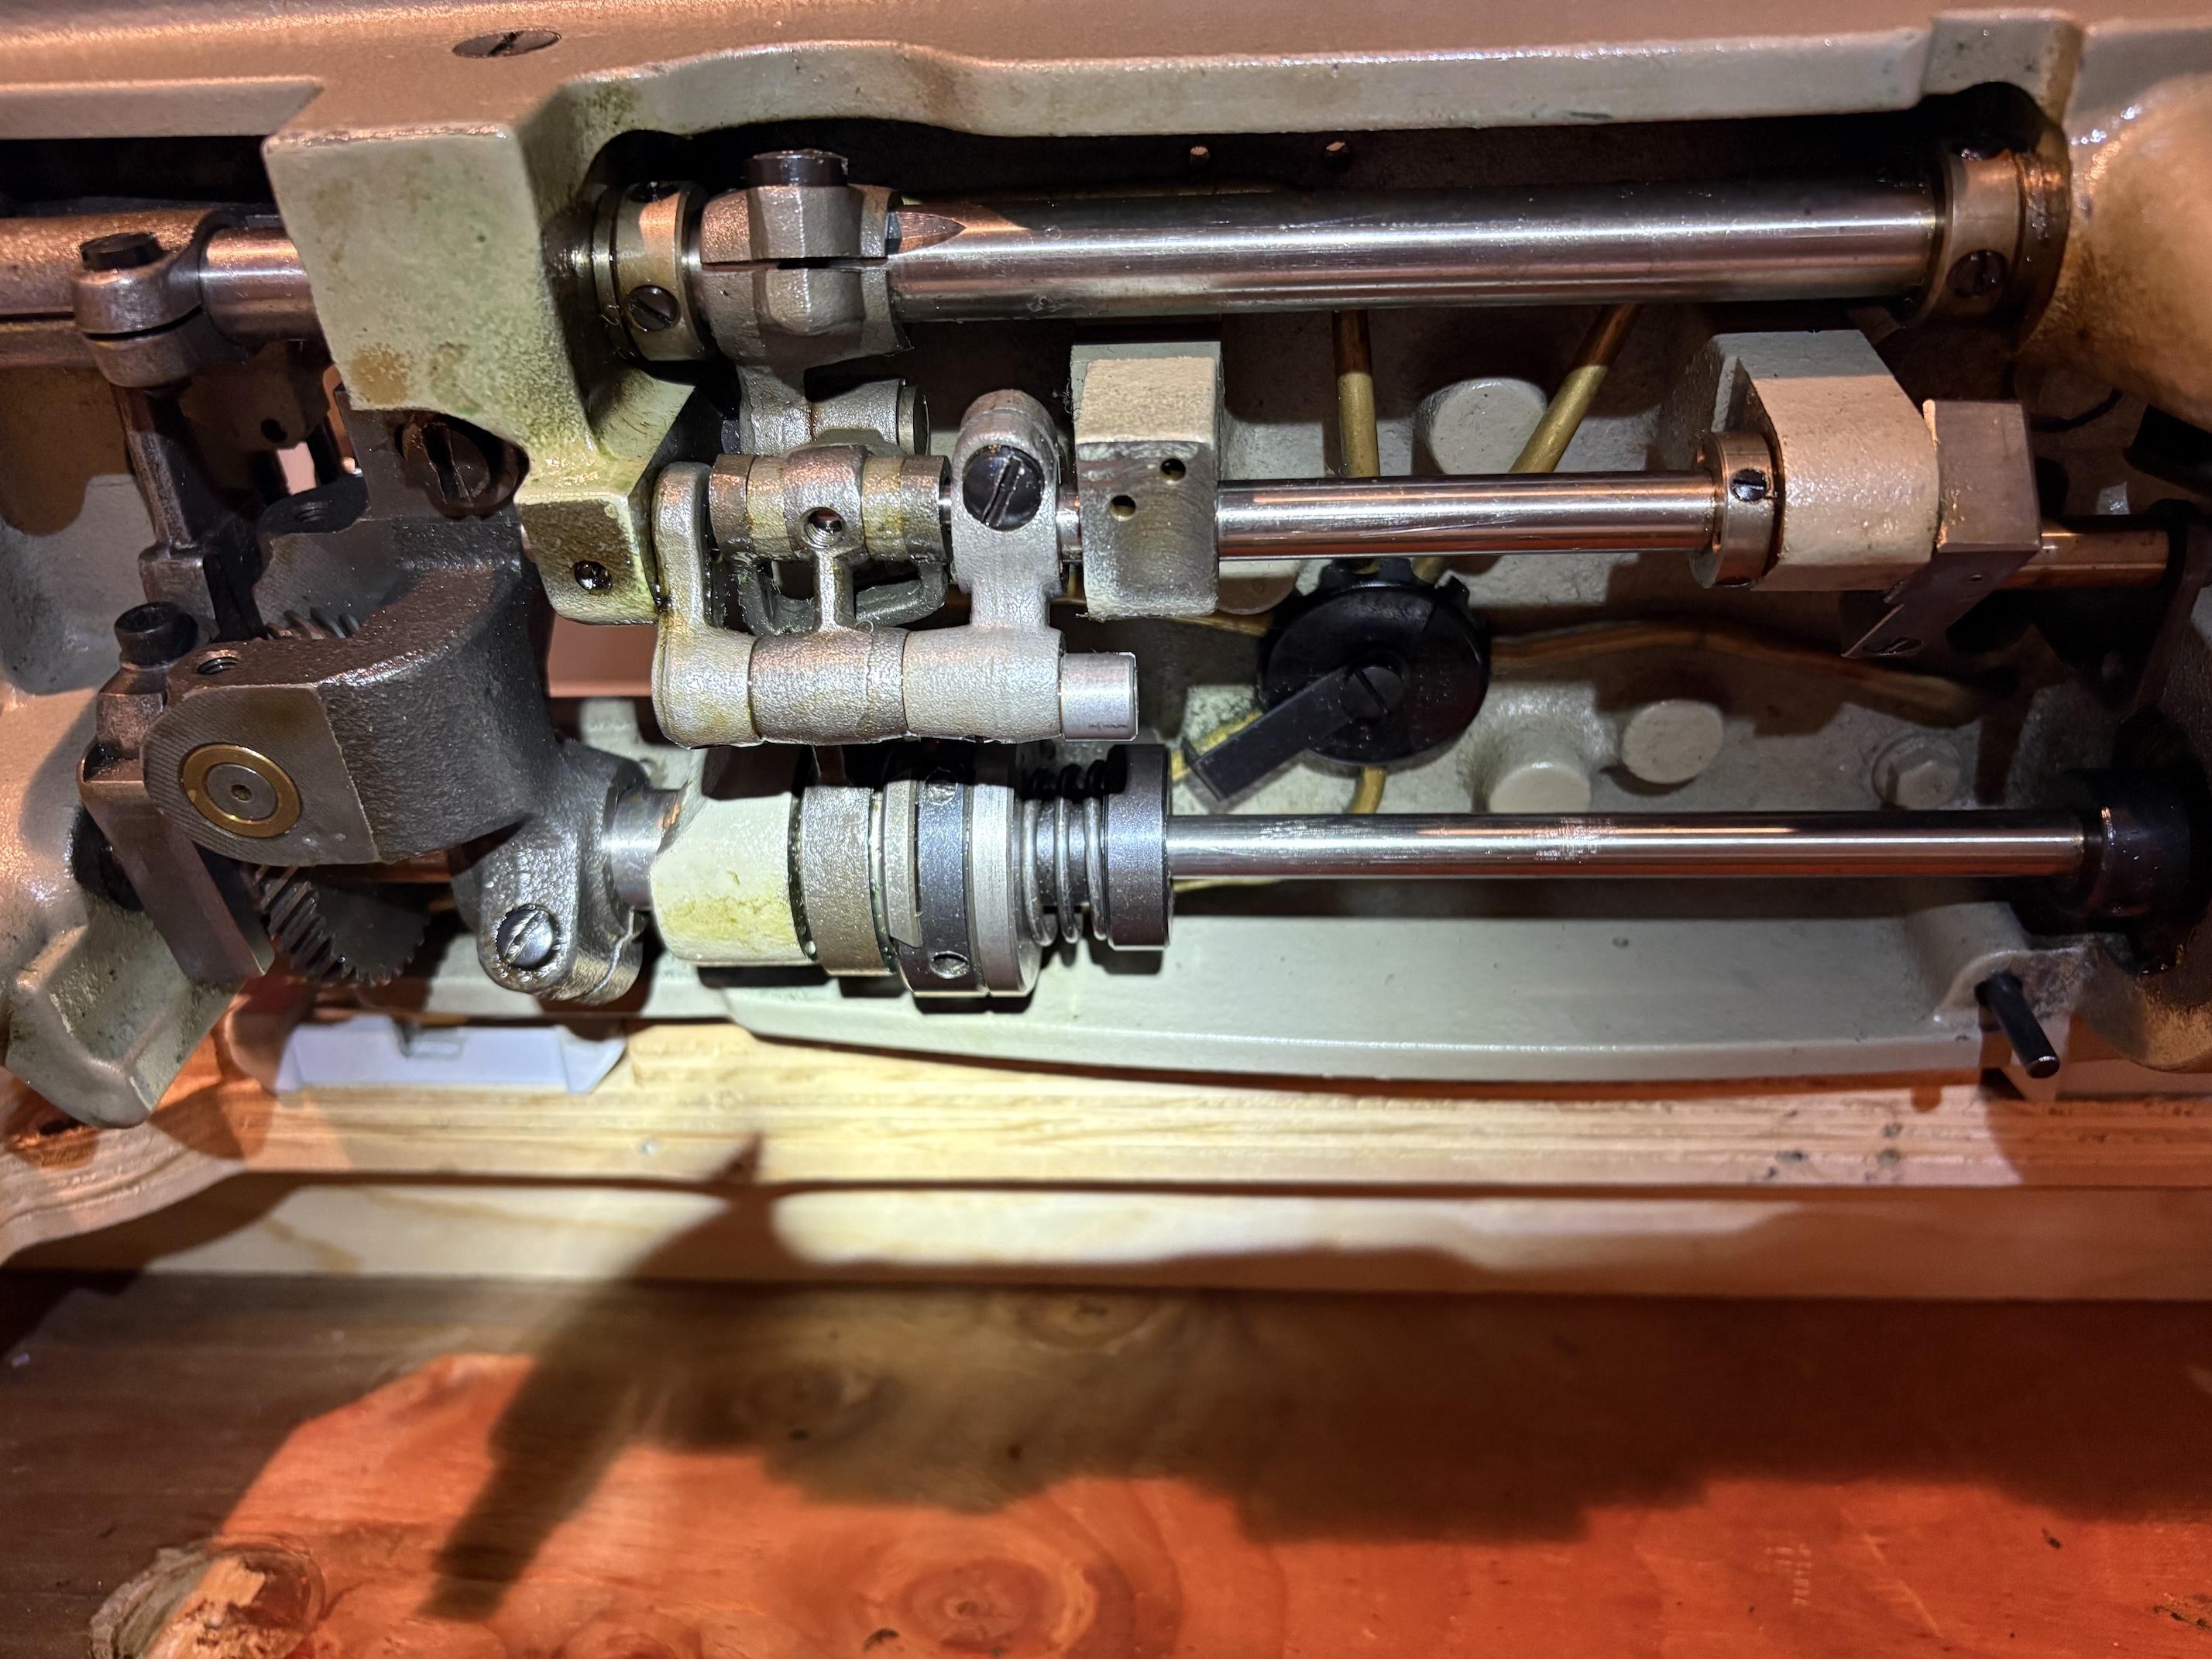
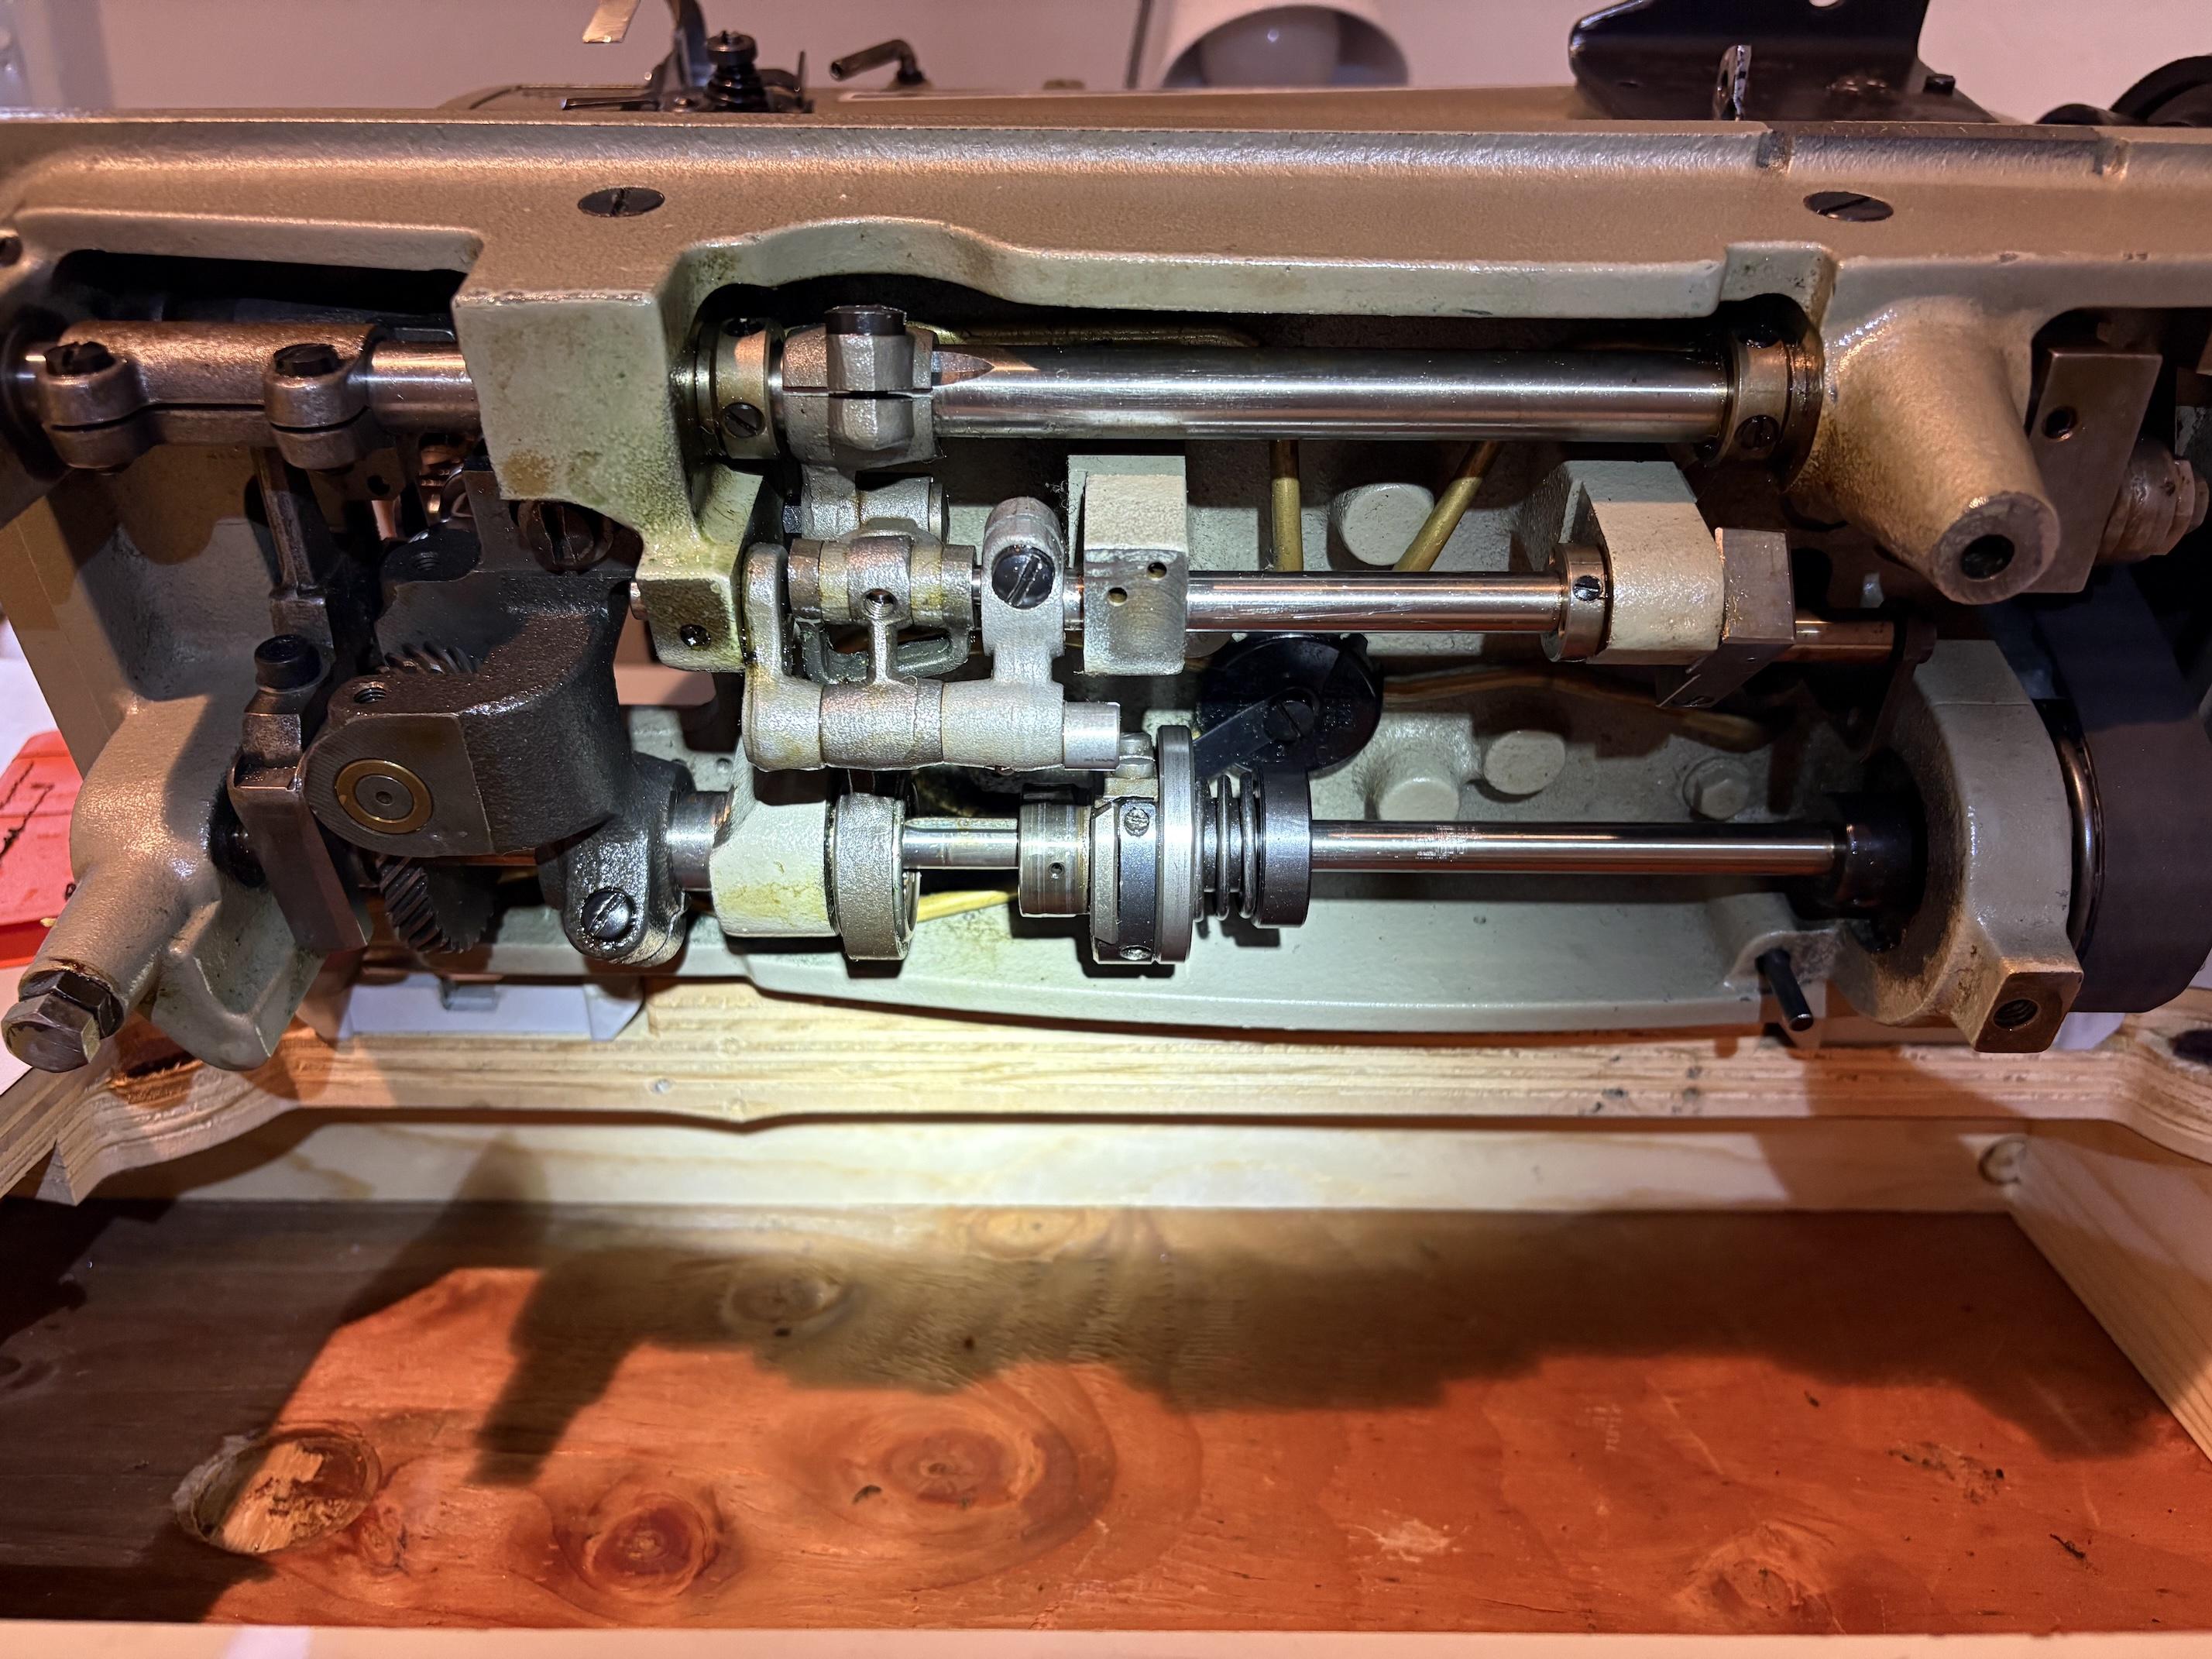
I realize my lower plate is loose. Here is the underside pic of the adjustment made. I'd like to verify this entire shaft is timed correctly. Anyone know at a procedure? -
Moved your post to Saddle and Tack Accessory Items
-

Singer 111w155 stitch length issues
friquant replied to Glaciersew's topic in Leather Sewing Machines
Feed timing looks good. The needle plate is loose, but I assume you knew that, and I don't think it will change the stitch length. -
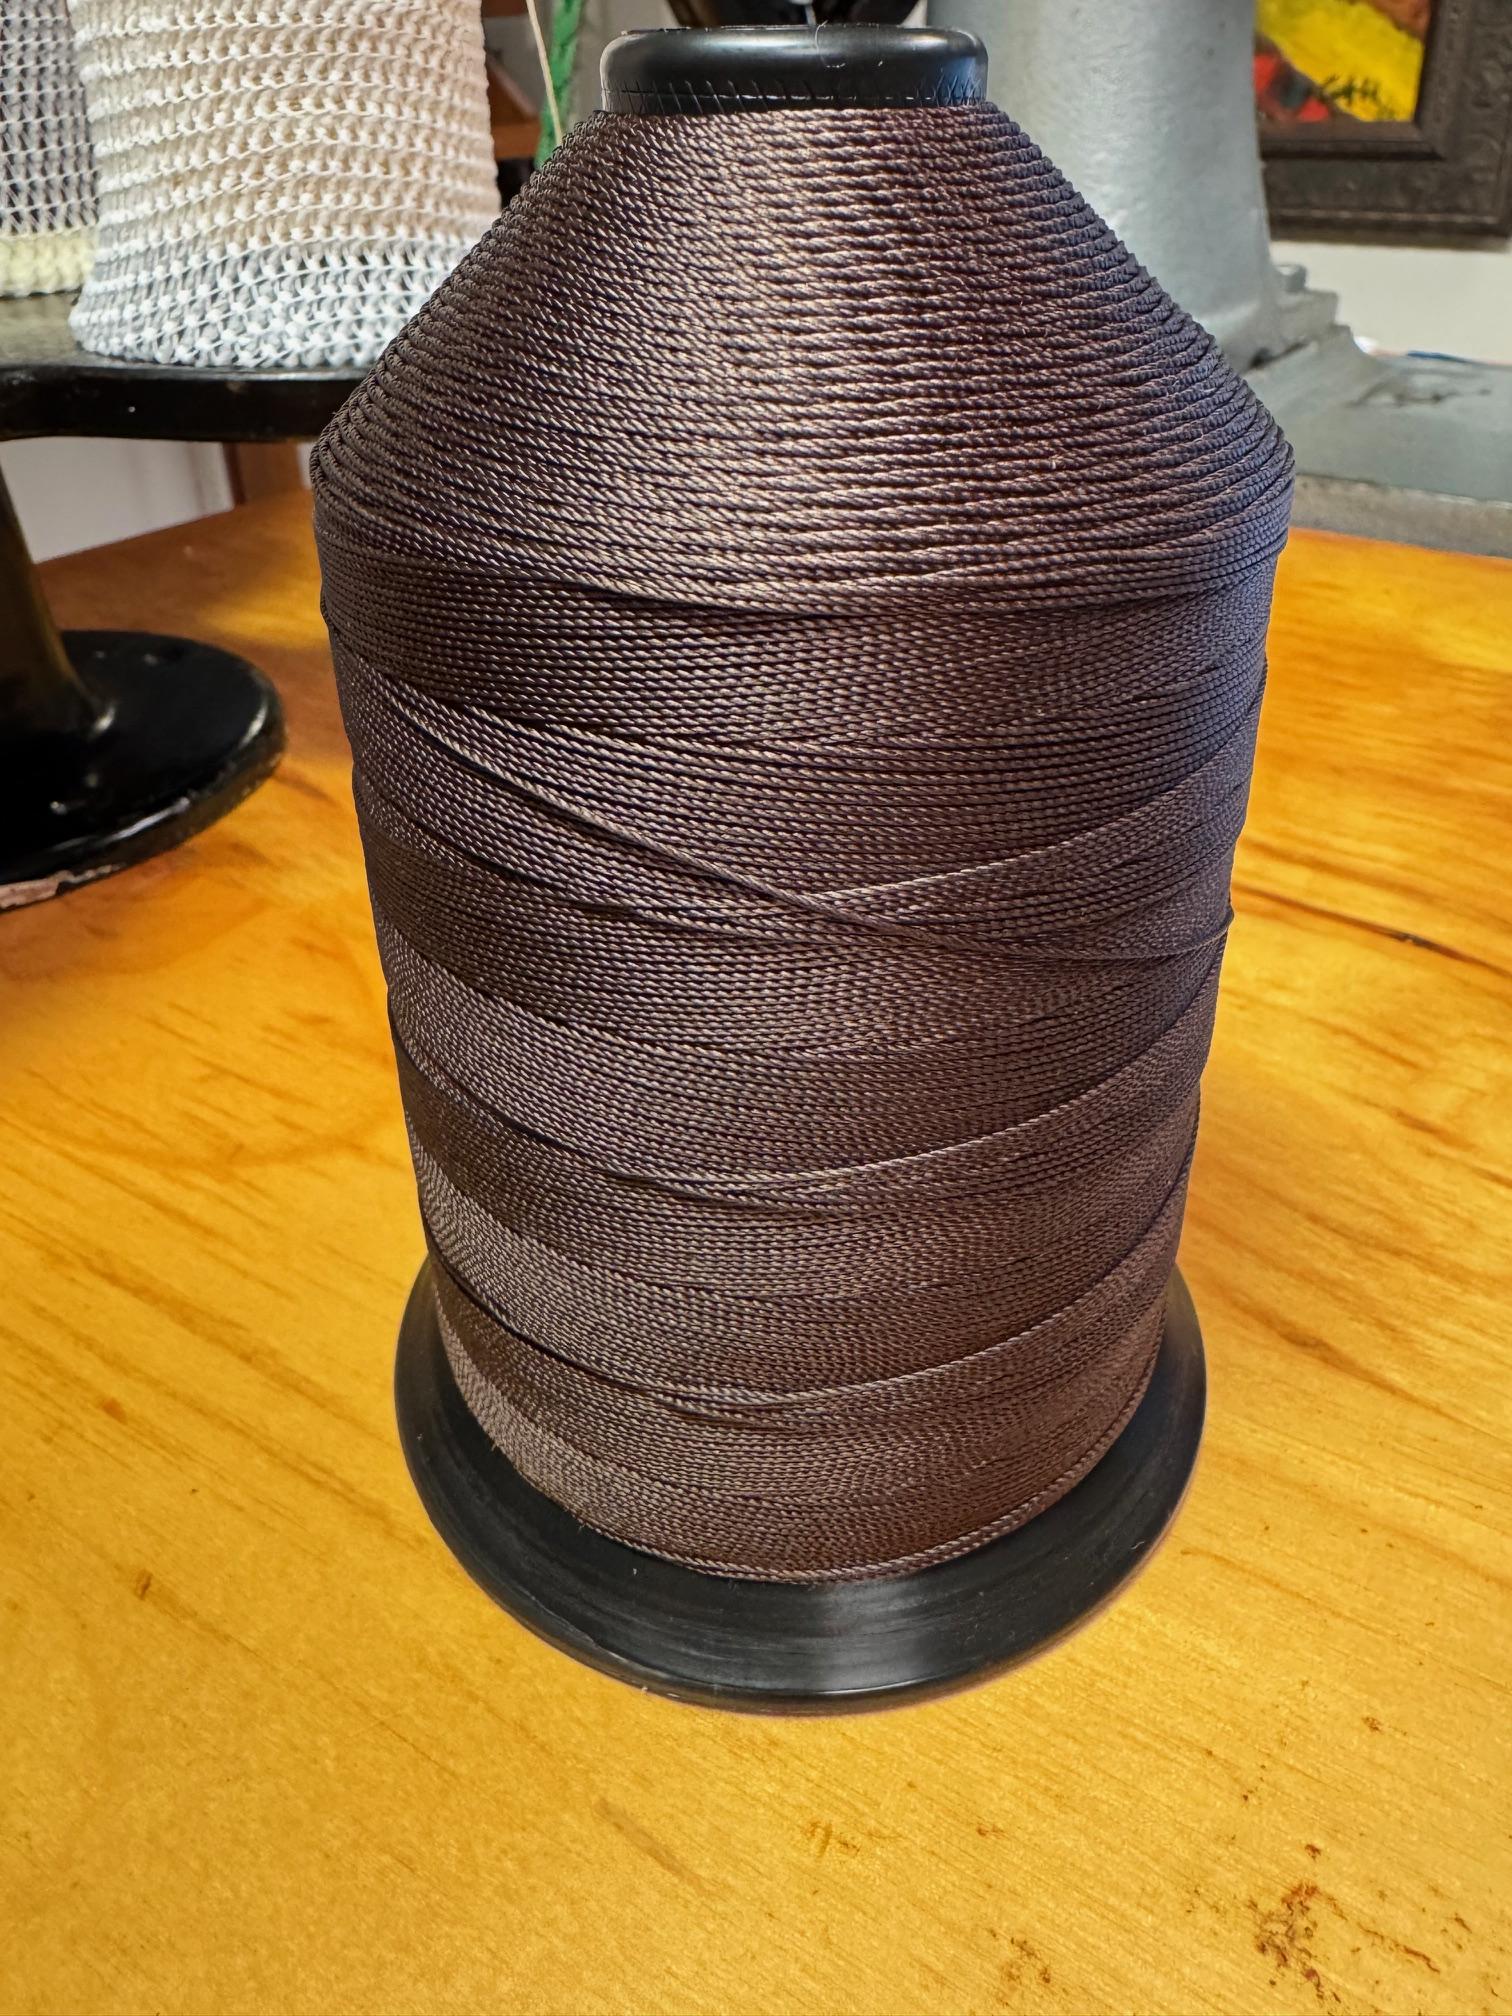
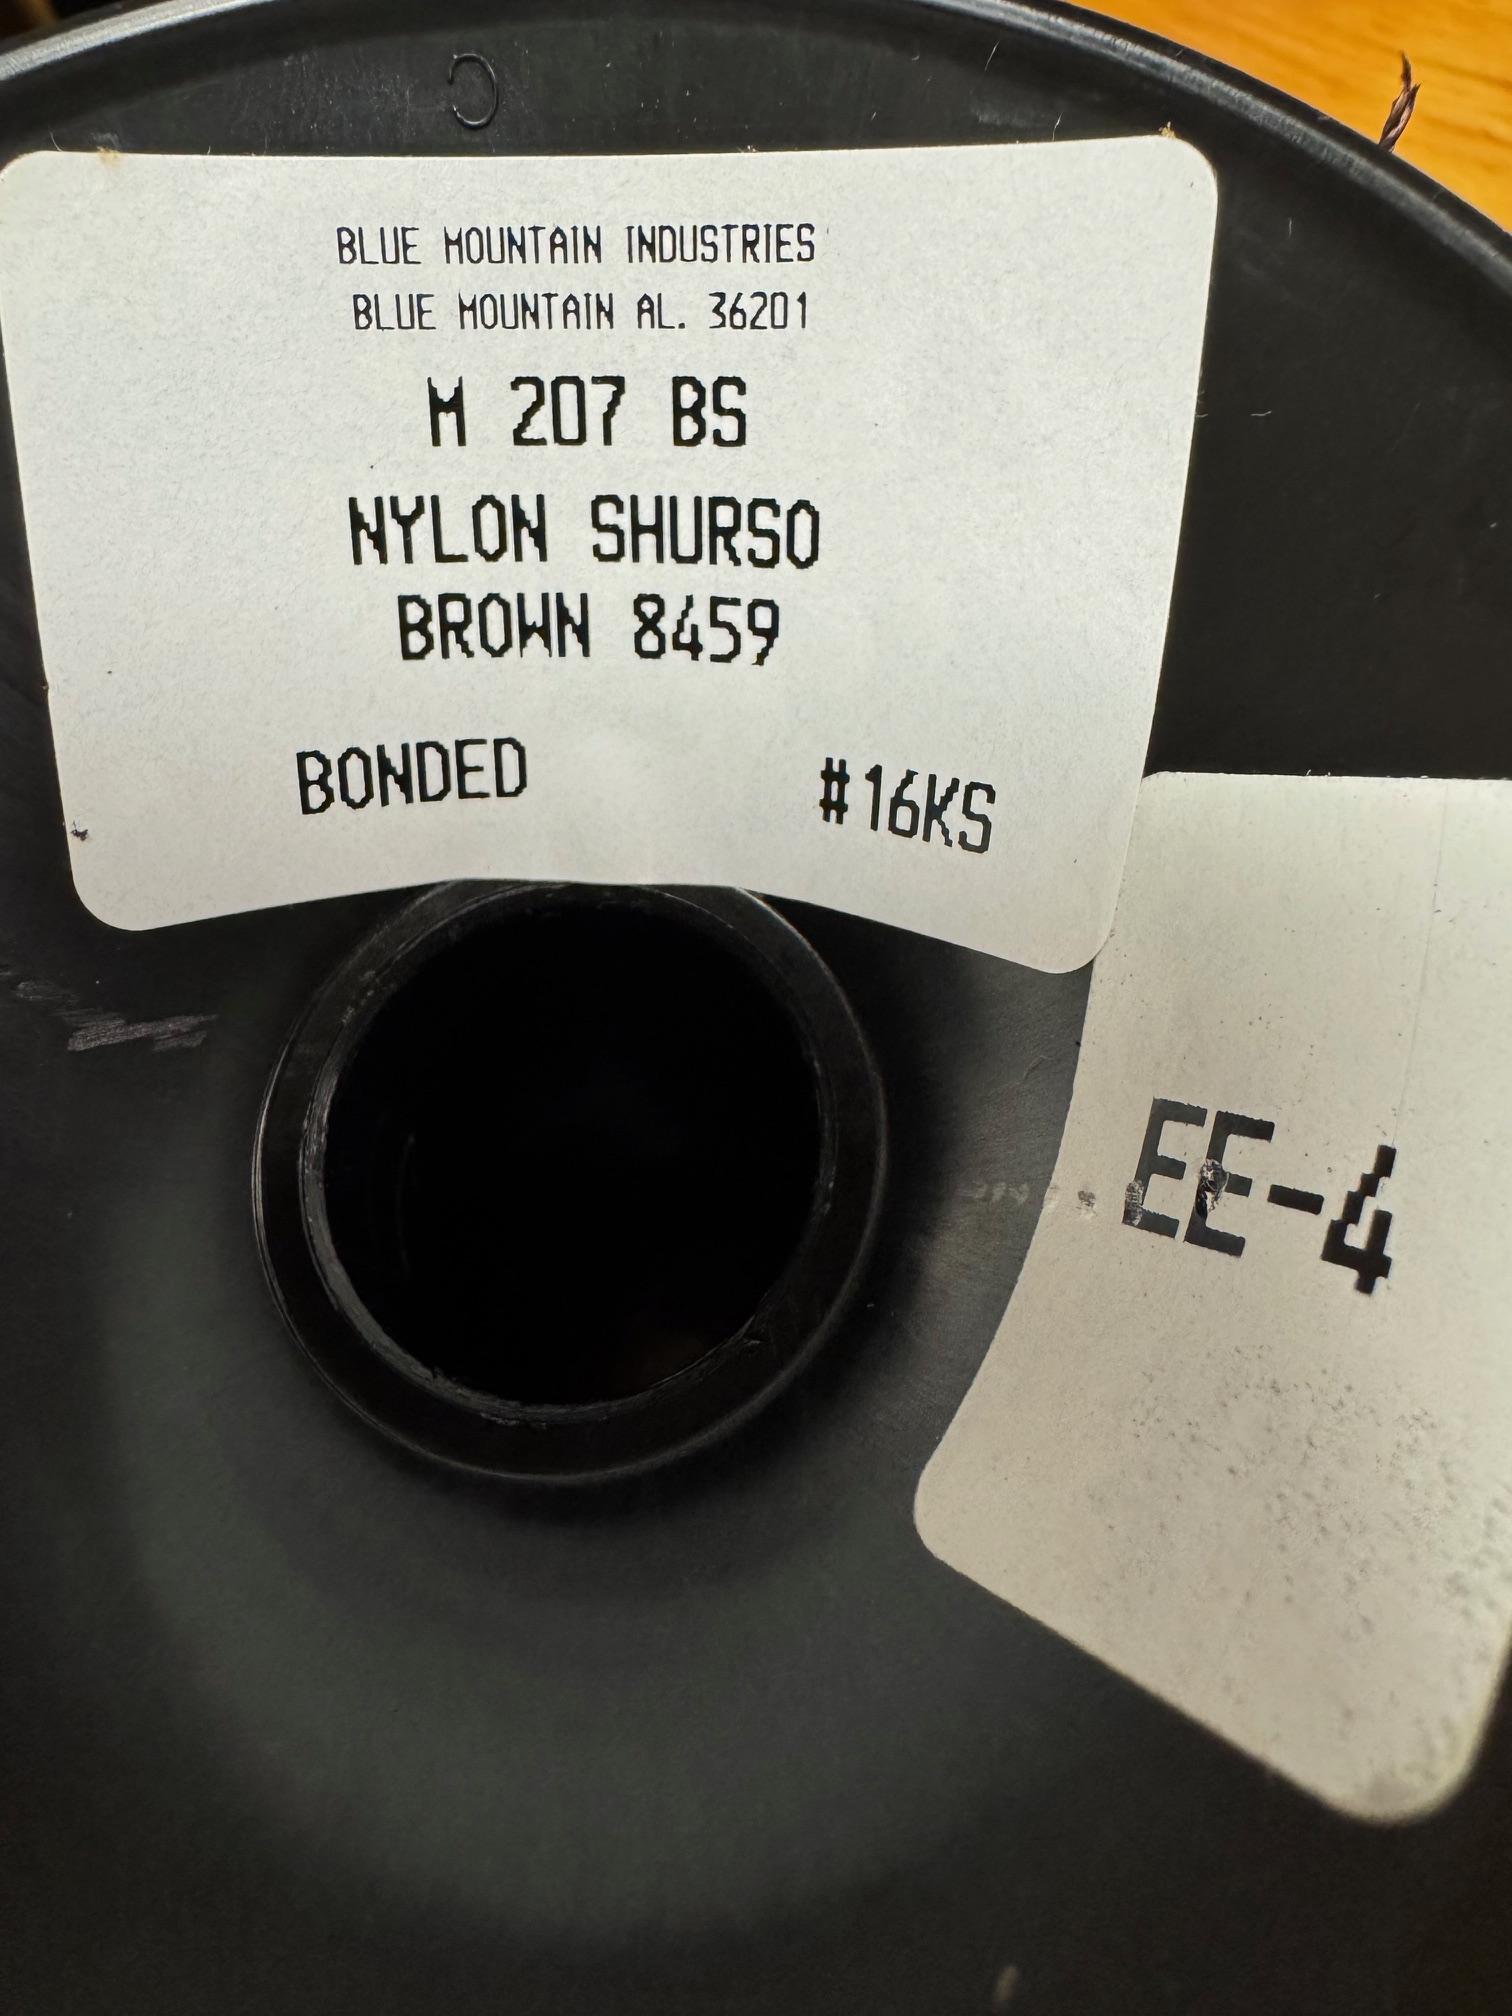
Does anyone know anything about Blue Mountain Industries threads? I was given 6 one pound spools of 207 "Nylon Shurso" bonded thread I cannot find any information about the manufacturer... thanks...
-
.thumb.jpg.6e903dd66163ad5672f00f144058c571.jpg)
TechSew 2750 Pro Cylinder Arm Sewing Machine - $2000 Lots of Extras
Northmount replied to RecentRelics's topic in Used
You need to quote part of the OP's post or tag him/her to help ensure they get a notification. Notice I quoted your post. To tag a member, type the @ symbol followed by the username and pick the name from the popup box. Like this @RecentRelics -
Singer 111w155 stitch length issues
cadet4x4 replied to Glaciersew's topic in Leather Sewing Machines
https://youtu.be/OezNzJN9LFk?si=lt7xv1-eMcQC6RzR Fingers crossed -
.thumb.jpg.6e903dd66163ad5672f00f144058c571.jpg)
Old, Faded Saddle
Northmount replied to Majolica15's topic in Saddle Identification, Restoration & Repair
Moved your post to Saddle Identification, Restoration & Repair -

Singer 211 U166A walking foot problem
friquant replied to NowhereMan01's topic in Leather Sewing Machines
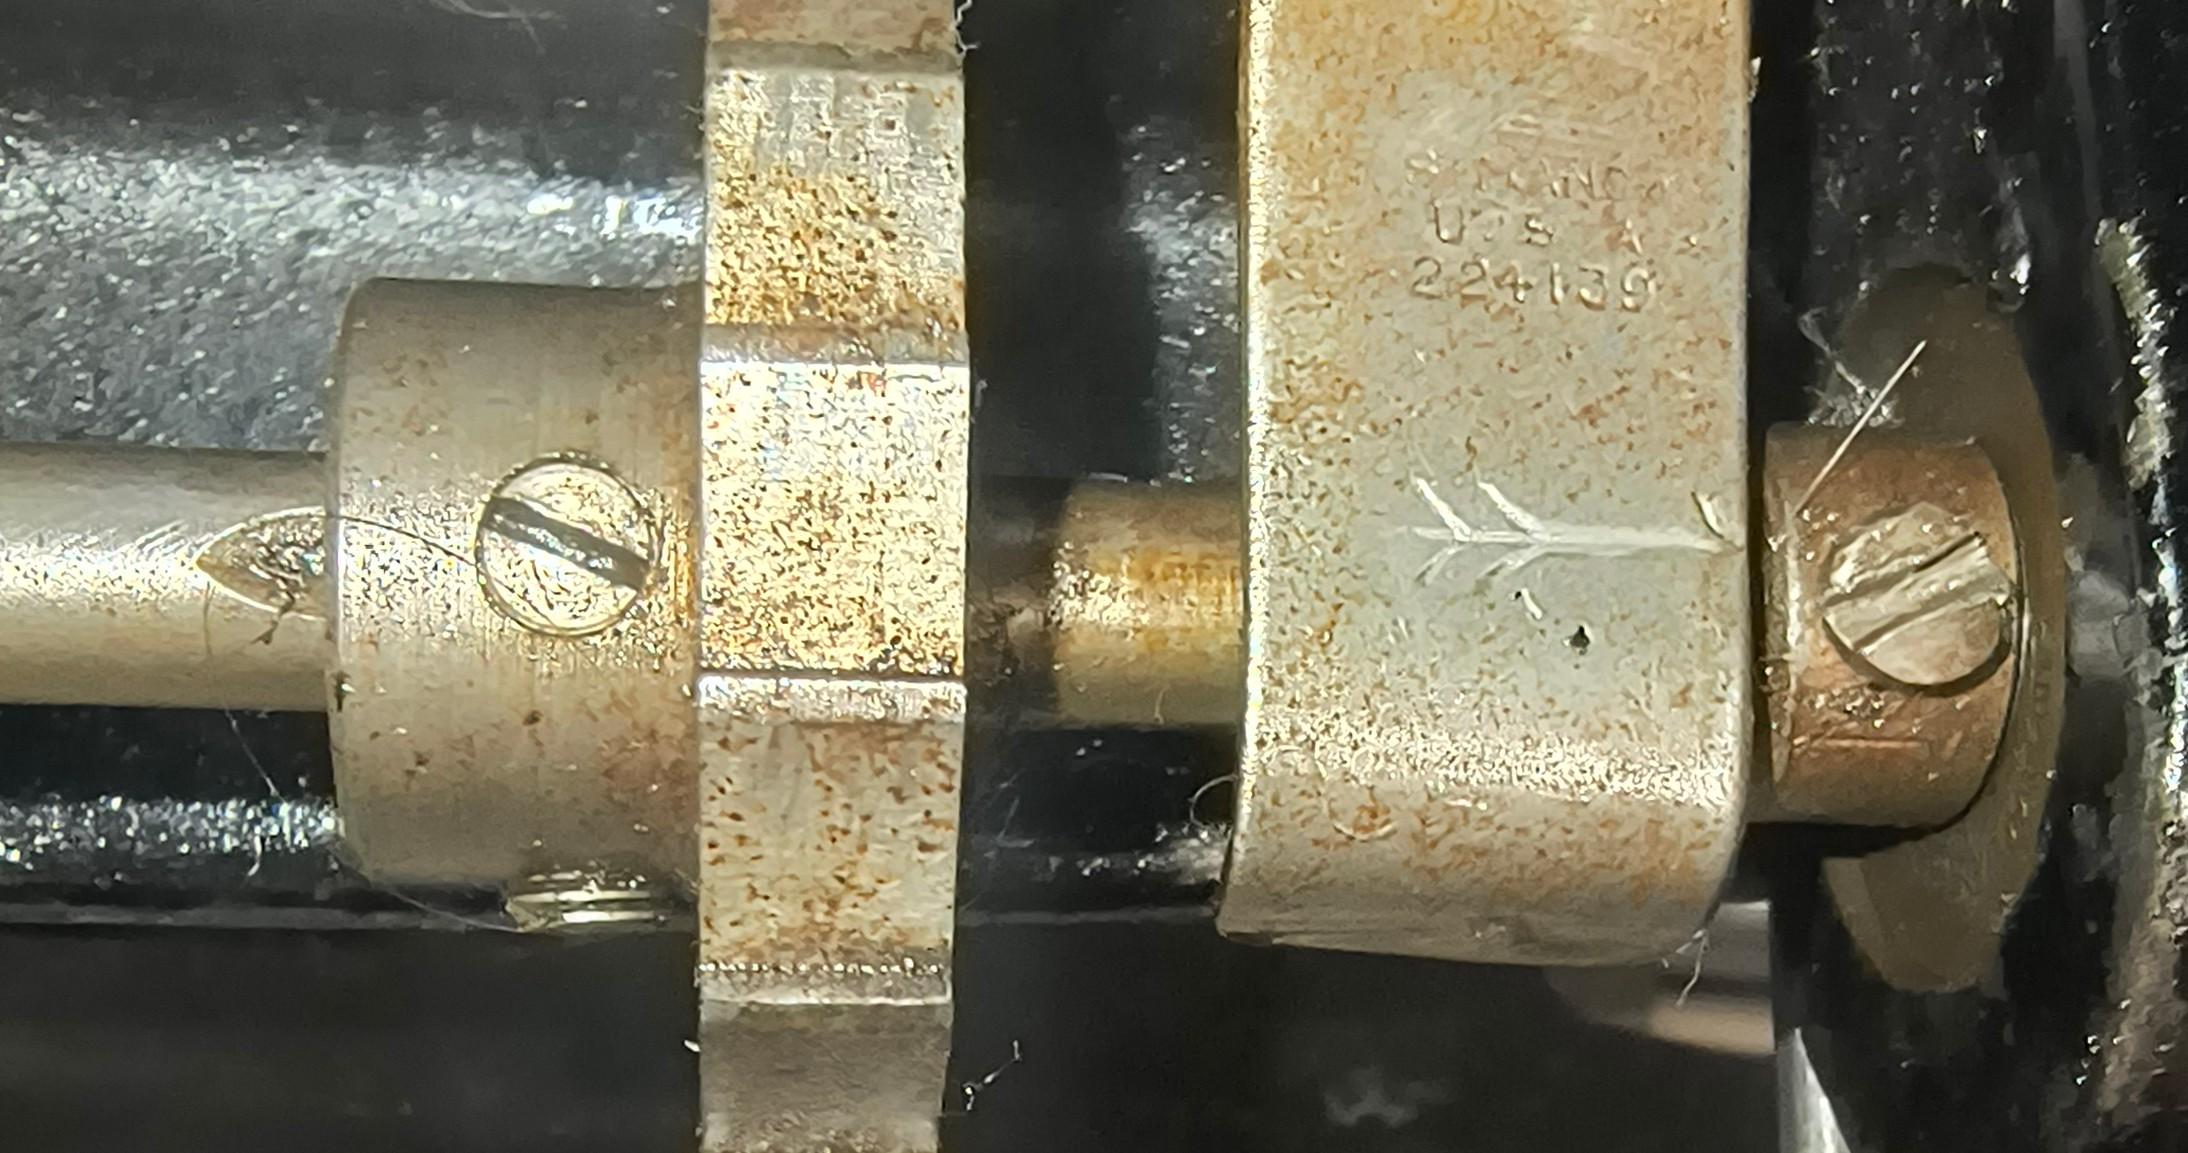
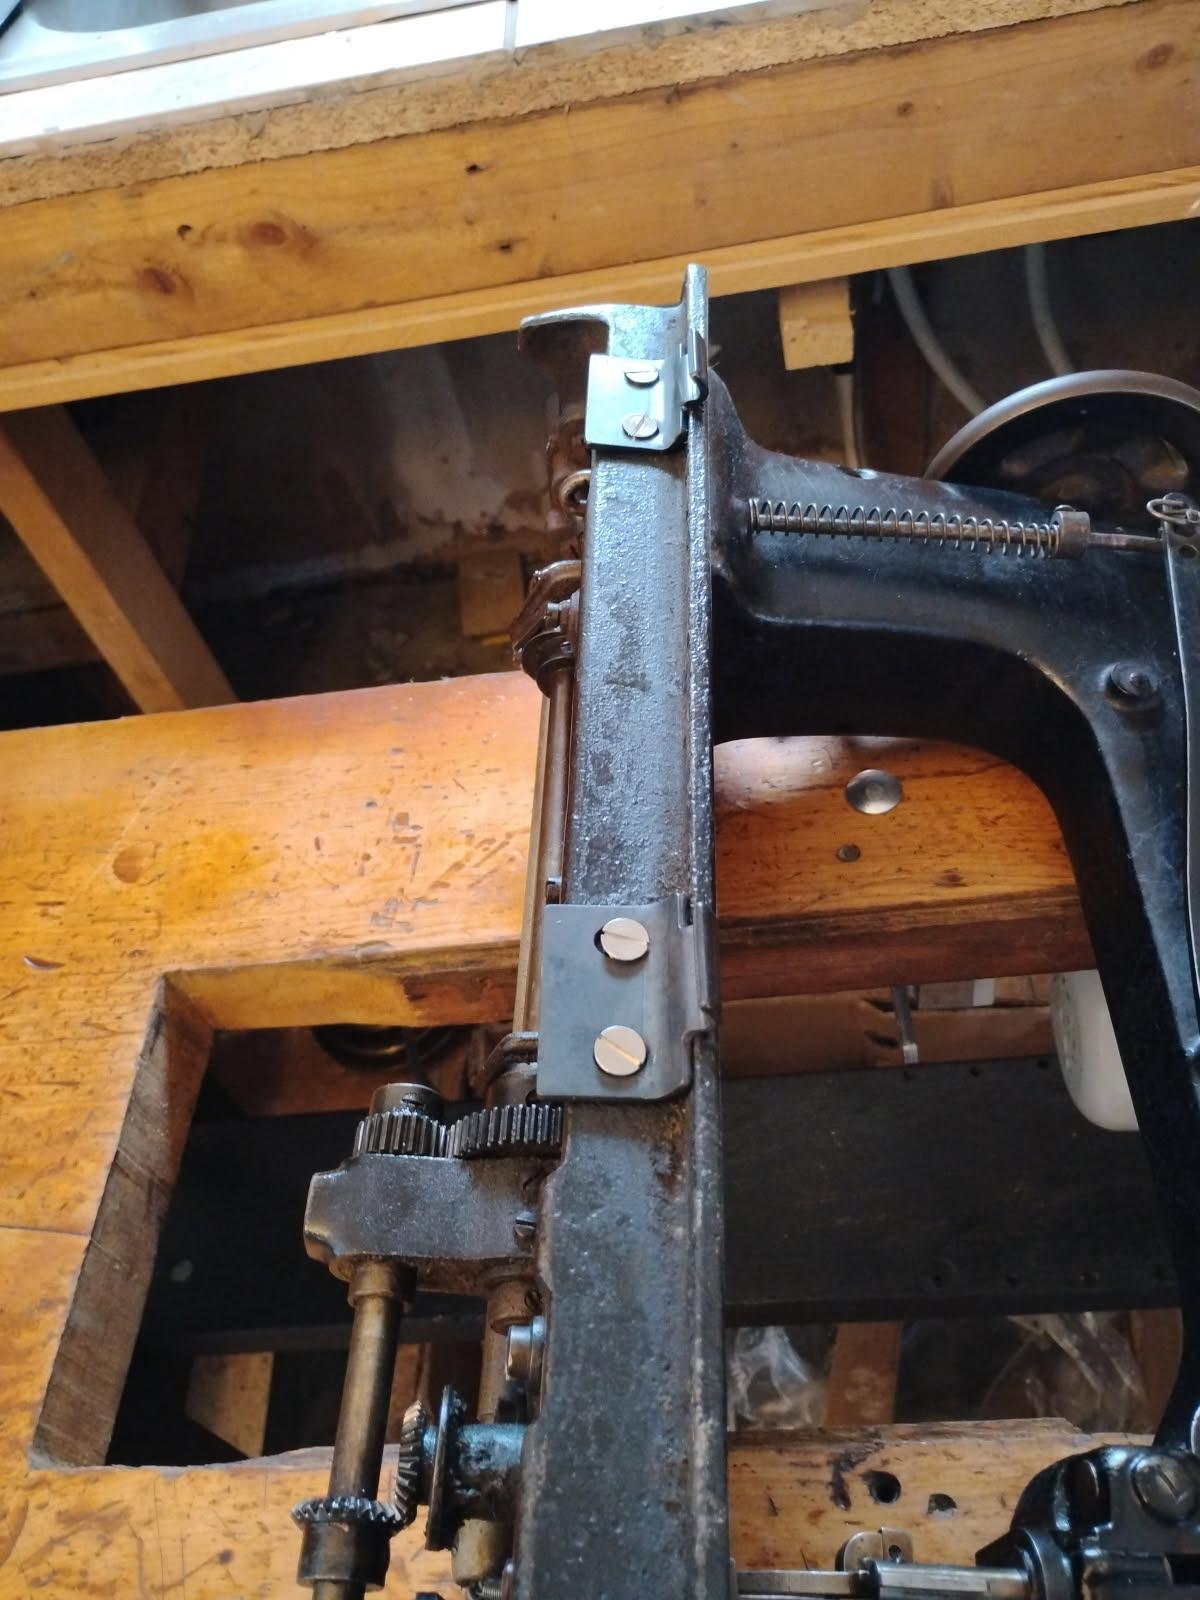
Oh I see.. The feed eccentric slid about 1.25 inches to the right, exposing the actual cam lobe. Based on the manual page 24, "Feed Eccentric Adjustment", I think you are to slide the feed eccentric to the left so the cam lobe goes inside the pushrod, then apply your chosen amount of pressure to the left to compress the "feed driving eccentric adjusting disc spring" to achieve your chosen amount of spring pressure. Then tighten what appears to be set screws in the collar that holds the spring. -

Singer 111w155 stitch length issues
friquant replied to Glaciersew's topic in Leather Sewing Machines
I'm not able to view the videos. What format are they? Some people upload to youtube, the embed here. I find that too much work, so I shrink mine using ffmpeg (and convert to .mp4 along the way), then upload directly. -
Singer 211 U166A walking foot problem
NowhereMan01 replied to NowhereMan01's topic in Leather Sewing Machines
It looks like I spoke too soon. It did seem to "walk", so I tried adjusting the stitch length (still without thread, just trying to get a bigger "step"), and when turning the wheel with the button pressed, it seemed to have no resistance, and the results were very flaky. Sometimes it would walk more-or-less as expected, sometimes almost not at all, and sometimes it would even go in reverse (without the reverse lever pressed). So I started looking at the "Feed eccentric adjustment" on p. 24 of the manual, and that thing in the 2nd picture slid out of place, and doesn't seem to be attached to anything. Is it supposed to be like that? - Today
-
Singer 111w155 stitch length issues
cadet4x4 replied to Glaciersew's topic in Leather Sewing Machines
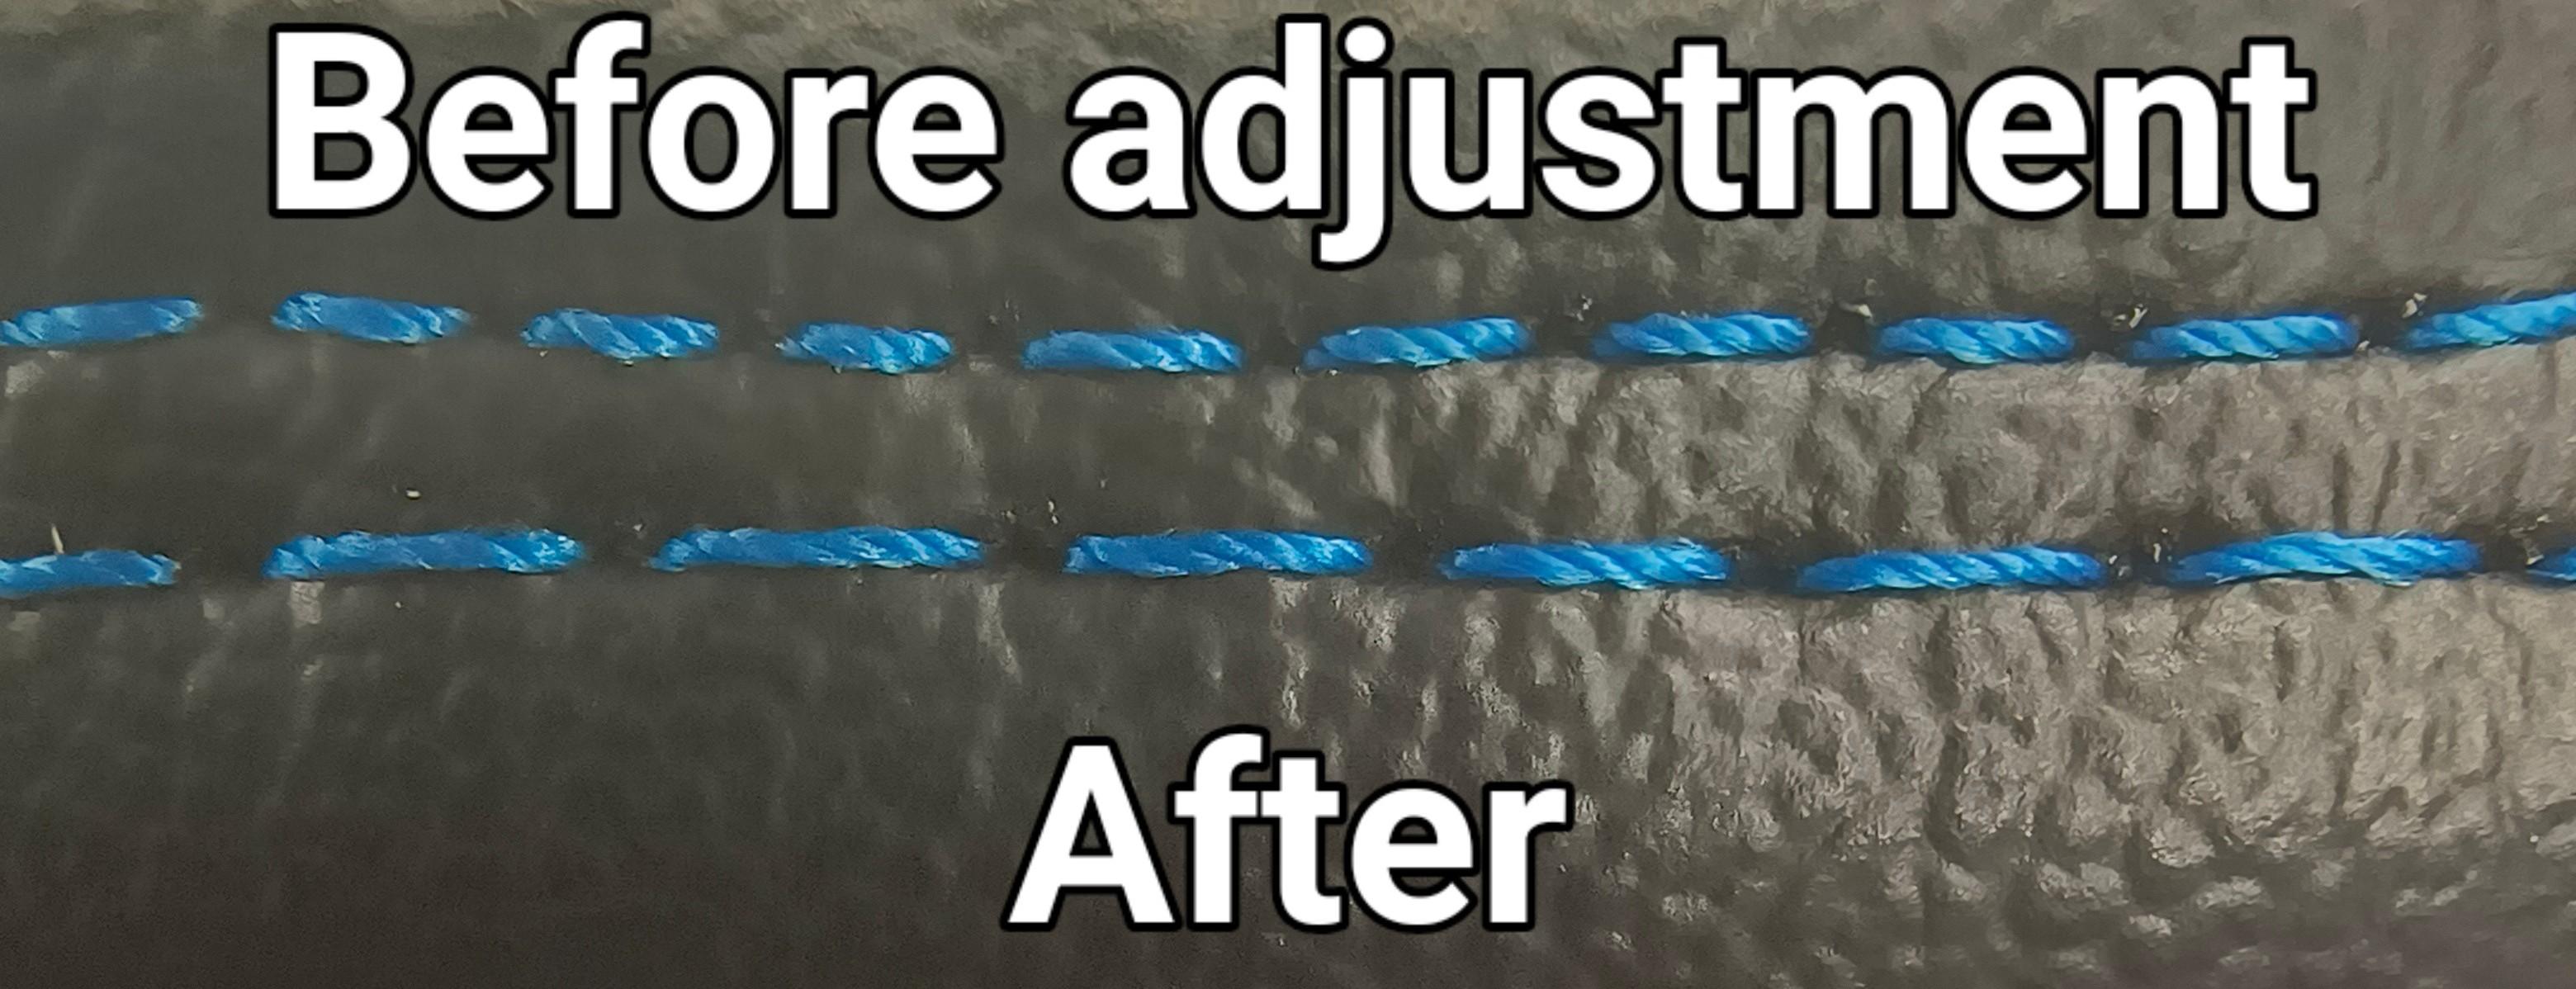
friquant, Yes I can adjust the stitch length, from the longest stitch all the way back to zero. Yes it hits a positive stop rotating either direction. Reading a naval manual it mentioned to set the take up at the highest point. Loosen the dovetail cam assembly and rotate forward. The pics and video I'll be attaching soon are after this adjustment, it's yield is about 5.5/in. VID_20250902_165612895~2.mp4 VID_20250902_165612895~2.mp4 VID_20250902_165612895~2.mp4 - Yesterday
-
They even match the paint job! 🤩 Does your machine have a piercer? That manual that Bob linked shows a piercer on page 22. I wondered what those are for..
-
Using a bandsaw blade should work BUT you'll have to anneal it first otherwise it will snap when you bend it. Once shaped it may need to be re-hardened, depending how stiff/soft it still is. Heating and quenching might warp the shape a bit and you would need to silver solder after re-hardening. Sharpening is a bit of a problem, so far I found the worn belt and a head magnifier the best as although it's slow I have better control. It may not work too well if I ever make a complicated shape.
-
Enviably straight pattern stamping, there. Mine usually wanders like The Ho Chi Minh Trail.
-
A lot of work but an interesting result. I'm all in favour of not wasting stuff where possible.
-
I have been making Salmon leather on and off for 4-5 years now, I always make it in very similar fashion as Russia leather was made. I believe I am the only one that makes Salmon leather in this way. The result is a very durable and wear resistant leather which is highly resistant to water, saltwater, molds, fungus, bacteria, and pests. After scraping and descaling the skins are soaked in a lime bath for 24 hours, followed by a vinegar bath for a few hours to bring the PH back to 5.5-6. They are then started in a 10:1 tea (inner bark of birch), tea is swapped out for full strength tea in small amounts as needed for seven days. They are then put in full strength tea for three days. Than they are partially dried and oiled either with mix of coconut oil and birch tar, or jojoba and birch tar, worked by hand until fully dry to keep them from stiffening up. They need to be hung for 3-4 weeks to allow the birch tar smell to mellow out. That smoky smell will persist for up to a year. This is the lime bath Bringing the PH back down in vinegar bath: Into the 10:1 birch tanning tea: Out of full strength tea and drying: Flesh side oiled and drying: Oiled and being worked until dry: Fully dried and oiled, hanging to air dry for a few weeks to let that smoky smell mellow out: Hope some of you find it interesting, a fair chunk of work but really enjoyable taking something that ends up in the garbage and making something useful from it. Oh and a bonus, me trying to tear it 😄
-
-
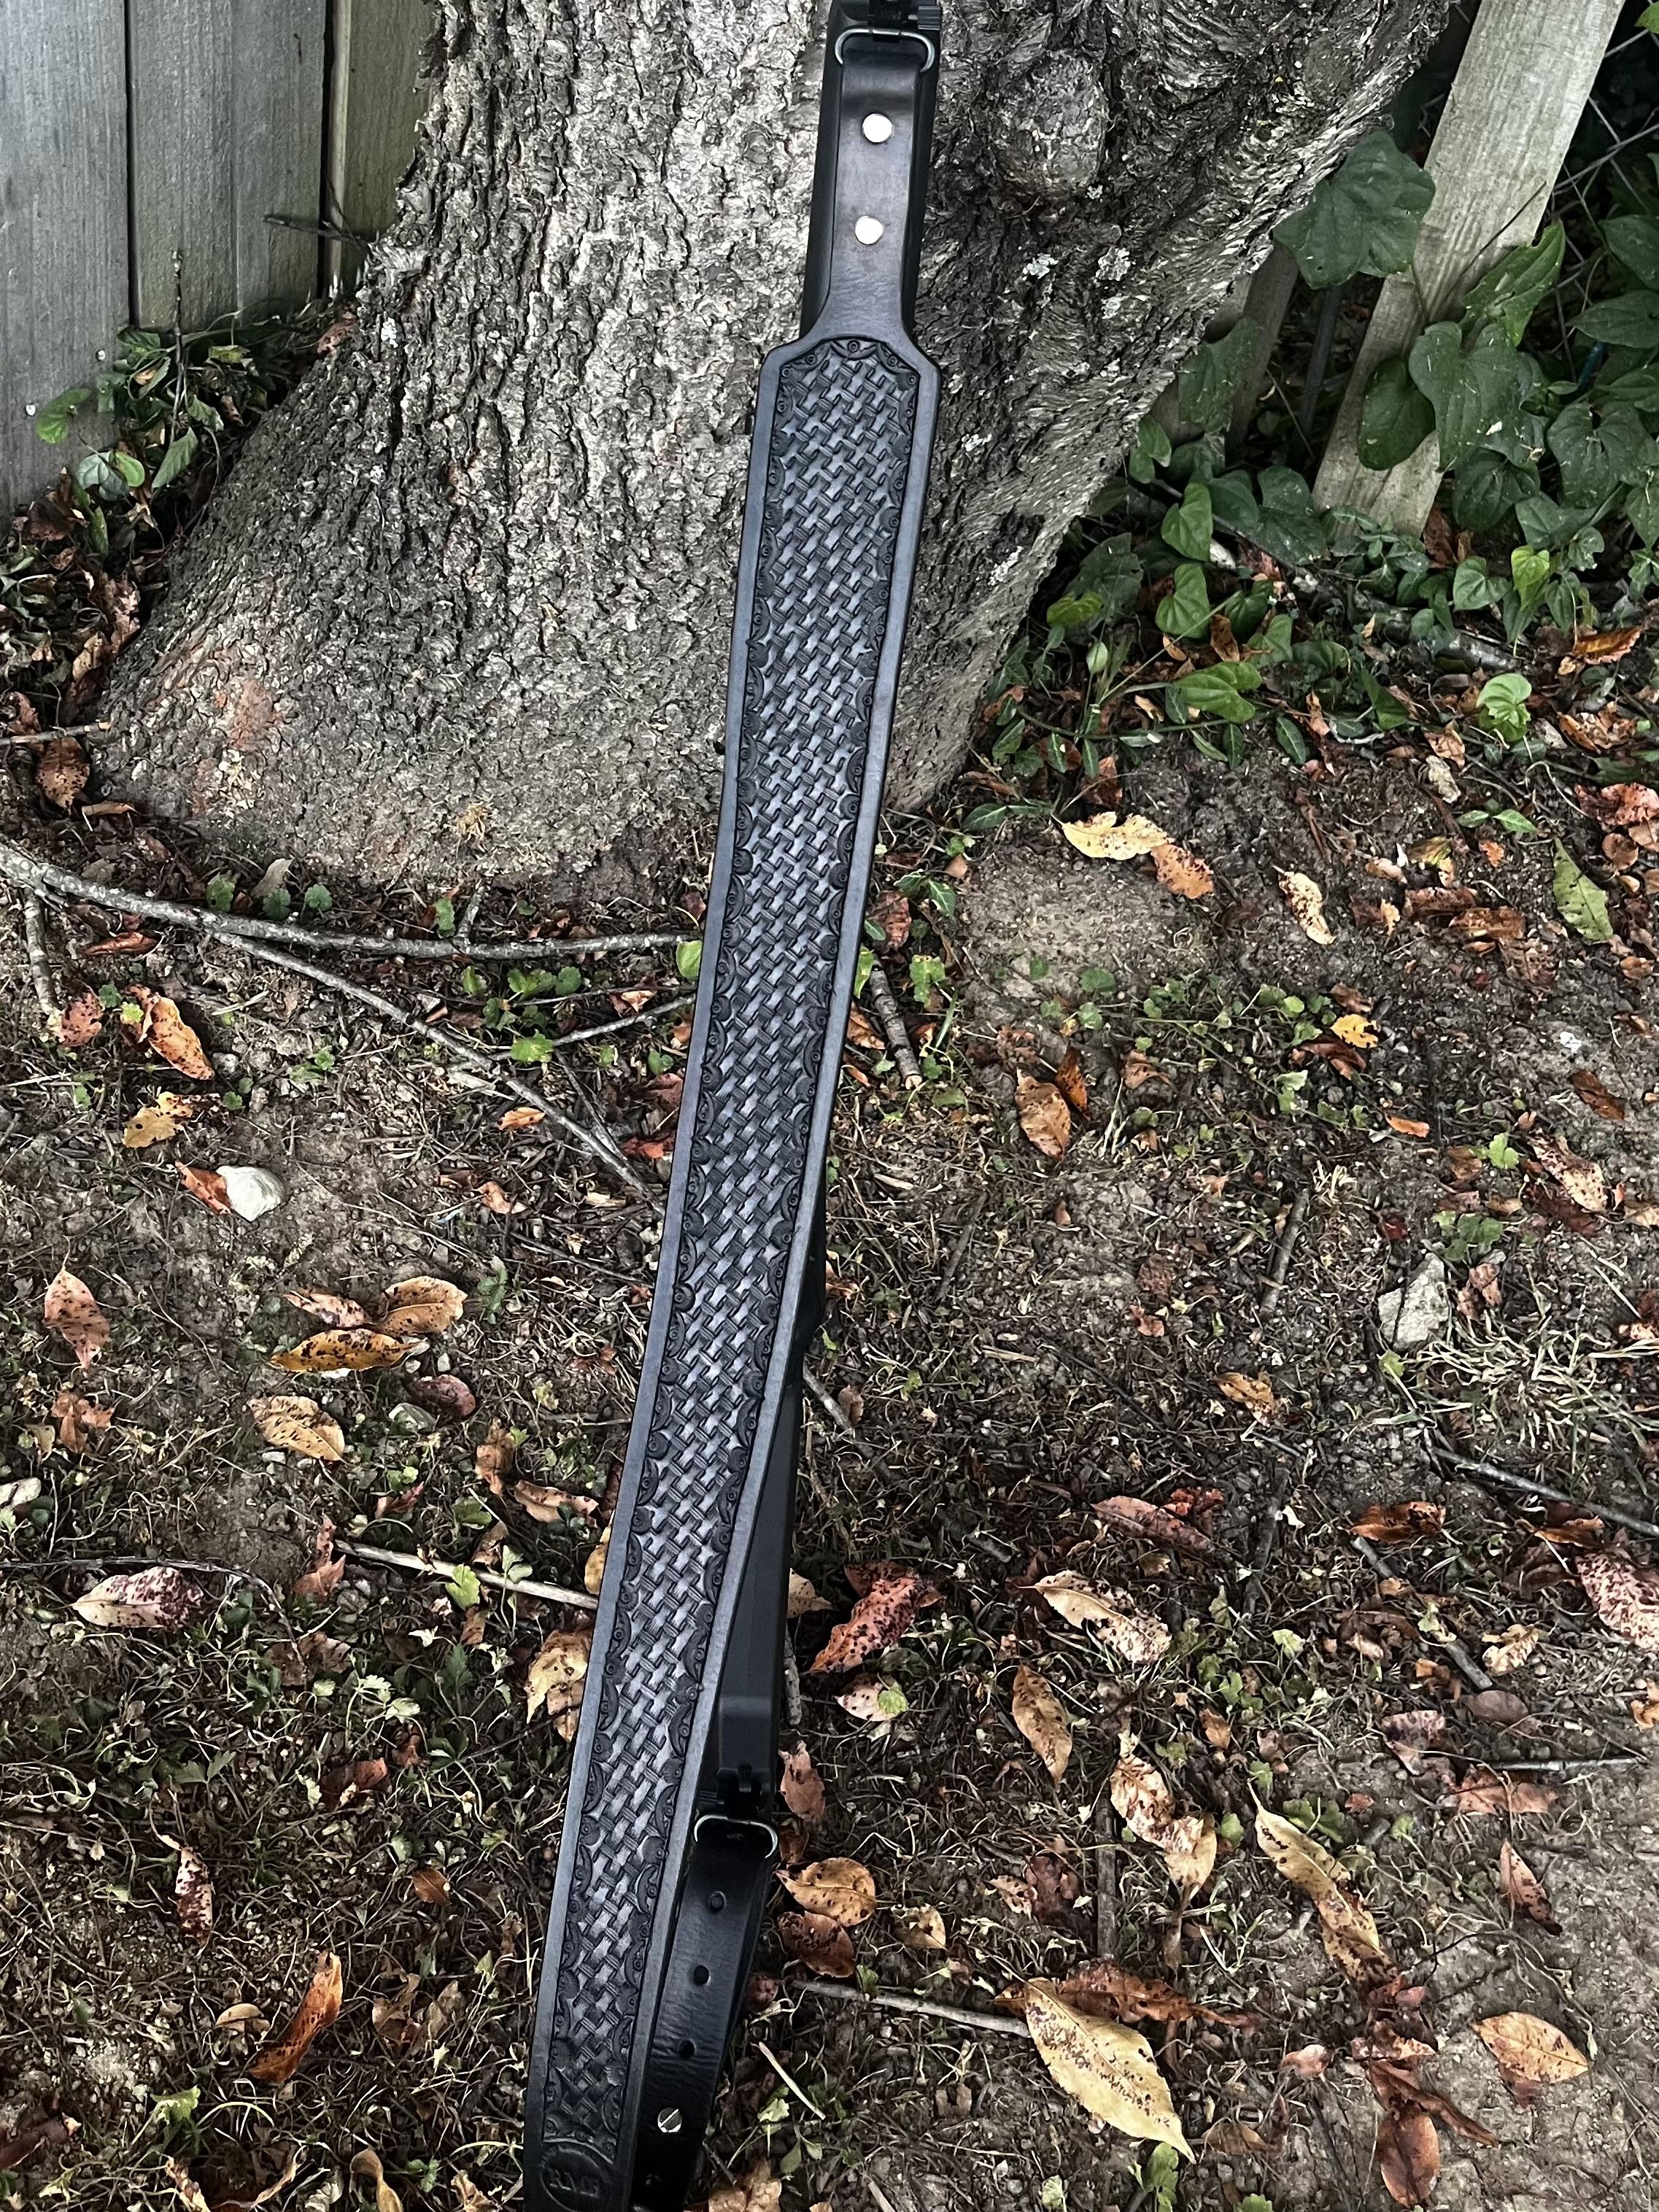
Started to get back into leatherwork after almost 10 years of on and off practice. I’ve made myself anything from holsters, belts, to knife sheaths. I still wear the first project I did 10 years ago around my waist (with a few new holes poked in it). A few of my rifles have been missing a sling for a while, So I decided that would be a good project to restart with. Not perfect, but certainly makes it easier to climb the Appalachian hills. ~9-12oz veg tan, some lined some not, no sewing machine, fiebings black dye, el cheapo amazon chicago screws, big box swivel attachments
-
Chrome tan - I wanted something with at least a 5 in the weight like 5/6. My overall favorite was anything with a shrunken grain since that tends to be heavier. Customers with no cost constraints - shrunken grain bison. I can't remember the exact cutting size. I gave all my templates and patterns for purses, bags, home decor, etc. to an up and comer years ago. Tooling leather - something with an 8 - 7/8 or 8/9 weights cut from lower side or mid belly-between the flanks remnants from those weights or split to 8 oz from skirting leftovers. They were 2 inch strips as I recall. Pretty sure I rarely cut many strips from a whole fresh side, just remnants mostly.
-
This is really well done! I like how you tapered each piece symmetrically. The tooling is great! Leaves on one side and wood chips on the other. Great attention to detail.
-
Nice...I use actual shell casings that I cut down...
-

Belt extension, tooled English bridle
BlackDragon replied to DoubleKCustomLeathercraft's topic in Show Off!!
Great way to save the project! Just the other day someone asked for a belt, when I ask for the belt size they said "about 30inches". I told them I couldn't make their belt if I dont have the correct measurement. I instructed them how to measure their current belt and it turned out to be 34". People are pretty vague when you're trying to get product info from them. What color do you want? Brown. What shade of brown? Like wood. What type of wood, like pine or mahogany? Yes- 4 replies
-
- belt
- belt extension
-
(and 2 more)
Tagged with:
-
Ferreol joined the community
-
Hi everyone, I'm starting to think about a project that consists of sewing wool fabric (approx. 400gsm) with thick linen thread (diameter: 3mm). The aim is to use linen for decorative purposes but also to avoid synthetics. Given the thick diameter of the thread, I'm considering using an industrial leather machine. I have read quite a lot of advice by @Wizcrafts, particuarly on the following post: I would love your opinion on what you would recommend: Is an industrial machine (like the Singer 45K) recommended, or is it "too much"? My main challenge is finding a machine able to "accept" a 3mm or 4mm diameter thread, so I don't know if I should consider only heavy-duty leather machinery or if other options are possible. If the 45K or equivalent is too much, what "more gentle" option would you recommend? Would you recommend waxing the thread, specifically for sewing wool fabric? Many thanks for your advice, Clément


