alb
Members-
Posts
182 -
Joined
-
Last visited
Content Type
Profiles
Forums
Events
Blogs
Gallery
Store
Everything posted by alb
-
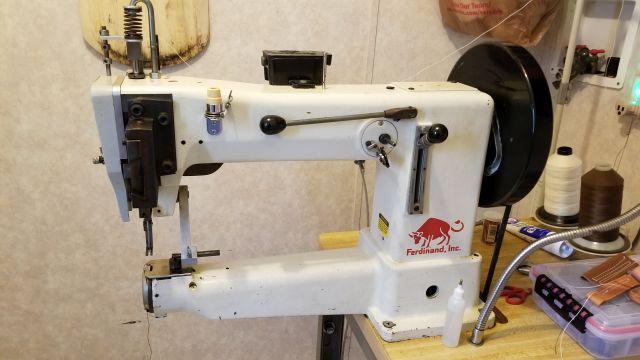
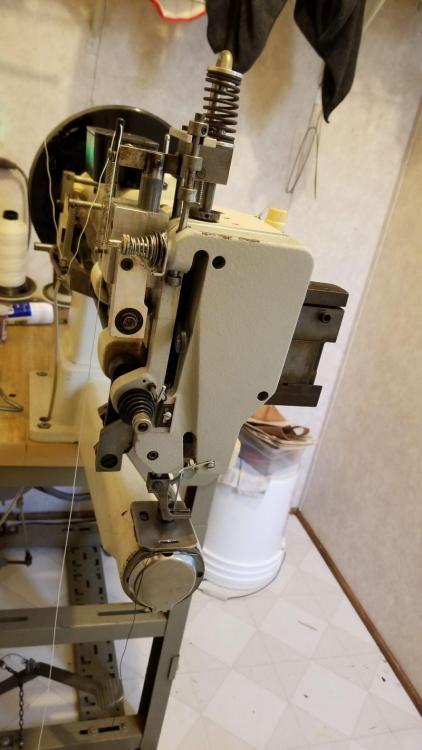
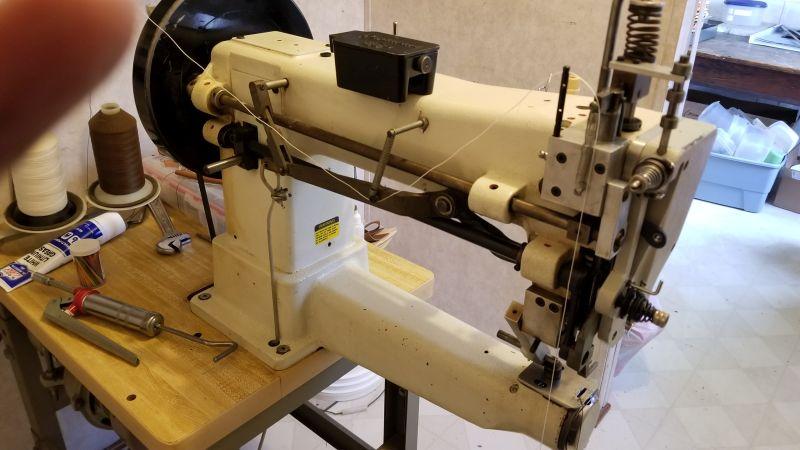
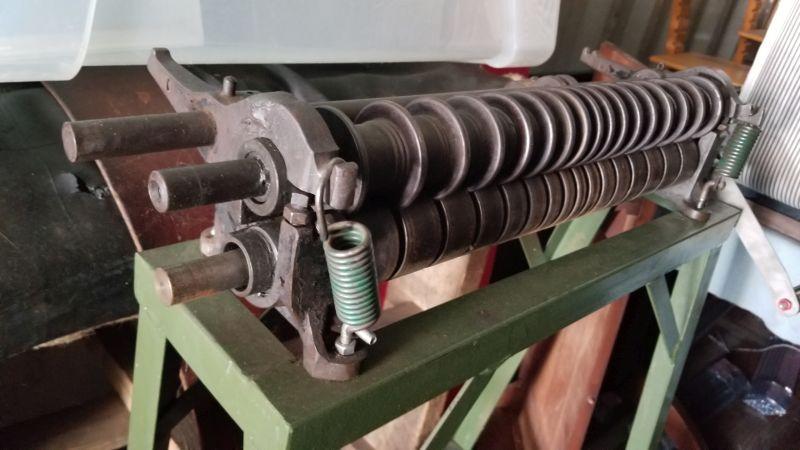
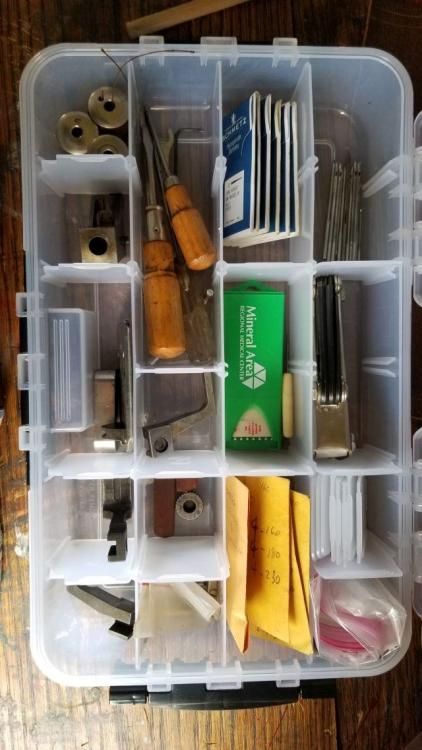
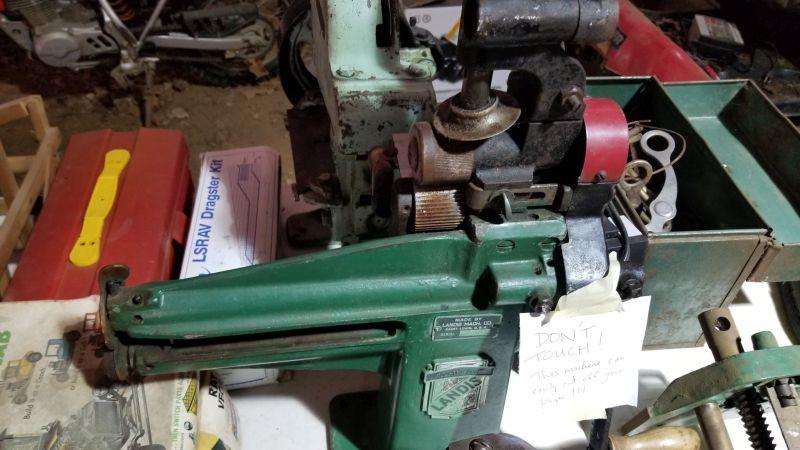
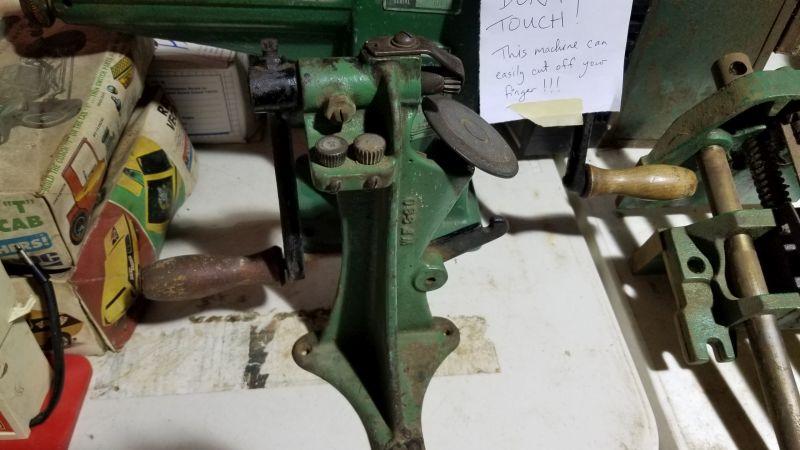
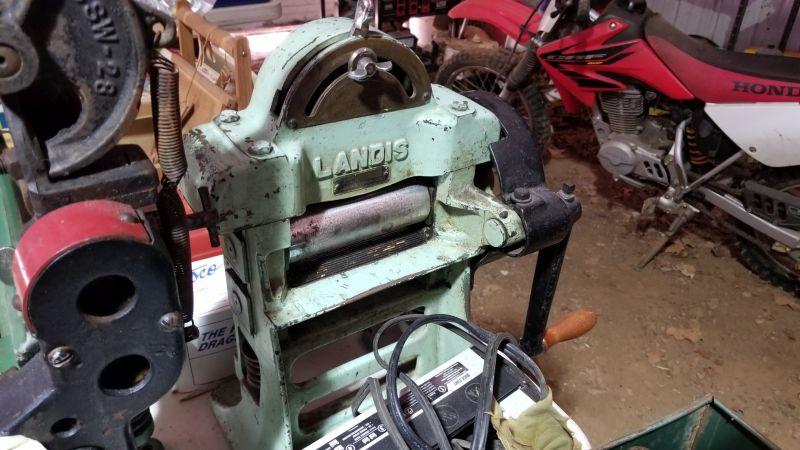
Auction this Sunday to include items from a closed saddle repair business including machinery, hardware, tools, books, patterns, buckles, hardware, lots of miscellaneous.... Many more items than shown on auction listing. I'll add more photos shortly. http://shyauctioncompany.com/sales Located outside of Bismarck, MO. Ferdinand Bull 900B - Works great! Built to sew up to 1 inch leather, down to 4 oz. with thread size 69 - 415 (6 cord). Was originally purchased new from Ferdco and used by a saddle maker building new saddles and doing general saddle and tack repair. Includes Standard foot, Right toed foot (stirrup foot), Left toed foot, Blanket foot, Buckle foot, Wax pot, Drop Down Roller Guide, Clutch motor with speed reducer, Table with Thread Spool Holder and Work Light, 4 bobbins, Instruction Manual, Extra Needles, Thread, Tools. I really loved using this machine. Easy to use and maintain. Singer 136w110 Post Machine I never used this machine so I can't vouch for how it runs. The original owner of the shop did use it. Comes with some spare bobbins. I don't have a good picture as it's behind a bunch of furniture and I can't get to it at the moment. It's mounted on a work table with thread spool holder. Randall Creasing Machine - with single and double crease flat rollers and stand. Two 5 -in-1 machines Landis Leather splitter Fudge wheel machine Not sure if this is now considered a novelty or if saddle fitters and saddle makers still use them. A Saddletech Gauge - including a wooden case, brochures, and assessment sheets. Was designed to assist with fitting saddles and to specify measurements when ordering custom trees. Will post pics of the gauge later today. Lots of buckles, hardware, tools, etc...
-
Hi - I have a Ferdinand 900-B that hasn't been used in over a year. I oiled and greased it and I'm having a problem getting the tension adjusted. It looks like the bobbin tension is too tight or the top tension is too loose. I've adjusted the top tension but it isn't making a difference. I need to adjust the bottom tension but I can't figure out how. I don't ever remember having to adjust it before. The manual says to loosen the lockscrew, and then turn another screw (labeled D in the figure). The figure isn't very clear and I can't tell what screw D is... Can anyone help? Thanks, Ann
-
Hi, Sorry , no I don't. I do still have the stitch marker. Ann
-
Stupid Mistake Leads To Interesting Idea
alb replied to mlapaglia's topic in Leatherwork Conversation
that's really nice. thanks for sharing the pic. -
Dave Cole Knife And Sheath
alb replied to kid terico's topic in Gun Holsters, Rifle Slings and Knife Sheathes
That's gorgeous. I'm sorry for the loss of your friend. and fellow craftsman. I always liked seeing his work. Ann -
Almost a shame that you're going to be sitting on that. Beautiful work. Ann
-
-
He will certainly be missed. I loved looking at his work and appreciate his contributions to this forum. My thoughts and prayers are with his family. Ann
-
I appreciate you posting this. I can't figure out where you would put the lace to use this, however. ????? what am I missing?
-
I'll have to pull that book out. I know it's around here somewhere......
-
Very inspiring! Thanks for posting.
-
Can you guys describe how you use your bargrounders. The times I've tried with mine, I was not at all impressed! I know it takes practice, but it would help to hear the technique from someone who has mastered it. Thanks!!!! Ann
-
After the two pieces have been glued, if you have much leather to remove from the edge to even things up, and you don't have a machine, you can use a broken piece of glass, held at about a 30 degree angle to scrape along the edge. Use the glass to remove leather and get things pretty even, then use the sandpaper/sanding sponge. Ann
-
It's unclear from your post, what you are asking. If you could find a picture with an example of what you want to do, we could answer specific questions about that. Ann
-
Mcclellan Calvary Saddle
alb replied to Live2Ride's topic in Saddle Identification, Restoration & Repair
The Preservation Solutions products work very well for me.-, for leather restoration/preservation. http://www.preservation-solutions.com/ -
THis site you posted has some very interesting patterns. Have you done any with sheepwool? If so, are you trimming the fleece, and what size are you making for a given shoe size, to take into account the wool? Thanks, Ann
-
Thanks for posting this. Looking forward to the pictures. Ann
-
Thanks very much. I tend to rush things and the results show it. The hair dryer idea is great. Ann
-
Bobby - approx how long are the various drying times? Thanks, Ann
-
I don't understand why the fence angles out to the left at such an angle on the plough gauge. ARe you looking at the fence where the leather first contacts it or out where it's away from the leather? Hope that's understandable.... I should say that it's when cutting 13/15 that I seem to have to work hard at cutting. I probably need to strop the blade.... I had the same trouble when I first started using a draw gauge. An old man showed me how he did it ("and old men are generally wise"). The tendency is to want to look at the blade since that is where the cutting action is. He told me to just look at the fence or guide as you work. Keep the edge lined up on that and the blade will take care of itself. When I went to plough gauges I mucked up the first strap, by watching the blade. Once I looked at the fence, no more problems. HOWEVER, one thing to be aware of. The blade angle needs to be pretty right on alignment wise with the guide in a draw gauge or a plough gauge. If the angle is off enough the blade might want to track in or out and that can really mess you up and that torque deal gets big in a hurry. The draw gauge blade slots are not 100% precise, and so even taking a blade out and putting it back in can be a slightly different angle from just bit of change of positioning in that slot. Usually a few strokes on a fine stone and stropping on the offending side of the blade will make a big difference. The same thing can happen with plough gauges, although a bit less of problem. There is a longer slot for the blade and they are generally more precision made so the blades tend to go back the same. Once the blade angle is set, then equal stropping on both sides will maintain it. The other thing that can happen with either one is that the fence and guide may not be exactly at the right 90 degree angle with the beam. The blade may be eqaully sharpened but isn't being presented squarely into the leather. The older draw gauge and plough gauges made with matching numbers on the frame and beam were individally made and matched to be precise. Some are dead on and some are probably off some. The new ones are supposed to be precise and are mass prdocued and not "matched". They can be off just as much or more. Again, fixing the blade angle on side to the other is an easier fix than file or grind to fix the frame. I use the wooden strap cutters some too. I had a couple of the old "Original" strap cutters and not a problem. A few years there was sale on them (proved to be knock-offs) and I figured I would get a few and just leave them set at some common widths for strings and lacing. A couple were alright but others had the blade slot cut that you could see by eyeballing it was off. I use razor blades in those and there was no fixing the blade angle there. For the $12 or whatever they cost, it wasn't worth my time to try sanding of fixing the handle/bar alignment.
-
I think I'm using my plough gauge incorrectly. It is certainly easier for me than a draw gauge to get a perfectly straight strap, but sometimes it feels like I'm putting a tremendous amount of torque on the gauge in an attempt to keep it straight. What do you focus on when cutting a strap?
-
Awesome photos! Thanks! Ann
-
Awesome! - how do they feel?


