Art
-
Posts
4,138 -
Joined
-
Last visited
Content Type
Profiles
Forums
Events
Blogs
Gallery
Store
Everything posted by Art
-
Whatever you say, it is a lap joint either way. 7:40 is out of focus in my pic. Art
-
Hi Roo, Look at about 5:30 on the piece, the leather edge looks a little thicker and where the seam probably is, it is hidden (both sides, artfully) from the camera. Otherwise it is magic. Art
-
Hi Ed, I only have 138 and down in Linhanyl, and no crossovers in Rice and Coats for comparison. With most threads it is not how good or bad it is, or how stretchy it is, it is really how consistent it is. Art
-
Hi Ed, There's always a little adjustment, even between colors of Coats. Sometimes no adjustment between same colors of Coats and Linhanyl, I'm sure the lock is in a different place but you can't see it. I know people say this one stretches more or less than that one, but honestly that is just to validate what they want to sell you. If they say that (even though the specs don't show it) nylon stretches more than poly, you would have to be pulling on 25 feet of it to notice any difference, I don't think the machines see much difference with a foot of it. It ain't rubber bands. Art
-
Hi Dink, I use Rice Nylon in my big threaded needle machines, while my supply lasts. I use Linhanyl Nylon in the smaller machines. I use Coats poly in the Larger machines as I am running out of Rice. In the Needle and Awl machines I use Barbour's linen and I have also used Eddington poly. I have pretty much found that I have enough machine experience to make the machines eat anything I want, so I pretty much select thread based on the look I want. I haven't found a really "bad" thread as far as being able to set the machine up to use it, however Rice Nylon, Coats Poly, and Linhanyl Nylon seem to be my favorites. Art
-
Hi Peter, In the Boy Scouts they teach you to keep folks beyond your reach when using your knife, part of the Totin' Chip instruction. Art
-
Hi Chris, I am not the authority here on hand stitching. There are others here who have forgotten more about it than I know. However, I do some and use harness needles from CSO. I have started using (this will sound crazy) a crochet hook to harness stitch. I just make sure the barb on the hook is smooth and even turned in a bit. I sew mostly by machine and occasionally finish stitching by hand. I use the needles with the smaller eye in them. I would wax a piece of thread and then dye it to see how it goes. Most thread only gets what dye it picks up from the rest of the piece if it is dyed. Art
-
Singer 151W3 Industrial Leather Sewing Machine (Kevin King 0001)
Art replied to Kevin King's topic in Old/Sold
Hi Kevin, Talk about not knowing what I was doing, my first machine was a Strobel I picked up at a yard sale, $50. I was proud when I got it home. I looked for HOURS for the bobbin or bobbin case, and finally the wife comes down and takes one look and tells me it is a serger or a chain stitch machine, looks a little further and says yep, that's a chain stitch machine. So I says to her, "can you tell me how to get the bobbin out?" then the learning started. I would sew leather up to about 15oz really well. Today I wished I never got rid of it. Art -
Brent, A screw crease or a fixed creaser works, also a tickler and a straight edge. People who make a awful lot of them (belt guys) would use a roller creaser ($1000) to pump out straps and then cut them into keepers. Just depends on how much you have to do. The creases and ticklers may burnish the leather that could give a little difficulty in dyeing, the rollers don't do that. I use the little Tandy groover for decoration sometimes, you can do one line or a series of parallel lines that look pretty good, but it is different than what you have there. Art
-
Hi Trapper, You know, Bonis and Merrow machines are crazy. If you want one you can't find them no matter how hard you try, and if you don't want or need one, well they are dropping out of the sky all around you. Keep watching Craig's list too. Art
-
Hi Tracy, At least there are more places to stay and more places to eat in Sheridan than there ever will be in Wichita Falls. Everyone drives 25 mph, that can drive you crazy. Have Fun. Art
-
Hi Chris, Linen thread will rot, however I have seen many holsters that are falling apart with dry rot and other sundry deteriorations but the linen thread is still going strong in both machine stitched and hand stitched versions. Waxing linen will give it extra durability in addition to allowing the stitches to stick to each other for a tighter stitch. You can buy linen that is already waxed, but it is a simple task to hand wax with beeswax when preparing to stitch. For machines, liquid paraffin based wax works good also, don't run prewaxed linen in a machine. Linen takes dye readily, however after waxing not as well. Nylon and polyester will deteriorate with excessive exposure to direct sunlight, however here again, the leather will probably not outlast it. Outdoor gear and sails and awnings are stitched with nylon and polyester. I stitched a sacrificial strip to my roller Genoa and the strip (Sunbrella type) gave up the ghost after about 8 years of daily exposure, and I peeled it off easily, but I had to rip every last nylon stitch out with a seam ripper (I'll just sew over them next time!). This thread (#92 Bonded Nylon, can't remember the manufacturer but a major one) was from 1980 and I'm sure they have made some advances over the almost 30 years to improve longevity. I have found that thread takes more of a beating, and has more failures from mechanical wear than environmental. Protect any stitching as best you can, but not at unreasonable expense to strength. If you are going to expose it to sever wet outdoor use, then nylon or poly is your best bet, but like I said, there is a whole lot of linen around still holding some very deteriorated leather together. Art
-
Hi Barra, Ron's are like the "U" type American Racer. Dixon and Blanchard also made them in a "V" type. The "V"s turn tight curves better. Art
-
Hi Andrew, Your ad on eBay is way too vague and probably so for Marketplace. I put in a bid to get it started, hope it goes from there. Art
-
Hi Ed, My inner blanket foot is way wider than this one also, not sure it would fit in these narrow outer feet, it also has big aggressive grooves to move fabric, they would mark leather badly. I bent these outer toes in so they would clear the inner foot closely, it didn't take much though, they are pretty narrow to start with. Art
-
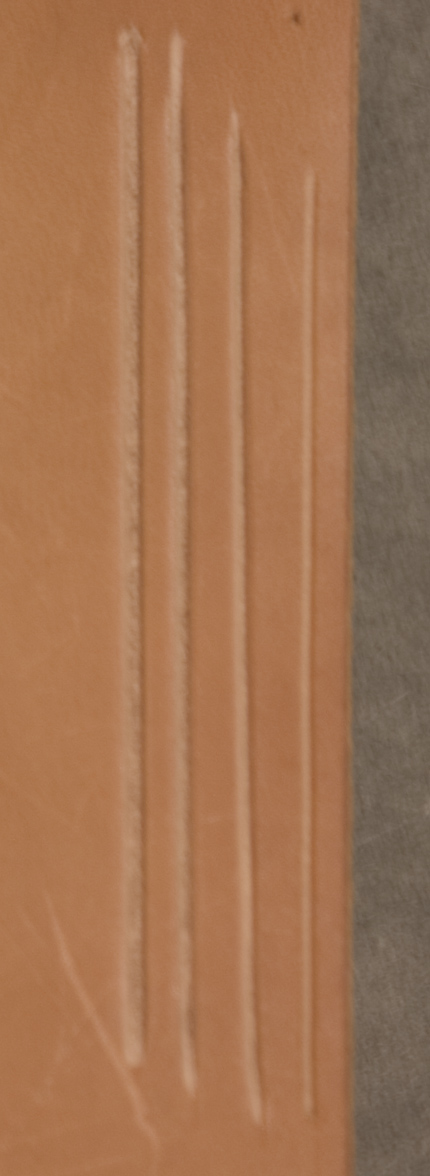
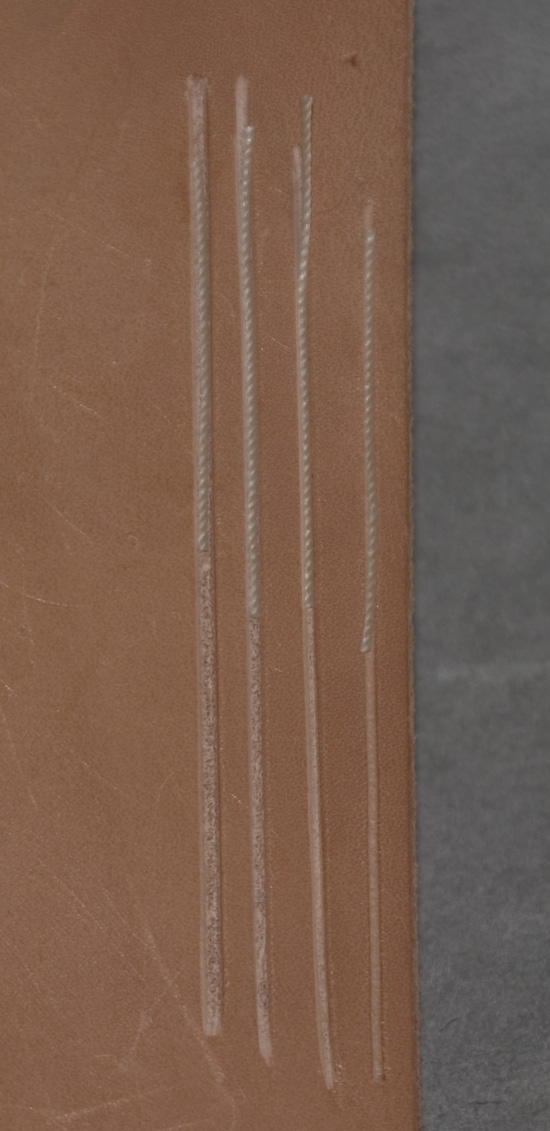
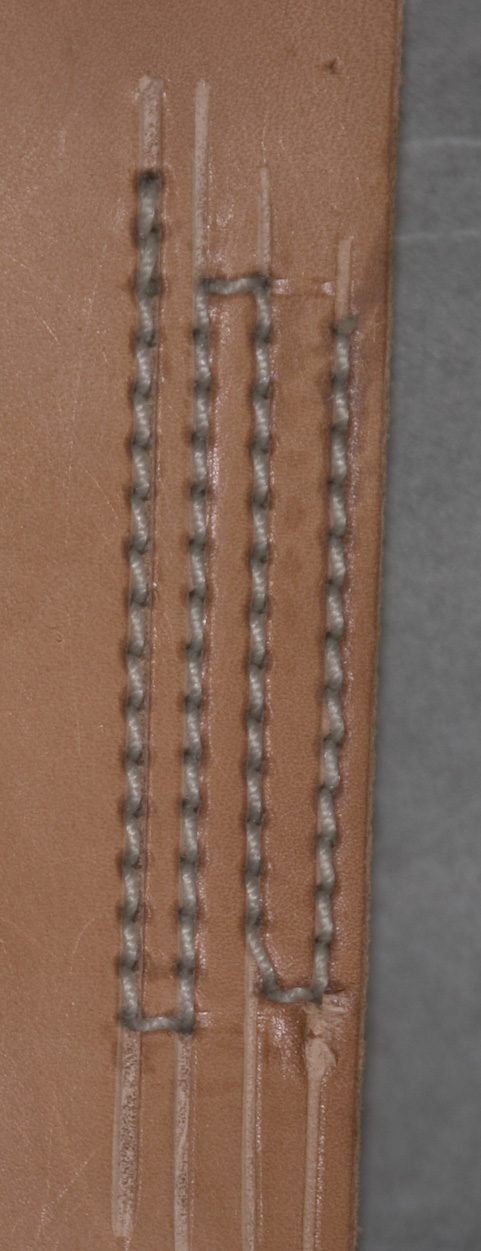
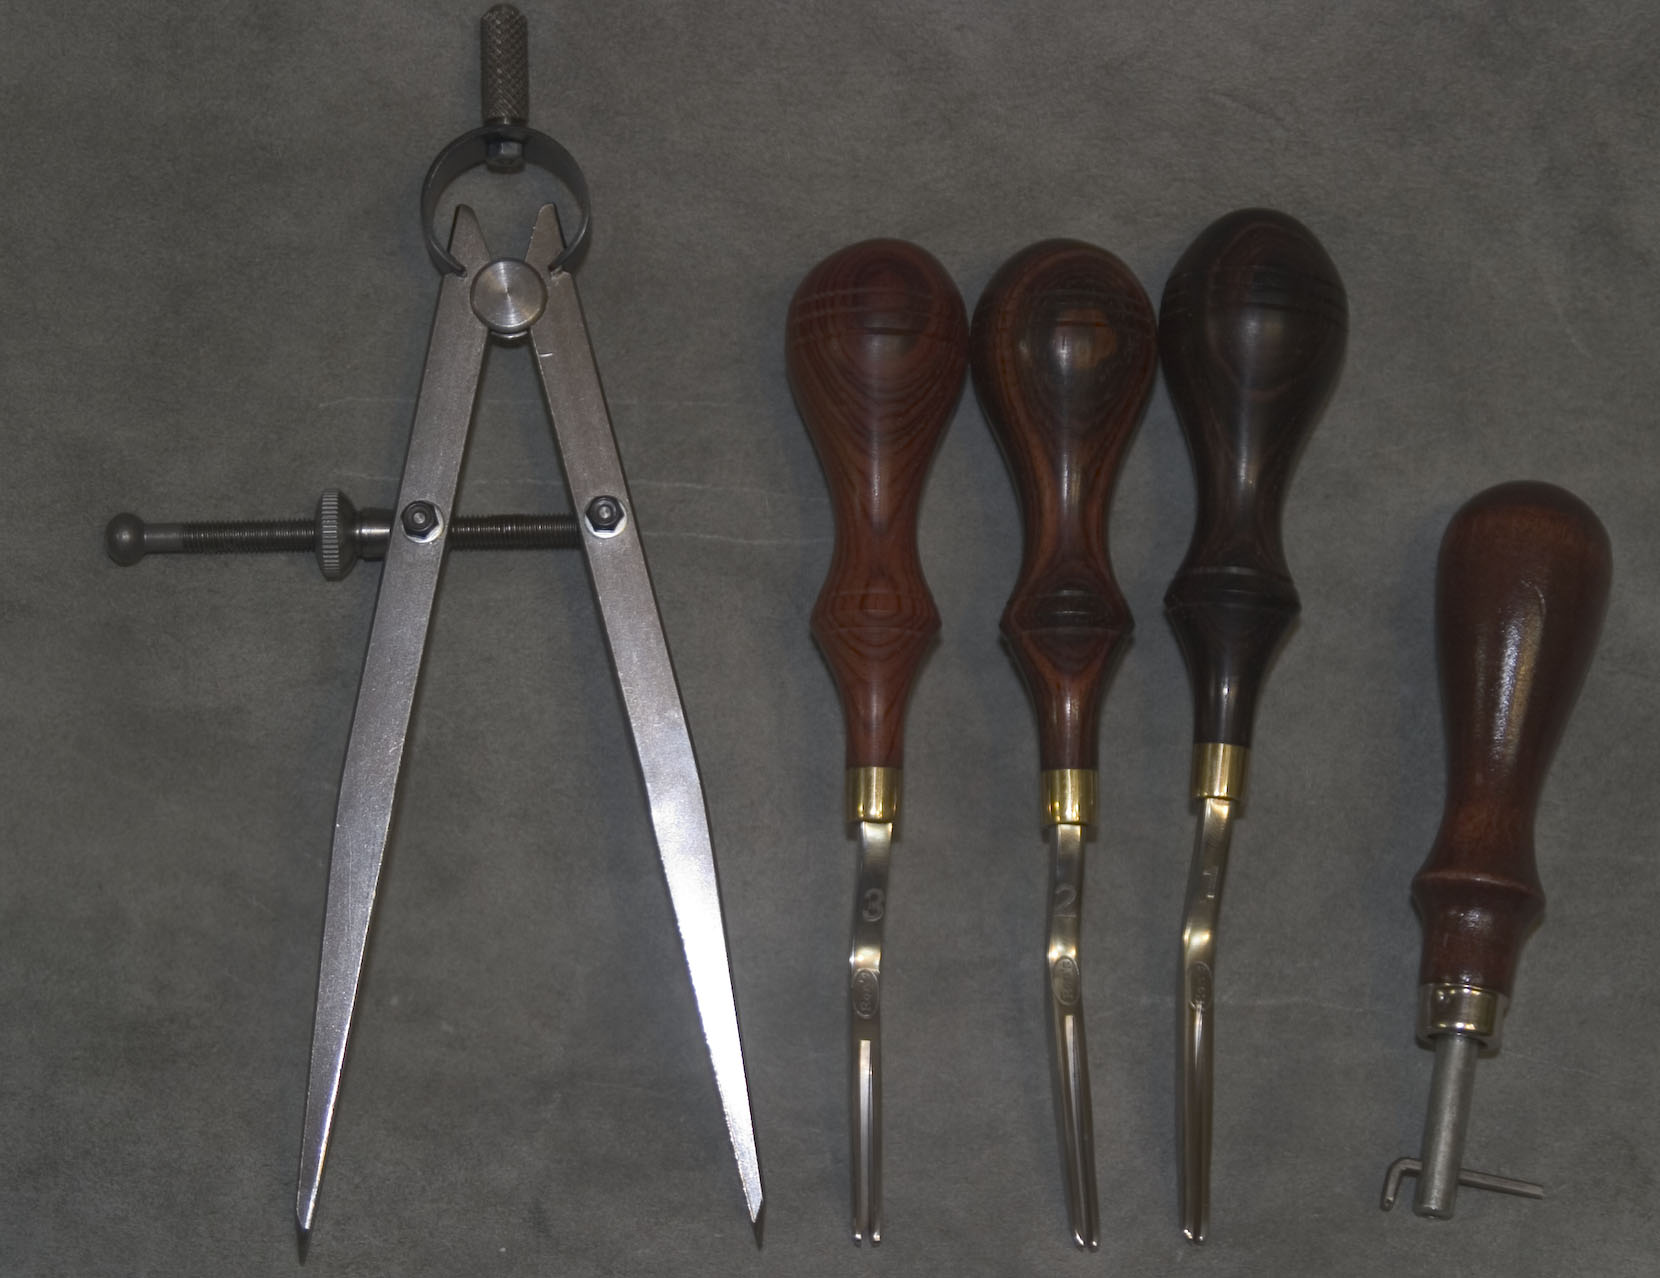
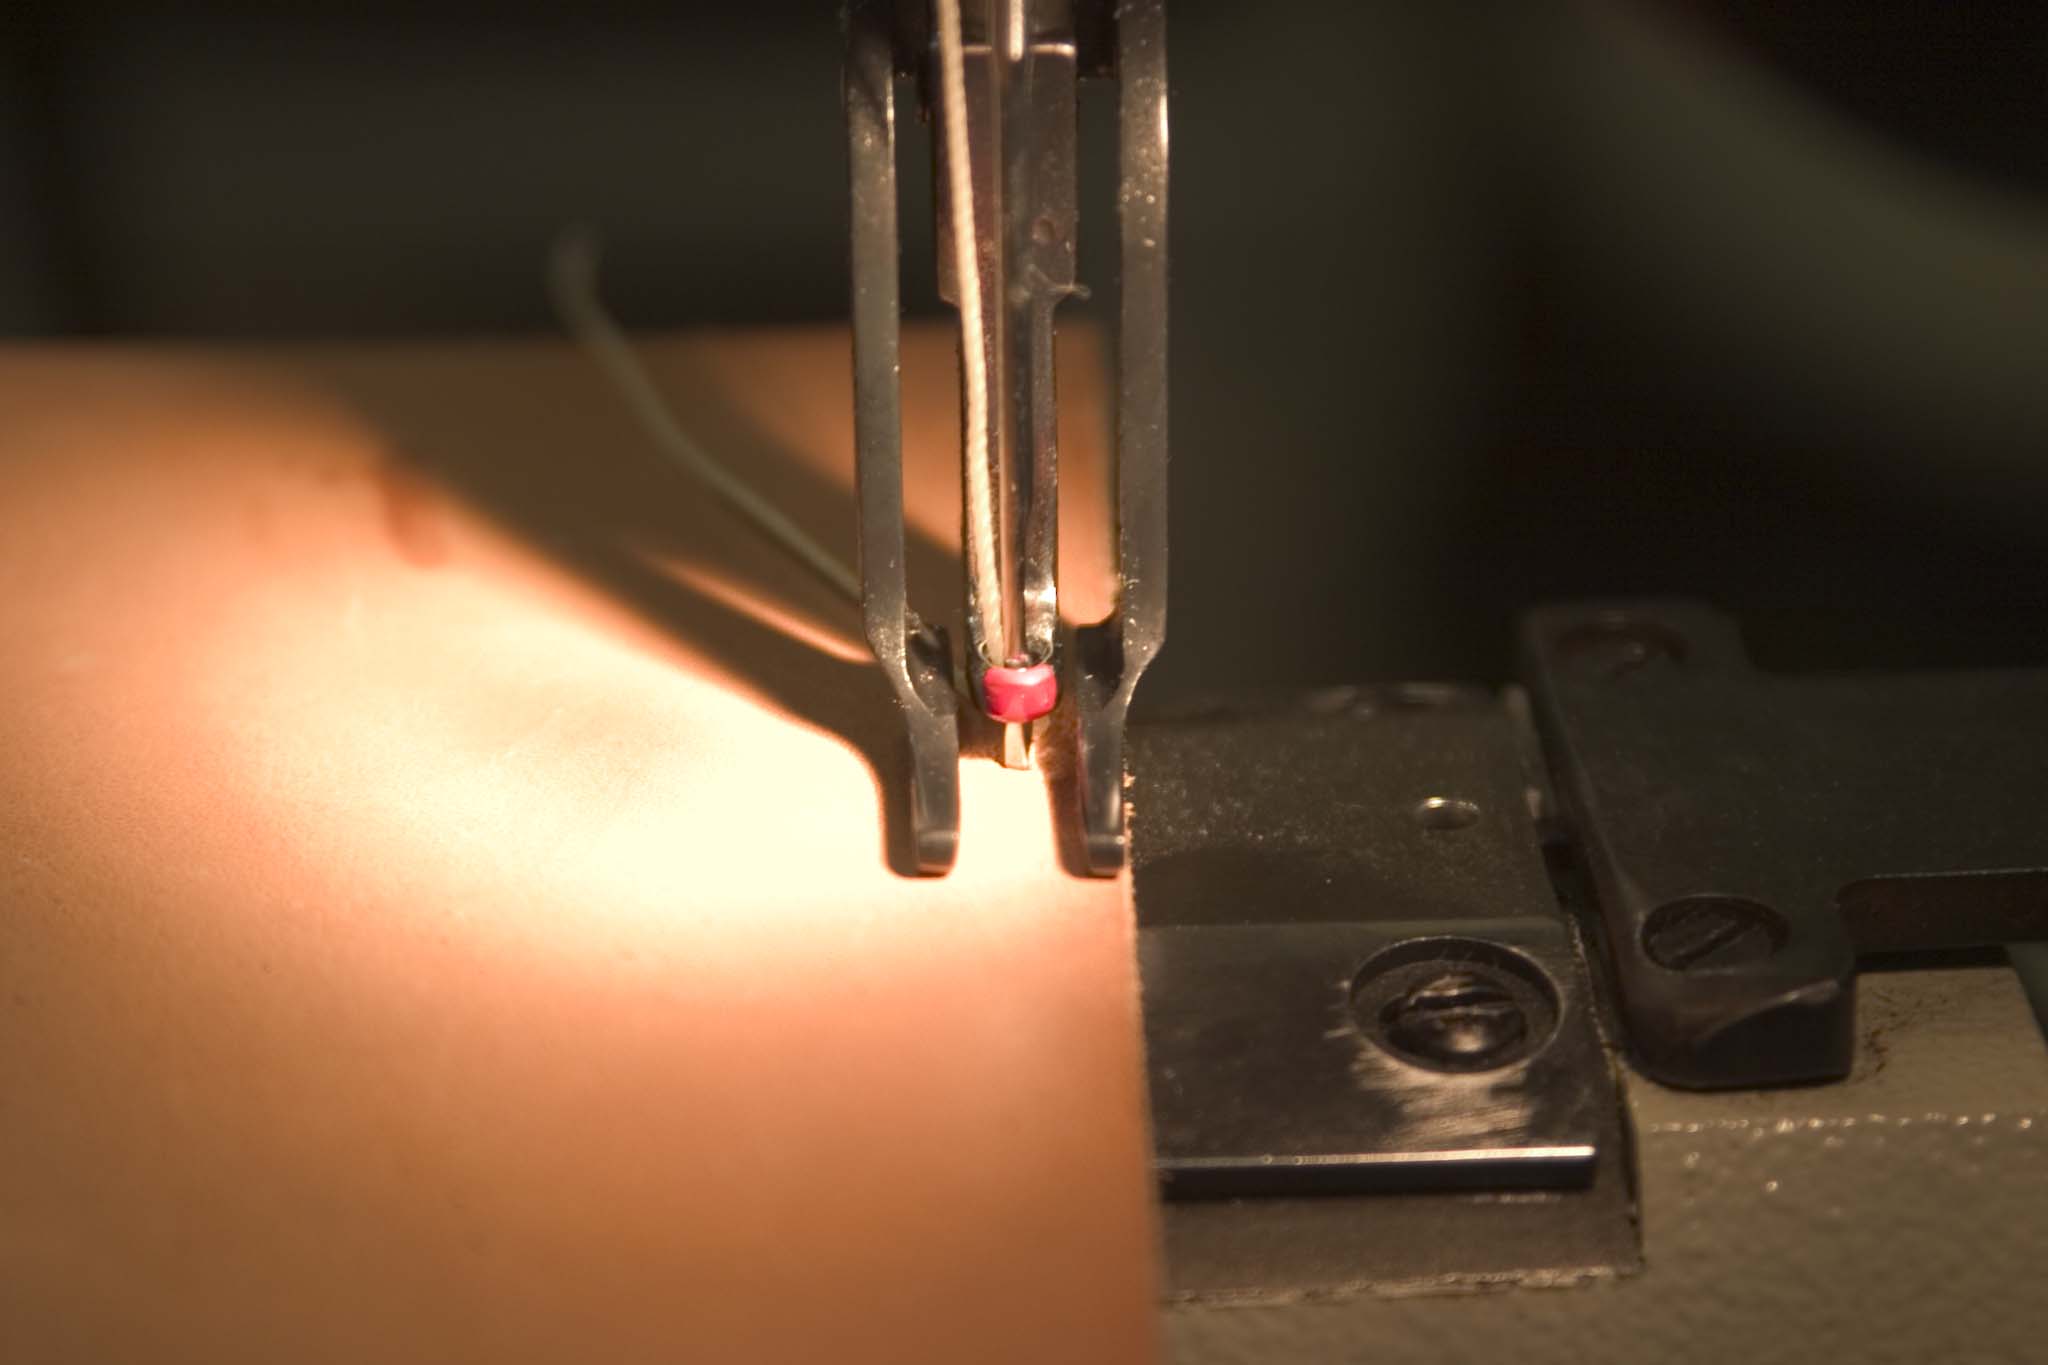
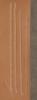
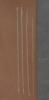
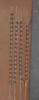
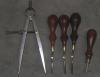
I use a few different ones. I use Ron's for stitching, especially where I like to lay the thread below the top surface like on belts and harness where they go through buckles. I use the Tandy more for decorating now, however it works for small thread. I use dividers to draw scratch lines then follow those with Ron's. In the following pictures, I dug as deeply as possible to show what maximum is, I am usually a little lighter handed when following scribe marks and correspondingly a little shallower. First, Four grooves made by (from left to right); Ron's #3, Ron's #2, Ron's #1, and Tandy Groover. I laid 346 T\Rice Nylon in each Groove. I Stitched 346 Rice Nylon in each Groove, I backed tacked the ending stitches (Ron's #3), note that in a large enough groove this does not show prominently. I didn't back tack the starting stitch as the groove (Tandy) was too small and it would have looked off. Here's the culprits: Dividers, Ron's #3, Ron's #2, Ron's #1, and the Tandy Groover. If you like the way the Tandy works but want something heavier like the Ron's, you can either use your finger as a guide (takes a little practice), or you can use the Tandy and then go back over with the free hand edger like Ron's. Douglas, Jeremiah Watt, and CSO make the old patent style divider groovers also, and Watt also makes a free hand groover. These are all good first class tools. There is also a Craftool edger similar to the Tandy but a little better, they all take a little practice getting used to. Danny Martin used to make one that was pretty big like a Ron's #3. I use the #1 and #2 most and the #3 if I really want a trough. Art
-
Hi Ed, Is this it? My blanket foot is 3 or 4 times that wide. Art

-
Hmmmmm, Seems like he should have sent that to someone with a needle and awl machine. Art
-
Alright Goeff, nobody, not even my son, just "picks up" a champion wide throat (or narrow throat for that matter). It usually takes two or three of us, especially getting it up in the pickup. I love big iron. Art
-
Not my experience by a long shot. Maybe it is the way you handle them. I needed a couple of weird sizes of a particular punch, it wasn't a lot of money but it was something most places didn't stock. I told them I was having a helluva time finding these things, and they said they would try. Two days later the punches are on my doorstep drop shipped from New Jersey. It seems they try pretty hard. It's not supposed to be an adviserial experience, we are all supposed to be pulling on the same rope here. Art
-
Hi Doug, I noticed that the first time I did a 90 degree corner. That thing is really not necessary and a file will get rid of that problem in a few strokes. A grinder works also, but go easy either way. It is good to round over any edges you may create with filing or grinding. Laying the stitches in a groove will accomplish the task better than that little nib anyway. Art
-
flat slotted, feed-dog-less needle plate for 441
Art replied to esantoro's topic in Leather Sewing Machines
Hi Ed, If so, only by a 16th inch at most. My outer feet sit on the plate and and the center foot goes in the hole (where the feed dog would go. Both my plates and feet are Artisan. I think they have their feet and plates made for them and are not the stock Chinese ones. Check with Dave for sure. Art -
346 Nylon, reverse twist needle or N&A with awl set at 45, real tight laid thread like the new Chinese threads. Art
-
nylon v. polyester regarding tension adjustments
Art replied to esantoro's topic in Leather Sewing Machines
Hi Ed, If you look at the specs, they all are around 25% elongation (that is right at the breaking point). I think a lot of that 25% comes at the very end before it breaks. There is at most about 10 lbs of tension or even less in my machines and I can't for the life of me make a foot of it into a foot and a quarter. I imagine if you take thirty or so feet of it you could make it stretch perceptibly, but there is only a foot and a half in the thread path at most so I just can't see a difference. Art -
Hi Tom, It was used as a decorative edge in the shoe trade, you will see it now occasionally on high dollar ladies shoes. It can also be used when fitting around a curve instead of slitting the edge. A pinker is kind of the leather version of pinking shears which did the same thing for light leather/fabric. Art