LeatherLegion
-
Posts
612 -
Joined
-
Last visited
Content Type
Profiles
Forums
Events
Blogs
Gallery
Store
Everything posted by LeatherLegion
-
Neatsfoot oil anyone ?
-
 Sold ! If somebody else is interested just e-mail me please as I can cut more. Thanks again !
 -
I actually have around 50 of them...I'll take $50 + shippng
-
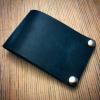
Minimalst Wallet
LeatherLegion replied to LeatherLegion's topic in Purses, Wallets, Belts and Miscellaneous Pocket Items
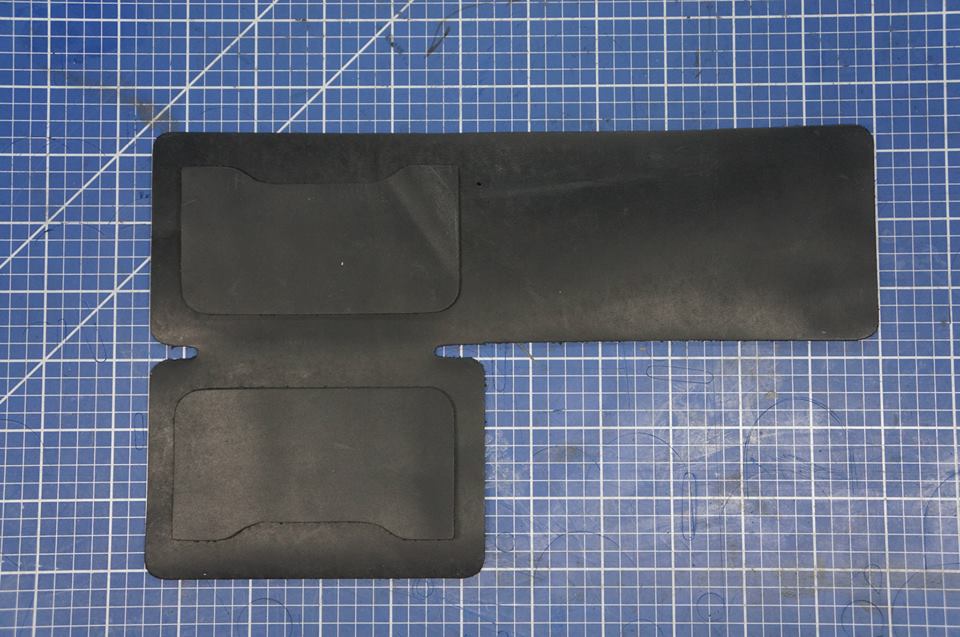
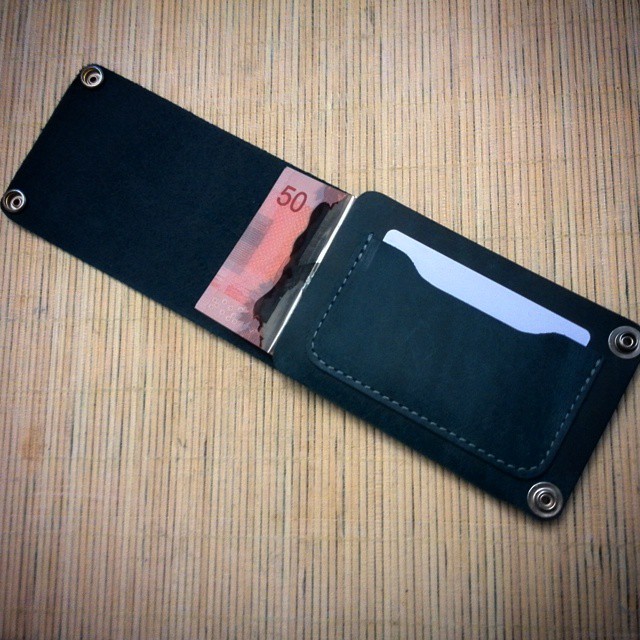
For those of you interested here is wallet unfolded
-
Minimalst Wallet
LeatherLegion replied to LeatherLegion's topic in Purses, Wallets, Belts and Miscellaneous Pocket Items
Thanks Chief...I am gonna give it a shot for sure. I made few wallets where I actually went the other way around using the flat back of the snap on both sides ...I just needed that low profile sandwiched in-between two plys of leather -
Minimalst Wallet
LeatherLegion replied to LeatherLegion's topic in Purses, Wallets, Belts and Miscellaneous Pocket Items
Joe...go ahead brother !!!...lol...I am gonna post a picture of the main part of the wallet unfolded soon as I have a chance , just to give you a better idea -
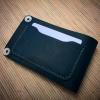
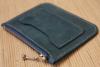
Playing around with some ideas...one piece of leather , 2 card pockets ... one on the inside and one on the outside for most used card...bills fit nicely without the need to fold them. I might go with 2 stacked pockets on the inside. For this one I used 4-5oz chrome tanned , stitched with #138 on a Cowboy CB4500 Any comments are more then welcome. Thank you !
-
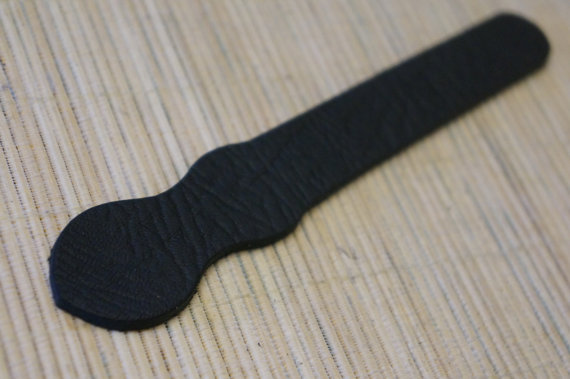
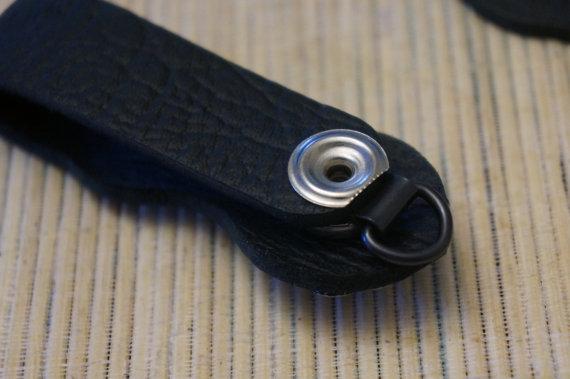
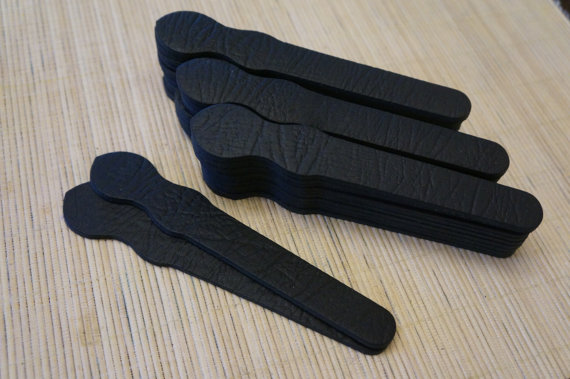
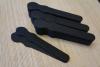
Here is a lot of 30 leather fobs/key chains blanks that will allow you to put your own touch and customize them the way you want. They are cut out of 7-8 oz black leather that has a nice wrinkled finish , are 16cm long and 3cm at the widest point. Pictured below is just a sample of a finished fob, but the possibilities are endless. For those of you interested in larger quantities , or different colors , feel free to contact me. Also if you have a particular design in mind just let me know as I might be able to accommodate custom designs too Thank you !


-
Sorry man...shipping is too much of a hassle for me
-
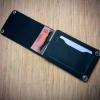
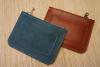
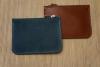
Zippered Wallet
LeatherLegion replied to LeatherLegion's topic in Purses, Wallets, Belts and Miscellaneous Pocket Items
Thanks for the comments !!! The "zippered wallet" was initially intended as a zipper pocket for one of my small size 5in "biker wallets"...but I thought it would look good on it's own too. Soon as I have a chance I will post few pics of the 5in biker wallet with the zippered pocket. Thanks again ! -
Nothing fancy, but feels like nothing in the pocket. I only carry 4 cards all together, few bills and loose change. I am using 4-5 oz for them and the zipper is 4in long. That gives me enough room to get the cards in and out without struggling . Comments and critiques are more then welcome


-
It looks like the temperature can be controlled on that soldering iron. Try the lowest setting first and take it from there...same goes for the amount of time you are holding the stamp pressed against the leather. Lower temp but holding it press longer might give you the desired result Also before stamping your product try it on a similar piece of leather and see the result. I used something similar in the past ...I was more concerned applying even pressure then heat control. The set-up I have now helps with the even pressure ...but no heat control. I turn it on for about 1.5-2 minutes depending on the leather that needs to be stamped , try it on the same type of leather first and then apply the stamp on my product.
-
I thought about adding some kind of support for the foil...but then again, I just wanted something small that can hot stamp quick the logo in any type of leather . Being able to use the hot foil once in a while it's just a plus
-
Sold !!!
-
Short video is up and running on YouTube...it was done with my phone...vertically... and has some jazz as audio track...lol...hope you guys like it. Better watched on full screen
-
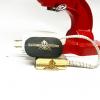
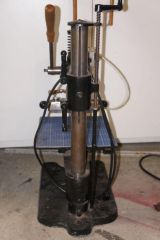
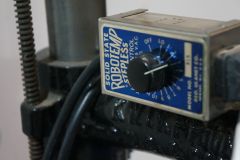
The element itself it's 2in long and it's held in place by a set screw...the aluminum block is a bit longer than 2in , about 1in tall and .75in wide. The tape I bought it about 2-3 years ago on eBay
-
It can probably be made to accommodate any hand press...
-
I attached my stamp using a "hot stamping tape" meant for this type of application. No controls for the heat level... I was trying to keep the unit as simple and small as possible...that's the reason the cord is so short too. I used an extension cord with an on/off button and it does the job. It takes a bit of trial and error for gold foil stamping ...but just for hot stamping it's pretty straight forward. I had a branding iron in the past and I found using it , was not the most comfortable thing and size wise was a bit cumbersome For this particular unit I used a 200w heating element which I think it's a bit of overkill. Next ones will be 100w . Thanks !
-
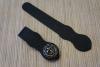
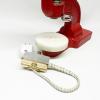
Here is a small unit I came up with that can be attached to a Tandy press. It heats up in about a minute and works great on any type of leather just by itself or using hot foil. It's pretty much meant for small maker stamps...the one pictured is .75in/2in Let me know what you guys think about as I am planning on making few of them and put them up for sale through my web-site. Those of you using instagram , just look up "ltrlgn" to see a small video clip i just posted. I am planning on coming up with a more detailed video that will be posted on YouTube too
-
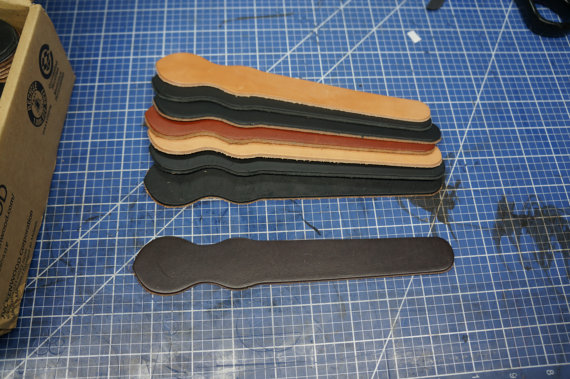
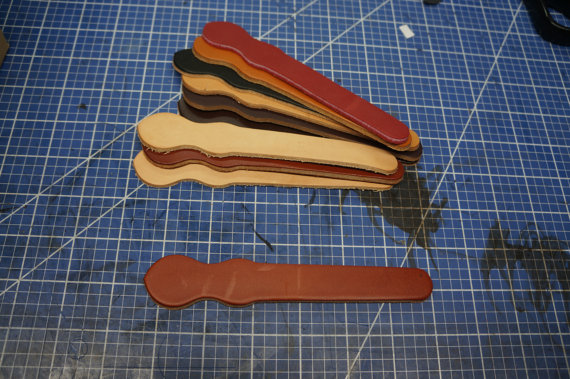
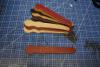
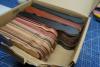
Here is a lot of around 100 leather key fobs / belt loops blanks in assorted colors that can be finished and used in any way you want. There are 2 different sizes cut out of different leather weighs ..most of them between 8-10oz . Some of them are cut out of 4-5oz too. One of the pictures shows few of them already finished and ready to use Price , including shipping cost to N. America is $100. Prefer PayPal payment. Thank you !
-
Pictures are now posted in my gallery.
-
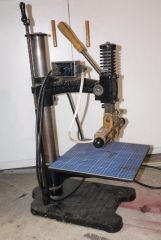
From the album: kwikprint hot press
-

From the album: kwikprint hot press
-
From the album: kwikprint hot press
-
From the album: kwikprint hot press