c2369zulu
-
Posts
226 -
Joined
-
Last visited
Content Type
Profiles
Forums
Events
Blogs
Gallery
Store
Everything posted by c2369zulu
-
Thanks guys. I think I may look into better tools. Maybe a smaller ball peen hammer and a better setter. I generally set the washer tight (which is what leaves a partial setter impression on the surrounding leather because of the tools size). I don't really like the combination setter/dome tool from Tandy. My work surface could also be the problem. I need something more solid. When I first started leatherwork, I actually set several rivets for a project on in-use railroad tracks because I did not have a sturdy work surface ........Rory
-
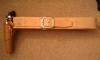
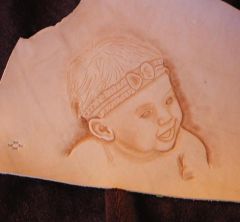
Yep, here is that same old topic again . Ok leather professionals, I am still not getting good results with the copper rivet and burr method of riveting. I have read a lot of the previous threads that have mentioned everything from cutting the rivet shaft flush to the same thickness of leather you are riveting, to cutting the stud at 1/8th height and then dome, to cutting the stud at 1/16th height and dome over and I have even read where some use a ball peen to start the mushrooming (which I like). My problem seems to be that either the mushroomed head is mishapen and thin on some edges leaving a sharp edge or part of the stud is mushroomed to one side, and sometimes the mushrooming is good on one side, but the burr somehow rides up on the other half. Other issues include burrs being loose after using setter/setter marks all over leather/setter marks on leather when doming, though mushrooming not yet complete. What am I doing wrong here? I have tried everything. It is pretty frustrating to spend a lot of time on a project only to have a rivet not set properly and have to dig it out and ruin/nearly ruin the leather in that area. I seem to seldom ever get a nice round dome. Attached are a few sketches of some of the issues I am referring to.......Rory Scan_Doc0002.pdf
-
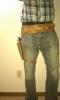
 Great looking rig!!.............Rory
 -
Sheath For Tanto Recon Knife
c2369zulu replied to stuarty66's topic in Gun Holsters, Rifle Slings and Knife Sheathes
Very nice, I like the design and carving.......Rory -
Nice looking holster. I have an FN 45 Tactical too and doubt I would want to conceal that thing. Thats a big heavy firearm! Although having 16 rounds of .45 ACP on ya is nice ..............Rory
-
 Nice looking rig. I love the western stuff!...........Rory
 -
Ed. Keep me posted on progress of the shop setup. Do they have any photos of a prototype or past builds you could send me photos of? My email address is c2369zulu@gmail.com, Thanks...........Rory
-
Very Nice!
-
Dwight. Thanks for the comments. That is a nice looking rig you made! That is an interesting way to close the pouch. I like the money belts, but don't care for all that stitching so much. I am very particular about not wanting to splice any stitching and my thread always wants to start fraying at the needle eye or somewhere else I don't want it to about halfway through the process. I want to do a suede version at some point. I just started a Scout style cartridge belt, but measured the length wrong. ...............Rory TexasJack, I agree. I have really enjoyed all of the Will Ghormley Patterns I have used..........Rory
-
Thanks Haystacker!
-
Hello All. I am interested in purchasing a well constructed/sturdy newer "stitching horse" if anyone has one. I am looking for the type that has the built in seat/stool. I am not looking for a stitching "pony". I am not looking for a fixer upper really, but am willing to take a look if you have a used or antique one that needs basic maintenance/repair. If parts need to be fabricated I am probably not going to be very interested as I am in an apartment and have no shop/tools to repair it. Thanks for looking...........................Rory
-
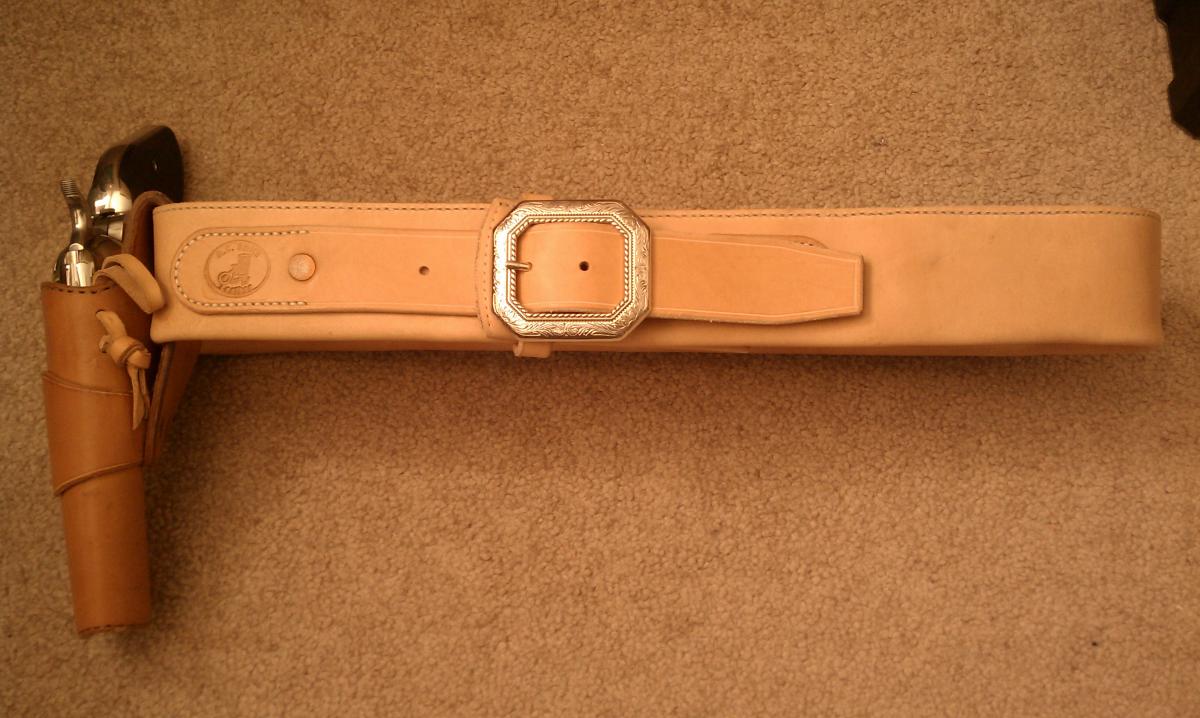
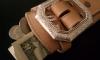
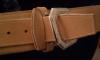
Hello All. Just finished this folded money/cartridge belt up this weekend. It is from the Will Ghormley Cartridge Belts Pattern set. It is plain Jane with no frills, but I am happy with it for the most part. I had to re-stamp my maker mark due to a poor job the first time around (forgot to dampen leather and left poor impression), then it was too damp when I hit it again causing the bottom to go too deep, doh! There are a few things I would do different on the next one. I would like to make a suede version, but I assume you can't use the stitching groover properly on suede, right? This one is all 4/5 oz except for the billet and chape which are 9/10 oz premium shoulder. The belt was finished with extra virgin olive oil and put out in the sun for a little tan. It will get darker over time. The buckle is a Cody style clipped corner buckle from Tandy Leather (I love this buckle). I might go back and try to clean the edges up and slick them a little, but it was not that important to me on this one. The El Dorado style holster was made a while back. Criticism welcome. Thanks for looking.........Rory
-
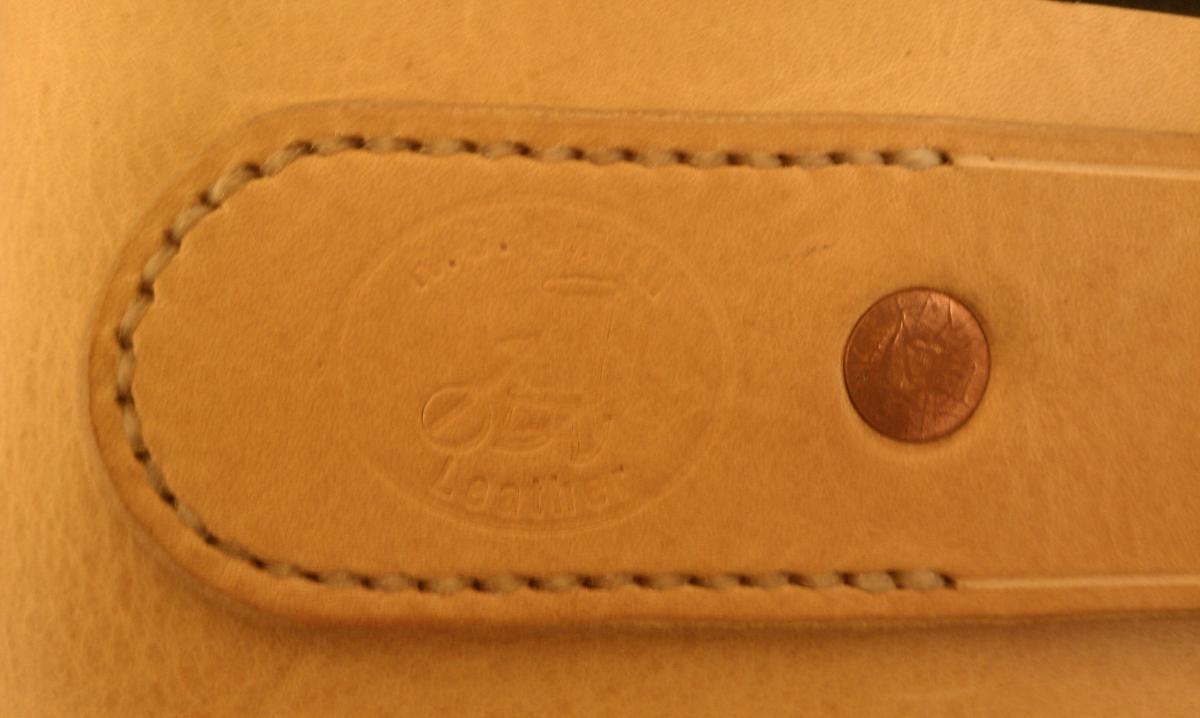
Maker Stamp Issue-To Re-Stamp Or Not To Re-Stamp
c2369zulu replied to c2369zulu's topic in Leatherwork Conversation
Thanks Guys. I may try re-stamping, but not sure how this will work now that it is sewn/riveted to the belt. May be too much cushioning, I don't know..............Rory -
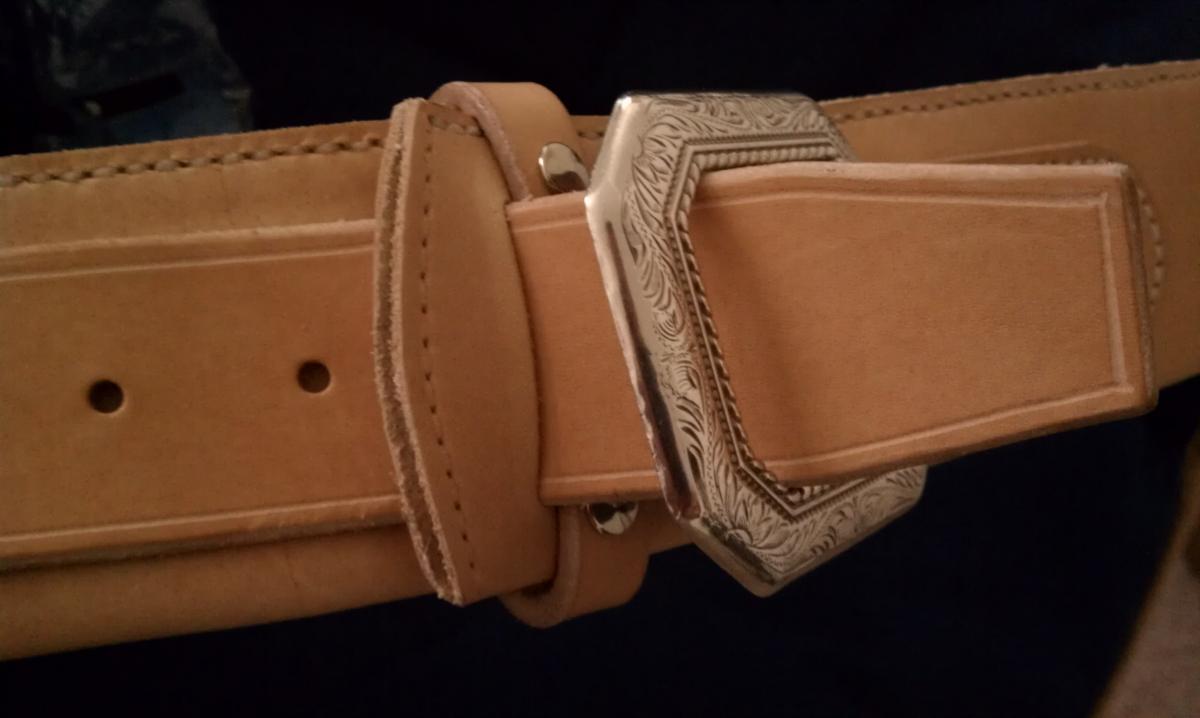
Hello All. I am working on a western money/cartridge belt for myself and I made a small mistake (see pic). I am leaving the natural color of the leather, so I just used extra virgin olive oil as a finish oil. Well, when I got the oil good and saturated into the billet leather, I thought maybe the oil would create enough "moisture" to leave a burnished makers mark when I stamped the mark on instead of using water. Looking back, I guess the oil does not saturate as much as water would, but anyway I use a medium Al Stohlman Maul and it did not leave too good of an impression. I know you are not supposed to try to re-stamp anything, so should I just leave well enough alone, or would you try to re-stamp anyway? It is for myself, but I still would rather it look right if others look at it, you know?...........Rory
-
Double Layer Holster Ques
c2369zulu replied to Boriqua's topic in Gun Holsters, Rifle Slings and Knife Sheathes
I have only made a few cowboy style holsters for a Ruger Vaquero that have been lined. As Zooker said, I glue the spine first and work my way outward on each side of the spine. I will sometime push either a wooden mallet head or a yellow nylon mallet head into the holster pocket to help curve the inside at the spine.You may have to cut your outside piece slightly larger if using a pattern to make up for the lining adding more thickness, or adjust how far from the edge your stitching line is placed to help make a little more room. Once the inside piece of leather has been curved to shape with the outside piece and the hoolster is completely glued, I trim the excess from edges of the "inner" piece of leather which now because of the curvature, sticks out further than the outer piece...................Rory -
Thanks Samalan. I can understand where you are coming from on the buckle sets, but the look very closely resembles the popular Black Hills Gold jewelry in a way. Most of the Men's Black Hills Jewelry I own (rings) have been made with either sterling silver or gold for the main portion of the jewelry and feature a brass and a copper leaf. The combination of the colors seem to work well together. Thanks for looking..........Rory
-
Hey Josh. Thanks for the compliments and thanks for looking! Sorry for not posting more photos. If I get a chance I will go back and add few more. This was my first attempt with this pattern, so I wanted to get the feel of making one in its basic sense first. The next one will be lined, both holster and belt.............Rory
-
As the title said this is a "plain" version of Will Ghormley's Black Canyon Rig with no tooling or stamping. I did use the Black Canyon Buckle sets and some of the Black Canyon conchos to spruce it up. I had a few screw ups, like adding one too many cartridge loops which messed up the alignment of the chape side. I shortened the chape and had to move it forward and use one of the buckle hook holes for the chape side rivet hole to get everything back in line. I may redo the cartridge loops as the strip came up pretty short leaving only the skived tip of the strap to attach the conchos through when I finished the last loop. I have a copper rivet I want to redo also for the holster wrap too as the rivet did not dome over very well.......Rory
-
Fantastic job and great looking saddle! I am still entry level at leatherwork and I hope to one day make a saddle. I have no horses and don't live on a farm, but I would like to make one just to make one, for the practice and just to be able to say I made one ......................Rory
-
 Looks great! Nice job............Rory
 -
Nice Holsters Shagey71. Aside from what HelluvaEngineer mentioned, the only issue I see is that there aren't enough 1911 handguns shown in the photos . BTW, Tandy Leather sells a round white nylon "edge slicker" that can be mounted on a drill. The problem is it only has one size groove. The handheld wood slicker from Tandy with multiple sizes works great. I also like to use HidePounder's method of using a piece of canvas to burnish also. I edge, then rub the edges down with glycerin saddle soap bar, use the wood slicker briskly first, then I then rub brislkly with the canvas wrapped around the wood slicker. I may repeat the process later as the edges dryout or get worn. This works for me, but may not be the best way. I picked up a square yard of canvas at the local fabric shop. They normally have denim also..............Rory
-
<-------------- This guy is jealous of your tooling/carving ability. Looks Fantastic!!!!!...............Rory
-
Your belts and holster look great! Wish my tooling turned out that nice. I am still trying to get the swivel knife and proper casing down. Do you cut the belt ends with the squared off tip by hand or do you have a punch for that? I like that style! I have looked for a punch with that type of taper with no luck........Rory
-
First Stab At A Lined Belt
c2369zulu replied to LederRudi's topic in Purses, Wallets, Belts and Miscellaneous Pocket Items
I really like it. It looks great! Funny, I just made a belt similar with the large veiner and mule foot, but un-dyed and unlined with only a mink oil finish. I wish I had a splitter to thin out the end at the buckle fold, but they are expensive. I have tried practicing with a skiver, but the results weren't that good for me to risk using it on a belt. I used large line 24 snaps to secure and the Nickel Seaton Center Bar buckle Will Ghormley puts on a lot of his belts. I also use a metal square for alignment of stamps as Will Ghormley illustrates in the H.O.G. Rig Pattern Notes and as you mentioned. The metal square I picked up at Lowes has a thicker 1.5" side and a 1" side. I use the 1" side and mark on each side of it. I generally run the veiner out a few stamps and come back with the mule foot. If I cover the mark with the very end of the toe of the veiner as I go, it usually leaves just enough room for the mule foot between..............Rory -
1911 Small Pocket Knife Holster
c2369zulu replied to JME1979's topic in Gun Holsters, Rifle Slings and Knife Sheathes
Thats awesome! Thanks for sharing............Rory