c2369zulu
-
Posts
226 -
Joined
-
Last visited
Content Type
Profiles
Forums
Events
Blogs
Gallery
Store
Everything posted by c2369zulu
-

Horizontal Knife Sheaths
c2369zulu replied to BillinTR's topic in Gun Holsters, Rifle Slings and Knife Sheathes
Here is one I recently made for the Becker BK-2.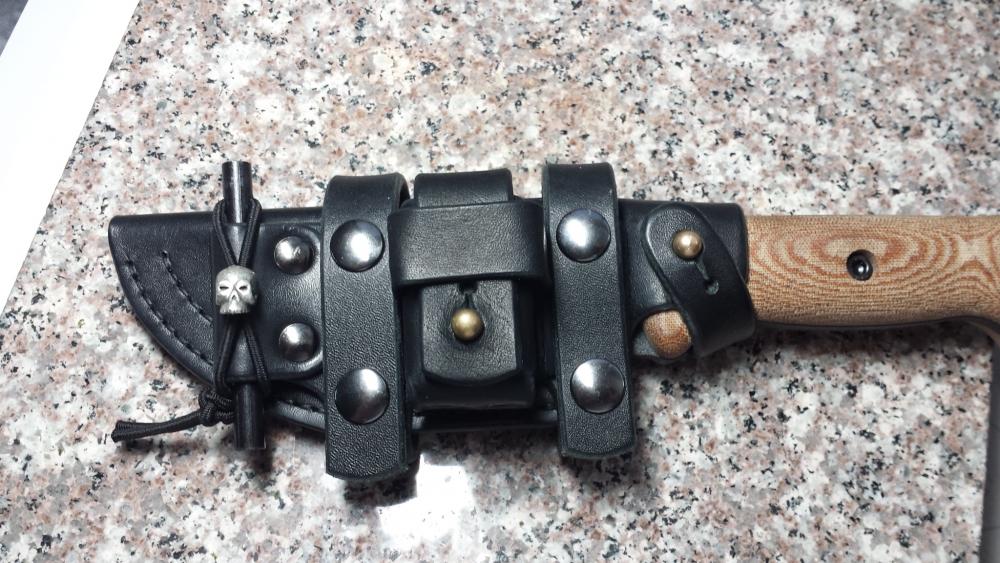
-
To double stitch or not to double stitch
c2369zulu replied to c2369zulu's topic in Leatherwork Conversation
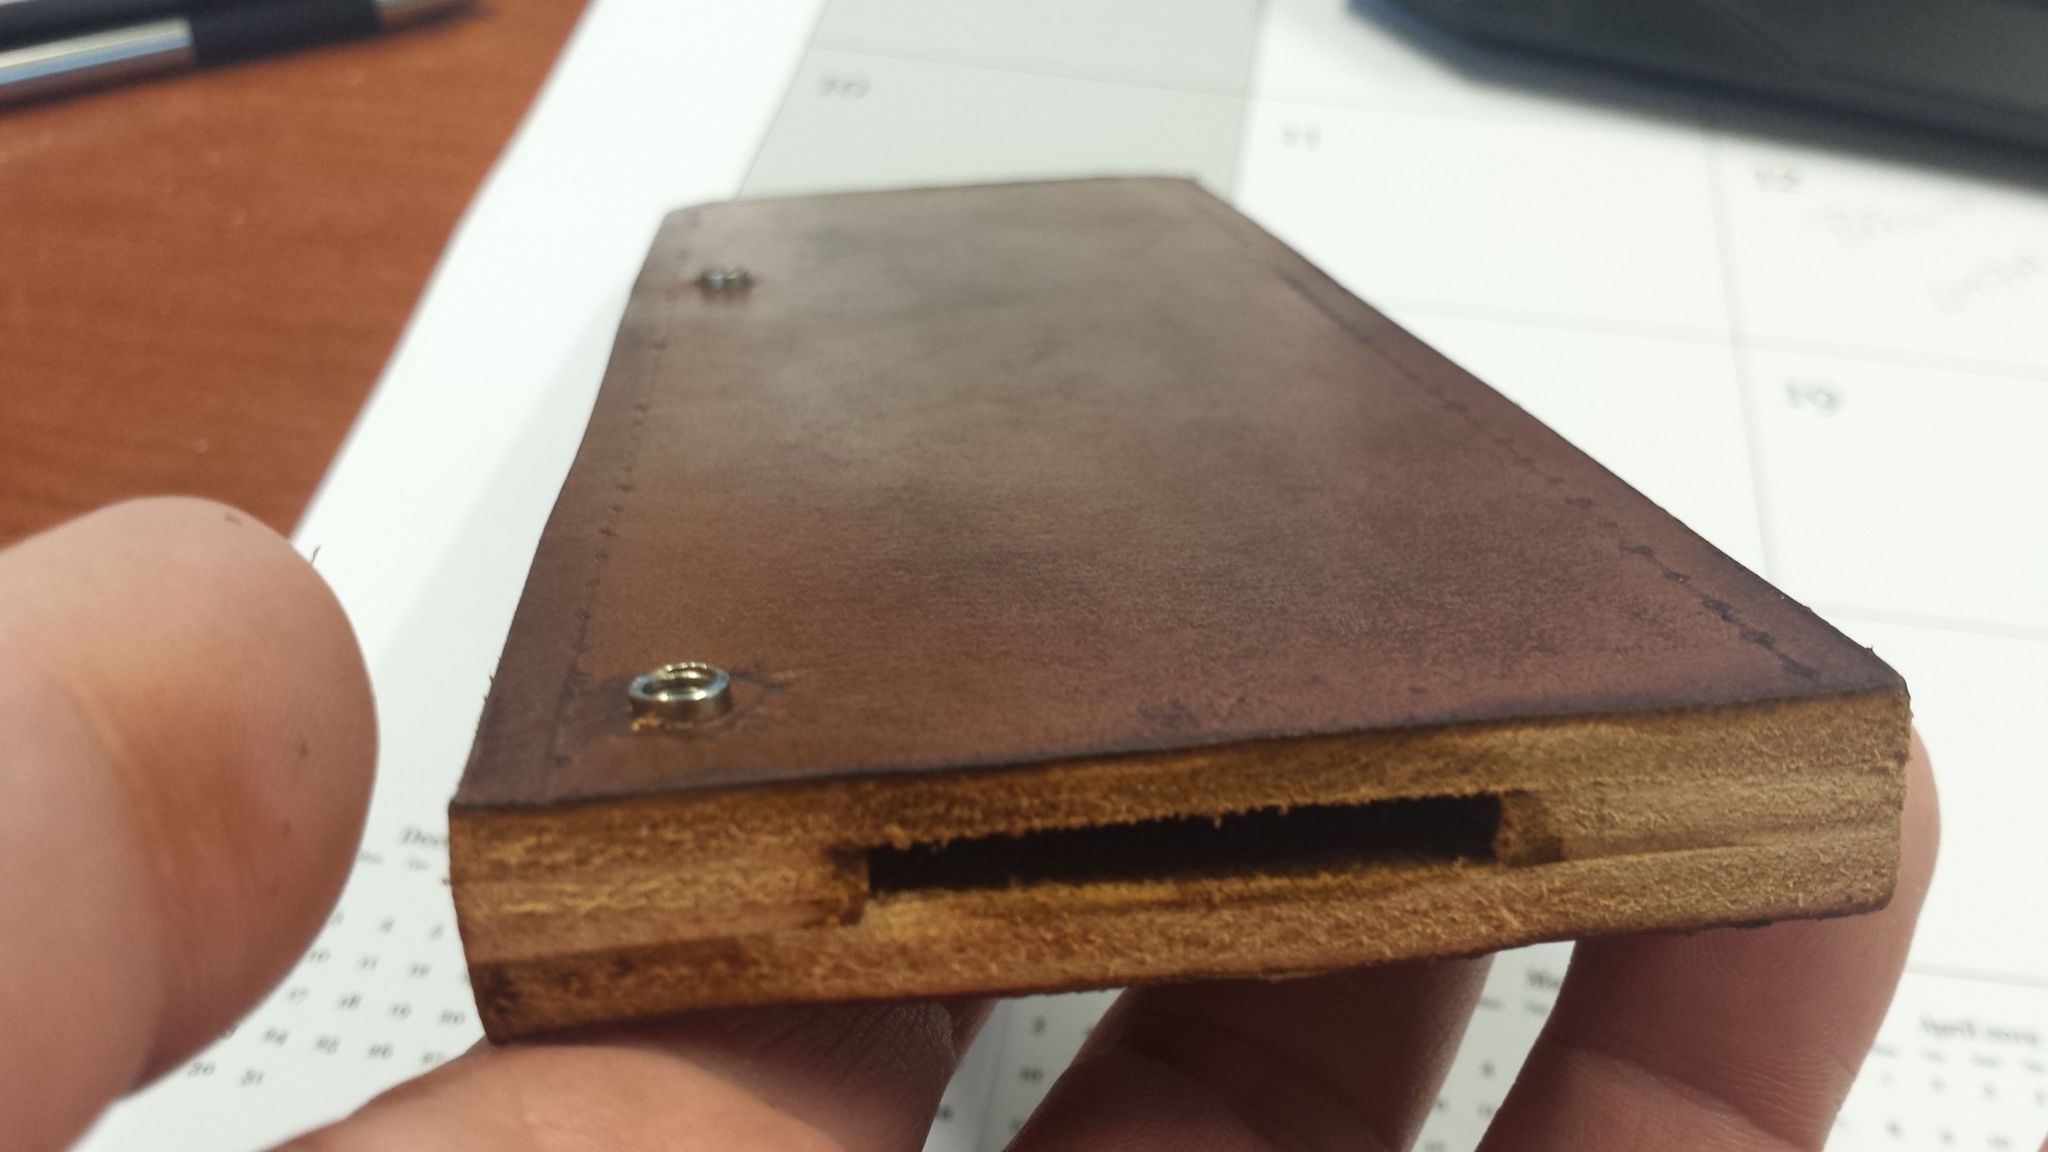
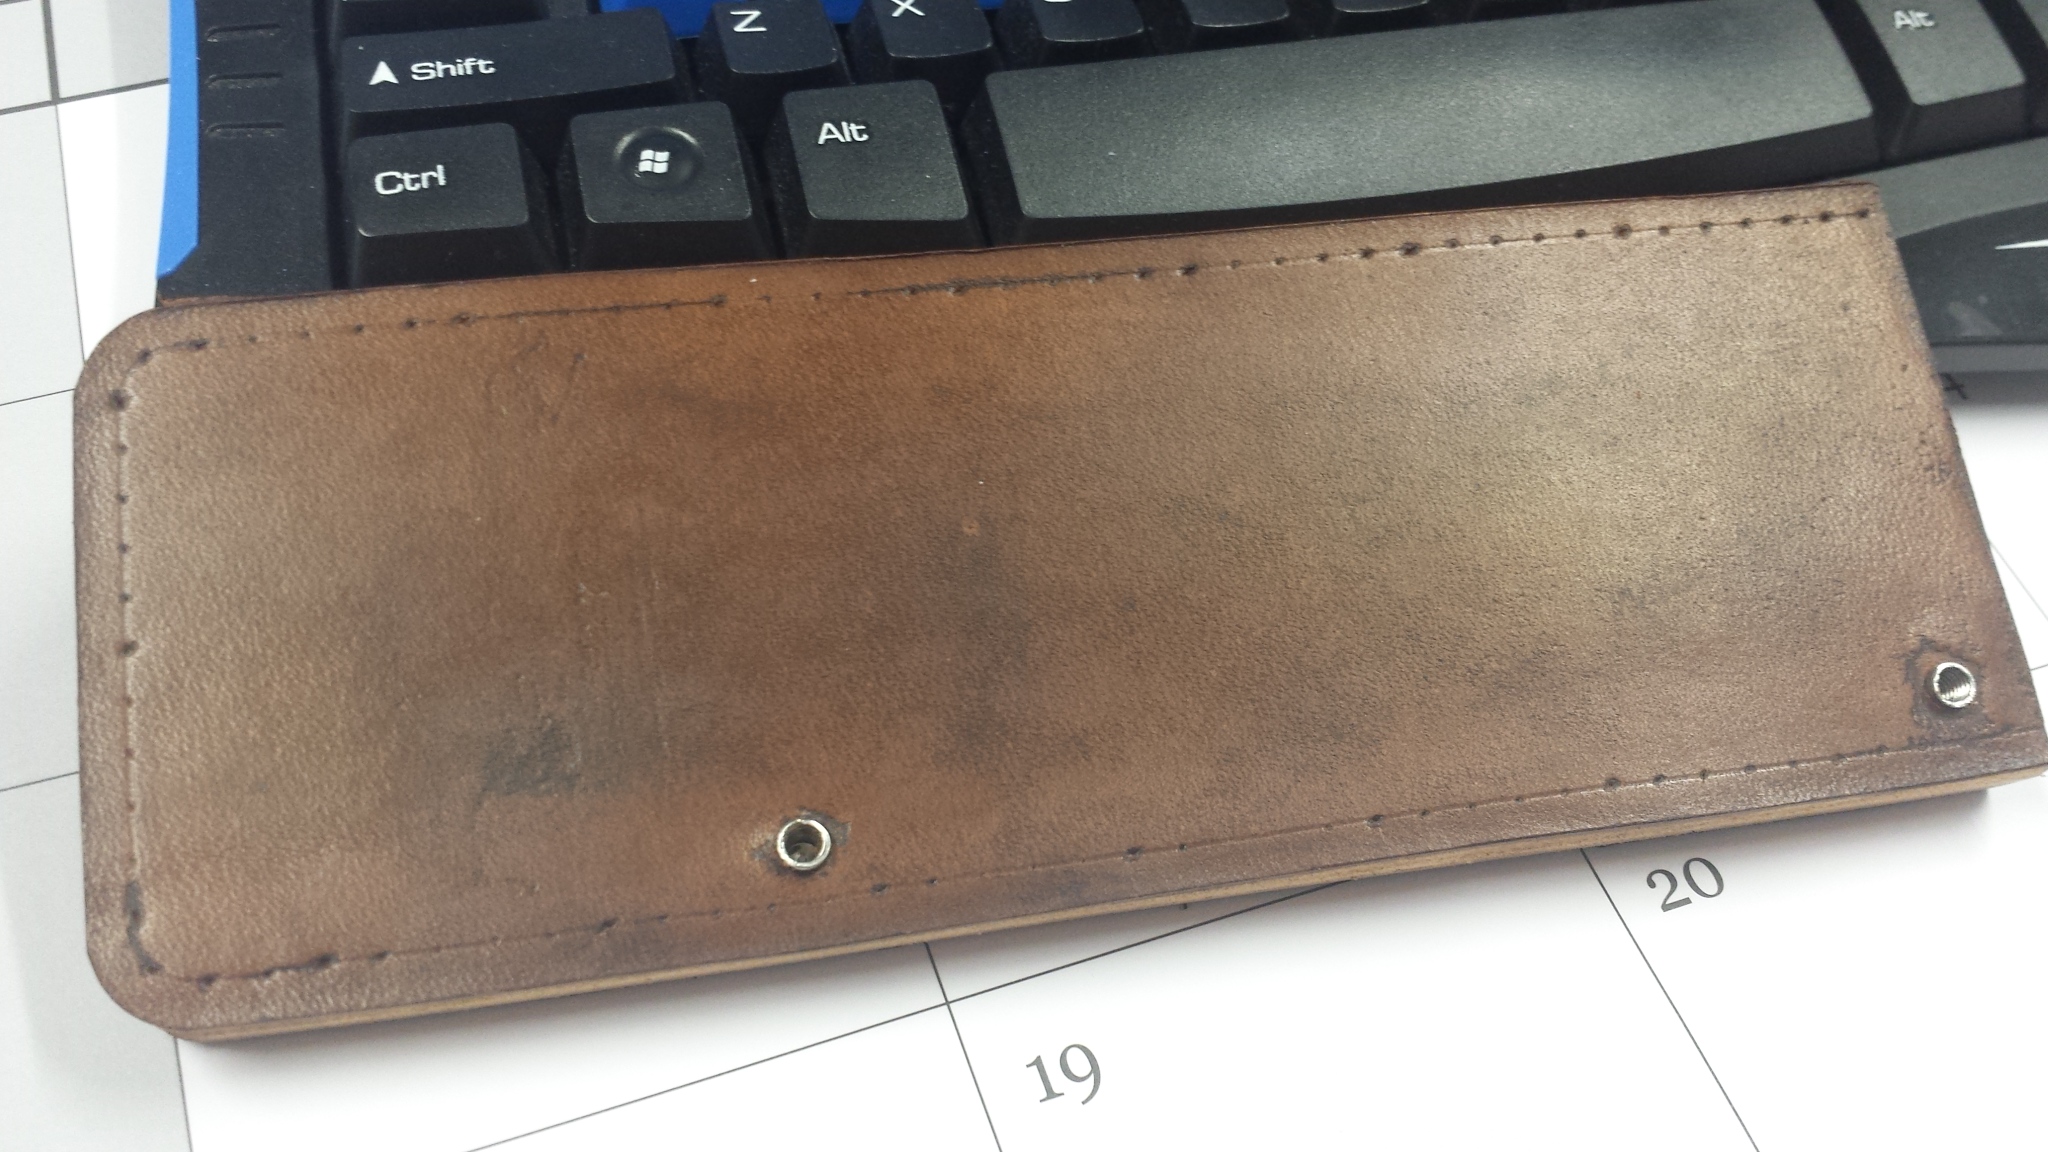
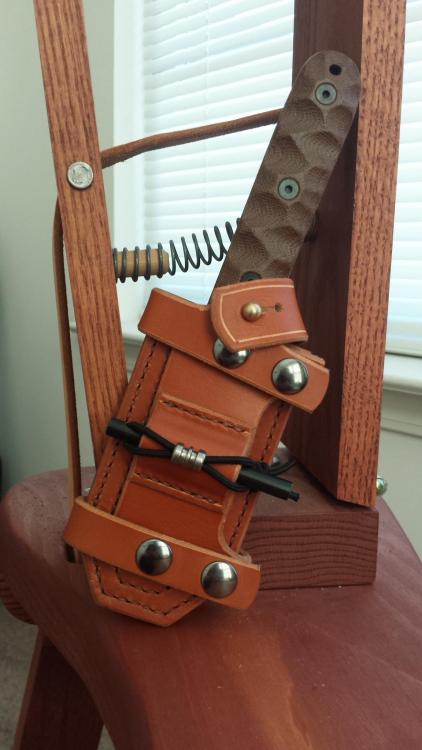
Thanks for the reply JLSleather! Sorry, I understand that statememt was not clear. The attached photo should help explain. This welt is 3/4" btw to get the width of finished sheath I wanted.
-
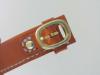
Got mine made by Phillips Engraving. I have been really pleased. The only thing I do not like with this stamp is that the corners of the rectangular block of aluminum the stamp face is cut from, sometimes are imprinted on the leather if you don't watch how deep you are hammer or pressing into the leather.
-
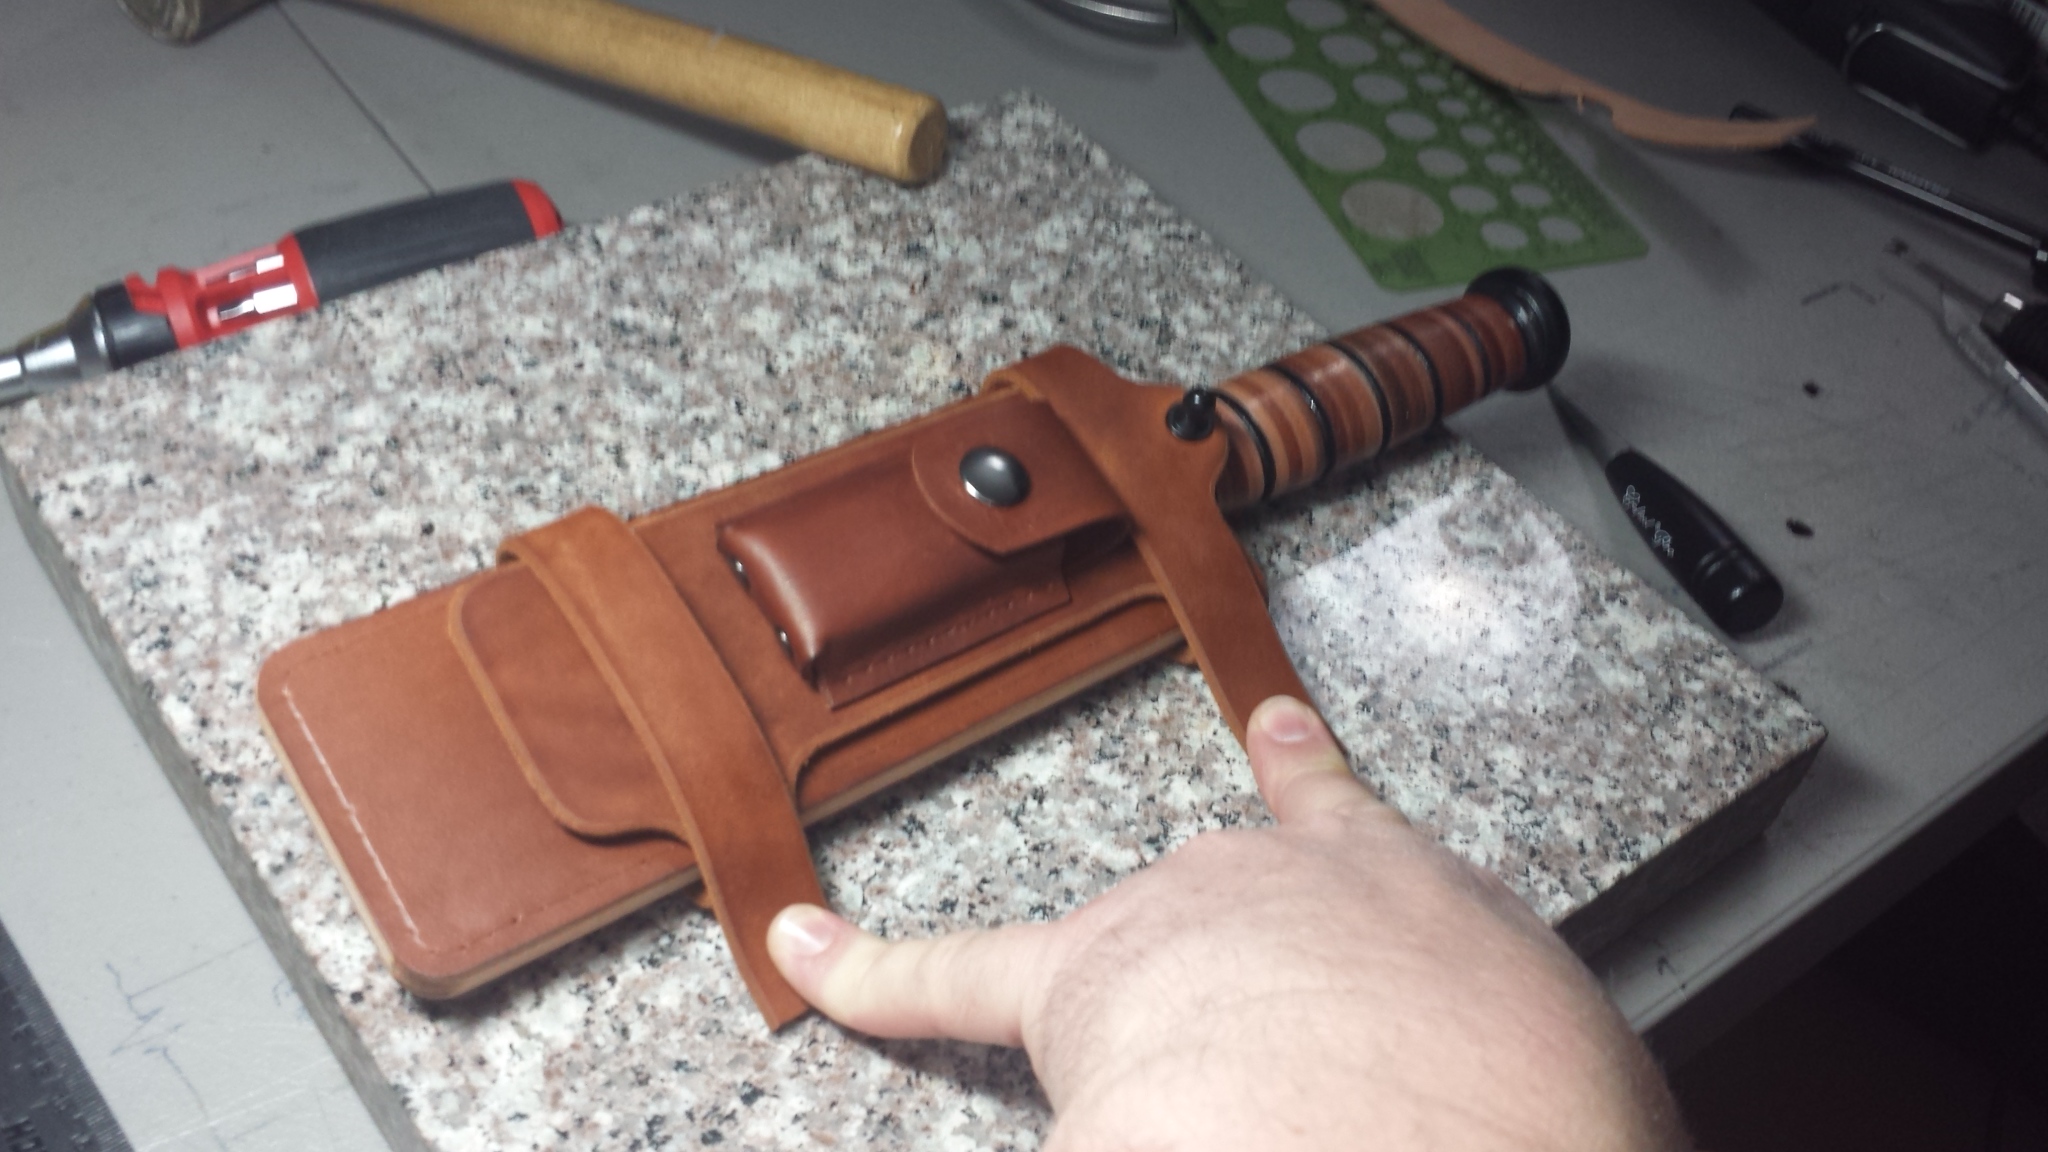
Hello all, Just looking for some input from others who make knife sheaths. I am working on a Ka-bar "scout" carry knife sheath as shown below and am at a point where I need to decide if I am going to double stitch around the sheath or just leave it as a single stitch. The double stitching would give more support to the welt edges closest to the knife blade, but I am not sure if it is needed. Also, because the inside stitch line is on the inside, I will lose the rounded turns at the bottom/end of the sheath and the corners will likely have to be 90 degree angles. Any thoughts? Would you still double stitch? I could just stitch two parallel inside lines without going across the bottom, but not sure how it would look. Most of the area will be covered by the belt loop and center panel attachment anyway...


-
Horizontal Knife Sheaths
c2369zulu replied to BillinTR's topic in Gun Holsters, Rifle Slings and Knife Sheathes
You might also try some of the bigger "got it all" companies like McMaster-Carr.... -
Hello All, I have been playing around with trying to make a couple of "scout" carry style knife sheaths recently like the popular Hedgehog Leatherworks sheaths and I was curious what the distance should be from the stitch line to the inside edge/side of a welt to be most effective. I normally space around 3/16 of an inch from outside edge of sheath to the stitch line/first stitch line if double stitching, but if I am using say a welt that is 3/4" wide from outside edge to inside and I am going to double stitch, what should the inside welt edge to inside stitch line be? Picture of one completed sheath below. Hope that makes sense :). Thanks.......Rory
-
Stitching horse from Springfield Leather?
c2369zulu replied to Mungo's topic in Leatherwork Conversation
I have one of the Weavers. I really like it. I also have one made by a friend. The only complaint I have is that most of the designs don’t have much support for forward and backward movement. Edited. Sorry, thought you meant stitching horses, but it looks like you are referring to stitching ponies. I have two of the $100 Tandy versions (at least that is about what they cost when I bought mine). You cannot open the jaws much wider than a thin wallet’s width with it. One of the jaw sides snapped in half on mine when I over tightened it slightly, so that was my fault. They are nice, but a bit overpriced and you are quite limited on workpiece thickness.... -
Hello all, I have made two kangaroo hide bullwhips in the past and am planning to make a third soon. The two bullwhips I did make were made with 4 plaited bellies and an overlay as Bernie Wojcicki demonstrates in his YouTube videos and did not turn out too bad. I was thinking about trying to make a kangaroo hide bullwhip using the two belly, two bolster and an overlay method this time. Is this method better? It seems many of the known whip makers use this method. I know the basics and have the right tools, but am curious how others approach certain steps. I have the following questions below if anyone is willing to share. - Do you use cowhide or kangaroo for the bolsters? Are the bolsters split? If so, to what thickness? If you are cutting an 8 foot bolsters out of roo hide, does it have the one wavy side like lace after it has been cut around the hide? Is it stretched like lace? - I am cutting my lace with a plain Aussie strander and am curious how you guys taper your lace. Let’s say I am starting with 8mm 4 plait on a 2 foot first belly. What is the rule of thumb for width resizing? Do you resize a mm or so every foot, every 2 foot, or? Should all bellies end with a lace width of about 2mm to 4mm or does it depend on how many strands of lace are used for the plait? - Is the core and the transition area on the bellies still bound extremely tight with a waxed artificial sinew when you use the bolster method? - What are the specs and dimensions used for an Indy style whip’s handle (length/knot styles/distance between knots/thickness/palm knot diameter and length/etc.)and how is the transition area built up on the Indy style whips? I have heard some say a yoke should be used and the start of the plait creates the swell effect on the handle at the transition knot. - Do you guys always split your lace. If so, to what thickness to prevent breaks? Thanks
-
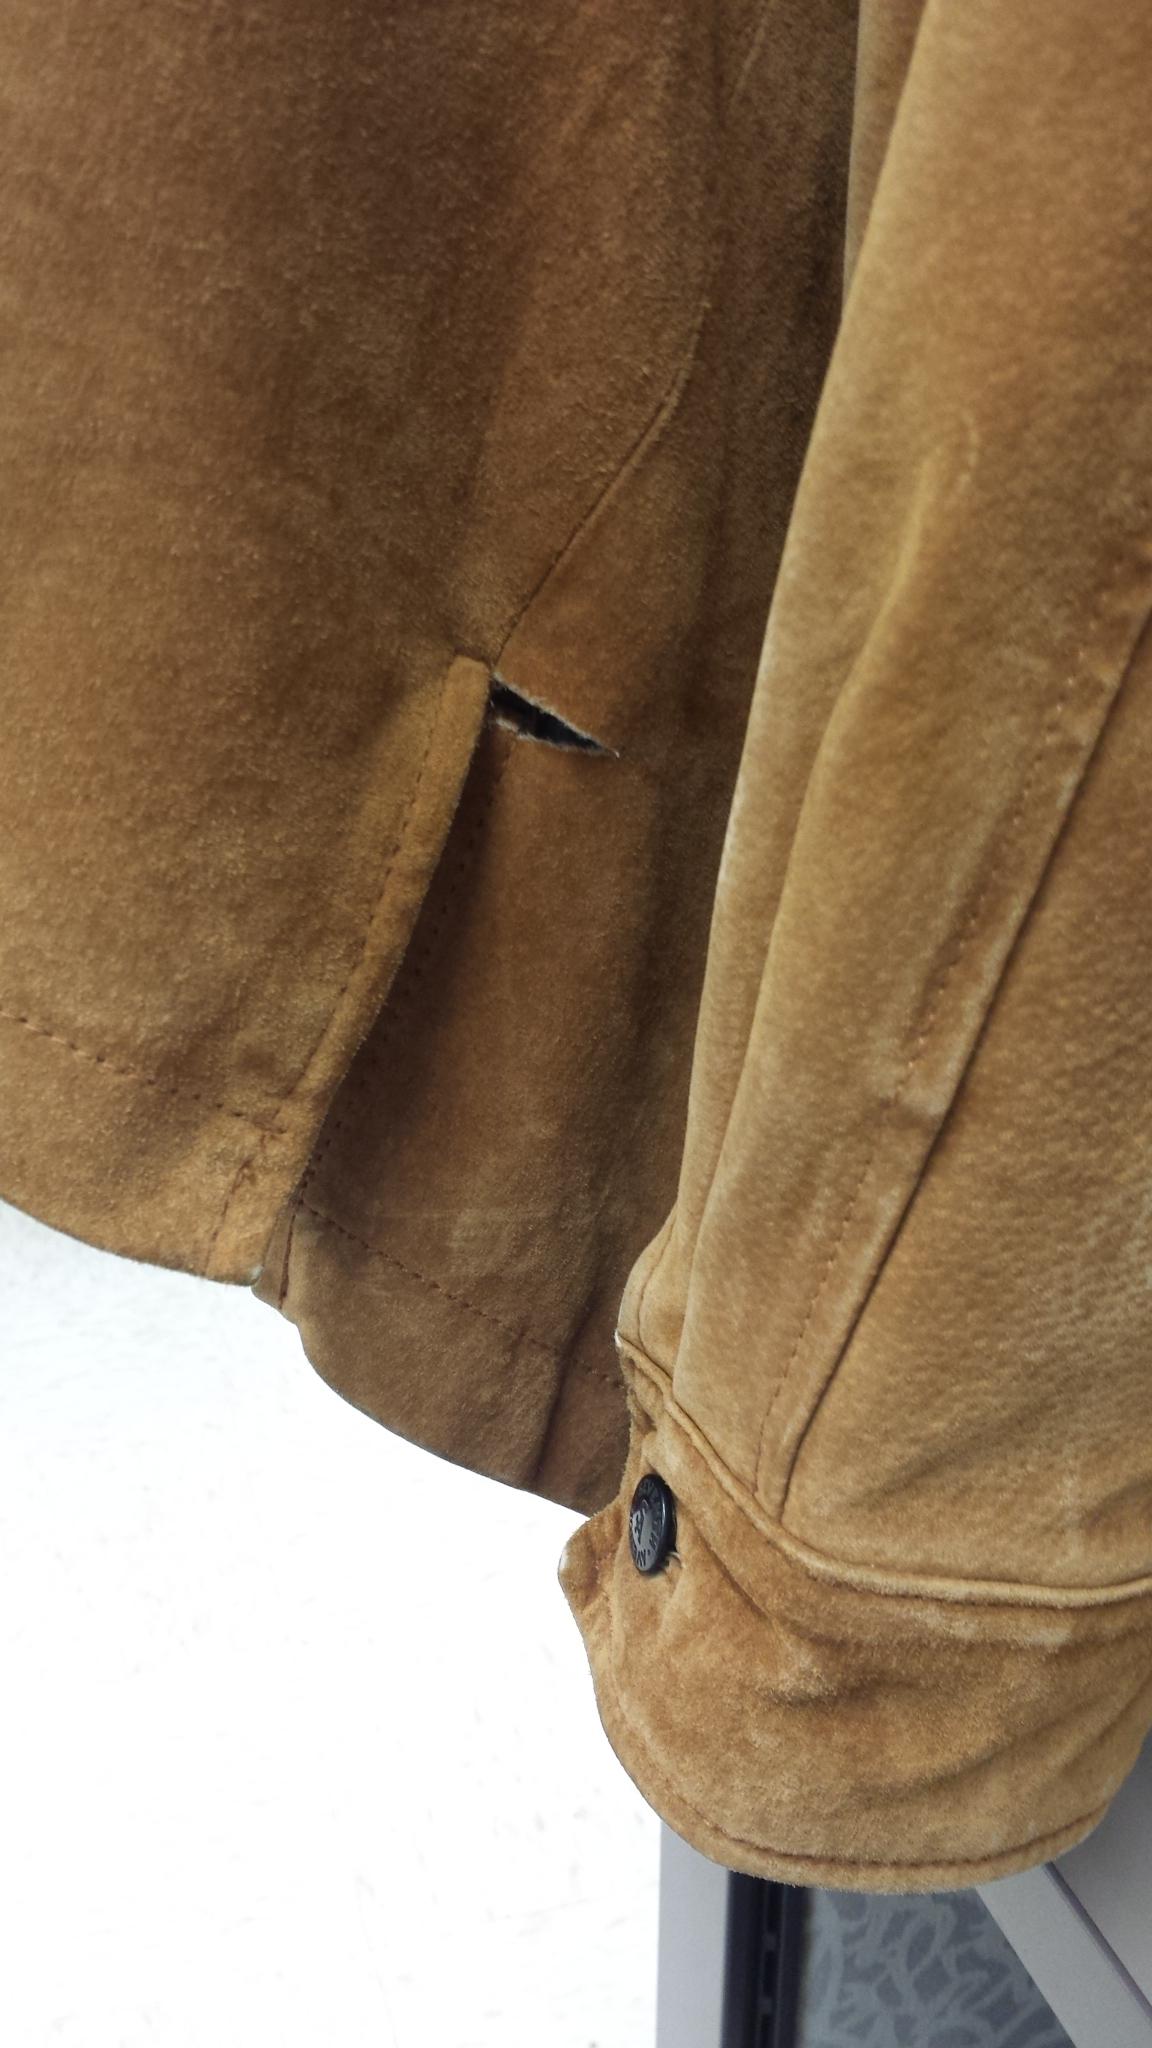
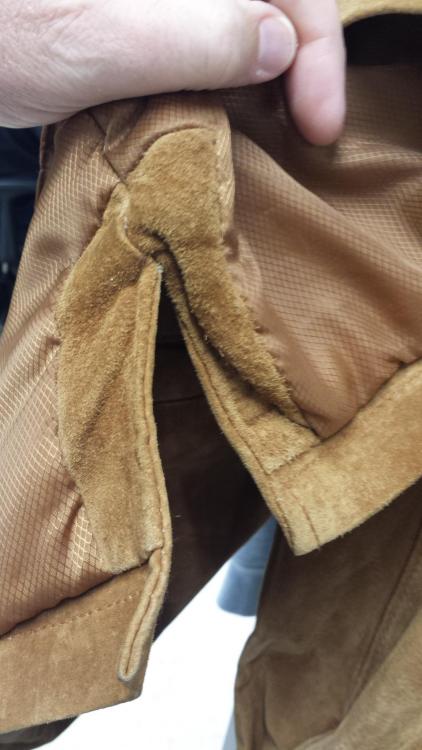
Hello All. Anyone know of a good way to fix this leather coat tear or is it best just left alone? Thanks.....Rory Here is the back side.....

-
This item has been Sold.
-
Hello All. I have a Like New Cobra 4 Sewing Machine that I am offering up for sale in Orange, VA. I do not plan to crate and ship this beast, so I am only looking to sell locally. This is not an item I have to get rid, but I have just not found the time to use it as much as I would like. The machine will be sold with all accessories and tools that I purchased it with directly from Steve and the fine group of folks at Leather Machine Co. I also have some extra thread spools that will go with the Machine.I still have the original sewing head box and the owners manual package with DVD in the original envelope. This is an amazing Machine that has been kept in a clean environment and has been used for maybe 2-3 projects. I am asking $2100, but I will certainly take offers into consideration. I will be happy to send pictures upon request. I can be best reached at c2369zulu@gmail.com Thanks for looking!
-
Requesting access when you get a chance . Thanks....
-
Indiana Jones Whip Questions For The Whipmakers
c2369zulu posted a topic in Leatherwork Conversation
Hello Whipmakers. I was curious if anyone could explain how the foundation for the palm knot (not the transition knot) is built up or what the dimensions need to be. Most of those I have seen seem to have a unique shape. Is the foundation built up with shaped leather or layered waxed thread? What thickness of strand is needed generally for covering the foundation and how many bights/parts is the knot supposed to be? I have made a couple of kangaroo hide whips now and would like to make an Indy style whip next. Also, it seems some of the handles I have seen are thinner in the middle of the diamond plait area and then gradually get thicker at the handle/thong transition. Is this area also supposed to be built up differently? Thanks.....Rory -
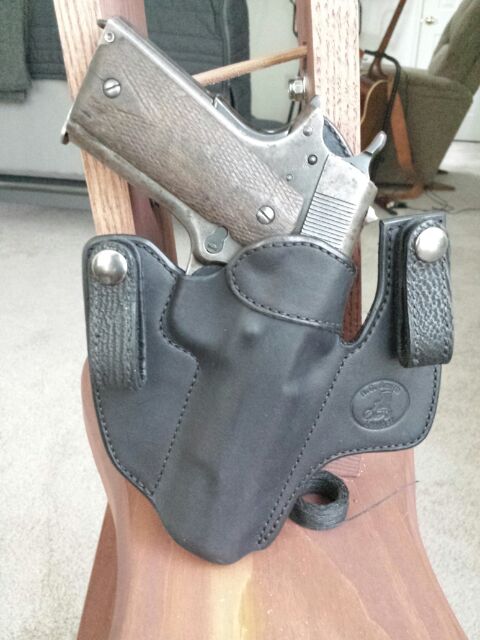
Hello All. Its been a little while since I posted any projects. Here is an Inside Waist Band (IWB) holster I just finished up that has shark skin accent on the belt loops. The credit for the style of this holster definitely goes to Galco Gunleather. This is my attempt to make an IWB holster similar to one of theirs. I had a heck of a time getting the reinforcement throat wrap figured out and sized right. It does not have any metal or plastic sandwiched between the throat reinforcement wrap and the main holster like some makers use. I am not sure exactly what is used for that. This holster was made from 4-5 ounce leather, hand stitched and wet formed using my kydex press. The kydex press worked pretty good on the thinner leather. Thanks for looking!.......Rory

-
Nice work !
-
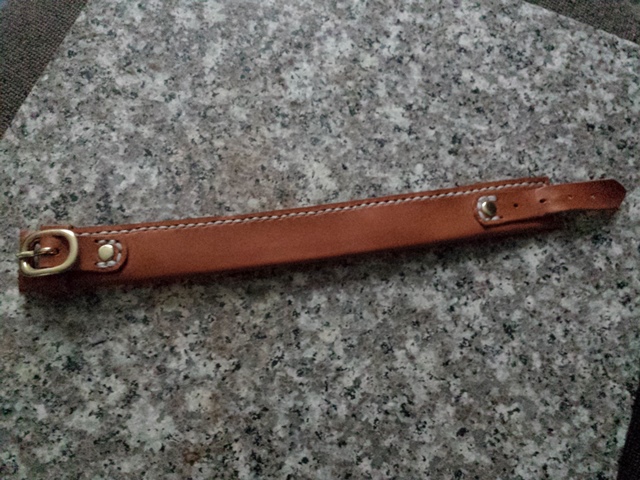
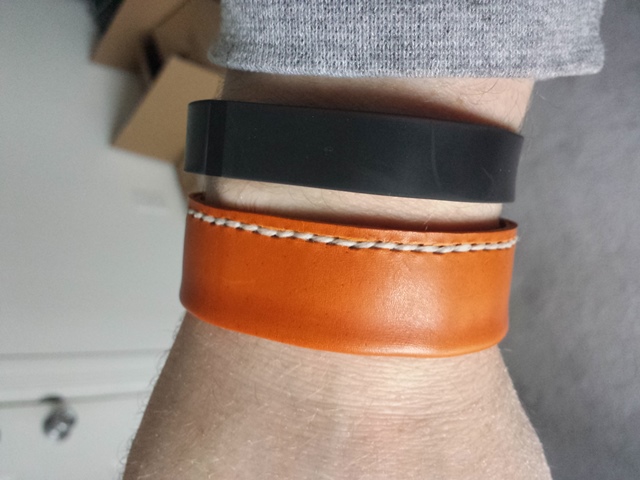
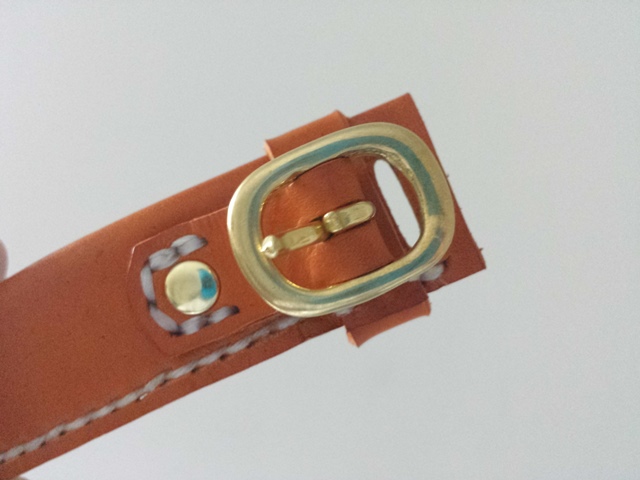
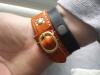
Hello All. I was playing around with some scrap saddle tan kangaroo hide and came up with the idea of making a bracelet like one of the old Western Money belts. I had made one of the money belts a good while back from the Will Ghormley patterns, so I had the basics of what was needed already in mind. This was just a quick experiment so it is a little messy and not perfect. Again it was just for fun. Anyway, I don't know what would be put inside, maybe some small survival items (fire tender, ferrocerium rod, cord, etc, etc. I would have carved something on it if I were any good at carving, but the hide is too thin anyway, so, oh well. Would love to see what others who are good at carving could come up with. Thanks for looking..........Rory

-
Wallet Holster Design
c2369zulu replied to tiggertlee's topic in Gun Holsters, Rifle Slings and Knife Sheathes
Nice job! I have either a Don Hume or Desantis like that for my Ruger LCP...........Rory -
Round Knife Necklace
c2369zulu replied to Redd's topic in Purses, Wallets, Belts and Miscellaneous Pocket Items
Thats a really cool idea. Nice work..........Rory -
I have used both waxed flat artificial sinew from "Kentucky Leather and Hide" (this is the stuff I started "leatherwork" with after visiting their tent at a Rendezvous event in IN), and also used the waxed linen thread. I like the strength of the artificial sinew but the look of the waxed linen. The waxed linen has broken on me a few times when tightening up the stitches. The waxed sinew seems as though it will probably cut through your finger, and glove if you use one, before it would break................Rory
-
P7M8 Set With Elephant Accents
c2369zulu replied to Jumpout's topic in Gun Holsters, Rifle Slings and Knife Sheathes
Nice job! I love my P7M8............Rory -
Looking For A Better Knife
c2369zulu replied to steelhawk's topic in Gun Holsters, Rifle Slings and Knife Sheathes
Not sure what thickness limits there are, but I think some people use Leather shears/scissors to cut out some of their work. I imagine 7-8 oz would be tough with some shears/scissors though, but I could be wrong........Rory -
Dragon Holster
c2369zulu replied to Boriqua's topic in Gun Holsters, Rifle Slings and Knife Sheathes
That's pretty cool. Nice job... -
Very cool!
-
 Looks great! I made one of those from Will's patterns out of some cheaper knappy leather. It turned out ok. I cut the swivel circles a bit bigger than needed. I just used a hole bit for the drill and it was close in size. Are you using a laser to cut out the patterns also. The knife sheath and holster holes and cut lines look superb.......Rory
 -
I am with Benlilly1, would love to watch you make something start to finish. Outstanding work. How about a few Youtube tutorials, hint, hint.............. Rory