Peter Ellis
-
Posts
236 -
Joined
-
Last visited
Content Type
Profiles
Forums
Events
Blogs
Gallery
Store
Everything posted by Peter Ellis
-
This is a very old formula for making black dye. There is some concern about whether it damages the leather in the long term. I don't have an opinion, having not worked with it myself.
-
Giving blood to the project from needles and awls is "all" in a day's work I'm not so used to being attacked by power tools. And laughing about it - no worries, me too.
-
The choice between mallet and maul is one of comfort and personal preference. I'm not much of a fan of mallets for either leather or wood carving. I prefer mauls. The maul I use for my leatherwork is one I bought for woodcarving. My point being, you might want to look a bit further afield than just "leather working tools" and that among the tools used for woodcarving there's a good chance of finding a pounding thing that you'll like. the market for woodworking tools is bigger than that for leather tools, so the choices and prices can be a bit better. Which Ren Fairs do you do ?
-
There is a manual clicker on the market, weighs around 100 pounds and priced about $1,200 . An alternative is to use a shop press adapted to work with appropriate size plates for the dies you would be using. It's an alternative suited to small production, definitely not as fast as "clickers".
-
Greek body armour called a "linothorax"
Peter Ellis replied to Peter Ellis's topic in Historical Reenactment
My brother in law used to ride, and was also involved in the reenactment group I'm in. He would ride up to events wearing most of his armour. He had fun with the reactions as he travelled. -
Clicker dies and steel rule dies (I'm not entirely clear on what the differences are between the two - both are used with clickers) are, in essence, cookie cutters for leather. One side is razor sharp, the other isn't. So the die cuts from one side only, the bottom plate needs to be something that won't blunt the edge on the die. Makers price them by the inch, but I don't know what kind of price tag is involved. I haven't reached the point of ordering any myself. I'm probably about two steps further along in the process of working up to diecutting than you are.
-
Greek body armour called a "linothorax"
Peter Ellis replied to Peter Ellis's topic in Historical Reenactment
The shoulder yoke is attached in back by a leather hinge between the back plate and the yoke. In front the two straps of the yoke will tie to the breastplate. That detail and the closure on the side of the harness will be completed by the client, he has some particular decorative hardware he wants to integrate. Just how much range of motion he'll have in the shoulders is a question. Until he tries it on we won't know for sure. -
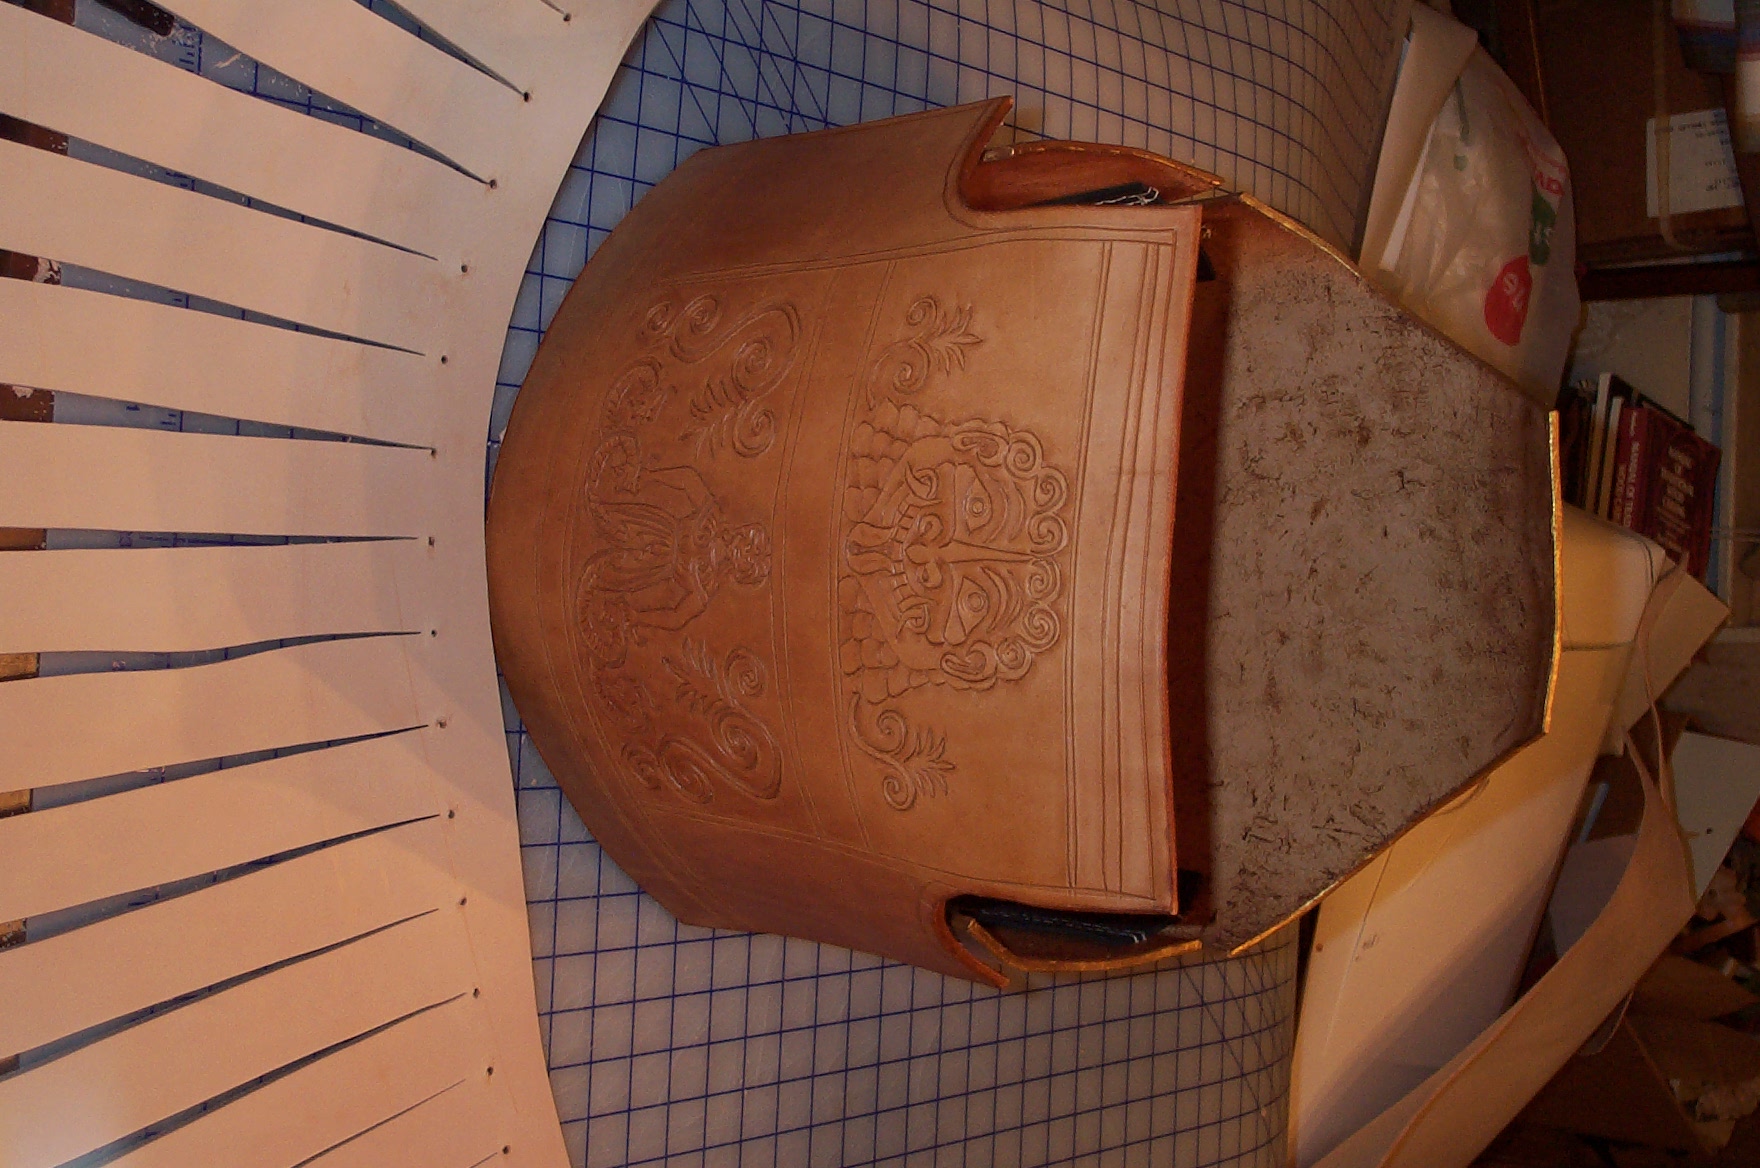
I've finished the construction on the largest project I've tackled yet, a leather interpretation of a Greek body armour called a "linothorax". The historic versions were made of multiple layers of linen and soaked in glue. The body itself is saddle skirting treated to harden it, and the skirt is saddle skirting without the hardening treatment. Tooling motifs are a Gorgon and the Snake Mother. Just under 7 hours in the tooling part of the project. Probably 3 times that in the stitching.
-
Hi Linda. I don't think it's the same thing. The "Brewer's Pitch" I've handled comes in solid chunks and needs to be heated up to melt it into a liquid form.
-
McMaster Carr carries LDPE, a 100' by 36" roll of .004 transparent film is just over $14.00 I don't know how thick it needs to be for Verlane's technique to work, but it looks like it could be very cost effective. http://www.mcmaster.com/
-
I'm feeling particularly lucky just now, because the accident I had did *not* involve me getting hurt beyond a little singe on the tip of one finger. I've been working on stitching together a fairly large project for a number of hours. To sew the hardened saddle skirting I drill holes with a Dremel tool. Awls just won't do for this material, and a drill press is impractical for numerous reasons. It was going along, slowly but steadily, when I had a little accident with the Dremel. Lost my grip, bobbled it, got it away from the project but the hot bit and my fingertip made contact somewhere in there and I wasn't able to catch the tool. It fell past the table and got hung up on my jeans... at a point to make one nervous. Grabbed the still running handset, pulled it away and turned it off.. then noticed the bit was missing. Looked down for the bit... and removed it from my jeans. I'm taking a break
-
Weaver has two slickers designed to chuck into your drill, same design in wood or plastic. They're both tapered, 7 inches long, three different size grooves for edges and then a tapered tip that will fit into small spaces. The wood one is about $25, plastic about $17.
-
Jeff's a good sport, isn't he ?
-
cuir bouilli how-to
Peter Ellis replied to CitizenKate's topic in Clothing, Jackets, Vests and Chaps
Hi folks. Cuir Boulle happens to be my particular area of focus, as I make armour out of leather for SCA, LARP, Ren Faire, WMA - anybody that's interested :biggrin: There's an excellent paper by a fellow named Chris Dobson that was produced perhaps three years ago and should be available from him through his website http://www.masterarmourer.com/ It's pretty certain that wax played no part in the construction of hardened leather armour, because there is solid evidence that they coated the leather with gesso and painted (and gilded) it. The gesso will not stick to wax. Dobson has done extensive experimentation with a method that involves taking wet leather, stretching it over a wooden form (last), tacking it in place and then heating it while painting on hide glue. The glue is absorbed into the leather - and when it stops being absorbed you stop applying glue - the heat is somewhere in the range of 170 to 180 degrees F at which point (as mentioned in the piece Kate linked to to start this thread) certain compounds in the leather become fluid. It's very important to get the leather to this temperature, because the flow of those compounds is a large part of the hardening of the leather. The glue helps the process, but is not the basis - you can get quite hard leather without using glue at all. The piece is kept at temperature for some time - if you're using a last, you can probably keep it warm until the leather appears fully dry. I don't use lasts (yet - it's a matter of making them) and I've found that if I let my pieces dry fully I get shrinking and warping and those are not either of them good. I pull mine out at about the point where any portion of the piece looks like it is dry. At this stage one can mold the leather still, it's quite cooperative about making final adjustments to form. Then I set it aside for a couple of days to finish drying out completely. At that point if you rap it it sounds like wood, and it is definitely hard. It retains a bit of springiness but it can be broken by trying too hard to bend it. The hide glue Dobson uses, and which was probably used 800 years ago, is a water soluble glue. Even after it cures completely, it remains water soluble. For my purposes that is a problem, so I use Titebond III in place of hide glue. When it cures it is waterproof. It's a practical advantage for gear that may be heavily sweated in and will almost certainly spend time out in the rain at some point. I bake mine in my kitchen oven. Dobson uses a heat gun (I tried that and scorched my leather). I've tried the boiling water approach with wholly unsatisfactory results. The piece of leather shrank by about 30% and the hard shriveled thing that it became was brittle and easier to punch holes in than the leather had been to start with. Some people have good results with boiling water - I think it's possible, but an art form with too many chances to go wrong. Baking is easier and more consistently reliable. With my baked pieces, I've found that if I need a hole that was not punched before hardening, I should drill it. Punching after hardening runs a high risk of cracking the leather. Dyes go on very differently after hardening than before - penetration of the leather is very much less and it's pretty likely to produce a streaky finish. The streaky finish isn't necessarily a bad thing - I've got some rather nice woodgrain effects. I use a very simple but highly effective method for sealing these pieces. I dip them in acrylic floor polish and hang them up to dry. Not exactly a "leather finish", but these pieces are intended to be worn as armour for recreation combat and they take quite a beating - the floor finish cleans fairly easily and can be refreshed by the client with a damp rag and some Future. -
That too - and typically that leather is wrapped around some lead shot or similar. But the blackjack we're talking about is typically a hollow cylinder with a handle on the outside - looks remarkably like a beer mug - and is used for knocking one's self out with beer, ale, cider or mead Peter Steve, check out this group http://groups.yahoo.com/group/medieval-leather/ for lots of discussions about how bottels, costrels, jacks, etc. were made then, are being made now, and for sources of brewer's pitch and other materials of interest for the purpose. Jas. Townshend still sells brewer's pitch, but I'm not at all sure if they're the best source around. Still investigating this area myself.
-
I'm in Jackson, these days. Born in California, raised in California, Tennessee, New Hampshire and Pennsylvania. Got some mileage Peter Chuckle.. Polyester is hot and miserable stuff that doesn't breathe Wearing armour's not so bad. All a matter of fit, really. and thank you all for the welcome and kind words. Peter
-
I'm not close to "running a successful leatherworking business" and am in the general category of hoping to break even before too terribly much longer. I know that in my case there are very specific things that I need to do to improve my opportunities. I need a website, I need to take PayPal and credit cards. I need to design a distinctive logo and maker's mark and put that logo out in front of people and that mark in all of my work. I need to invest in certain equipment to allow uniform quality of production (in my specific instance I really need to have dies made for certain of my pieces so I can consistently cut the same complex shapes and save lots of time while improving consistency) I need to evaluate my market and my product line and adjust appropriately at both ends. There are markets I'm not in that I need to access with my current product line. There are products I am not yet producing that I need to get out in markets I'm already in. All of those things really sound like work and really, I do the leather more for enjoyment than for money. To me it's a hobby/addiction that needs to pay for itself, at least partially. So that means that the fun parts - working out a pattern, tooling the designs, forming the pieces - turning that flat piece of cowhide into something else entirely - all of that stuff, well, it tends to push the work type activities off to one side. I've a full time job, so the time for everything related to the leather business is limited. For me to make the Business successful, I have to sacrifice time that I would rather spend making things to the needs of being a Business. I'm also very new as a "business", registered for only a couple of months now. It takes about 2 years for a new business to develop recognition, reputation, and start getting a real sense of whether or not there is a market for what they are doing. So I know that my doing about a grand in one month of part time work with no advertising and no established reputation really isn't all that bad. Not anywhere close to good enough to quit the day job, but For me, it's the Business side of things where I need to pay attention and focus on doing what must be done. The Leathercrafting side of things needs attention and focus and is a constant learning process - but it's the *fun* part that I'm doing whether I'm getting paid or not. I think for many people looking at trying to make any kind of hobby into a business, they share that problem. Focus on Business, because that's the hard part and the part filled with pitfalls. The craft is the easy part. Peter
-
Hi Ed. An option to consider on the die cutting front is instead of a clicker (even the manual versions run about a thousand dollars) use a shop press http://www.harborfreight.com/cpi/ctaf/Disp...temnumber=33497 . One needs to add plates for supporting the work and driving the dies, and it's not as fast as a clicker. OTOH, you can get the shop press set up ready to use for die cutting leather for under $200. Money saved can go into more dies. Then, as your production speeds up, demand increases - you can afford to buy the higher speed clicker and you have the dies already. Peter
-
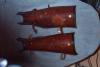
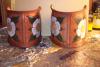
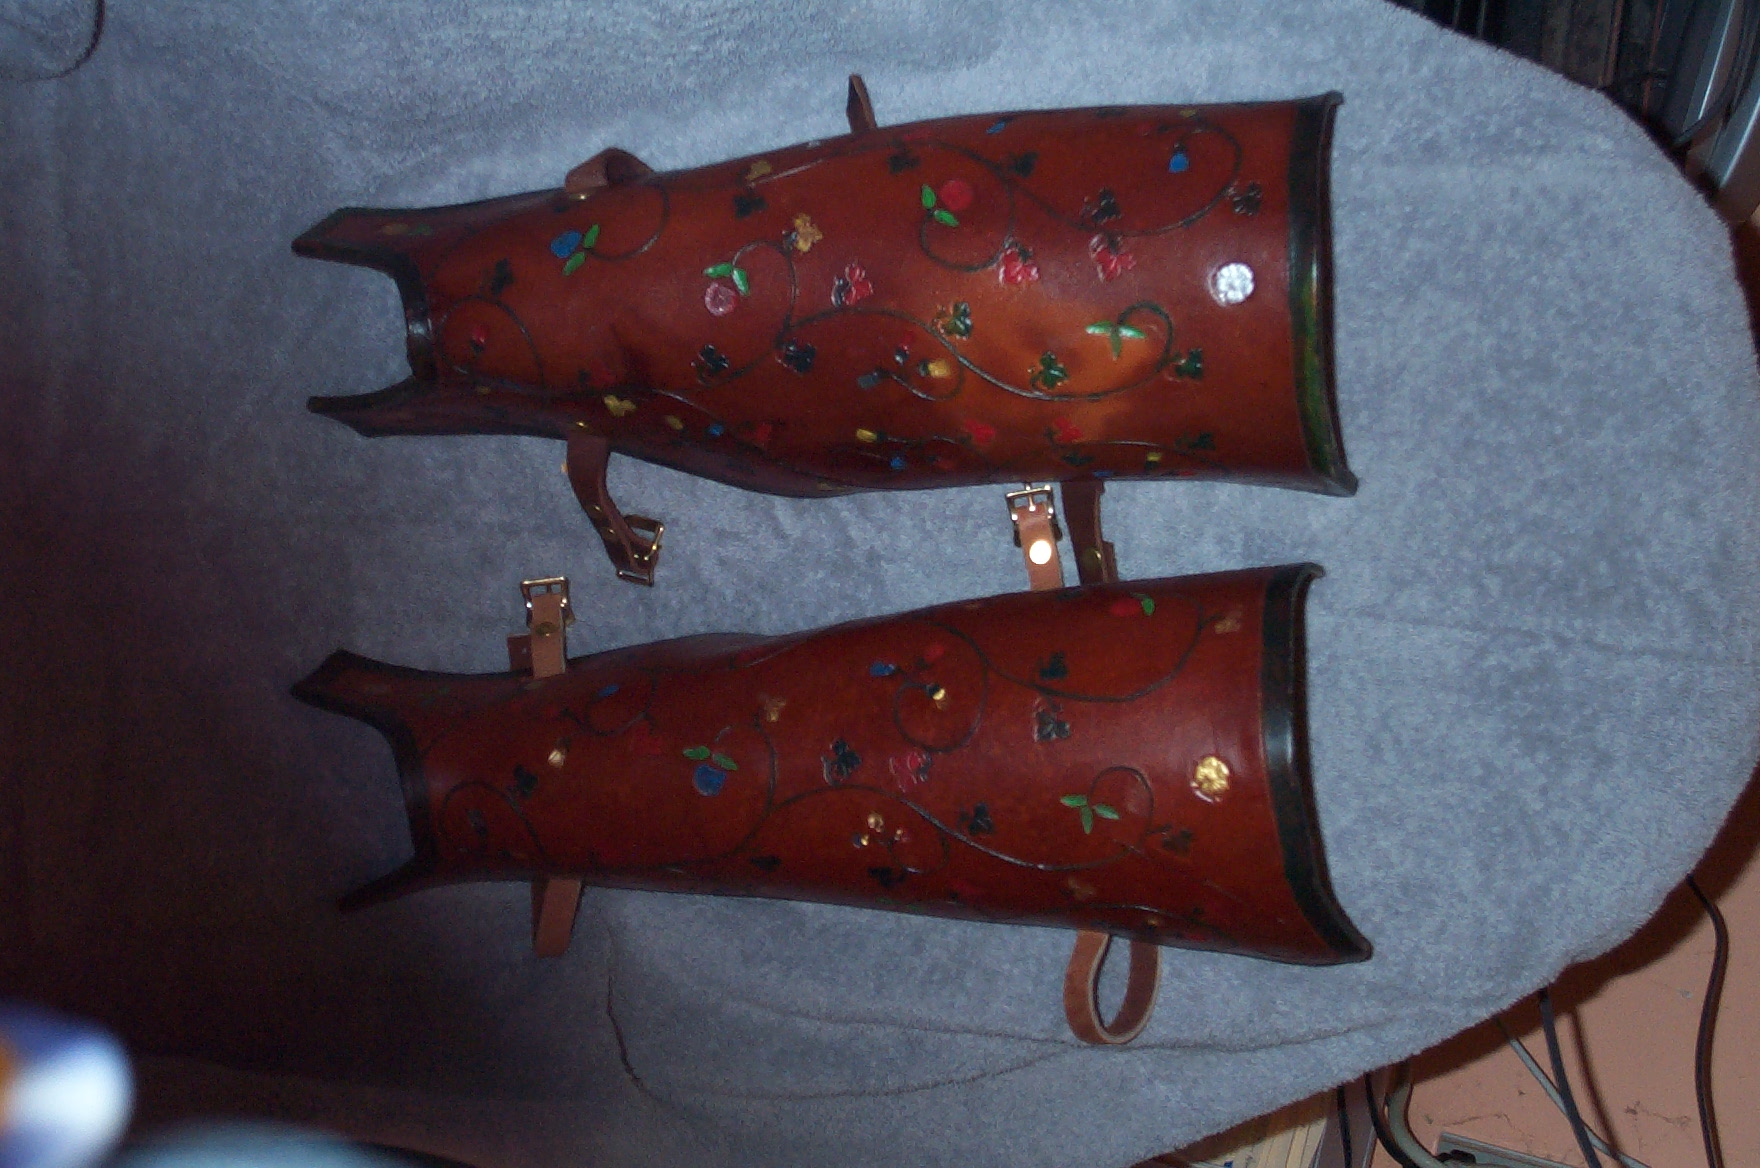
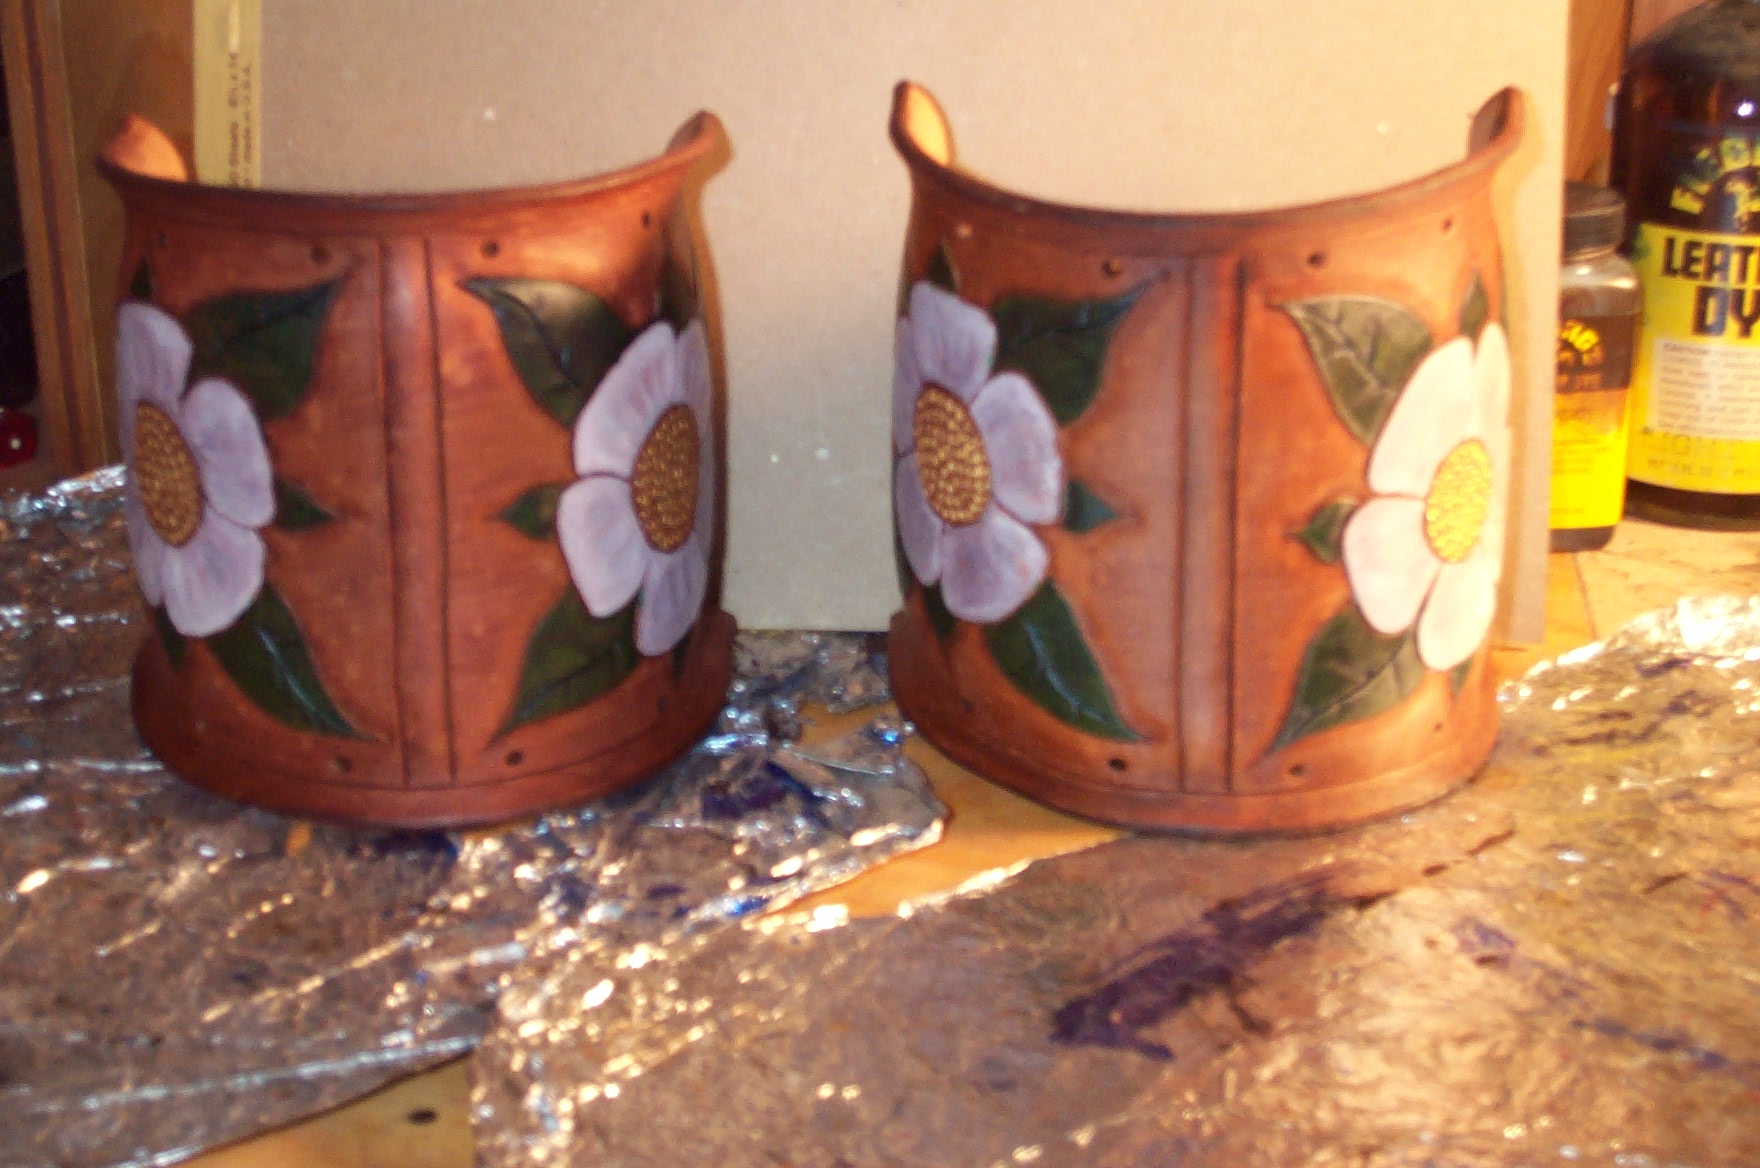
Just found these boards and am extremely impressed with the information available and the generous and helpful way in which it is shared. I've already benefited from reading many excellent suggestions, tips, product reviews... Hope to be able to return the service at some point. I'm primarily doing hardened leather armour, inspired by what was being done in much of Europe in the 13th and 14th centuries. There are quite a few surviving sculptures, paintings and effigies that display the work of the time. Some of it is amazing. I also do archery supplies, quivers, bracers. And some pouches. Working on bottles and jacks too. I've attached a couple of pics of some of my work. Peter Ellis