Trevor
-
Posts
206 -
Joined
-
Last visited
Content Type
Profiles
Forums
Events
Blogs
Gallery
Store
Everything posted by Trevor
-
belt pouch
Trevor replied to Peter Ellis's topic in Purses, Wallets, Belts and Miscellaneous Pocket Items
Hey there Peter I believe that the overall design is poor. While this method of leather construction is ok for some things the finished pouch that you are trying to make just doesnt work. You say that the one you are copying has been made by someone else? and you are trying to copy it? that may be quite hard. Firstly as Ken has suggested all the components have to be perfectly cut to size. Especially with a gusset the ends have to be the same size(after you have sewn on the front.). From the pictures you have supplied the leather is too thick at the stitched edge. You could try skiving the edges to make your edge a little easier to sew. I personally would sew the gusset around the other way so that the edges were sewn flat together then carefully curved inwards to form the pouch. Not sewn one on top of the other. Wetting this leather will make your life heaps easier. The only other way to make such a pouch is to have rivets hold the pouch together not thread. If you make small "ears" with a hole in the middle of each they will curve around easily and rivet to the side of the gusset. You can go all the way round and still make quite a good pouch. Molding a front or top for the pouch is good to but you have to know how to do this. Basically you form a piece of wet veg over a shape (wood or plastic) and either hold that form in shape with a plate/shape that goes around that form or tack the edges untill dry. Forming can be done in the workshop vice. hope this helps in some way. Good luck Trevor Way Down Under -
my first bracelets and rings
Trevor replied to candyleather's topic in Collars, Cuffs, Leashes and Leads
Hi all. I have a 5 braid (mystery) Scout woggle pattern if anyone wants it. Cheers Trevor (Way down under)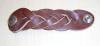
-
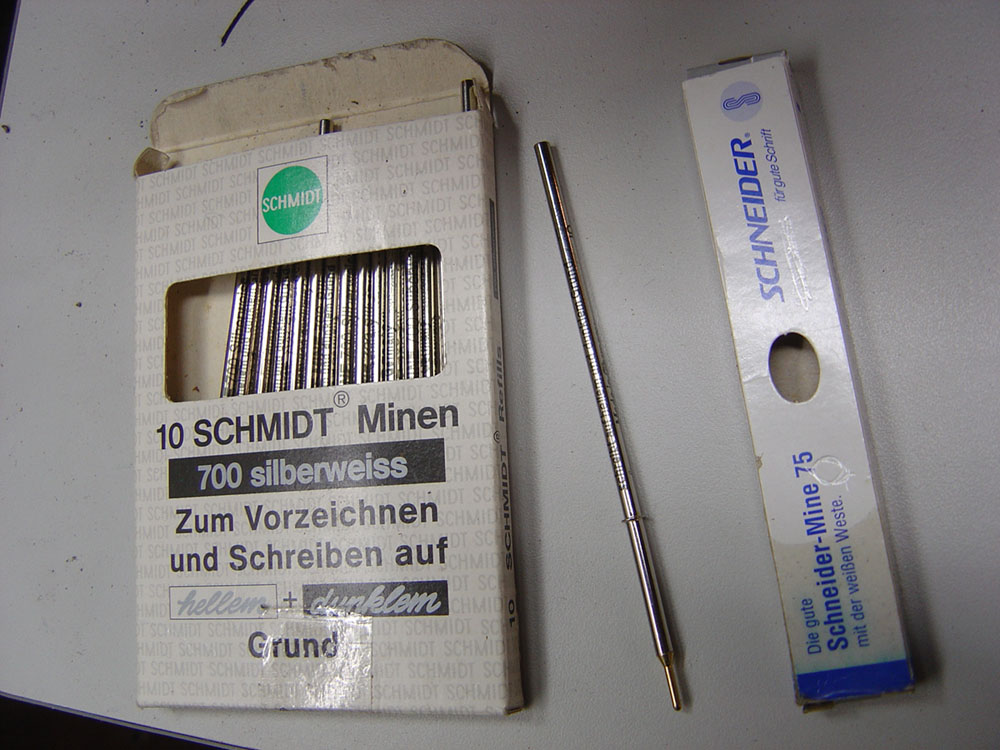
Hey there Randy These are the pens I have been using on leather for many years. They are a refill type and fit into a pen case of some sort. You can write or draw lines and things on leather (being careful not to indent too much) then with a little turps or even with your finger just rub off. Wonderful. If you can read or get someone to translate here is a picture of what they look like. Cheers and good luck Trevor (Way Down Under)
-
Hey there Steve, I have perfected the art of laminating two or more layers of leather together and then finishing the edge. All layers must be cemented together and pressed. When all is dry, the layers can be sanded very easily together to produce a very professional edge. If you have a soft pig skin or chrome layer sand this by having this on the top so that it is the first part of the skin to touch the sanding wheel. ie the veg will be underneath and act as a support to allow the sander to cut the edge of the chrome. Then turn the work up the other way and gently finish the other edge. The glue is very important. You cant sand two pieces of chrome very easily. (There is also a slight fire risk with the dust.) Once you have sanded the edge then put your dye and/or edge finishing liquid on then you can sew the two edges together. Good luck Trevor (Way down under)
-
Hey Ed Nice bag mate. Did you use oily chrome or veg tanned.? looks like chrome to me but hard to say from the pics. Also could you take a couple of shots so we can see what the inside looks like. Cheers TK "Way Down Under"
-
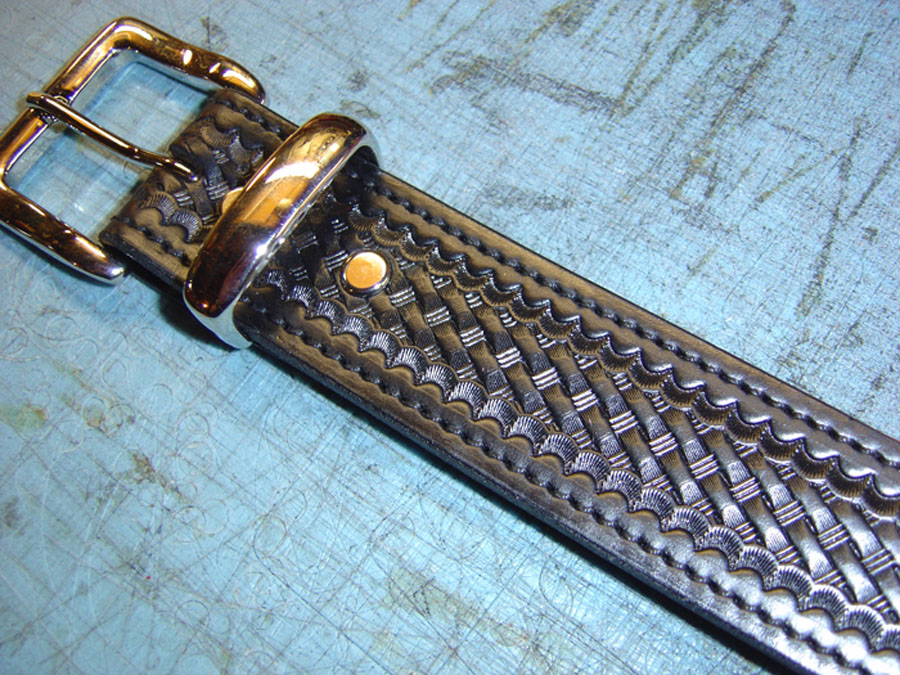
Hi there. From the photo you supplied it looks like you didnt overlap the stamp edges. But all is not lost. Just keep going as before and start your next row the same as the first. when you have covered near the edges find a camoflage stamp and scallop the edge. Your basketweave will still look great with this edge. The next one you do overlap the lines of the punch as you can see in the picture. Cheers T "way down under!!
-
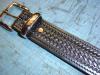
I use lining on my belts all the time. 99% of this is chrome tanned skin about 1-2mm thick. I make sure that the surfaces are clean and then apply a coating of contact adhesive to both pieces and then allow to dry for about 10-15mins. then carefully stick together. When stuck well and pressed together I would cut off the excess and sand the edge then either dip fully or edge dye the sanded edge. All depends on the finish that you want. You may wish to sew before you dye in which case the stitching is vunerable to the dye colour or do it afterwards when all dyes are dry. A final coat of sealer or wax based antique and presto. A belt will generally last many more years than a single thickness belt. Cheers T
-
holsters & sheathes
Trevor replied to K-Man's topic in Gun Holsters, Rifle Slings and Knife Sheathes
Gidday. Nice Ruger !! anyway the edges look good like they have been glued then sanded. This is how I do all my veg tanned items. The edges have to be glued using a contact cement, allowed to dry then when you put the two pieces together they will hold fast. They can be then cut to shape (which will leave an ugly edge) or sanded off using a sanding disk of some kind. 60 grit or finer can be used. If you are just starting out get your electric drill into a vice or similar and have the disk facing you. Be carefull as the whole thing is quite lethal if you are not used to using a drill. You will need a drill with a locking on/off swicth. Then apply the leather edge to the spinning disk and work your way up the join. move the work up and down untill a smooth finish appears. The work will have to be turned over and done from the other side as well. Watch your fingers as they will grind off as well!!. An old vaccuum cleaner with the tube mounted next to the disk will catch some of the dust. Be also a bit carefull of naked flames around the dust as this can be highly flammable. That is a dust explosion at the worst. The when finished apply your favorite edge dye or sealer and rub in then allow to dry. Some will use a different colour ie brown to highlite the edge finish. Be careful not to ruin the edge with a run over onto your surface. Practice on a few bits first. This can be sewn first or last whatever you wish. This will alow your leather items to look very professional. Cheers T Way down under. -
Hi there. I have been doing black leather belts and pouches etc for many years now for security guards and police etc and dont use oil based dyes unless absoluteley nessesary. I have found that the oils never dry and will run if they come into contact with body sweat or other liquids. I came across a leather technician frome the UK and he operates a leather re-dying company here and sells chemicals some of which I have been using for many years. These are Water based dyes and sealers which chemically lock together and never run. I usually completely dip my finished leather items into a mix of dye and sealer (sounds crazy I know) then wipe off the excess then allow to dry for a little while then rub on the sealer. This then will dry to a very nice shine and never come off. fantastic. He also told me to use a concentrated dye to do edges which also has its own sealer to lock in the dye. He sells clear antique paste for the waxy finish etc and this also is very good. If anyones interesed I will try and find out what the name of this stuff is. You guys might be able to get it over there somewhere. In answer to your question about dying the back side. I always usually do something to the back whether its just a clear coat of sealer or a full coating of dye. This is somewhat different to using fully Dye-through leather. That is where the tanned finished colour of the skin is right through the complete thickness of the leather. I realise that when carving one has to use russet or natural veg. Anything other than carving ie hand tooling I would use factory dyed leather. Cheers Trevor Way down under. NZ
-
Thanks Don much appreciated. Very helpful Cheers T
-
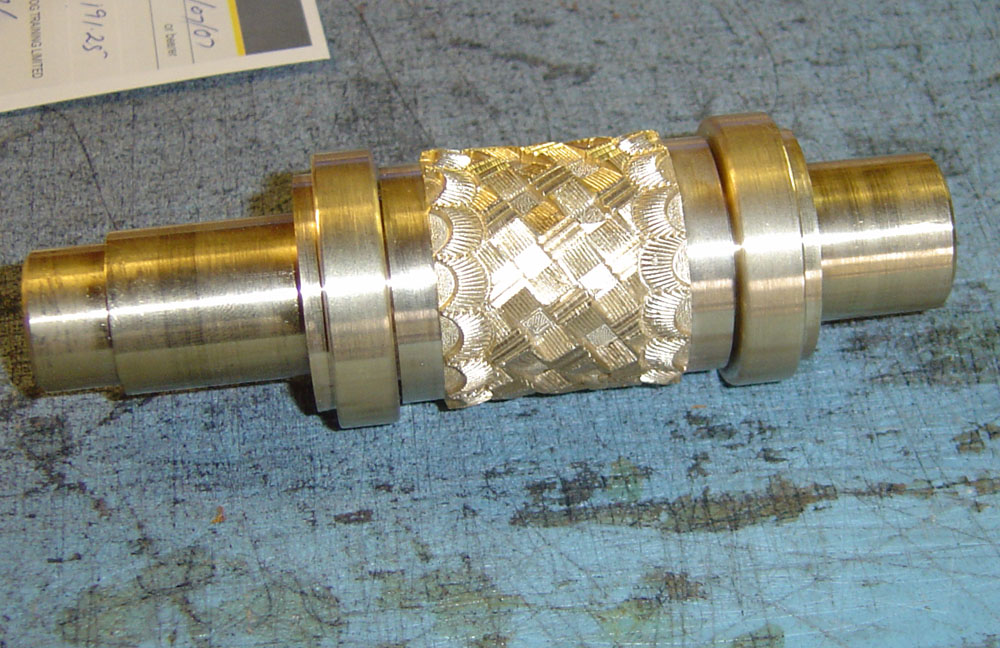
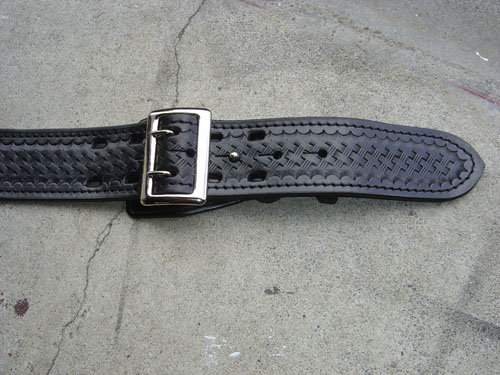
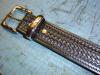
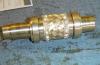
Thanks Mike. Yeah its something that Ive wanted to do for ages and its a very nice finish as you can see. I have only two different rollers which are made out of solid brass stock. These are very high quality and not cast like the tandy ones. Yes it cost me about 2k all up ($NZ) which is about 1500 $US. What I need is some tools which are for the smaller roller that will allow me to hand finish the pointed ends. Its only about 10 or 15 impressions and very simple. I have looked at the craftool ones and need a better photo of the end to see if they are the right ones. Ch eers Trevor
-
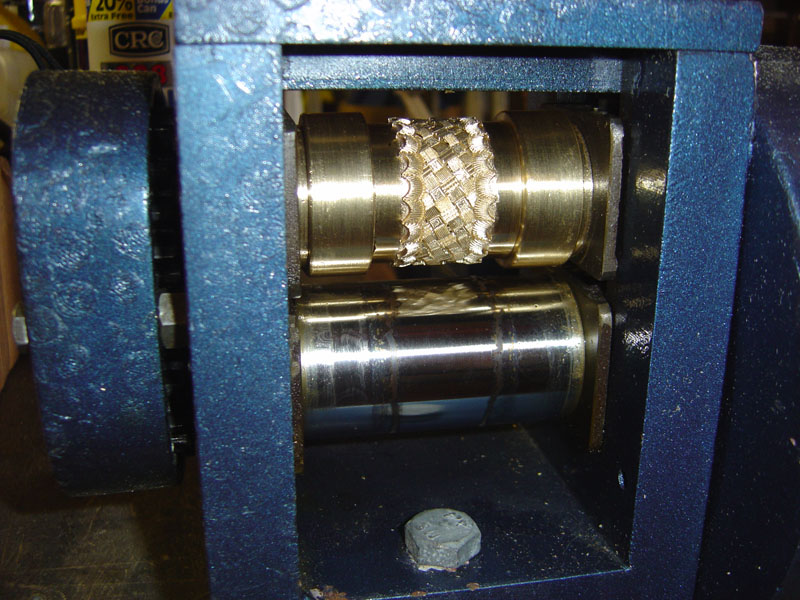
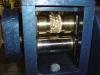
Hey there. Sorry to be so dumb and not explain myself a little better. Here are some photos of the machine I have just had made. Cost me heaps but well worth the effort I think. It is a jewelers rolling mill (very cheap one I might add) with some very nice (and expensive) brass rollers which I had made to roll out a belt (4 sizes) with a basketweave pattern. Now what I need is the right sized craft tool (or whatever brand) to match the pattern so I can finish the pattern with a pointed end. I have been looking at the tools online but they are very hard to see exactly how big they are. I was wondering if anyone has the 3 stamps in the other post could they measure them for me. These are the ones that I think match the pattern and the edge scallop quite well. cheers
-
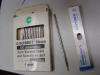
I have a question. I need to know the exact dimensions and a close up photo of 3 Craftool punches. they are X811 X502 and X500 please. I have a basketweave machine and require a tool that I can finish the ends with. These of course want to be close to the size of the imprint. Many thanks anyone !!!
-
Hi there Trevor From NZ. Cane you guys /gals tell me the benefits of using this linen thread over Nylon or Poly. I have been using these for years and never looked back. Is there a reason?? thanks
-
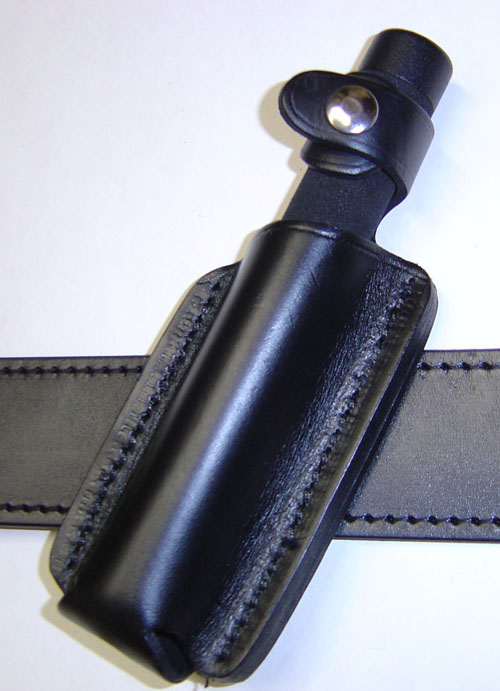
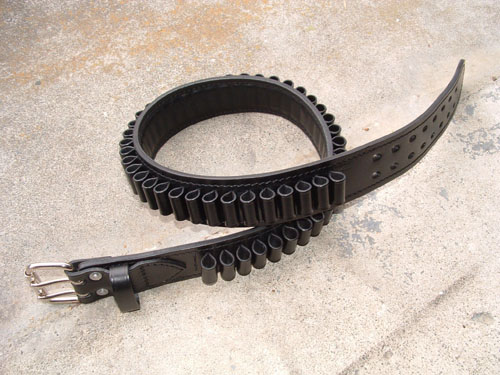
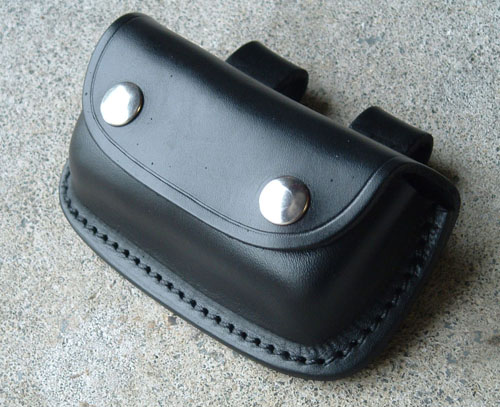
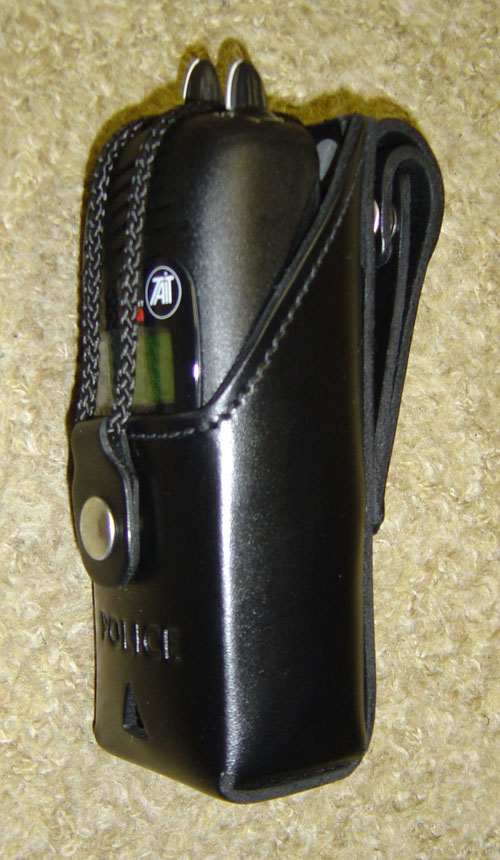
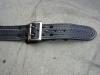
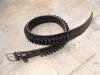
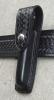
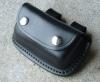
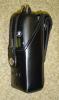
Its winter here all right. We have had some cold and very wet weeks so far. I suspect its not over yet either. Looking forward to the warmer part of the year. Went for a quad ride the other day in Taupo and it was minus 2. Quite cold I might add.It was a beautiful day otherwise. Had a blast on the 4 wheeler through a forest area and bush. Not much mud. Mainly two wheelers all much faster than me. Back to the leatherwork today. Im making some 30 Police Radio pouches. These will take a couple of days. Finished the belt. Turned out OK. Here are some pics of recent work. Cheers T

-
Hello there Linda. Victoria Australia isnt that far away from here. Time zone isnt that different either. Im just busy working. Making a belt with three rows of pyramids down the middle. Not as easy as one would think. Anyway nearly finished. Nice to here from you. T
-
Thought Id better introduce myself .My name is Trevor From Auckland city in New Zealand. I have been doing leatherwork for about 25 years. I have a workshop under my house dedicated to leather manufacture. A lot of my work is made by hand with help from some machinery as well. I make belts and pouches and police/security gear with moulded pouches as well. Good to be here. Cheers T