Bluesman
-
Posts
616 -
Joined
-
Last visited
Content Type
Profiles
Forums
Events
Blogs
Gallery
Store
Everything posted by Bluesman
-
New Belt For A Friend
Bluesman replied to Bluesman's topic in Purses, Wallets, Belts and Miscellaneous Pocket Items
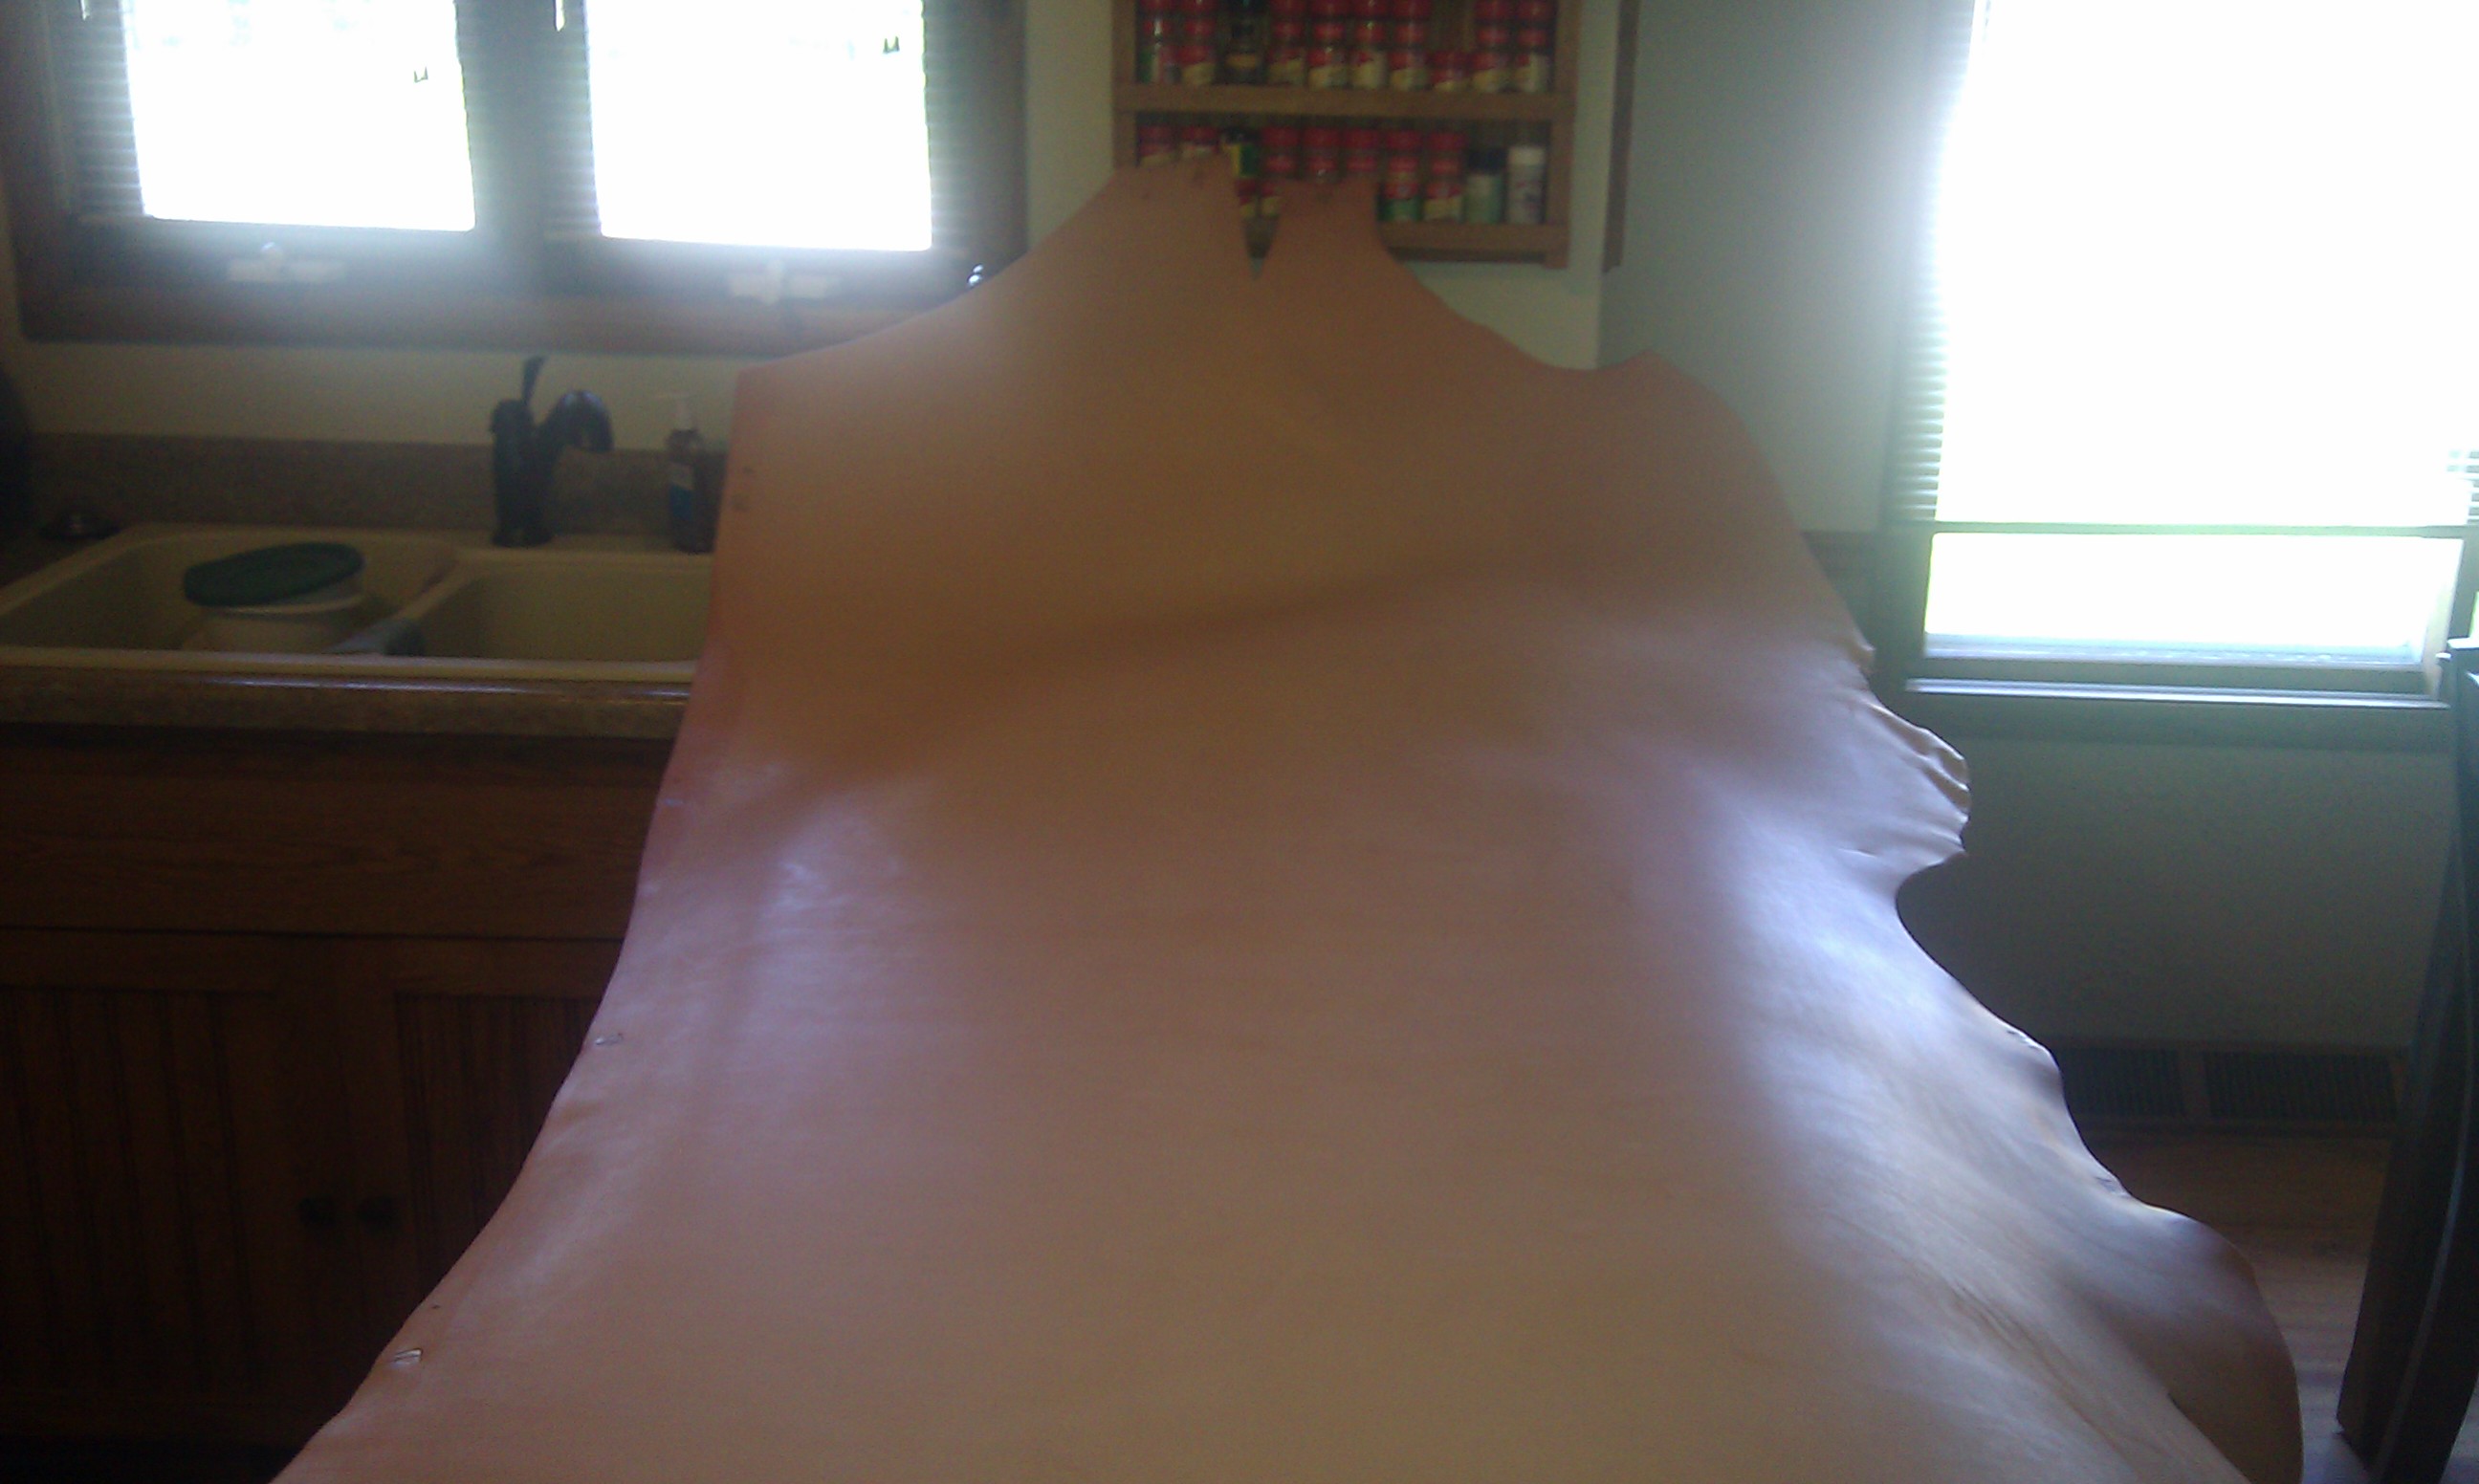
No I plan on lining my belts with my blanks. the plan is cement and then stitch. This one just was a differnt animal, but I learned. Lining is 2/3 oz. I bought from Springfield. I also recieved this hide today, so I have more practice material. That's a 9 foot counter top.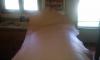
-
New Belt For A Friend
Bluesman replied to Bluesman's topic in Purses, Wallets, Belts and Miscellaneous Pocket Items
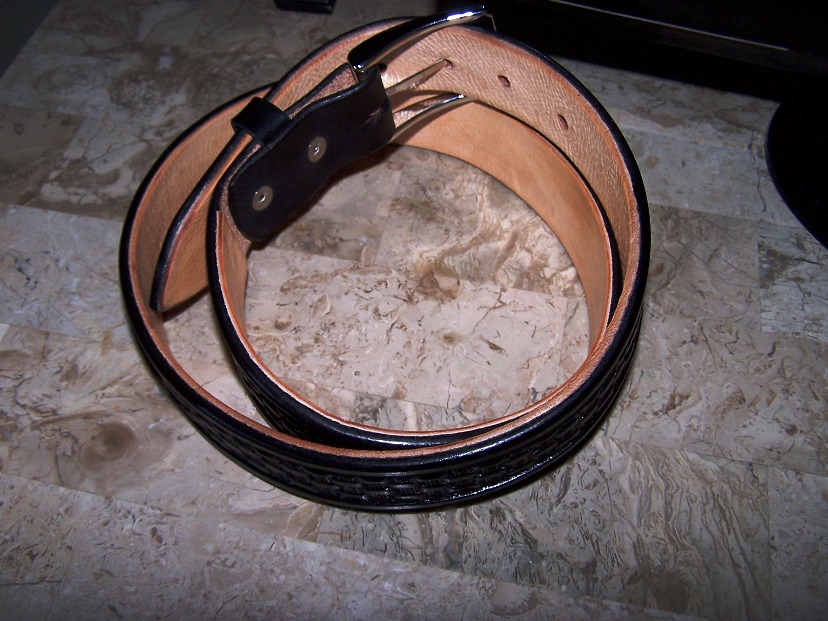
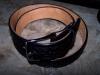
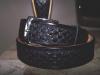
The lining was an afterthought. I used a Tandy blank and stopped the lining at the skive end. Didn't want to remove the snaps. Then the snaps wouldn't stay closed so out they came and replaced with rivets. I used Barg's contact cement for the lining. The neat thing was that the belt was finished, edges and all when I decided to line it. This gave me a very nice clean line between the black belt edge and the light lining. Sometimes, you mess up and it turns out to be something nice. Thanks for asking. Jon -
New Belt For A Friend
Bluesman replied to Bluesman's topic in Purses, Wallets, Belts and Miscellaneous Pocket Items
Guess it sucks............................................But he loved it.....................So much for my future contributions................. -
You can get waxed thread, a needle and a stiching awl from Tandy. Or call Springfield Leather, they are a Sponser here, tell them what you are doing and they will set you up with everything you need for stiching. Upholstry thread is not a good idea for leather. Also tell them to get you a small bottle of Barge's contact cement. Then your off and running. Jon
-
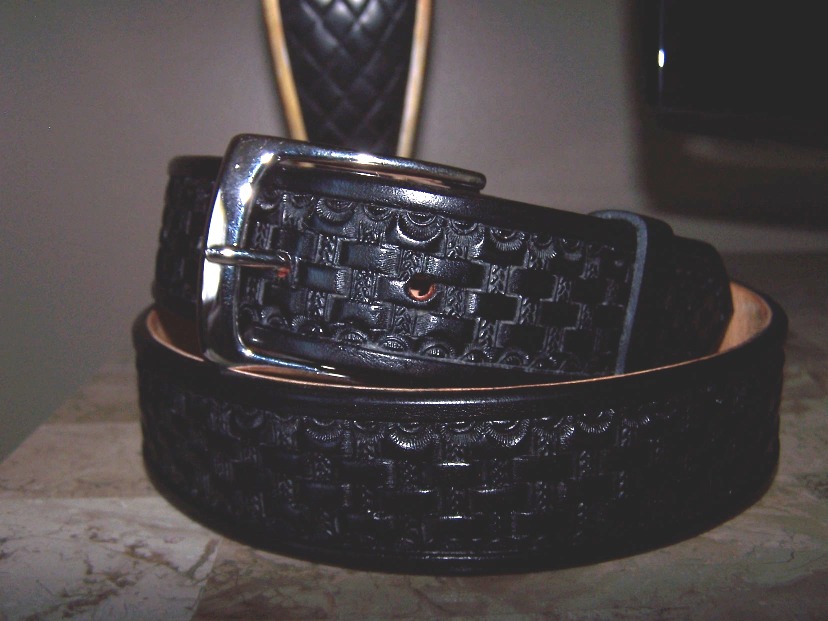
I made this belt for a buddy of mine. Turned out better than I thought. So finally something for someone other than me. Thanks for all of the help and guidance. Jon

-
Your letters are so crisp. Nice job. The added bevel step really makes them stand out. So do you dye everything black, then apply the latex and dye the letters red?
-
Super Sheen Taking Off Dye1
Bluesman replied to glockanator's topic in Gun Holsters, Rifle Slings and Knife Sheathes
Just did a belt. Used oil black dye. rub, rub, and then Oil/Beeswax mix for a finish. So far so good. But I have 12 quarts of Vinagaroon stting on the patio. I am ready to make dark stuff!!!!!!!!!!!!! -
Now, That's Customer Service.............................Business will continue at SLC
-
Very nice. The pattern and dye job is great. Way to go.
-
Sounds like a fun project. As for the clove oil, never heard of it being used for leather finish. Neetsfoot oil, Olive oil, but never clove. You could finish with one of the others and then add it for the scent later. Try a scrap piece first to see if it works. And rubbber cement will come apart on you over time. Use, leather cement or contact cement. Stiching would also help and adds a nice touch. keep going and post pics when you're done. Jon
-
Don't you need a Cobra 4?
-
WOW, I need to call them. I can Email Autocad files of my designs and they can mke me the templates. No more poster board................................................ SYLVIA
-
Springfield Leather and they honor the Tandy discount cards. Jon
-
I have to agree with Gringobill. Those are modeling and or embossing tools. There is a technique using these types of tool, Fench, but for the life of me I can't think of it. Somebody else may chime in with the answer. I think you got a deal. IMHO Jon
-
Hand Of God Holster And Belt
Bluesman replied to mcn's topic in Gun Holsters, Rifle Slings and Knife Sheathes
I just figured it out. you followed Will's pattern OOPS -
Hand Of God Holster And Belt
Bluesman replied to mcn's topic in Gun Holsters, Rifle Slings and Knife Sheathes
Nice job. I really like how you used the veiner tool and a mules foot for the border. At least that what it looks like to me. if so, very clever, very clever. -
When you said 1/8" I assumed blade as the push beader comes in sizes 0,1,2,3 and 4. I just picked up a #3 push beader and the 1/8" beader blade. been playing with it and so far this is what I got. I use the blade to cut two, deep lines. I then bevel both sides and then use the push beader to crown the bead. I talked with Barry and he said most folks cut one line with a swivel blade and then follow that cut with one leg of the beader and let the other leg cut the second line or groove. From what I gather, the #3 is more difficult to use because of the size. He said the 0,1, and 2 are much easier to use. So, I'm going to keep on experimenting until I get an effect that I like. Hope this helps. Also check here to make sure you aren't confusing the push beader with edge beader. As in the knife both legs are the same on the push beader and one is shorter on the edge beader. Either way you need at least one swivel knife cut to follow. http://barrykingtools.com/handtools.htm Thanks, Jon
-
Did you get a beader blade or an edge blade? The beader blade cuts with both legs and they are the same height. The border blade cuts with one blade and the other leg rides the side of the leather. Compare what you have here on Barry's page, http://barrykingtools.com/swivelknives.htm Let us know if this helps. Thanks, Jon
-
http://leatherworker.net/forum/index.php?showtopic=19121
-
I know you have three more patterns, just send them to me Email, as nobody else cares. So why post for no gratis?
-
Jusr got my drill press burnisher today. That thing is way to purty to use. But I will. Thanks Ed, Now get da mauls up! Jon
-
Casing opens up the pores allowing the dye to go deeper into the leather and make it darker. I made a guitar strap and dyed it. When I did the matching belts the colors were off. I made two new belts caseed and let sit overnight. The next day I dyed them and the match was perfect. Bob Park has an excellant tutorial on here that explains casing.
-
Well I got my answer. You folks are the best. Thanks, Jon
-
There are two tiers to the seat. First you go around the edge to the back and then up to the next tier. Just wondering did you stitch the entire seat and then apply it to the frame.