

Basically Bob
-
Posts
584 -
Joined
-
Last visited
Content Type
Profiles
Forums
Events
Blogs
Gallery
Store
Everything posted by Basically Bob
-
Etsy - Pay For Custom Items?
Basically Bob replied to Basically Bob's topic in Marketing and Advertising
Wow, really good info from all of you. Thanks so much! -
I will soon be using Etsy as a marketing vehicle and plan to take payments by Etsy Direct and Paypal. The guitar straps I sell and plan to offer are all "cut-to-measure" - custom made. I am hoping that someone with Etsy experience would explain the proper payment etiquette/process for custom items? Thank y'all! Bob
-
Contoured Guitar Strap With Oak Leaf Carving
Basically Bob replied to Basically Bob's topic in Guitar Straps
Thanks truenorth, much appreciated! -
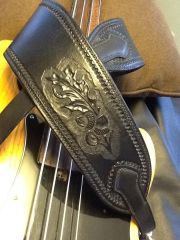
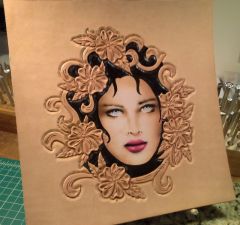
From the album: Basically Bob's Leatherworking Journey
First project with carving/tooling. Pattern from Al Stohlman's "Belts Galore". -
Thought that I would post a picture of my latest project. I have made quite a few of these straps (contoured at the shoulder) but this is my first crack at carving & tooling on a project that is leaving my shop. The oak leaf pattern is out of Al Stohlman's "Belts Galore". Lots to learn with tooling, but I like a challenge 6/7 oz veg exterior 7/8 oz veg tongue and tailpiece 2/3 oz chap leather liner Hand stitched at 7 spi

-
Another product that works well is Montana Pitch Blend leather dressing. I use it on my leather boots during the winter season and it works well. Two applications gets me through the winter.
-
Welcome here, fittabull! Looking forward to seeing more of your work! Yes, I agree about the folks at Tundra. Both Sean and Peter are so generous with their time and are always willing to help with any problems you run into. Have you checked out the leatherworkers' guild in Toronto? Their members kick out some amazing work.
-
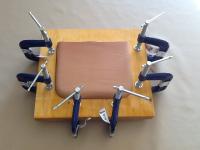
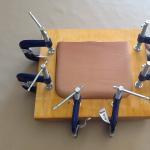
Thanks for sharing ... you sure put a lot of planning and work into that!
-
Pretty Straightforward
Basically Bob replied to JLSleather's topic in Gun Holsters, Rifle Slings and Knife Sheathes
I like it a lot. Quality, all 'round. -
Looks good! Thanks for sharing!
-
Ox Blood & Ox Blood And Black
Basically Bob replied to Rohn's topic in Gun Holsters, Rifle Slings and Knife Sheathes
I like them both, Rohn. Great job! -
 Wow! Love it ... looking forward to seeing more.
 -
Have you looked at Longview Leather, Calgary?
-
Looking forward to hearing more.
-
Castor, where are ya? Might be worthwhile calling Tundra Leather, Hamilton, ON
-
Passport Wallet
Basically Bob replied to Tinkerton's topic in Purses, Wallets, Belts and Miscellaneous Pocket Items
Looks good, Tinkerton! Lots of character. -
I sure like that shearling. Wonder if my sweetie will notice a 3" strip missing off of her yoga mat?
-
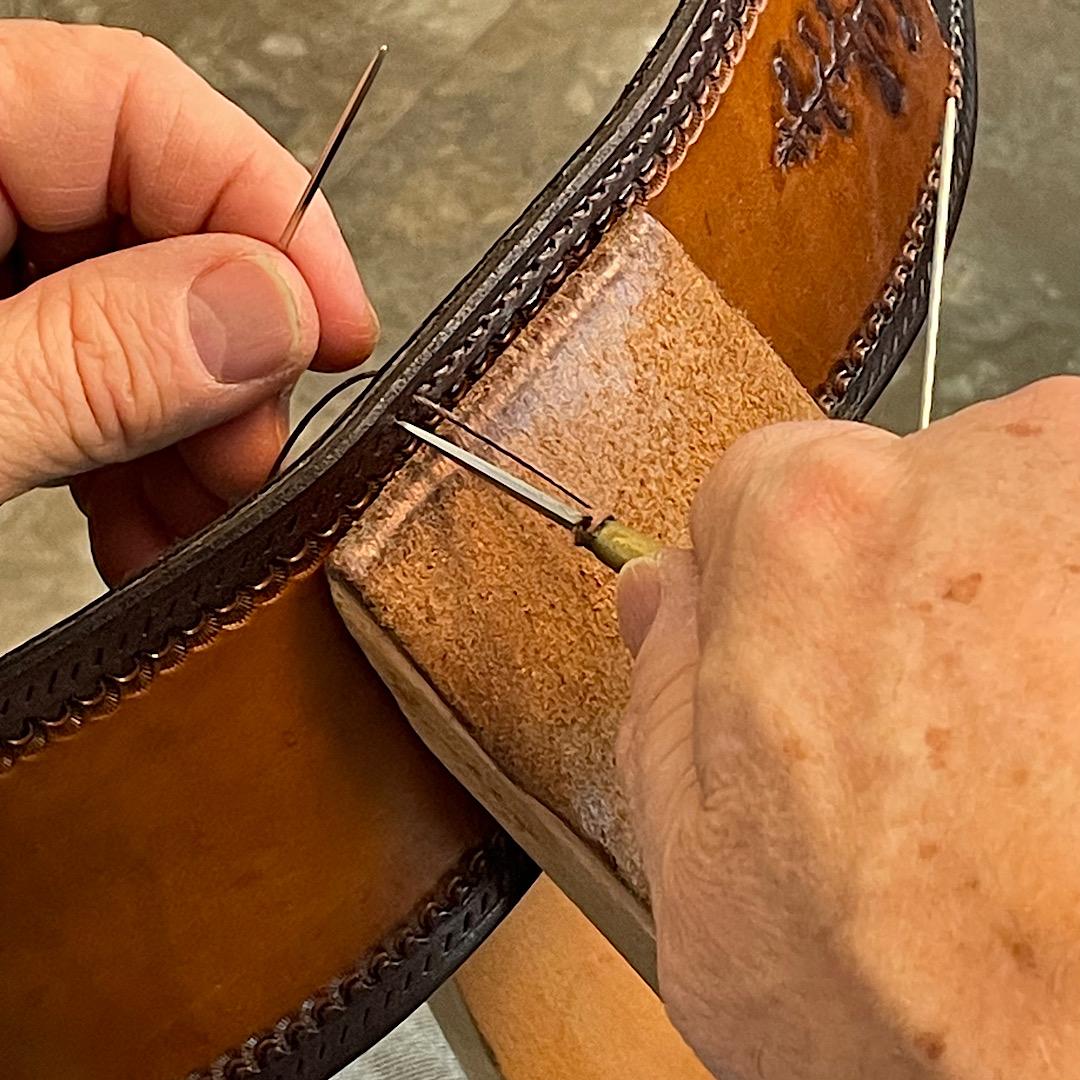
I line all of my guitar straps with chap leather, and am considering offering a padded strap as an option. Would anyone who is doing this be willing to share their technique? Thanks!
-
Thanks, Rohn!
-
Thanks, Colt. I have lucked out, so far ... not one problem, to date. On these contoured straps, I request two dimensions: hole-to-hole, of course, but also from the top, middle of the player's shoulder to the front attachment pin while in an ideal playing position. Took me a while to get that stuff figured out but it sure makes for a nice strap.
-
Thanks, Duane!
-
Why, thank you, benlilly1!
-
Bushcraft/hiker
Basically Bob replied to Treed's topic in Gun Holsters, Rifle Slings and Knife Sheathes
Nice work! -
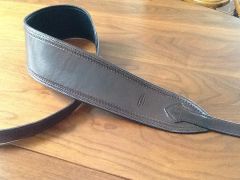
From the album: Basically Bob's Leatherworking Journey
6/7 oz veg tanned cowhide with a 2/3 oz. chap leather liner. Handstitched ar 7spi with 5-cord linen thread -
Contoured (curved at shoulder) Guitar Strap
Basically Bob posted a gallery image in Gallery- Our Leatherwork
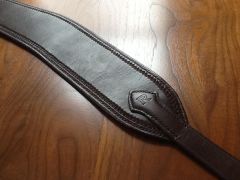
From the album: Basically Bob's Leatherworking Journey
