Red Cent
-
Posts
1,195 -
Joined
-
Last visited
Content Type
Profiles
Forums
Events
Blogs
Gallery
Everything posted by Red Cent
-
MERNICKLE "WILD BUNCH" 1911 HOLSTER
Red Cent replied to AA3JW's topic in Gun Holsters, Rifle Slings and Knife Sheathes

-
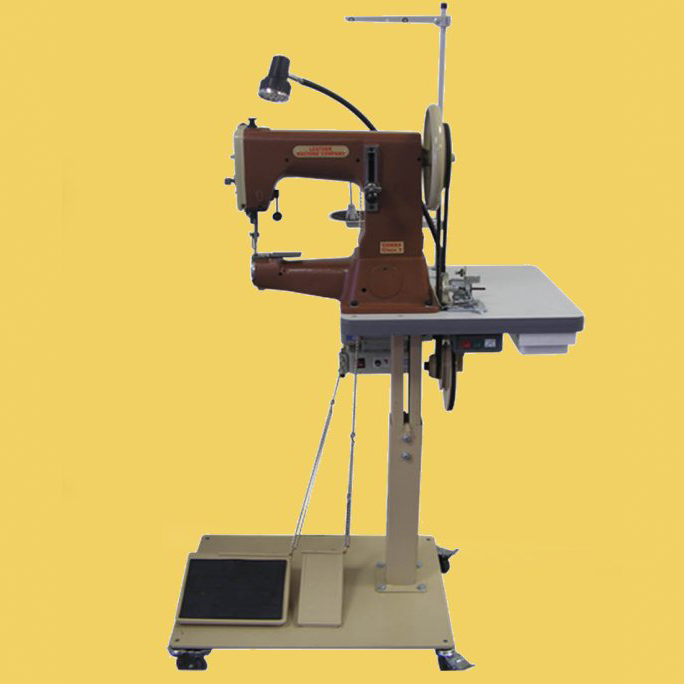
Machine for mostly canvas, some heavier stuff
Red Cent replied to mwpdx86's topic in Leather Sewing Machines
http://www.sailrite.com/Sewing-Machines/Portable-Heavy-Duty-Sewing-Machines/Ultrafeed-LSZ-1-Sewing-Machine and it will do the zig zag -
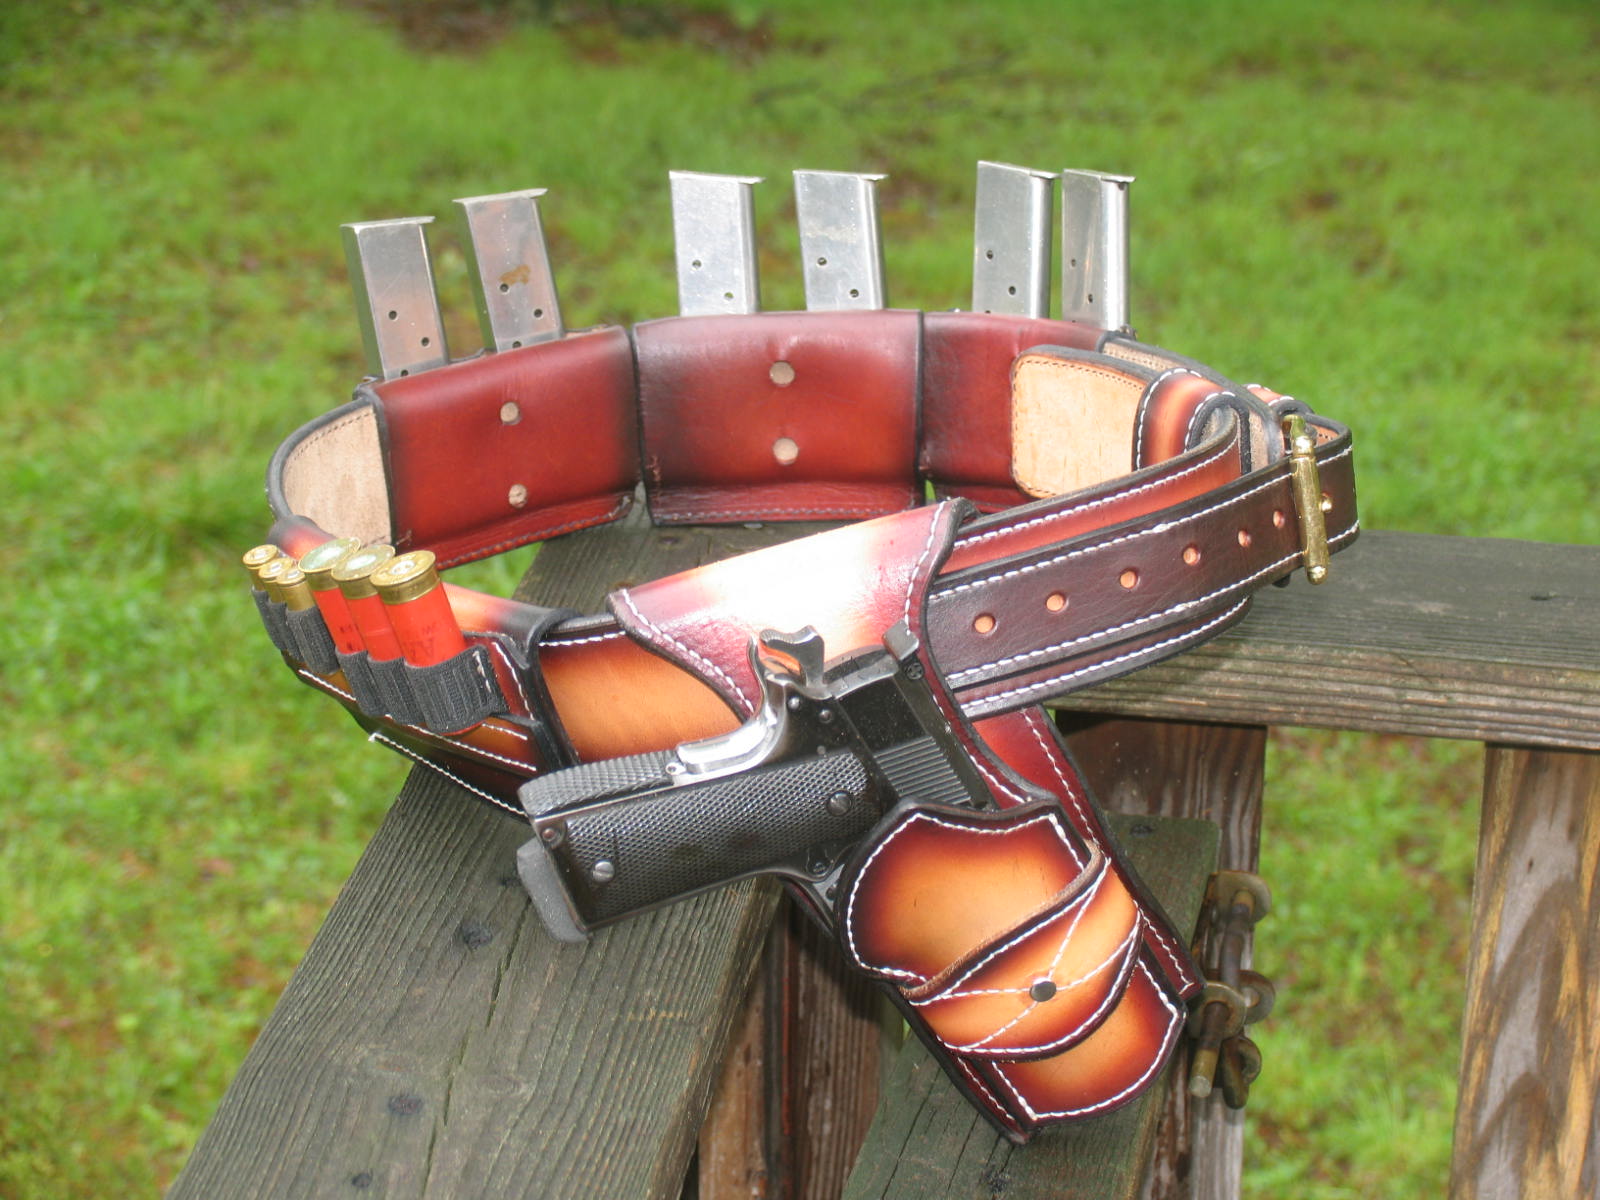
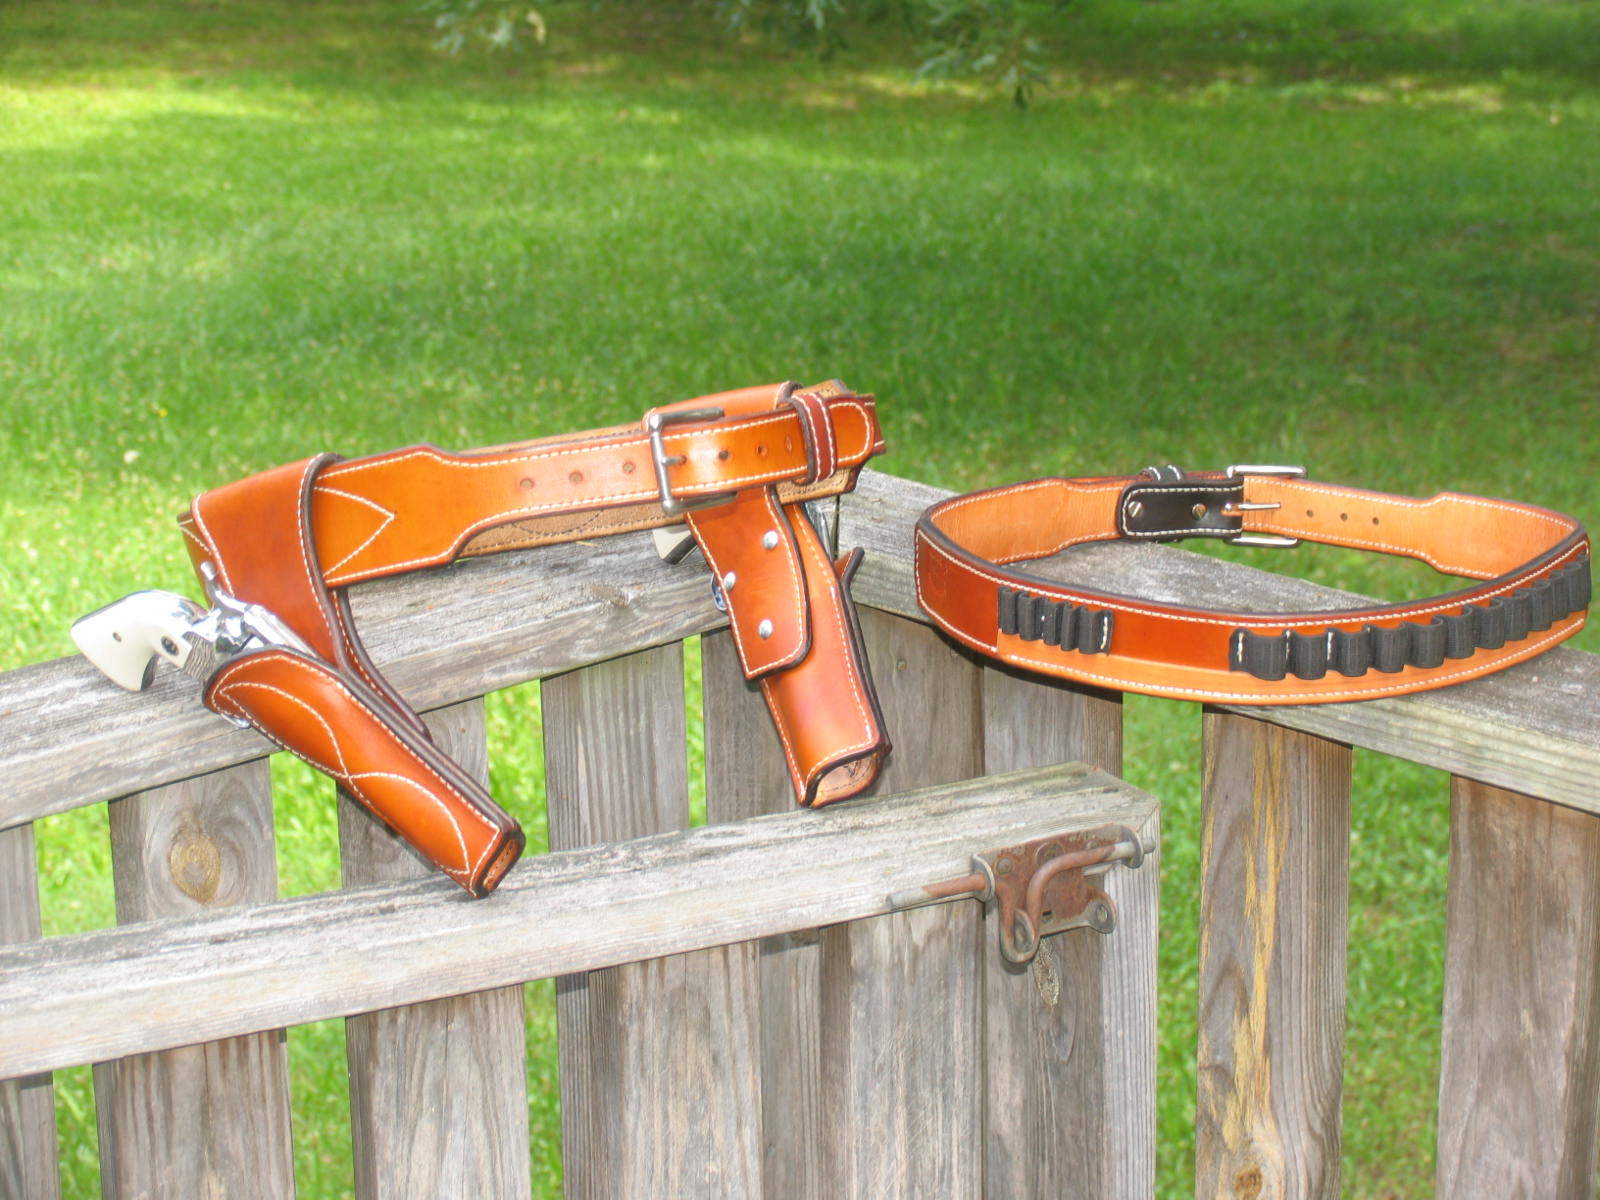
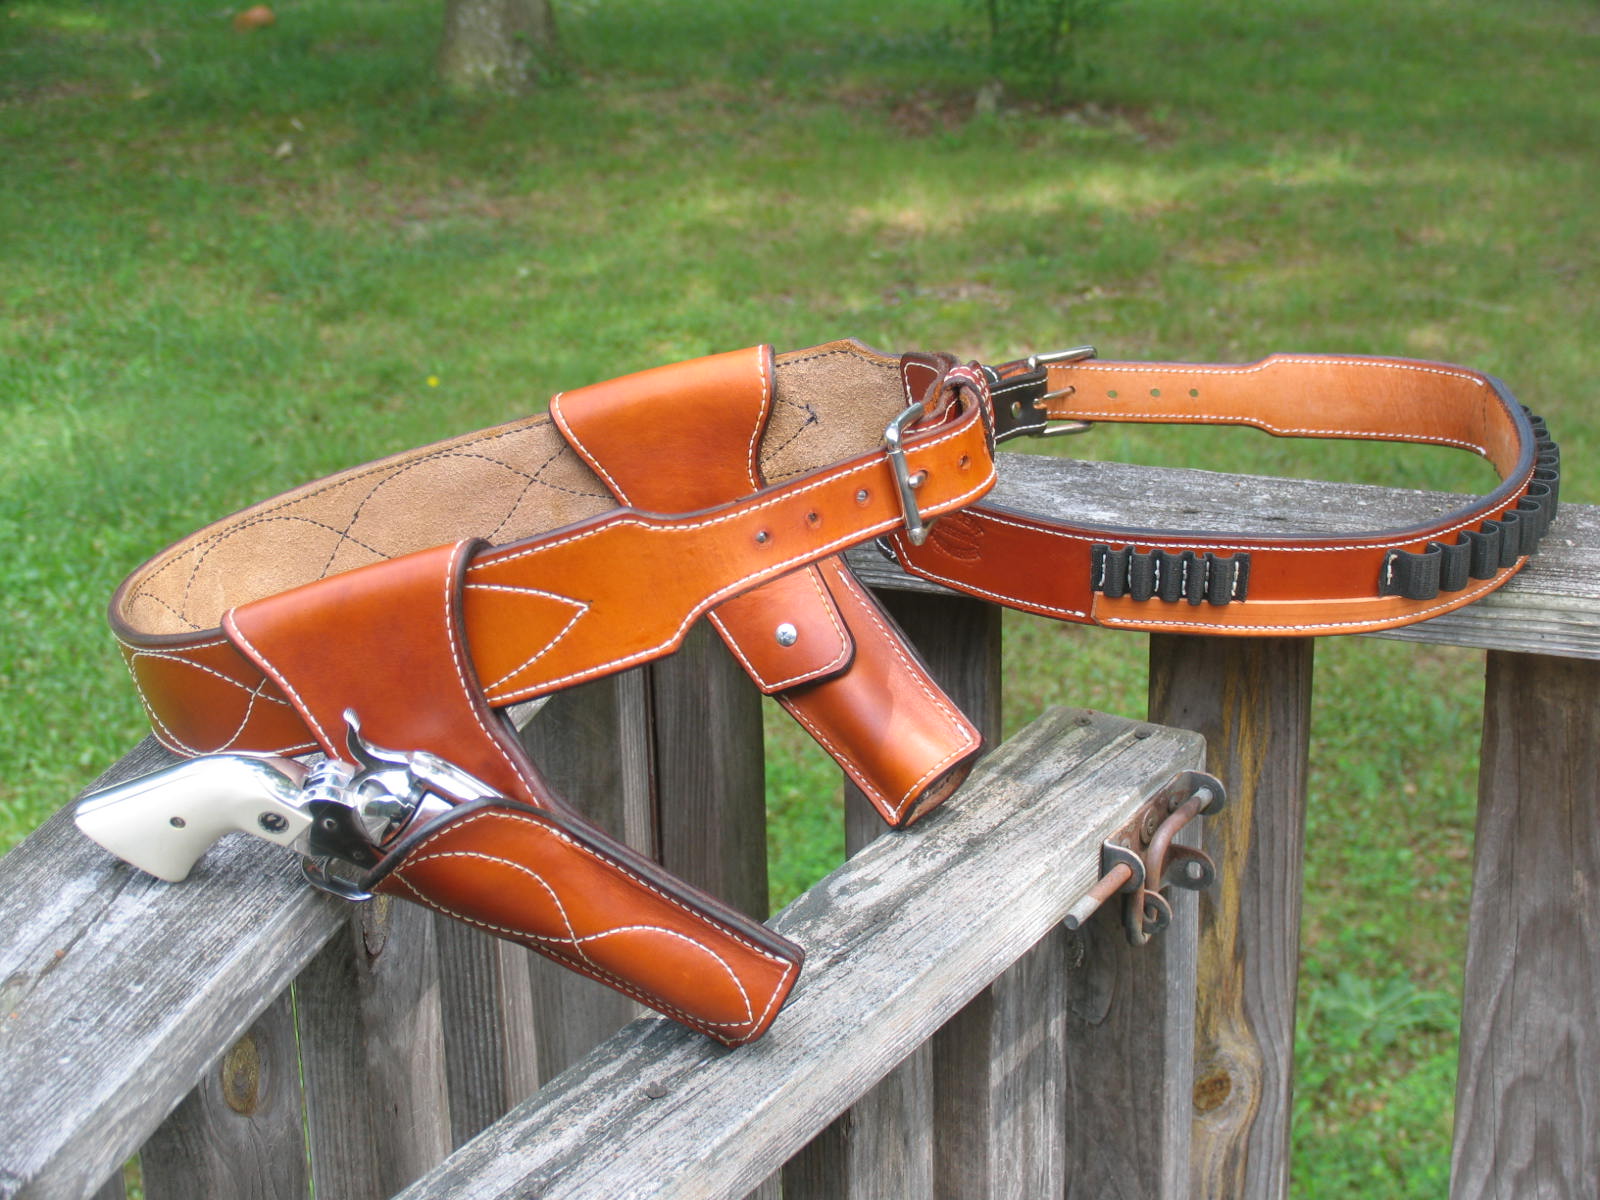
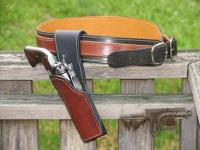
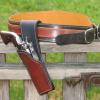
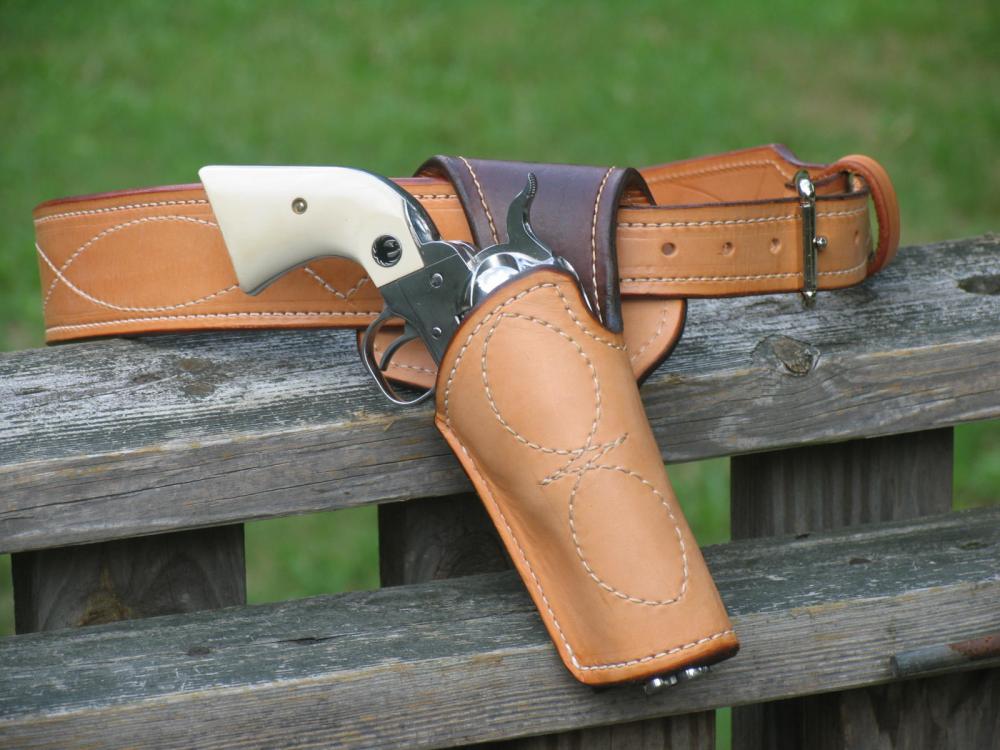
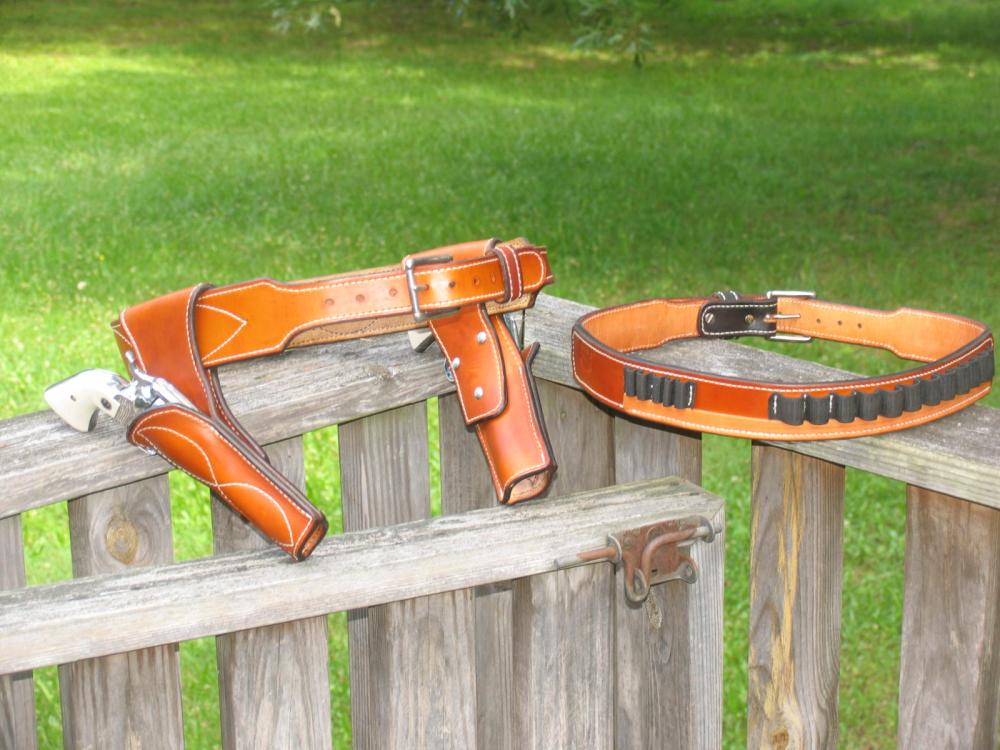
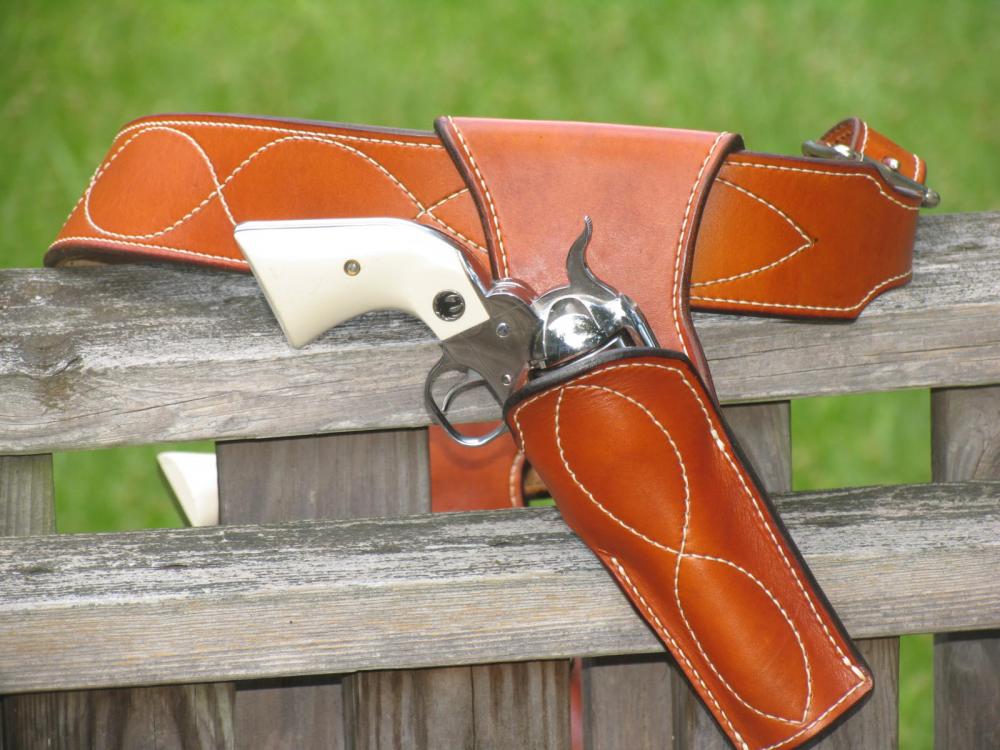
Unless you are lining the holster with 22 gauge metal, you should use the 8-9 plus a liner of, at least, 5-6. Once constructed, soak the holster, insert the gun and air dry or, better, use the sun. The holster becomes a deadly weapon. SASS shooters want super rigidity and just a tad of retention. They do not want any supple leather (no flop when they run) anywhere on the holster. The holster should be made with wide "belt ears" and screwed to the back flap. Here is something to give you some ideas. Keep in mind all of mine are speed rigs. Not for the faint of heart. Do not cover the trigger guard. Access to the grip and trigger guard is very important. And to those who faint at the sight of an exposed trigger guard, cowboys train to never hit the trigger before the revolver is pointed down range. An AD within 10' allows you to pick up brass and/or keep score for the reminder of the match.


-
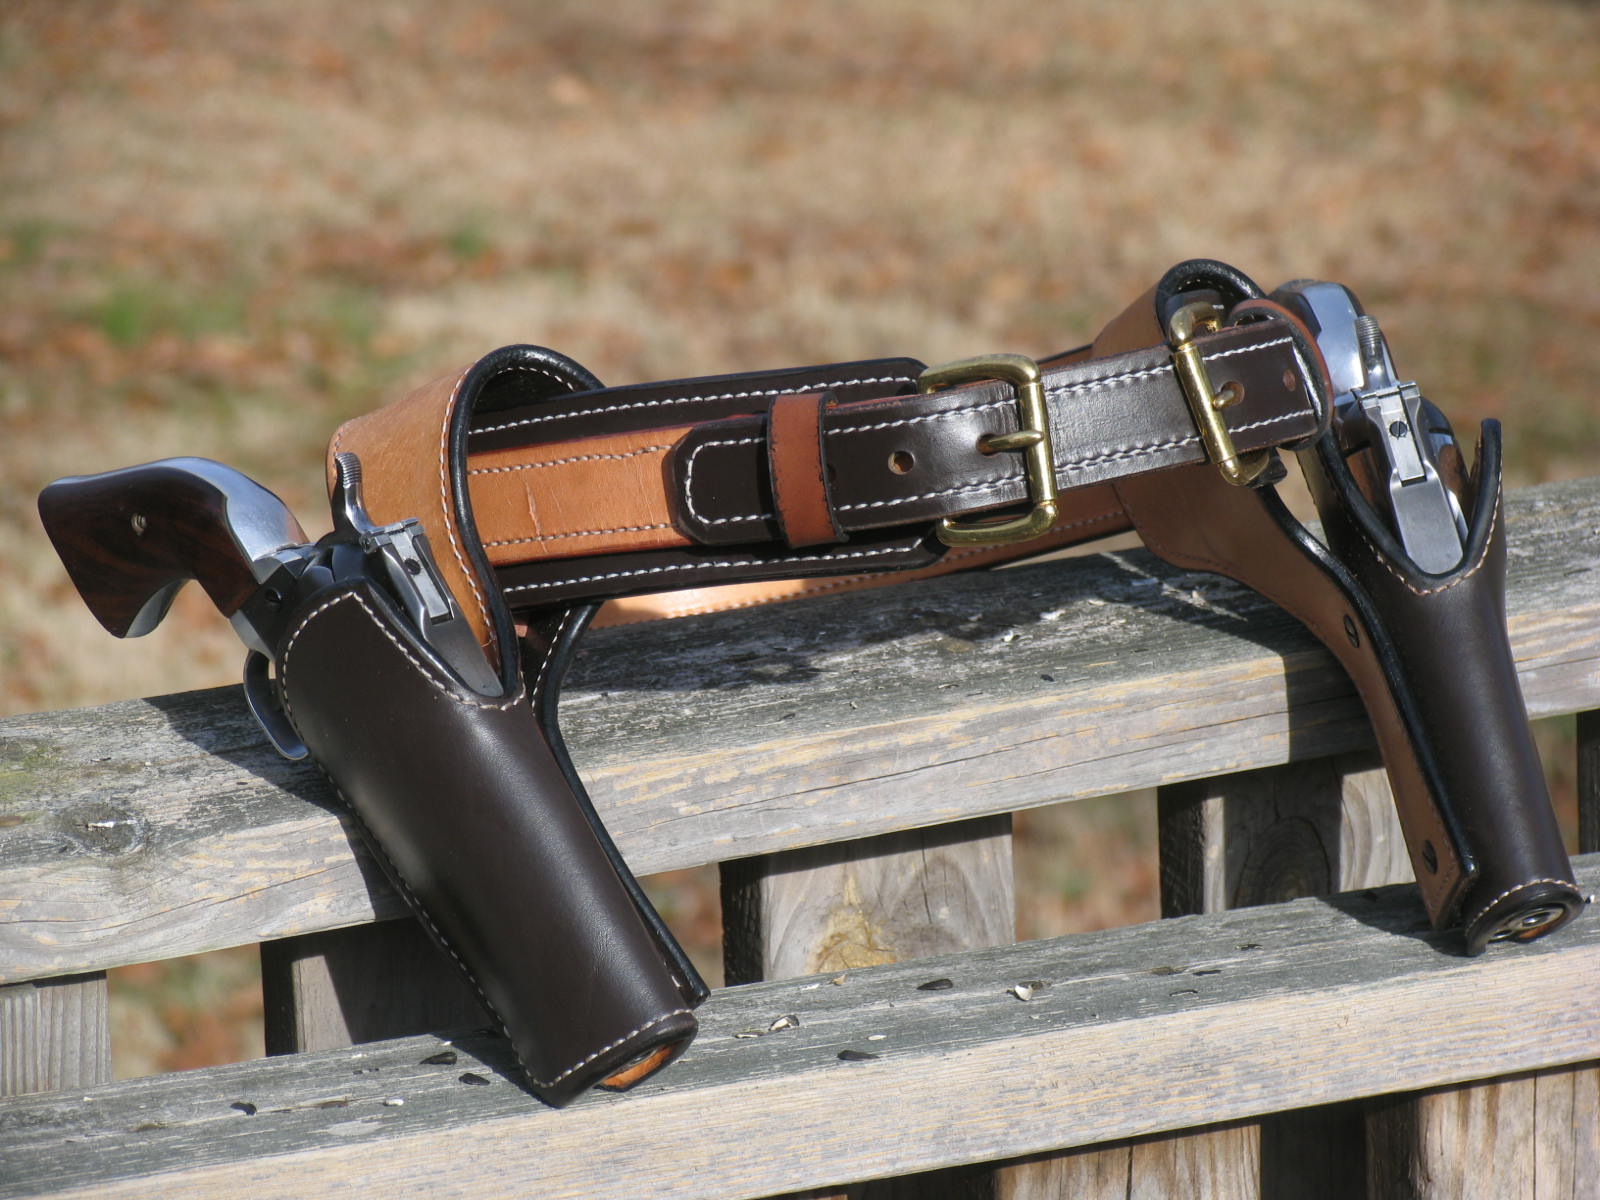
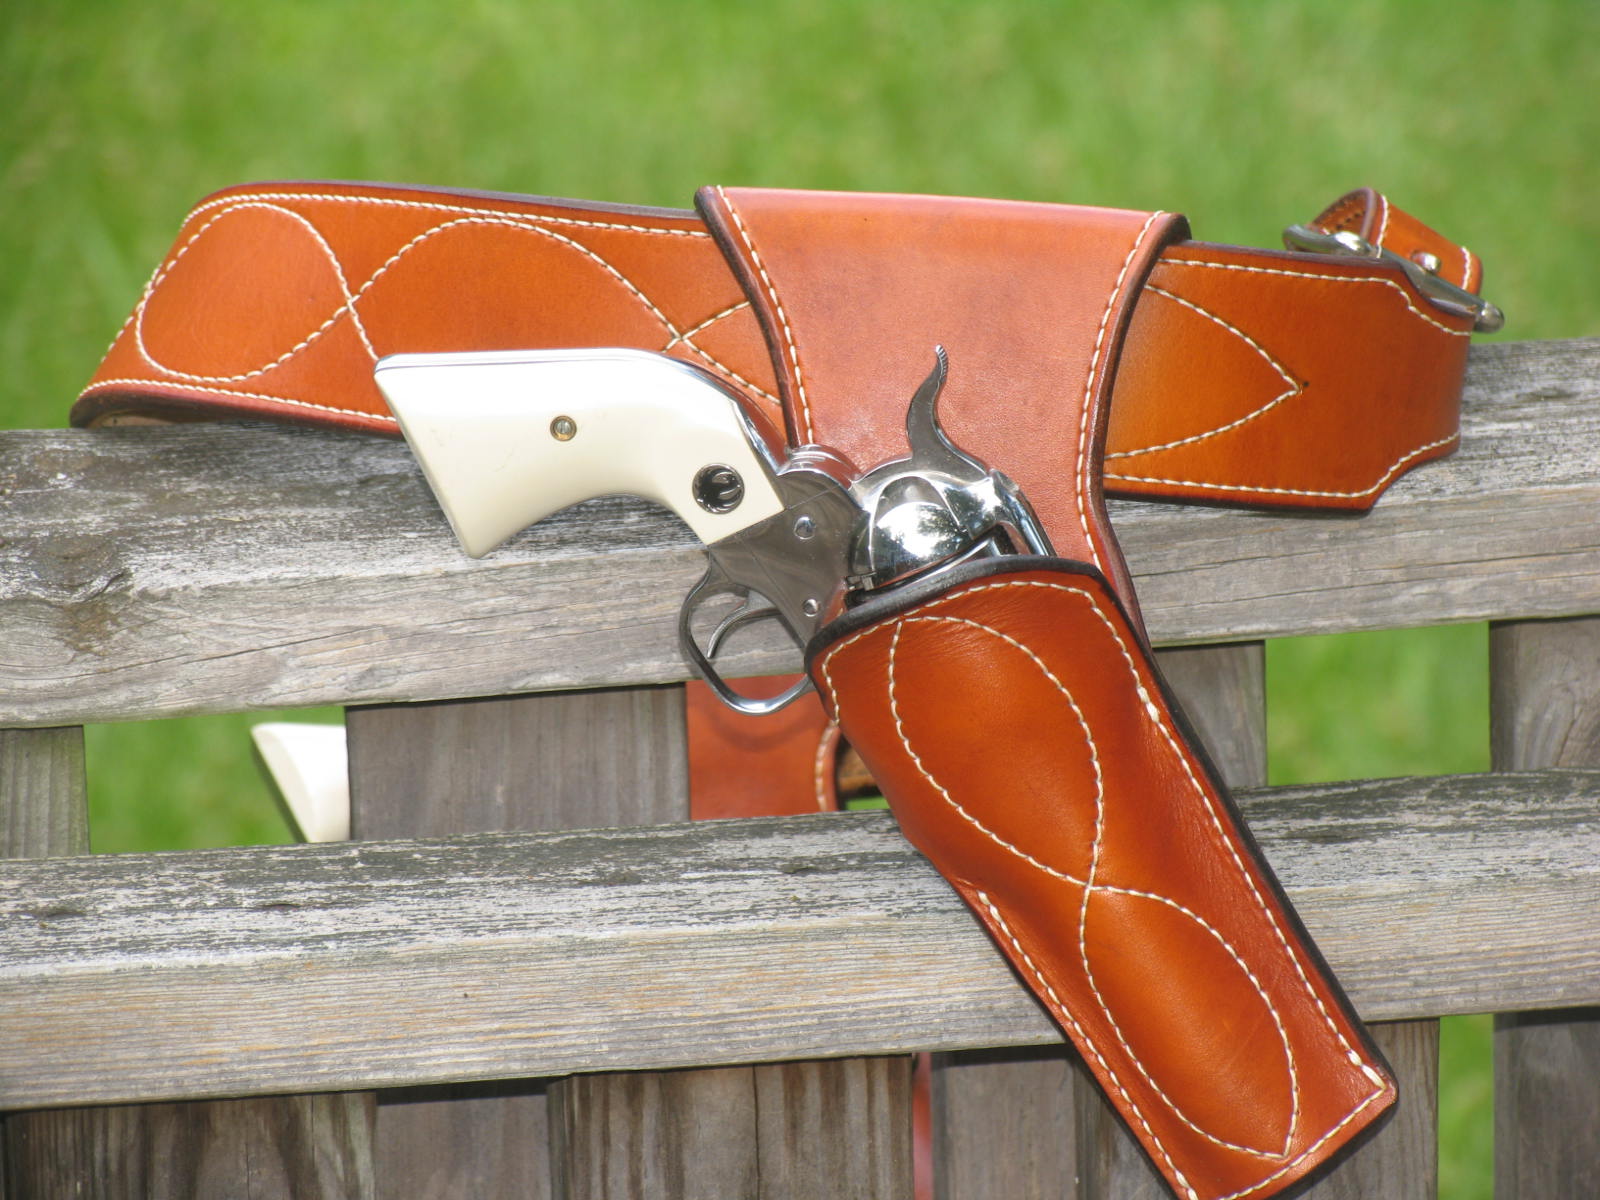
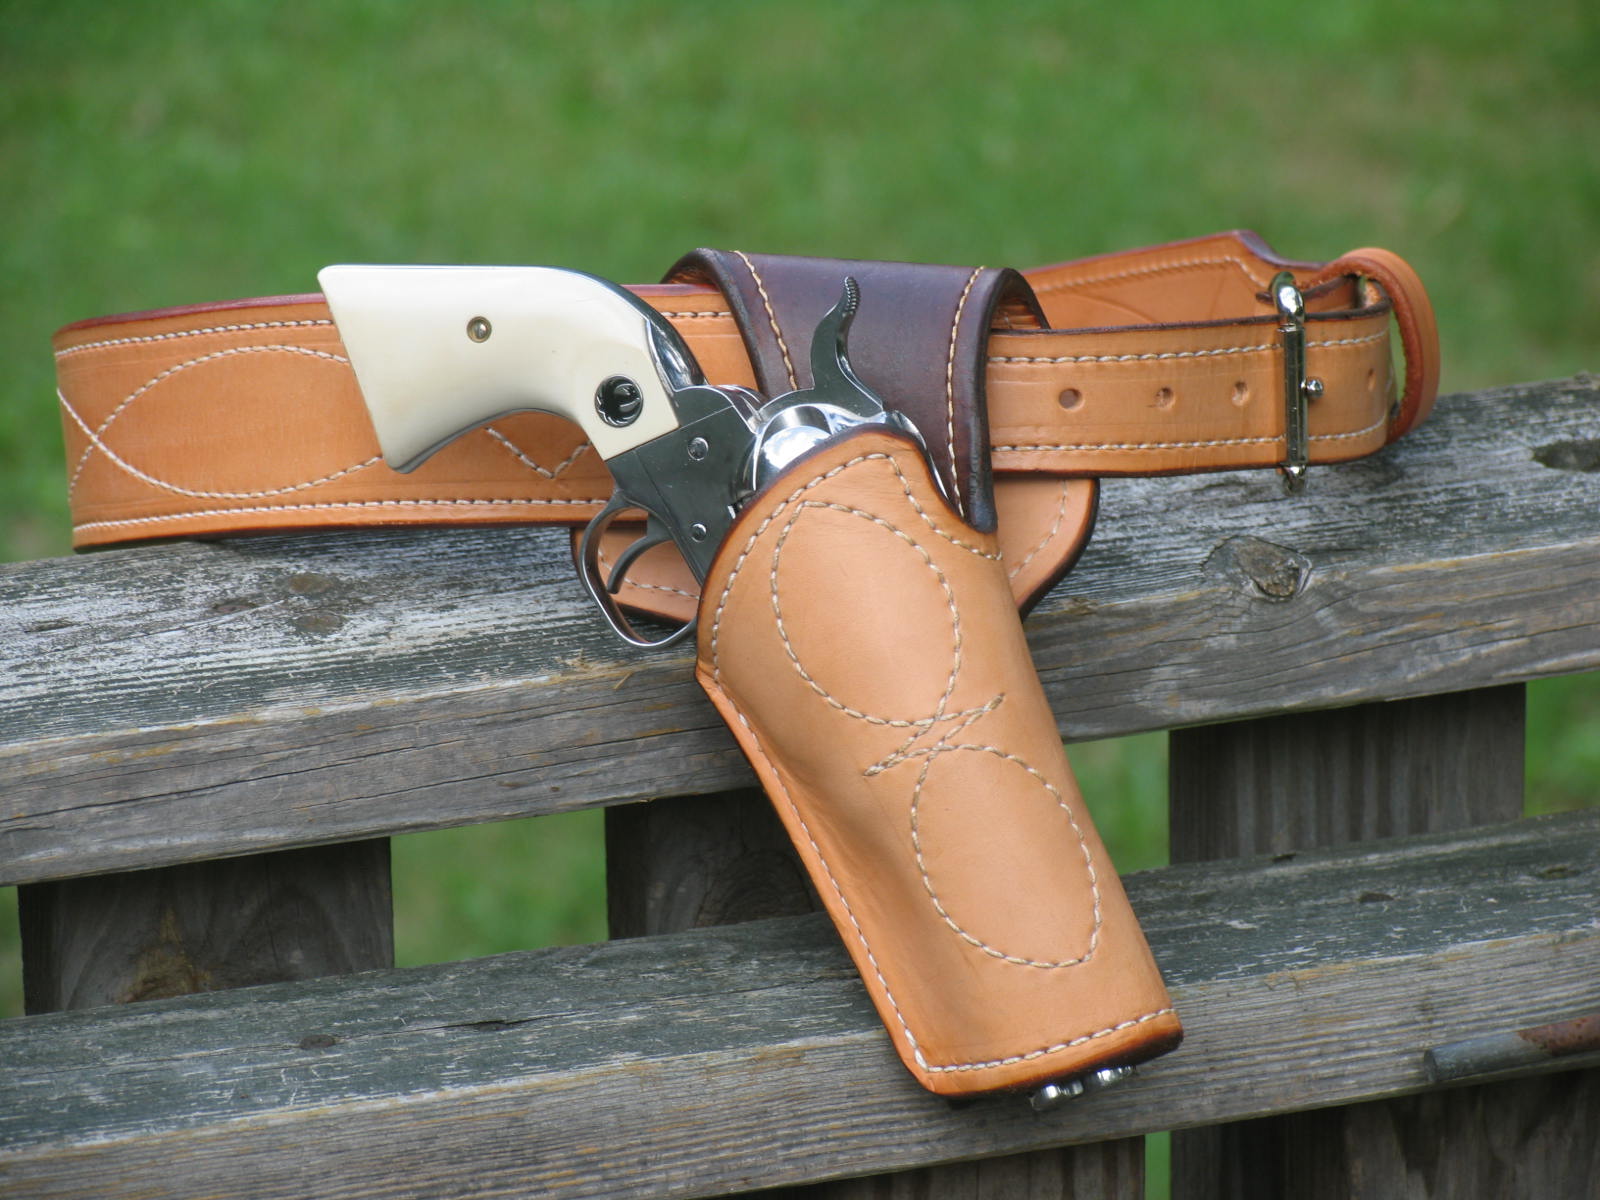
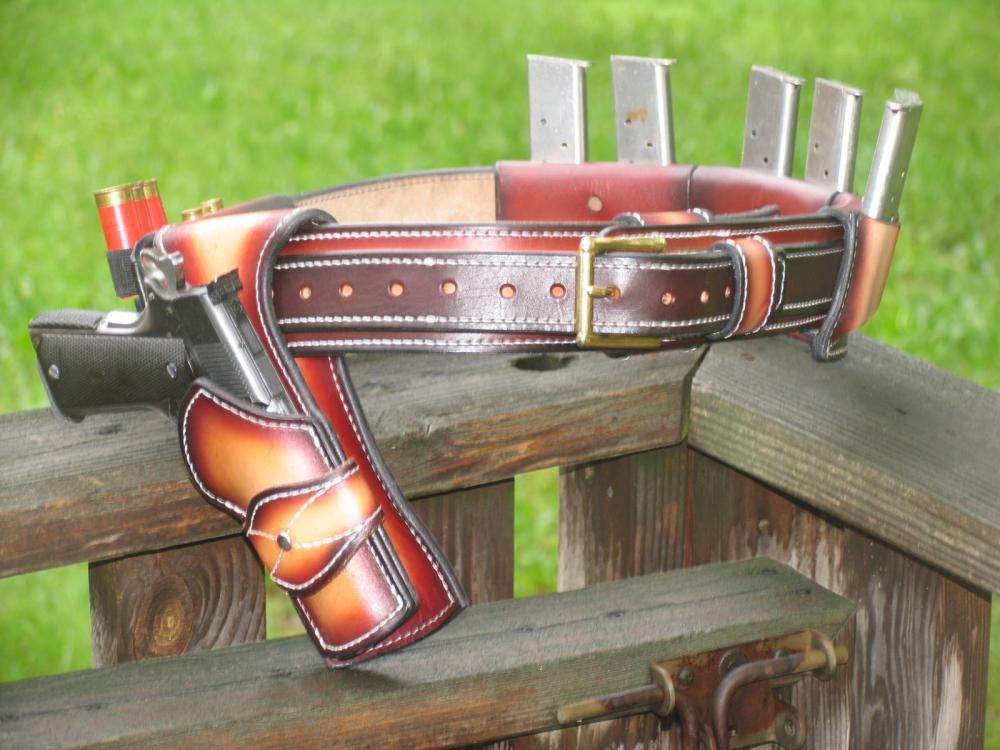
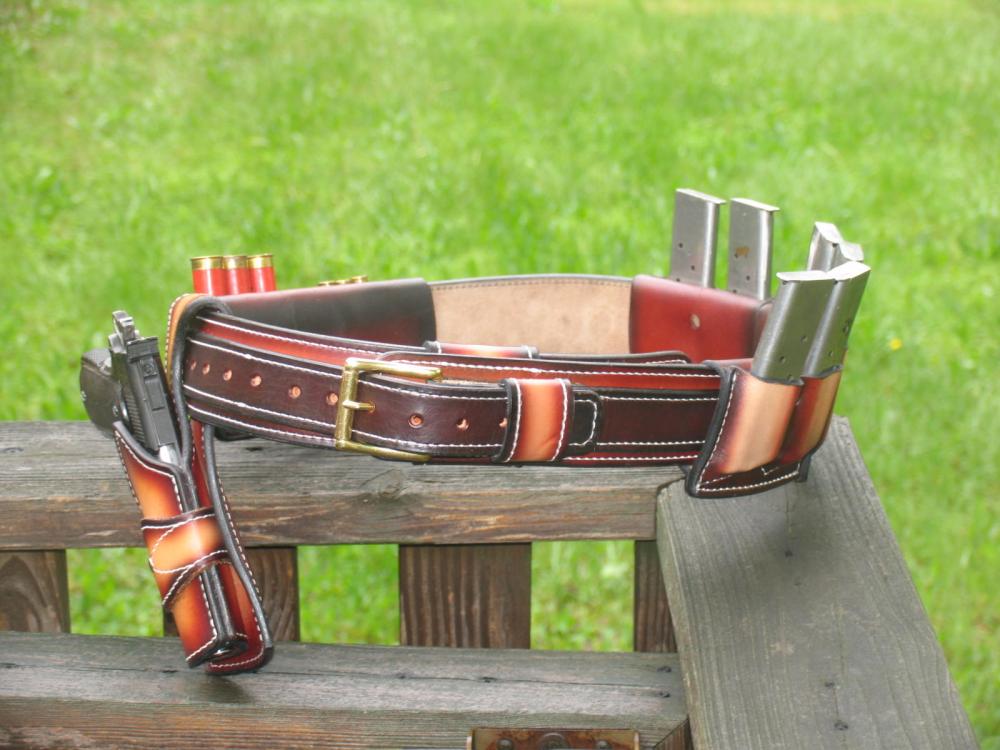
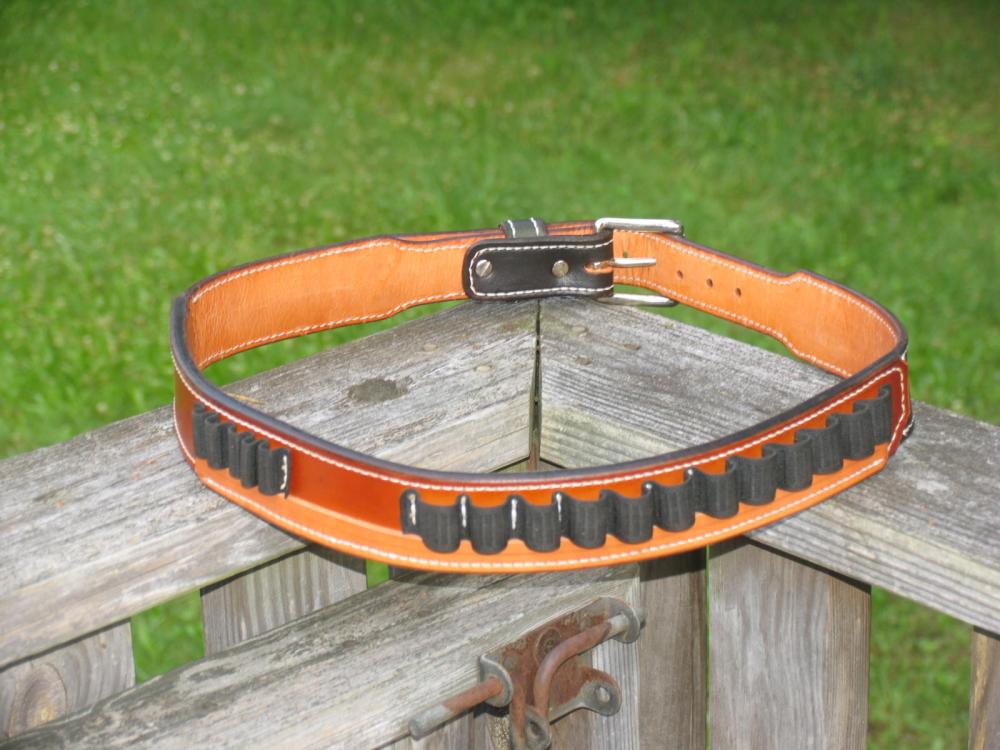
"do you freehand the decorative stitching or use a template?" Sort of a template. I use a quilters half circle "ruler". https://www.bing.com/images/search?view=detailV2&ccid=la2XiLQ5&id=53EEAF736C7617816614FF30652D6A126E0808BF&thid=OIP.la2XiLQ5KtuOfOT_ftEYuwEsCk&q=quilters+half+circle+ruler&simid=607996237826490443&selectedIndex=2&qpvt=quilters+half+circle+ruler&ajaxhist=0 Easy to do. Draw imaginary parallel stitch lines. Measure a point 1/2 way between stitch lines. Make a light pencil line that runs from where you want to start to where you want to end down the middle of the lines. With a pencil, make an indentation at your starting point. Lay anyone of the half circle slots over this indentation and place your pencil tip in the indentation. Slide the ruler so that the top of that particular half circle is almost touching top stitch line. Hold ruler in place and make light half circle stopping at the middle pencil line. The size of the slot chosen will determine the length of the football shaped stitch. On the belt determine the total distance. Figure out how many will fit your space. You can finagle the use of the total space by interjecting a couple of short figures somewhere. "Are the holster pouch parts just formed or is there a little steel in there? Pouch and or shanks?" No steel requested yet. The holsters are two ply made up of a layer of 8-9 ounce and a layer of 6-7 ounce. Cased, lightly molded, and sundried makes for a super strong holster. I don't use steel unless forced to do so. If so, I use two layers of 11 gauge. If you tap the outside of the holster with a pencil it sounds hard as fiberglass. I mold lightly by hand. The speed rigs I make can't be molded too close for the smooth draw sake. The placement of three screws holding the holster to the back flap makes for a very sturdy and fixed position. "That looks like the "walk and draw" holster that Steve McQueen wore in the Magnificent Seven. Did you put a steel shank in it like the original? " McQueen used an Andy Anderson walk n draw holster. Something like this.
-

-
Unless the wearer is fit and trim and does not cinch the belt tight, the thin stuff works. I also use 8-9 ounce for the outer and 3/4 or 5/6 for the liner. Besides I don't think my Cobra would sew 6 ounce leather
-
Not necessarily. A 20 ton shop press can justify some procedures involved in some products. When I make a pancake holster that is 2-ply with an 8-9 and a 5-6, my one ton hand press struggles to push a punch through the layers. I used to cut the belt slots but was never really satisfied. Ever seen a catywampus belt slot that looked as if it was hand cut? I was gifted a one ton hand press that I used to punch round holes and use a knife to open the slots. It was OK but............... So I bought the 20 ton. Helloooo easy..................but slow. Are you aware that HF has the air over hydraulic on sale for $79.99? Gonna get one tomorrow. Maybe complete justification will come tomorrow or the next day. However, today I can punch out the neatest hole you have ever seen. And tomorrow I can do it faster:) And I will think the holster looks much better and I will feel better about selling the holster. Just so happens I reload for about everything I shoot. I always tell the wife I can always reload this round cheaper than I can buy it across the counter. So I have rows of dies in the reloading building. Now as to the savings..................................................................
-
That beautiful $3000.00 blued Colt would be yours. Any and all the rust accumulated on the gun would be yours also.
-
Jeff, put the Jack Daniels down and step back. We can work this out. Why, just yesterday I came up with a new............................
-
You.....want me.....to show you..........mine?
-
Vinagroon?
-
Remember to give the vinagrooned product a good bath in water and baking soda.
-
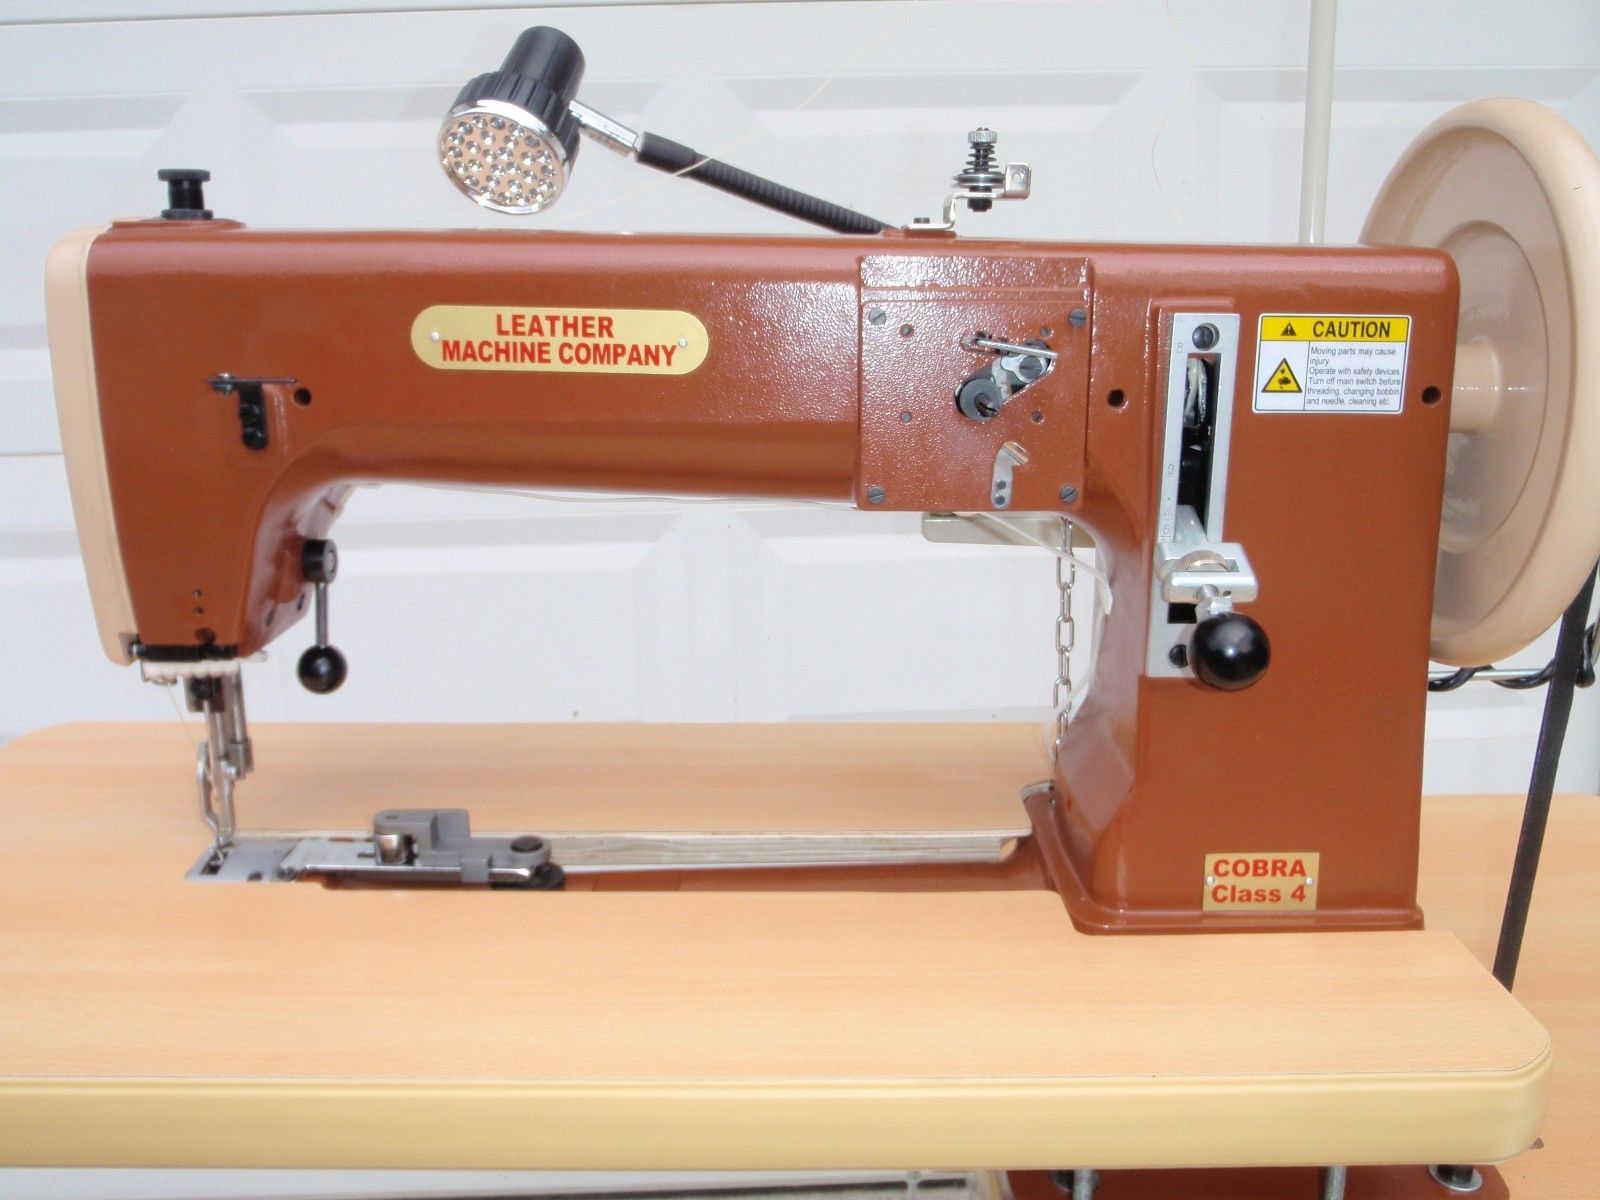
The Cobra 4 has a built in bobbin winder. It works as you sew other stuff. Just to the right where it says "leather weather machine', there is a spindle on which you place the bobbin. Thread is pulled through the spring thingy to the right of the lamp. Works good. The C3 has an independent (kinda) winder but still works off the machine.

-
always wet the fold and/or condition with Aussie or NF Oil.
-
Carved Loop Holster for SAA
Red Cent replied to Josh Ashman's topic in Gun Holsters, Rifle Slings and Knife Sheathes
What the heck is antstreak? -
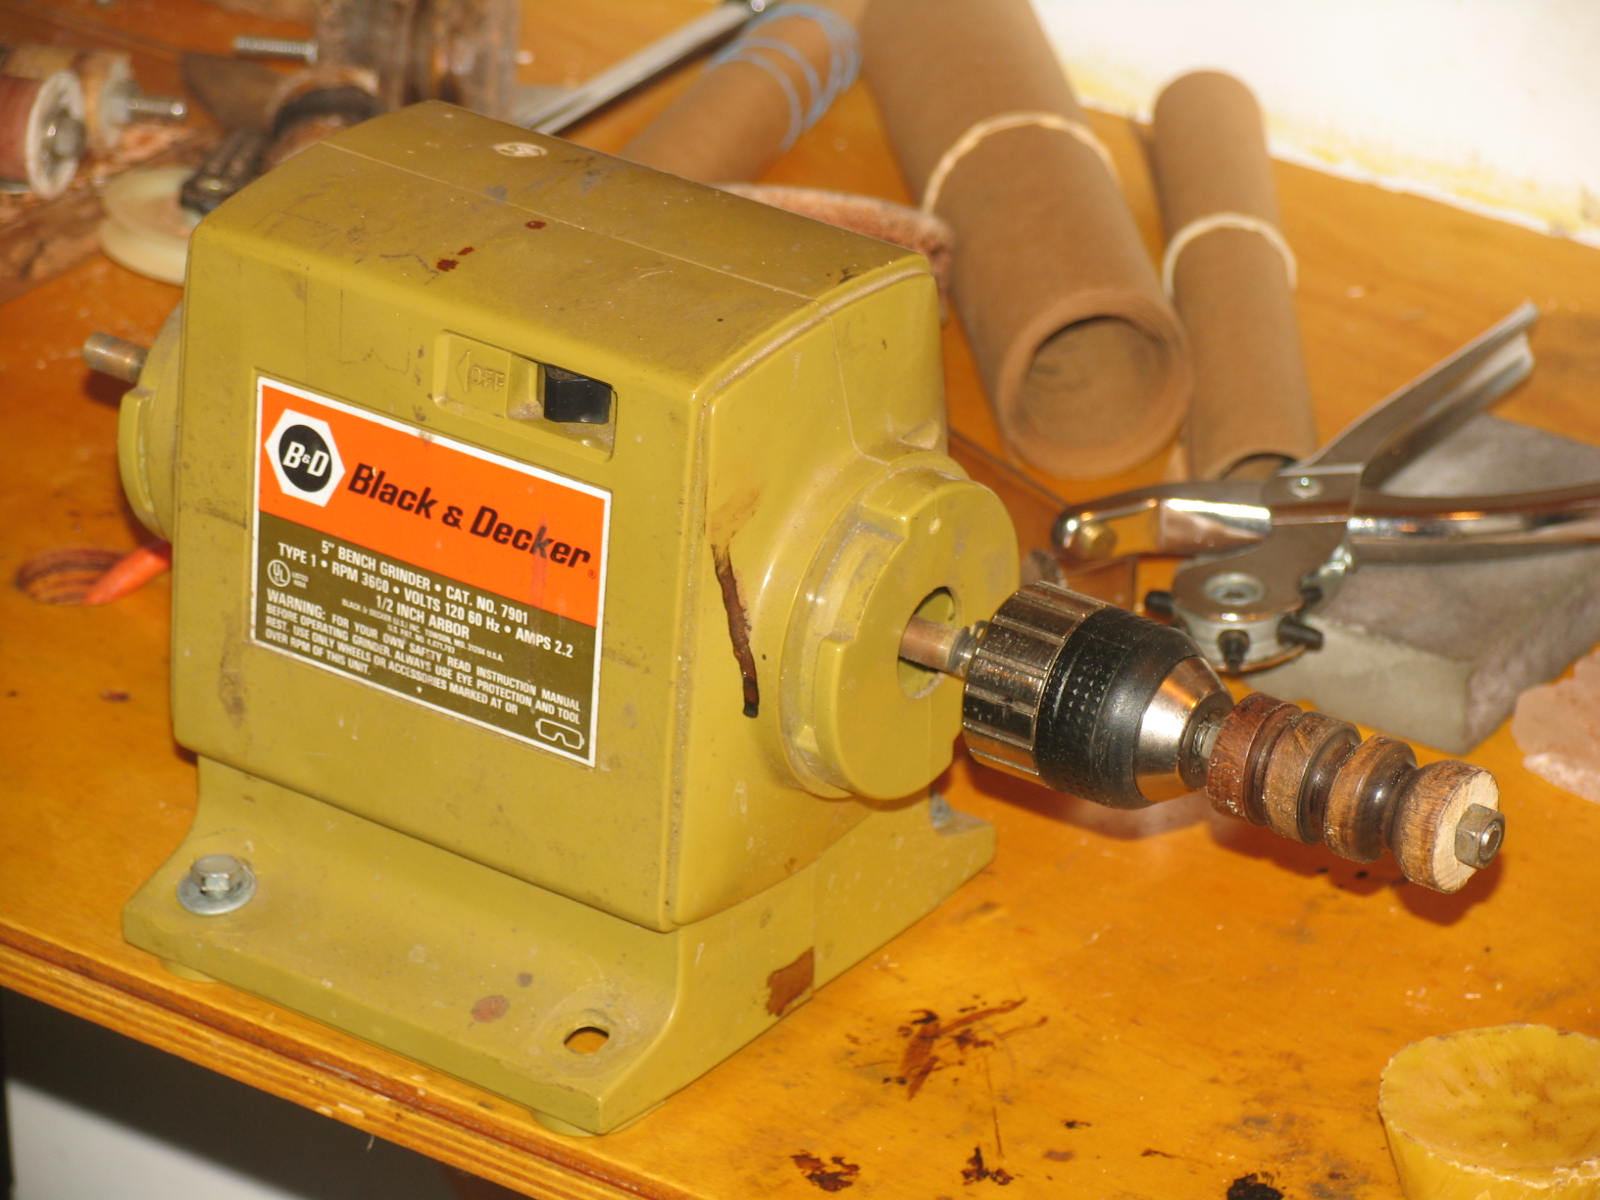
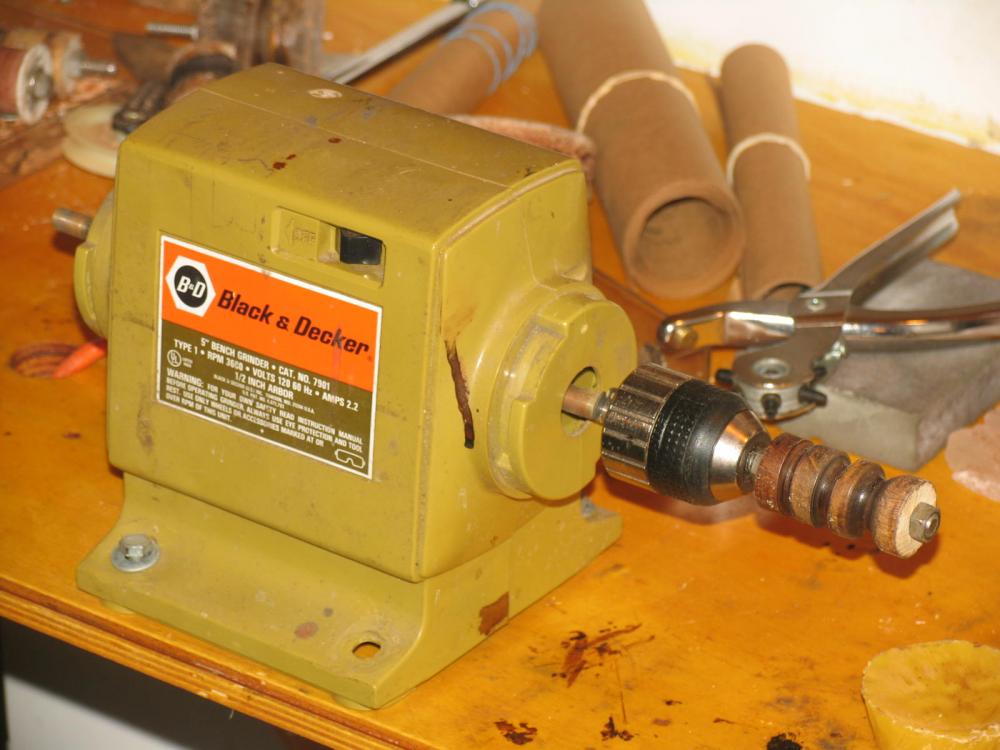
3500 rpm works good although I have seen a wisp of smoke now and then. You will find it is the leather that determines a good burnish, not any reasonable rpm. If you have an 8-9 ounce piece of leather that has been beveled, you can get a slight brown and glass like look with water. A nice slick burnished edge with water provides the surface you can dye easily. I use a dauber to dye the edges and it glides smoothly and snag free creating a good even line. I never use anything till the first water burnish. Someone spoke to the edge the beveler leaves. Don't sand the outer edge off. Burnish and dye. That cut edge will actually stop a reasonable amount of dye from flowing into the leather surface if you dye the edge with a contrasting color. If you have access to a drill press/milling machine and a machinist vice and a couple of rattail files, you can make burnishing tools. Drill a hole lengthwise in a dowel rod. Insert a tight fitting bolt and nut. Tighten. Place in the drill press. Place a rather fine tooth rasp (at first) in the vice. Spin the dowel rod and adjust vice to remove the stuff that makes the dowel rod wobble. Then use a more fine tooth file. The some sandpaper would be nice.
-
He needs to get that translated to English I draw my cheap Tandy bevelers (3 & 4) across 1000 grit on a board a couple of times. On the other side of the board is another strip of 1000 with red rouge smeared on it. I push the beveler through the rouge, with some downward pressure, around 4-6 times and wipe off. Cuts great. Bianchi would not be pleased, though. You can hear the beveler cut the leather.
-
Carved Loop Holster for SAA
Red Cent replied to Josh Ashman's topic in Gun Holsters, Rifle Slings and Knife Sheathes
That is a solid looking holster. That would excite some of the speed demons in SASS. While I am always impressed with the tooling and other workmanship, I sure like those edges. Good to see someone else doing nice edges without using Edge Kote or dye. Did you do the burnishing slow and by hand? Gettin' pretty good with that new fangled machine. -
Denatured alcohol, also called methylated spirits or denatured rectified spirit, is ethanol that has additives to make it poisonous, bad tasting, foul smelling or nauseating, to discourage recreational consumption. In some cases it is also dyed. Denaturing alcohol does not chemically alter the ethanol molecule. Rather, the ethanol is mixed with other chemicals to form an undrinkable solution. For many of these solutions, there is no practical way to separate the components. https://en.wikipedia.org/wiki/Denatured_alcohol I use the cheaper stuff and don't see any difference. Then again, I don't use deglazer either.
-
The dowel rods do hold the leather for you. It makes cutting thin leather very easy and straight(er). I sometimes use 3-4 ounce veg tanned as a liner and it cuts it very well. 8-9 ounce is real easy. They also free up a finger or two. Stumbled onto a another trick that be done to the wooden strap cutter. I started using the blades for the safety beveler and fixing the tool so that the blades are placed at an angle. Either bottom back or top back. I ran out of the strap cutter blades and accidentally put the beveler blade in the slot and did not know it was at an angle. Amazed how easily it cut 8-9 ounce leather. Trox, since that picture, I rounded the edges. I saw the parallel shiny mark too.
-
"I have been wanting to get one and use it for punching and border tools. Does it make punching quicker on repetitive tasks? And do the tools stay sharper longer? " I take a belt and lay it down the side of my table and mark, with a pencil, each hole. Then I take a pair of wing divides, find center and make a press mark at each pencil mark. Move to the C press and place the punch over the mark and punch. Very quick. And I don't need an anvil or plate steel to take the force of the blow. I doubt they stay sharper, but you will be able to punch a lot more holes before you sharpen them. I don't use it stamping borders or other such tasks. That would take more movement than a deadblow hammer and a stamping tool, I think. "Are you using clicker dyes with that? Have you gone up to 1 5/8 x 1/4 oblong belt slots?" When I do the belt slots in a pancake holster (8-9 ounce times two) I use the C press to punch round holes at the end s of the proposed slot. Then I go over to the 20 ton press and cut out the center material of the slot using a 1 1/2" slot cutter. I can do it with the C press but it takes a lot of muscle to get the slot cutter through. I guess I could get the slot cutter ultra sharp and it would do the job. Air over hydraulic and clickers for the 20 ton press are in the "coming soon" category The little press is a whiz doing eyelets and I use it for putting snaps on the leather. I believe the press will earn its value quickly. Hint. The slotted wheel that sets under the ram is not conducive to leather making. Put it aside and get a 1/4" or so piece of steel to span the "U" shaped cavity in the base when the wheel is removed. Probably a 6" x 4" by 1/4". Place a piece of cutting board on top of that and go at it. Don't get a 1/2 ton. Get the one ton.
-
Air Brush Help
Red Cent replied to chapelstone's topic in Dyes, Antiques, Stains, Glues, Waxes, Finishes and Conditioners.
With the filter, you will get a mist that lands all over the place. Not noticeable until cleaning up. Cover your leather. I use a box fan with the filter in front and spray in the direction of the fan. The oil dye will have fumes that will choke you. If you do much spraying, get a good mask. -
Mighty small footprint. I don't use blunt instruments anymore. http://www.harborfreight.com/1-ton-arbor-press-3552.html
-
Get the wooden draw cutter and do this to it.

-
The easiest way to retain retention is a screw.