.JPG.4e1168cf7a6fb5a83ffe216cc6d17428.JPG)
Tim Schroeder
-
Posts
844 -
Joined
-
Last visited
Content Type
Profiles
Forums
Events
Blogs
Gallery
Store
Everything posted by Tim Schroeder
-
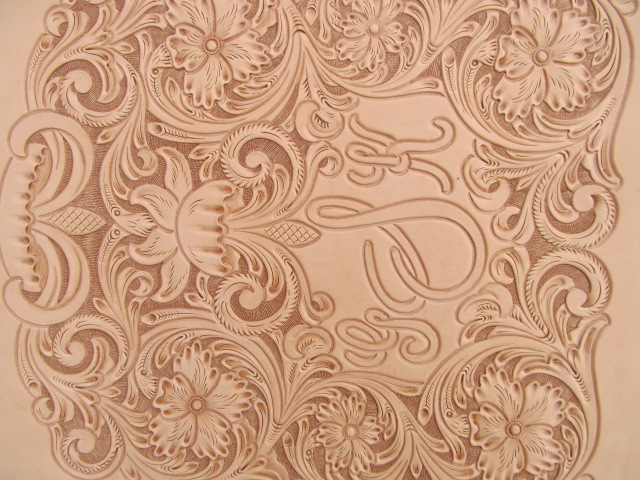
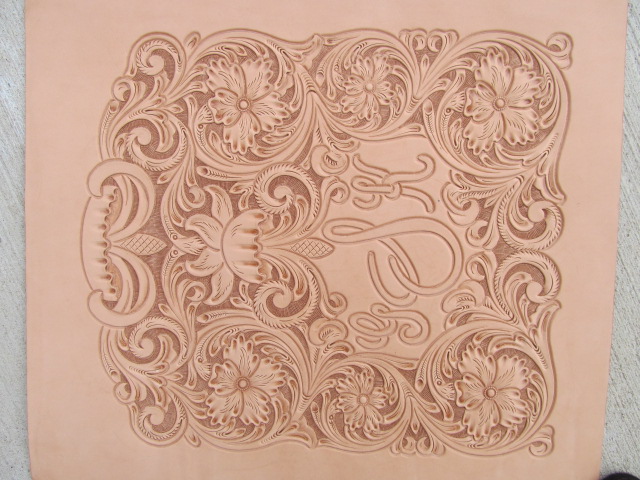
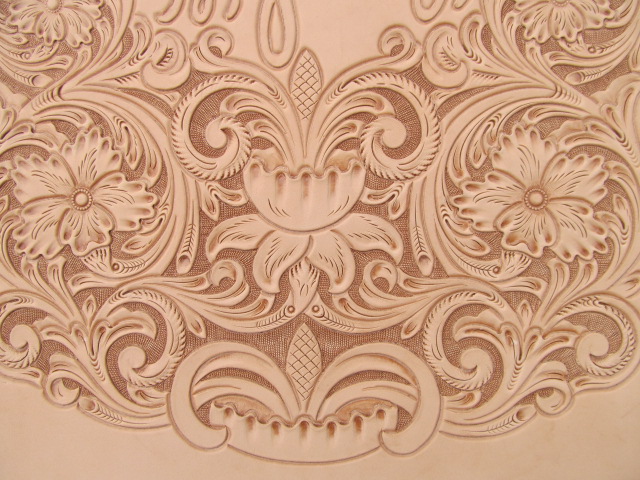
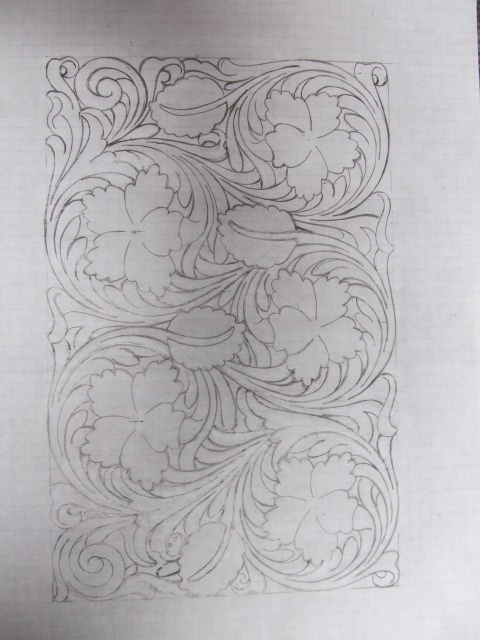
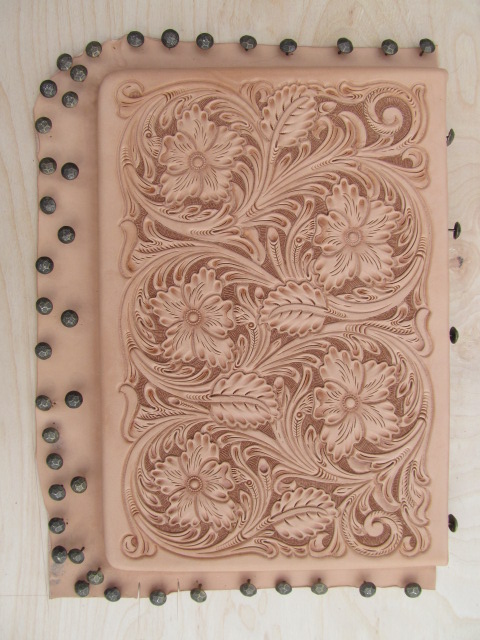
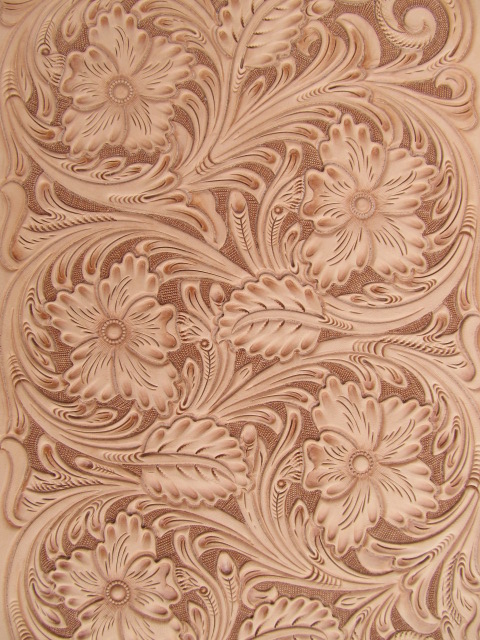
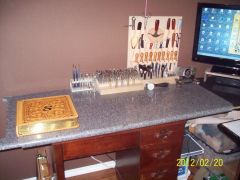
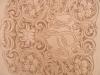
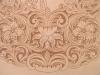
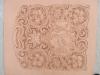
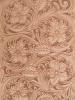
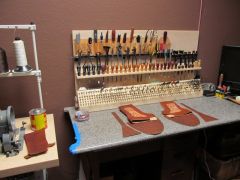
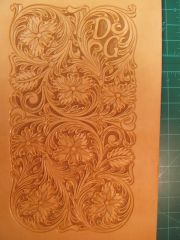
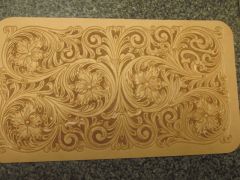
I would recommend Barry King Tools. He has everything in stock and at a descent price. Usually he gets early orders out that day and always by the next day. He even made me a special size beveler. I thought there was a size missing. I have 62 of his stamps and 3 or 4 of his swivel knives. I have been using the LeatherWrangler swivel knives in three different blade thicknesses. Took a while to get use to but they are great. Here is a few pictures of my tooling with almost all Barry King stamping tools. The new flower center is a Chuck Smith that I just bought of Ebay from Michael Fay. He said these were Clinton Fay's tools and they are selling some of them. I like the Chuck Smith flower center the best. Just ordered the two smaller ones. Good Luck.


-
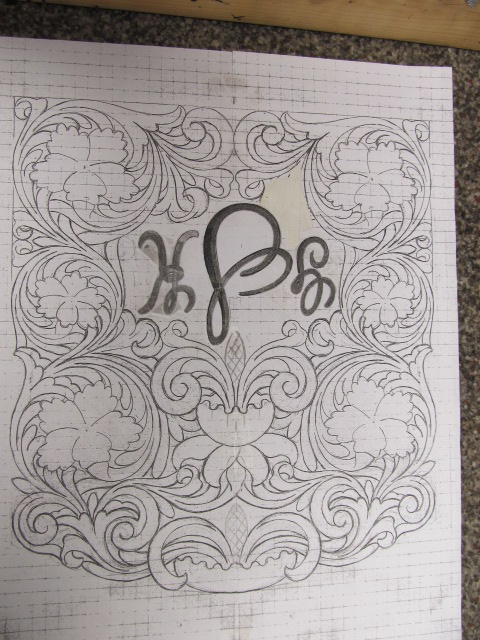
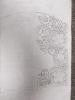
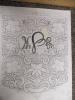
Just decided there needed to be a new post for this section. Thought I would share a couple of drawings and the tooling from them.


-
Love the look of your tooling. They look great!
-
Love tooled boots. Those look really nice. I hope I can make my boots look as good as those. Can't wait to make myself a new pair of boots after Christmas
-
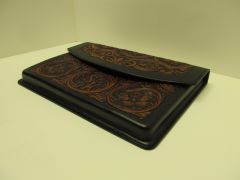
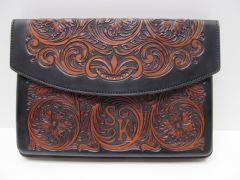
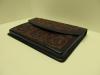
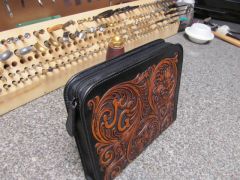
Computer Case
Tim Schroeder replied to Tim Schroeder's topic in Purses, Wallets, Belts and Miscellaneous Pocket Items
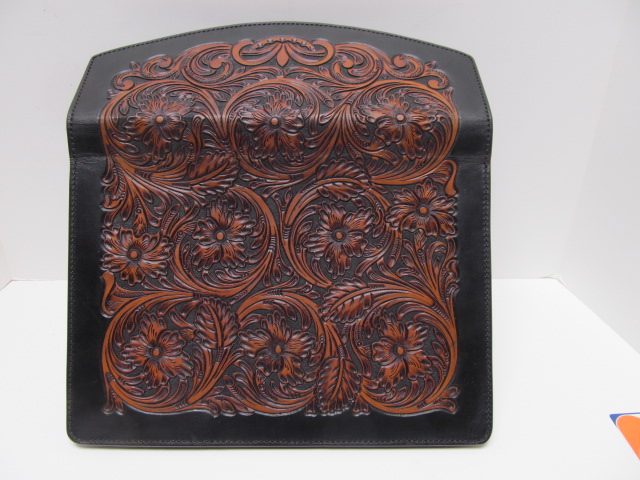
Yes, it was wet formed. I used a giant zip-lock baggie with a reducer fitting glued in the side that would let me hook up my vacuum cleaner like a vacuum press. I still had to take it out and work on it a little bit. No pictures of the inside. It was wrapped and shipped a couple of hours after I finished. The flap is lined with 2/3 oz. Herman Oak and the inside was lined with some slick black fabric. I used magnets to help keep it closed. I put a thin piece of padding front and back for a little extra protection. Thanks for the comments. -
From the album: computer case
-

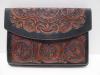
From the album: computer case
-

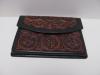
From the album: computer case
-
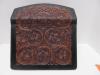
From the album: computer case
-
Last of the tooled items for Christmas. Just one more Dopp Kit with just initials. I make my wife ask her friends and co workers what color and everything about what they are getting so they really like what they get. Everyone likes the stuff I made her so everything this year was this same color. Thanks for looking.
-
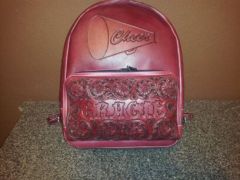
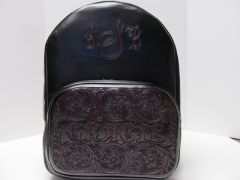
From the album: Daughters School Backpack
-
From the album: Daughters School Backpack
-
From the album: Daughters School Backpack
-
timscustomleather
Images added to a gallery album owned by Tim Schroeder in Our Leatherwork Galleries
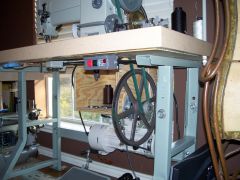
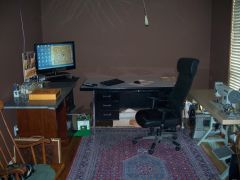
My shop. -
-
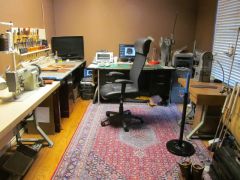
From the album: timscustomleather
-
From the album: timscustomleather
-
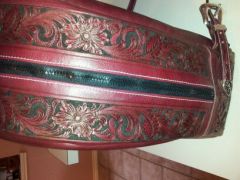
From the album: Daughters School Backpack
-
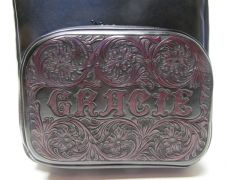
From the album: Daughters School Backpack
-
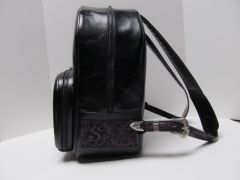
From the album: Daughters School Backpack
-
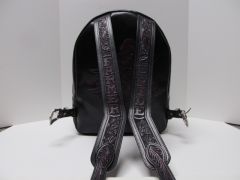
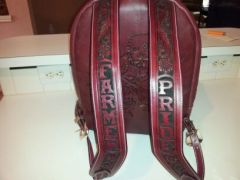
From the album: Daughters School Backpack
-
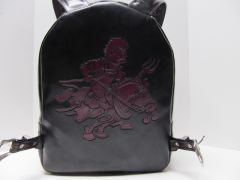
From the album: Daughters School Backpack
-
From the album: Dopp Kit
-
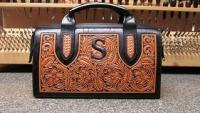
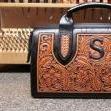
From the album: Ladies Handbag
-
From the album: Ladies Handbag
-
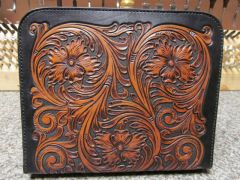
From the album: Ladies Handbag