.JPG.4e1168cf7a6fb5a83ffe216cc6d17428.JPG)
Tim Schroeder
-
Posts
844 -
Joined
-
Last visited
Content Type
Profiles
Forums
Events
Blogs
Gallery
Store
Everything posted by Tim Schroeder
-
Messed up the pictures. I will retake and post later Thanks Tim
-
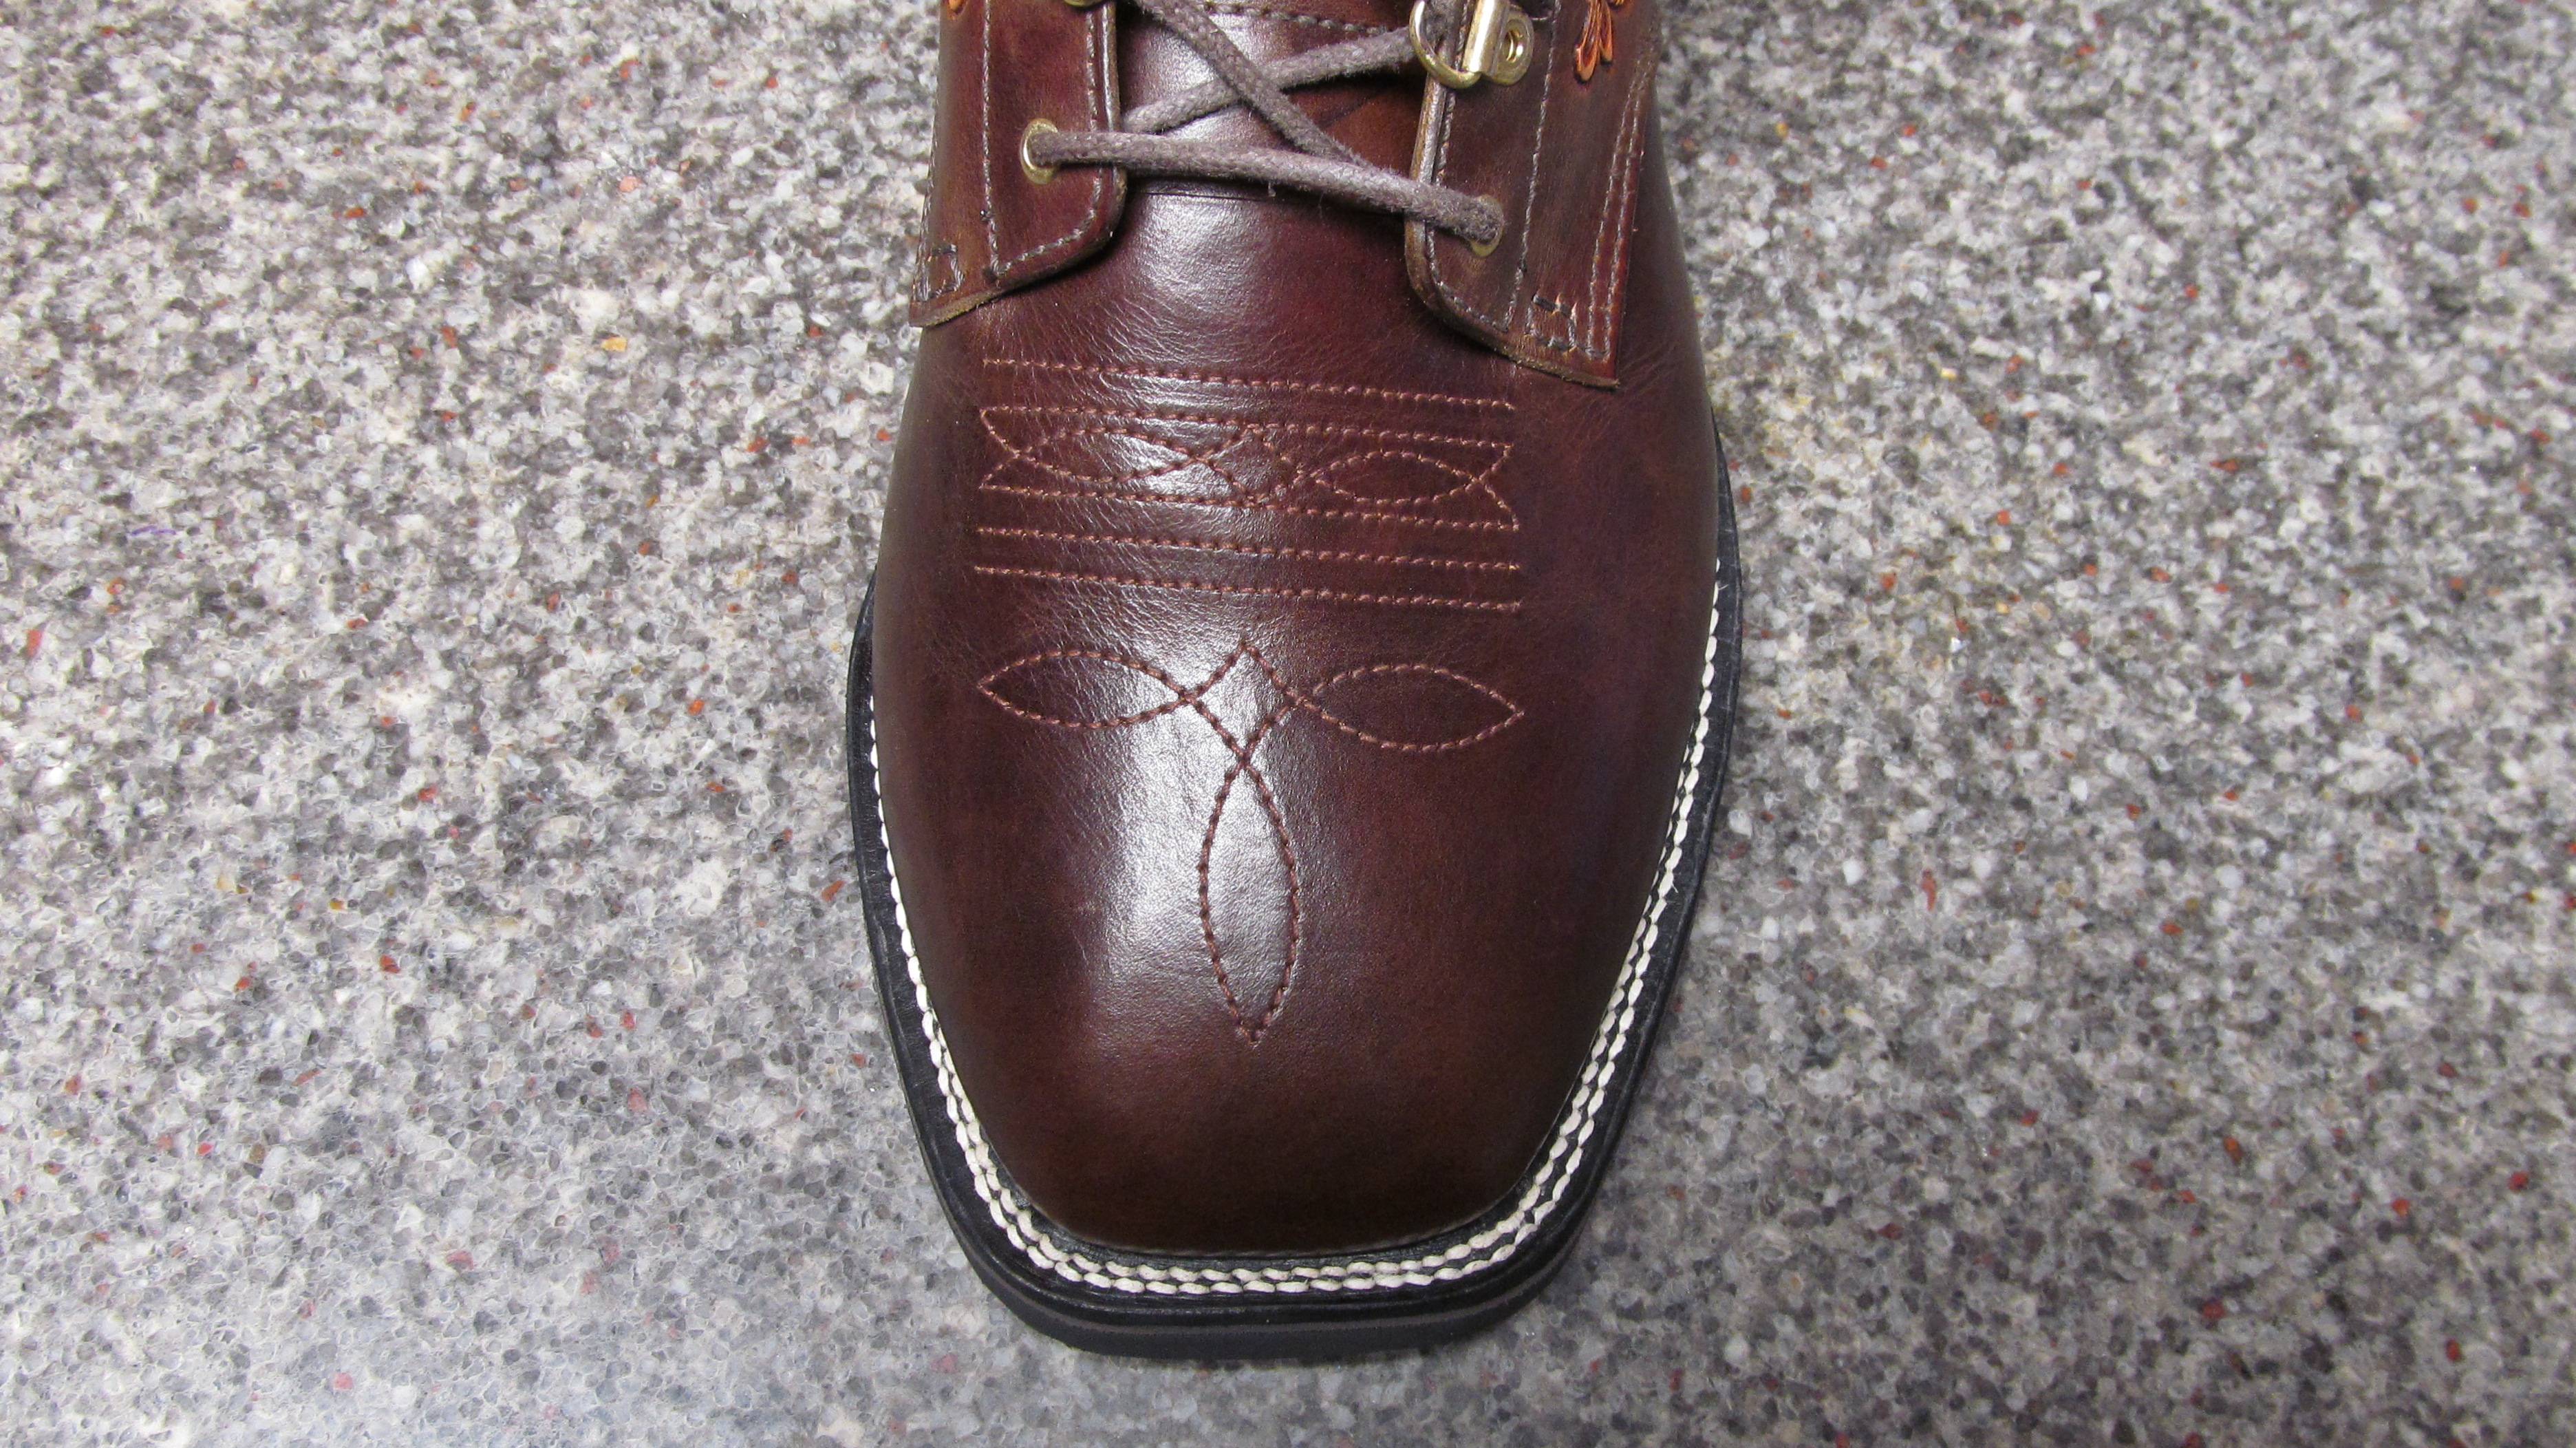
Hello, I finally got my Landis 12 running. I bought it last Christmas. Paid $600 from an auction in San Angelo Tx. I changed the needle and awl and oiled it a little bit. She seems to dance like your suppose to, me not so well. Pretty much massacred the first one, but only had one little bobble in the second one. This machine doesn't have an adjustable guide yet but will be getting one for Christmas. The presser foot is in pretty rough shape and is trying to push the work away from the guide. Hopefully I will get a new one for Christmas too. The pictures are a pair of Golf shoes I'm making for myself. Thanks Tim
.thumb.JPG.2d929b80bf0e3d1d49852cbbc02c22fa.JPG)
.thumb.JPG.a0f5508b4cb913ec819c0476d6daa144.JPG)
-
Hi, Does anybody know where I can buy the boot lining leather Sheridan Leather was selling? Thanks Tim
-
Hello, I am looking for machine to sew boot uppers. I was looking for a 31-15 and found a 1300-2. can anybody tell me the difference in the two machines. Thanks for any help. Tim
-

From the album: Work Boots
-
From the album: Work Boots
-

From the album: Work Boots
-
Hi Johanna, Martyn started the conversation by calling all of us, and the next leader of the free world, idiots including yourself if you voted for Trump or Hillary. You let this arrogant bastard call the next leader of the free world an idiot. He then went on to call Trump a buffoon. And you said nothing. How come you don't tell him to tone it down? You could have put an end to this from the beginning. We don't need to hear some arrogant British bastard claim he speaks for the rest of the world and call all of the primary voters who voted for these two and the next leader of the free world idiots. Like I said in the one post, he could have commented on the stamps and left his opinion out of it.
-
That a great looking pair of boots. Nice work.
-
New Work Boots
Tim Schroeder replied to Tim Schroeder's topic in Shoes, Boots, Sandals and Moccassins
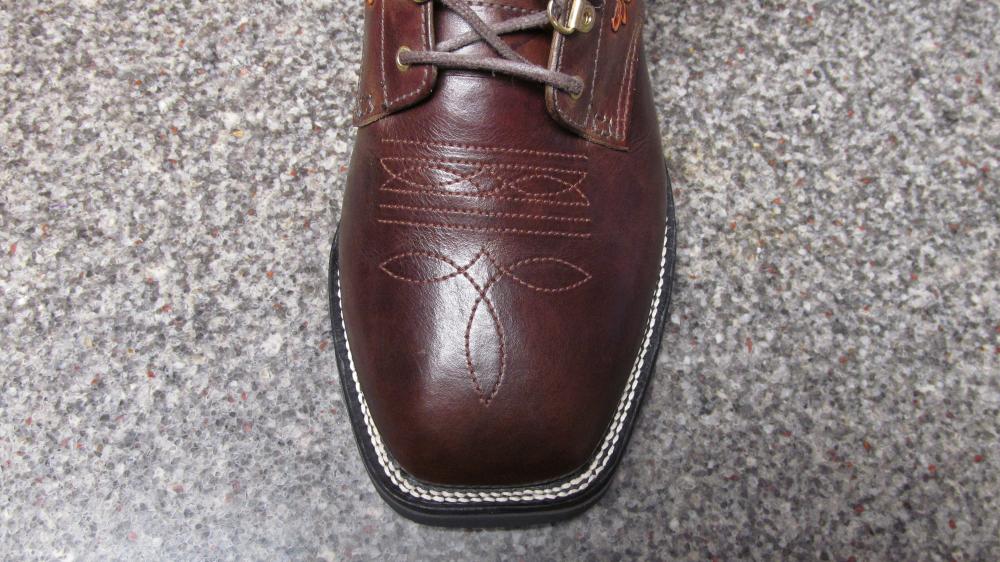
I get all my boot supplies from Panhandle Leather. I used the thinner Brown mid sole with their Basket weave one piece sole. -
New Work Boots
Tim Schroeder replied to Tim Schroeder's topic in Shoes, Boots, Sandals and Moccassins
Thanks for the comments. I already have some good scratches in them so they are looking like work boots. If you are going to make your own work boots they might as well show what kind of work you do. The uppers and the vamps are made from 4/5 oz. Herman Oak so they are pretty tough. I'll polish them once a week for about 4 or 5 months then they will start looking pretty rough. cjg, It took about 16 hrs just to tool and dye the uppers. Then about 40 hrs to put them together. I have learned a few tricks to speed things up a little. I have built two pairs of cowboy style boots and these seem to take a bit longer. Getting ready to start a pair of cowboy style boots that look about the same. -
New Work Boots
Tim Schroeder replied to Tim Schroeder's topic in Shoes, Boots, Sandals and Moccassins
Thanks for all the comments. Wore them to work today and they were great. Nothing like a custom fit pair of work boots. I wore the last pair 40 hrs a week for 15 months. They were pretty trashed but still could have wore them a while longer. I only wish I could afford to learn from a real boot maker. I just watched Lisa Sorrell videos on YouTube then built a couple of pair Nothing like hands on experience. -
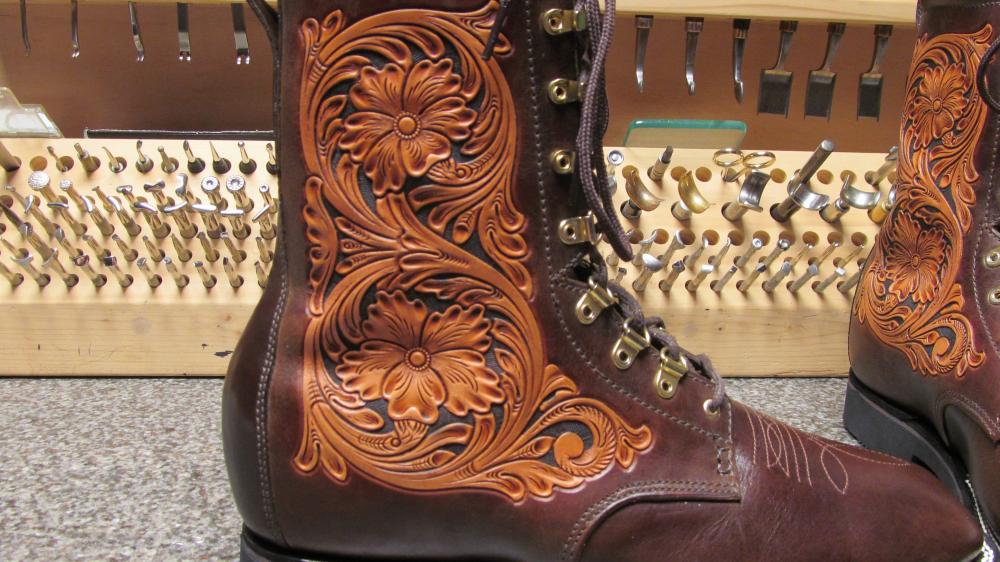
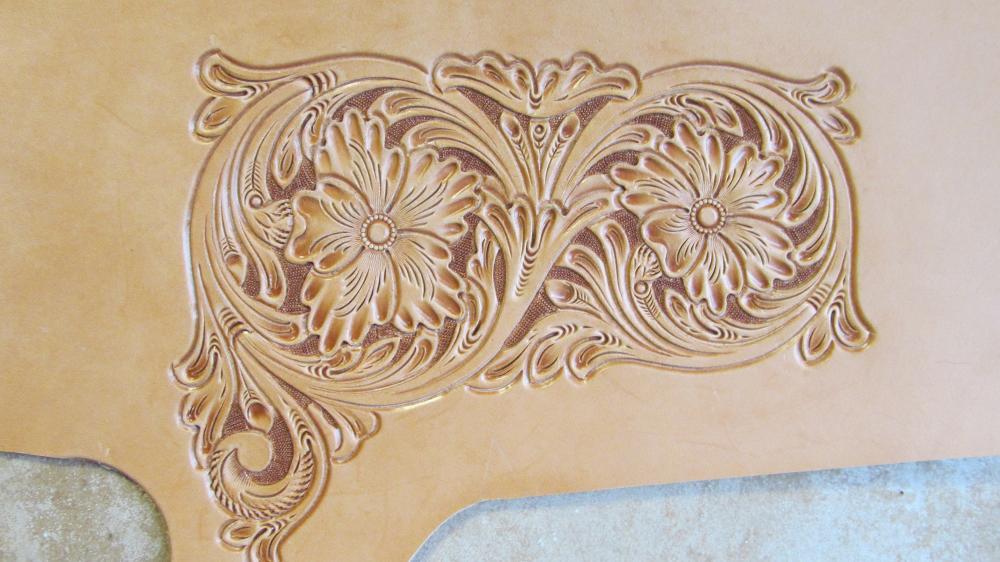
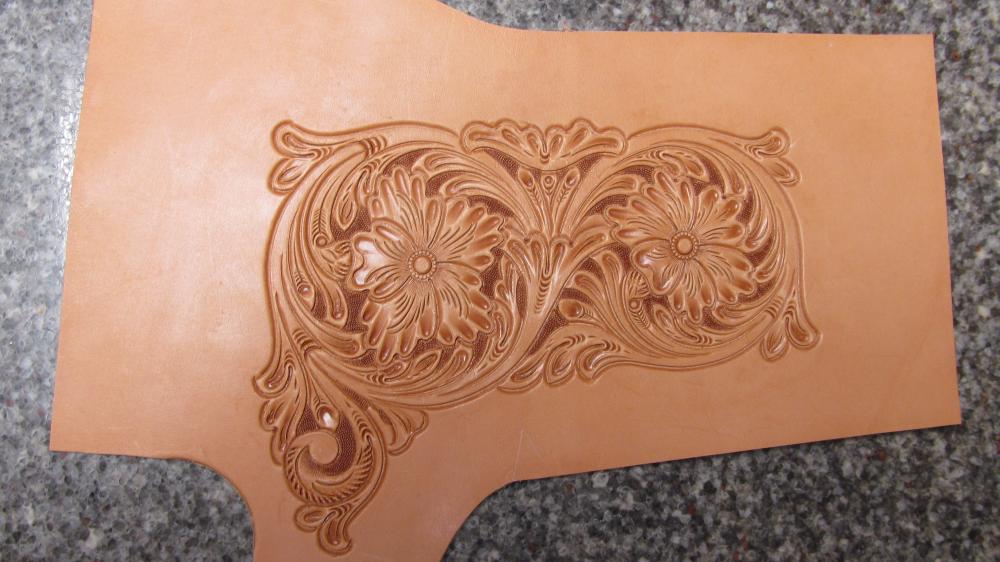
Tooling for Boot Uppers
Tim Schroeder replied to Tim Schroeder's topic in Floral and Sheridan Carving
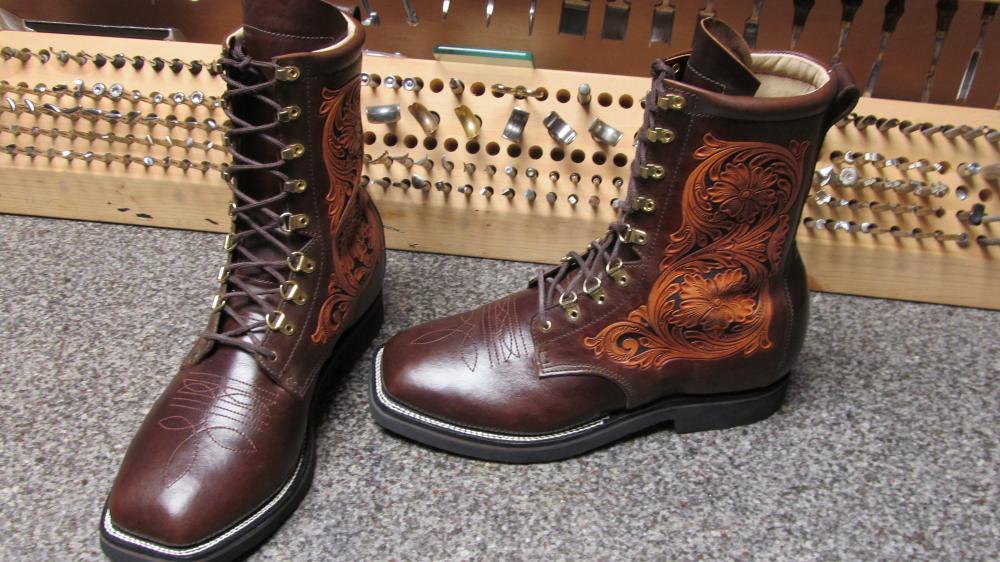
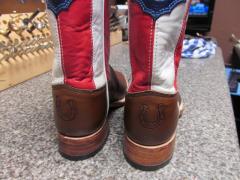
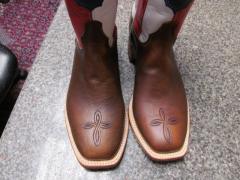
Some finished pictures.


-
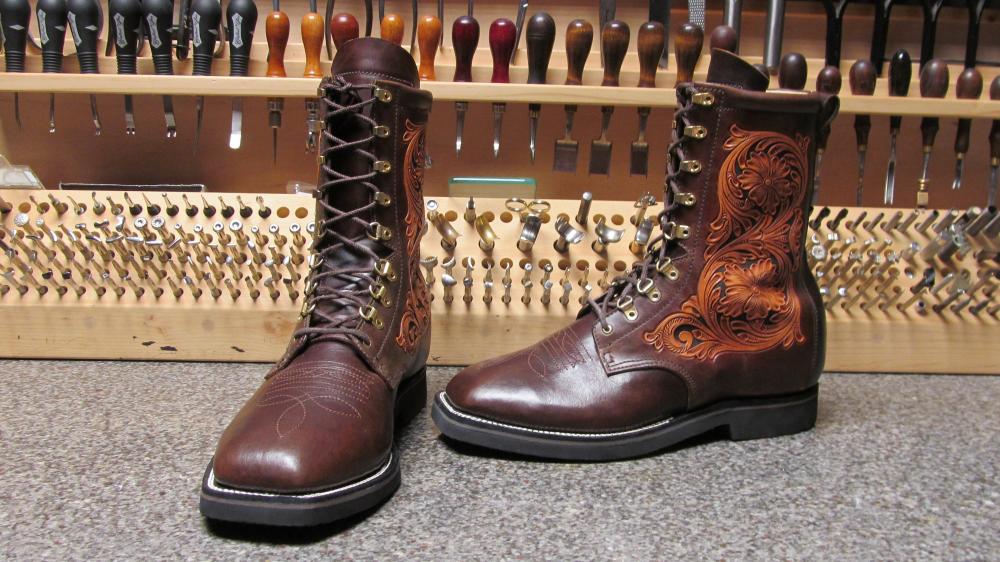
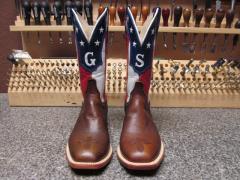
Finally finished my new work boots. Look a lot like my last pair.
-
Thought we needed a new topic for this section. Tooling for the uppers of my new work boots. They are at the shoe repair shop to get the welt sewn to the midsole. I will post some finished pictures when I get them back and put the soles on them. Thanks Tim
-
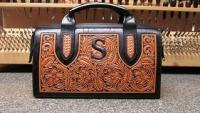
Hello, I am making myself a pair of boots to show some people who think they want me to build them some boots. I am just using whats in my scrap pile. I just can't afford some Alligator or Ostrich at the moment. I am going to use some embossed Alligator for the vamps. When I pre stretched them on the cinch board, most of the embossing disappeared. Now they just look really cheap. My question is can you use this embossed Alligator without stretching it on a cinch board first. Thanks for any help. Tim
-
 Hi Tex, Yes Sir I do make items for sale. If you want to call my no. is 214-505-8400 and we can discuss details.
 -
Really nice work. It's cool using old parts in new pieces.
-
Best Swivel Knife Blades?
Tim Schroeder replied to BarrelPony's topic in Floral and Sheridan Carving
Cutting the pattern determines how the finished tooling will look. So a sharp swivel knife is important. Barry's blades are very good and hard to beat for the price. He will make you one to fit any swivel knife. I personally use Paul's blades at Leatherwrangler. A bit more expensive but worth every penny. I have one he ground down to .042 thickness for cutting the main pattern and one he ground down to .027 for decorative cuts. It seems I can cut 3 to 4 times as much between stropping. Hope this helps. Good Luck Tim -
Hi McDade, I bought a Henly about a year ago. The only option then was the flat style yoke. I believe the price was 99.95. The blade I received is .170 thick. It is a very nice swivel knife. Today I am using two Leatherwrangler knives. Took a little getting use to (Aluminum barrels very light) because I have always used two Crafttool 50th Anniversary knives and loved the way they feel. For cutting the pattern I use a .043 thick blade and for the decorative cuts I use a blade that is .027. Paul at Leatherwrangler will make what ever you want. Both the Henly and the Leatherwrangler are very nice swivel knifes. Here is a picture of my swivel knife collection. I used a Berry King with a yoke out of a Tandy cast swivel knife. I loved the feel of it. (2nd one from the right) Barry's blades are very good and for a descent price. I bought a couple instead of sharpening. I have since learned to sharpen correctly. From left to right 2 Tandy Cfaftool, 2 Leatherwrangler, Chuck Smith Ole' Smoothie, Bob Beard Pro Series, Henly, and 2 Barry Kings.

-
First Pair of Cowboy Boots
Tim Schroeder replied to Tim Schroeder's topic in Shoes, Boots, Sandals and Moccassins
Thanks, These took 60 hrs because I didn't really have a clue what I was doing. I just watched Lisa Sorrell video's on YouTube and figured it out as I went. I think I could probably build them in about 40 hrs next time. I am starting myself a pair that will be fake Alligator with tooled uppers. Leather is just a hobby so I only work on them an hour or two everyday. Thanks Tim -
From the album: Gracie's Boots
-
From the album: Gracie's Boots
-

From the album: Gracie's Boots
-
From the album: Gracie's Boots
.JPG.050e13267a9741d98e19e020f1b8ffb5.JPG)
.JPG.437117cb3bf722a2433f9ce675f58cab.JPG)