-
Posts
331 -
Joined
-
Last visited
Content Type
Profiles
Forums
Events
Blogs
Gallery
Store
Everything posted by Double Daddy
-
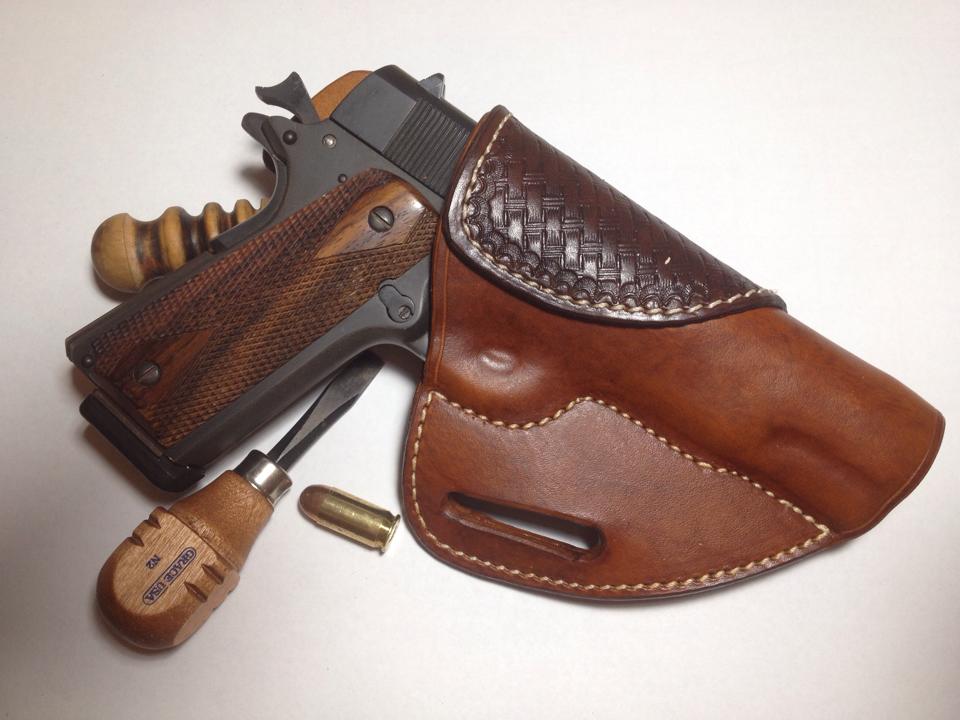
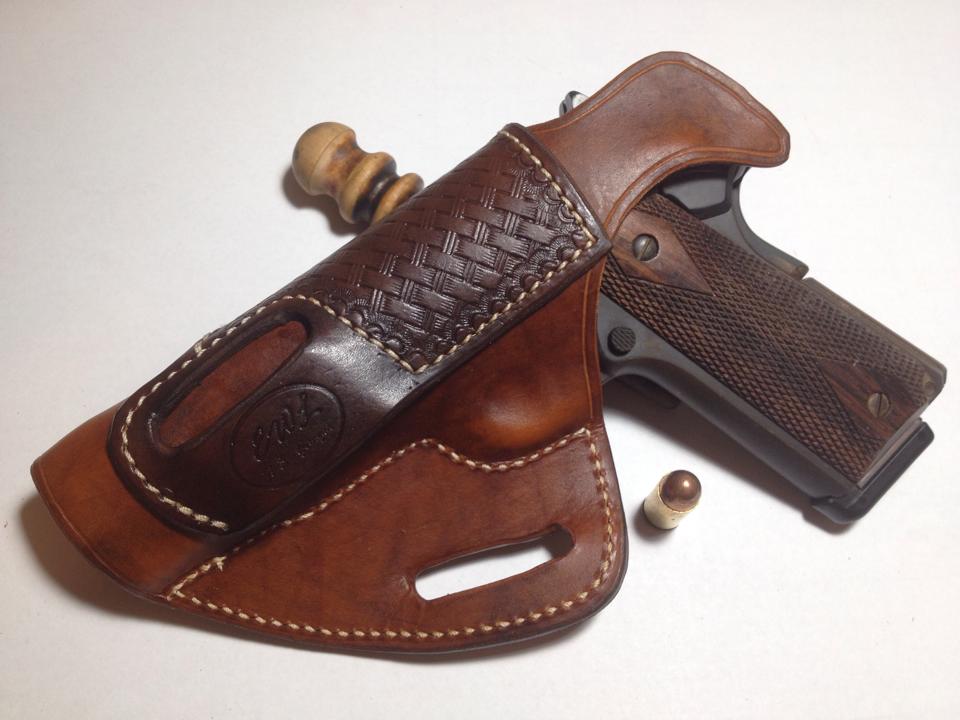
Hey, JLS! Here's another of your patterns (a 5" 1911 Avenger style, strong side) that I modified to suit a particular situation...in this case, a two-tone, near-vertical angle cross draw. As always, your patterns, purchased or freely open-sourced, are most appreciated...as is your knowledge! Chris PS. Sorry for that last grainy pic...it's customer supplied "mirror selfie"...he wanted to show me how it fit. As you can see, I should have hustled harder to sell him a matching belt...but that 1-1/4" one will leave him some leeway in adjustment while driving, I guess.
-
As usual, Eric...excellent work!...very clean and useful design. JLS...I'm looking to make some of these leather covers myself. MUJI is a specific brand alternative to Field Notes for the note books...lower price point, stitched together instead of stapled and, from the reviews I've read, have "fountain pen friendly" paper (if one is into that sort of thing). I've ordered some from Amazon to test. Now...to settle on a cover pattern...Hmmm? Decisions, decisions... Chris
-

Tactical Leather Rig
Double Daddy replied to Treed's topic in Gun Holsters, Rifle Slings and Knife Sheathes
Awful glad I logged on today...very nice work, Bobby! That's a great alternative to the usual black color for such rigs. Very inspiring... -

Thumb Break Stiffeners
Double Daddy replied to GaryNunn's topic in Gun Holsters, Rifle Slings and Knife Sheathes
Dwight or Red Cent...a big fat "Thank You" to the first of you guys to post a pic of your version of that. I don't usually encourage thumb breaks...but I have this one customer that insists upon them for everything I make for him. Since the blasted things aren't my "bag" and they aren't called for a lot, I honestly haven't put much thought into them...the thin Kydex never crossed my mind. Thanks, gentlemen! -
JLS, I agree with Johnny Dingus...your contribution in knowledge via patterns and advice is most appreciated!...a real contribution to the leather working community. Here's one for a Sig Sauer P250...I used the G19 pancake pattern as a starting point. Merry Christmas! Chris
-
JLS, Here are a couple of pieces I built for a buddy last year, using patterns I purchased from you (S&W MP and 1911 Commander)...the patterns were easy to follow...turned out not too bad for an amateur like myself. Thanks for extending your expertise and resources our way! Chris
-
Been away from the forum for a little while...this is definitely not the kind of news I like coming back to, at least from the knowledge perspective. However, much success and blessings to you in your retirement and whatever your hands find work at next, Lobo. Dwight is most correct...you have been a mentor and great source for valuable information for many of us "little guys". Best of luck, sir!
-

Closing Small Shop
Double Daddy replied to woolfe's topic in Gun Holsters, Rifle Slings and Knife Sheathes
PM sent -

Makarov Handgun' Holsters
Double Daddy replied to domino133's topic in Gun Holsters, Rifle Slings and Knife Sheathes
domino133...VERY nice leatherwork for an excellent weapon. I've always loved the Makarov..I did an IWB holster for a friend last year but it pales in comparison to your handiwork, friend. Well done! Looking forward to more pics and posts from you as well as more things from your YouTube channel. -
JLS - Thanks for the pic!...just what I was looking for. The only thing I mold in that area would be a sweat shield and while I don't form it ultra tight to the safety, I do want the safety to be in the proper, "locked" position so that I get the correct profile molded into any leather that might be there. Not a big thing to some...just my preference.
-
Yep, Glockanator...I could do that...probably even have a couple of those in my spare parts bin. Otherwise, a GI or cheapo one isn't to big a deal to modify for such a purpose. I also have to wonder if the Ring's photo I posted is an old one...a few of their other C&L models show the safeties in the correct position (Springfield 1911 full size). I'm wondering if someone here might have a recently produced new one to confirm whether or not the safety is up or down.
-
A little help here, please. I need to construct a holster for a Commander-length 1911 but from studying the online pictures of the Ring's cocked & locked model, only the hammer is cocked...the safety appears to be in the off (unlocked) position. Here's a couple of pics for comparison. Ideas? Suggestions? Modify a Commander "C&L" blue gun so that the safety is in the correct, "up" position...or...could I somehow use my own weapon (the full size 1911 in the pic) to mold the holster? I suspect the latter would pose its own set of issues (different barrel/dust cover length). As always, thanks in advance for the wisdom & wit! Chris
-

Samsung S5 Phone Sleeve
Double Daddy replied to BobW's topic in Purses, Wallets, Belts and Miscellaneous Pocket Items
Fine work...excellent finish techniques...impeccable stitching...that case belongs in a museum, Bob! Great leatherworking! Very inspiring... -

My First Two Tone Holster
Double Daddy replied to Boothill Bob's topic in Gun Holsters, Rifle Slings and Knife Sheathes
Ol' Particle is inspiring, isn't he? Nice work, Bob! -

2 New Wallets.
Double Daddy replied to mrtreat32's topic in Purses, Wallets, Belts and Miscellaneous Pocket Items
Very nice! Beautiful stitch work. And those edges...Wow!...I'm with billybopp...I would be interested to hear/read your particular method. -

Two-Tone Finish, Second Try.
Double Daddy replied to BHPshooter's topic in Gun Holsters, Rifle Slings and Knife Sheathes
Great Job, BHP! And a very nice Hi-Power as well...from what we can see -
Thanks, doubleh!...Bianchi's Cyclone was the inspiration for this one but I changed the loop design a bit and did my own front shield. It didn't even need the snap closure...retention is REAL good...but the customer insisted...give 'em what they want, I guess. I like how it turned out...gonna do one similar for my own Ruger Bisley 45LC pretty soon...but with a little more embellishment. Hey, harnessman...I appreciate the compliment! This holster took me a little while to do..still a newb! The hammer thong was completely redundant...even off the belt, this holster has EXCELLENT retention on the weapon...but, once again, customer preference ruled the day. In this case, it kinda added a bit of charm to the piece.
-

A Pocket Holster Prototype...
Double Daddy replied to Double Daddy's topic in Gun Holsters, Rifle Slings and Knife Sheathes
Hey, Dwight! Thanks, as always, for the reply...I appreciate the input. Sorry for my long response time...contractors at the house doing repairs, 4yr old twin girls, regular day job stuff, etc, etc...you get the drift. Anyway...in answer to your concerns... This design does have a "little" retention, not much...I'll give that the pics do make it appear that its pretty well molded to the weapon. Its made from 3/4oz leather and I went pretty light on the 50/50 resolene finish so its kinda flimsy. Turn it upside down (with a dummy gun inside, obviously ), give it a light shake and the contents fall clear. My concerns were the same as yours in this regard. As I mentioned, I used PCS' design for a starting point, thus the forward cant, which appears necessary to give finger clearance around the grip at the spare mag area while avoiding making the entire package too bulky. In practice drawing, getting my hand IN my pants pocket has been a bigger problem than overcoming any issue with the forward cant (I typically carry IWB). Having said all of that, I agree with you that a straight cant seems WAY more practical...this design was merely a foray into the possibility of carrying a reload without cluttering another pocket with a separate holder or, worse, carrying it loose I have a straight cant, no-extra-mag, pattern that I haven't tried yet...I was just curious to see what this one would look like and to see how small I could make it...it's about 6.5" wide once its molded. As far as printing...you're exacting right. Jeans, work pants, heavy khaki's, overalls, etc = no printing. Dress pants, anything "Sunday-go-to-meeting" not only show right through but typically the pocket lining is too delicate or slick for the "hooks" to grab onto...the whole package wants to either come out or twist up when you go to draw the weapon. Conversely, they're the easiest type of pants for me to get my hands into...go figure! Yep this was a RH model...the pattern was ambidextrous...how one sewn it (which side was front/back) and which leg the unit was curved for would determine handing. I agree with you...it's much safer to keep one's weapon in their shooting hand if possible...that's how I carry my daily setup. As I said earlier this was just an experiment to see what I could come up with. I liked PCS's design for an "all-in-one" package despite those shortcomings you mentioned. You and I both know that the pocket holster market isn't exactly flooded with designs like this...mostly likely for very good reason. I'm kinda curious, however, as to the percentage of sales of PCS' Redoubt design vs the others in their lineup. Me thinks I'll give the no-mag vertical version a try... No worries about about whacking me, either...I'm much too thick skinned. If I didn't want your advice, I wouldn't post the pics. I appreciate the time you take from your busy schedule to extend the advice. Regards, Chris -
Here's some more items I've recently finished. So sorry to flood the wall with posts recently...but I value you LW.net folks' insight...it keeps me steered in the right direction :-) First, a clip-on IWB for a Kel-Tec P3AT...straight cant, black with black thread. Next, a clip-on IWB for a Kahr CW9...Saddle Tan with white thread and some subtle stamping. Cranial flatulence kicked in and I accidently put the makers mark on the front instead of the back but it turned out okay otherwise Finally, a pancake holster for a Smith & Wesson M&P 40...black with white thread and more border stamping. I used an Adams Leatherworks pattern for this one, with some minor changes to the belt loop holes and sweat shield profile. As always, I appreciate the input! Chris
-
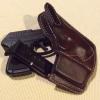
Here's a prototype pocket holster I came up with...to give credit where credit's due, it's inspired by PCS' Redoubt holster design. I added "hooks" at each end so it would grab in the pocket upon drawing the weapon...also brought the leather up high on the slide and doubled it up to give the thumb something to push against...seems to work fine so far. I need to work out the wrinkle under the mag pocket, however. Other critiques? Let's hear it... As always, I appreciate the input! Chris
-

Short & Long Holsters
Double Daddy replied to Rohn's topic in Gun Holsters, Rifle Slings and Knife Sheathes
Great looking work...real slick extension, too!


