


AlexOstacchini
-
Posts
159 -
Joined
-
Last visited
Content Type
Profiles
Forums
Events
Blogs
Gallery
Store
Everything posted by AlexOstacchini
-
Swiss Army knife Cases
AlexOstacchini commented on AlexOstacchini's gallery image in Gallery- Our Leatherwork
 That's very kind, thank you, though plenty of people here are far better than I am. Around 6 years now- I am lucky enough that a lot of my day job involves leatherwork in some capacity which has helped to build up experience
 -
Swiss Army Knife cases
AlexOstacchini replied to AlexOstacchini's topic in Gun Holsters, Rifle Slings and Knife Sheathes
Thanks all Well spotted, this has been pointed out elsewhere too and now is starting to bug me every time I look at them- I have ordered a new setting tool and I think I will drill out and replace the caps when it arrives Cheers! Alex -
From the album: Alex Ostacchini Arty Things
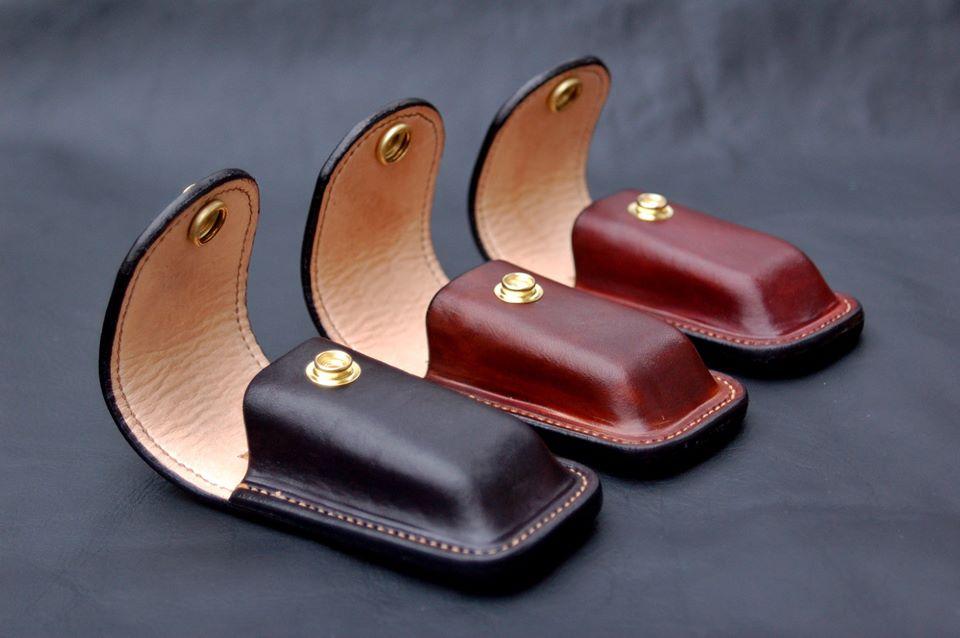
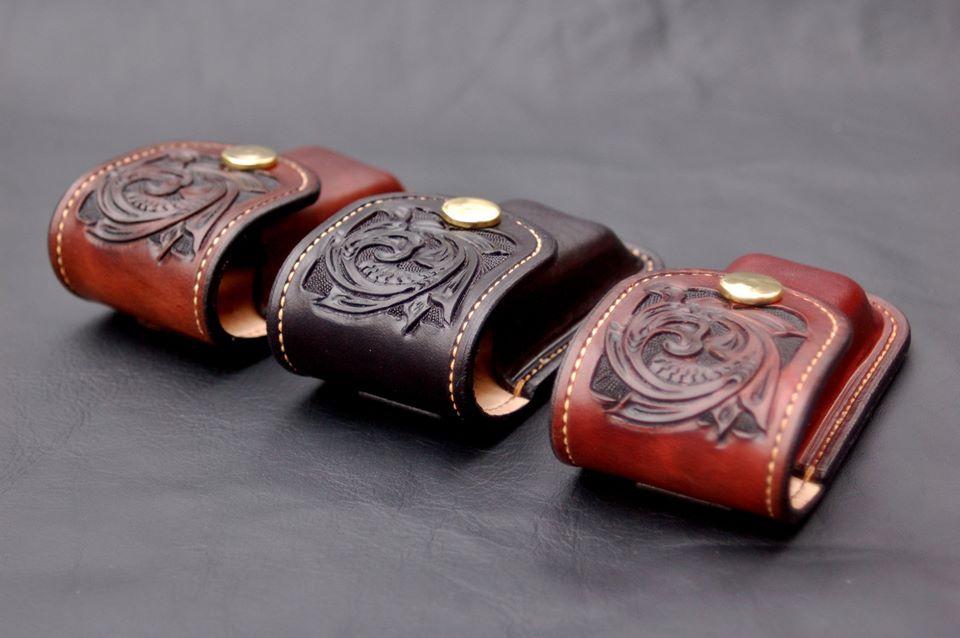
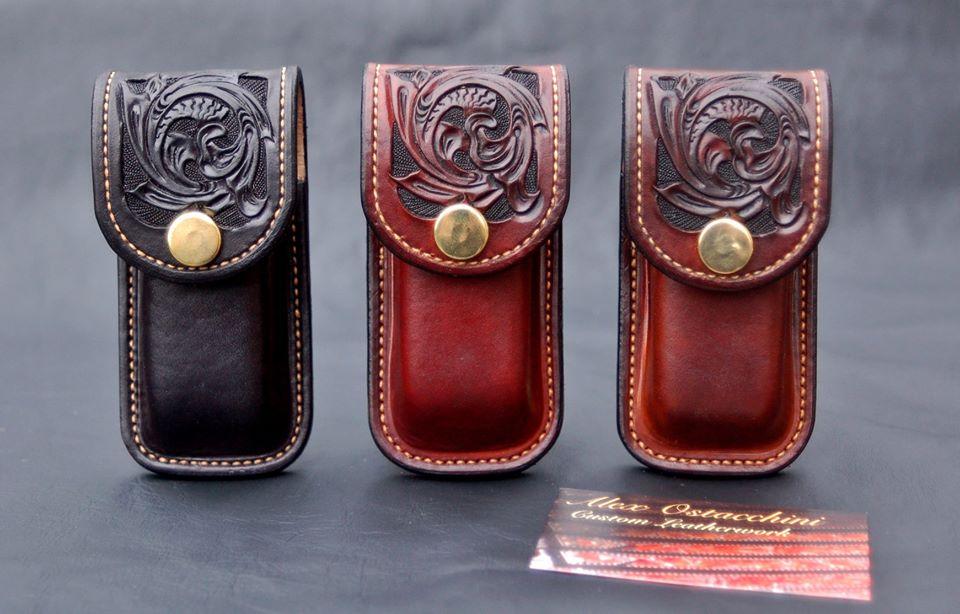
Wet formed swiss army knife cases- Hand tooled stitched and lined. -
From the album: Alex Ostacchini Arty Things
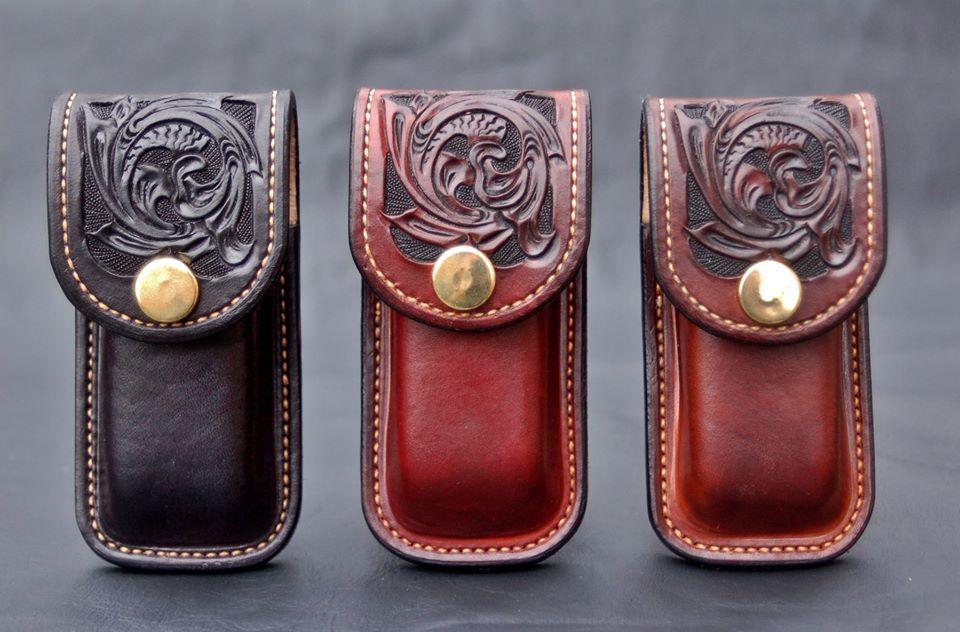
Wet formed swiss army knife cases- Hand tooled stitched and lined. -
Swiss Army Knife cases
AlexOstacchini replied to AlexOstacchini's topic in Gun Holsters, Rifle Slings and Knife Sheathes
Thanks Lined, I am nowhere near neat enough to leave them natural lol, in fact part of the reason I line this kind of thing is to cover up splodges of antique/dye etc... -
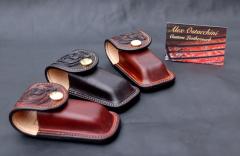
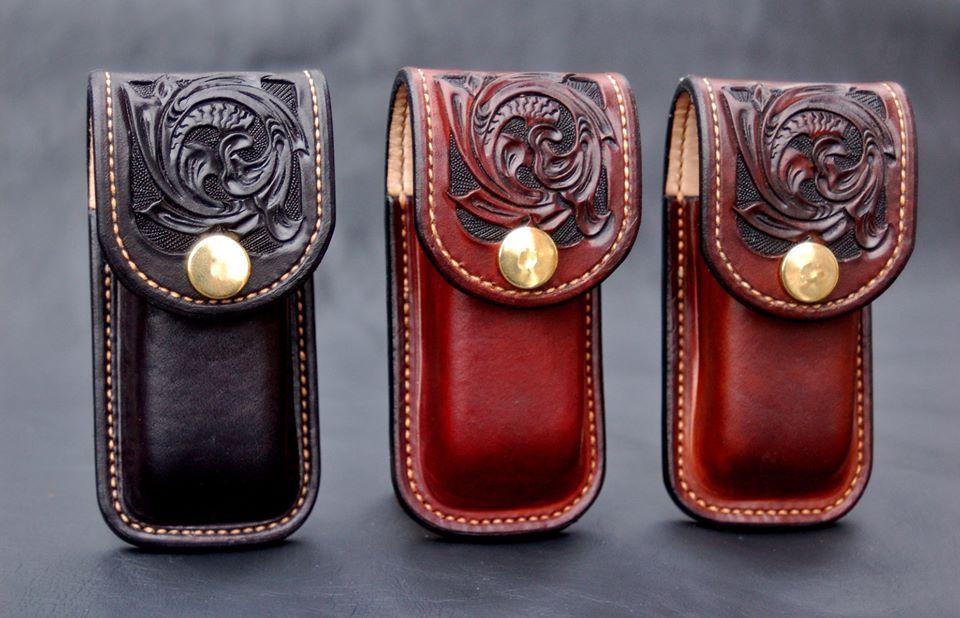
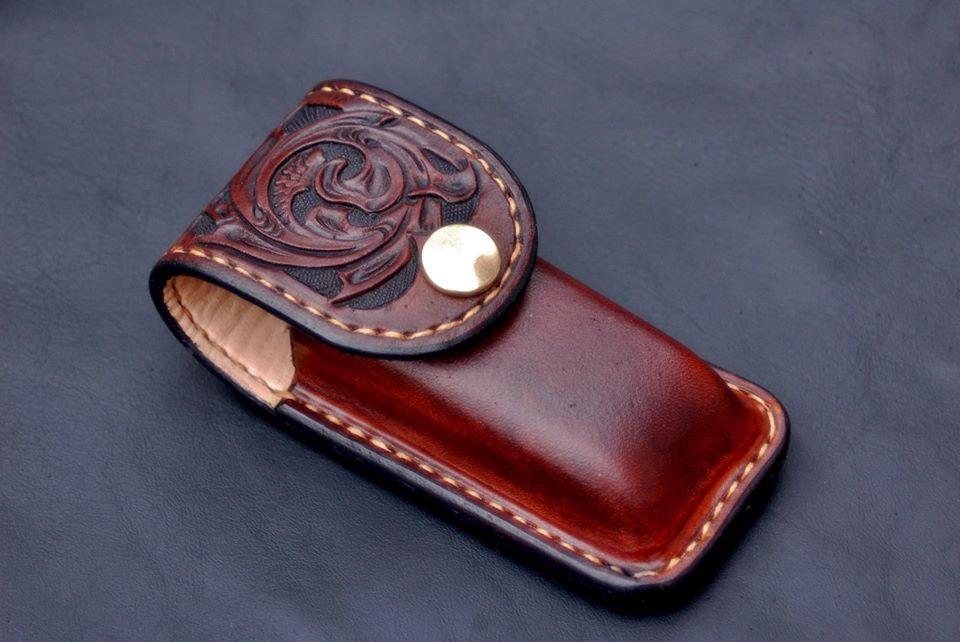
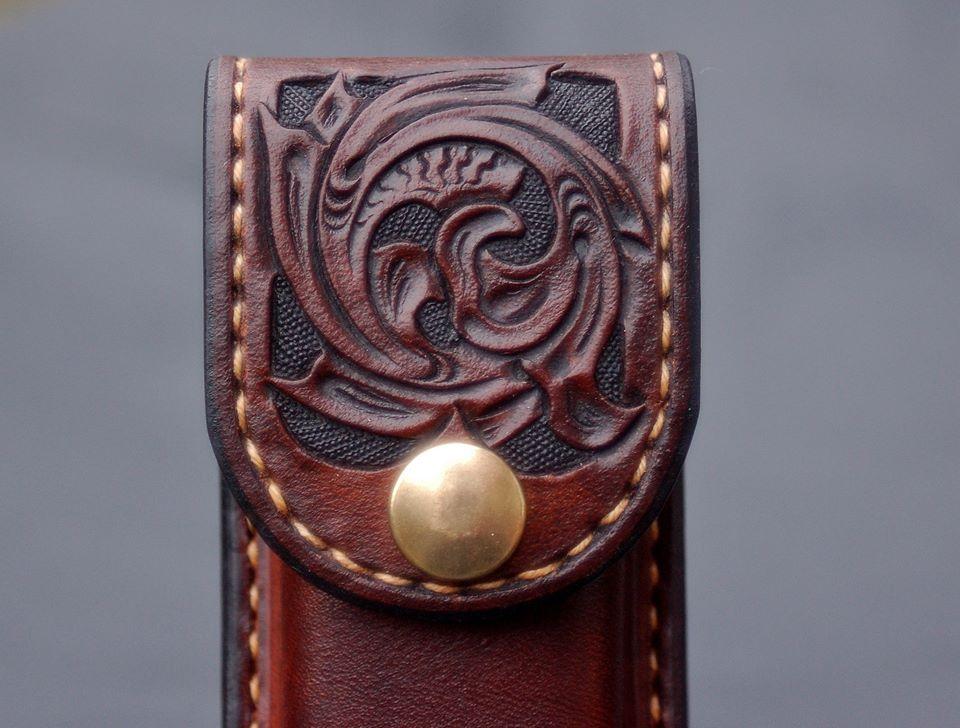
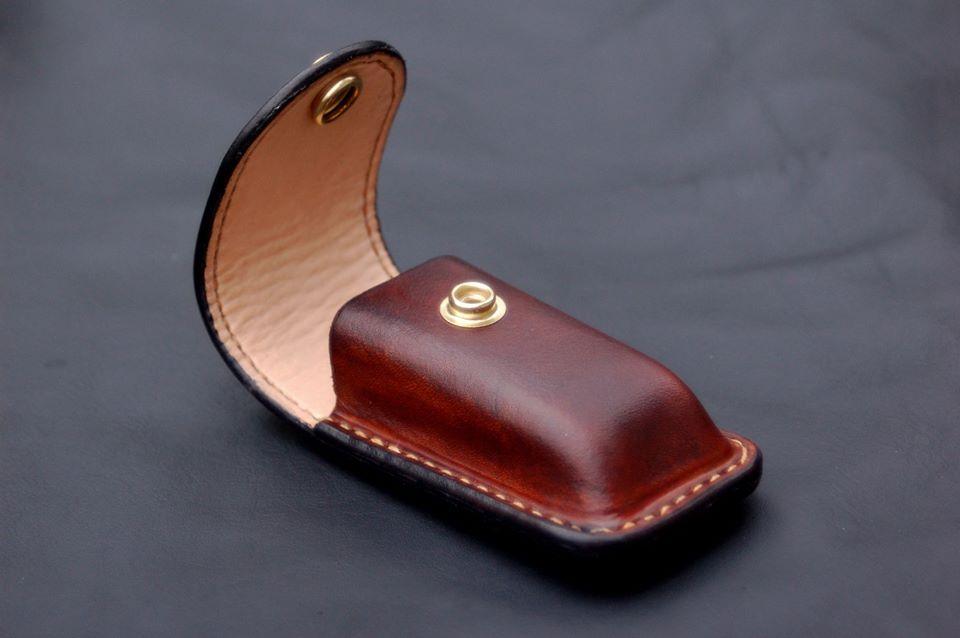
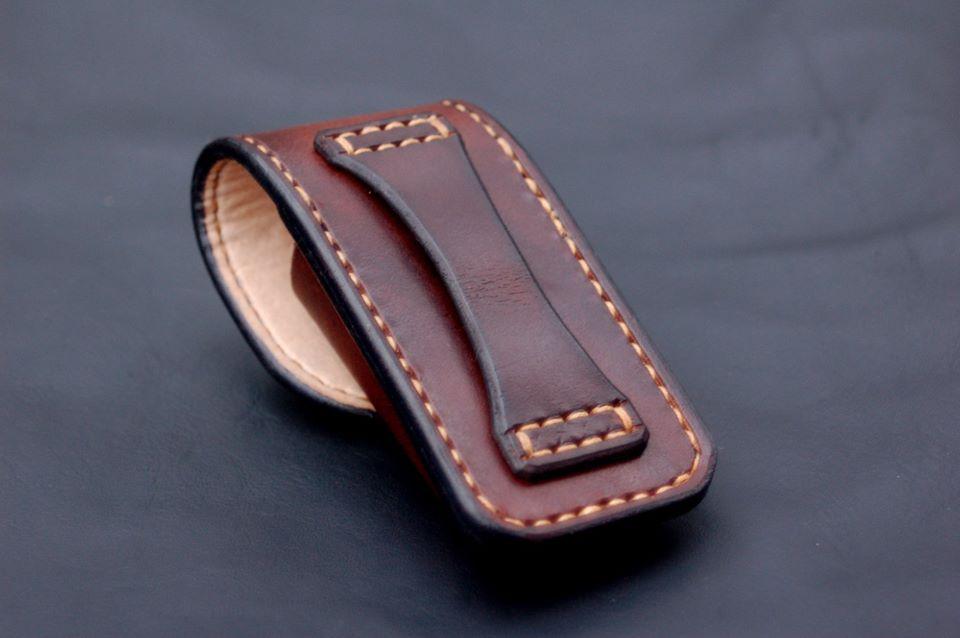
Hi all, Not a repost I promise. I made one of these for myself a couple of weeks ago and had some spare time, so made a small batch as stock pieces with a few design changes. I was not particularly happy with the stitching first time round so went for a much tighter stitch on these, which goes around the bottom corners much better and is generally more appropriate for a smaller case anyway I think. The overall proportions have also been very slightly tweaked. These are all wet formed directly around the knife, and hand tooled/stitched etc. Colours are fiebings pro, black, mahogany and dark brown, with natural veg tan liners. I hope you like them Cheers Alex

-
Couple of Purses
AlexOstacchini replied to jamesn's topic in Purses, Wallets, Belts and Miscellaneous Pocket Items
These both look great, very cleanly executed and all those piped edges are very nice -
Finished this sheath today
AlexOstacchini replied to Rossr's topic in Gun Holsters, Rifle Slings and Knife Sheathes
lovely stuff, have just recently got into knife making too so very interested in this kind of build Not leather related but how do you go about heat treating the o1? Would like to try it but have read mixed things regarding the importance of soaking time during hardening so don't know how appropriate it would be for a noob like me Great looking knife and sheath Alex -
Swiss Army Knife case
AlexOstacchini replied to AlexOstacchini's topic in Gun Holsters, Rifle Slings and Knife Sheathes
Thanks all Fiebings pro dark brown, with tan kote, then leather balm/atom wax and buffed Alex -
Swiss Army Knife case
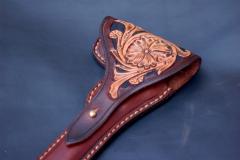
AlexOstacchini posted a topic in Gun Holsters, Rifle Slings and Knife Sheathes
Hi all This is a leather Swiss army knife belt pouch, made to replace my old faithful victorinox one bought around 10 years ago. The case has been wet formed directly around the knife, hand stitched, and tooled with a little bit of western acanthus stuff. The main reason the old one failed was because of the velcro flap, so this one has a press stud instead, which I think is better. The back piece has a veg tan liner, I always tend to do this and it is as much to hide any horrible dye blotches as it is to make a nicer product... Not the greatest stitching in the world on this one, the main offenders being the horrible spacing around the bottom corners, but as this was for me and not a customer i'm not too fussed about that. Also please ignore the business card, this is not an advert, but these are the photos I have. I hope you like it, Cheers Alex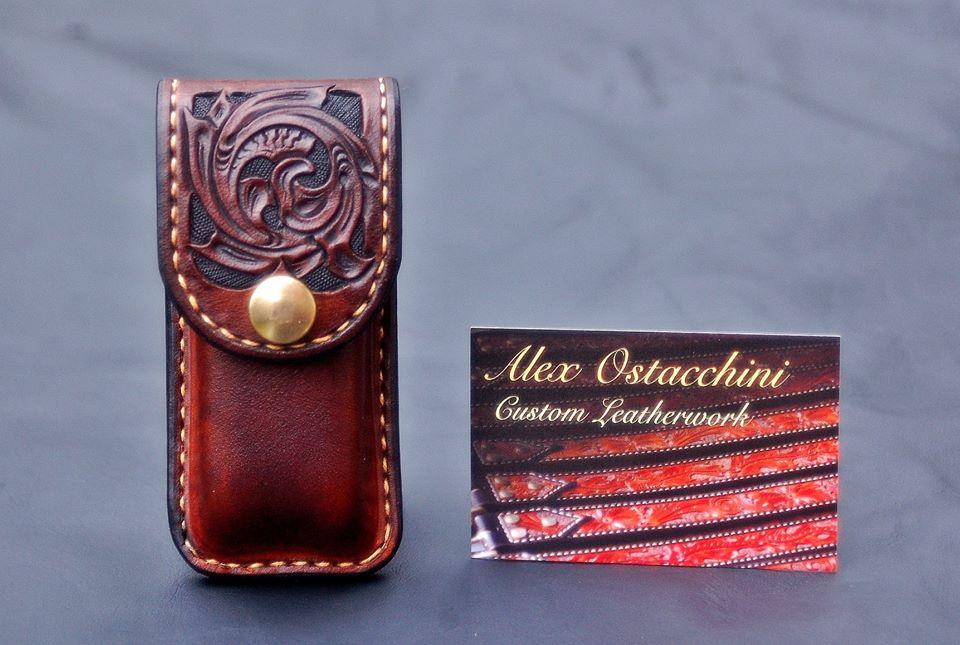
-
Cooking knives
AlexOstacchini commented on AlexOstacchini's gallery image in Gallery- Our Leatherwork
 Thanks, very new to knife making so comments like this are very helpful- will go pointier next time!
 -
lovely stuff, echo everything that's been said really. Looks like a good few hours of lacing there Can definitely relate to the rabbit hole feeling... Also very jealous of workbench setup I want one
-
Knives and Sheaths
AlexOstacchini replied to AlexOstacchini's topic in Gun Holsters, Rifle Slings and Knife Sheathes
In all honesty I suspect you are right, and it isn't the most optimal design really, but with a little care after use I don't think it should be a problem. As these are carbon steel rather than stainless they already need a bit of extra attention, so it's just another step to the cleaning process I suppose. Originally I had wanted a sharper bend on the brass but the thickness made it difficult. Cheers! Alex -
Cooking knives
AlexOstacchini commented on AlexOstacchini's gallery image in Gallery- Our Leatherwork
 Thanks, It was only due to time really that these did not have a welt. The join also has a glue line which extends past the stitches so hopefully this will help protect them to some degree, but i agree that it would have been better with another layer in there
 -
Knives and Sheaths
AlexOstacchini replied to AlexOstacchini's topic in Gun Holsters, Rifle Slings and Knife Sheathes
Yup, that's exactly right, it's just a personal preference thing really. This one was Fiebings Spanish brown. cheers, the folded sheet bolsters were actually a design element stolen from 14th-15th century eating knives, and in this context at least is very common, though in the originals they tended to end after the first rivet rather than extend all the way down the tang. I don't think I have seen it in any modern application but was something i'd wanted to have a go at for a while. Thanks all! -
From the album: Alex Ostacchini Arty Things
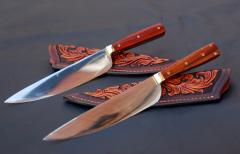
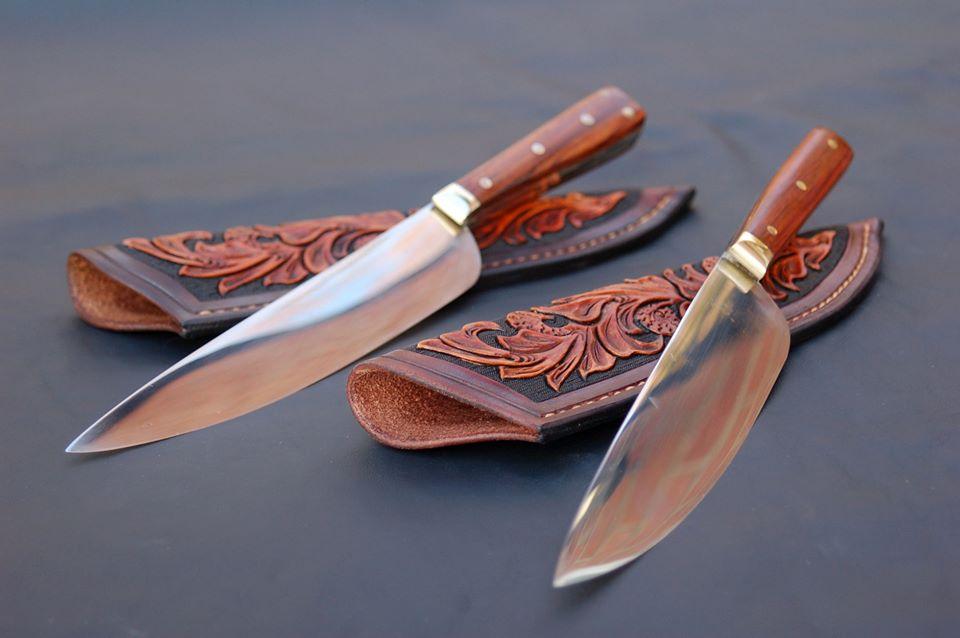
Hand forged chef's knives with cocobolo handles and tooled sheaths -
From the album: Alex Ostacchini Arty Things
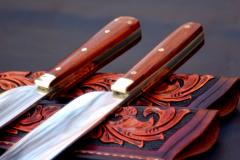
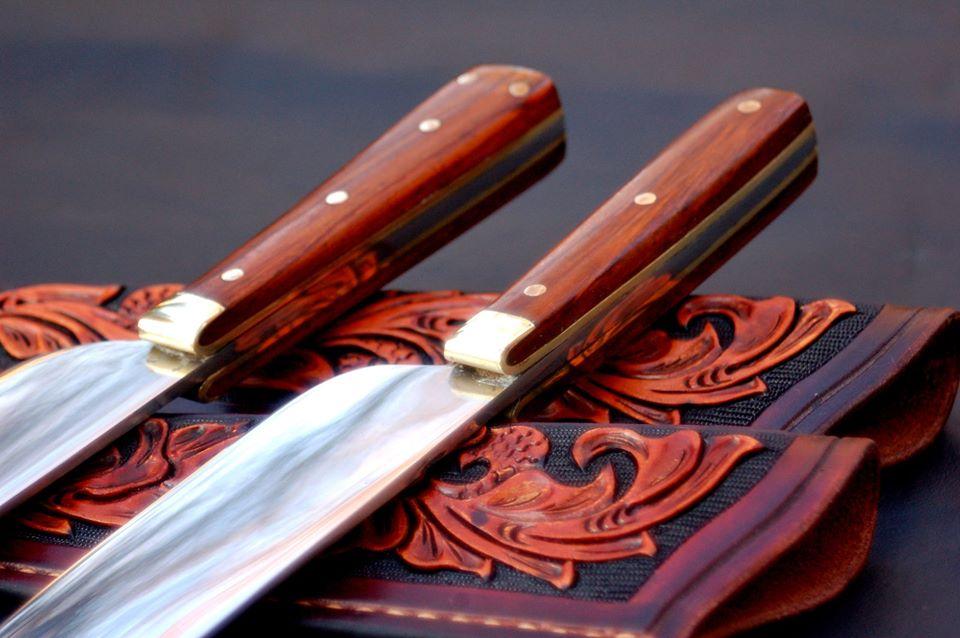
Hand forged chef's knives with cocobolo handles and tooled sheaths -
From the album: Alex Ostacchini Arty Things
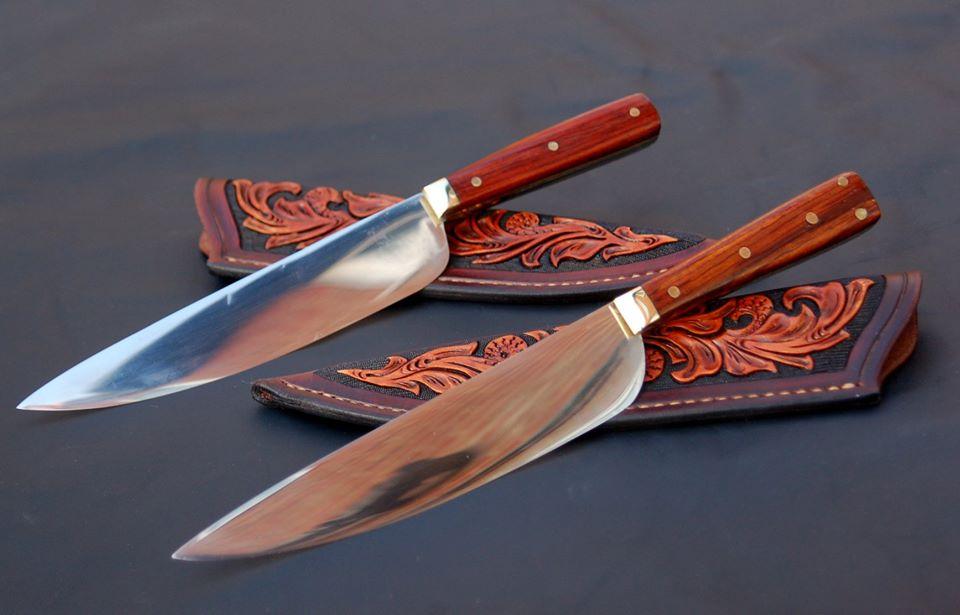
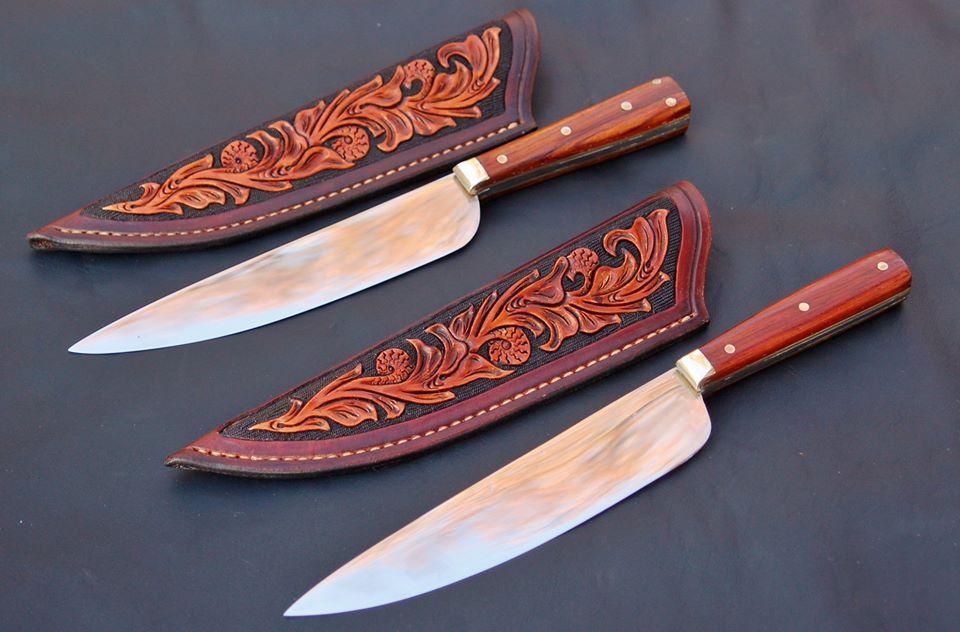
Hand forged chef's knives with cocobolo handles and tooled sheaths -
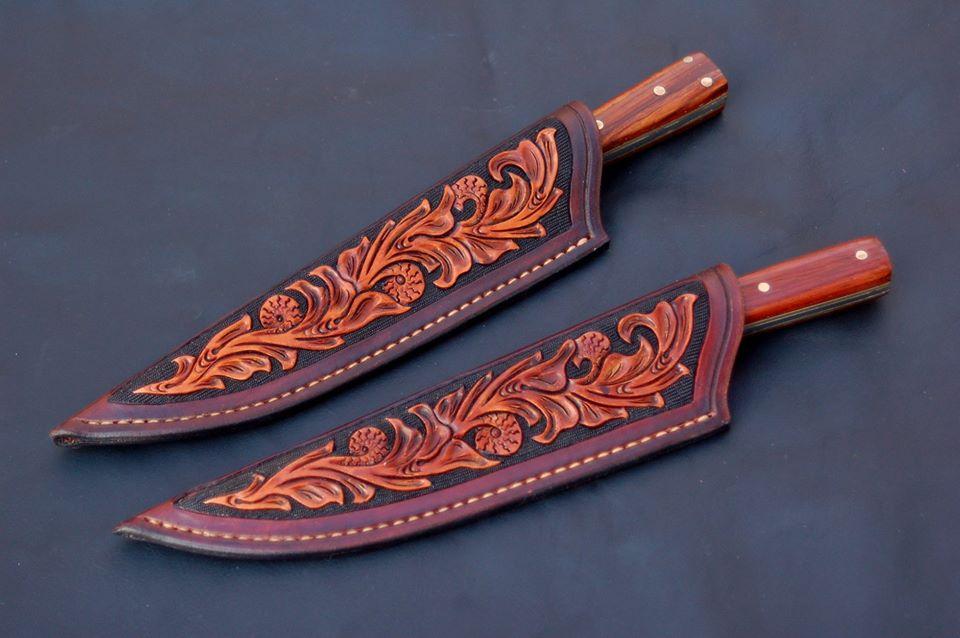
Hi all, Here are a pair of kitchen knives and sheaths, made as Christmas presents for my parents. Originally I had planned for them to have different sheaths but simply ran out of time to design something new, so they are the same except for a subtle colour change on the borders. For an outdoor belt knife I would have added a welt or put the seam down the centre on the back, but as this is just to protect the edge while they sit in a drawer or something I think the simpler design shouldn't be a problem and I doubt there is much chance of them slicing through the stitches. The tooling is of course some Western swirly acanthus stuff, and due to the lack of belt loops is on both sides. Stitching is by hand and is with waxed linen. For anyone interested in the knives themselves, they are both hand forged from 1080 high carbon steel, with cocobolo grips and sheet brass bolsters which extend down the tang. A little more time would have been preferable really but overall quite happy with the end results. I hope you like them and Happy Christmas everyone! Alex
-
Tooled Floral Belt
AlexOstacchini commented on AlexOstacchini's gallery image in Gallery- Our Leatherwork
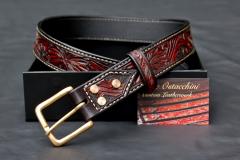 Many thanks Thinner veg tan is the standard I think but I've always used upholstery leather- This particular one is remnant automotive upholstery, which I figured should be good at taking wear and tear.
 -
 Please do! I'm not particularly experienced and that's the reason for posting here, so suggest away and I will be very happy to take on advice
 -
Tooled Floral Belt
AlexOstacchini commented on AlexOstacchini's gallery image in Gallery- Our Leatherwork
Cheers, this was fiebings mahogany I believe, with black antiquing paste and tan kote over the top -
Tooled Shoulder Bag
AlexOstacchini commented on AlexOstacchini's gallery image in Gallery- Our Leatherwork
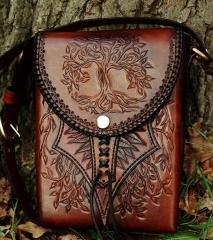 Thanks for the kind words, this was actually made quite a few years ago when I first started leatherwork as a present for my then girlfriend. To give an idea of how clueless I was, every stitching hole for this (you can't see the seams here but they are on the sides) including a five piece liner was punched one at a time with a scratch awl and rubber camping mallet... Not sure I would have the patience now!
 -
Tooled Handbag
AlexOstacchini commented on AlexOstacchini's gallery image in Gallery- Our Leatherwork
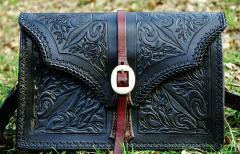 Many thanks This was actually made quite a few years when I was first getting into leatherwork and the pattern was just made up- I am a history nerd at heart though and the fleur-de-lis and vines on this were mainy due to them being common motifs on medieval leatherwork
 -
Couple tooled belts
AlexOstacchini replied to Rolandranch's topic in Purses, Wallets, Belts and Miscellaneous Pocket Items
I can relate very much to this! I design my stuff on paper first and now always take the time to heavily shade in the background to give a better overall impression on how things will look- Only a simple thing and you may do this already but it really helps for me, I think the eye just kind of blends them together otherwise and it's difficult to tell how much background you really have. That said, the belts you have made really look excellent. I wish I was making things half as nice as that when I was 18. I would echo the comments about perhaps extending the liner but overall superb work, very beautifully and professionally done.