


Evo160K
-
Posts
497 -
Joined
-
Last visited
Content Type
Profiles
Forums
Events
Blogs
Gallery
Everything posted by Evo160K
-
This website will show you pictures of the various Singer 45K subclasses. http://www.industrialsewmachine.com/webdoc1/used/used-singers/45k.htm
-
Are You Able to Identify this Simanco Part?
Evo160K replied to Evo160K's topic in Leather Sewing Machines
@ Constabulary Good to know. Thank you. @ Catskin Thank you. -
Are You Able to Identify this Simanco Part?
Evo160K replied to Evo160K's topic in Leather Sewing Machines
Thank you one and all. Uwe, you nailed it, great information. Thank you. Thank you Suzelle and thank you Machinehead. Looks like the Singer Class 7 uses a similar part also . -
Thank you.
-
That would great, Simran, thank you. You can post it or pm it. How are your K69 and treadle doing? Do they get much use?
-
Interesting technical paper from A&E. http://www.amefird.com/wp-content/uploads/2010/01/Seam-Engineering-2-5-10.pdf
-
These manuals may be useful. The Service Manual among other topics discusses needle classes and sizes, also needle size vs thread size..... pages 6 and 7. http://dixiesewingmachine.tzo.com/MANUALS/SINGERSERVICE/17-Inst.pdf http://dixiesewingmachine.tzo.com/MANUALS/SINGERPARTS/17-1 - 17-18.pdf 16 X 2 is the class of needle the 17-16 machine uses for leather goods, 16X1 is for cloth goods.. The class has to do with the length, point, etc. of the needle. Others who know for sure may comment. Within those classes are the sizes (diameters) of the needles that were available.. They are sizes 7 through 25, excluding 15 and 20. The service manual and parts manual are invaluable.
-
It's definitely better if the seam/material lays in such a way it will facilitate rain water to flow off (like roof shingles), otherwise it will "pool", soak through the seam/needle holes and wet the inside. I use a layer of strong, plastic film just under the cover as a moisture barrier. I started doing that after I noticed Harley had done it on my oem seat. Exposed stitches look good on auto seat covers; however, on motorcycle seat covers, they can become quite abrasive after riding for a while.
-
In spite of a caution from me based on comments I had read on LW, a friend bought one of the hand crank overseas models, cost about $135. At first he was disappointed because the casting and parts were so rough, and it didn't sew well. After smoothing and adjusting most everything on the machine, he's extremely pleased with it. The fellow has a machine shop, so refining the machine wasn't difficult for him.
-
Thanks Wiz.
-
Wiz, are you able to post a pic or two of your darning attachments? Thank you
-
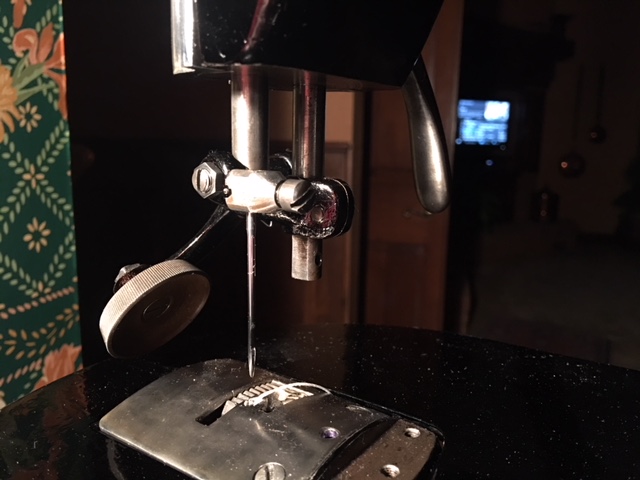
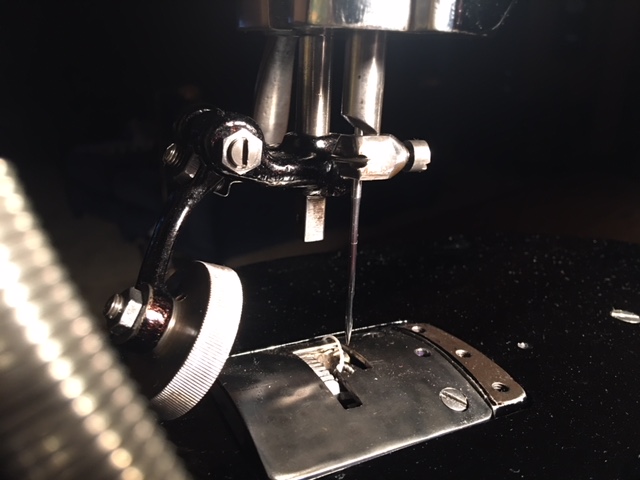
What are the chances of the attachment in the video or something else working for darning? It looks pretty slick. https://www.youtube.com/watch?v=W_UqIpYuRg Here's my machine:
-
Klutes, in case you're not aware, removable work plates are available for many patchers. My Claes has a wooden one. I've not thought about it, but I suspect a multi directional/"rotating" edge guide could be dreamed up for it if necessary.

-
Hi Glenn, Thanks for your reply. I was thinking like you, even mentioned it in the op, but when I tried it, I couldn't move the fabric, seems like the presser foot was always down, and large knots developed on the underside. The foot needs a lifting mechanism, which is what Constabularly was saying above.
-
Just acquired a vintage claes patcher
Evo160K replied to Arawlings702's topic in Leather Sewing Machines
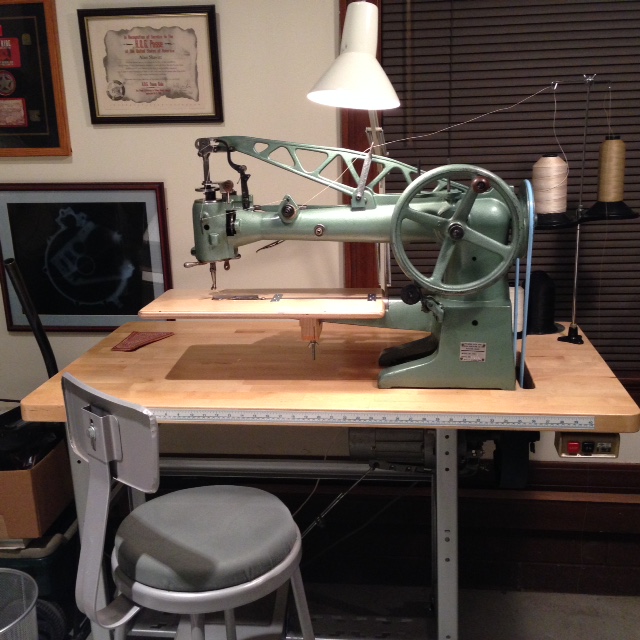
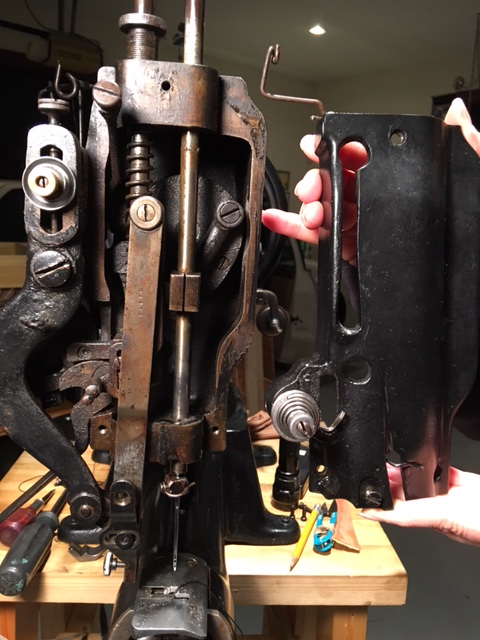
Wonder how it happens to have a Singer decal? Here are pictures of one I restored. I tore it down to the casting. Let me know if you need other pictures, I have many from the teardown. If it turns out you don't restore it, but part it out, would you please let me know, I need a part or two. Most parts are still available, although pricey. The movie shows some of the backside. IMG_2999.MOV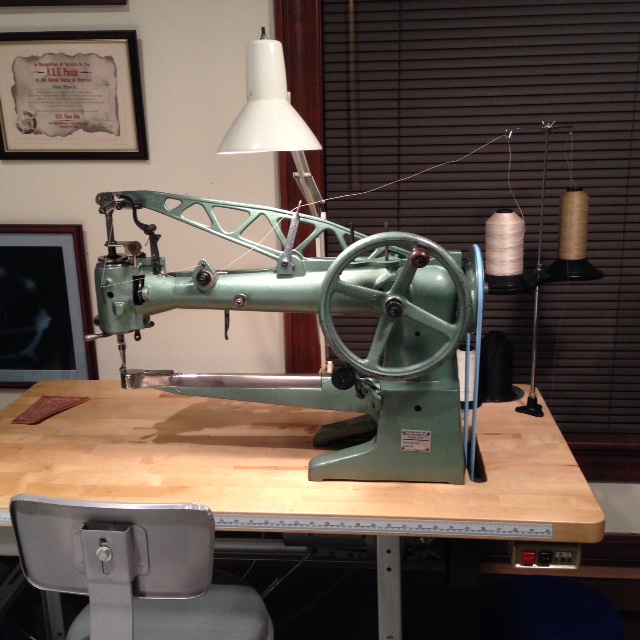
-
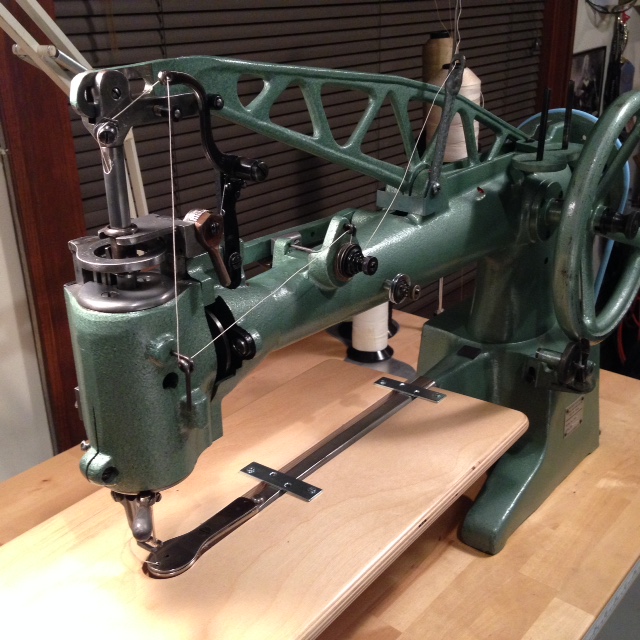
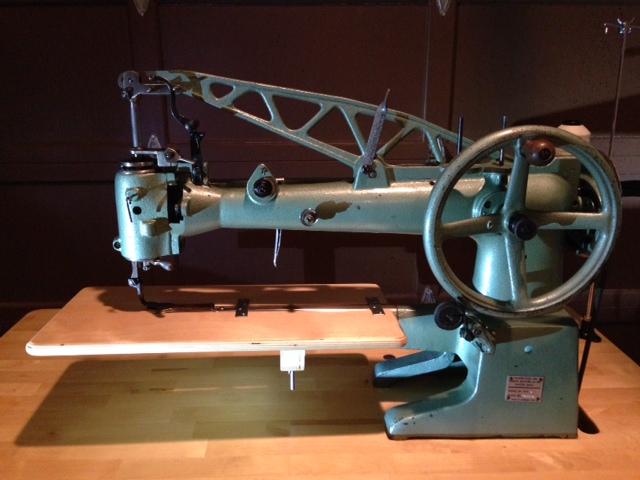
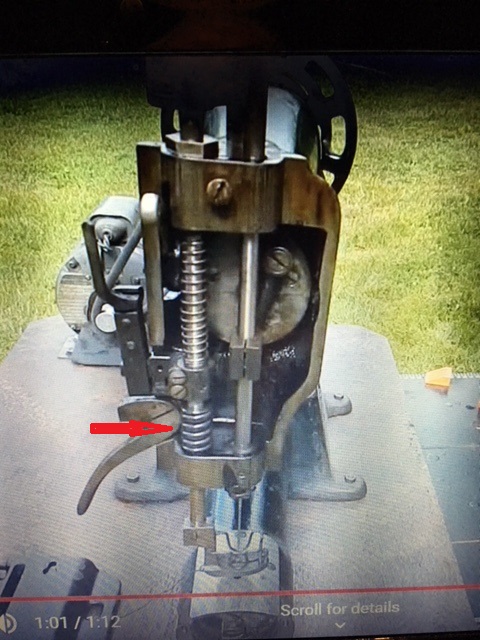
Folker, thanks for the information and your pictures, they explain the issue well. With the K25 subclass, I don't see a practical way to make it darn; the head casting doesn't have a hole for the plunger. Do you see any other way to darn with the K25 or the 45K53 which has individually controllable over and under feeds, the top feed is a jump foot? Here are a couple of the K53, the foot is off in the first picture (disregard the arrows):
-
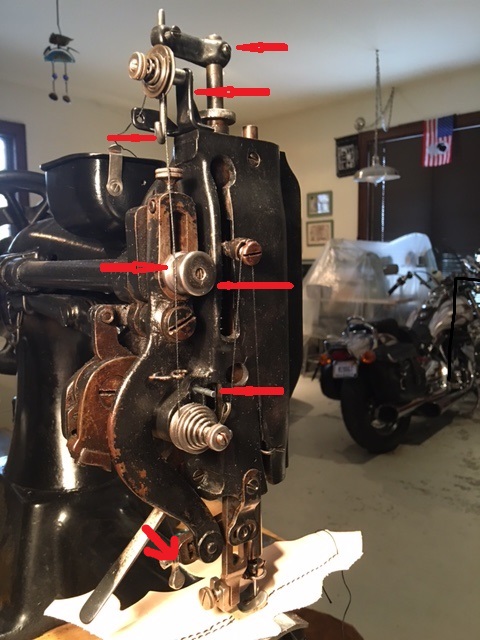
What would be involved in using a Singer 45K25 (bottom feed) occasionally for darning? I'm thinking it would need at least a needle plate with just a needle hole, the feed dog removed, stitch length set to zero, the roller foot removed, a rebound spring added on the presser bar like the one shown by the arrow in the picture (it's the Singer 45K76 darning machine in the video https://www.youtube.com/watch?v=S1MCZ138rAQ ). Surely there's more to it. Thank you, thank you very much.
-
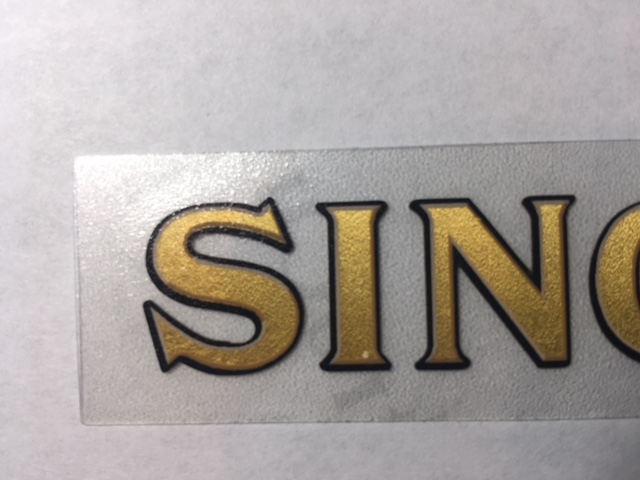
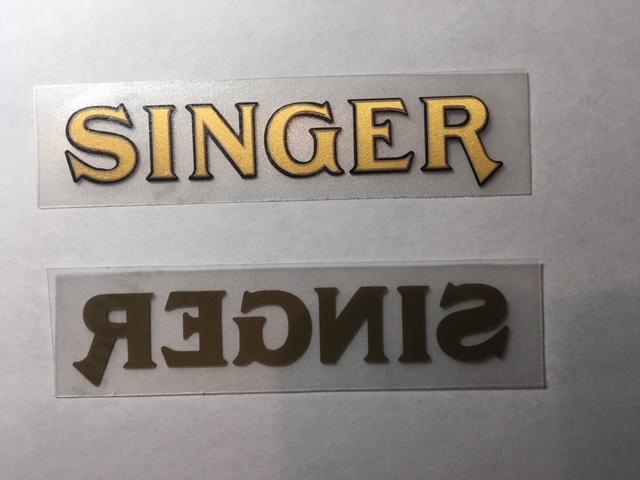
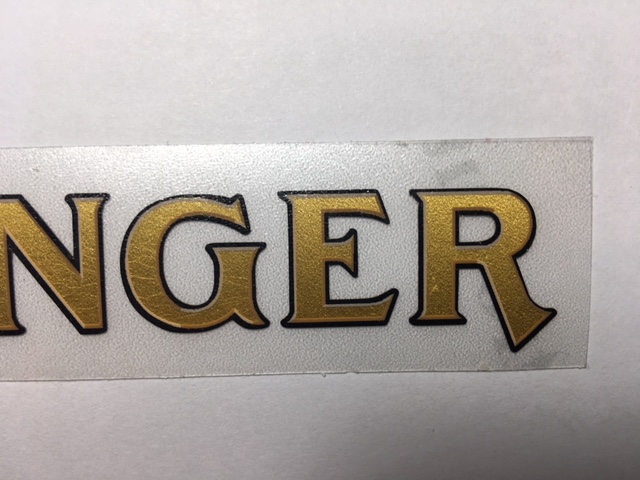
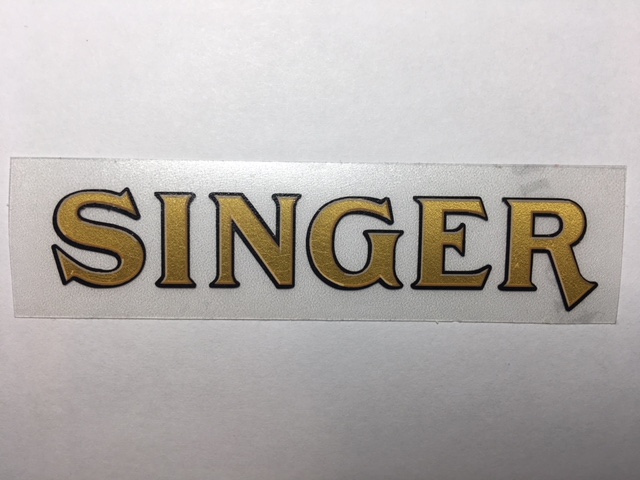
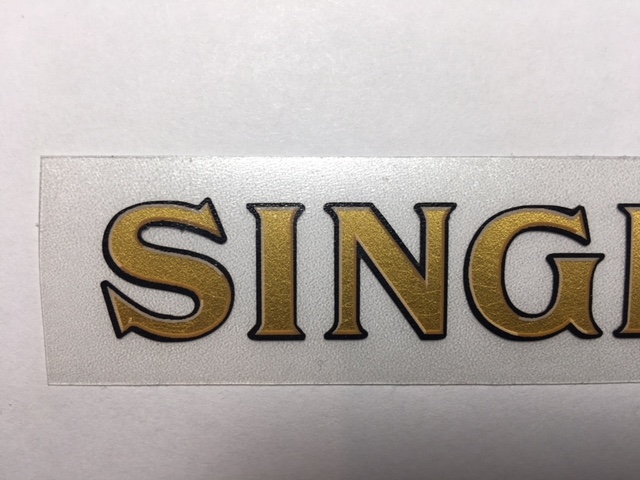
Hi Tony, Yes, the decals are actually 23kt. gold-leaf like Singer's (and Folker's) originals, they also have the tan color and straw color highlights. I don't have a machine needing decals at the moment, so I haven't applied them, but I don't anticipate a problem; they're pressure sensitive decals, no water involved, there's a peel-off film on the machine side that exposes the adhesive and a peel-off film on the front side that exposes the gold-leaf. They can be clear coated, but I'm told it's not necessary. The fellow expressed some concern about copyright laws, if any. The price is $10 per piece plus shipping with a minimum of 20 pair. Do you think some of the others would want to participate in that minimum? .
-
Dufresne, Any pictures you can share?
-
Repair manual for the Claes shoe patcher 20
Evo160K replied to Dufresne's topic in Leather Sewing Machines
Dufresne, Unfortunately I don't have a repair manual, sure wish I did. I have only a parts and operators manual, which is in several languages including English..... I believe it's a factory manual. If you would like a copy of what I have, would you PM your email address and your street address? I'll get it off to one of the two. -
Violin bow rosin was recommended to me, it worked pretty well.
-
If it were my machine, I would take it to reputable cast iron welding shop and get their opinion and estimate for repair (with the shaft out). Regarding removing the top shaft, I can only say it wasn't that big of a deal with my Claes 8345 patcher. Removing the taper pin holding the handwheel onto the shaft was the big deal, I couldn't decide which way the pin went because of my inexperience (the ends were somewhat deformed) and lack of instructions. In your case, if there is a taper pin, it may be in the handwheel and off of the machine, in which case removing the shaft should be straight forward. Iirc once my machine was reassembled, I realized the shaft could be removed without totally stripping the machine. Perhaps the professionals will comment on that for the Pfaff 193 Btw, when you go to remove or replace a handwheel, don't beat it on or off the shaft, lock the internal gears with a block of wood or similar and rotate the handwheel while pulling or pushing. Be sure the shaft and insides of the handwheel are free of burrs, smooth (a micrometer helps) and lubricated. Regarding your doubt about the hardness of the 193 shaft, fwiw, I needed to true-up the end of my Singer 45K25 shaft recently to re-install the handwheel, it filed/sanded easily, so it wasn't too hard. Best of luck with it.
-
Hi Tony, Thank you for the kind words. The nickel coated flywheel and face plate were on the machine when I received it, it must have come that way from the factory, nickel was an option. Yes, the decals did come from Folker. As far as applying them, I coated the back side of the decal, the side that goes next to the machine, with Microscale Micro Metal Foil Adhesive MI-8 and followed the product instructions. After letting them dry for a couple of weeks, I took a rubber eraser and metal eraser shield and carefully removed the adhesive that had squeezed out. For a protective coating, I used the Microscale Micro Coat Satin MI-5. It's been a couple of weeks now and it's quite hard to the fingernail. All in all I'm ecstatic with the result. While all of this decal search and research was going on, I ran into a fellow who said he could duplicate those Singer decals using real gold-leaf flake. Well I had my doubts, but here's the result. Enlarge the images and you'll see they even have the tan edging on the right sides and the straw color edging on the left sides like on Folker's original decals. The front and rear carrier films are still in place, so I'm sure the gold-leaf and colors will be even more vivid when they're removed. I've asked for another sample pair with slightly narrower black edging and wider tan and straw edgings... closer to the originals.
-
Really enjoy following your work, Jimi. You and some of the others are an inspiration. Makes me question my decision not to restore any more machines.
-
@ Scoutmom103 Thank you for your kind words. @ ljk Thank you for the instructions. They'll be helpful when making adjustments.