bikermutt07
-
Posts
5,016 -
Joined
-
Last visited
Content Type
Profiles
Forums
Events
Blogs
Gallery
Store
Everything posted by bikermutt07
-
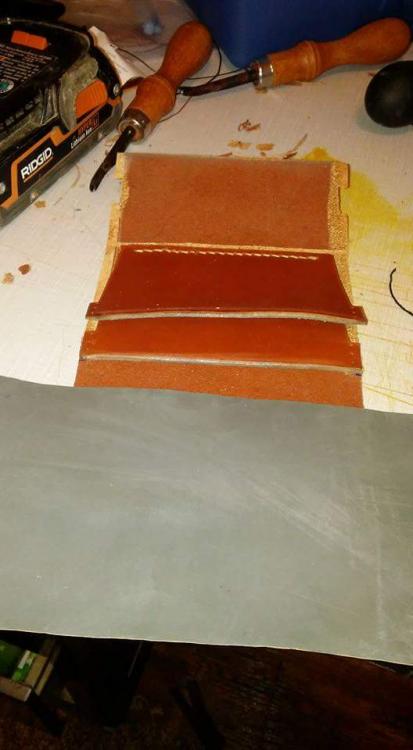
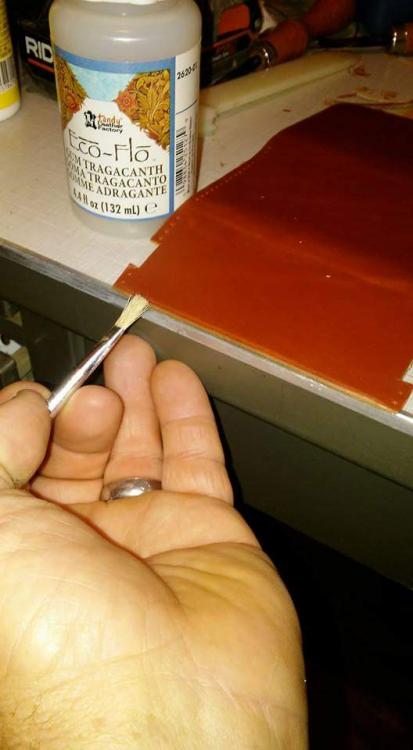
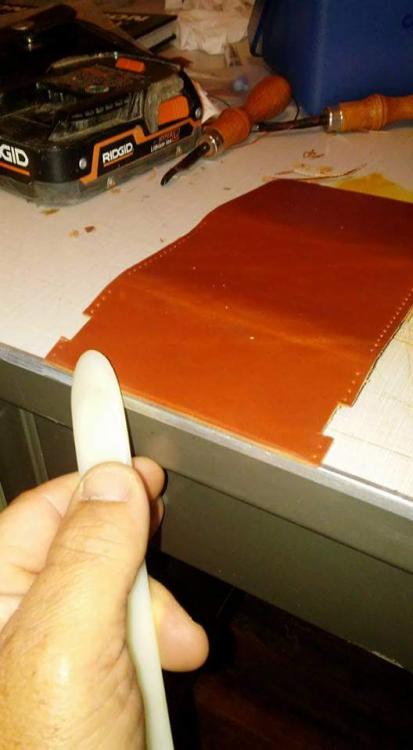
On to sanding and burnishing. First, I beveled the outsides of the tops of my pockets. For now we only want to finish the edges that we won't be able to get at once we assemble everything. Make sure and spend ample effort on them now, because once we start sewing we can't get to these spots. If you have some brown or tan sandpaper, use that. I used grey automotive paper and it turned my edges grey. I sanded from 400 to 1000 grit. Now, you can feel free to burnish how ever you see fit. It's not something that has only one working procedure. For this project, for myself, I am going to use the gum trag. I paint very thin layers like this. Notice how I am using the desk as a guide. Now wait a good 5 minutes or so. This was revealed to me the other day in a post. No matter the method if you attack the edge to early it will mushroom like this. After waiting 5 minutes I attacked at full speed. I am really liking this tool over the Tandy wooden burnisher. Now remember you have to create enough heat to slick the edge. It takes some pressure and lots of speed. Did I mention wanting to get a burnisher for my electric motor yet? I am using the edge of the desk and my off hand to hold the piece from buckling.

-
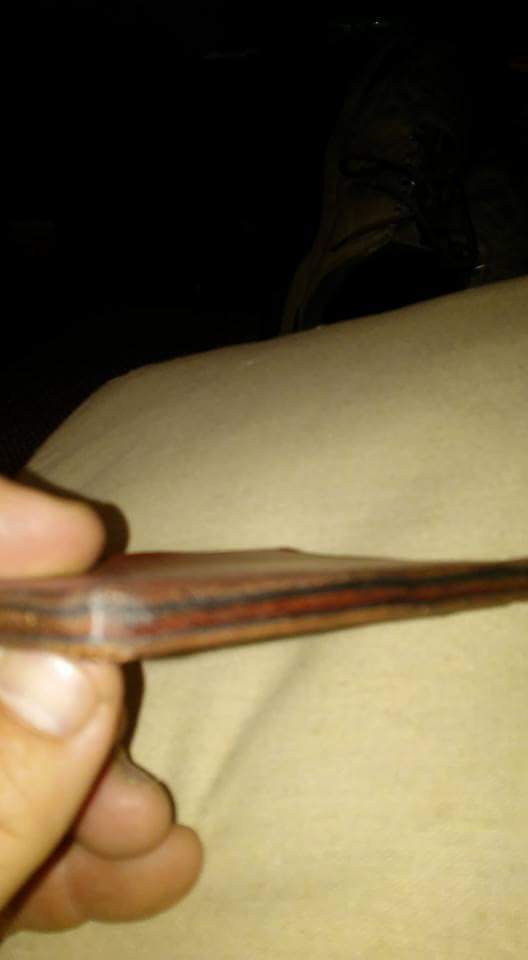
Thanks, I'll look into getting a better one down the road. I was able to get my pieces down to around a 16th so that should be ok. I think.
-
It didn't seem like it was very hard to do. What is a French skiver normally used for?
-
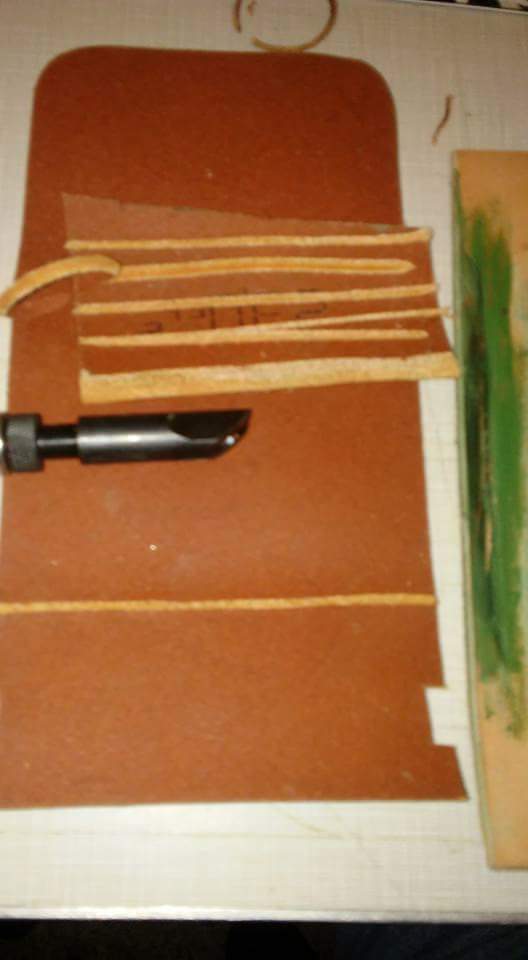
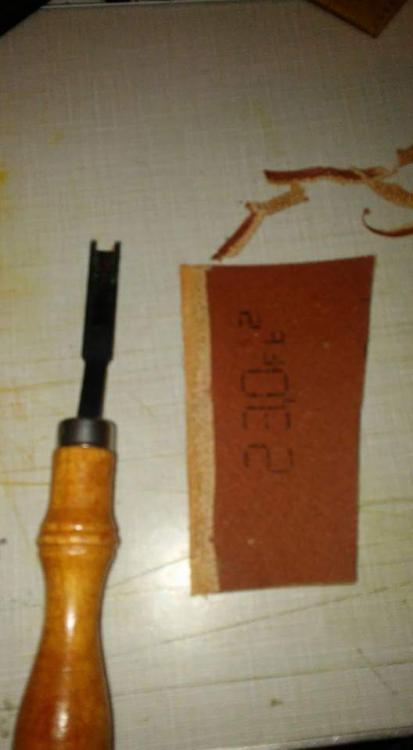
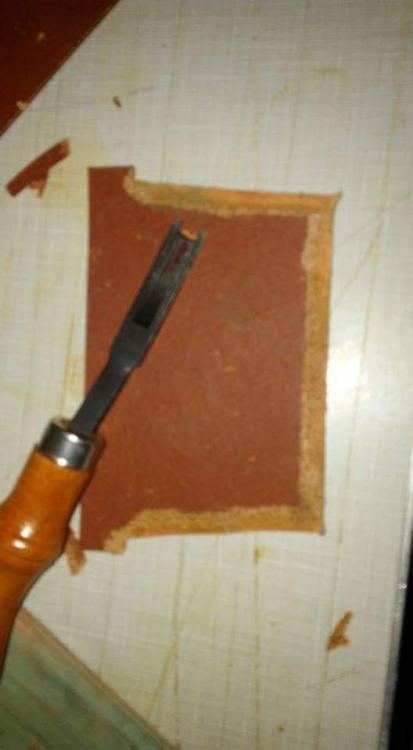
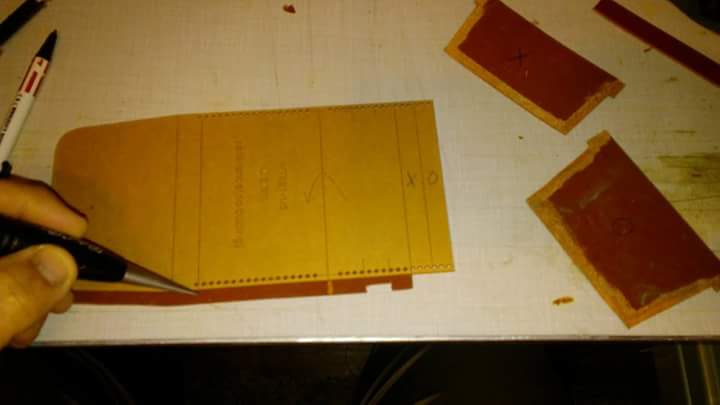
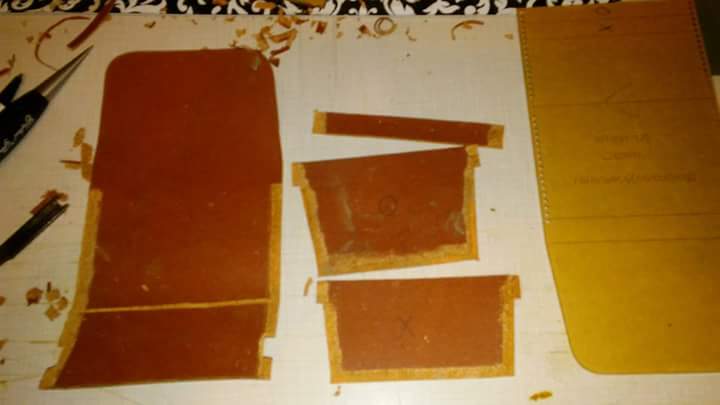
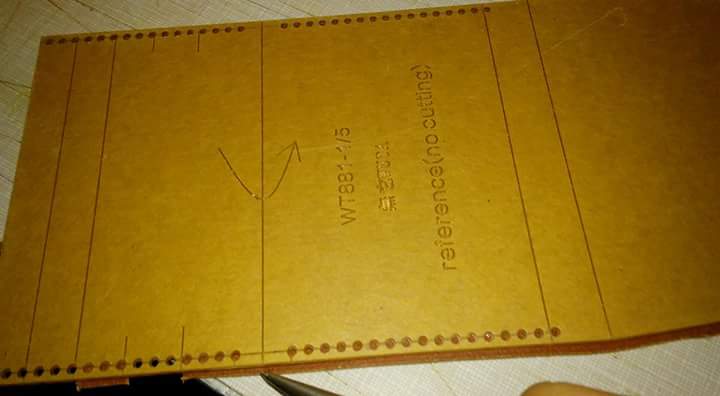
Now we will skive. Haven't ever tried it? Well, don't feel like the lone ranger. I haven't done it either. So let's get going. This is the only skiver I own. Is it the right one? I don't know but let's try it. I believe this one is a French skiver. Before I started practicing I grabbed my sandpapers and sharpened it up. It seems to work a little better if you don't try starting at the very end of your piece. Just work it up one way and then turn it around and clean up the end. I had to hit the strop a few times during this part. Now we will mark the main body for skiving. Notice the provided reference template is longer than the main body. I marked the 2 card slots as x and o. You don't want to skive past where I have my awl sitting on the main body. I'm pretty sure it will show if you do. And here are all the pieces skived on the flesh side. Next we will burnish our edges of our pockets.
-
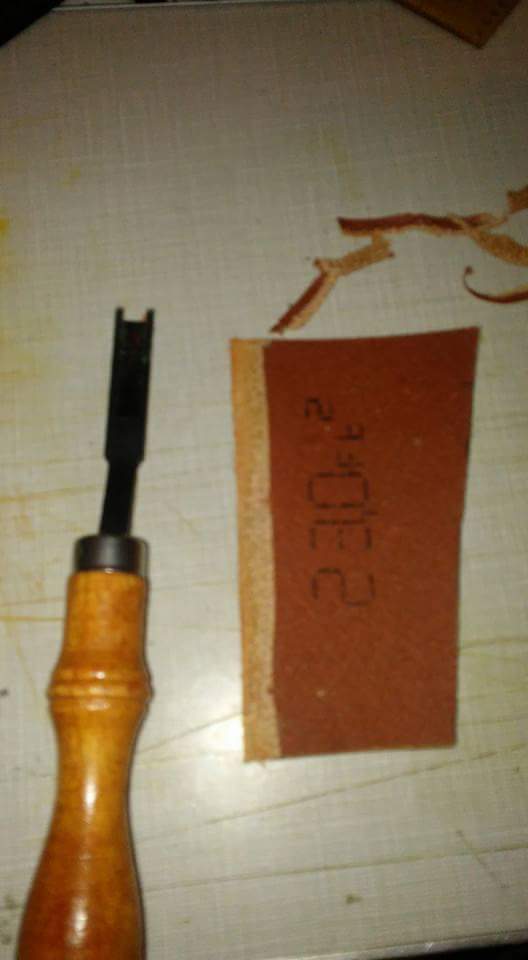
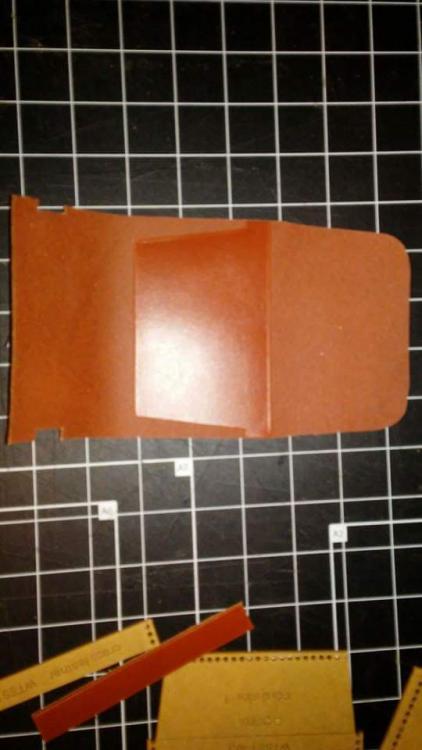
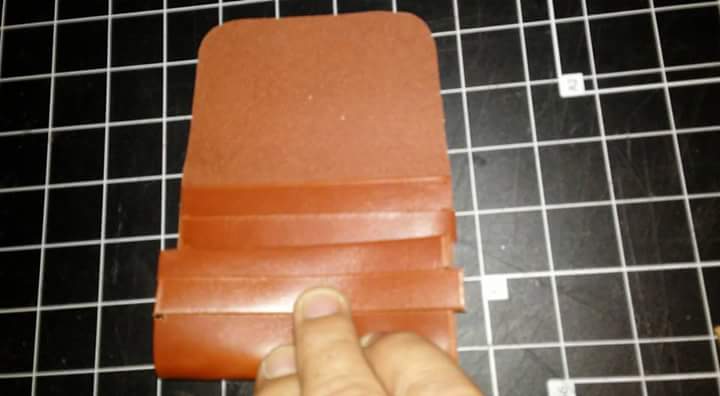
EDIT: You may find it easier to bevel your edges before you skive. We are all learning this together. Ok, now we are moving on to step 2. We are going to make a gouge in our main body. Notice when lining up with our reference template, the template is longer than the main body. Now we mark the line of the fold. See picture one. If you have not run a gouge yet, never fear because I haven't either. Use a test piece to set your depth. Also, figure out how to sharpen the thing. Took me a minute but I got it.


-
 You're a mad scientist.
 -
Technical question??? When one is sewing their splattered blood on to the said clever, do you sew the drippy spots and then leave the edge for final assembly?
-
Frigging awesome.
-
Alcohol Bandolier
bikermutt07 replied to venator's topic in Gun Holsters, Rifle Slings and Knife Sheathes
Looks great. -
This is slightly off topic, but I love their videos. I think Kevin is hilarious and I love his style. I have watched all their videos just for the entertainment. Back to the topic at hand. Jls, I think you have become this sites unofficial watchdog. It seems you find the bad deals out there and do a great job of bringing them to our attention. Thank you for that. I don't think slc was being malicious on their intent during this video. I think he was making the point that not all leather is always going to be A grade. He was suggesting saving yourself some money if you weren't doing large projects that take up most of the side in one piece. Such as someone making holsters and sheaths could easily work around the imperfections, save a little money, and make his life in sales maybe slightly easier. At least, that was my take.
-
That's neat.
-
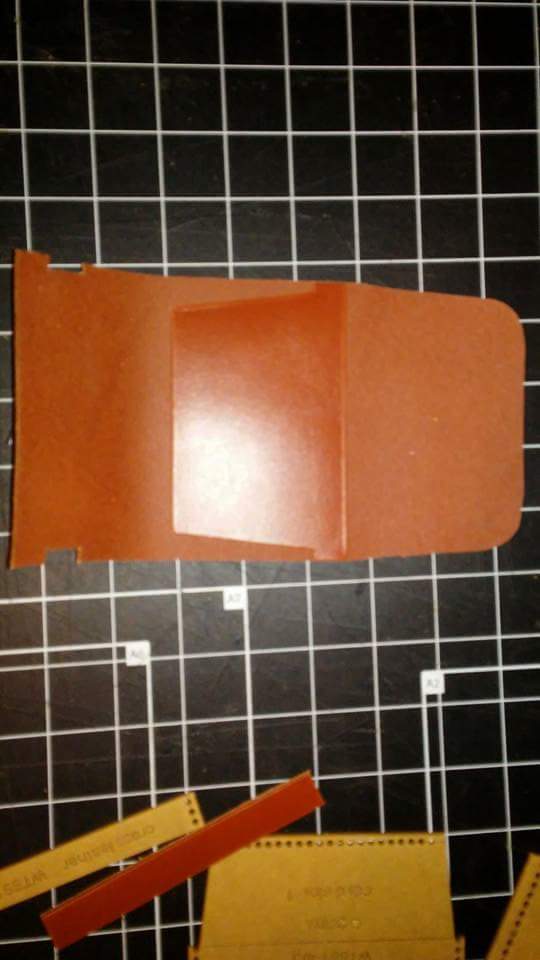
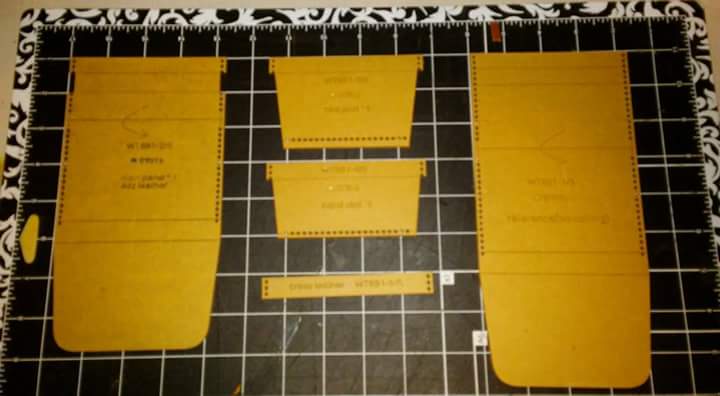
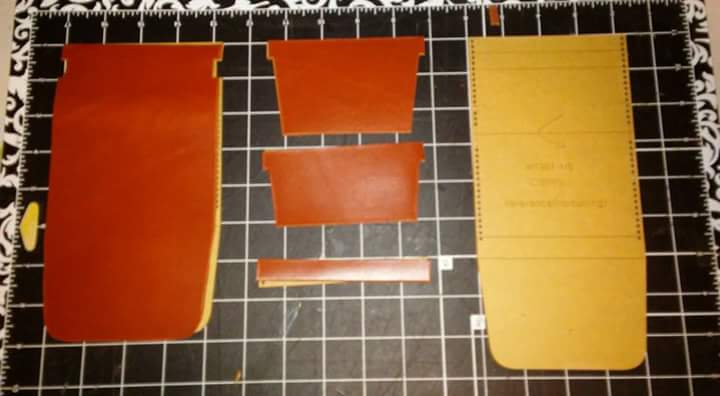
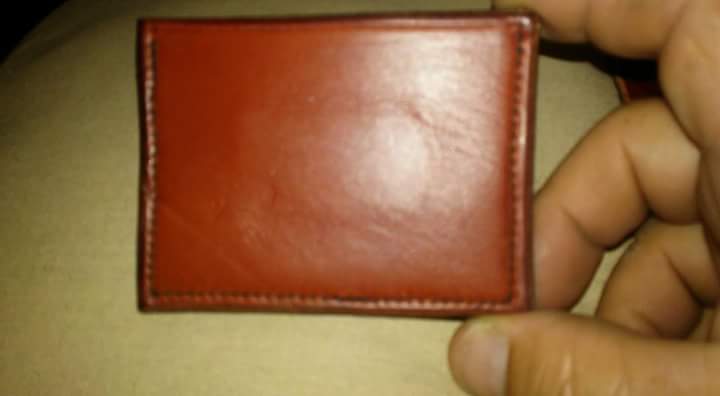
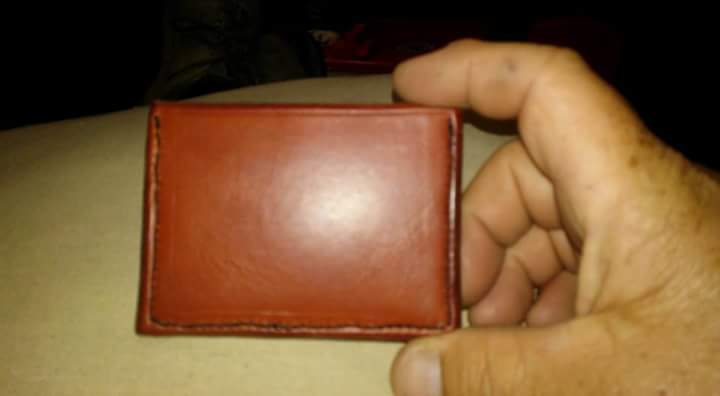
I am making a new wallet from a wuta pattern. This particular pattern is a card holder/coin purse. These are acrylic patterns available on Amazon. I'm not associated with the company. I'm pretty sure they are out of China. Please keep in mind I am a newbie just trying to help other newbies. My next post will include assembly. Enjoy. Initial impression: 1. Acrylic seems to be non flexible. 2. Appears to be laser cut. 3. No instructions. 4. Plenty affordable. 5. Patterns seem pretty unique (and I like that). Here is what we get. Here are the pieces cut out of w&c 4-5 ounce chestnut. Here are how the pieces line up.

-
Raise your hand if you've done this...
bikermutt07 replied to bikermutt07's topic in Leatherwork Conversation
Thanks, I'll give it a shot. -
Raise your hand if you've done this...
bikermutt07 replied to bikermutt07's topic in Leatherwork Conversation
Sweet. Stitches just aren't far enough apart. -
Yes, I see your point, Art. This gentleman grew up swearing he would not follow in his father's foot steps. He is in his 60s and both he and his brother own shoe repair shops in my area.
-
Raise your hand if you've done this...
bikermutt07 replied to bikermutt07's topic in Leatherwork Conversation
Thanks. I just cut out a wuta wallet pattern I have been wanting to make and review. I will also be doing some of jls' simple wallets, eventually. But I need a wallet like yesterday. -
Raise your hand if you've done this...
bikermutt07 replied to bikermutt07's topic in Leatherwork Conversation
Glad it's not just me. I will use a pattern next time. -
Well, I was needing a new wallet. I wanted to recreate my old wallet. So, I took it apart, measured my pieces and got after it. It was going to be a front pocket wallet with a leather money clip. Pretty sweet set up. I laminated some pretty sheepskin to some w&c chestnut. I had a hard time cutting the leather straight. No worries, I made everything extra big. I glued it all together. Took it to work and sanded everything down real even. I brought it home and burnished the edges. I spent a lot of time on those edges. Ok, here's where it goes bad. My money clip part wasn't going to fly. So, I just cut it off and decided "ok, well I'll at least have a 2 pocket wallet for now". Away I went, no looking back. I spent about three hours sewing it up. The back was pretty rough. The leather and sheepskin flexed a lot in the pony and made for poor stitching on the back. I can still live with that for a temporary wallet. I get all the way finished and low and behold, it won't fit so much as a business card in it. Color me deflated.

-
It just had me completely baffled. I actually have an old acquaintance that has a shoe shop. Maybe I should see if I could do some sit in time with him.
-
Click on the tab for unread content. Or, you can go to the main page and scroll way down and you will find items for sale.
-
Folks, Ray has been very good to work with. Ray, do you have any more dyes or stains to list?
-
Is it inside the last? I was watching Lisa Sorell's videos and she removed the steel plate from the heel area before she started. I'm not trying to make boots or anything but my carpenter mentality just can't seem to let this one go. Thanks.
-
Poppin' out some holsters
bikermutt07 replied to Tinbender's topic in Gun Holsters, Rifle Slings and Knife Sheathes
Love these holsters. The basket weave border holster looks insanely hard. -
Awesome. Just out of curiosity: I have been trying to figure something out to no avail. Maybe you could enlighten me. I have seen many videos where people are putting nails all over the place on their lasts. When and how do they pull these out? I can not seem to fathom all of those nails staying in the boot and then pulling the last out. How does this take place?
-
Torch & Tool Pancake
bikermutt07 replied to EvadCarpenter's topic in Gun Holsters, Rifle Slings and Knife Sheathes
No worries.