bikermutt07
-
Posts
5,016 -
Joined
-
Last visited
Content Type
Profiles
Forums
Events
Blogs
Gallery
Store
Everything posted by bikermutt07
-
I started with a stitching wheel and a hole punch. I had the groover as well but it seemed to create more problems then it solved. I had watched a lot ofGrierwolfe's videos. He makes sheathes. He has a nice six part series that helped me a bunch. The hole punch method I thought was pretty easy to start out with, then I moved on to saddle stitching with the diamond awl. Have fun.
-
No worries I'm in Shreveport/Bossier area. I was just going to say there is a Tandy storefront here. But I highly suggest you peruse the forums first. Tandy are like sharks in the water with newcomers. It's best to know what you need before you walk in.
-
That would look great on a western rig.
-

Avenger style for S&W Model 28 .357
bikermutt07 replied to tclaridge's topic in Gun Holsters, Rifle Slings and Knife Sheathes
Very classy look. -
In the mechanic world they have flag time for labor. It's a nationally accepted amount of time per procedure. They even have a book for it.
-
Look up Slam bonded thread. Nigel did a bang up review of it as a source comparable to tiger thread, but more available stateside.
-
Where abouts in the east of the Great Republic are you? Welcome to the fun.
-
Next time you have a big claim look into a personal adjuster. They can get you miles above and beyond what the carriers offer. Plus, they only charge a percentage of what they get over the original estimate.
-
I'm just a hobbyist with leather, but have done my share of contracting. If you're at the bench you have to charge for it. Pulling stitches or carving, it should still be paying your wages. Maybe there's more profit in pulling stitches but that makes up for less profit in carving. It's got to balance out for you.
-
Great job.
-
It is the way of things.... You can feel free to send me any of that stuff.
-
I don't know much about it, but h.o. does grade their leather. They mention it in their videos.
-
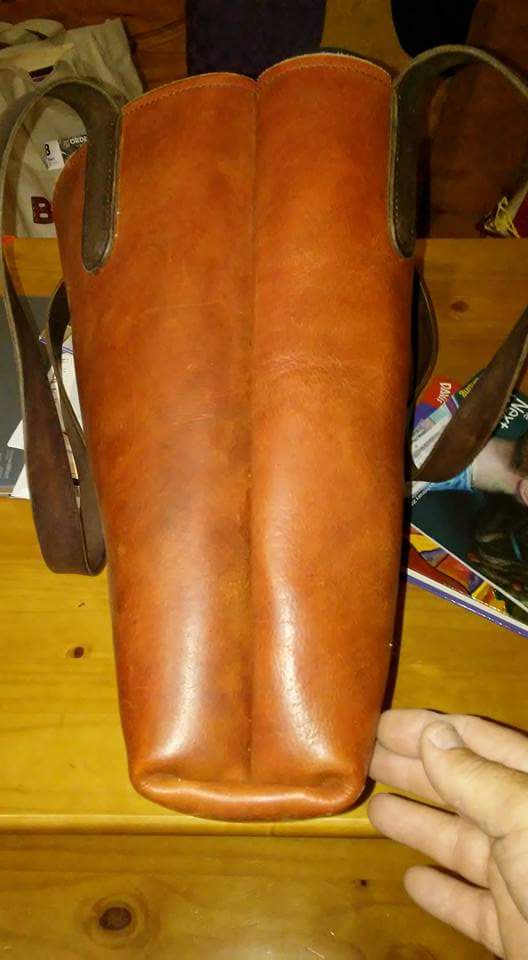
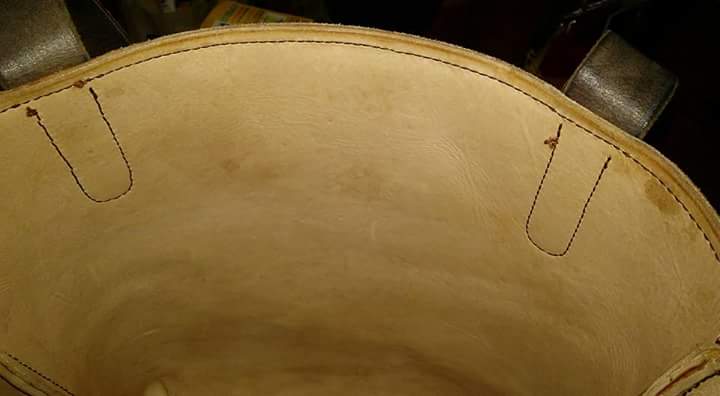
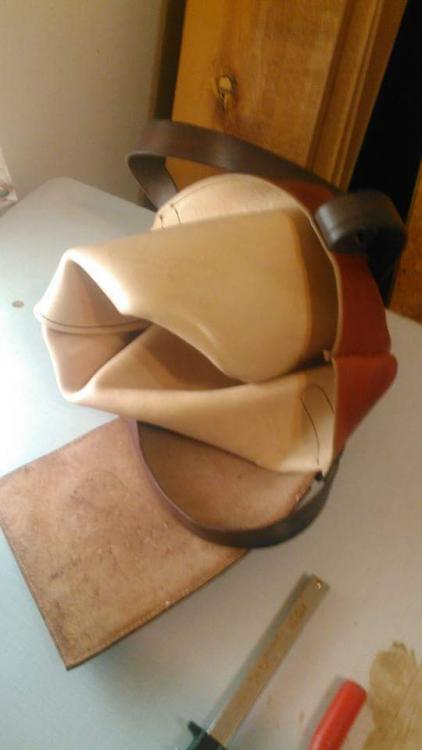
Those corners were brutal. I think the leather is right at a 1/4" thick and wrestling the two spots together was a chore. I did cheat a little though. To save time and use larger thread, for the gussets and main seams on the bag I reverted to the hole punch and larger thread.
-
What?!?
-
I don't think your price is unfair. I just think most folks don't use stuff that thick. Those that do probably have some already. I would snatch it up at that price but I would have to find a use for it as well. Plus, things are tight around here right now. Ever try making armor? If I had it that's what I would try. Keep having fun.
-
Here are more pics, and feel free to critique. I posted in show off just cause I was proud.

-
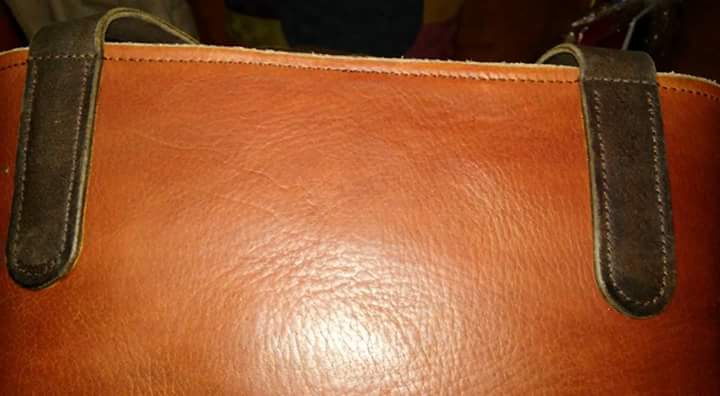
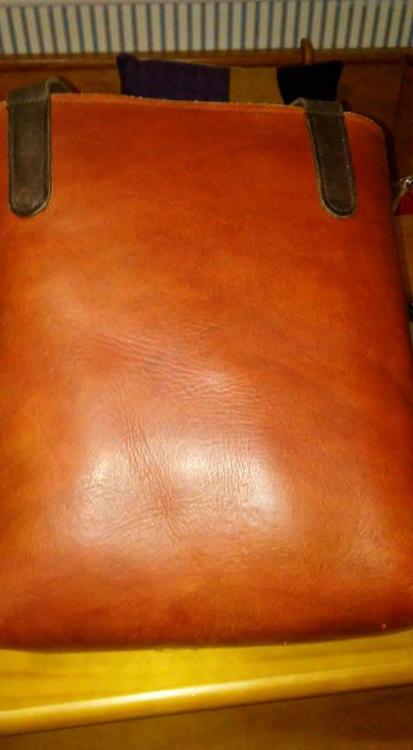
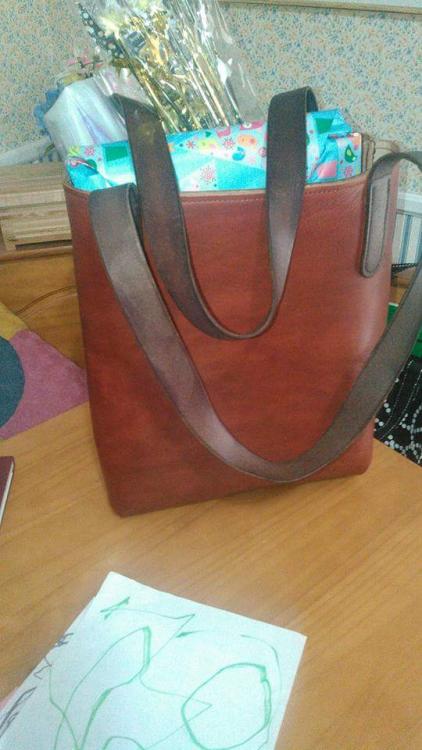
There is probably 8 hours total on the stitching. I spent a months worth of hobby time total on it. My prior projects were 2 years ago and I knew nothing about saddle stitching at the time. So, I practiced on the interior pocket. Just about every bit of the thing was some sort of experiment. Laminating the body and straps. I tried dip dying on the straps. Different thread and needle sizes on the inside pocket. Differnt diamond chisel. I don't know what size the craftool prochisels are but they are small. I bought some cheap co link 4mm chisel off of Amazon and that did the trick for the top edge and straps. The body is one solid cut. Well two solid cuts cemented together. Stitchin the bottom corners together was a chore. It did not come out very even. But it's not very noticeable just looking at the bag. I will get some more pics up in a bit. I finally figured out if I save my pictures from Facebook to my device they are small enough to post here. Thanks for looking.
-
Just use lead. Lol
-
The handles look really nice.
-
Multitool pouch
bikermutt07 replied to Rflw's topic in Purses, Wallets, Belts and Miscellaneous Pocket Items
Grierwolfe did a nice take on an ambi carry bushcraft mora sheath. He's on YouTube. He did advise somewhere about scout carry not really lending itself to knives like the companion mora. I only mention it because I'm about to produce a few mora sheaths myself. -
Your stamps are making really nice even impressions.
-
Very nice.
-
A little side note on glueing, I figured out a "new" method. After sanding my glue spaces when using the fiebings glue I make grooves in the area. I cut little tracks with the stitch grooves I never use anymore. Ymmv.
-
Here are some more photos.

-
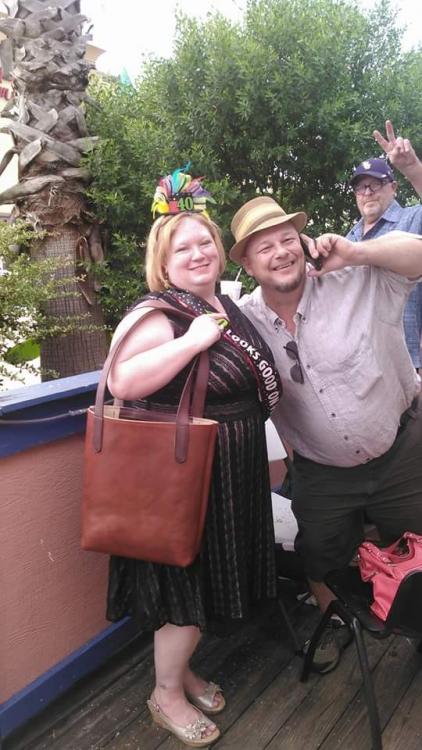
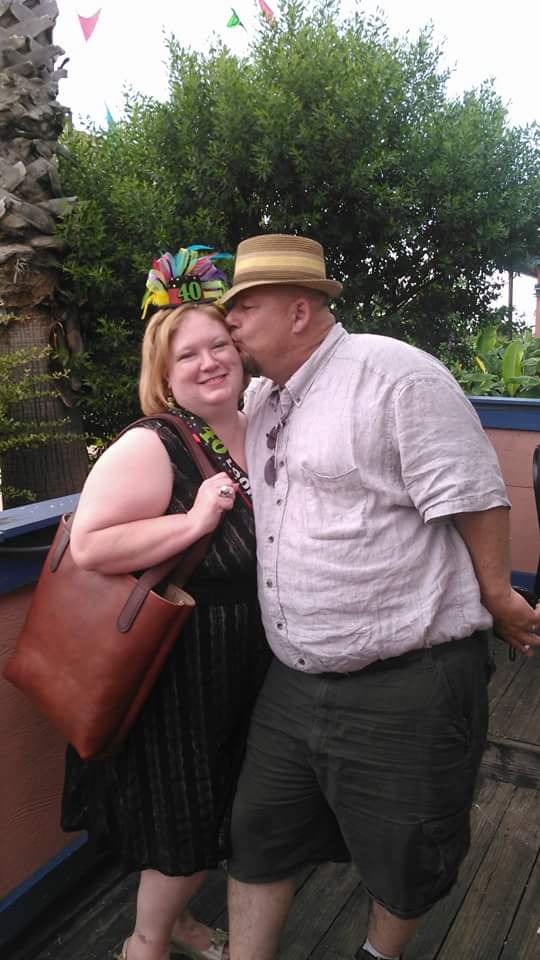
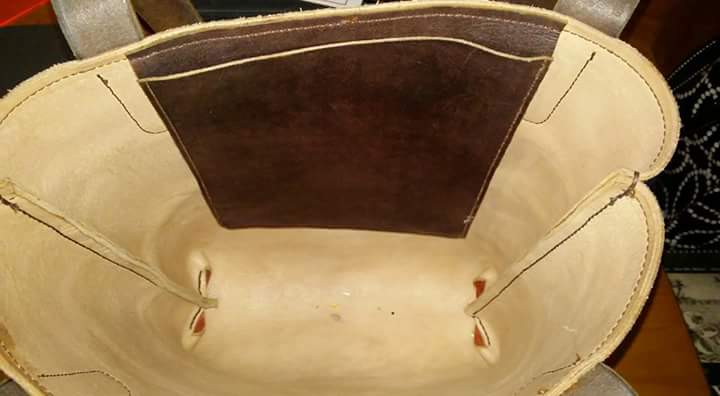
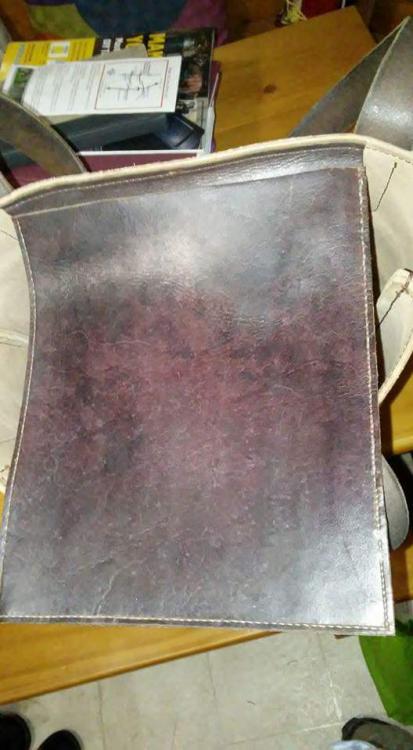
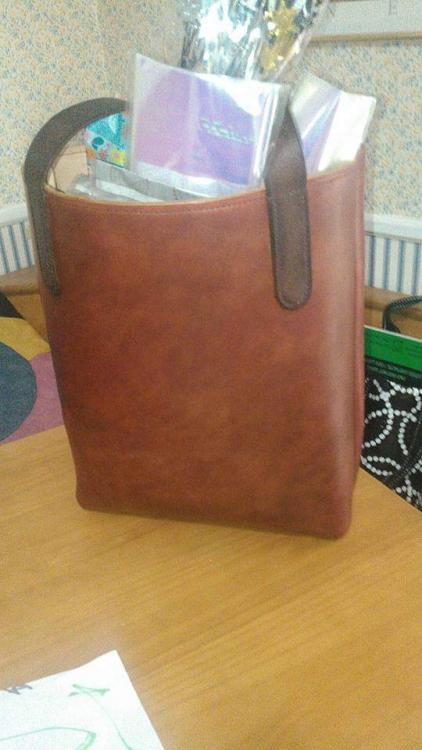
Well, here it is. I learned a lot along the way. I experimented a great deal with thus bag. This is the first thing I have laminated. The leather was some cheap Tandy stuff I bought a few years ago. It was probably 3-4 ounce. It felt quit stretchy so I doubled the body and straps. That made it a little heavy. The second mistake I made was trying to dye the body with a dauber (smacks head). However, my wife liked the "pattern" it left. After that I applied another coat using sponges. I had a really difficult time getting the cheap leather to take the dye evenly. I left the onside natural with the exception of the i pad pocket. It is the same color as the straps. I liked to never got turned right side out. It is all hand stitched and my saddle stitching improved greatly along the way. I was planning to stitch the straps all the way around, but ran out of time. This was a present for my wife's 40th birthday. This picture is at her party just hours after I completed it.