bikermutt07
-
Posts
5,016 -
Joined
-
Last visited
Content Type
Profiles
Forums
Events
Blogs
Gallery
Store
Everything posted by bikermutt07
-
 I don't have any experience with it yet, I just read it is all. Thanks for the heads up. Being a hobbyist I wouldn't be too worried about colors changing over the years. But if I ever go retail, I will have a good disclaimer to work into the deal.
 -
Saddleback Leather installs these on their bags. I haven't had any better luck in searching than you have. Maybe one if the pros knows something???
-
Wish I had two friends like that.....
-
bike seat n old school Western shoulder rig...
bikermutt07 replied to Jimbob's topic in Motorcycles and Biker Gear
Nice -
Denatured alcohol will be in a paint section. Supposedly it's basically the same thing as reducer. I also read a 5 part alcohol to one part dye will produce the intended color, although I haven't tried that ratio yet.
-
Oops, thanks for the tip.
-
I haven't had much luck with them, either. And I don't really carve yet, so my work continues to be mysterious, unclaimed, and unidentified. Ha!
-
That's awesome. Which machine did he fix you up with?
-
Pretty. Are the letters stamped or carved?
-
I decided to do some digging in the art room. Behold the Awseomeness that is my wife, "The Art Teacher". I wish I would have thought to dig thru her goodies 2 days ago.
-
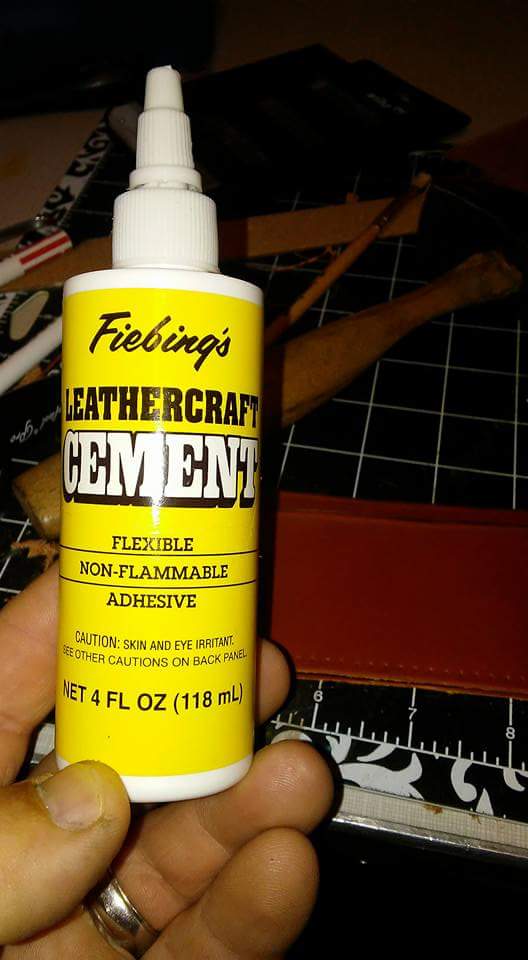
I've tried contact cement. Woo the smell. It would be great for that application, I'm sure. Most folks use barge or the 3m spray. M90 is supposed to be "the best spray adhesive". My workspace is in the house so I use this: It doesn't smell and I can apply it pretty evenly with a brush. It has held together all of my small projects long enough to sew them.

-
Beeswax, some leather, a lighter, and a burnisher
bikermutt07 replied to Chief Filipino's topic in How Do I Do That?
That's cool. Thanks. -
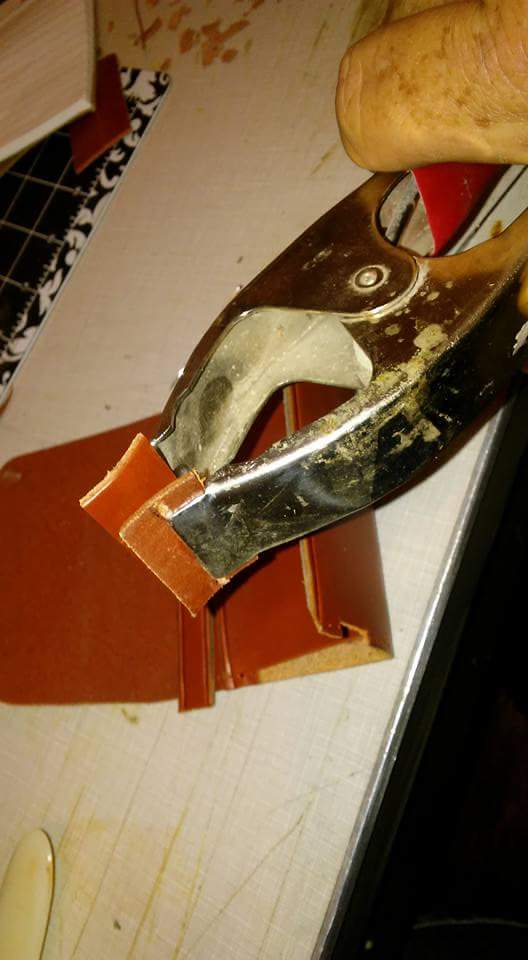
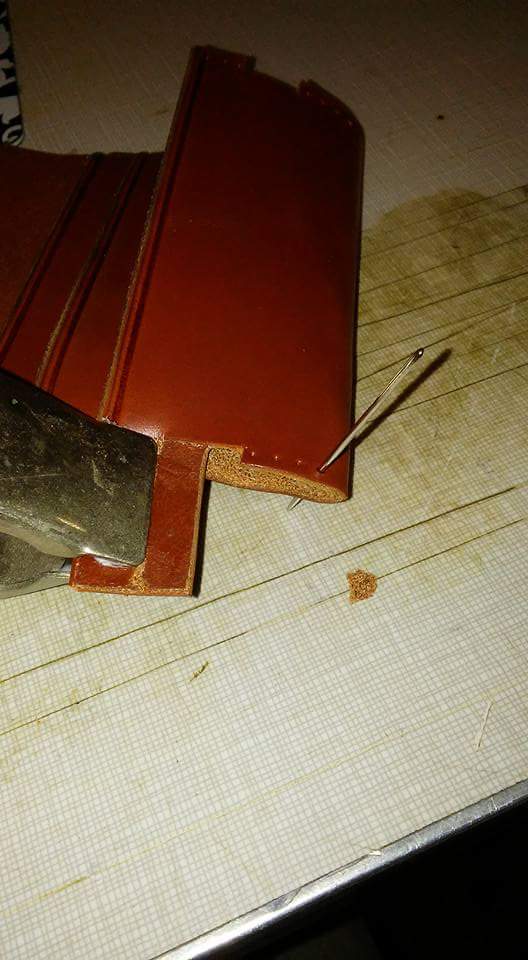
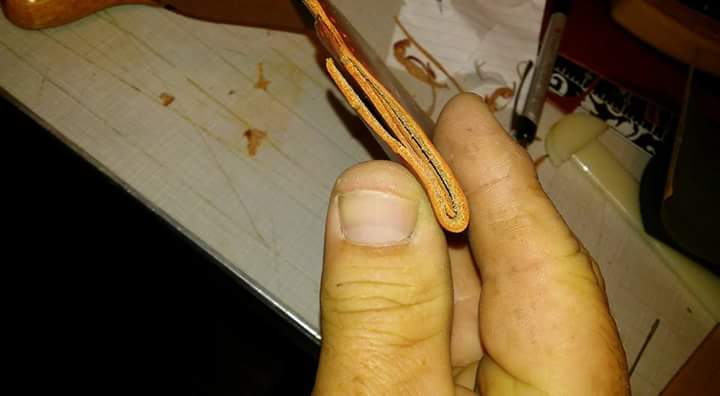
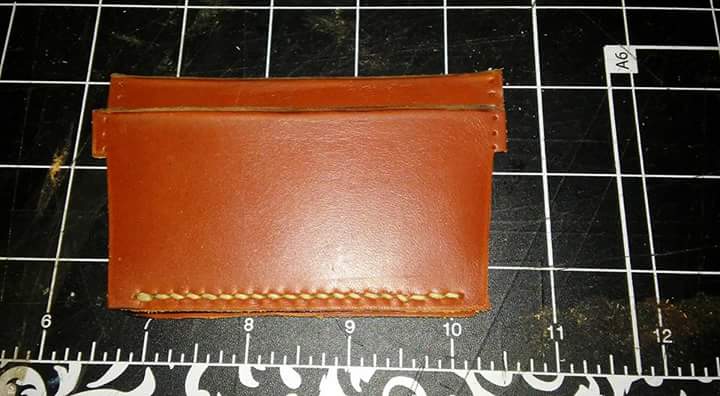
So, I decided that the wrap around area of the main body was a little fat. I did a little more skiving work and this is what it produced. I think this will fold up a little better. I dug around in the shed and found on pair of spring clamps. But alas, no plastic pincher covers. Well, that got me thinking........ While the glue was drying I decided to test out a tip from Kevin at Springfield Leather. You can actually make beaded lines with the plastic bone folder slicker. I hadn't tried it yet, but this is how it turned out. This isn't a necessary step but Iliked. The wallets I've seen with this detail. Hhere's how to do it. Start with a scrap piece. Always start with a scrap piece. It is way less painful to look at a piece of scrap then an abandoned project that I messed up. Choose the line you want to use and guide it softly and slowly over your edge. You just want to make an impression with the first pass. Now go a bit deeper on the second pass. You should now have a good line with some definition. Once you achieve that definition you can bear down on it and start rubbing it in. With this particular leather I got almost a black line. After I did this to all the lines I went back over them with (I'm gonna call it) the knife end of the folder. I think I got pretty good results with this technique. A more expensive approach is a soldering iron with special tips that burn the crease in. Now we will glue one side of our fold over main body. If you are blessed with 2 spring clamps, then by all means glue both sides. I started with the stitch tab only and then I will glue the rest. This is so I can manipulate the best alignment between the 2 sides of the main body. I'll be back when we are ready to stitch up our 2 sides. Enjoy.


-
Thank you.
-
I may be the only person who hates Hawaii...
bikermutt07 replied to RGardner's topic in Leather Sewing Machines
HA! -
Is gum trag the worst stuff ever?
bikermutt07 replied to OnePivot's topic in Leatherwork Conversation
I tried the saddle soap and then wax trick and it was to grabby. -
I may be the only person who hates Hawaii...
bikermutt07 replied to RGardner's topic in Leather Sewing Machines
Could maybe check the other islands? Total guess. -
Is gum trag the worst stuff ever?
bikermutt07 replied to OnePivot's topic in Leatherwork Conversation
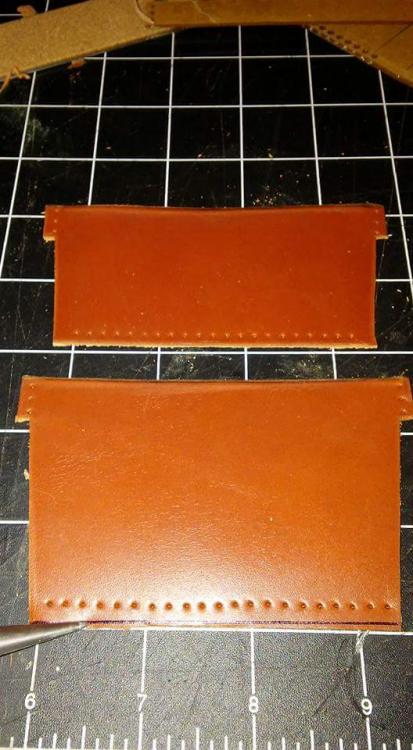
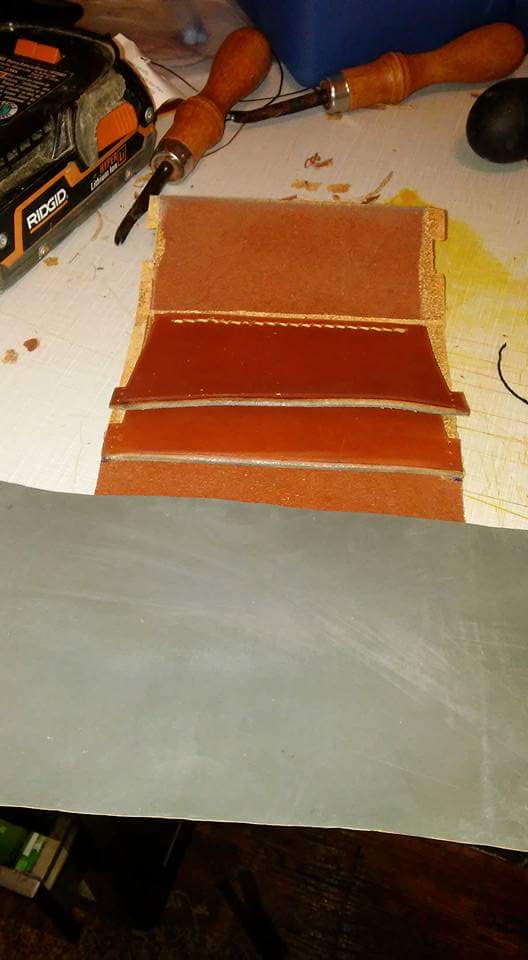
After reading nvleatgerworks post I tried it again. It did pretty well. I very carefully painted a thin line on. Then I waited about 5 minutes for each piece. Here's how it did. The grey is my fault for using the wrong sandpaper, but the edge is fairly slick for it being a single layer of 4 ounce.
-
SA XDs Avenger holster
bikermutt07 replied to JLSleather's topic in Gun Holsters, Rifle Slings and Knife Sheathes
Its a beauty for sure. -
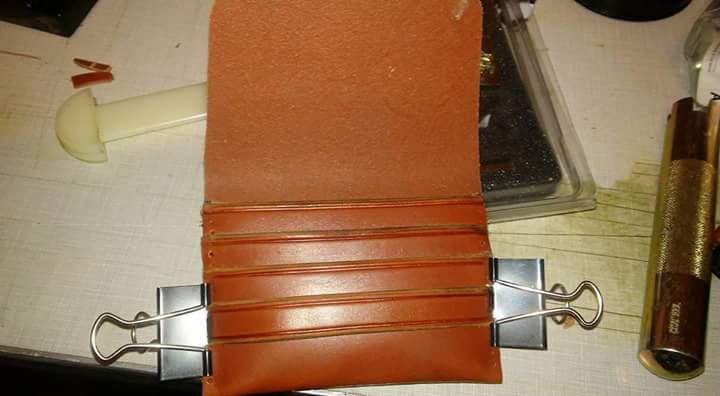
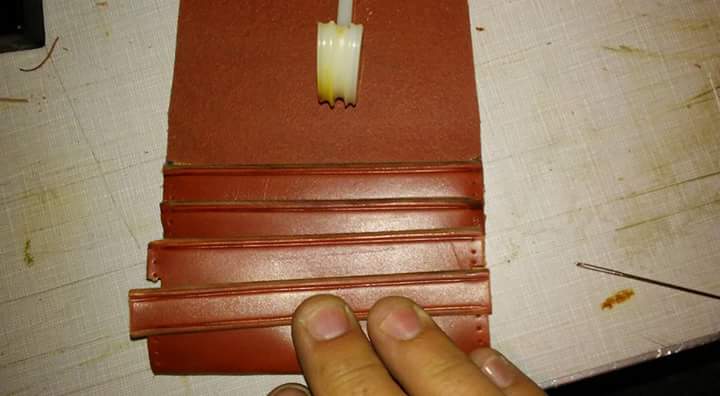
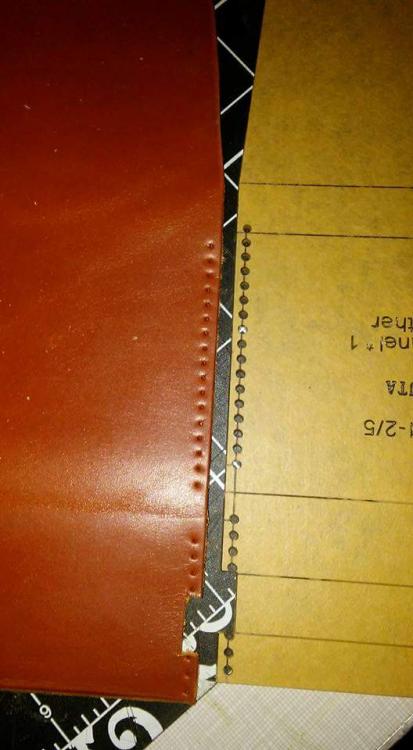
Now that we have our top pocket glued and it is dry we can tackle this second pocket that seems to want to stand up. Now if we have some small spring clamps it's not much of a problem to glue and clamp these little tabs. So, I don't have any spring clamps, dang. What will we do? At least that's what I was thinking. Maybe you already have a fix, or better yet spring clamps. Well, here is what I fashioned and it seems to be working. I pushed the needles through the lined up holes. Then pulled it apart, glued it, reinserted the needles and gave both sides a little pinch. Tomorrow I will try and figure a way to glue the rest of it. We could maybe get by without glueing the rest if we have to.


-
Easiest way to post pics I have found is to upload them to facebook. Then I download them to my phone. When I choose a photo to upload here I can select from photos from Facebook. They have magically been resized. Plus, I get lots of props from my peeps on Facebook.
-
MORE IN MISCELLANEOUS FOR SALE---
bikermutt07 replied to raysouth's topic in Leatherwork Conversation
I'm happy to see your smaller lots moving. -
My new holster
bikermutt07 replied to compound's topic in Gun Holsters, Rifle Slings and Knife Sheathes
That is awesome. I bet you could use the backer pattern for all of your holsters. That could really ramp up your production time. -
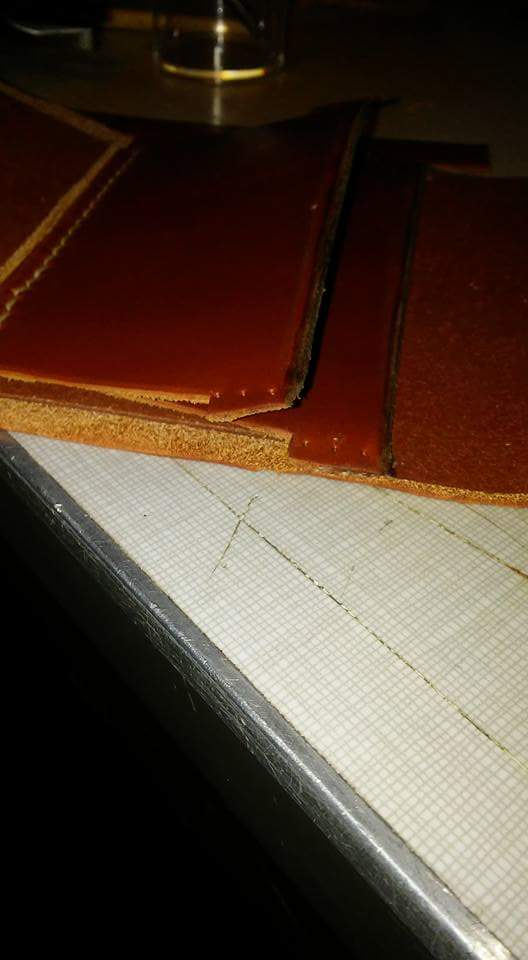
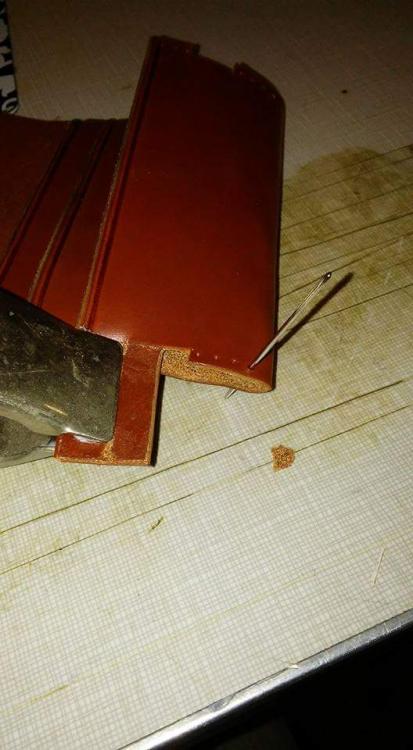
Now that we have glued our first piece lets try to stitch a line. What's great about this first line? No one will ever see it. This is the first time I haven't used my chisel. In the spirit of staying in the pattern, none of my chisel sizes fit the pattern. So, the way to make the diamond awl work with out the premarked diamond holes is like this..... Keep a flat edge of your awl parallel to the edge of the leather. You can see I messed up a bit at the beginning, but no one will see it in the end. Always make sure and tap your stitches flat with your hammer. Next step: Mark your holes on your main body. Do Not glue your little pockets to the main body before you mark the holes on the main body (only an imbicel living Louisiana would do that). After, and only after, you mark the holes in the main body may you glue the tabs of your top pocket to the main body.
-
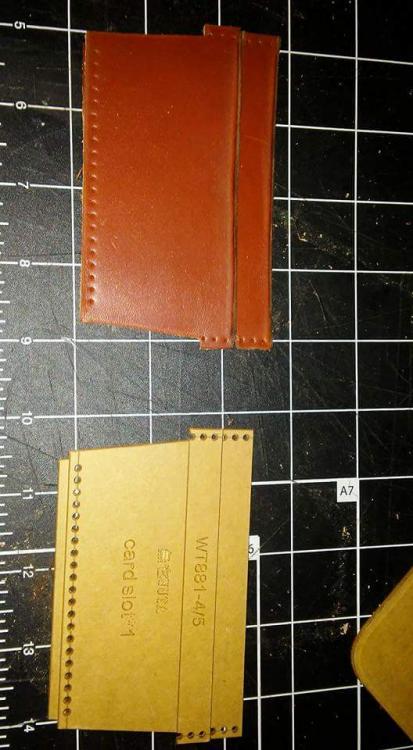
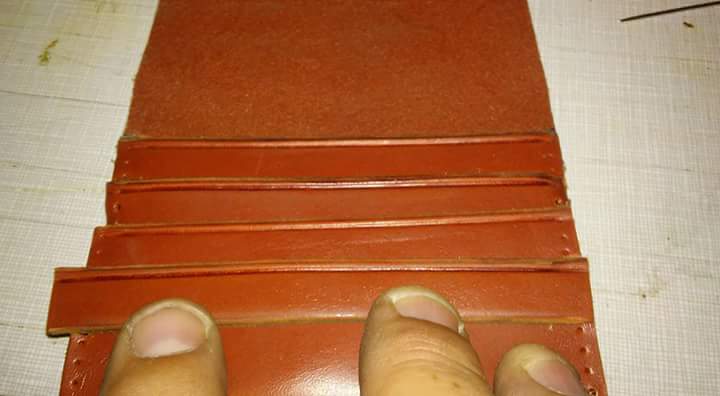
Alright, I think we are ready to start the assembly. If you line up card panel "x" and "o" you will notice an offset where they stitch together. I'm assuming this offset helps the main body wrap around the card pockets. But, I digress. So, line the templates up with the pieces and mark your stitching holes. As a side note you can change the stitching up. More holes, smaller holes, whatever. Figuring out the right combination of stitch length, thread size, to needle size is practically a sub culture here. I tend to grab what I think will Work and do a test piece. We need to put a line at this spot so we can glue it up. I never see this glue mentioned here but I like it. It seems to be farely well set in a short amount of time. I resembles hot glue once it cures. I paint this on both sides. Very thin coat. Just put it on between the line and the stitch marks. Just give it a few seconds and then line up the pieces. I like to love on these for a second with my hammer.