Dwight
-
Posts
5,247 -
Joined
-
Last visited
Content Type
Profiles
Forums
Events
Blogs
Gallery
Store
Everything posted by Dwight
-

"use Wax Instead Of Acrylic Sealer"
Dwight replied to particle's topic in Gun Holsters, Rifle Slings and Knife Sheathes
The old fashioned bees wax / neatsfoot oil recipe is really easy: equal parts of each, . . . by weight !!!!! Put in a glass jar, . . . put the glass jar in water in a crock pot, . . . go have some coffee and a doughnut or two, . . . come back when the wax is melted and you have only liquid in the glass jar. Pour that liquid into something like cupcake papers (in a muffin pan) and allow it to THOROUGHLY cool. You use it similar to Kiwi shoe polish, . . . I usually rub it in with my fingers, . . . judiciously use a WARM heat gun to help melt it a bit, . . . takes about 3 good applications, . . . it actually is MY favorite finish, . . . but it is not as durable as the acrylics. May God bless, Dwight -
If I knew a word that was better than EXCELLENT, I would use it. Course, I'm a bit prejudiced as a pastor. Seriously, . . . really good job. May God bless, Dwight
-
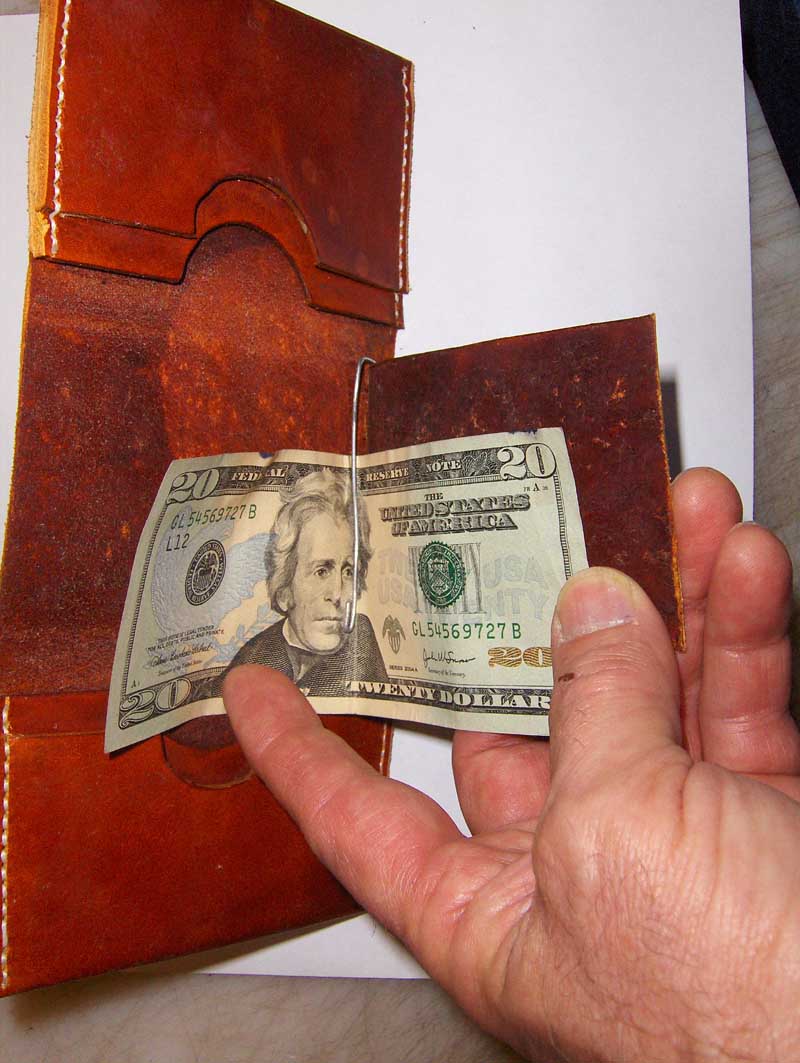
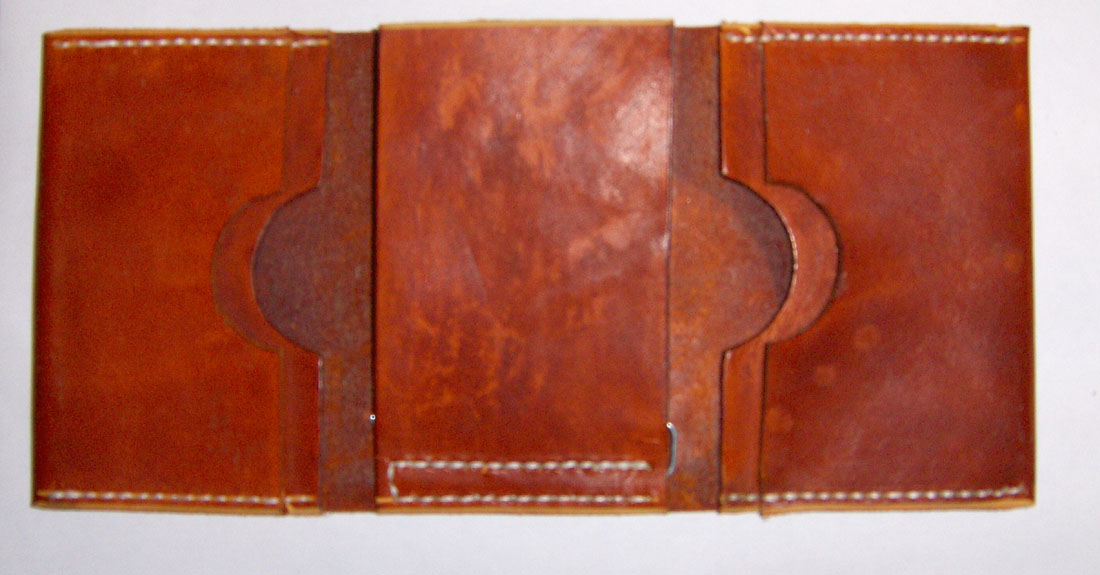
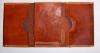
Bo, . . . I was in a leather shop a few months ago, . . . manager called out my name, . . . "I've got a job for you" Turned out a customer had come in looking for a custom billfold, . . . they don't do it, . . . as a lark he hollered at me. Customer showed me a 30 year old billfold, . . . said he wanted one just like it, . . . without all the wear. Long story short, . . . I priced it to him, . . . he never batted an eye, . . . gave me the old one, . . . I got a very happy letter from him later when he got the new one. Enclosed is the design, . . . the pics are of my "trial piece", . . . but it shows the design. May God bless, Dwight

-
Where Can I Get Duncan's Blue Guns?
Dwight replied to mojoewrkn's topic in Gun Holsters, Rifle Slings and Knife Sheathes
I had to go back and look at it again, . . . and this is the company I was referring to. http://www.letargets.com/ Look over in the right hand column and you will find the words "blue guns", . . . if you double click that, . . . they will come up. These again are super people to deal with, . . . best price I could find after a couple of days digging several years ago, . . . May God bless, Dwight -
Where Can I Get Duncan's Blue Guns?
Dwight replied to mojoewrkn's topic in Gun Holsters, Rifle Slings and Knife Sheathes
If you google "law enforcement targets", . . . there is a company by that name up in I believe, . . . Minnesota (?), . . . but they also carry the blue guns. Look at their "inventory" and see if what you want is there, . . . if not, just call them. They are super people to work with, . . . very seldom have I had to pay over $40 for one of their blue guns, . . . and if they don't have it, . . . they'll get it drop shipped to you if you ask them to. They even did an emergency order for me once, . . . yeah, it got here in time, . . . I cannot say enough good about the people. May God bless, Dwight -
First, . . . I guess I would hope that the wonderful folks I deal with would never pull such a typical Democrat stunt. Secondly, . . . I'd tell him to help himself, . . . when the day is over, . . . it will be "he said / he said", . . . without full evidence to prove I did do it, . . . I cannot be convicted, . . . my lawyer will then go after him for all the court costs he caused me to incur, . . . he WILL pay those costs, . . . in the long run, . . . he could just go out and buy himself a new Kimber with what he would have lost in the legal wranglings. And I would plainly spell it out to him just that way. Then I would most likely take a very large pair of scissors, . . . cut up whatever it was I made for him, . . . and tell him to take his fat carcass, . . . get out of my shop, . . . and do not come back. I don't play the "legal liability" games. Yes, there are people out there who will try their best to "get" anyone and everyone they can, . . . but I just don't put up with those kinds of jerks. May God bless, Dwight
-
1911 5 in, 1911 4 in, 1911 3 in, Glock 21, 5 shot 38 wheel gun would be my list. After that it goes all sorts of directions, . . . including Colt SA Army. May God bless, Dwight
-
Sewing On A Holster Clip...
Dwight replied to Sixer's topic in Gun Holsters, Rifle Slings and Knife Sheathes
Yep, . . . unh-huh, . . . thass the one, . . . fer shore !!!! May God bless, Dwight -
Sewing On A Holster Clip...
Dwight replied to Sixer's topic in Gun Holsters, Rifle Slings and Knife Sheathes
For the long term, . . . this I believe is the better way, . . . just happens to be the way I do mine also. I ride my Boss's foot right up next to the clip, . . . and they turn out good and solid. May God bless, Dwight -
When I got my Boss, . . . seems like right after me and Noah got done with some flooding, . . . it only had the original "Y" foot. I guessed on the center presser foot as the one that would do more for my work: belts, holsters, wallets, etc. I guessed right. It has worked for everything I have ever asked it to do, . . . and your formed cases don't seem like they would be any different. I have even used it occasionally as the 'width" gauge on setting the stitches the right distance from the edge on some "not too critical" projects. FWIW, . . . It is about all that is ever on my machine. May God bless, Dwight
-
Dustyn, . . . the stitching on the edges of course needs to go through both layers. Decorative stitching only needs to be on the outside. Saves time, . . . saves thread, . . . and though I hate to admit it, . . . it can also save your sanity. Nothing will frost your gills much worse than getting a belt darn near all done, . . . (like it would be if the stitching was done through both layers), . . . only to find out there is a mistake in it that cannot be undone or covered. In other words, . . . that piece of leather is trash or a training aid, . . . if it is only one layer, . . . lots of labor and also one layer of leather saved. That's good ! May God bless, Dwight
-
Gun Rig For A Friend
Dwight replied to cgleather's topic in Gun Holsters, Rifle Slings and Knife Sheathes
I'll join the chorus of "good job". Quite honestly, . . . you are a credit to the craft. Keep it up. May God bless, Dwight -
jk215, . . . quit beating yourself up. Seriously, . . . I've been doing leather work for a number of years, . . . and have come to the conclusion that it just IS NOT intelligent to try to cut two pieces of an old dead cow's hide, . . . even if you punch them out with a press, . . . and expect them to line up perfectly. Leather moves around in the cutting process, . . . Cut one of the two as near as you can where you want it, . . . cut the other a little over (both should be a smidgeon over anyway), . . . glue em together, . . . even em up with a belt or disc sander or with your Dremel tool. That is the way I do ALL, . . . EACH, . . . EVERY ONE of my belts, holsters, wallets, etc. They come out even, flush on the sides, smooth, and acceptable. The first holster I did, . . . without a sander, . . . I was hours on end trying to trim the edges with a razor knife, . . . May God bless, Dwight
-
Dustyn, . . . Something that will help you, . . . first, . . . definitely get the overstitch wheel, . . . and use the 5 stitch wheel, . . . makes a beautiful belt. I use size 346 thread on my belts, . . . not too thin, . . . but doesn't look like rope either. If you use decorative stitching, . . . do it only on the outside layer, . . . Definitely use contact cement, . . . Weldwood is a good brand, . . . flesh to flesh, . . . use a belt sander to even up the edges. Finally, . . . if you own or can borrow one of those little 5 speed, . . . $50 cheapo drill presses, . . . mark your leather with a stitch groover, . . . then the overstitch wheel, . . . then use the drill press to punch the holes with an awl blade you can buy at any Tandy Leather shop. Saves a lot of time, . . . makes "hand stitching" a lot easier. I'll close with the line I always tell my holster class students, . . . "Hands are for hamburgers, . . . Sewing machines are for stitching". May God bless, Dwight
-
Another New Plain Jane
Dwight replied to Dwight's topic in Gun Holsters, Rifle Slings and Knife Sheathes
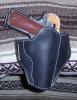
Uhhh, . . . no, . . . I have never done vinegaroon, . . . talked to Will Ghormley about it, . . . after all the info was digested, . . . said to heck with it, . . . bought another bottle of Feibings black oil dye, . . . that is what I use 99% of the time. Still have a bottle of USMC black I'm trying to use up, . . . just hate the buffing it requires. Katsass gave you the skinny on the construction method, . . . 2 layers made each one out of 2 pieces of thinner leather, . . . cemented flesh to flesh, . . . makes one super hard holster. The outside pieces were dip dyed, . . . dried, . . . then cemented to the inside pieces. And yes, . . . inside is very smooth, . . . although it didn't quite "form" as tight as I really wanted it to be. BUT, . . . it is a really good knock around holster, . . . May God bless, Dwight -
I have never used Aussie Wax, . . . so I cannot speak for the product good or bad. I do know that if you finish a belt in Resolene, . . . a 50/50 Resolene/water mixture, . . . the dye has never leaked out of any of those I have done in the past 5 or 6 years. Another product is BagKote, . . . and I believe the ratio there is 60/40, . . . 40 being the water portion. It keeps the dye in also. Since that piece of leather is basically a waste of time and effort so far, . . . don't be too concerned about ruining it, . . . as it is right now it belongs in the round file. A last shot, . . . if you don't like either of those ideas, . . . a 50/50 mixture of beeswax and neetsfoot oil (equal weights, not equal volume), . . . warmed together into a paste, . . . then applied like good old Kiwi shoe polish, . . . it has also done the same thing. My black cowboy belt is done with it, . . . never had any problems. As a parting comment, . . . the most important thing you can do before you "finish" a belt, . . . take a wash cloth you do not ever want to use on your face again, . . . rub the belt (that was recently dyed) with it until the belt shines and there is not more residual pigment coming from the leather. That means front, . . . back, . . . and edges, . . . and if you don't work up a sweat and/or your heart kick up 20 or so beats a minute, . . . you don't have enough effort going into the project. Work it !!! May God bless, Dwight
-
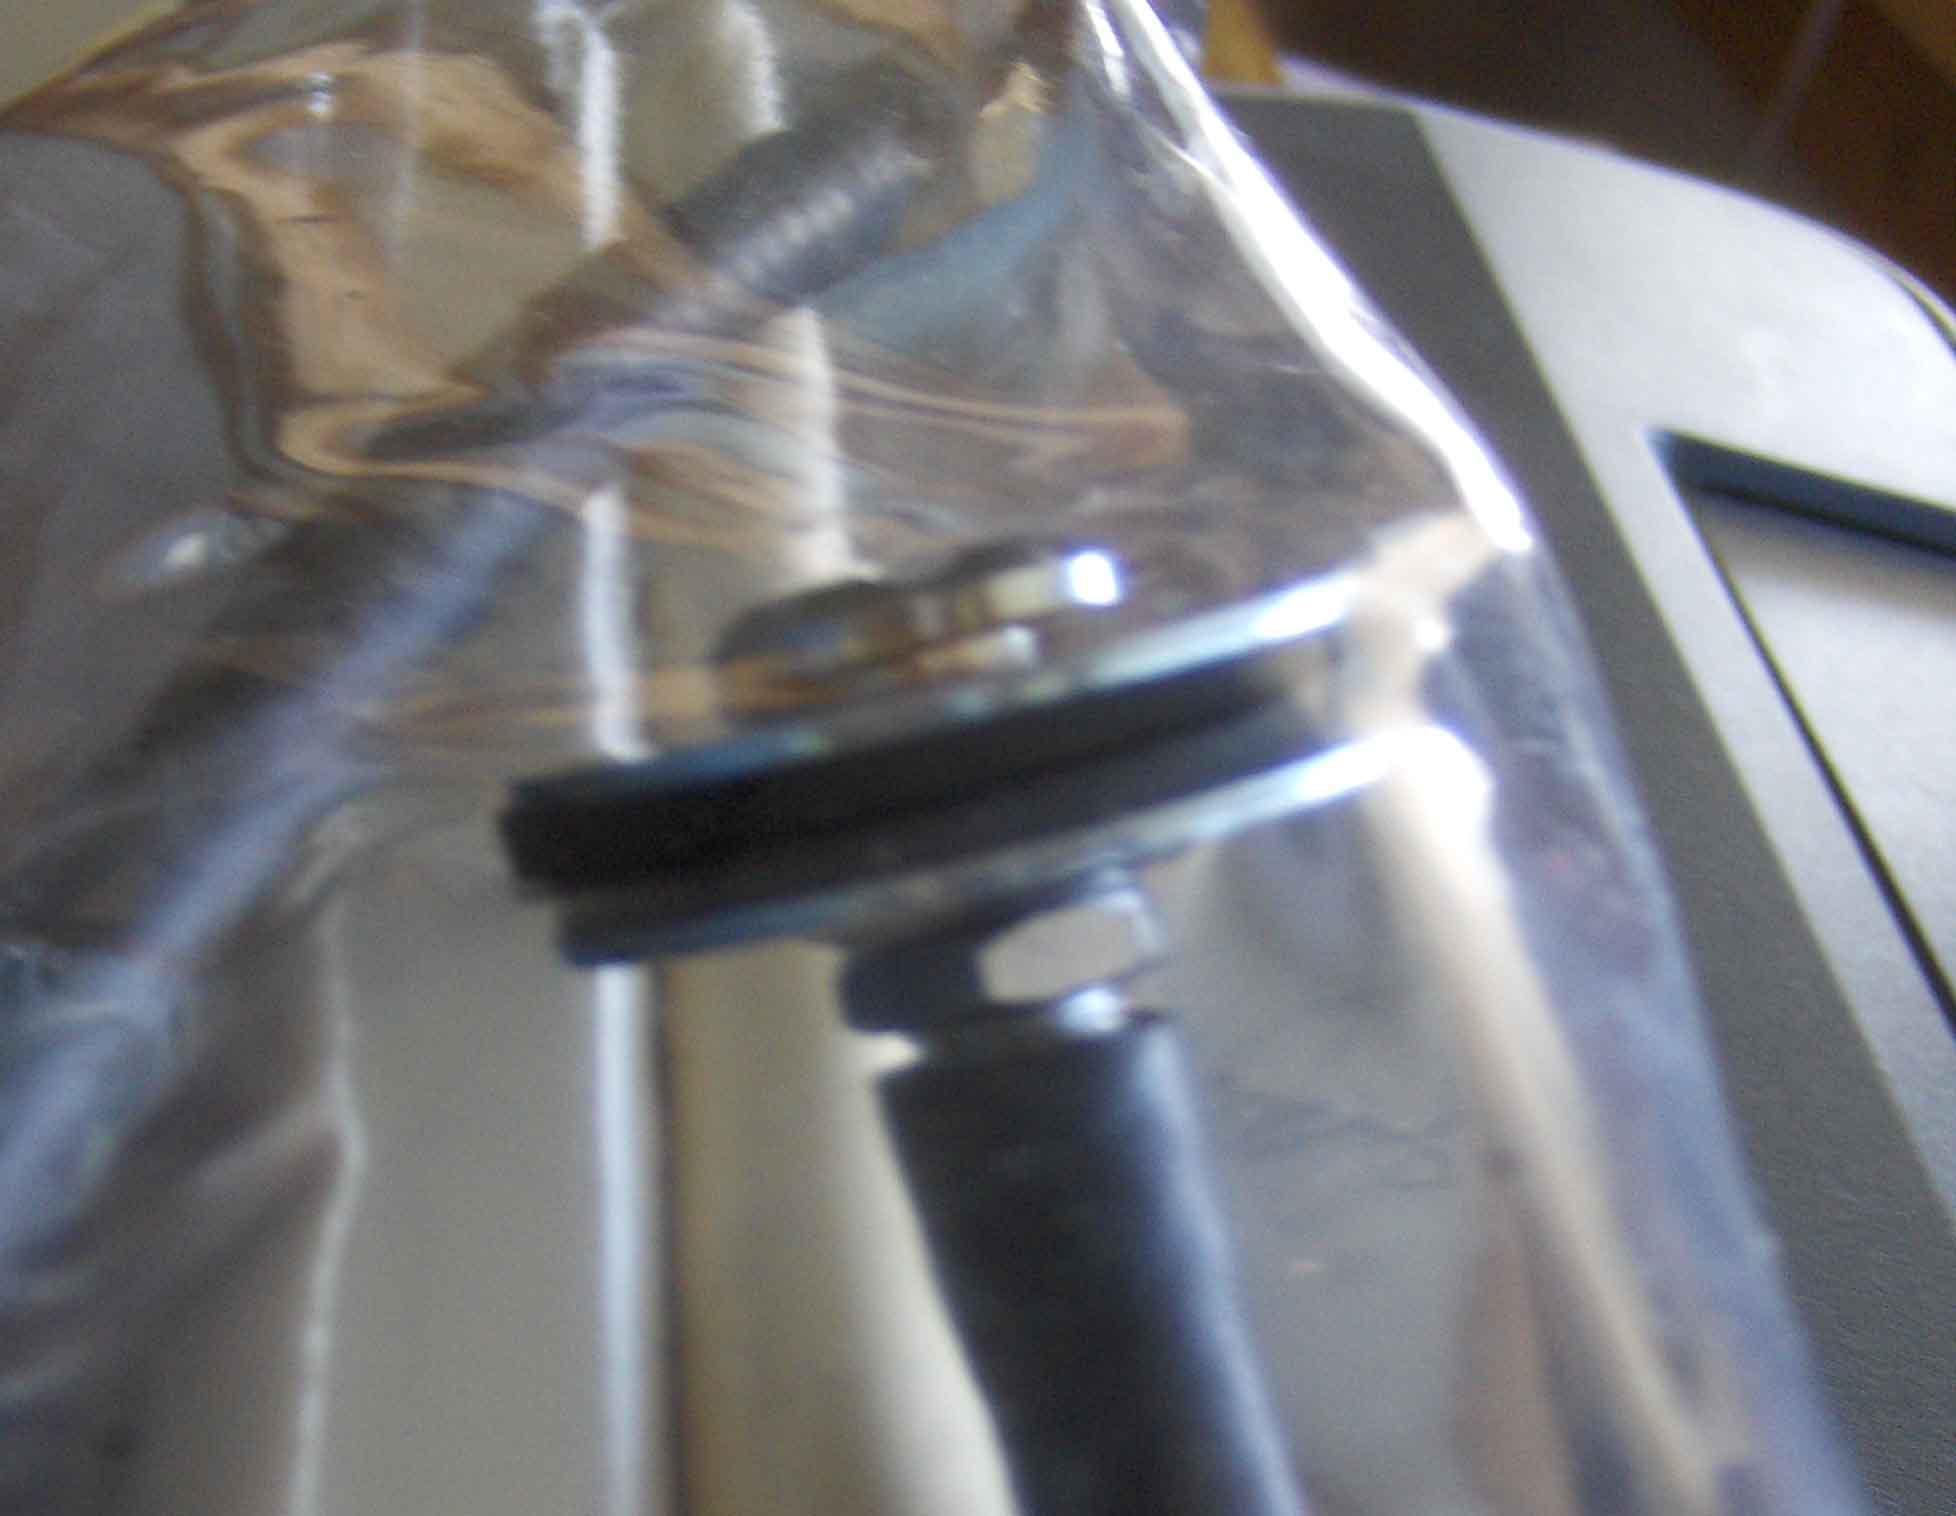
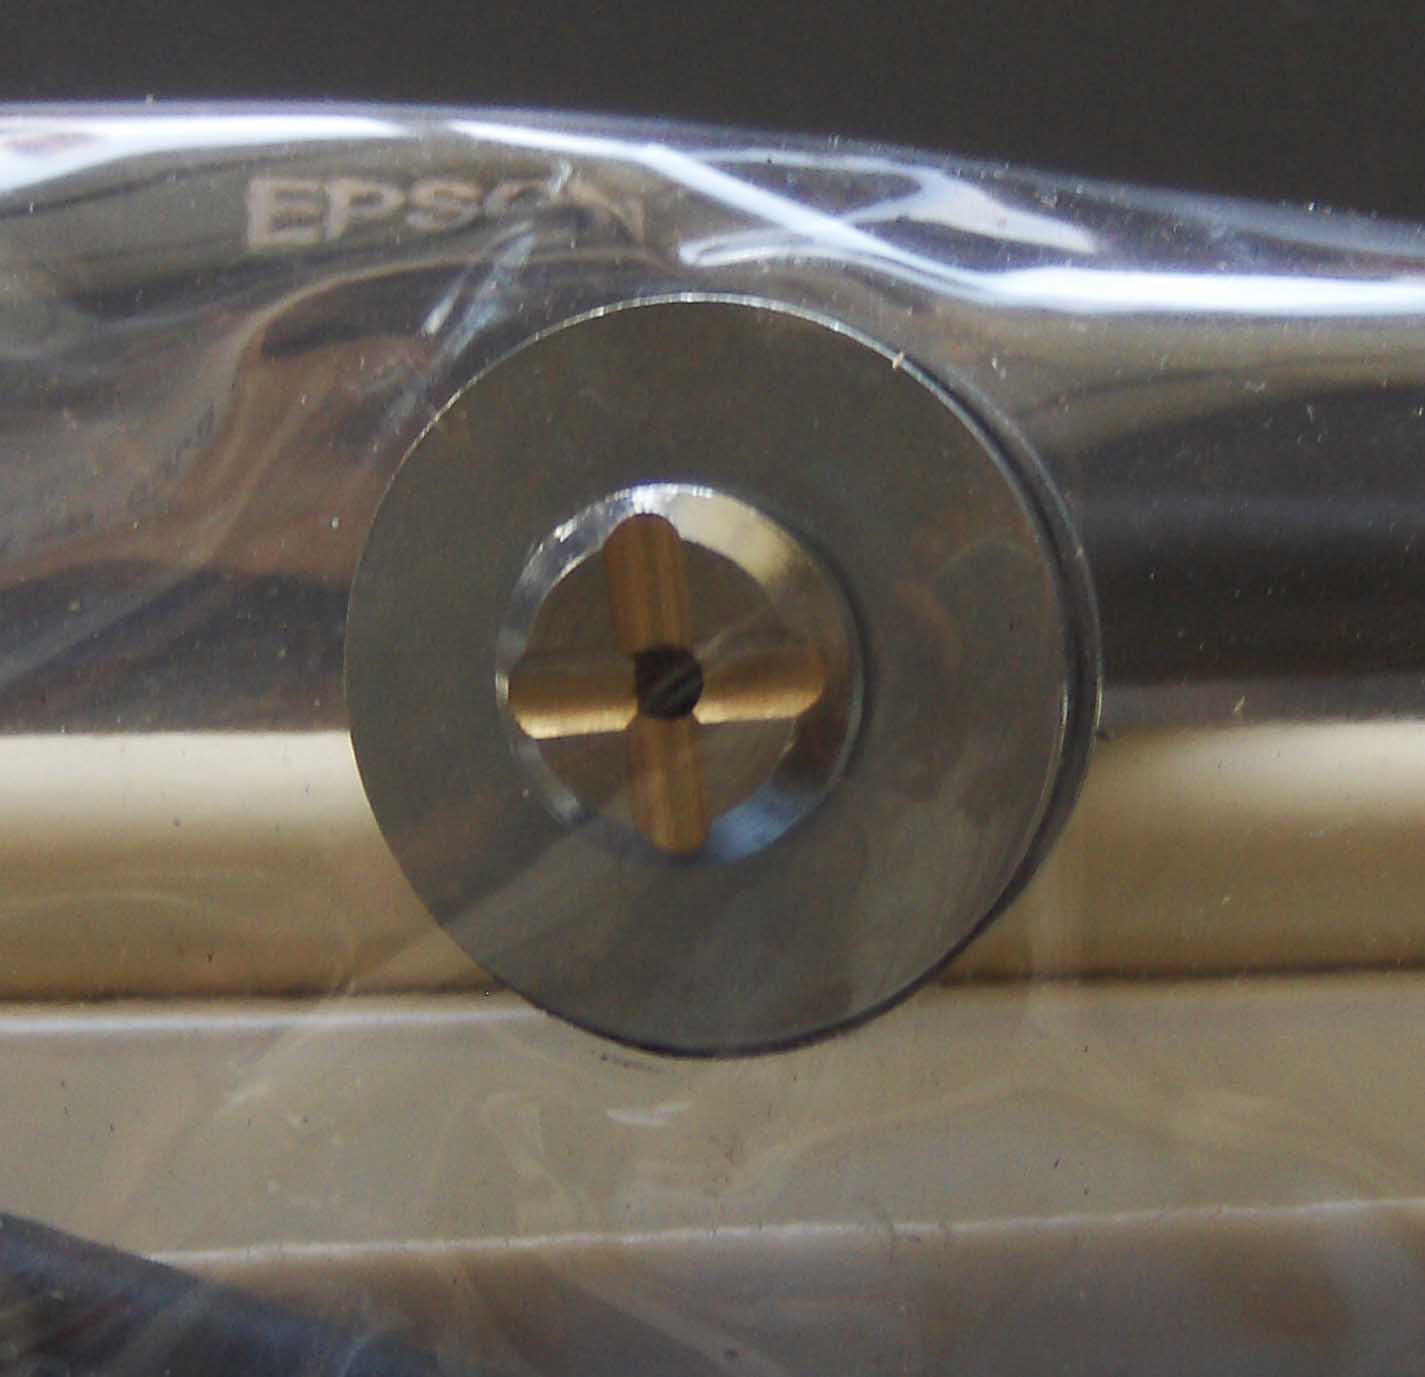
Retired LE, . . . here's another view of the fitting. May God bless, Dwight

-
Retired LE, . . . I looked back at my paypal list, but could not find the supplier. I found them on Google, like I do most every thing else I need. They were a small company, . . . associated with vinyl veneer bags used in the wood veneering business, . . . and if I remember correctly, they also offered bags for sale. I only bought the bag fitting, . . . price was in the $15 to $20 dollar range, . . . Ordered it, . . . punched hole in the bag, . . . screwed it all together, . . . VOILA, . . . it worked. The bag itself is .015 thick. Hope this helps. May God bless, Dwight

-
I bought a piece of vinyl at JoAnn fabrics, . . . folded it over, . . . contact cemented the edges, . . . I roll the end & put it into a piece of 3/4" pvc that has a slot for it, . . . thread a 1/2 in rod in to hold the vacuum, . . . turn on the pump, . . . watch the vac work, . . . Bag cost: about $15. May God bless, Dwight
-
Matty, . . . PM me with a normal email address, . . . I'll send you the info I share with my students in holster making class. May God bless, Dwight
-
Evolution Of A Belt
Dwight replied to mlapaglia's topic in Purses, Wallets, Belts and Miscellaneous Pocket Items
You did good, grasshopper,............. Seriously, Mike, . . . good work, glad you are enjoying your toy. May God bless, Dwight -
Having owned both, . . . done both, . . . I can personally attest that you will get a much tighter fit with vacuum forming. My press has an 8 ton hydraulic jack, . . . and a couple of 12 x 12 x 3/8 inch steel plates, . . . and I used the aforementioned 40 durometer rubber. My vacuuum outfit is a pump from Harbor freight, . . . and a $15 piece of vinyl from JoAnn fabrics turned into a bag. The first holster I made with it, I eased the 1911 out of the holster, . . . let it dry for a couple of days, . . . had to force the gun into it to test the fit, . . . thought I would have to cut it off to get my gun back. For holster work, . . . fingers are actually faster than the press or the vac, . . . for me. May God bless, Dwight
-
Just Another Holster
Dwight replied to katsass's topic in Gun Holsters, Rifle Slings and Knife Sheathes
Yessir, . . . Mike, . . . the back looks every bit as good as the front. Did you have Hershey Bar fingers on the back (chocolate is a great bug attractant,...........lol)? Keep up the good work, . . . and don't let those youngster naysayers grump you out, . . . you are still above ground, . . . prairie dogs don't deliver your mail, . . . lotsa good reasons to be happy. May God bless, Dwight -
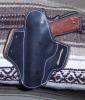
Mike finished his new plain jane holster probably a day ahead of my latest plain jane. It is my ver first 4 ply holster, made of 4 layers of leather as Mike does his, and I am very surprized at it. I could lose my gun, . . . and as long as I have this holster and a piece of string, . . . I've got a weapon It is much stiffer than I had anticipated. It will be very much used, however, as I needed a good "mowing" holster, . . . May God bless, Dwight And this is the back side,.............
-
Just Another Holster
Dwight replied to katsass's topic in Gun Holsters, Rifle Slings and Knife Sheathes
Yessir, ya do good work. Get a chance, . . . flip that burger over, . . . let's see the other side. May God bless, Dwight