Prusty
Members-
Posts
64 -
Joined
-
Last visited
Content Type
Profiles
Forums
Events
Blogs
Gallery
Store
Everything posted by Prusty
-
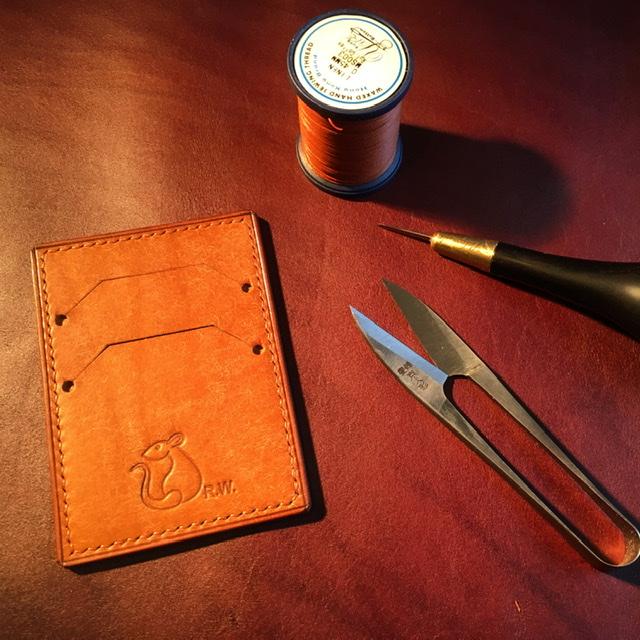
I started making these last year after a long illness to try and push back against skills regression. It’s pretty addictive making smaller, quicker projects such as these, although a bunch got thrown away. Still need to improve on what was lost. Made using 1.4mm pueblo and stitched with .45mm Yue Fung linen thread. They can take 2 cards to begin with then stretch out to fit about 4. Any feedback or criticism is very much welcome.
-
There’s a few stained glass windows in France that show cordwainers using their knees instead of clams in the 13th century, and the Mendel Hausbuch from Germany in I think the 14th doesn’t show them either. So I’d guess sometime after that, perhaps as larger and more complicated work is being done. Though I need to dig out the images, so don’t quote me on that.
-
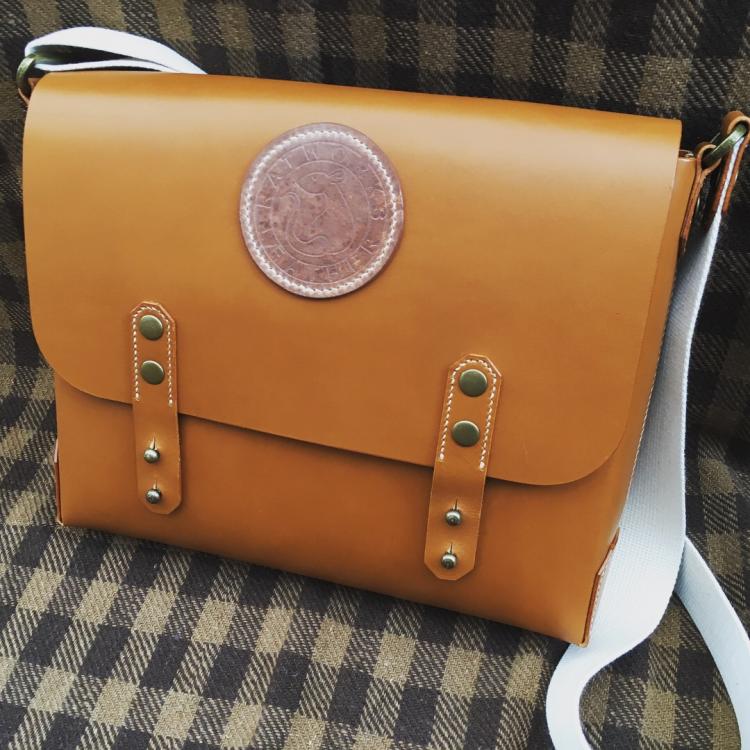
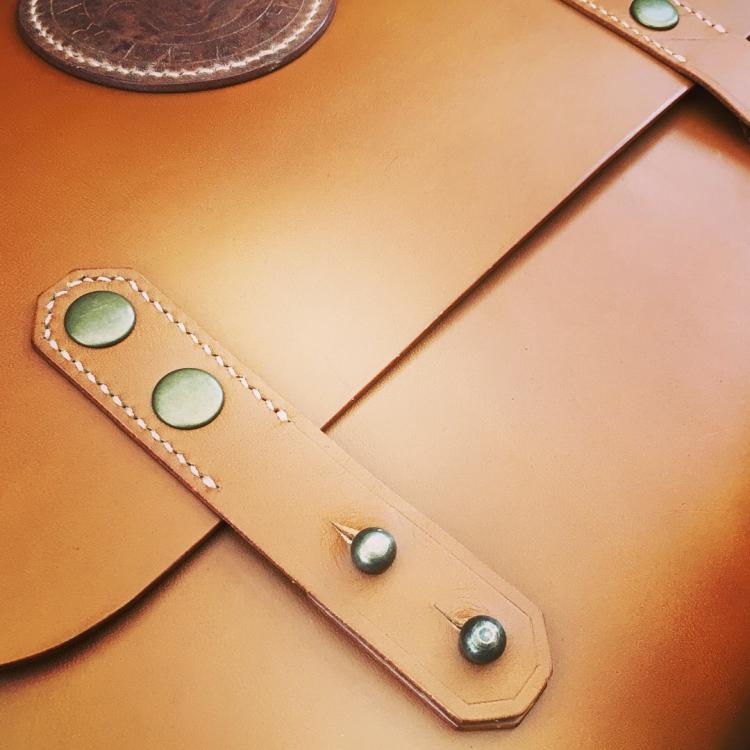
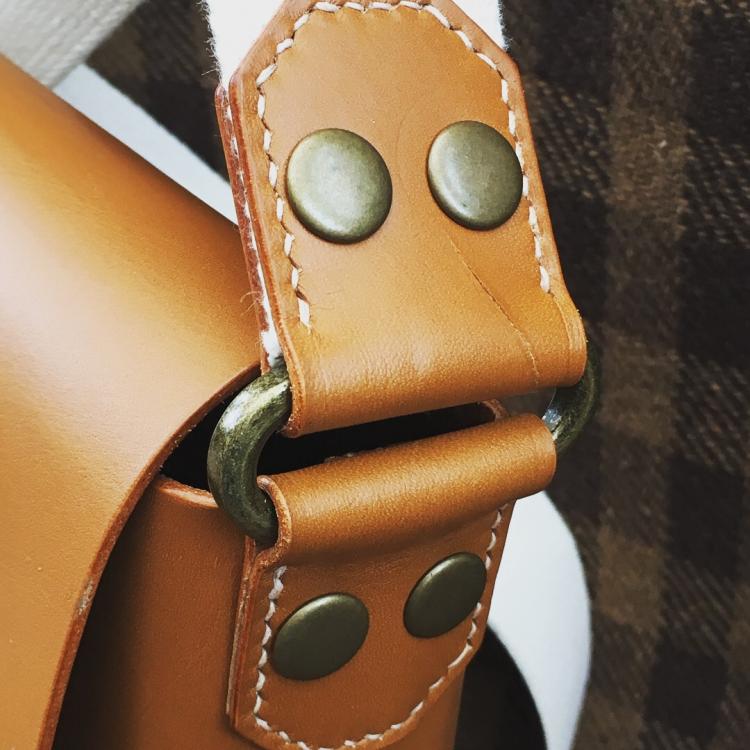
A little over a year ago I did a 1 day course in Matlock learning how to make a bag, then never got round to making another. So last week I decided to make a new one building off the design of the first, and it came out alright. This is one of the bigger projects I’ve done in some time, and I really enjoyed that. Dyed through veg-tan, 2-2.5mm, with solid brass hardware. The strap is some heavy duty canvas- couldn’t be bothered doing a leather one. There’s some off stitching, I was trying to figure out the corners and botched a couple. It also could do with a bit more shaping so it’s a bit more defined in its shape. And that logo needs to be better placed. But it works, and it suits my taste a bit more than the first one. Feel free to critique!
-
Second this, I use this a lot and it works really well if you’re going for a flatter edge rather than a fully rounded one. Does take a little breaking in, and sometimes it gets a bit clogged with wax and that’s a pain to get out of the smaller grooves. Then again maybe I should use less damn wax!
-
First post
Prusty replied to Patrik's topic in Purses, Wallets, Belts and Miscellaneous Pocket Items
That’s incredible for having started a year ago, really nice work. The flowers are especially beautiful.- 13 replies
-
- shoulder bag
- crossbody
-
(and 1 more)
Tagged with:
-
Sunflower Notebook
Prusty replied to Bob Blea's topic in Purses, Wallets, Belts and Miscellaneous Pocket Items
That is beautiful work, so clean and precise!- 13 replies
-
- sunflower carving
- leather notebook
-
(and 1 more)
Tagged with:
-
Messenger bag
Prusty replied to drexcess's topic in Purses, Wallets, Belts and Miscellaneous Pocket Items
That’s REALLY nice, especially for a first bag! -
Airmail envelope purse
Prusty replied to Prusty's topic in Purses, Wallets, Belts and Miscellaneous Pocket Items
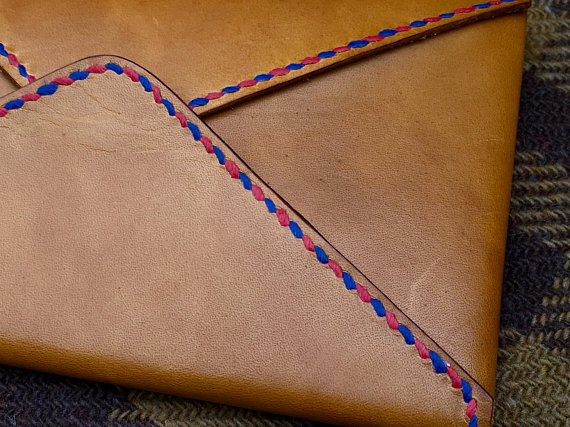
It’s fairly easy, you start by making the first stitch with the blue, then passing it back through the first hole making a stitch on the flesh side, trapping the red thread in the loop. Then you stitch forward again making a double stitch on the front, and from there stitch normally. Then at the end you do the the same but in reverse, so you only use the blue thread for the last stitch. May not be the clearest explanation but I hope that helps! -
Welcome! Used to live in Germany for a while too, what part are you in? Those are ambitious first wallets and looking pretty good.
-
I made a few of these but a fair bit smaller in size just for cards a while ago, and got a request for a larger version so had a bash at doing just that. Still using some pretty fleshy 1.2mm cowhide, so the burnishing didn't go as well as I'd like, but the two-tone stitching still looks good. Adding the card pockets was easy enough, went for a thinner thread so it wouldn't show up so clearly, and actually I think I like this design a little better than the small ones. Any criticism or suggested changes would be welcome!
-
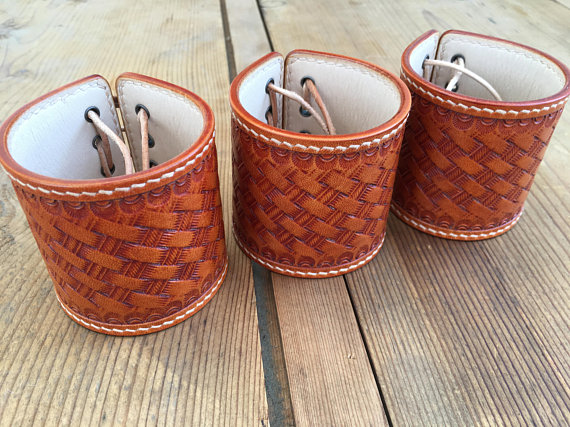
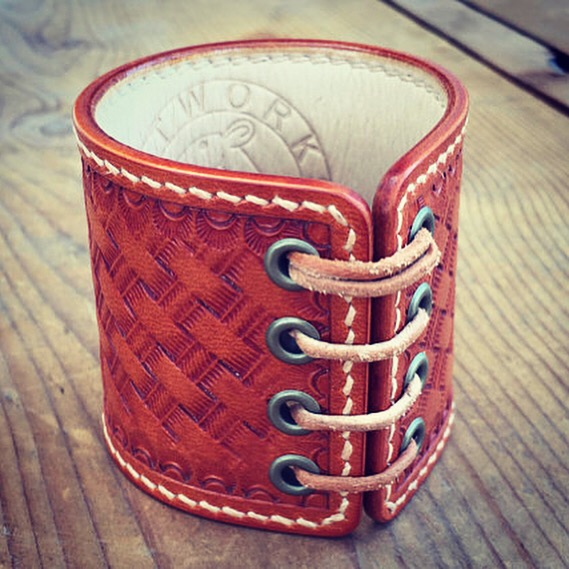
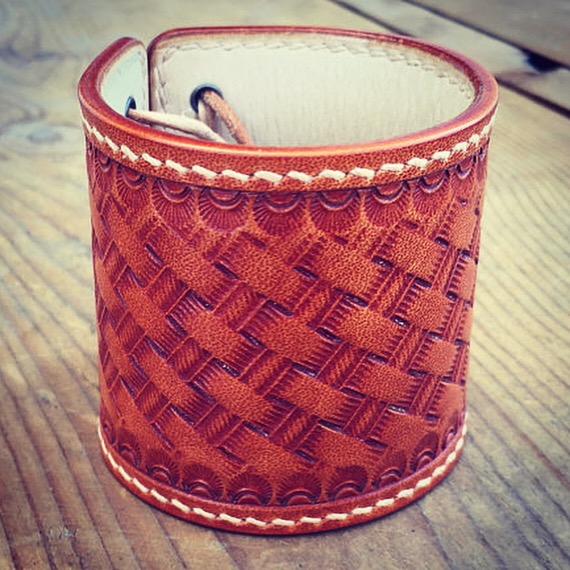
Just finished making these three bracelets, they’re pretty simple but a good chance for me to learn some stamping. Still not got the hang of it, especially bevelling the borders and getting enough depth for definition on the basketweave. But I can see why people like doing it. Sort of. The bracelets are two layers, a 2mm veg-tan shoulder for the tooling and a .8mm calfskin liner of the inside, glued and stitched together. Stitching straight lines is getting a bit easier, always going to need more practice there. Quite pleased with the burnishing on these. Feedback and critique is very welcome
-
That’s damn good looking, can’t imagine the patience it took to get through it! Very lovely. I actually did a bunch of research into this, at least for the 10th-15th centuries floral patterns, like acanthus scrolls, crop up all over the place, along with a lot of basic geometric patterns and a lot of animals. All much more basic though, and not ‘carved’ as such as there’s no cutting for the most part, just impression with blunt tools.
-
Photo doesn’t seem to have uploaded? And I’ve been having trouble with basketweave stamping too, Tandy have a quite good video on YouTube I found helpful.
-
Pilots Wallet
Prusty replied to HamiltonLeather's topic in Purses, Wallets, Belts and Miscellaneous Pocket Items
Like the tooling! How did you get the dye streaks on the hills? -
Carrying case
Prusty replied to ComputerDoctor's topic in Purses, Wallets, Belts and Miscellaneous Pocket Items
Nicely done, is that embossed leather or actual croc? -
Stamped journal cover
Prusty posted a topic in Purses, Wallets, Belts and Miscellaneous Pocket Items
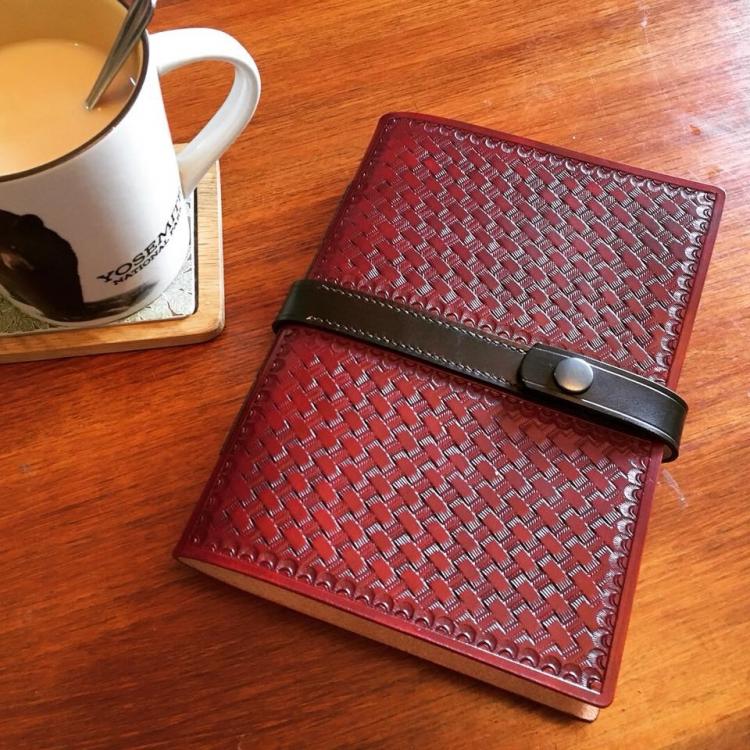
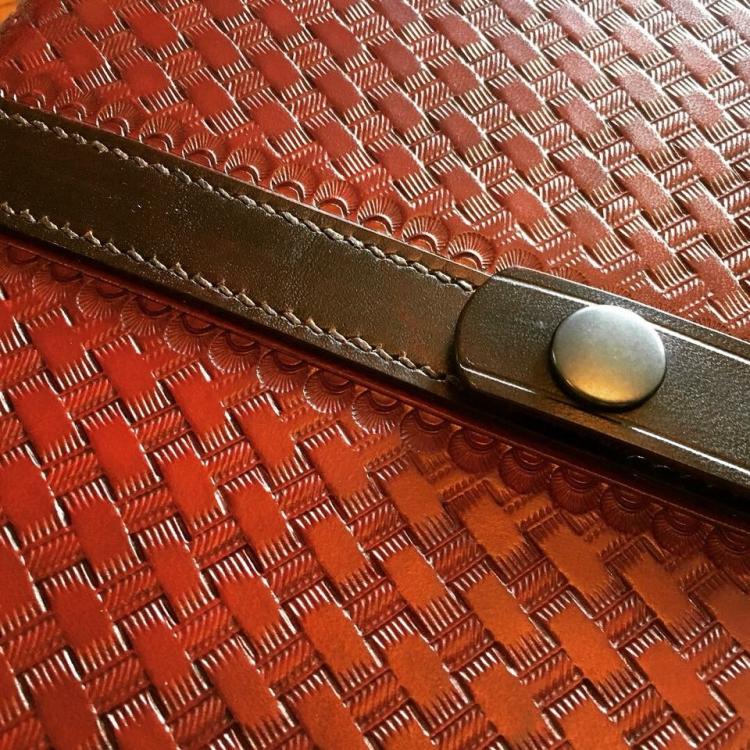
Tried out doing some simple stamping for a friends birthday gift, had a hard time keeping it all aligned properly. You can see a kind of wave through the pattern which is annoying. The stitching for the strap is also a bit iffy- finished it about 1 hour before it was gifted so it was a bit rushed! Any advice for the stamping would be really welcome. Made from 2mm veg tan, dyed with Identity Store leather stain. My partner attached the paper leafs, since I have no idea how to do that! -
Airpods case ver.2 (Using X-stitch)
Prusty replied to Hahn's topic in Purses, Wallets, Belts and Miscellaneous Pocket Items
That’s a cute little piece! What leather did you use?- 5 replies
-
- crossstitching
- xstitches
-
(and 3 more)
Tagged with:
-
WIP wide belt
Prusty replied to spacedog's topic in Purses, Wallets, Belts and Miscellaneous Pocket Items
Blimey, that is a lot of detail! Really beautiful, especially that shipwreck. -
Absolutely true, any craft is about failing your way to success and making whole new mistakes! Did a similar thing myself making a sword scabbard several years ago. Everything was cut out perfectly, the main scabbard part was stitched up and fit the sword perfectly, then when it came time to integrate the belt I realised the slits for the belt to pass through the scabbard were set up for a left hand carry, and I am VERY right handed. Good 8-10 hours work wasted there!
-
Simple card slot
Prusty replied to Wedgetail's topic in Purses, Wallets, Belts and Miscellaneous Pocket Items
That's some really neat stitching, looks great! -
Card wallet
Prusty replied to Prusty's topic in Purses, Wallets, Belts and Miscellaneous Pocket Items
-
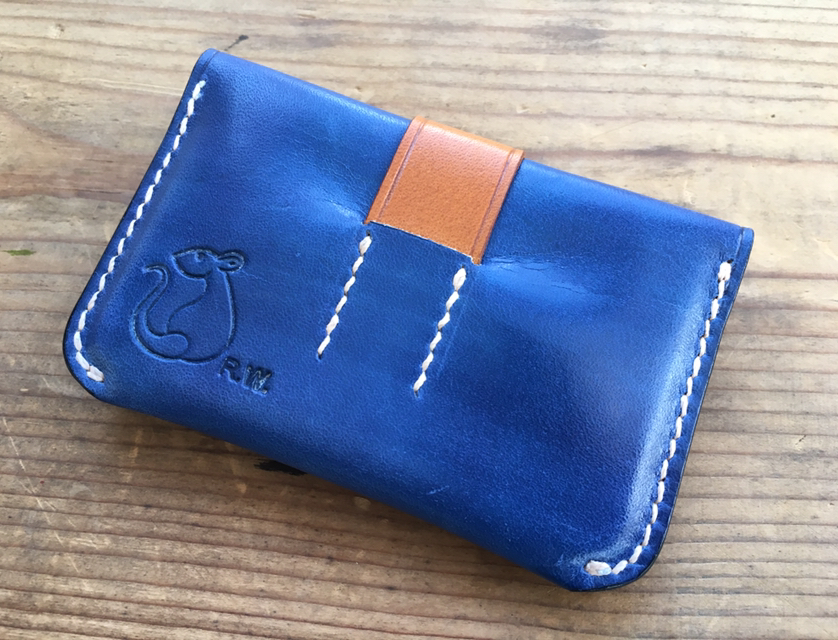
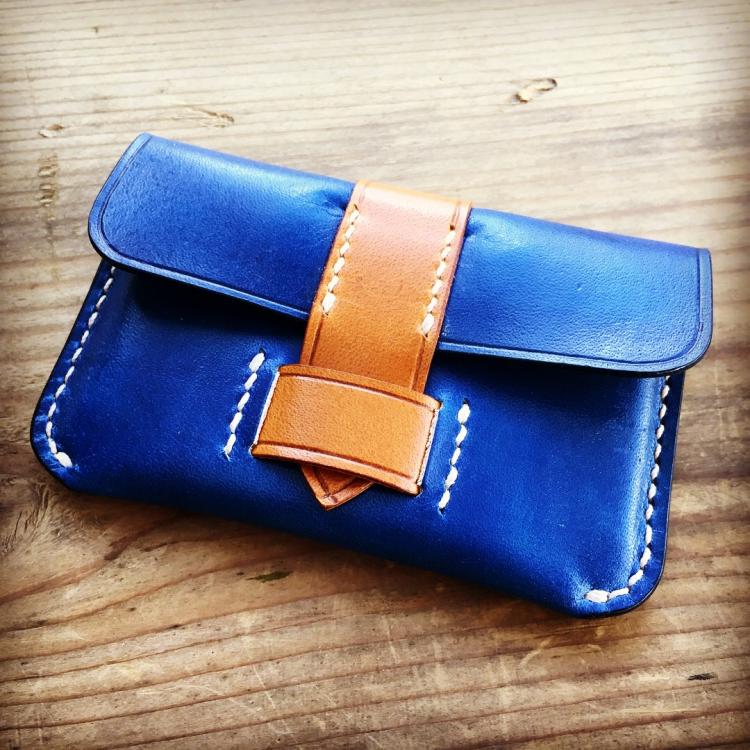
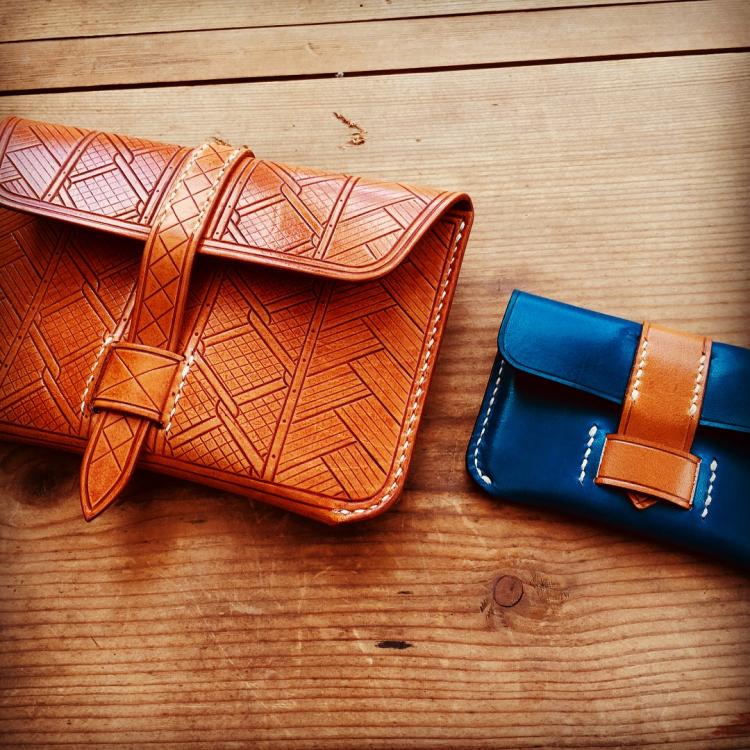
Decided to take one of my old re-enactment pouch designs and shrink it down to a smaller 4-6 card wallet. It’s also the first time in a long time I’ve used fiebings oil dyes, so that’s taking some getting used to again! 1.2mm veg tan, stitched using 18/3 linen thread at 8spi. Any feedback/critique is very welcome!
-
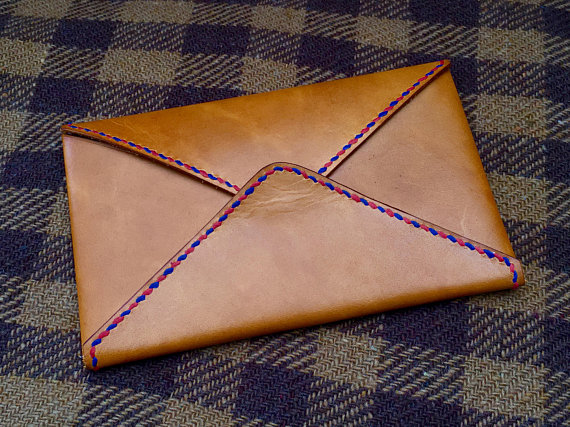
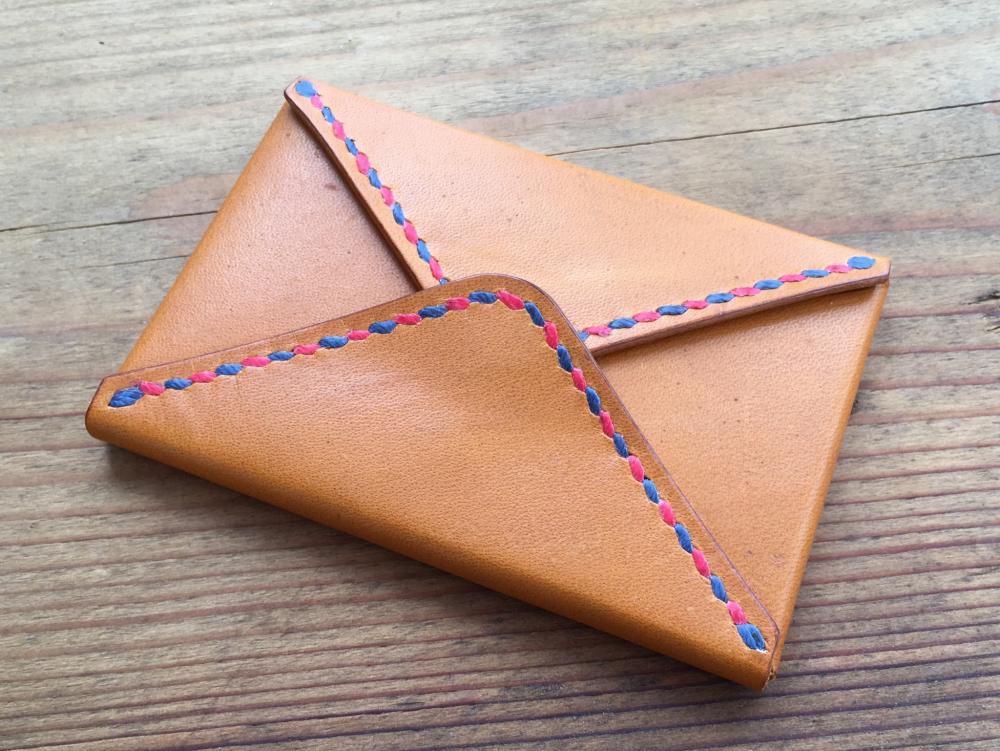
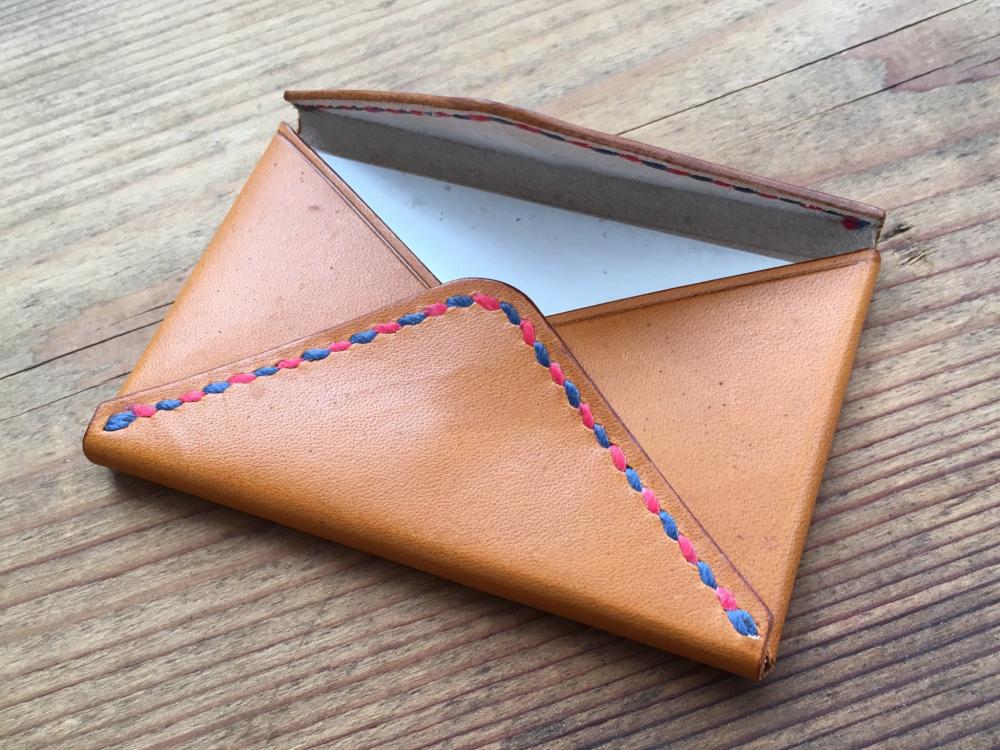
Small card wallet made to look like an old airmail envelope. Had the idea for this a while back but couldn’t figure out the best way to make it until recently. Its made from one piece of 1-1.4mm veg-tan that’s been folded, glued and stitched together. The decorative stitching is 18/4 linen thread at 3.35mm stitch spacing. Bit too chunky for that spacing normally but it helps hide any offline stitch holes at least!
-
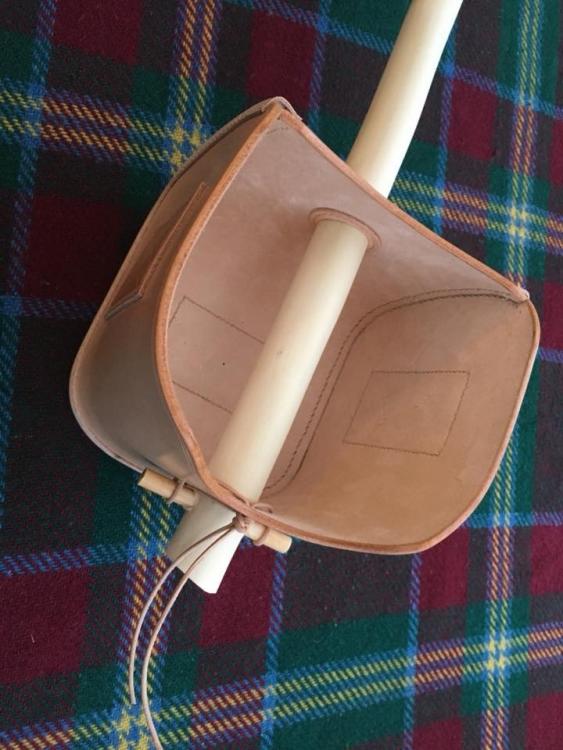
Leather handguard made for my local HEMA groups single-stick fighting. Single-stick fencing was used to train for Scottish broadsword and military sabre, and being in Scotland I tried to make this more like a basket-hilt in shape. Also gave it Scottish flags for a little visual flair. 3.4mm veg-tan leather with 1.2mm veg-tan edging. The main body is box-stitched under the edging(first time doing edging so pretty rough in places) with 18/4 linen thread, so there’s effectively 3 lines of stitching holding it together. There’s washers around the top and bottom holes to help keep the leather from deforming, and cutaways at the top and bottom to give the wrist room to move. Been through some fights now and still holding up! Feedback and critique really appreciated!
-
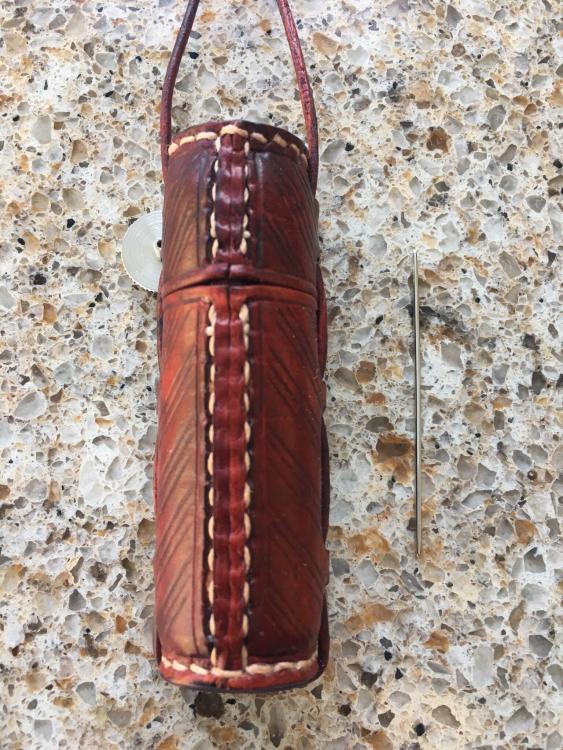
Only in my head I’m afraid, but it’s a fairly simple design. Two rectangles, one longer than the other, and two circular end pieces. The tooling is just whatever I can fit into the space Stitch length is 4mm, so fairly standard. Not sure of the weight conversion but it’s 1.2mm calfskin. John James no.1 needle do the job? Can’t find my ruler for some reason!


