-
Posts
308 -
Joined
-
Last visited
Content Type
Profiles
Forums
Events
Blogs
Gallery
Store
Everything posted by Wedgetail
-
I bet! The lining seems intimidating too, not to make it too loose or too small... and that the pockets end up in the right place when you get it all stuck together.
- 22 replies
-
- hair on hide
- tote bag
-
(and 2 more)
Tagged with:
-
Great stuff! I like the way the zipper is integrated too, and would like to make one like that at some point... the mrs always says that totes should have a way to close/lock. Real pretty, I reckon those would moooove pretty quickly off the shelf!
- 22 replies
-
- hair on hide
- tote bag
-
(and 2 more)
Tagged with:
-
I've not had much experience with painting edges compared to these other members, but did have a crack at using the pencil once or twice. The key difference between a pencil and a cone shaped applicator with grooves in it is that the applicator rolls. If you don't roll the pencil too, you'll just end up smudging paint around... that and the grooves store more paint for longer and smoother runs. But for both, if you are getting a bead of paint on the applicator that looks like a drop, you've got too much paint and will end up with a big glob at the start which will give you a wobbly line for sure. Less paint, roll the pencil along the edge. Those are my tips Now I do have a fair amount of experience with painting models and miniatures. So if you want to have a crack at using a small paint brush (good for corners mostly) try this: Thin the paint down a bit, load the brush so that it gets the paint right into the middle of the bristles (that's where the paint should be carried by a brush, not on the outside bristles). Wipe off excess on a cloth or paper towel so it is not globbed on the bristles, and use the side of the brush, not the tip, to apply the paint... think about applying the paint by using the side of the brush at an angle like you would use to sharpen a knife. For me, a brush is best for tight spots.
-
Thanks guys, Yeah I love love love my pricking irons from wuta, very good quality and a much better tool than the price point suggests. The templates are pretty good too, except I wasn't a fan of the tassel template. The parts are all the correct sizes, but I'd have expected the slots to be fully cut like a hair comb so you don't have to measure the cuts and do them one at a time like normal... maybe acrylic isn't a suitable medium for that? I dunno... maybe I'll try my own when the ol' laser is back up and running. Zippers, ah, zippers... they my nemesis. If anyone knows a good supplier of zippers that either is in or will ship to australia for reasonable money, let me know! Quality aside, zippers can be tempermental little buggers. If it's not aligned just right they can bunch up and then you have to hold the zip at just the right angle to get it sliding easily. This one, I got right and it opens easy enough... but better quality zipper = better experience for the end user.
-
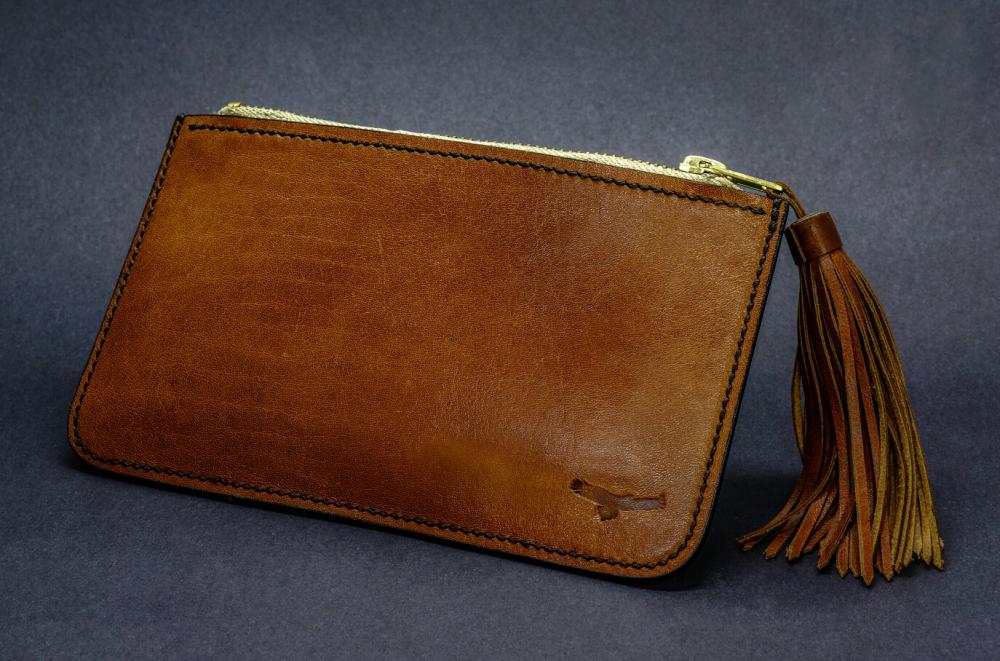
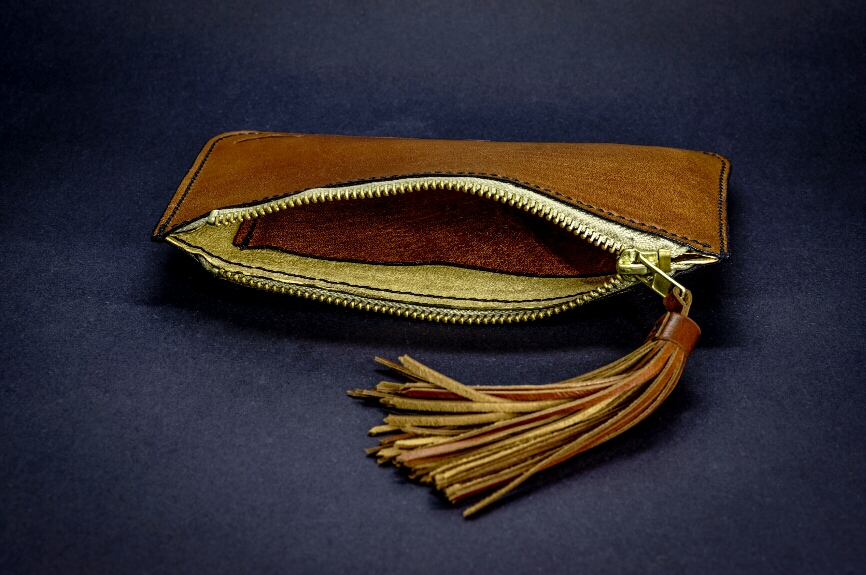
Just a simple little clutch for Mrs Wedgetail on her birthday. It is made from cognac coloured glazed Kangaroo skin, with a chrome tanned kangaroo tassel. The interior is lined with pigskin, with a card pocket made from the same kangaroo as the outer. The outside is saddle stitched at 3.38mm spacing using Wuta pricking irons, and 1mm black braided poly... would have been better to use .6 or .8. Edges are painted with black edge paint, my first attempt using edge paint instead of burnishing! Easy enough to do, takes longer, but looks great I think. If you're interested, the template for this came from Wuta which you can find online. The templates are good and accurate... instructions would be good for new leathercrafters but with a bit of a 'cuppa and a think' and maybe watching a bit of youtube, most should be able to figure it out. It also called for some specific thickness of leather on the templates, but since veg roo is stiff I used thinner stuff and it worked out fine. I normally make my own templates, but blew up my laser Enjoy, and let me know what you think.
-

Simple card slot
Wedgetail replied to Wedgetail's topic in Purses, Wallets, Belts and Miscellaneous Pocket Items
Thanks @Prusty! My stitching was pretty woeful before, but it's getting better Lots of patience, more practice, and a good set of pricking irons. -

Simple card slot
Wedgetail replied to Wedgetail's topic in Purses, Wallets, Belts and Miscellaneous Pocket Items
Thanks mate, It's a good material, firmer than something like goat which makes it a bit easier to work with in some ways (and harder in others). Just got to stop it hopping away from you in between processes. Yeah it is Lekoza slam thread, and hammered down which flattened it out a bit. Pity they aren't making the stuff anymore, it's my favourite thread... though haven't tried tiger yet. Actually you know... that could be 0.8... have to find my invoice to check. -
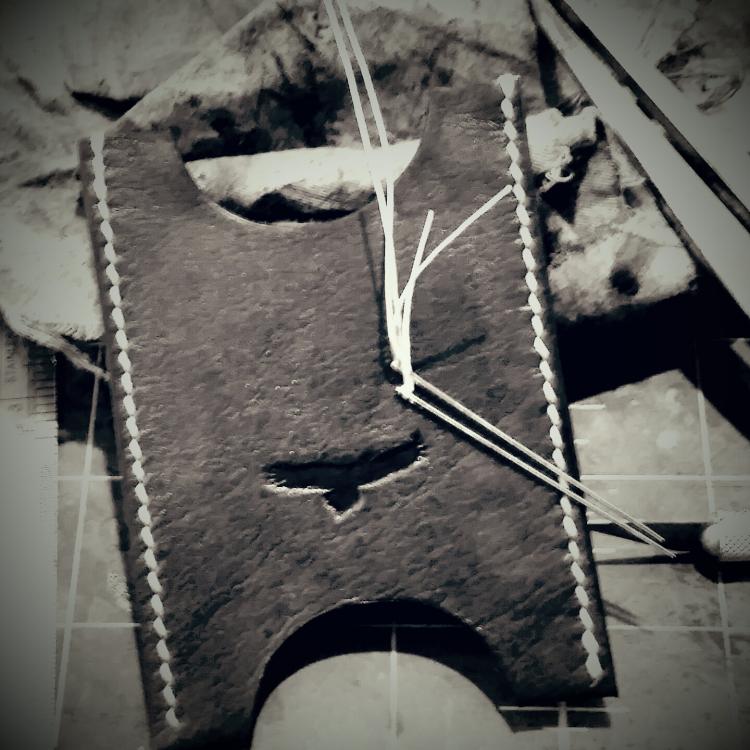
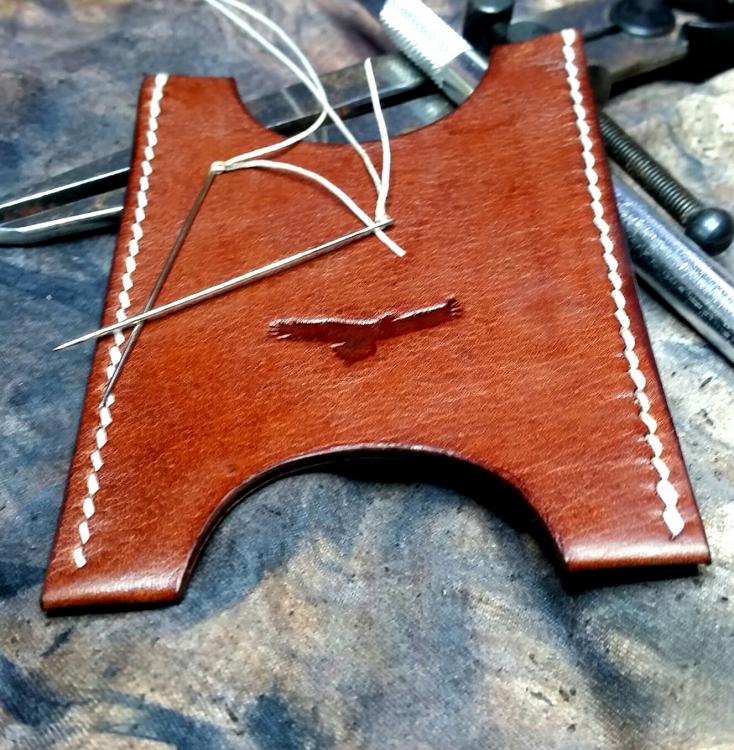
From the workbench today, a simple kangaroo leather cardslot. Made from vegetable tanned kangaroo, and saddle stitched in 0.6mm white braided polyester thread. These card slots are perfect for the train pass or work access card.
-
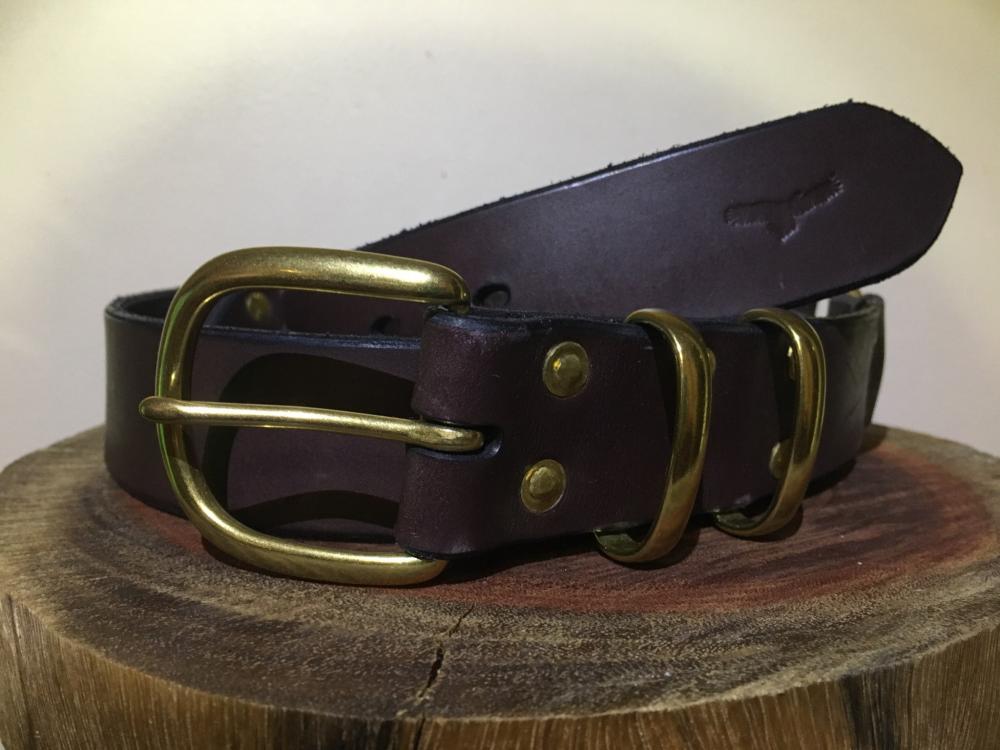
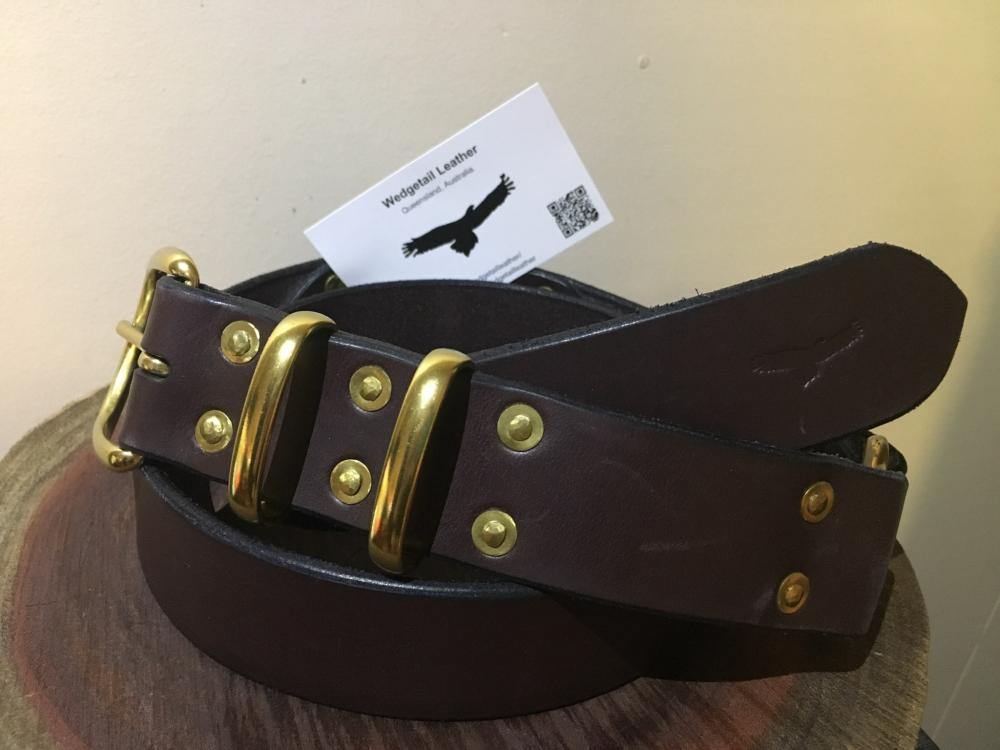
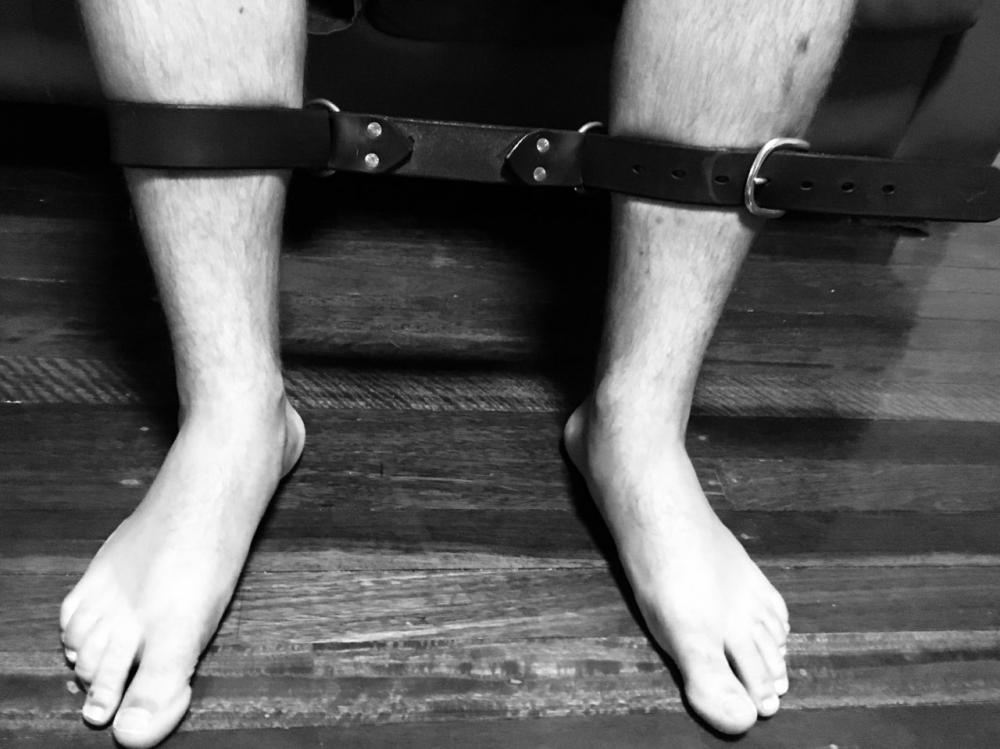
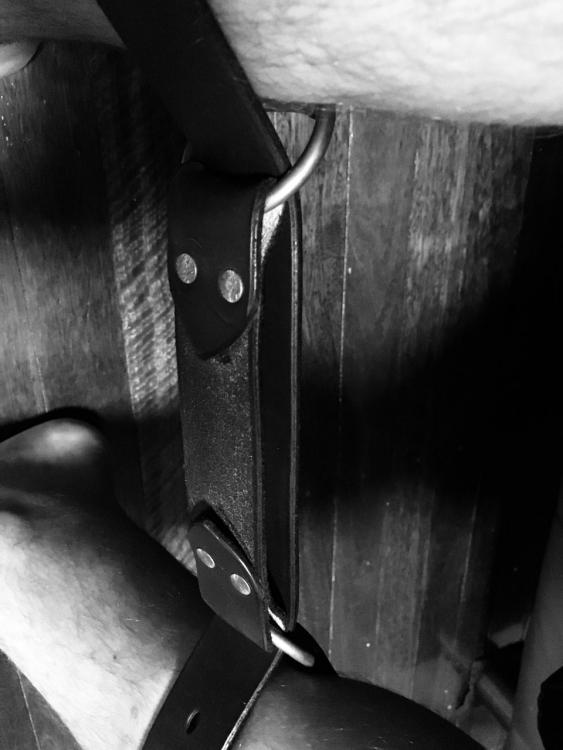
G'day all, Made a hobble belt for my client. Seemed an odd choice, since he doesn't own a horse... But it turns out the rings are good for clipping stuff onto (like gloves, torch, etc) for a work belt. At least that's what he says Made it from sedgwicks traditional english bridle with solid brass hardware and rings, and brass rivet burrs that are all hand peened. That's some bloody nice leather to work with! All round, it's a pretty solid duty work belt. And has a soft hand for something more 'extra curricular' if you're into that sort of thing, I included some 50 shades of greyscale photos below that we had 50 shades of fun taking. No judgment here!
-

Leather Briefcase / Leather Satchel
Wedgetail replied to BattleAx's topic in Satchels, Luggage and Briefcases
Really well done! That looks awesome -

40W Chinese Laser - Engrave and Cut Leather - Discuss
Wedgetail replied to Billy Hell's topic in 3D Printers and Lasers
Haha, exactly. -

40W Chinese Laser - Engrave and Cut Leather - Discuss
Wedgetail replied to Billy Hell's topic in 3D Printers and Lasers
I blew mine up... hot tip, pay attention and make sure you have the aquarium pump on. Lol Got to replace the laser tube now, which will be a bit pricey, but otherwise easy to do... should be all OK. Actually tempted to just upgrade to a bigger one and keep it for spare parts. The number of times I needed a template juuuuuust a touch bigger than the cutting deck size. -
Beautiful work, and i love the strap closure method too.
-

Prototype: Valet Tray Pouch
Wedgetail replied to andrewsejlv's topic in Purses, Wallets, Belts and Miscellaneous Pocket Items
The part between... well... lets just say it usually doesnt see much barb wire... -
No worries mate! It gave me an idea for another quick tip video for my youtube channel
-
Glue.... thin coat, let it dry thoroughly. Too thick or too wet and it may mark your leather or pull up the surface finish (practice on scrap). I use tanners bond contact cement. You can do the same thing to acrylic or wooden templates.
-
@MoRoadglide11 @Rossr thanks for the compliments, and you guys are so right... i desperately want some machinery in my workshop! I enjoyed it, but stitching is not my favorite part of this work... especially doing small spacing. My Wuta 3.38 mm pricking irons = 8 stitches per inch. Lol But unfortunately my beat up old singer 201k wasn't up to the task! =p haha Lets say the wishlist is growing, with each project I undertake.
-
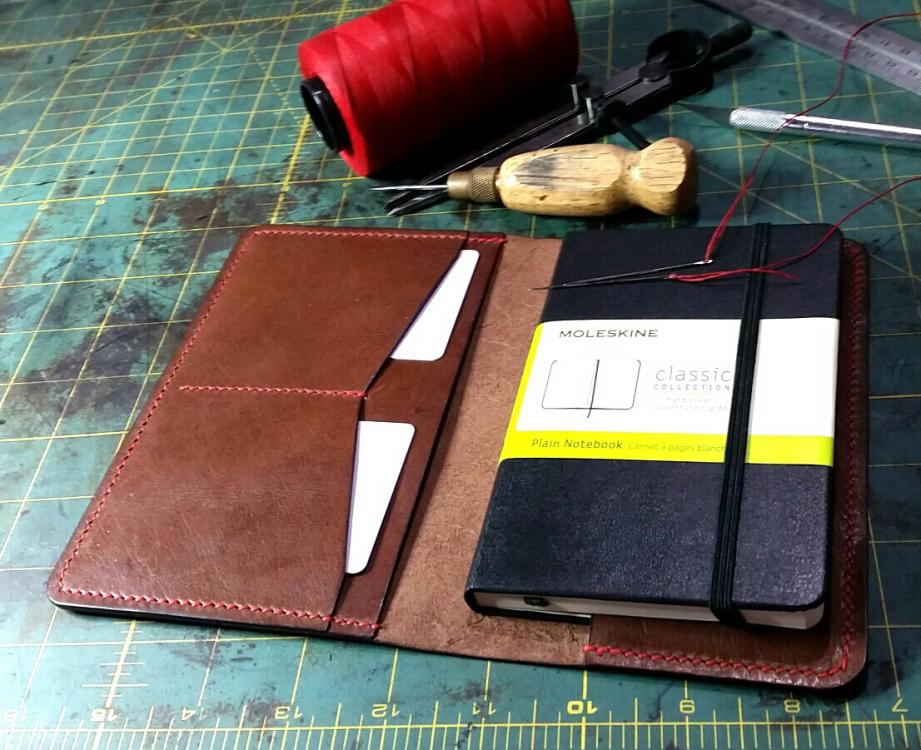
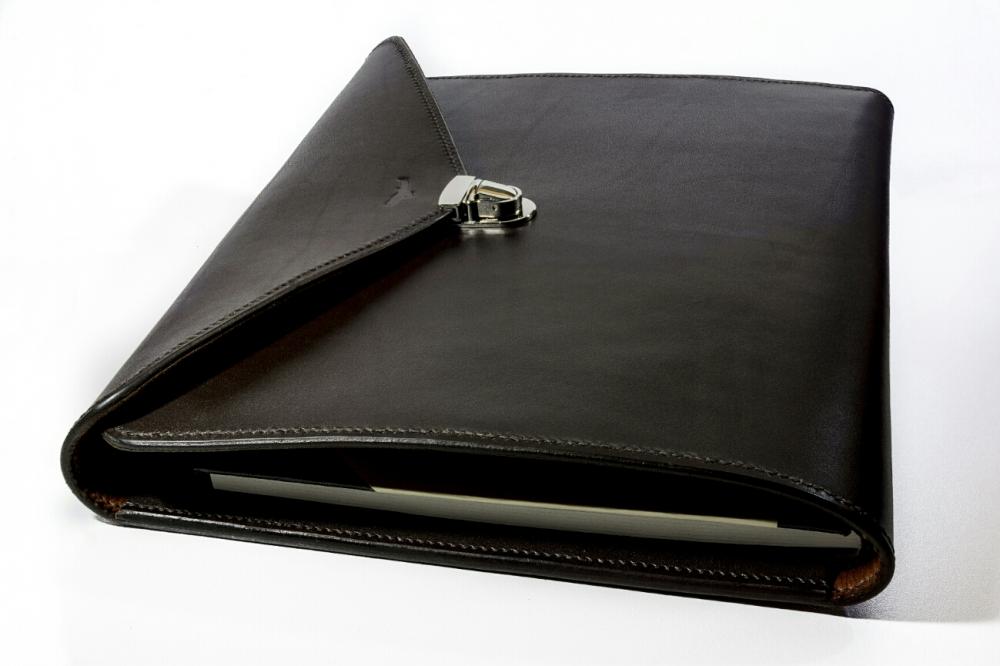
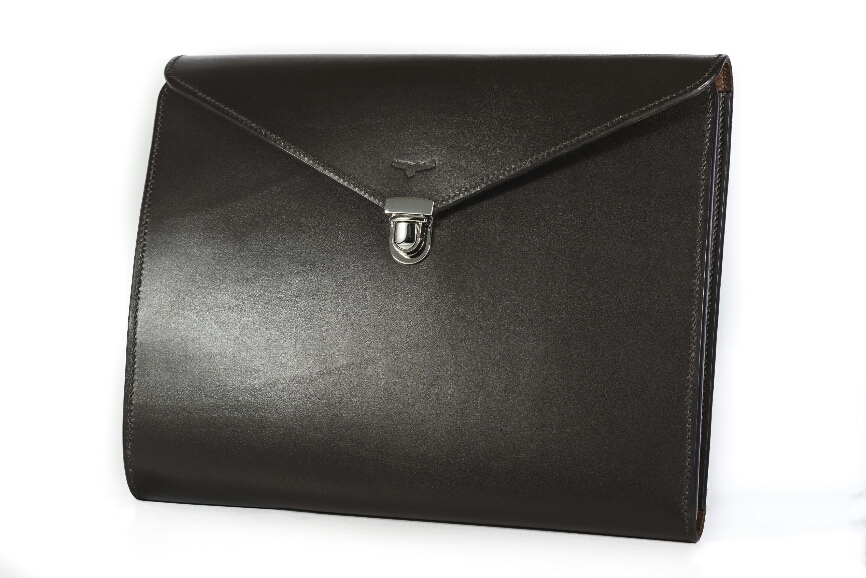
Thanks guys! I want to make one for myself now, but at the same time I don't want to do all that stitching again unless I'm getting paid for it... haha That tuck lock is my favourite part too blingy, but subtle enough to be elegant still. ... Not totally practical if you want to write on both sides of the page, because it makes the left side sit unevenly... But the hard cover book helps with that, and you wouldn't want to write on the page without something protecting the leather underneath from your pen impressions anyway. So, i figured it'll be alright!
-
hahahaha, well that does sound great! just gotta get a day off from baby duty, the day job, and the honey-do list... They are not necessarily prioritized in that order. I'll take you up on that one day.
-
Like for starters... i should get a bell skiver (or a schar-fix? However they're spelled in ze german language), so I can consistently skive the edges and not need to punch through 8mm of veg tan with an awl! Lol
-
Thanks mate! I learned a lot from this one...


