Stetson912
-
Posts
1,431 -
Joined
-
Last visited
Content Type
Profiles
Forums
Events
Blogs
Gallery
Store
Everything posted by Stetson912
-

Knuckle duster
Stetson912 replied to Dragonfly42's topic in Gun Holsters, Rifle Slings and Knife Sheathes
Are they hardened at all? -
Finally finished belt
Stetson912 replied to Stetson912's topic in Purses, Wallets, Belts and Miscellaneous Pocket Items
Thanks @RockyAussie, he seems to enjoy it. Really everything went together pretty well. The belt he's been using the past who knows how long has been in very bad shape for a while. It's cracking and the once round holes are now oval and huge haha. He's missing a snap and all sorts of stuff. So this one will definitely be a step up. Not to mention it's more than double the thickness which is good as he carries a sidearm and everything else he owns on his belt all the time haha. -
Finally finished belt
Stetson912 replied to Stetson912's topic in Purses, Wallets, Belts and Miscellaneous Pocket Items
Thanks wedgetail. This one fits at least haha. -
Finally finished belt
Stetson912 replied to Stetson912's topic in Purses, Wallets, Belts and Miscellaneous Pocket Items
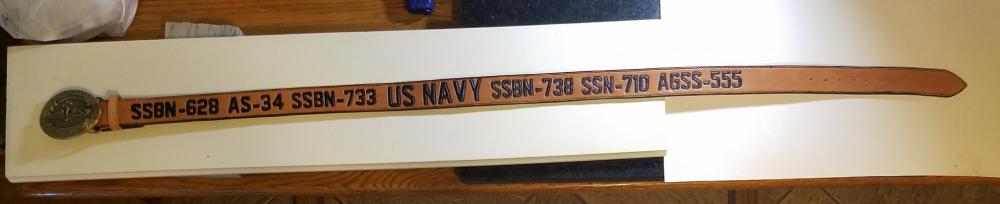
Thanks Dwight. I admire your work on here and your insight. He was on the decommissioning team for the USS Dolphin (AGSS-555) in 2007. It has the deepest dive record for a diesel submarine. Thought that was a neat fact. Thanks again for your service -
Finally finished belt
Stetson912 replied to Stetson912's topic in Purses, Wallets, Belts and Miscellaneous Pocket Items
-
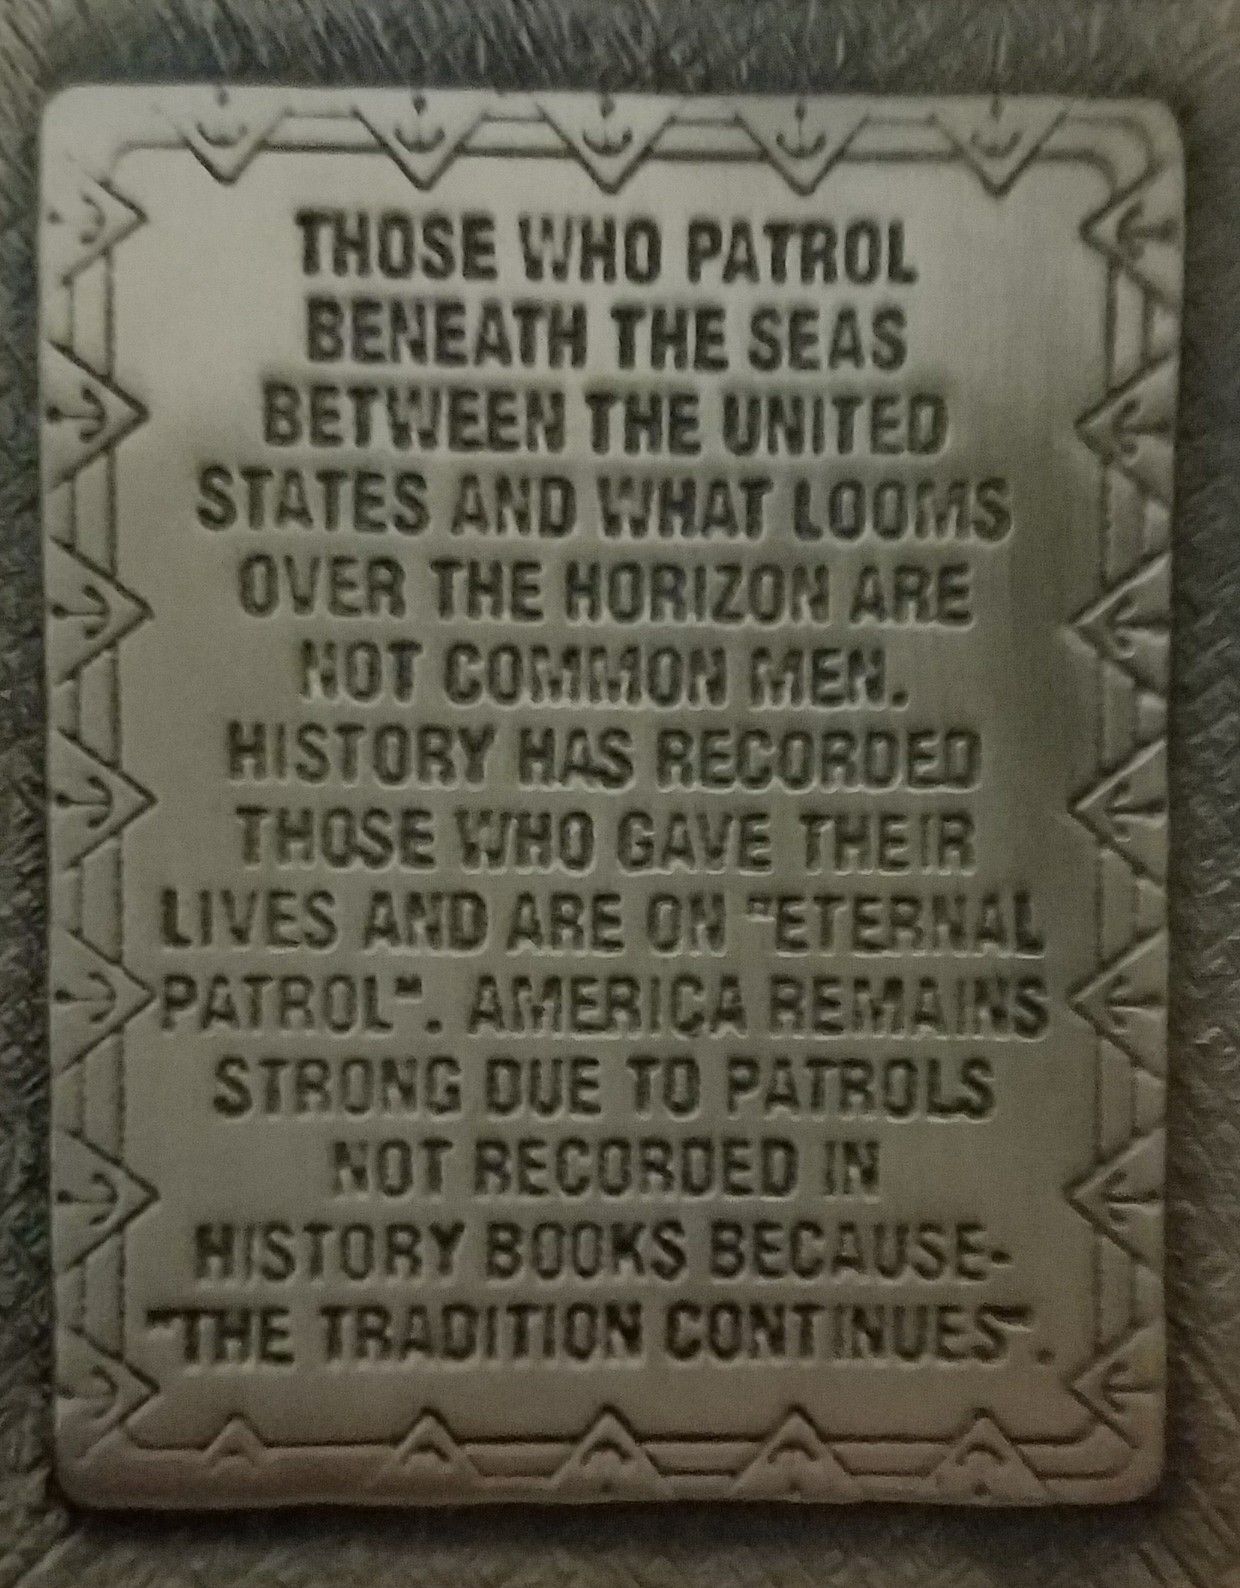
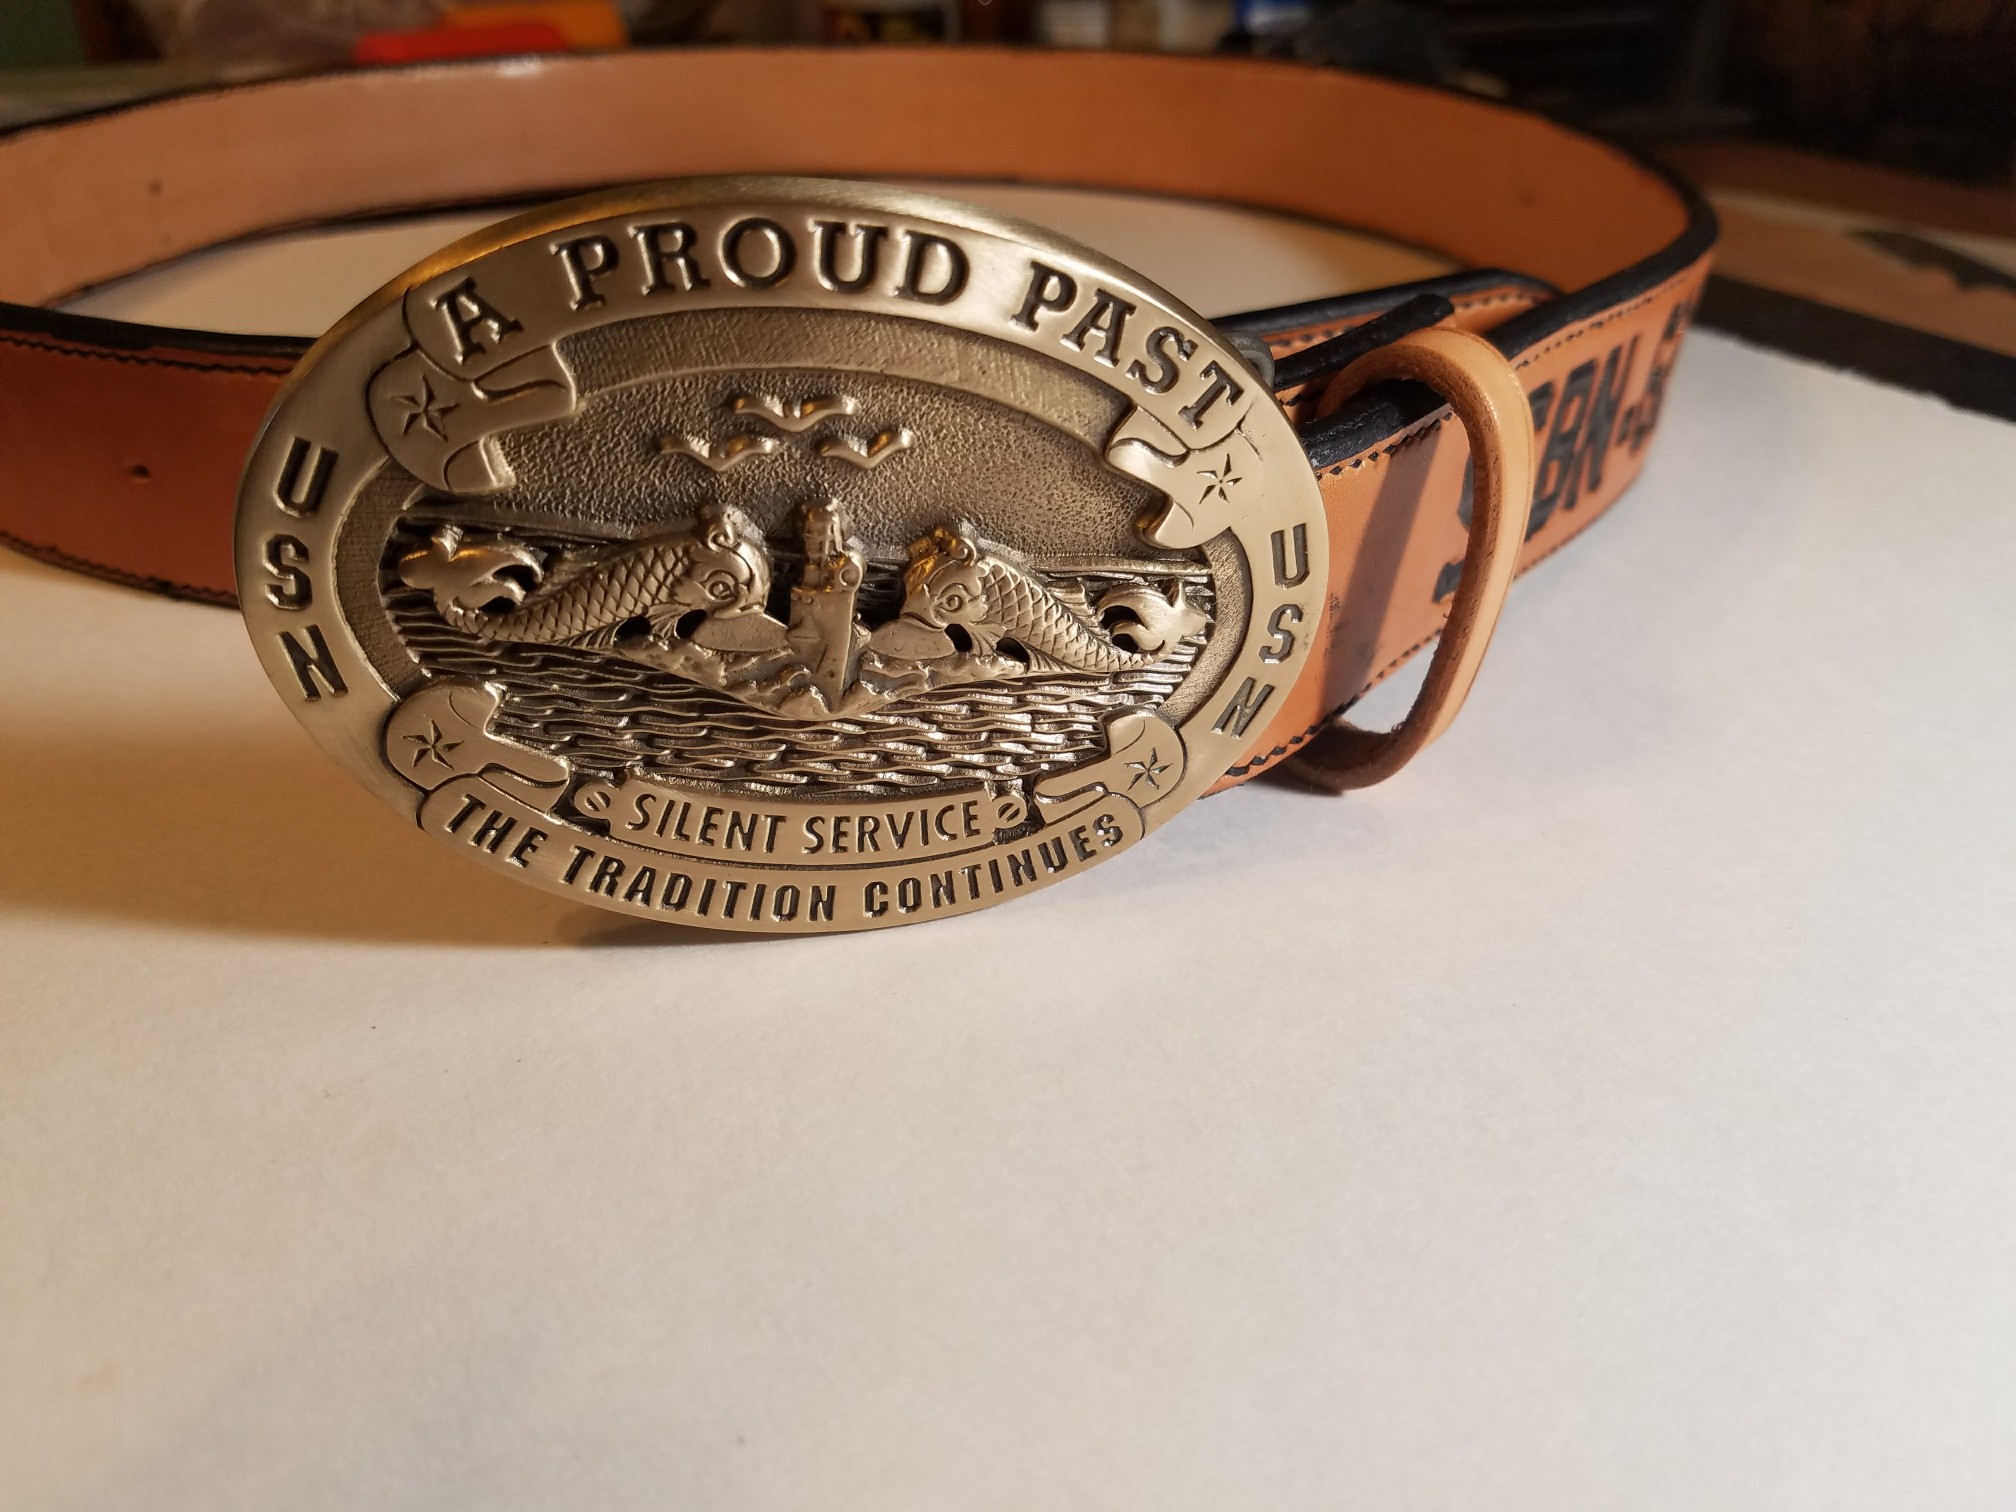
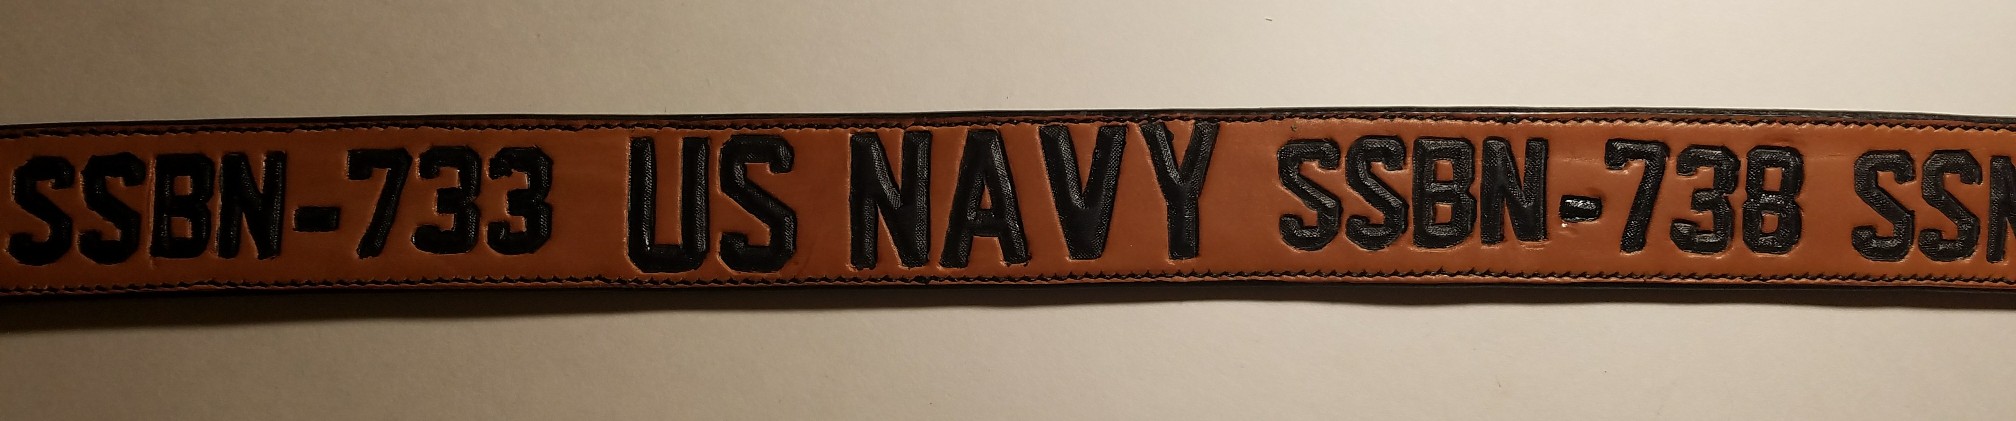
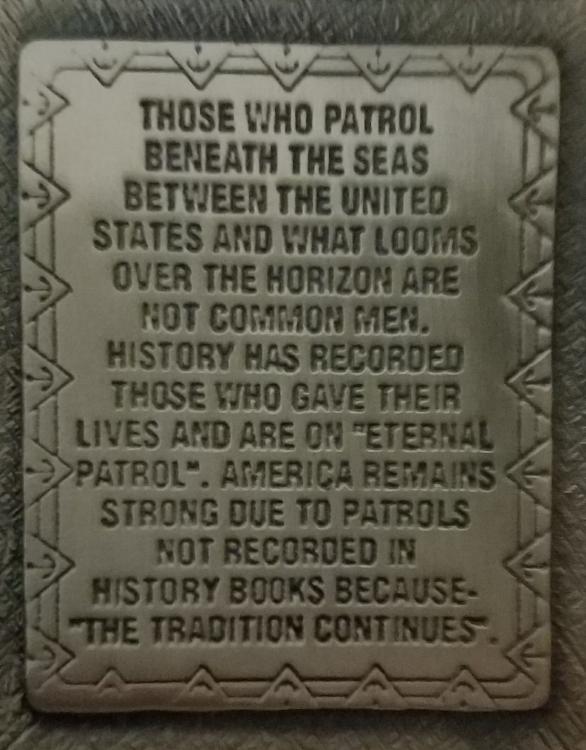
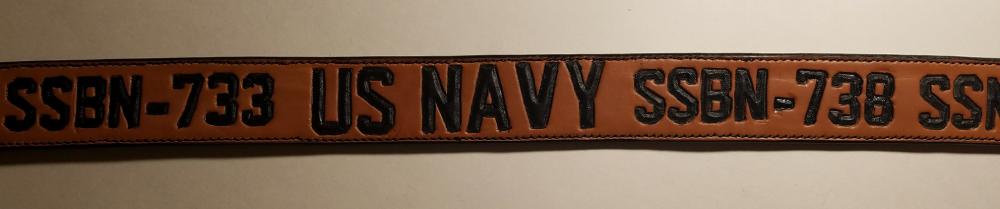
Howdy everybody. I've been working on this belt for ages. This is my second go, because the first one didn't work out. But this one is better. Still not perfect but functional. A stout laminated belt (two 7/8oz pieces) with snaps to secure the buckle. I used a 1/2" spade bit to recess the female snap on the back because the leather was too thick to set the snaps haha. It's for my father in law who is retired Navy. He was a machinist mate on submarines. So I thought it would be cool to make him a nice belt with the hull numbers of the subs he was on. A very late Father's day gift. The letters are tooled inverted and dyed black. Edges are dyed black as well. The rest of the belt was sun tanned for 3 hours in the Arizona sun. The buckle is the best part. It's a limited edition full brass buckle with the submariner dolphins on it. My stitching on the back doesn't look good and I need more practice with the awl haha. But anyways... Critiques are welcome. And thanks for looking. PS, thanks to all retired military, active duty, and those who payed the ultimate price for our country, for your service. I respect you all.

-
First belt
Stetson912 replied to Johny198's topic in Purses, Wallets, Belts and Miscellaneous Pocket Items
Just a pricking iron? Or do you mean stitching chisel? To punch all the way through? I marked the front of my belt with a pricking iron. But that's just to mark the holes, then I actually make the hole with the awl. I think I'm just not practiced with an awl haha -
Sheep wool alternative for Neat Lac/Wyosheen
Stetson912 replied to SmashySkins's topic in How Do I Do That?
Yup, what colonel said. It also works well with antique. -
Knuckle duster
Stetson912 replied to Dragonfly42's topic in Gun Holsters, Rifle Slings and Knife Sheathes
I think it's broken... How are you gonna dust your knuckles if there's no btissle brush on it? Just kidding, that's an awesome idea. I never would have thought of that. -
Sheep wool alternative for Neat Lac/Wyosheen
Stetson912 replied to SmashySkins's topic in How Do I Do That?
I sure would! I wouldn't mind a bag or two myself haha! If you ever have some you're welcome to send me a pm. I'd gladly pay shipping on a bag or two. Just that would last me a long time. -
Sheep wool alternative for Neat Lac/Wyosheen
Stetson912 replied to SmashySkins's topic in How Do I Do That?
I believe Springfield leather sells remnant packs or cutoffs of sheep's wool that you can make your own pads with. -
First belt
Stetson912 replied to Johny198's topic in Purses, Wallets, Belts and Miscellaneous Pocket Items
How/what did you(use) to stitch it? Looks a lot better on the back than the one I'm doing. But I'm using an awl which is fairly new to me. -
Very cool
-
Here's a thread and I think there's another one too in the same place, both pinned to the holster and sheath section. It's a very good tutorial and lots of good info. But, it shows how to size the holster using the leather you'll be using for the holster.
-
Most Overkill Knife Sheath Ever?
Stetson912 replied to Instinctive's topic in Gun Holsters, Rifle Slings and Knife Sheathes
That's a good point, it might work if the holes are big enough. Instinctive said he wanted to keep the hole small though. I wonder how much the permalock needle would stretch the hole? My other thought would be some strong monofilament with a loop. Kinda like cobblers used to use for needle-less sewing of insoles. Would have to be strong enough to pass easily through the hole but flexible to bring the micro cord through too. -
Most Overkill Knife Sheath Ever?
Stetson912 replied to Instinctive's topic in Gun Holsters, Rifle Slings and Knife Sheathes
Here's a thought I just had. Take two regular needles size 2/0 maybe? I assume they would be larger because micro cord is big cord considering... Attach to it some regular thread like you normally would and tie a knot or secured loop in the end of the thread. Then run the needle up through the end of the micro cord or use a loop to pull it through the holes. If you use synthetic thread too, you may be able to join it to the micro cord. -
Best peices of a hide?
Stetson912 replied to hwhleather's topic in Gun Holsters, Rifle Slings and Knife Sheathes
The shoulder is a good piece as is along the back. Ive heard too that horse hide is even better for holsters, though I've never tried it. There's also what's called "gun leather" but again I'm unsure of the differences between that and regular veg tan. I thought maverick leather co had both of these. You could ask them what the best is. If you want to keep getting shoulders, I've dealt with Roger at rjf leather (he has a banner ad on here) and he sells very nice double shoulders from thoroughbred leather. Just a suggestion. I hope you find your answer -
You're welcome. Keep learning! If you poke around deep in the archives here you'll find lots of neat stuff.
-
It's just the way the leathers are tanned. Vegetable tanned leathers get their properties from vegetable tannins. Oak bark is very popular and that's where "oak " and "bark" tanned leather gets its name in some instances. Chrome tanned leather uses chromium salts and gets different properties from this. Before leather becomes leather, it is simply a shaved degreased animal skin. This skin is primarily made up of a protein Called collagen. In order to make skin into leather and not some disgusting decaying mess, you must eliminate the water in the collagen. The two most popular ways of doing this are by soaking the skin in vegetable tannins and other organic matter which will slowly allow the vegetable tannins to replace the water in the collagen. This takes time, up to two months and several applications and soakings, but you are left with an organically preserved animal skin now known as vegetable tanned leather. Chromium tanned leather on the other hand is far "easier". That is to say, it doesn't require skill or time. 90% of leather today is chrome tanned. The skin is acid washed and treated to allow absorption of the chromium sulphate and other chromium salts such as chromium oxide. The chrome tannages agent usually about 33% chromium sulphate to 26% chromium oxide. Its these chromium salts that will replace the water in the collagen. Chromium oxide is not water soluble whereas chromium sulphate is. The whole process can be automated and finished in one day. Chromium salts however, are much smaller than the organic vegetable tannins. This causes chrome tanned leathers to be thinner and more supple. Chromium salts, especially chromium sulphate, are powerful oxidizers. This means they will oxidize metals pretty easily. So use on holsters or knife sheaths or anything else that will contact metal of any significance is not recommended. Because of these different tannages, they offer completely different properties. Veg tan will absorb water, fibers expand, and it becomes more malleable and moldable. When it dries it's shape is retained and sometimes stiffer than it began. Chrome tanned is easily hydrophobized (water proofed) and even when it isn't, it contains nearly a third of it's mineral tannins in the form of water insoluble chromium oxide. So it already won't absorb water anywhere close to the degree veg tan will. What little water is taken on won't aid much in molding and shaping. On the other hand, chromium tanned leather has about 5 times the tensile strength than veg tan does. This makes it great for bags and heavy duty applications. That's more information than you wanted wasn't it...?
-
Most Overkill Knife Sheath Ever?
Stetson912 replied to Instinctive's topic in Gun Holsters, Rifle Slings and Knife Sheathes
I don't know... 550 is pretty weak stuff... Hahahahaha! Just messing around. It is a really great idea. Won't ever break. The leather will tear before a stitch pops that's for sure. Are you familiar with micro cord? It's obviously a lot smaller, but still really strong stuff. May be worth looking into for smaller-ish projects. I like the sheath in all seriousness. Very good ideas. -
I almost suggested those DVDs myself! But I forgot haha. Thanks Dwight!
-
Very nice work.
-
Yeah, the initial startup can be pricey, but if you figure the sheer amount of things you can make over time, I think it's worth it. There is a holster specialty forum on here as well if you haven't already found it. Cas and sass rigs are more complicated. I personally haven't made any. I have done gun rigs before just not cas and sass. I believe they have certain requirements for the holsters and belts you can use right? Lots of knowledgeable people on here, I'm sure you'll find the help you need. Have fun!
-
I think there's an archery section on the forum. I've seen some very nice ones here and there. Welcome
-
The paste he used looked like feibings black antique paste. The process is called antiquing and there are tons of threads on it I'm sure. Basically you could dye the whole project the border color. Then use a resist on the border (like resolene or super sheen). Once everything is sufficiently dry, you work in the antique paste and wipe it off quickly afterwards and let dry. The longer you let the antique sit the darker it will get. There are several colors of antique feibings offers. Hope that helps you out.