Double U Leather
-
Posts
655 -
Joined
-
Last visited
Content Type
Profiles
Forums
Events
Blogs
Gallery
Store
Everything posted by Double U Leather
-
You might also think about subscribing to Leather Crafter's & Saddler's Journal. They have swivel knife doodles in just about every issue. (Too bad they aren't a part of our corporate/sponsorship family..........yet).
-
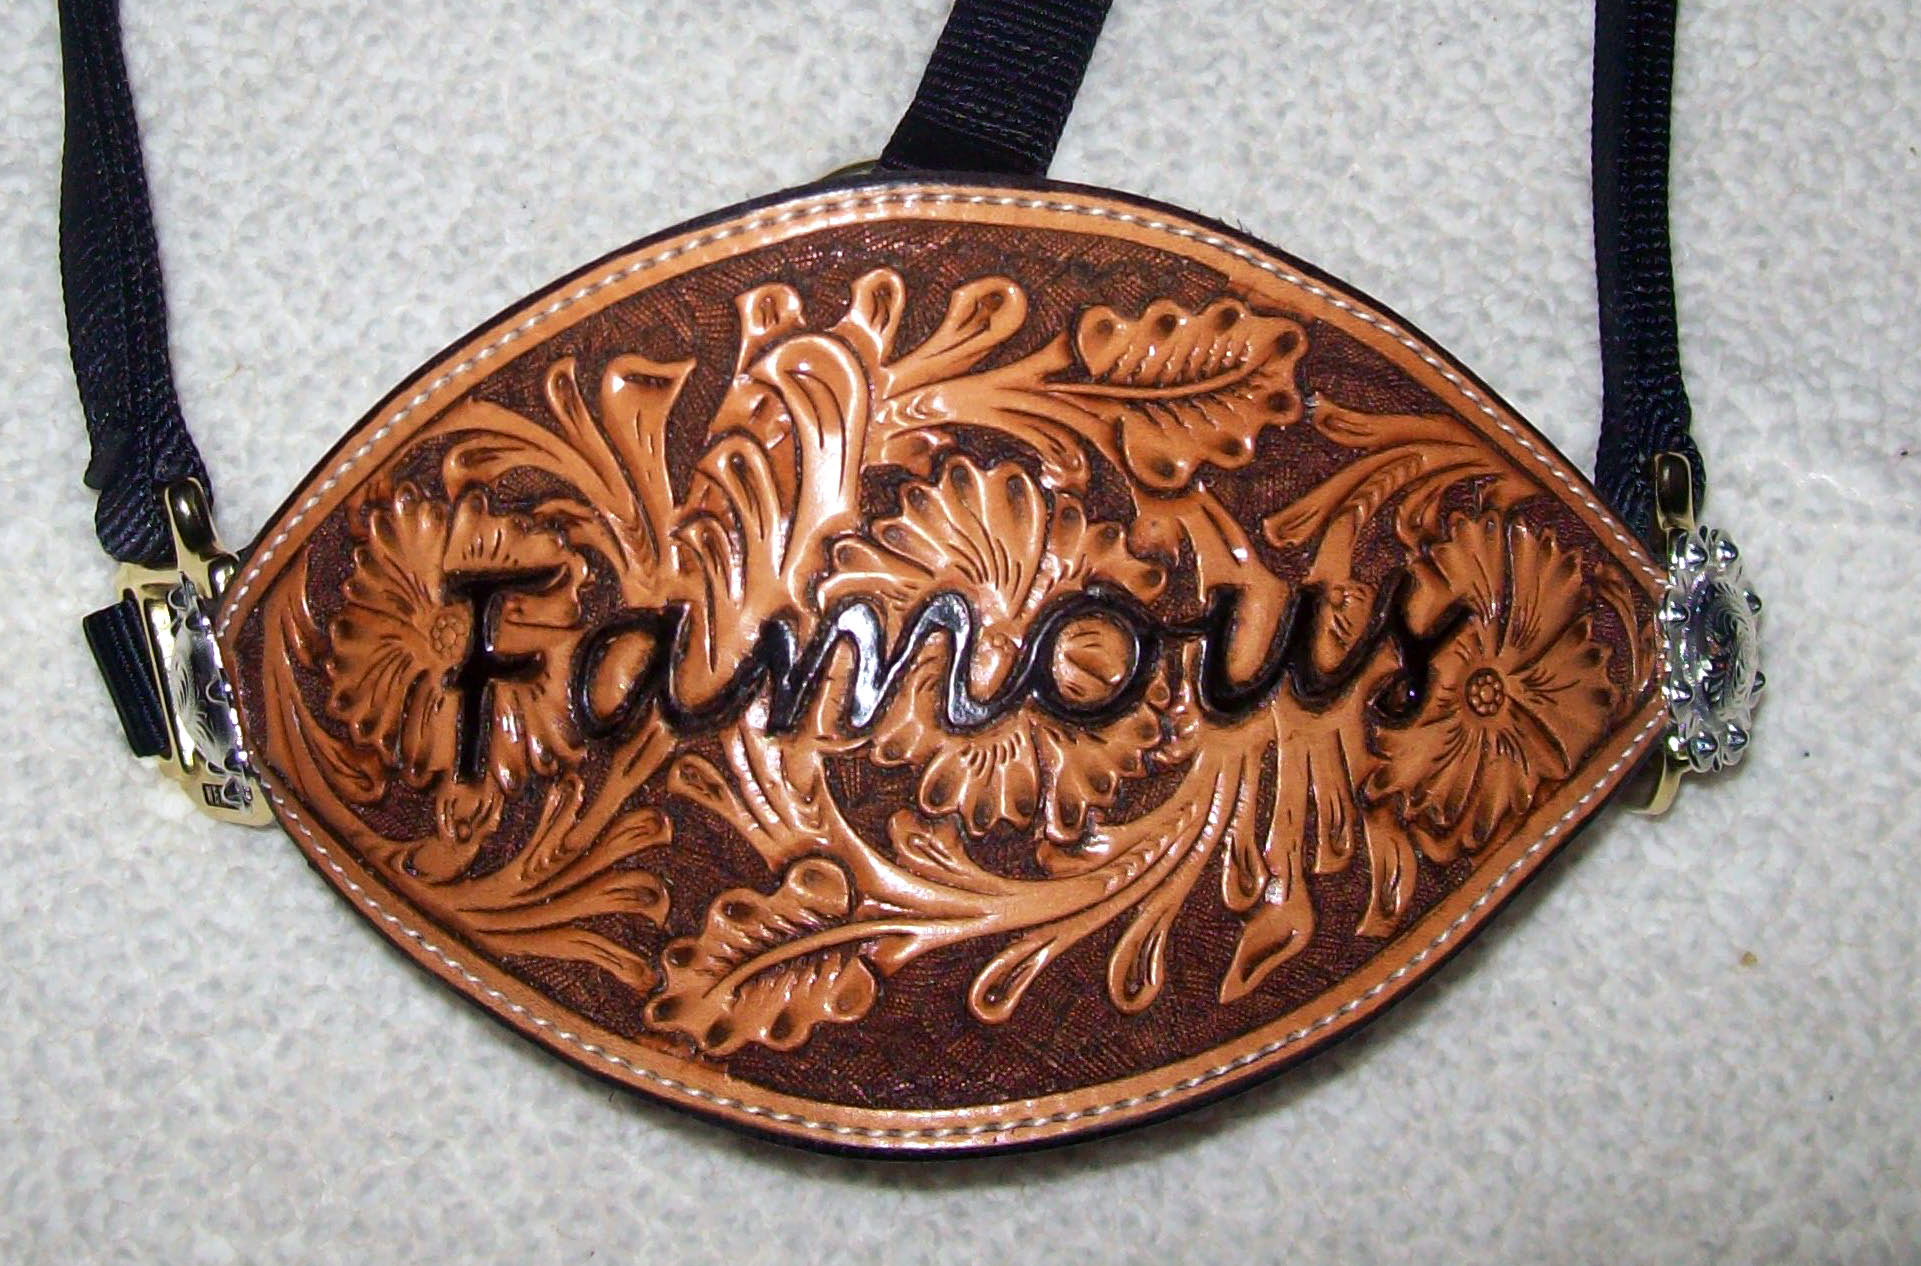
Famous Bronc Halter
Double U Leather replied to Double U Leather's topic in Saddle and Tack Accessory Items
Oops!!......I'm a bit challenged it seems.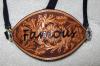
-
Here's the latest bronc halter. Let me know what you think. There's a few boo-boos, but when isn't there?
-
I use the Eco Flo antique on almost all of my projects. Typically, I use the Sheridan style of finishing which is a) Neatsfoot Oil (let dry 24 hrs.) b)Neatlac (let dry thoroughly- overnight preferably) c) Antique (wipe off excess immediately and then dry for a good couple hours) d) Tan Kote...So far that formula has worked well. Bottom line- put some sort of resist on prior to antique........my two cents.
-
I have to agree on that also. I posted a pic of a project the other day...did it the same as before.....and poof!!! This sucker was gigantic. Maybe with the new system, we have to upload differently. I liked the pictures the old way better. There's my .03 cents (factoring in the economic stimulus that we should all be getting soon).
-
That's rich Somawas.........LOL.....my wife says my aim ain't that good though, and of course I never lift the seat.
-
Ummm..........excuse my ignorance, but what is "red back" resistant?
-
Lindsay..........I think it's just Eco Flow antique. I'd have to go check to be sure, but it comes in a white squeeze bottle. It's kind of a liquid gel sorta rather than the Fiebing's paste. Other than that, it's just a typical Sheridan finish- Neatsfoot oil, Neatlac, antique, and then Tan Kote.
-
Thanks for the comments guys. I appreciate it. Dirt.......I think it might be in the pic. In real life, the threads are tight and the stitches are uniform.
-
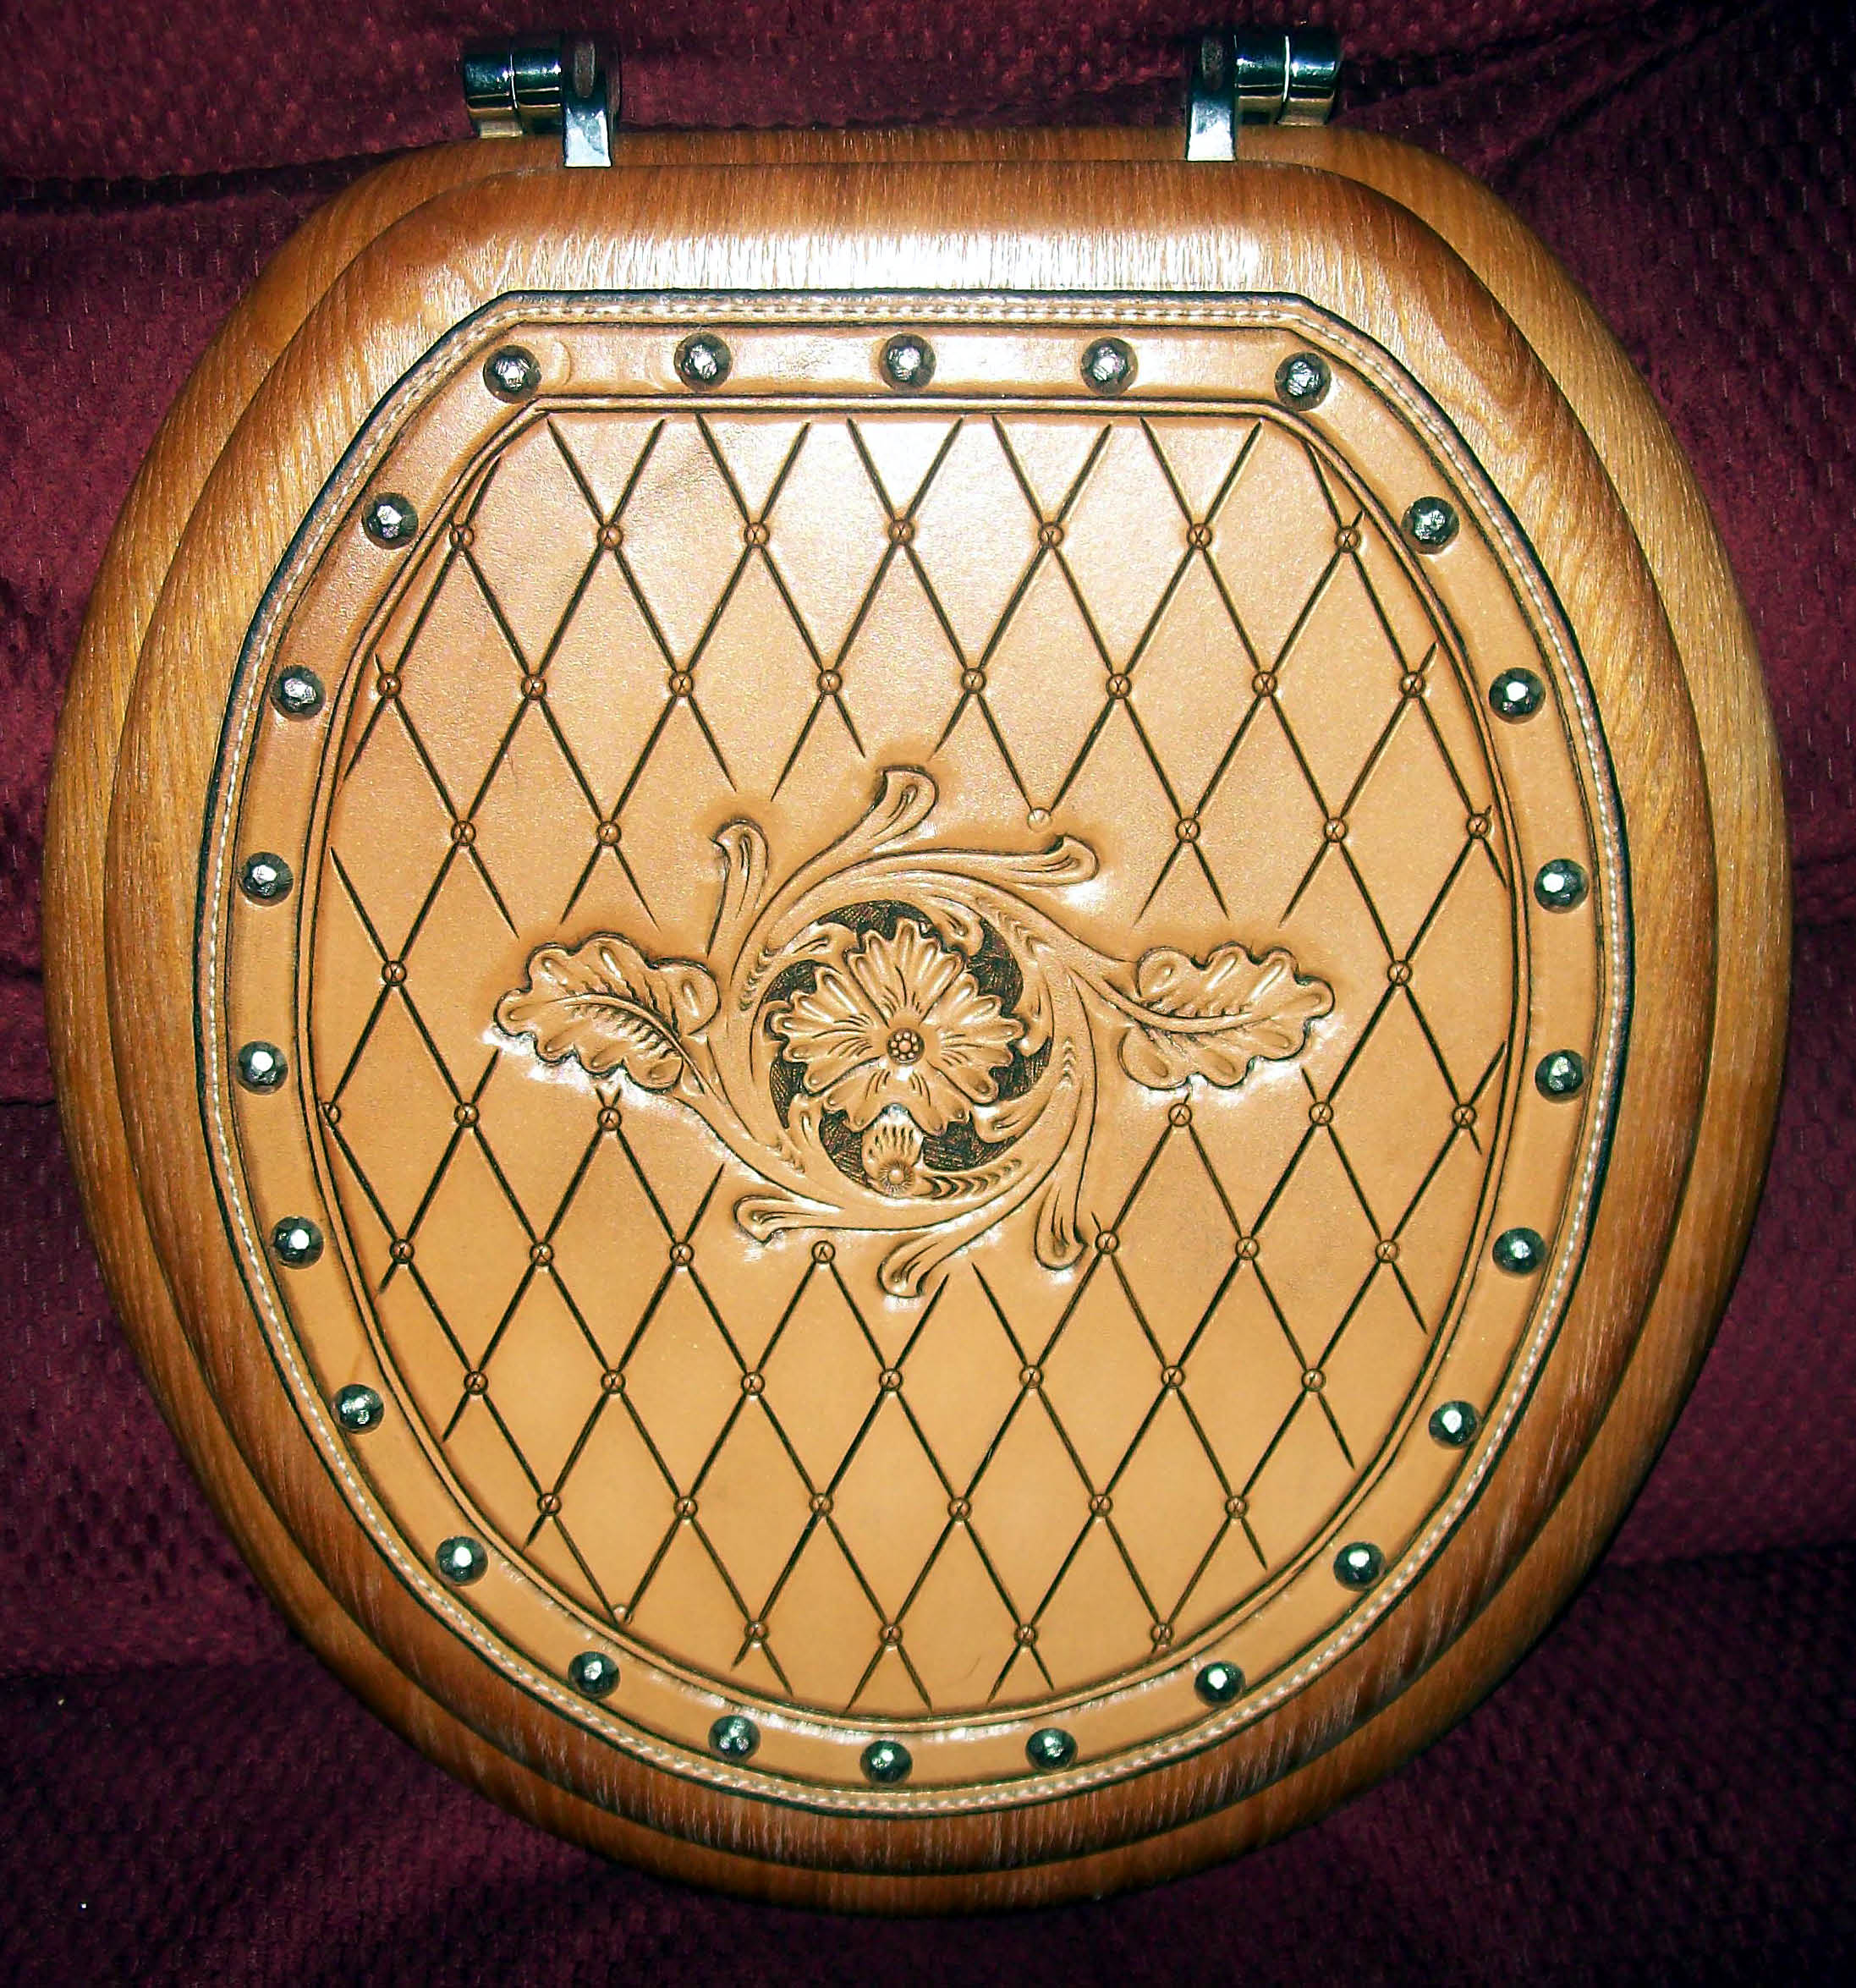
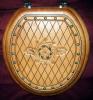
Here's a quick little toilet seat cover I made for the house. It turned out okay I guess. My Neatlac didn't go on evenly, so there's a bit of antique smudge on the upper left corner. Let me know what you think.
-
Bob, As usual, you've knocked one out of the park. Those look great. You're my hero!!
-
Major Upgrade coming!
Double U Leather replied to Johanna's topic in Announcements and Administrivia
Here's a question.......have the previous messages sent in the inbox, or received been vaporized or are they still available? I'm like everyone else. When I opened the forum page, I about fell over. Huge suprise!!! I'm not real good at change, so at first I kinda panicked a little..........LOL. I'm sure I'll get 'er figured out though. I do hope all of the past messages can be restored. Keep up the good work. This place rocks. P.S. Now that we have a new "house" in cyber space, do I have to clean up after myself better? -
Just out of curiousity, what did you give for it? I got a 45K with the domed sew plate this past spring for $250. After a few minor adjustments, it sews like a champ. Thanks to Bob at Toledo Sewing, I now also have a machine with a flat foot instead of a roller foot. Bob, the new arm and foot work beautifully. Thanks.
-
Trophy Halter with Bronc noseband
Double U Leather replied to VanHornSaddlery's topic in Saddle & Tack Maker Gallery
Jake, Those look good too. Those are closer to what I do. I do have a question though. Now I'm not an expert on Sheridan style, but isn't the stem and/or leaves on the Sheridan flower going the wrong way. Maybe it's just me without enough coffee, but it seems something is going in opposite directtions. -
Trophy Halter with Bronc noseband
Double U Leather replied to VanHornSaddlery's topic in Saddle & Tack Maker Gallery
Nicely done. I've made several bronc halters, but never a complete leather one. I generally buy a nylon halter and then just make a noseband. Good work. If you'd be of a mind to share the leather halter pattern in a PM, I'd appreciate it. -
Where to apply your makers mark?
Double U Leather replied to Windom Leather's topic in Leather Tools
Good topic, and thanks for bringing it up. I've only recently purchased my first maker's mark (thanks to Jeff at Gray Ghost Graphics), but I have to agree with the general rule that has already been expressed. It's my opinion that a) the maker's mark should be very inconspicuous (sp) and most people will find it if they really like the item they're looking at. If someone buys something from me, and they really like the way it turned out, chances are they will look and study every inch of the piece. In their search, they will find my mark. I just recently finished a briefcase that I posted on here, and I placed my maker's mark at the bottom of the back panel. It fit in well the the Sheridan style corners and the "cross hatch" or grid type pattern on the back panel. And, sure enough, I took that briefcase to a rodeo, had several people look at it, and before they were finished they all were asking who Double u leather was. I smiled and told them that I was Double U Leather. Anyway, just my thoughts on the matter. Oh, and by the way, as was mentioned earlier, since I only have one size maker's mark at this point, the smaller items I make i.e. spurs straps and such, for now have to go unbranded. -
King.....I sure don't spot any boo-boos. I did think I saw a splotch of dye on the edge that might not be where it should be, but other than that, I'm stumped. It looks real good. I really like the way the leaf from the underside matched up with the leaf on the front. That took some very careful planning. Good work. And, thanks for the "how to" concerning your finishing technique. That finish looks awesome. You did good.
-
Floral spur straps
Double U Leather replied to Double U Leather's topic in Saddle and Tack Accessory Items
Bob....now can I keep my name "leatherrookie"? I'm not nearly sharp enough at this point to plan intricate details like that. You master types may be able to see that far forward, but not a simple ol' rodeo boy like myself. I'm thrilled that both pieces came out a similar shape!!! But, even a blind squirrel finds a nut every now and again!! -
Floral spur straps
Double U Leather replied to Double U Leather's topic in Saddle and Tack Accessory Items
Thanks Bob. I guess I gotta be honest at this point. I didn't plan for the vine to be where it was. I was simply trying to draw the circles in a way that would give the most coverage. However, I will go write down where the wing dividers were set to make it turn out that way again if need be. BTW, I posted the insides of the briefcase the other day if you were interested in seeing how I did that. -
Floral spur straps
Double U Leather replied to Double U Leather's topic in Saddle and Tack Accessory Items
Thanks for the tip....I already do that however. Perhaps I just didn't have enough Copenhagen in and my hands were shaky!!! LOL -
Floral spur straps
Double U Leather replied to Double U Leather's topic in Saddle and Tack Accessory Items
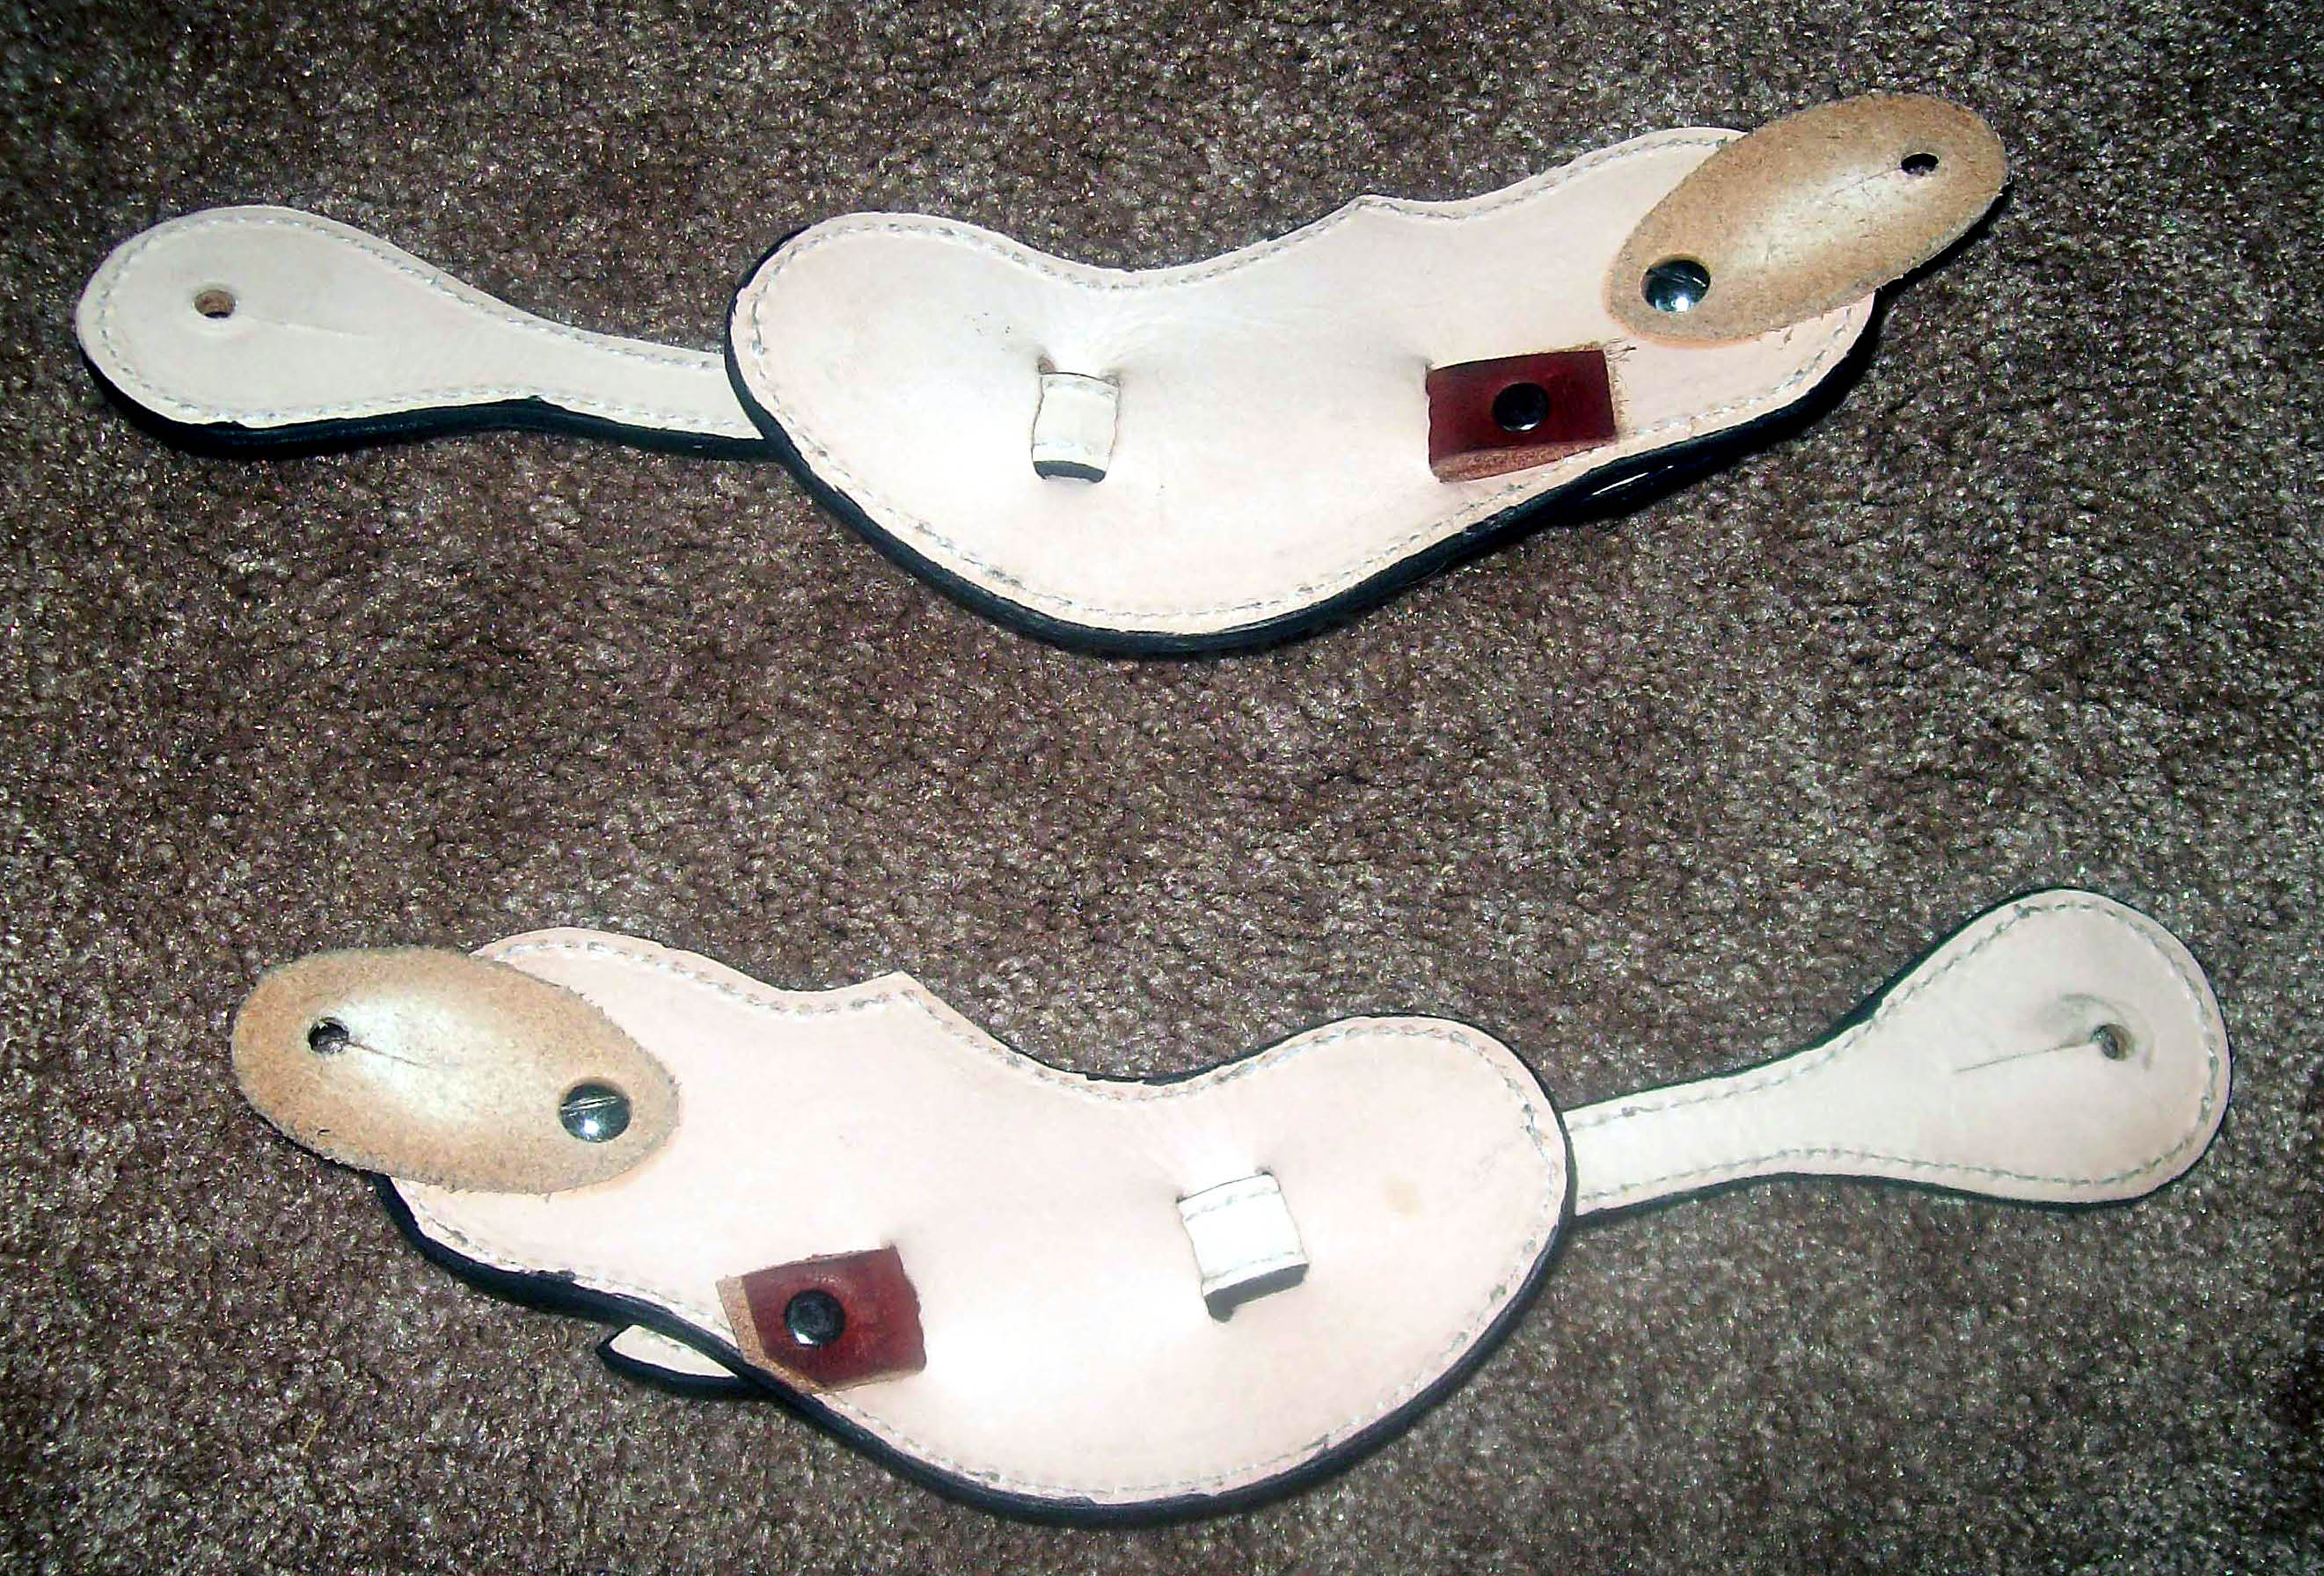
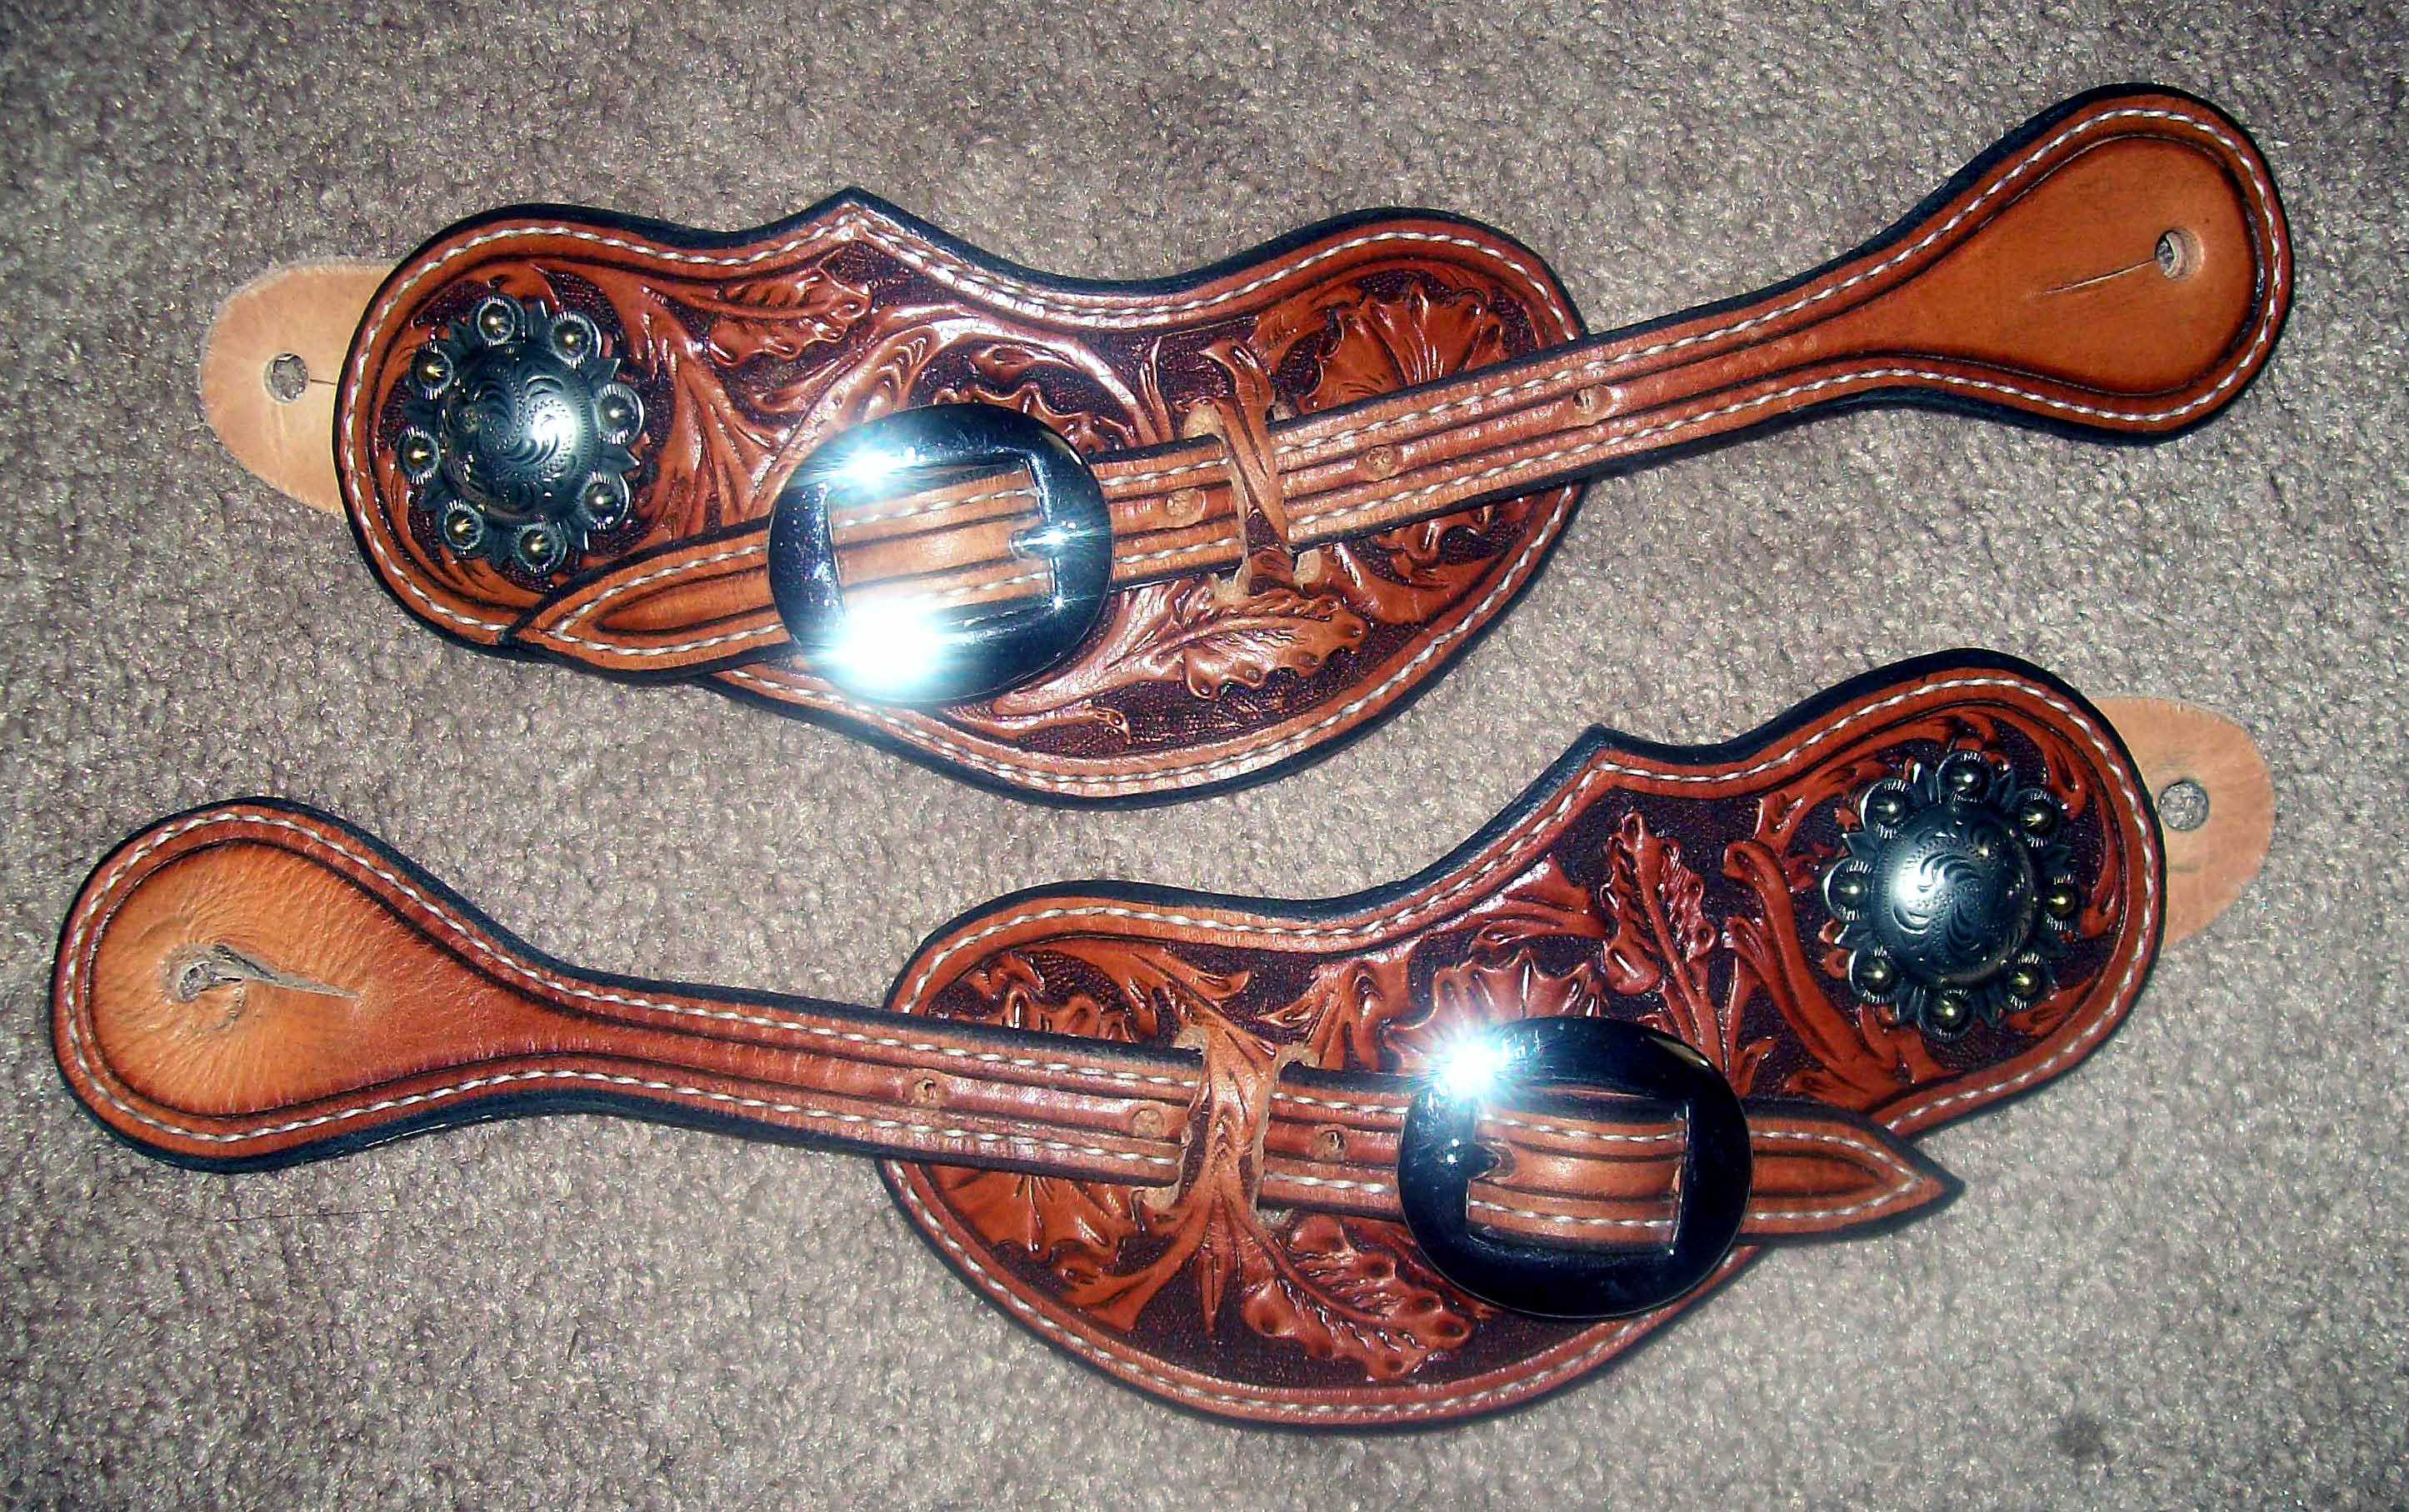
Here ya go Ricky. And, yes they are lined with 2-3 oz. veg tan leather. The straps themselves are 8-9 oz. HO. As you can see, the buckle straps are latigo that are skived down. Thanks for the compliments, and if you have any other questions, just ask.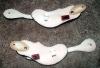
-
Here's a set of floral spur straps I just finished. Not near as much bling as the pink ones from the other day, but then I bet alot more bulldoggers would buy these than the pink ones!! Let me know what ya'll think.

-
Tooled Briefcase
Double U Leather replied to Double U Leather's topic in Satchels, Luggage and Briefcases
Here's a quick pic of the inside of the briefcase. As I said, it's pretty simple. Just a divider with a pouch for pens, etc.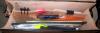
-
Tooled Briefcase
Double U Leather replied to Double U Leather's topic in Satchels, Luggage and Briefcases
Bob, That flap idea is a gem. That never even crossed my mind. I still think real "blocky" I believe. Couldn't a guy even flare the flap down the back similar to a binding on a photo album or something? That might look kinda slick. Oh no.....now my wheels are turning again and I'm liable to start another project I know nothing about....LOL. -
Tooled Briefcase
Double U Leather replied to Double U Leather's topic in Satchels, Luggage and Briefcases
Thanks again everyone for all the positive comments. I really appreciate it. As for the insides, they're really pretty basic. It's simply a divider with a pocket for pens, etc., sewn to the gusset. Here was another construction issue I learned. At first, I cut the divider the same width as the case. Upon assembly, I realized the gusset would bow inward some, therefore the divider would be far too long. Of course, I had already sewn the divider to the gusset thinking once the gusset was sewn in place, the middle would already be done.....WRONG!! So, I unstitiched the divider, sewed the gusset in, and then had to hand stitch the shortened version of the divider. I'll try to get some pics of the insides up soon. LESSONS LEARNED: 1. Best case scenario, the front, bottom, back, and lid should all be one piece. If that isn't possible, back and flap definitely should be one piece. 2. Middle divider needs to be 1-2" less than the width of the case. 3. Complete all finish things, i.e. oil, neatsfoot, antique, tan kote prior to sewing in the lining. (I've got a few antique smudges where they don't belong) Manfrommuc......The pattern?! I used was just kinda looking at my old briefcase and duplicating the construction. (See Lesson 1). I think the guy who made my old one didn't have enough leather to do all of it in one piece, so he sewed the flap to the back. As for the tooling pattern, again, I just kinda winged it. I figured out where I wanted the tooling, drew the circles, and tried to fill the space. As Hidepounder pointed out, the leaves of the "whateverbacus" place were too wide. I needed to make my other leaves wider, and more of 'em. The grid work part was a combination of realizing I didn't want to tool that stinkin' many flowers, and the fact that I'd seen that somewhere else and thought I'd give it a shot. Oh....some of the front part got a double tooling. On the first front, I put a stem in going the wrong way and didn't realize it until I began cutting and ran into the spot where leaves and vines were going two different directions. So I just took that fouled up piece and went to playing. Anyway, if ya'll have any more questions, fire away.