Double U Leather
-
Posts
655 -
Joined
-
Last visited
Content Type
Profiles
Forums
Events
Blogs
Gallery
Store
Everything posted by Double U Leather
-
Most of my sewing machine experiences aren't overly funny at the time. Looking back later, they have some humor, but usually I'm the butt of the joke. I've, more than once, been sewing something and the machine spits the bit for some reason or other. I'll fiddle with it, re-adjust some stuff, and then try again. After several tries to correct the problem my patience begins to wear a touch thin. Inevitably, in a small fit of rage, I'll try to just yank the piece I'm working on out from under the presser foot. And, inevitably, either the tip of the needle or the bottom of the foot catches, scrapes, scars, or in some way destroys the project. Usually, at this point, the small fit of rage is ratcheted up a notch or two. One time in particular, after all of the above had happened on a project, I thought it would be wise to murder my machine. My weapon of choice would be whatever was closest to my hand. It so happened, a screwdriver was in reach. I grabbed the screwdriver and with a violent thrust, tried to drive the tool deep into the heart of the metal beast that was trying to destroy me. Unfortunately, I wasn't able to penetrate the thick metal skin of the beast. Instead, as the blade of the screwdriver slid harmlessly over the face of the machine, my knuckles drove hard into all of the thread guides, tension screws, etc., on the beast. When it was all said and done, there I sat with bloody knuckles, a ruined project, and a metal beast that was totally unfazed. I've got a few other stories of temper tantrums involving my leather shop, but those will have to wait for another time.
-
Granite base for working
Double U Leather replied to badazzelanore's topic in Hardware and Accessories
Here's something else you may want to think about. I went to a headstone maker here in town and asked what they did with the misspelled or mistake pieces. The guy said they usually just toss them. I found an old military grave marker that was 18" x 30" x 4" that was rectangular in the scrap pile. I told the guy what I wanted it for, and he just gave it to me. I had to kinda rebuild my bench to make it work, but it's now sweet. The slab is recessed to be level with the bench, and braced with a 4 x 4. It's solid, big, and works like a dream. Just a route you may want to look at if it's feasible for you. -
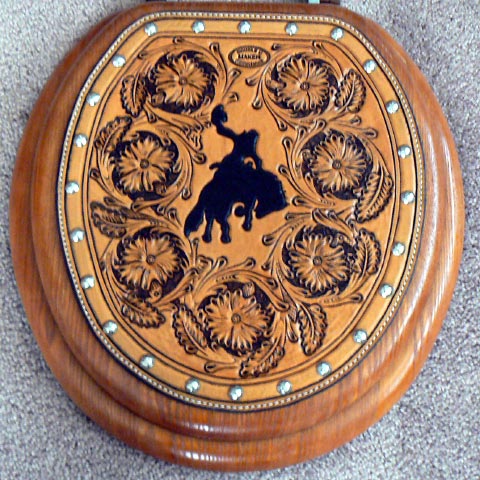
A Seat for a throne
Double U Leather replied to Double U Leather's topic in Furniture: Inlays and Upholstery
Thanks for all of the words of encouragement. I certainly appreciate them. And, ETW, I think it's still farily safe to call myself a rookie....especially compared to some of the "gurus" on this forum. But, thanks for the vote of confindence. -
A Seat for a throne
Double U Leather replied to Double U Leather's topic in Furniture: Inlays and Upholstery
Well......the auction was good. They had a couple cowboy poets and singers along with the auction. I was a pretty fun night. The seat brought $175. It was one of the high selling items, right behind a mountain resort package and a bronze statue. I was pleased, and had a ton of compliments. Anyway, just thought I'd give the report. -
Just got this finished as an item for an auction benefitting a Sr. center here at home. Let me know what ya think of it. I put up 2 pics, different backgrounds. The camera I'm using is a POS, but it should give you an idea. Thanks for looking.
-
I agree with Tim. I just don't Neat Lace as much. My formula is "ONAT". O- Oil with Neatsfoot N- Neat Lac A- Antique T- Tan Kote. After ONAT, I finish the edges. I'm not an old-timer either, but this was the formula some of the old masters on here suggested.
-
Blue Ribbon from INDY
Double U Leather replied to TimKleffner's topic in Books, Journals and Photo Albums
Congrats on the blue ribbon.........it's well deserved. Very nice piece of work. Maybe someday I'll get to that point. Good work. -
Holy SheepDip Batman.......... that is simply amazing!!! How was the elk done with his horns off the back like that?
-
thanks Barbed Wire........I really am just a hacker though.........especially compared to some of the folks on here. Anyway, thanks for the compliment.
-
Thanks Dustin. I was pretty pleased with the way the whole thing came together. It'll do for a "rookie." LOL.
-
I also whack the spots into a poundo board, or in my case, into a piece of rubber conveyor belt and then bend the prongs over. I have found though that sometimes the spots don't fit exactly right, and they bend the prongs and the spot sets sideways. Typically, it's when the spot is a tad smaller than the sleeve and it doesn't fit up in there snug. At that point, I go old school and use an blade awl to made the holes for the prongs.
-
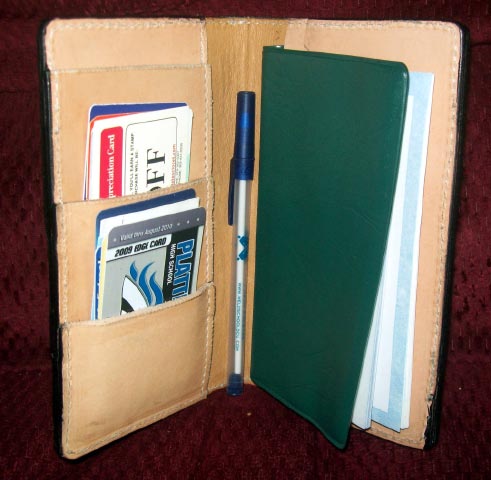
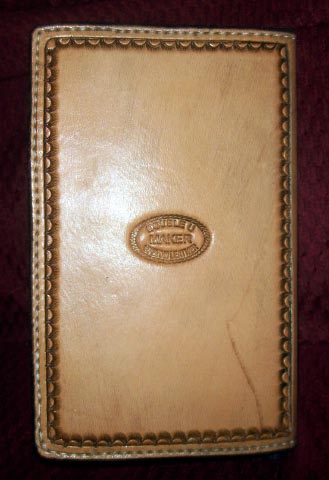
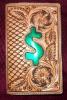
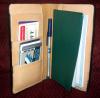
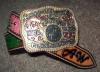
Hey gang. I just finished up this checkbook/credit card holder for a young lady. The metallic green dollar sign looks really cool in person, but the camera flash kinda makes it look odd. I think it turned out pretty nice. The young lady likes it alot. Let me know what you think. There are a couple flaws in it, but overall it worked out pretty well I think. Give me your opinions. Thanks for looking.
-
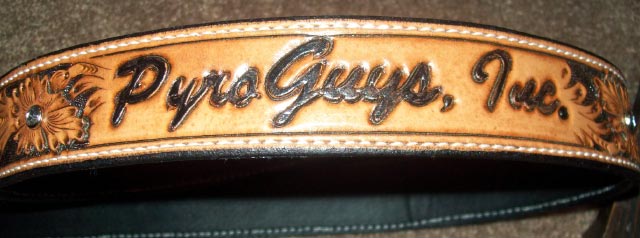
A couple belts
Double U Leather replied to Double U Leather's topic in Purses, Wallets, Belts and Miscellaneous Pocket Items
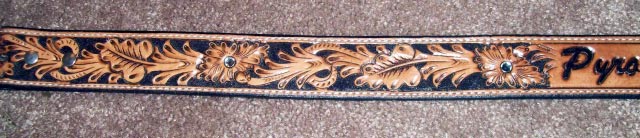
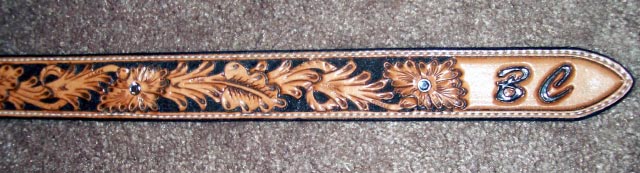
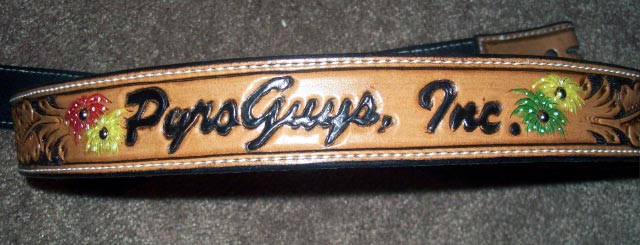
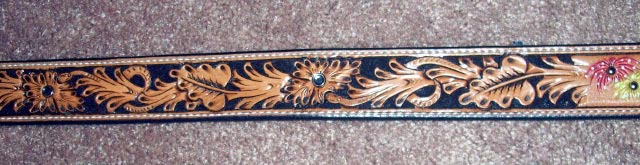
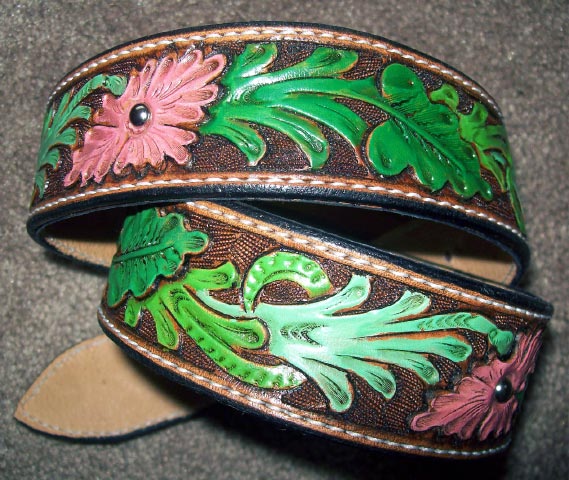
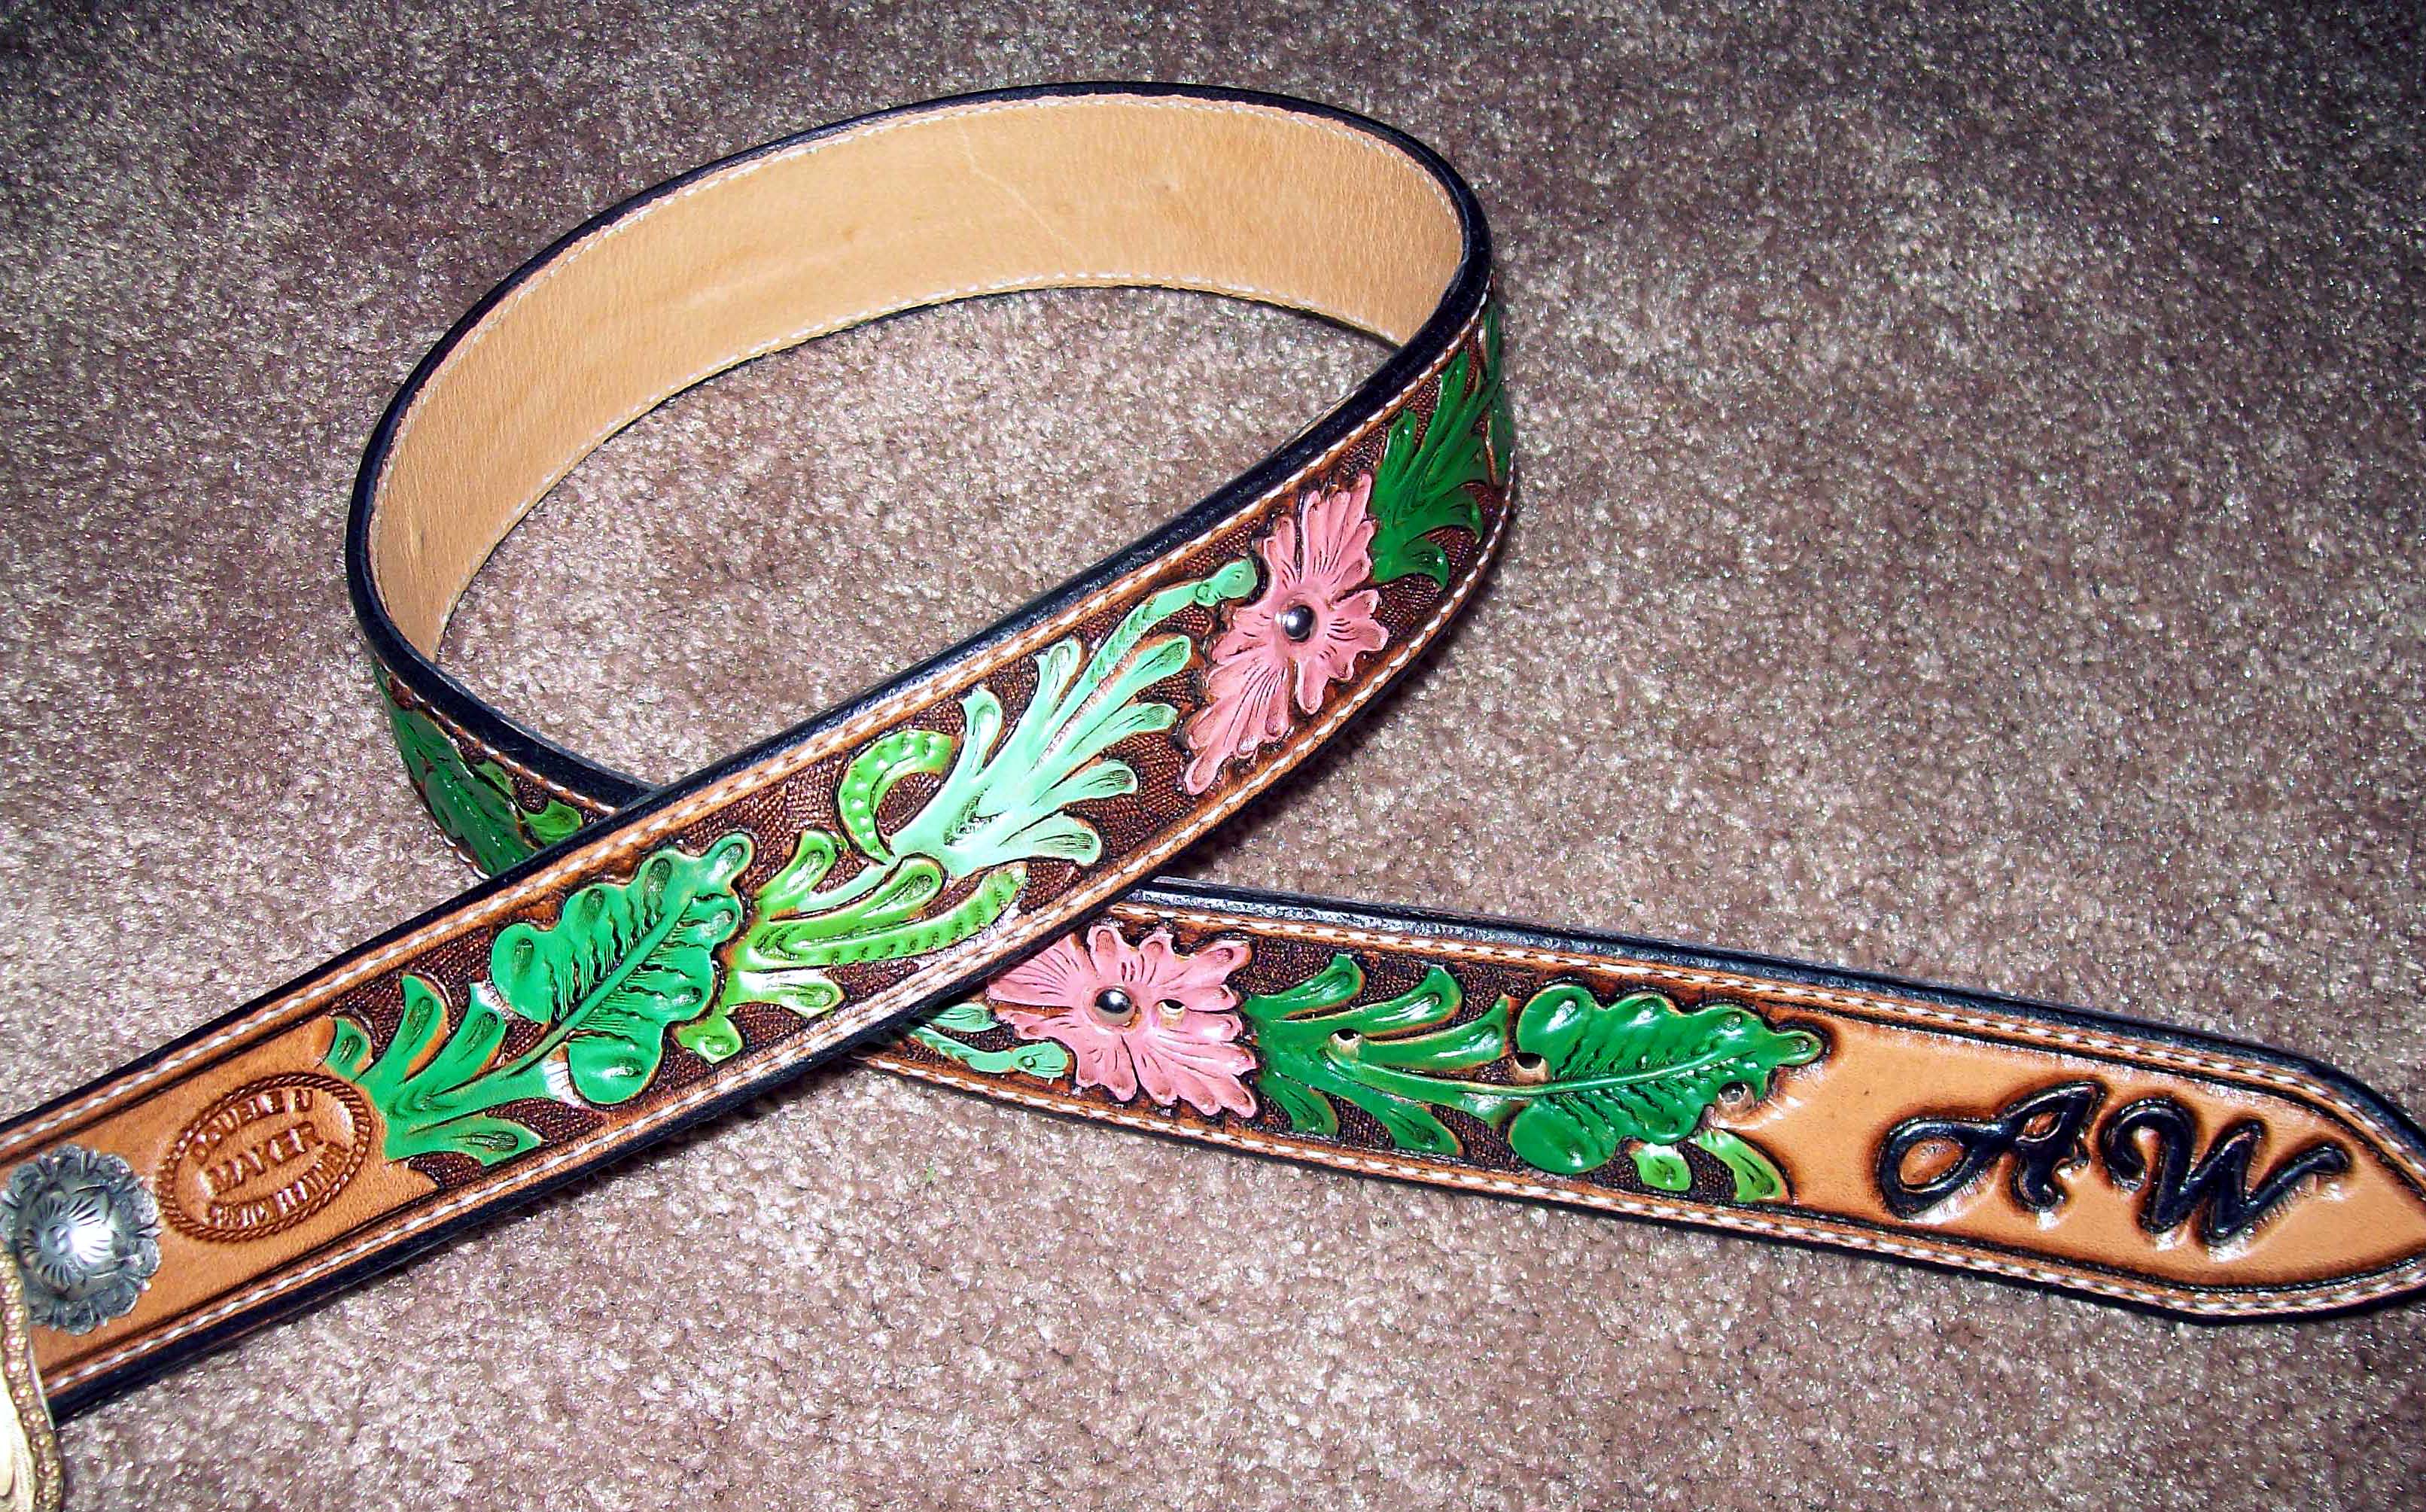
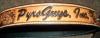
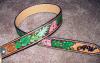
Thanks for the comments. As for the flower centers Storm, they're just 3/8" bling. Since these belts are going to a couple guys who make their living doing fireworks shows, I figured they would want some extra sparkle. Thanks again for the nice words. -
If you could post some pictures, that would give everyone a better idea of what you've got going on.
-
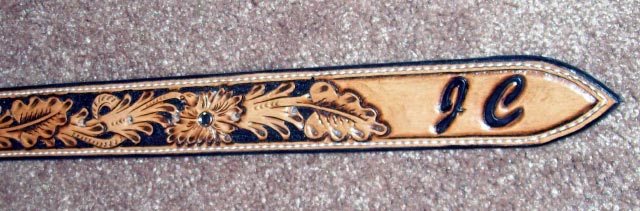
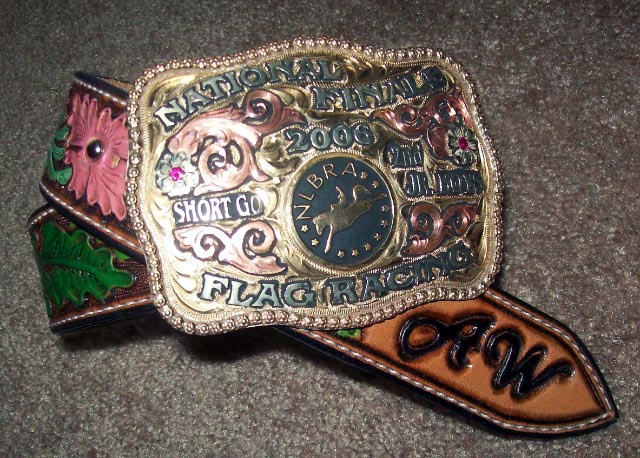
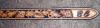
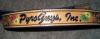
Here's a couple belts I just finished. The BC belt was actually supposed to be for JC, but due to some mental blank spots when I measured for the name, it was gonna be way off kilter. So....JC said he'd take the messed up one for his son who should be able to wear it after I chopped off enough to center the name. Anyway, let me know what ya'll think.
-
Anyone know Steamboat Springs area?
Double U Leather replied to Regis's topic in All About Us and Off Topic
I was born and raised 40 miles from there in Craig. There's loads to do in Steamboat other than skiing. Summer time there's a weekly prorodeo, plus awesome golf courses, hiking, horseback riding, fishing, etc. It's beautiful country, and plenty of things other than skiing. I think you'd like it. -
I've done something very similar, only I knocked the whole bottle of dye over and onto the project. That's been a long while ago though. However, just yesterday I made a small blunder. I was working on a Sheridan style belt with the background all dyed. I'm cruising along, about done with the belt when I noticed I'd missed a couple places bar grounding. No problem....I'll just dampen those spots, fix the areas, and I'll be golden. I thought it through carefully, knew that the background had dried over night, should be no sweat. Out come the damp rag, a couple passes here and a couple passes there....and AWWW @$%*#%. I've got smeared dye all over the place. After some serious fuming, I tried to figure out what had happened.....Oh....DUH...I let the background dry overnight, but the edges had just been done earlier in the morning. Long story short, I used a tiny bit of oxcallic acid, cleaned the smudges best I could, and then went on with the finishing process i.e. antiquing, etc. I turned out alright, but probably would have been better if I hadn't fallen asleep at the wheel. I'll post pics when it's all the way done.
-
How much are they?
-
People For the Ethical treatment of.......
Double U Leather replied to The Major's topic in All About Us and Off Topic
Correct me if I'm wrong, but don't some of the cheap, south of the border saddle makers use chicken rawhide to cover their trees? I'd swear I've seen a rawhide wrapped tree using chicken. Maybe not. -
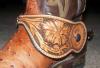
Thanks Kevin. I didn't do any watering down, but I felt like an artist mixing colors. I only wish I had a pallet or whatever it's called with the thumb hole.....you know what I mean. I could have had a funky lil cap on and the whole bit...LOL.....instead, I just used a chunk of cardboard and what I learned in kindergarten about colors and had at it. BTW, here's a couple more pics that I even figured out how to make smaller.


-
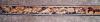
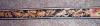
Here's the latest off the bench. It's my first floral/sheridan style belt, and the first one I've painted as well. My kid's make great guinea pigs for my new projects. Whether it be Bible covers, belts, rope cans, etc., they all get the first ones so I can find and fix the mistakes for the real customers...LOL. Anyway, I am pretty pleased with how this turned out. Let me know what ya'll think. Thanks.
-
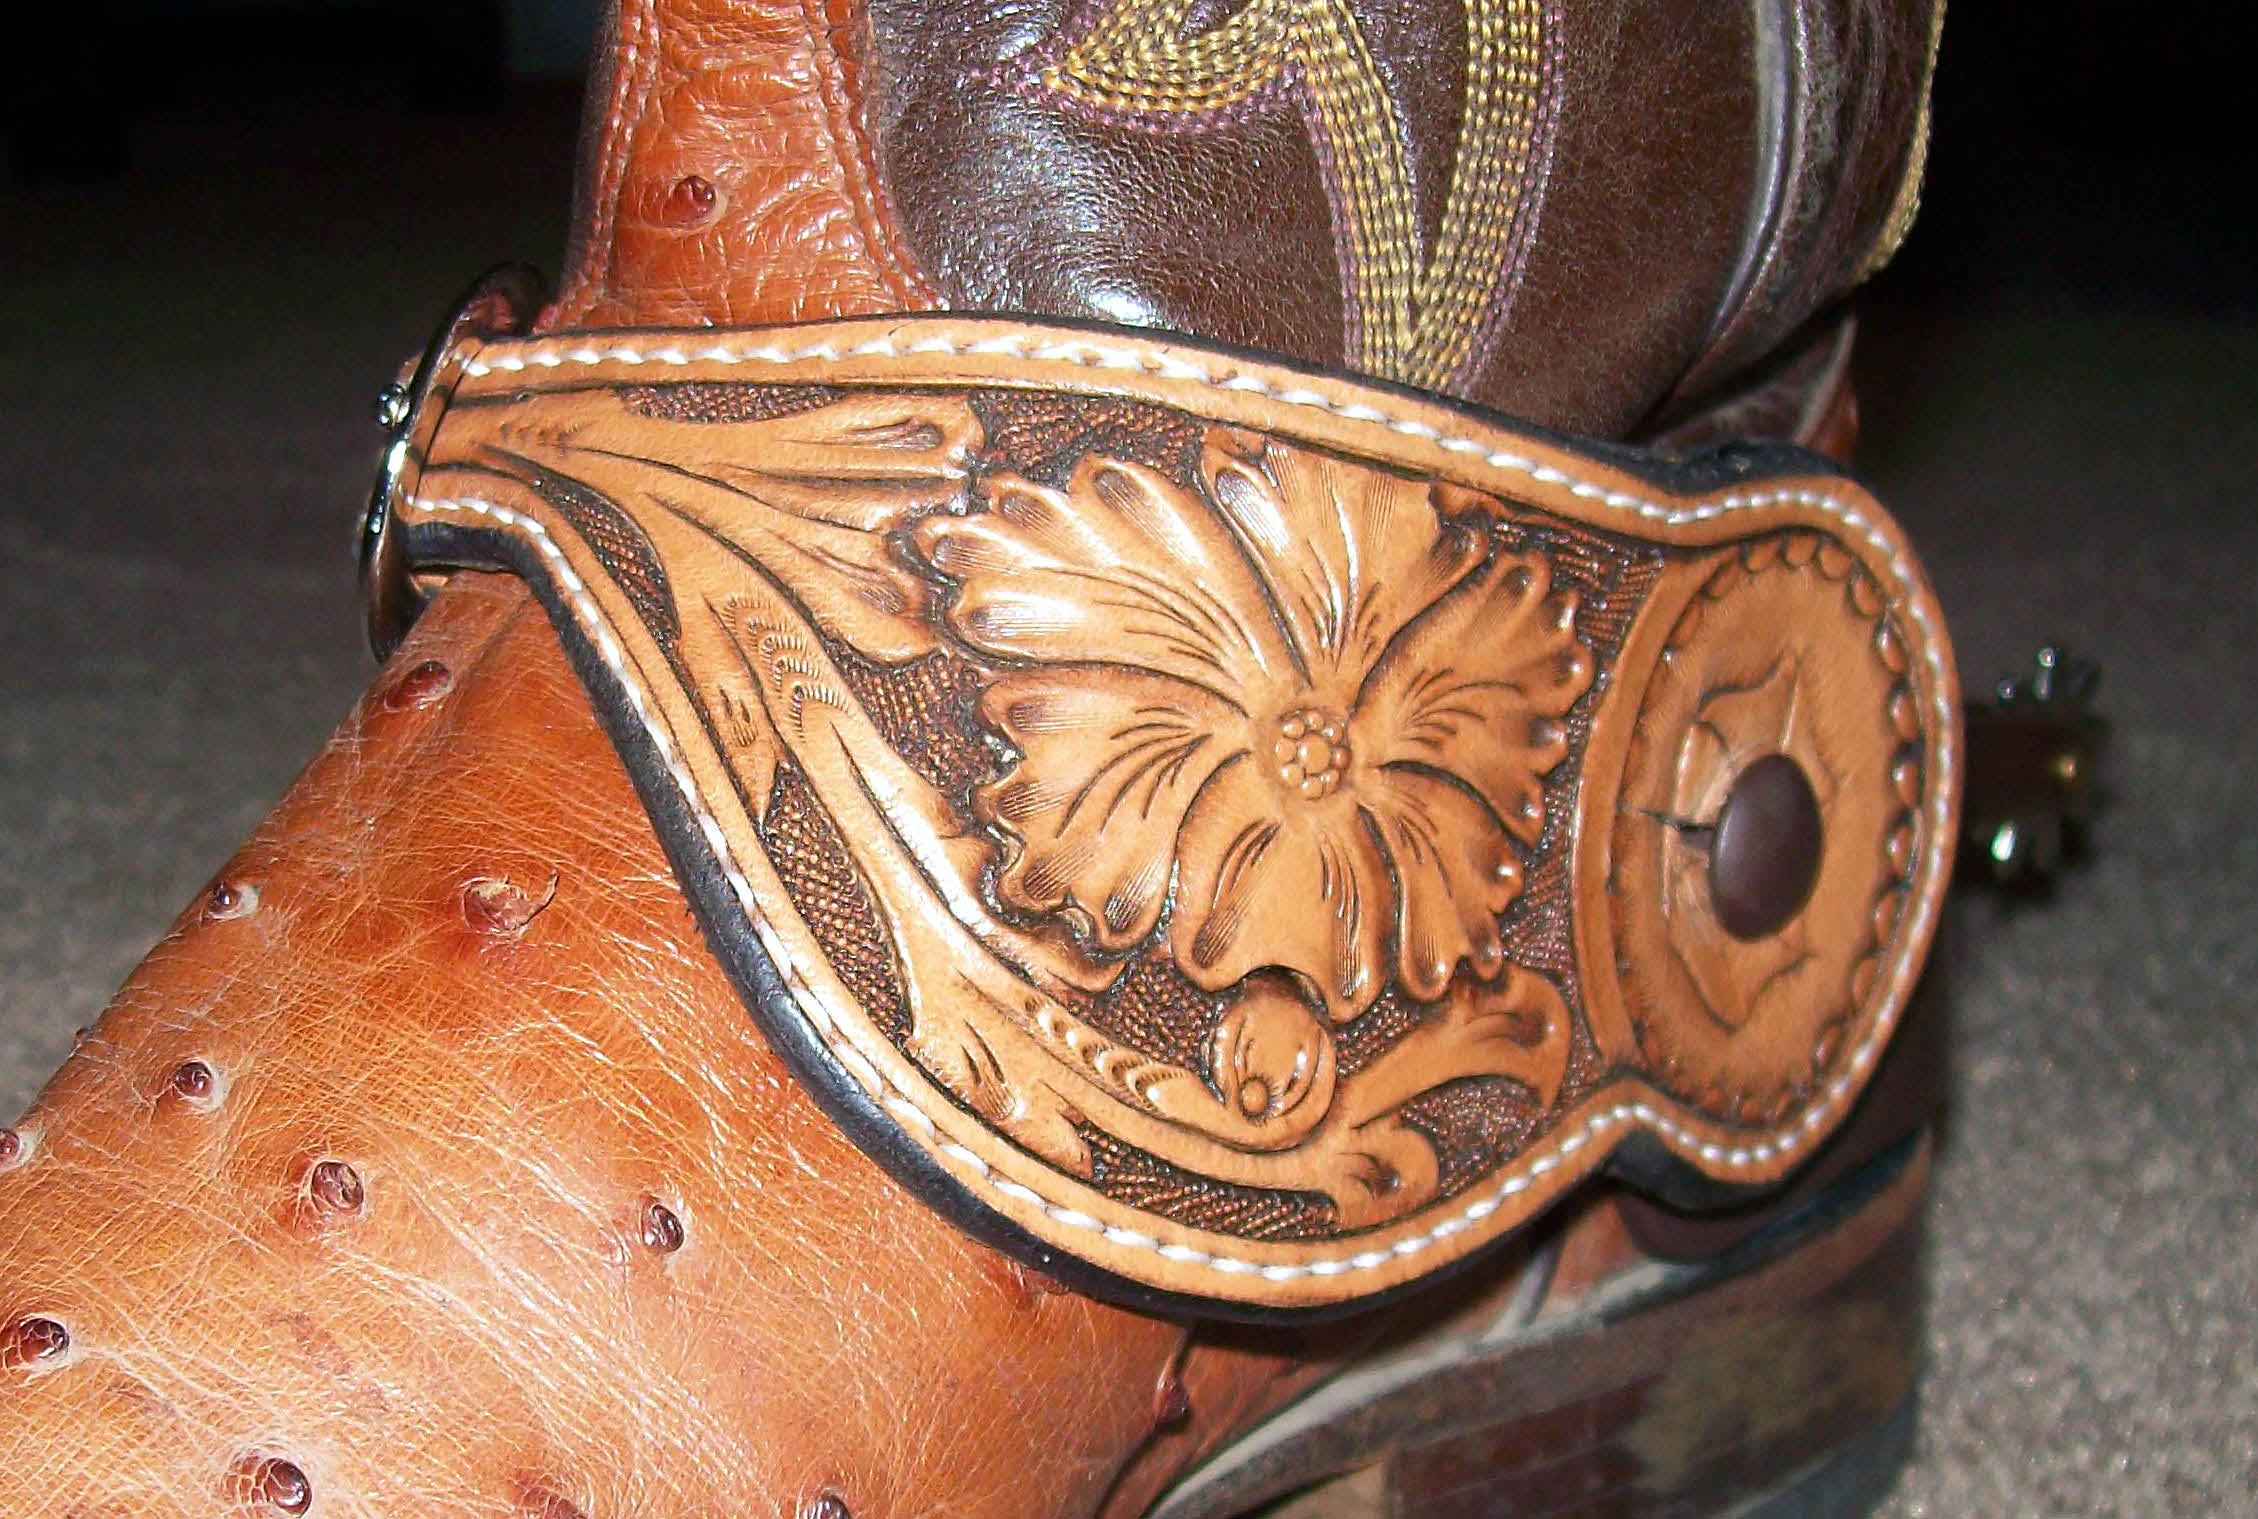
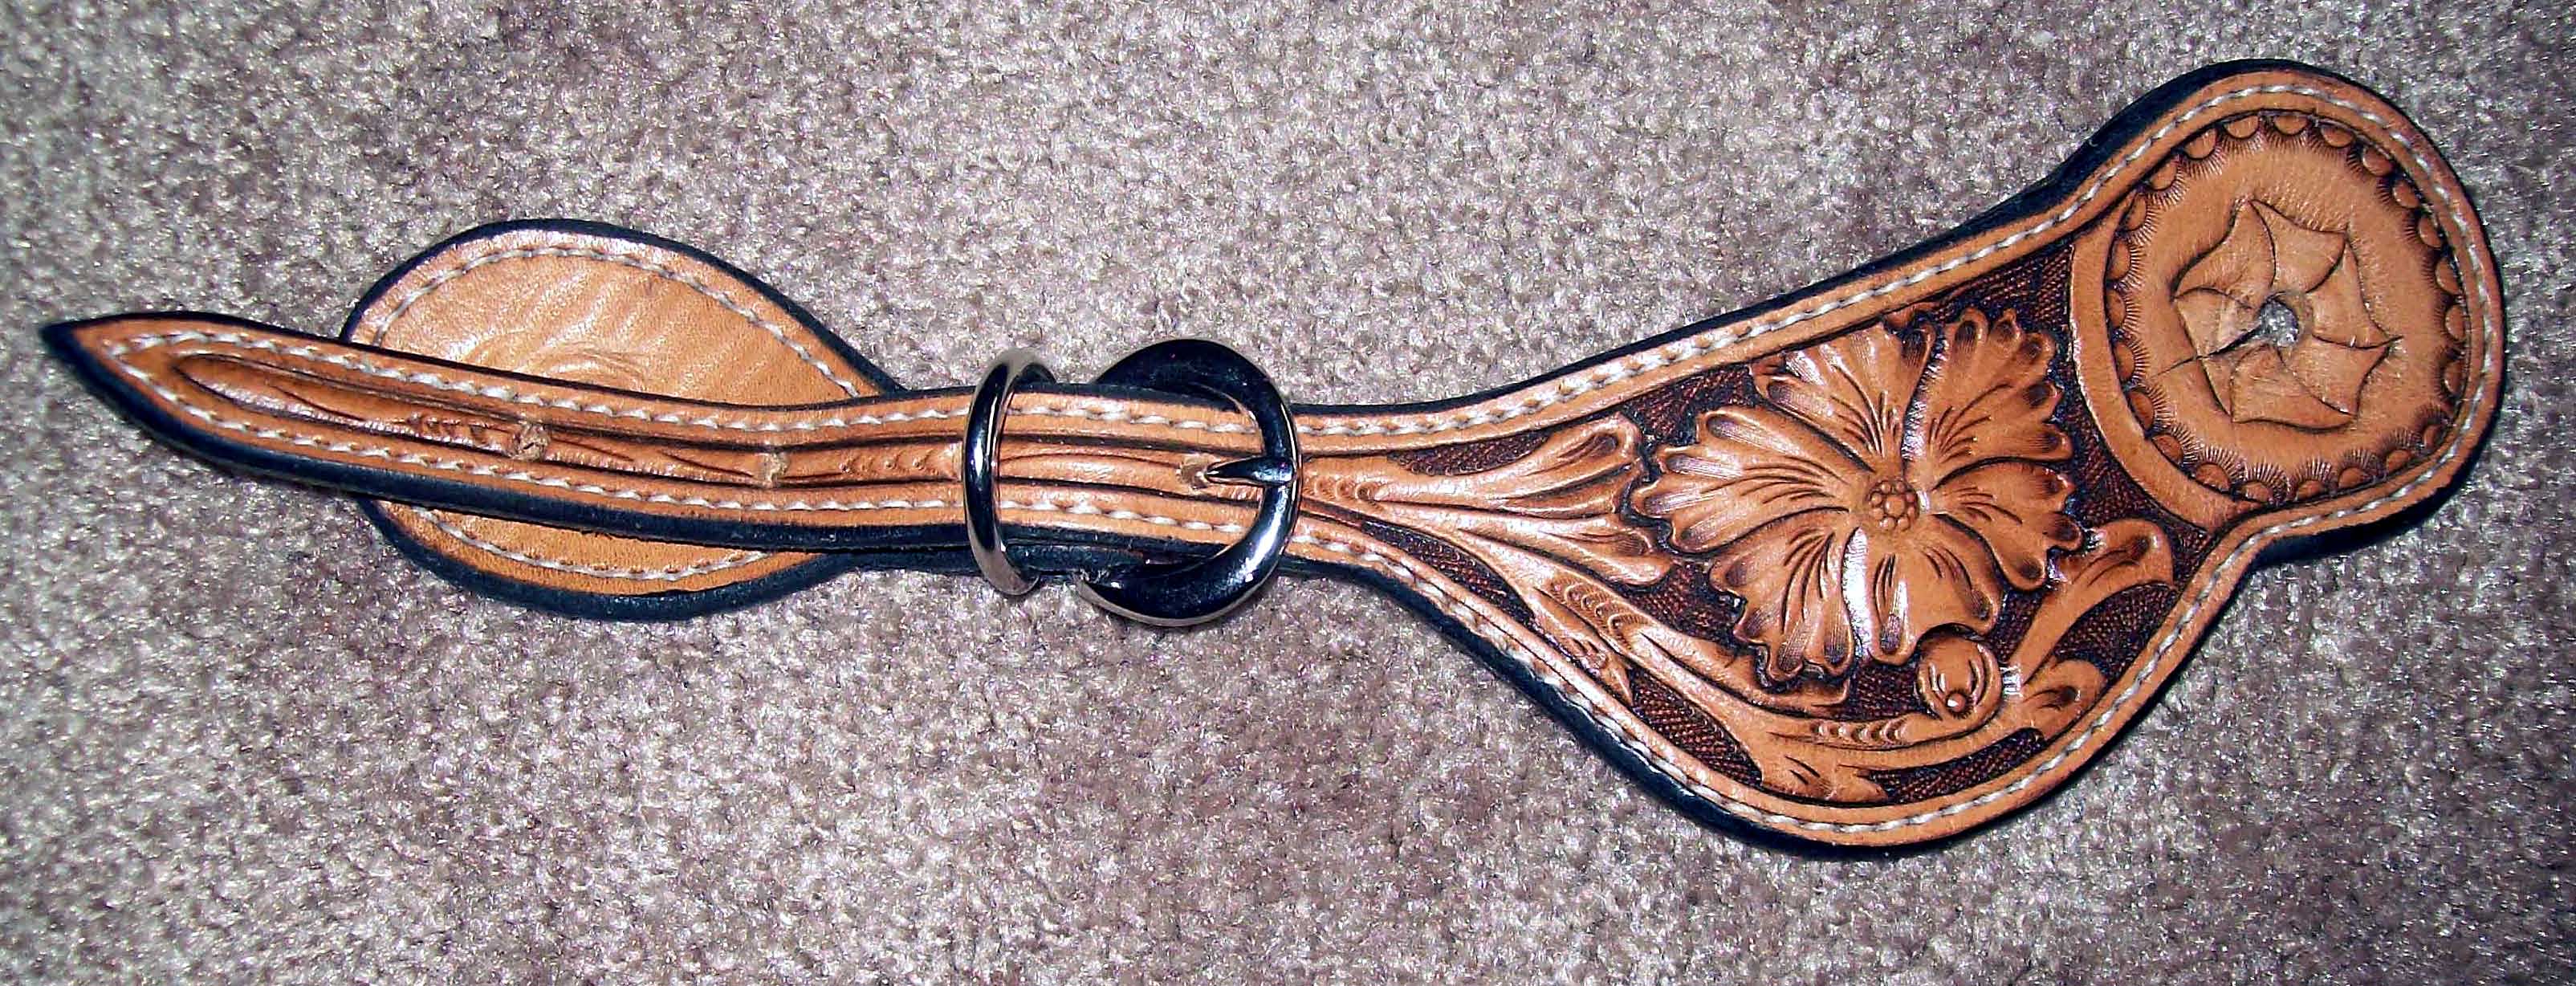
Floral Spur Straps
Double U Leather replied to Double U Leather's topic in Saddle and Tack Accessory Items
Bran, Thanks for the input. Unfortunately, that's the only flower center I have presently. If I were to extend the decorative cuts further toward the center, would fill up some of that void you're talking about? And yes, I am a rookie....LOL. -
Floral Spur Straps
Double U Leather replied to Double U Leather's topic in Saddle and Tack Accessory Items
Thanks.......and yes putting straps on and off spurs is about like a root canal!!! -
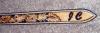
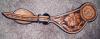
Here's a set of spur straps I just finished. Let me know what you think. BTW....both straps look the same, I just didn't want to go through the brain damage of taking both straps off the spurs for the flat pics. DUH...maybe next time I'll take the pics before putting them on the spurs. (Note to self...SELF..don't be stupid, take the pics before you put 'em on the spurs!!)
-
Pete, I've done something very similar. I had a pair of gloves that were a bit too large. I remembered back to the day when I rode bulls, we'd soak the glove in rubbing alcohol and then wear it until it was dry. It would shrink down and fit exactly to your hand. So...I think that since I'm trying to get a glove to shrink, I'd soak it and then dry it. Since I wasn't concerned with an exact fit, and since I wanted to hurry the process along, I figured I'd toss it in the microwave for 15 or 30 seconds and be ready to go to work with my new "better fit" glove. When the little bell went off on the micro, I opened the door and here lay a glove that a small child couldn't wear, and it was as stiff as rawhide. My family all thought it was pretty funny, but I failed to see the humor in it. I've still got that glove as a reminder to not do something like that again.