Silverd
Members-
Posts
489 -
Joined
-
Last visited
Content Type
Profiles
Forums
Events
Blogs
Gallery
Store
Everything posted by Silverd
-
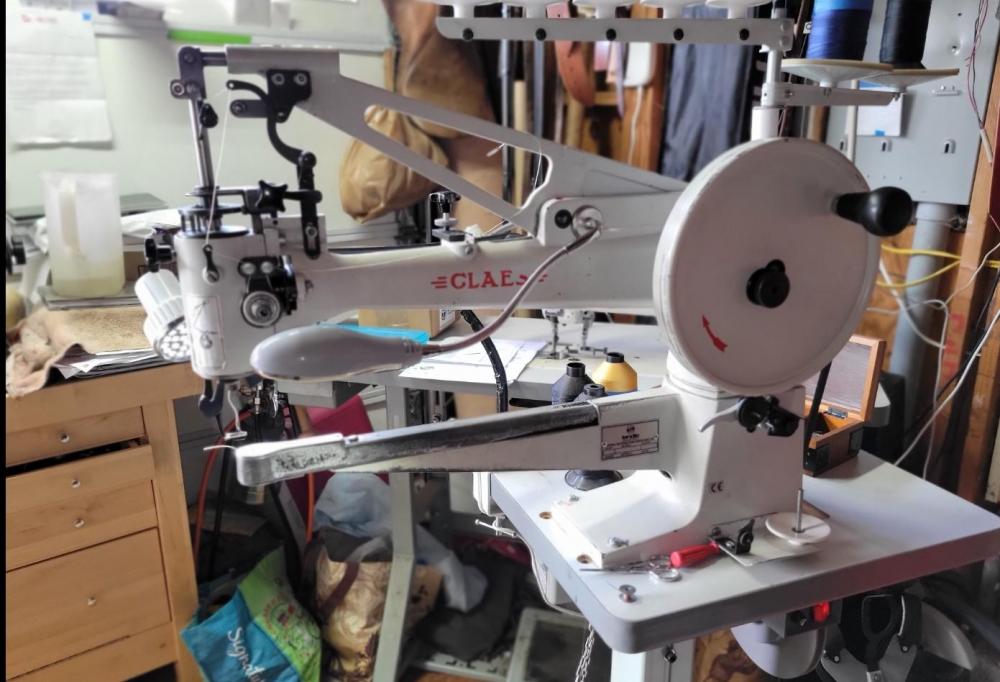
I'm also interested in buying your bobbins. Could use a handful. I own and use a Claes 30A sn 19255 on a regular basis. Great machine! Silverd
-
Lets talk about sales (or lack thereof)
Silverd replied to Spyros's topic in Leatherwork Conversation
Five years at this and I have learned a lot about selling my goods. I will make some custom things for the right customer. They need to be willing to wait for delivery cause I'm slow. Selling about $6 - 8k a year through an art center in town and through direct sales via word of mouth. My primary interest is in bag making but I also make high quality sandals, belts, mini wallets and card holders, wine totes, dog leashed and collars etc. All of it adds up and periodically I'll sell a bag for $500.00. -
My first vegan material product... Cactus "leather" material came in and here's the scoop after completing a single project. Nice hand feel. A bit stretchy like Lamb. Leaves no Presser foot marks and stitches need to be spaced out a bit more than with leather. It skives well and glues well. Rolled edges are easy but good luck making binding out of it. Edges will not burnish so edge painting is a must and is a laborious process. Cleans up well with acetone. Can be laminated but samples have a fabric backing already. They have a whole lot of various thicknesses textures and colors. Hope this help! Silverd
-
Prototype Manbag
Silverd replied to Silverd's topic in Purses, Wallets, Belts and Miscellaneous Pocket Items
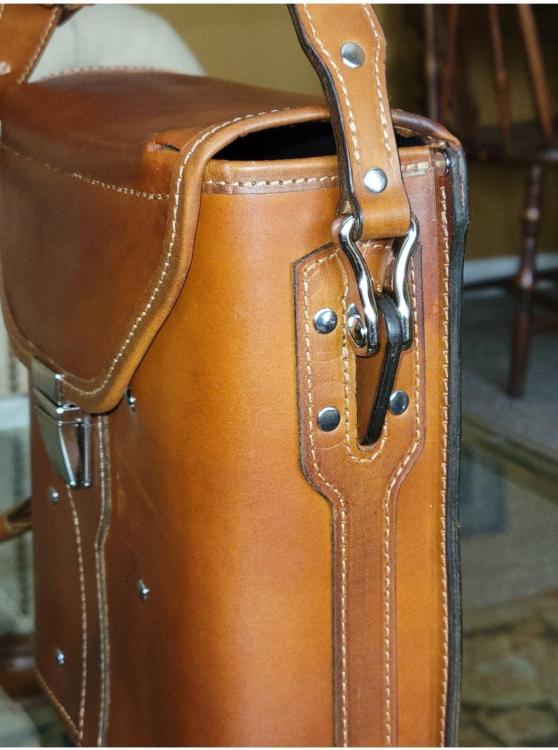
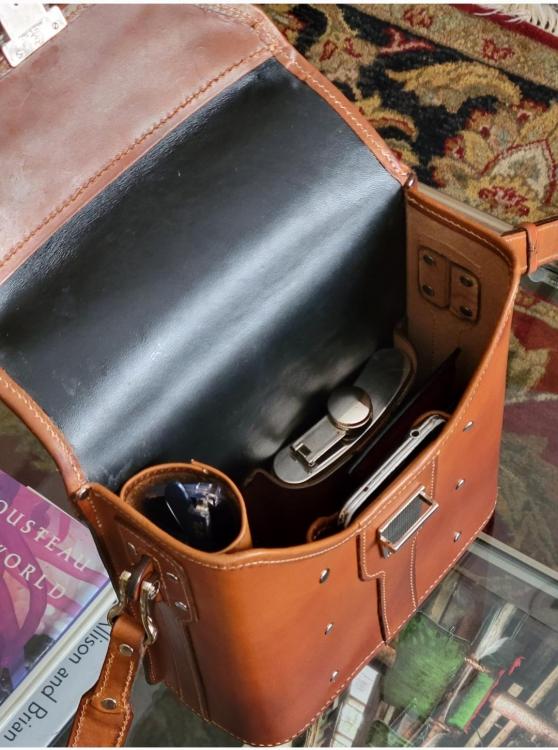
Thank you. The sunglass tube I sew on a Claes 30 patcher. Then rivet into place. Works very well. Bottom of case is sewn to the front, back and sides, then everybody gets folded up and glued then stitched up the four corners. Strap keepers are attached all before hand. This is the 2nd prototype of a more refined 2 peice design with molded bottom.- 16 replies
-
- manbag.
- leatherbag
-
(and 1 more)
Tagged with:
-
Cobra 26 presser/walking foot marking up leather
Silverd replied to AtomicLeathers's topic in Leather Sewing Machines
Certainly the Presser foot marks can be eliminated by placing a strip of leather under it during the sewing process. It's kinda a challenge to do this while still keeping an eye on things but after a while it becomes 2nd nature. Of course. Reduce the spring pressure as much as you can, but this technique completely eliminates Presser foot marks in experience. The needle foot marks are more difficult. Short of an adjustment to reduce its down force what I have found is a few funny techniques that seem to work mostly pretty well but not 100% all of the time in all situations. I sometimes case (wet) the top side leather pretty well then allow it to completely dry before sewing. When dry, the previously cased leather is usually quite hard and better resists impression marking. Try it. At least the Presser foot may not require a protective strip under it using this technique. After sewing, if needle foot marks are still prevalent i will lightly case top side only and use a hammer to gently pound the stitches, i then flex and bend and kneed with my fingers and stretch the stitch zone in an attempt to decompress the impression marks. This method works pretty well but again is not 100% effective. It usually improves things though. Some machine tracks we have to accept or resort to hand stitching in areas where no marking is acceptable. Thsts the difference between the work we do with a machine and fine leather working techniques that are used on very high quality pieces. Finally, as the finished product ages, further reduction of Presser foot witness marks often diminish naturally with time and use. Silverd -
Prototype Manbag
Silverd replied to Silverd's topic in Purses, Wallets, Belts and Miscellaneous Pocket Items
Very much like the input. Making the vessel more weather resistant pushes it more toward a utilitarian entry. I recently purchased a 2020 Land Rover Defender 400p. If you are familiar with this vehicle you are either impressed by how the designers balanced functional esthetic elements along side luxury amenities normal to other land rover products...or you are not. Either way, Its a fine line to walk is my point. My goal for this bag was the same but on a much smaller scale. And although my execution has left room for improvement i want to say the premis at least. has been preserved, in my opinion. A realization that ive found when designing handbags is that available hardware has a big influence on what can be done. The strap attachment fittings in this case drove the utilitarian / luxury design concept that I had been looking for. That said, living in dry So Cal has also influenced my design such that including a robust flap labyrinth was not perceived as a feature priority. If however I lived on the east coast of USA, it would have been. Silverd- 16 replies
-
- manbag.
- leatherbag
-
(and 1 more)
Tagged with:
-
Prototype Manbag
Silverd replied to Silverd's topic in Purses, Wallets, Belts and Miscellaneous Pocket Items
Fiebings Pro Walnut. I precondition with saddle oil then apply die with spray gun.- 16 replies
-
- manbag.
- leatherbag
-
(and 1 more)
Tagged with:
-
Prototype Manbag
Silverd replied to Silverd's topic in Purses, Wallets, Belts and Miscellaneous Pocket Items
The cover flap as you point out is a bit narrow. Not sure why it got reduced but I have made adjustments to the pattern that adds a 1/8" to each side.- 16 replies
-
- manbag.
- leatherbag
-
(and 1 more)
Tagged with:
-
Prototype Manbag
Silverd replied to Silverd's topic in Purses, Wallets, Belts and Miscellaneous Pocket Items
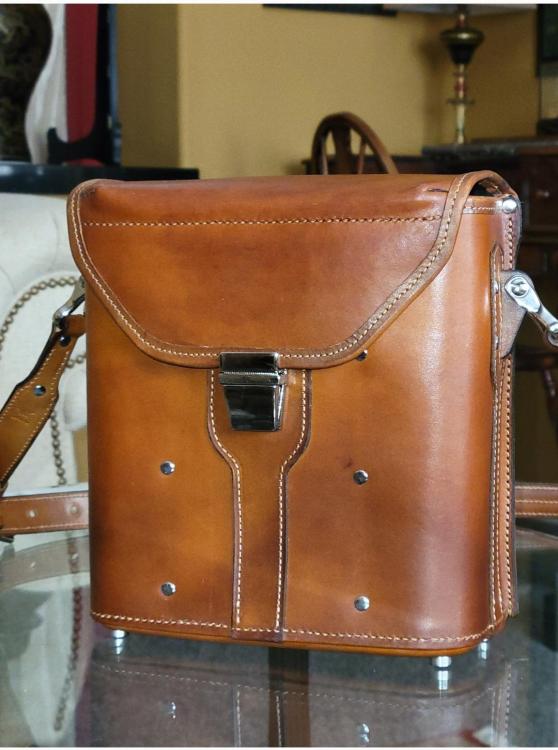
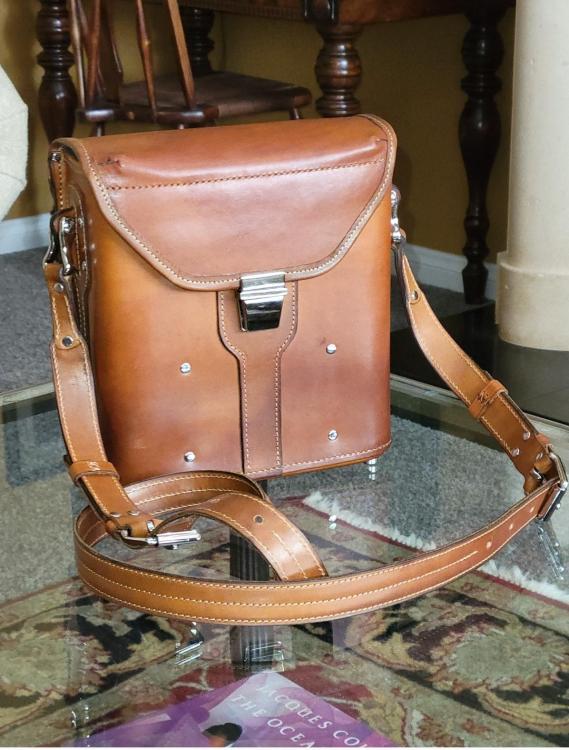
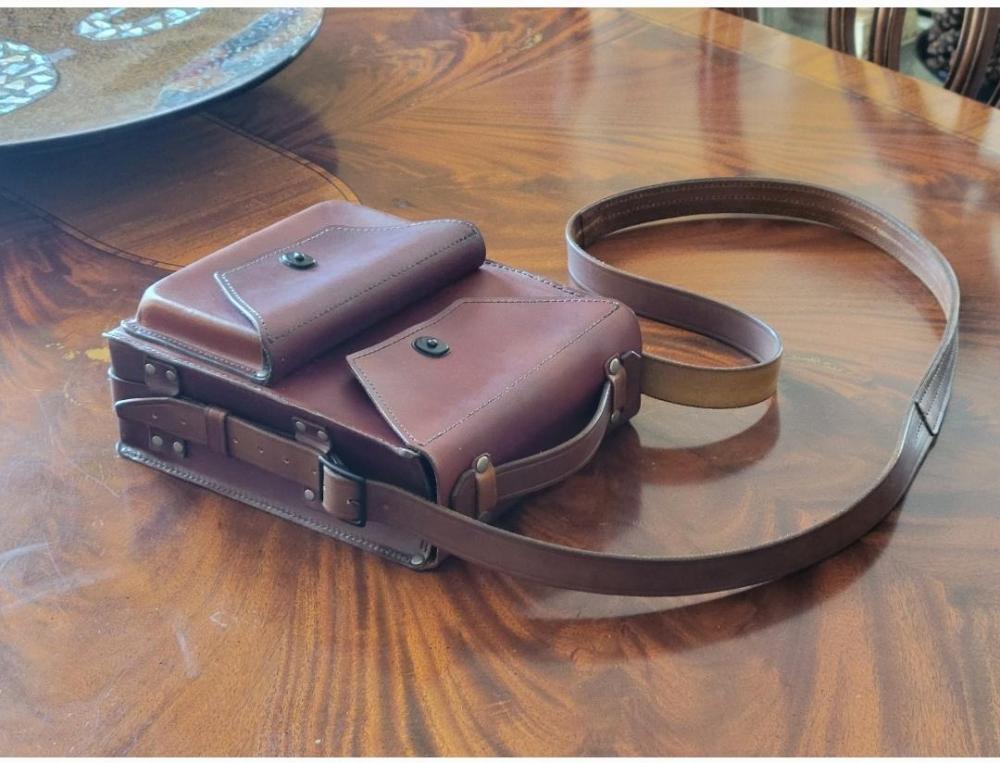
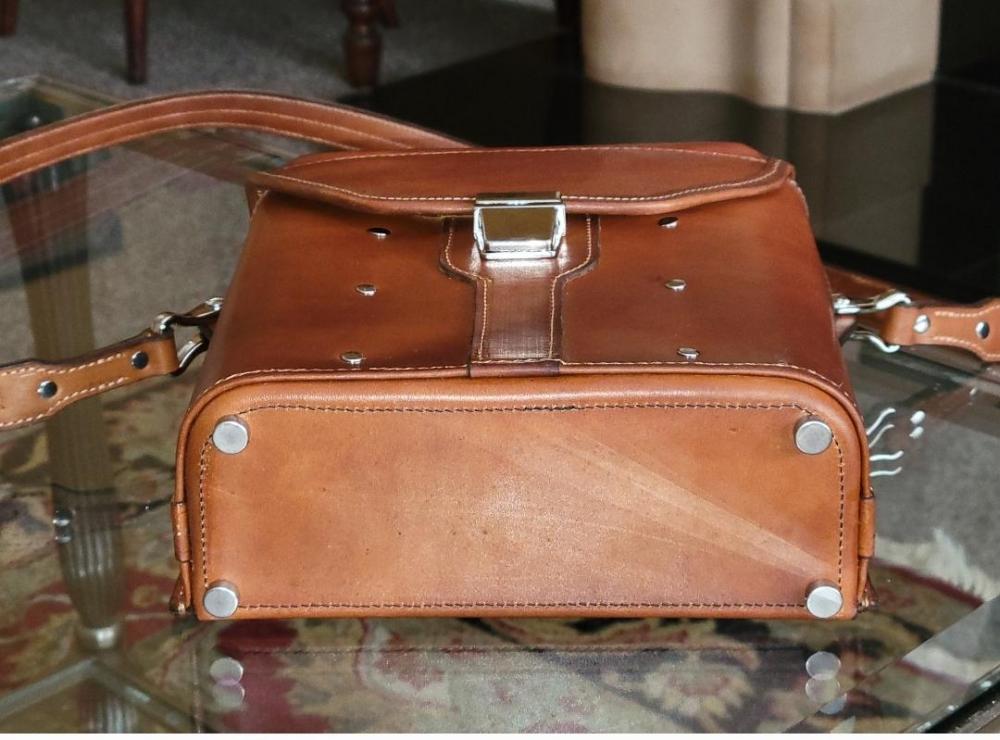
Having challenges with reducing image size but managed to attach two more that hopefully show some of the details. That said; thank you for taking the time to respond to my request for feedback. Very meaningful comments and excellent points. I had some fun with the strap and the strap attachment details. I wanted to use those unique yoke connectors and so created flange gussets that poke though the bag from the inside. The intermediate straps are skinny to fit the yokes then transition to a 1" wide main strap via a buckle. The main strap has foam inside to soften the carry. It's subtle but noticeable. The addiition of feet was certainly a big decision that effected the look and function of the bag. Ultimately I consulted with several women who liked keeping their bags off dirty surfaces when setting them down. I do sometimes flip the molded bottom the other way which works but this gives the bag a differen look. I liked the beveled edge at the bottom that the molded bottom creates. Rivets on the front serve to attach a phone slide pocket on the inside. Silverd- 16 replies
-
- manbag.
- leatherbag
-
(and 1 more)
Tagged with:
-
Prototype Manbag
Silverd replied to Silverd's topic in Purses, Wallets, Belts and Miscellaneous Pocket Items
- 16 replies
-
- manbag.
- leatherbag
-
(and 1 more)
Tagged with:
-
Inspired by a commissioned project for a manbag, this version is an attempt to soften the edges and improve the refinement. Looking for opinions as I've only made one before. Thought I should probably carry this one for a while to see what I learn Silverd
- 16 replies
-
- manbag.
- leatherbag
-
(and 1 more)
Tagged with:
-
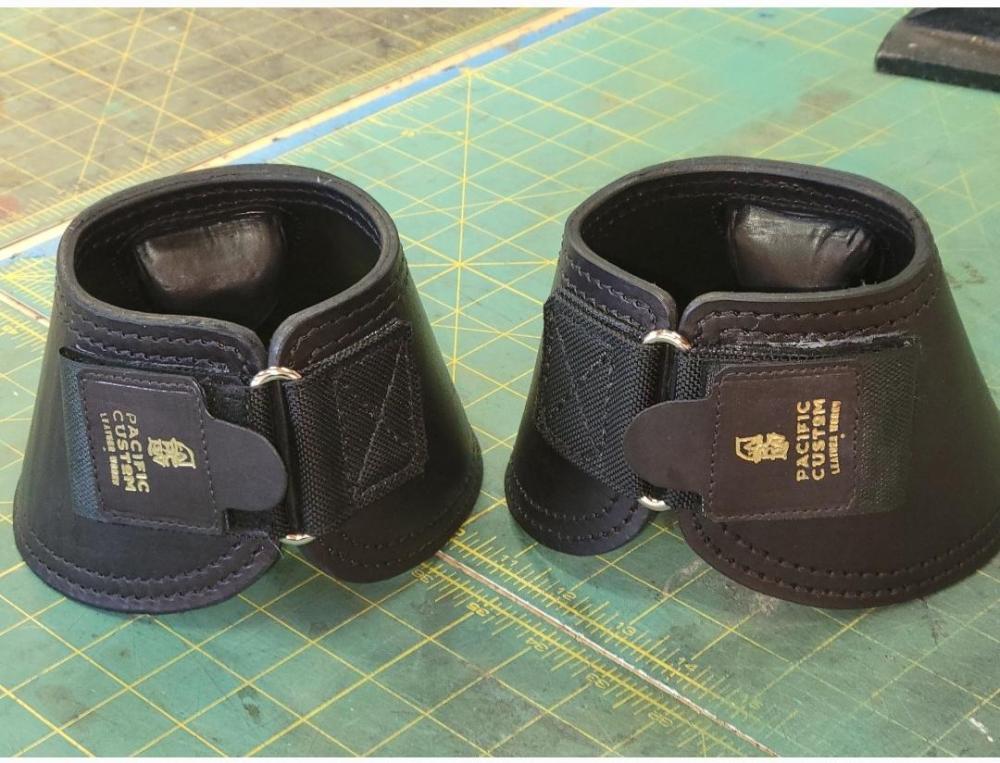
Understand. Not sure why my client does not want the top padding and she may have me add it back on once she reviews these latest boots. She has many years of experience, a 30 horse ranch and high profile clients. Her goal is to develop her own high end equestrian product line. My roll in the project is to make the prototypes to her specifications for testing and evaluation then help with transitioning the designs into production. My professional background is just that but not with leather. Silverd
-
Interesting observations and greatly appreciated. The current closure design utilizes quality velcro sewn to balistic nylon webbing that acts as the strength member of the system. A Dee Ring is sewn onto one side of the boot and a double sided velcro tongue on the other. When wrapping the boot around the hoof, the tongue is threaded through the Dee and folded back then a second peice is folded over the tongue forming a velcro sandwich. Using a Dee in the closure system reduces the stress on the velcro by 50%. Water and mud reduce the effectiveness of the velcro hooks as you have noted. The Dee Ring reduces the strain so should improve the overall effectiveness of the system but I think more testing in wet conditions is needed before making a final decision. I've considered using buckles but they have the down side of giving the horse a feature to pull on with their teeth. It may be that buckles are better for certain environments and for horses that don't fiddle and velcro suitable for dry environments. My client is in So California so wet conditions are seldom. These are the latest version.
-
Hi Anyone have a laser capable of cuting 6-7oz Hermon Oak? I want precuts and will pay for all cost. Thank you! Silverd
-
If you send me your email address I can fwd you a pretty comprehensive photo collection of my build and some instructions. I'm not wanting to disclose the clients design ideas in a public forum. Send a response to the address below. Don Pacificleather2018@yahoo.com
-
What link...and yes, still interested Silverd
-
Does anyone know the color shade of Louis Vuitton Yellow thread? Silverd
- 1 reply
-
- louis vuitton
- louis vuitton yellow thread.
- (and 2 more)
-
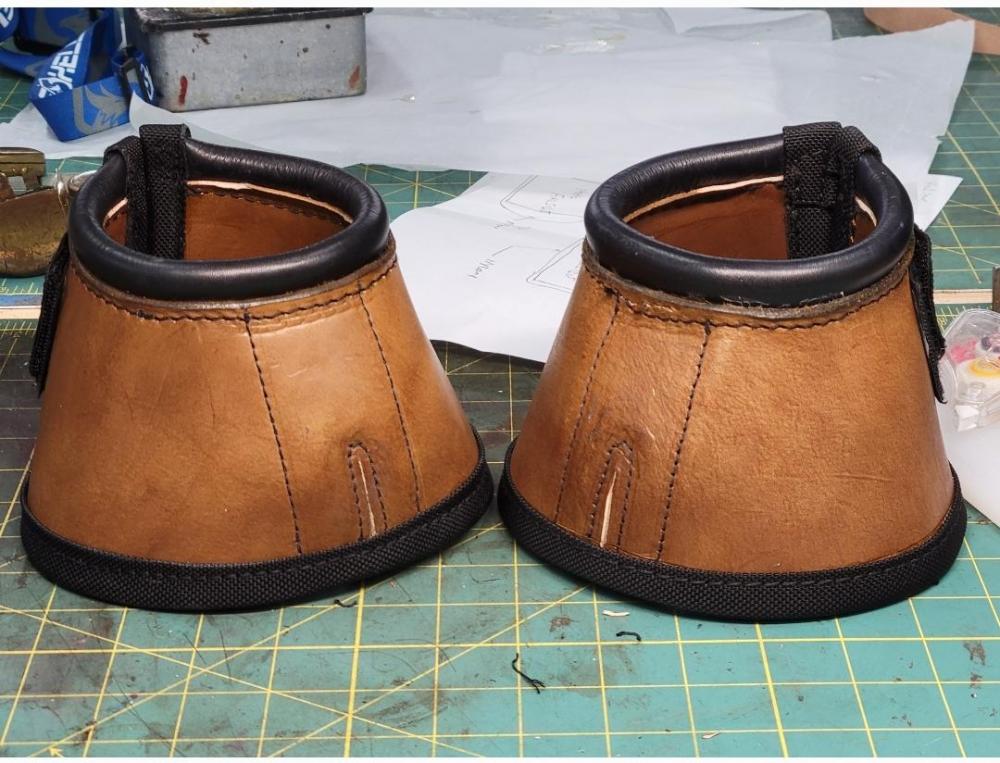
Hello Equestrian leather workers. I have a client who wants a pair of custom leather bell boots made. My question is what would be a good choice of leather type for this application? Chrome Tanned. Bison. Buffalo. Heavily oiled Veg Tanned? These are the Veg Tan prototypes I made to check the fit and to workout the proprietary no turn knob feature. My concern is wet conditions. Any and all suggestions are appreciated. Thank you! Silverd
-
Haas Mini Mills?
- 31 replies
-
- stitch
- identify the stitching
- (and 3 more)
-
Story of my life...a day late and a dollar short! These machines sold on ebay a few years ago. Wow...what a find.
- 31 replies
-
- stitch
- identify the stitching
- (and 3 more)
-
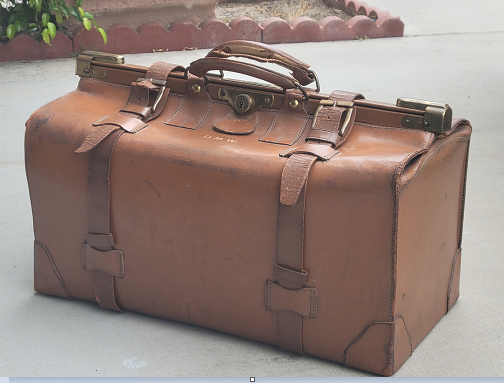
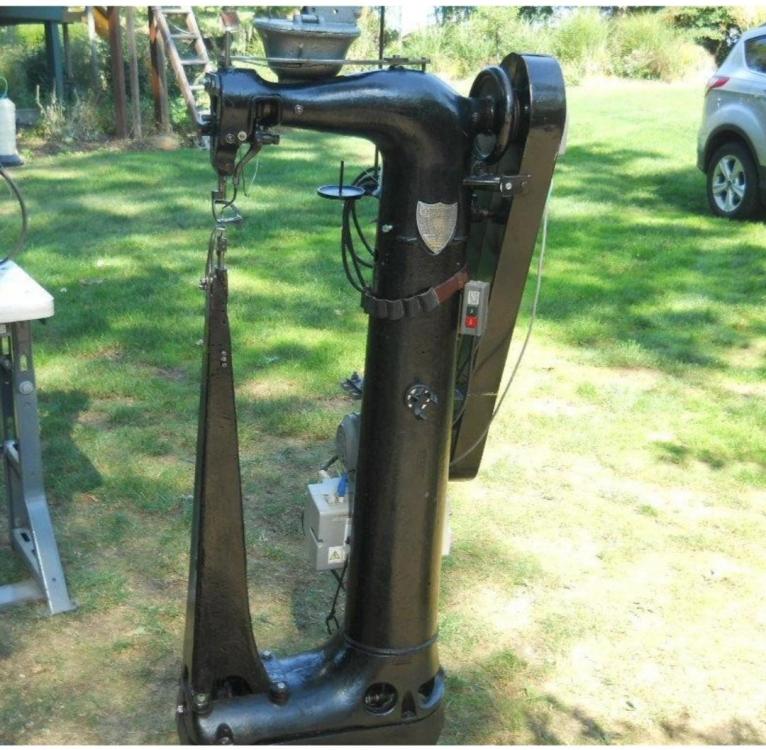
I'd say they used something on the order of this machine to produce these trunks back in the day. I'm looking for a high post (17") to enable the same but with lock stitch.
- 31 replies
-
- stitch
- identify the stitching
- (and 3 more)
-
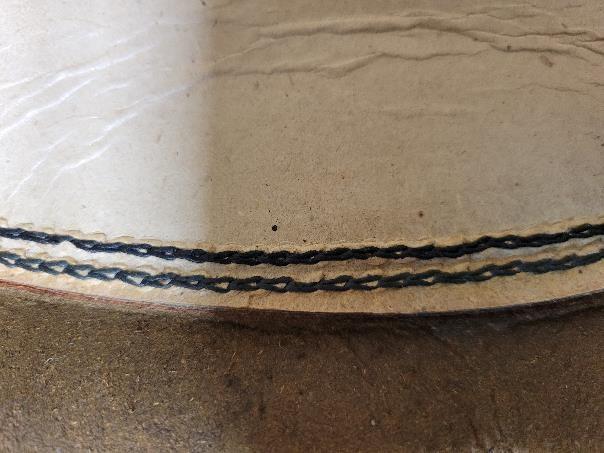
Super cool video btw. The stitching on the original caseooked a lot like what the Puritain is laying down, however much of the stitching was single row...and the two runs of double row stitching was not very perfectly parallel. Did they make a single row looper do you know? Silverd
- 31 replies
-
- stitch
- identify the stitching
- (and 3 more)
-
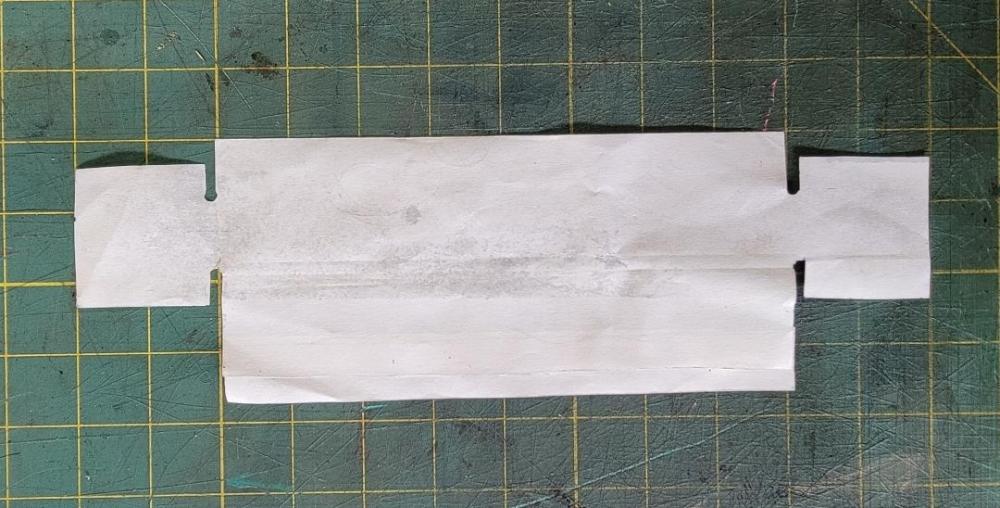
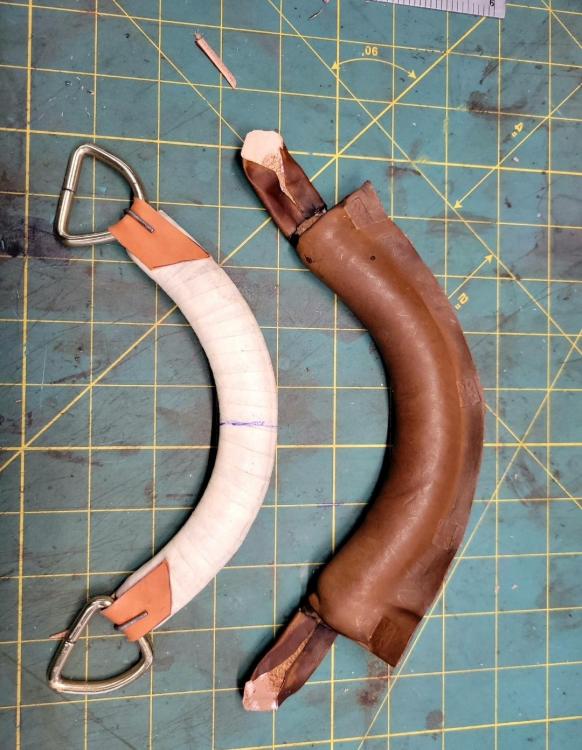
Thank you. The handles were a challenge but I used the original leather that was intact enough on one of them to develop the pattern. Note that the leather is only a cover. The load bearing is taken by a steel wire that formed a hooks which the Dee's connected to. Pics Ive attached show this. Then I skived the flaps of the cover to reduce the witness bumps you describe. Frankly it would have been better to make the covers from a 2-3oz instead of 3-4oz leather. Handles would have had a less bulky appearance. That, and it would have given me a 2nd shot at the wrapping process thus reducing the touches. Silverd
- 31 replies
-
- stitch
- identify the stitching
- (and 3 more)
-
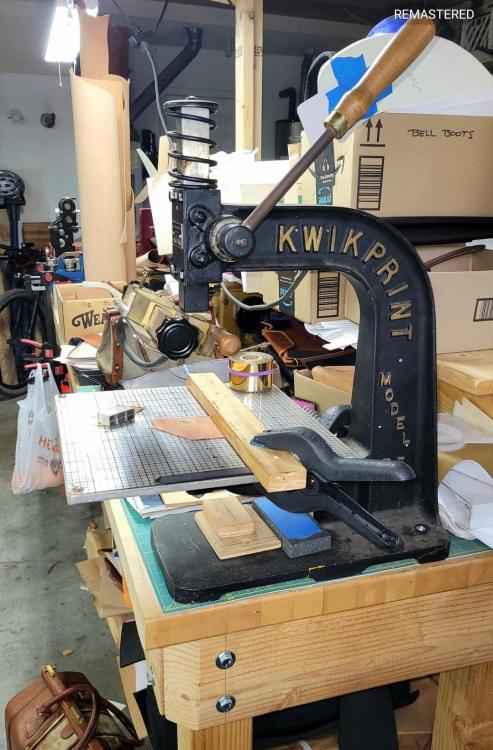
Oh my. Thank you for that. I struggle along on these projects progressing through each step very slowly learning as i go. I also use new projects to "Tool-up". This project required hot foil stamping which I knew very little about. I did some research which lead me to buy a 2nd hand Kwikprint press and the Type Set initials of my Client. Now I have that capability for other work or for customers who want their initials stamped too.
- 31 replies
-
- stitch
- identify the stitching
- (and 3 more)
-
Thank you. Hopefully client will appreciate!
- 31 replies
-
- stitch
- identify the stitching
- (and 3 more)


