Search the Community
Showing results for tags 'first'.
-
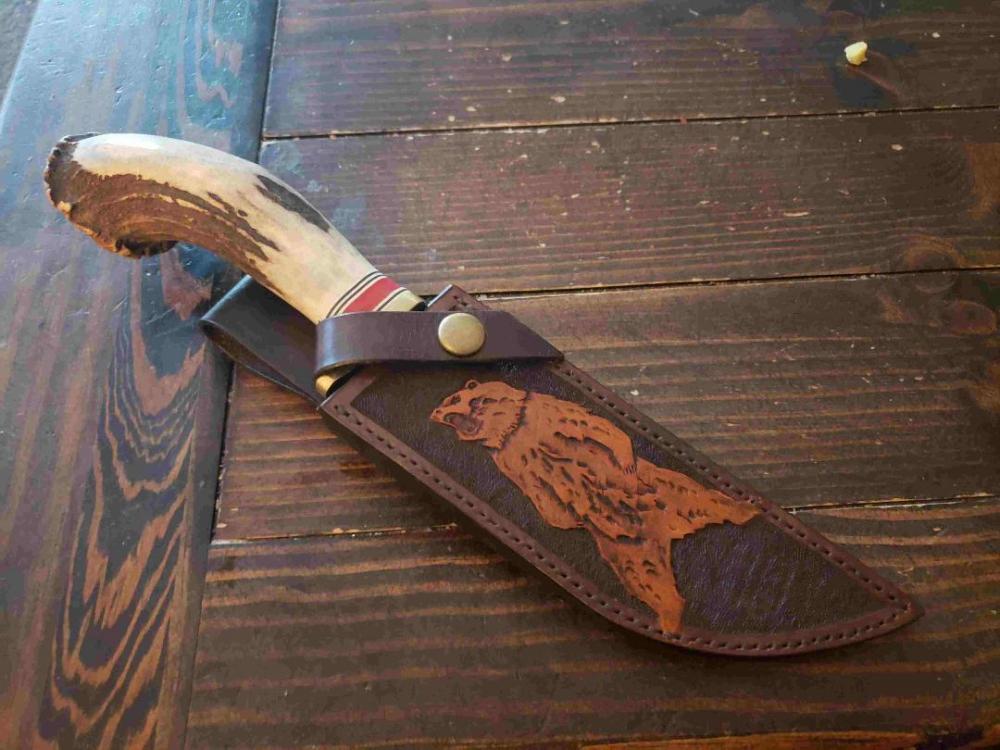
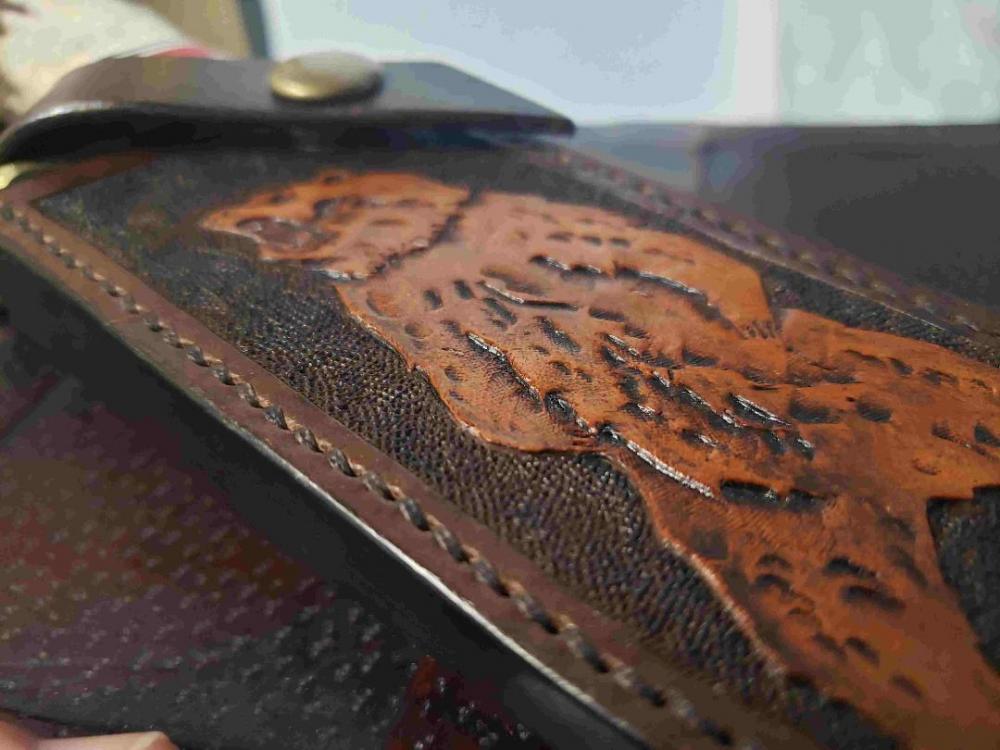
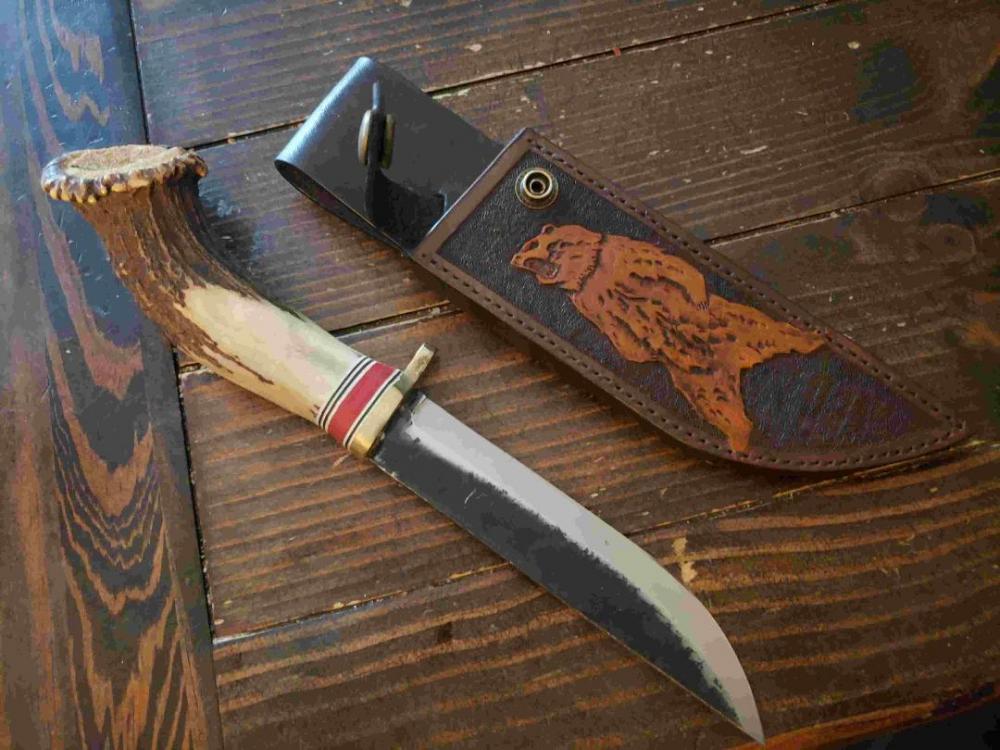
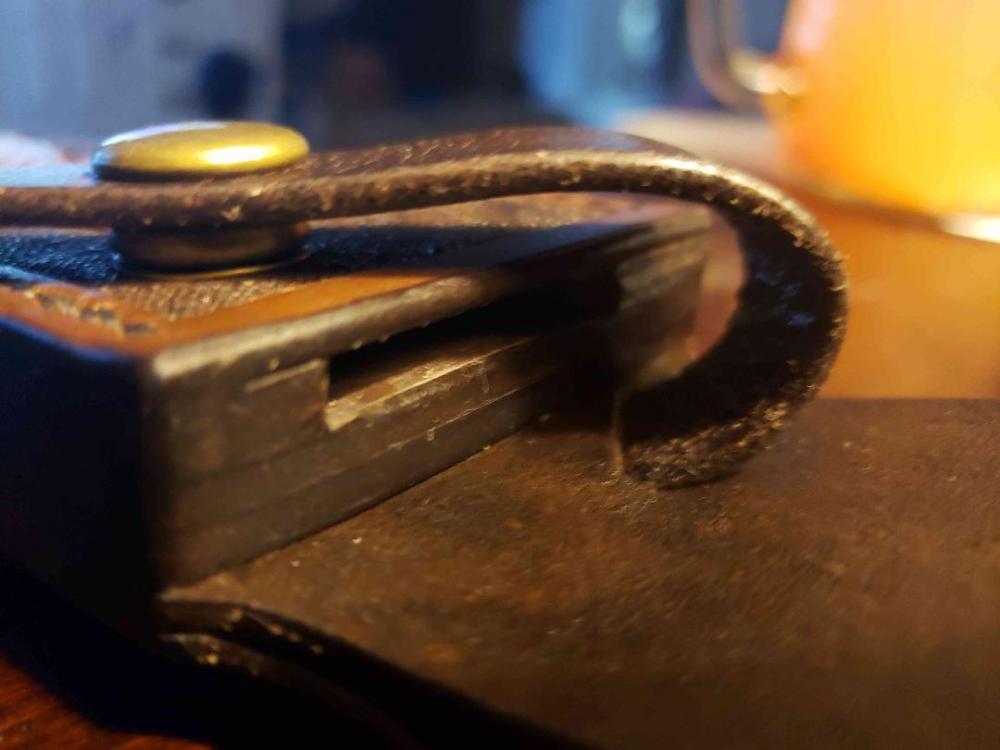
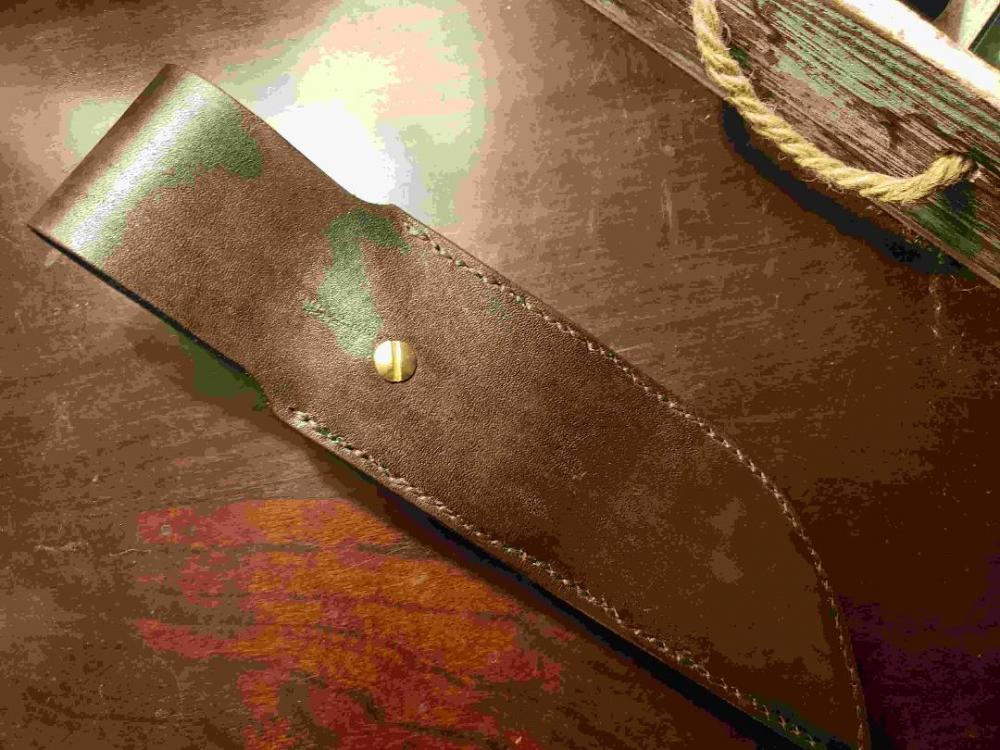
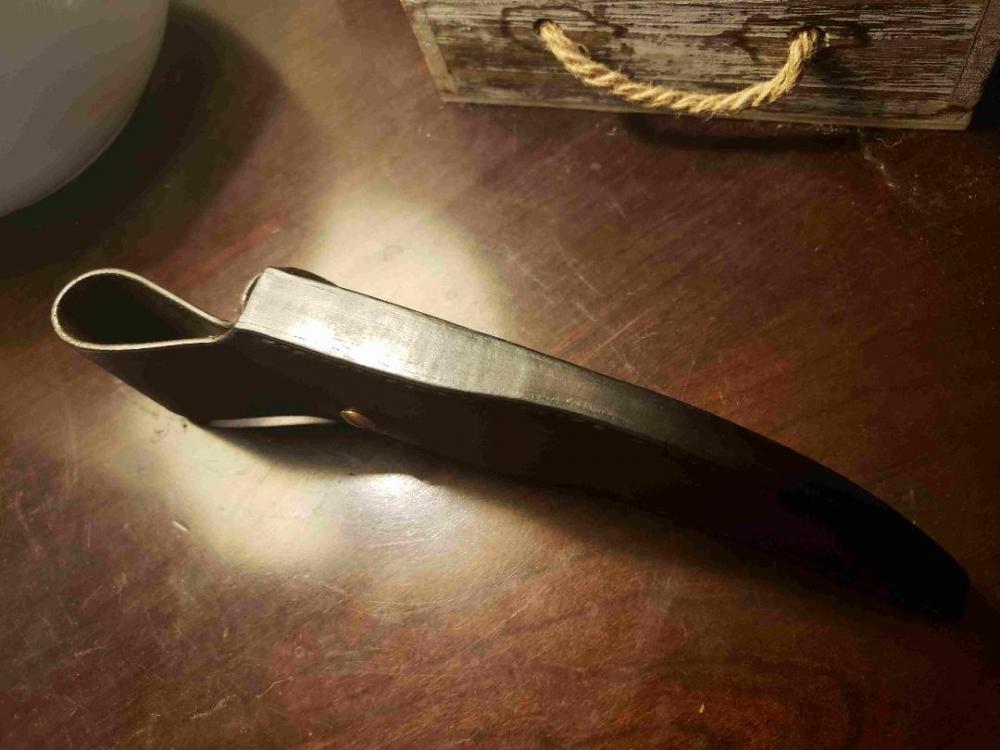
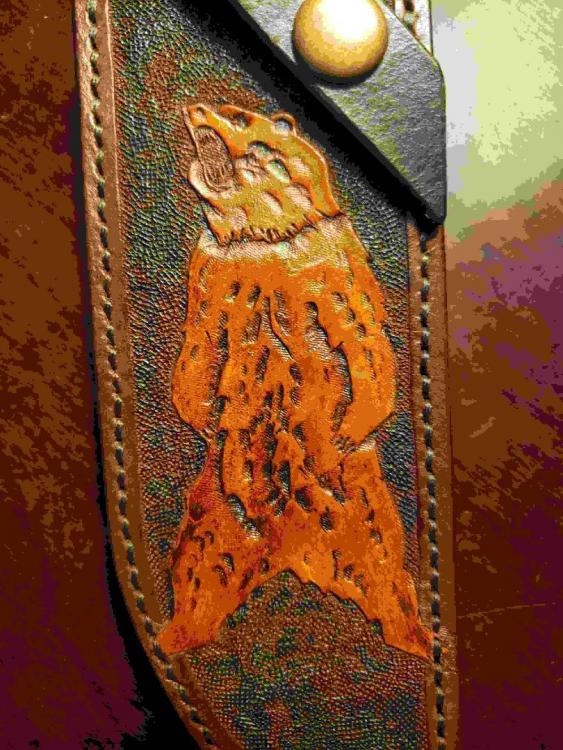
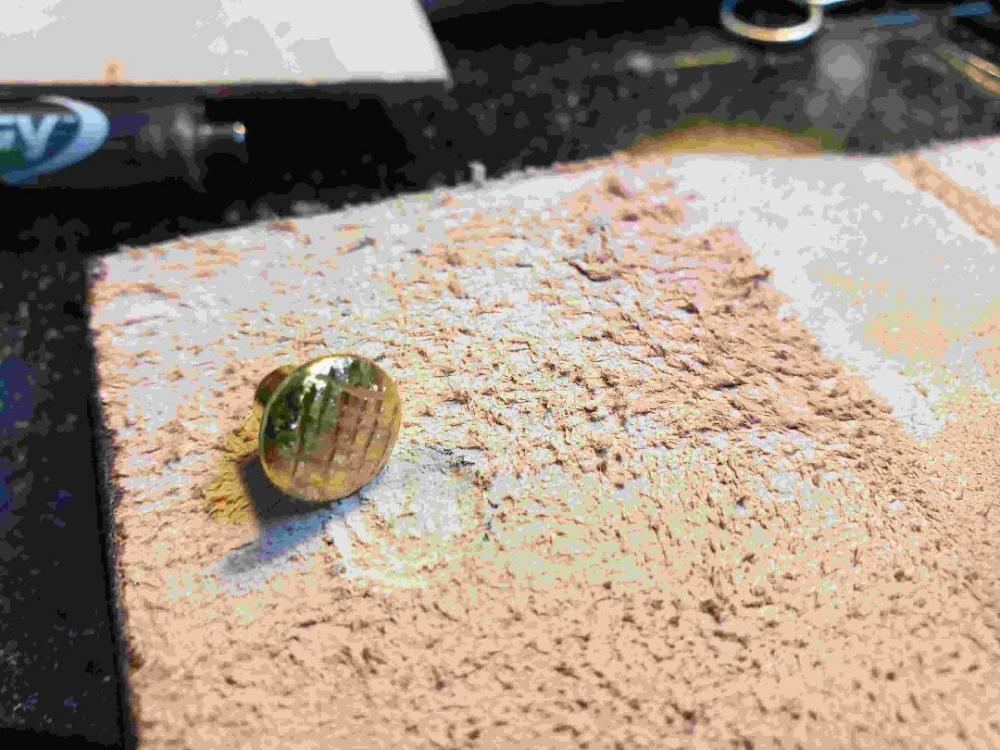
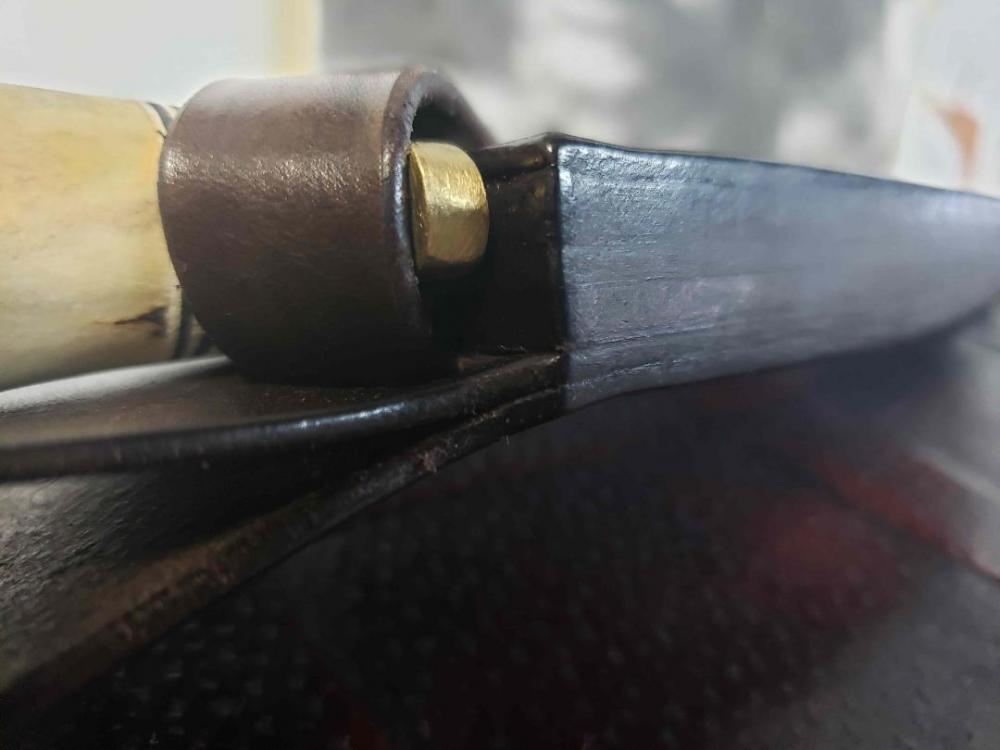
This was my very first knife sheath. I bartered a custom holster for a custom knife a few years back. It has just been sitting in my desk in a cardboard sheath (cringe). I know. So...it was well overdue. I started out with simple expectations to "just make something leather to hold it," but that very quickly went out the door. It was much more involved than I had expected. It took considerable thought and planning. I had to layer up the leather to make a shelf on which the handle could sit, otherwise it would push the loop back when inserted. I had to consider so many other aspects. For example, I made the retention strap replaceable with a Chicago screw, so that, in the event that I cut the strap, or it became worn over time, it could be replaced. I had to carve out a dimple in an inside layer where the Chicago screw head could rest, allowing the layers to lie flush. On and on. I suppose these, along with the other things I had to figure out for myself are old hat for some of you, but it was probably faster than spending hours researching like I did before I made my first holster. Anyway, as always, I am all ears for constructive criticism. Oh yeah, the bear was from a practice scrap I did for a holster request that fell through. He sat on my workbench for months before I found a use for the poor fella. Never tooled any animals before. That was a whole other experience. Let me know what you think, and/or where I could improve on the next one. Thanks, ladies and gentlemen.
- 10 replies
-
- knife sheath
- knife
- (and 4 more)
-
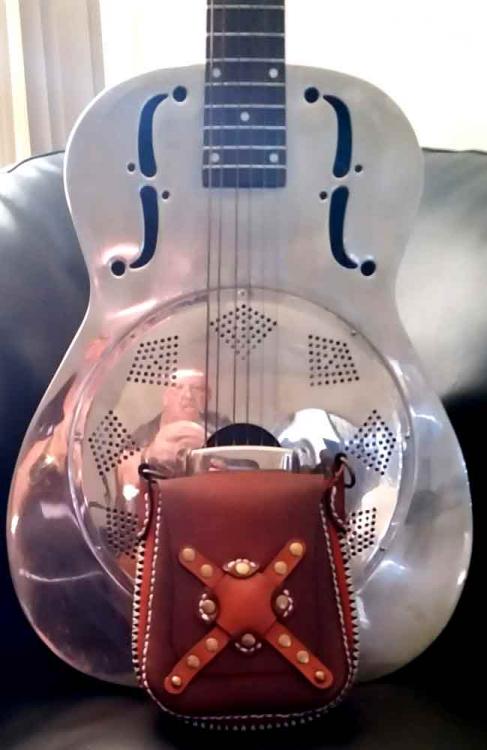
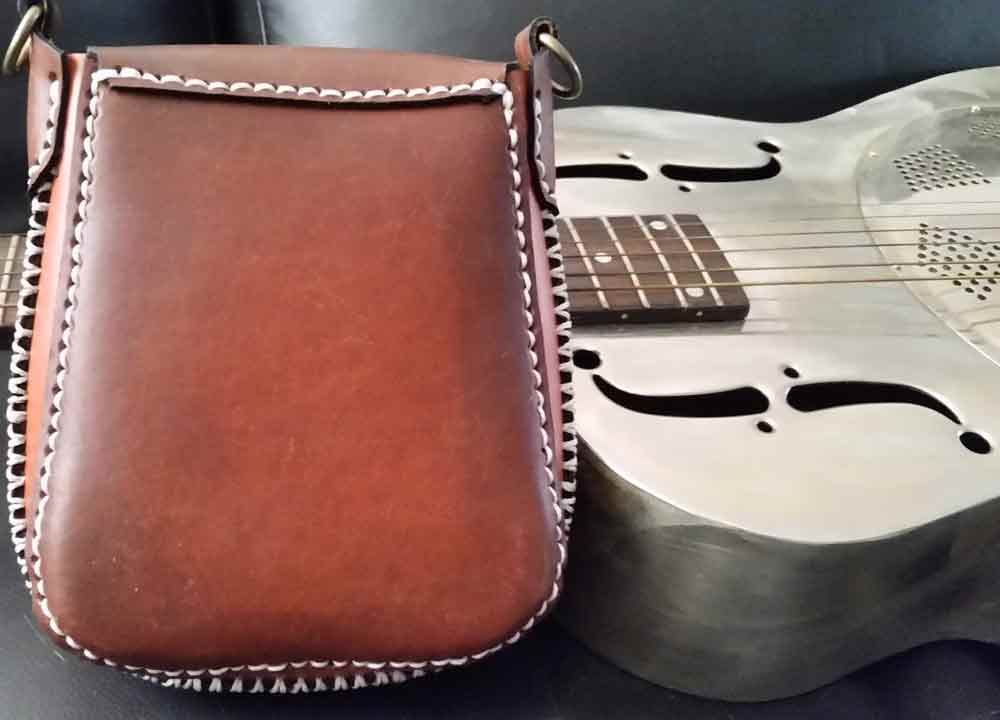
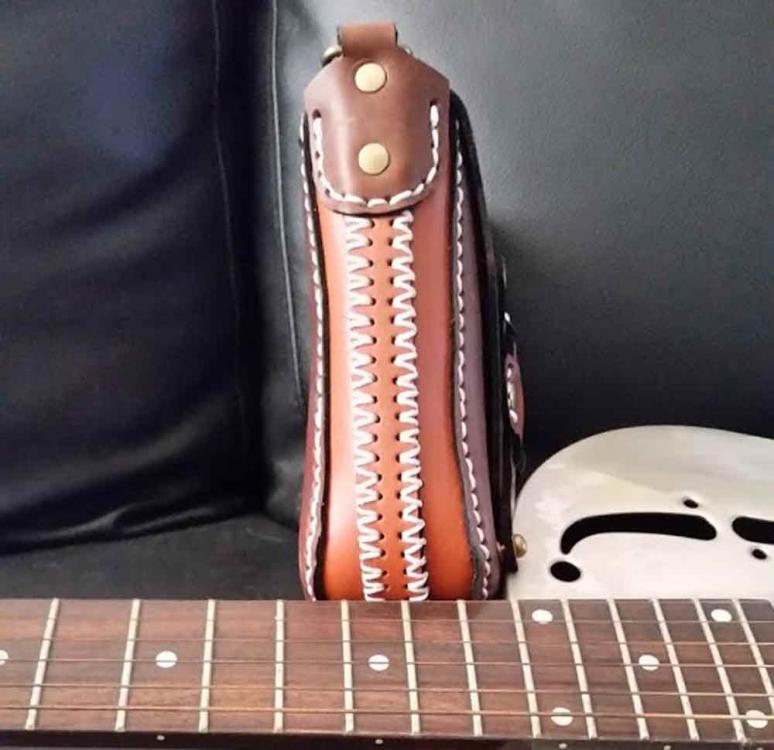
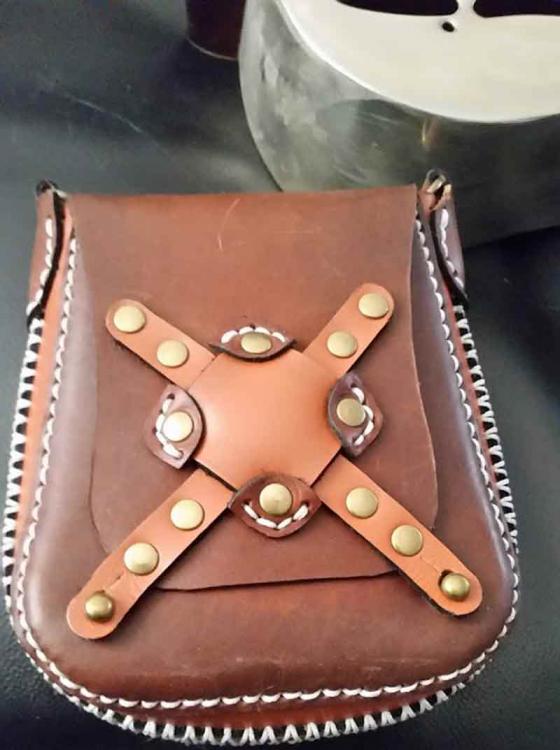
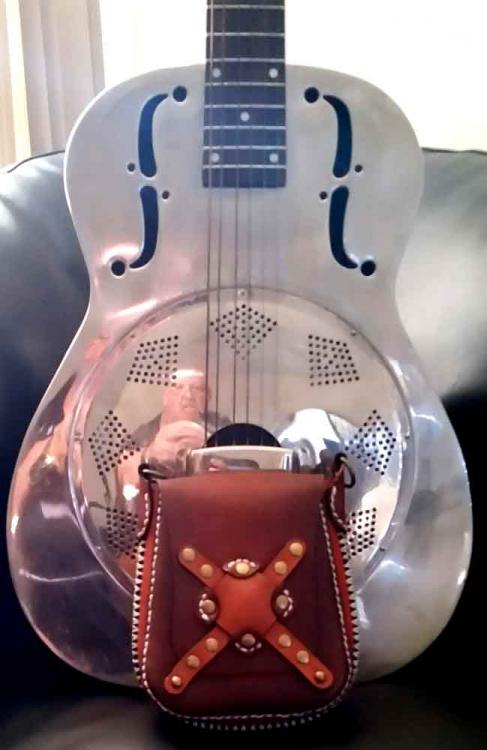
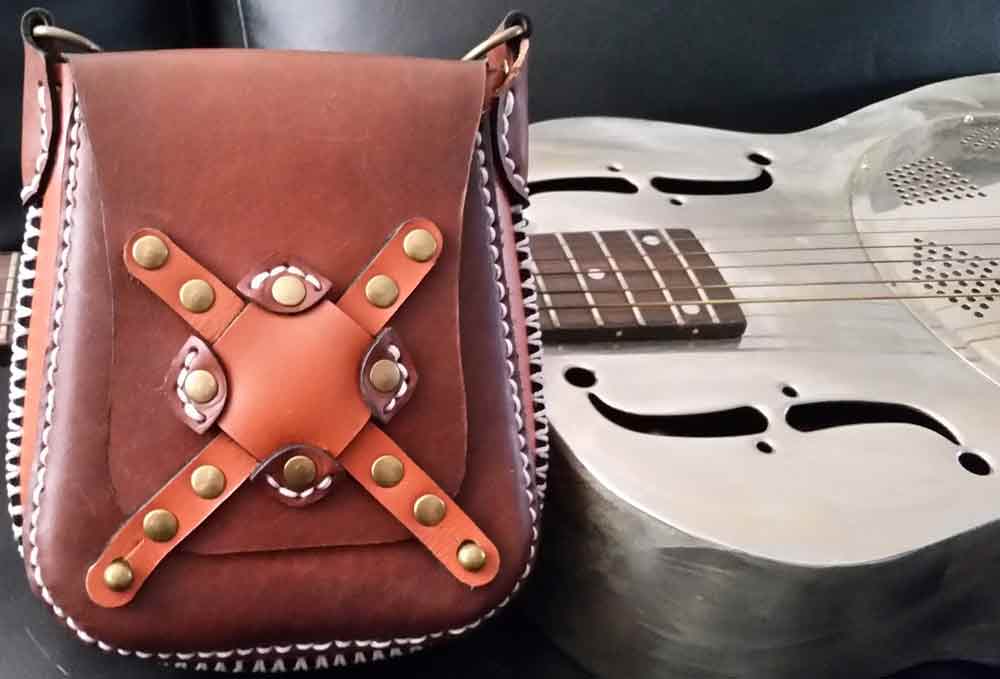
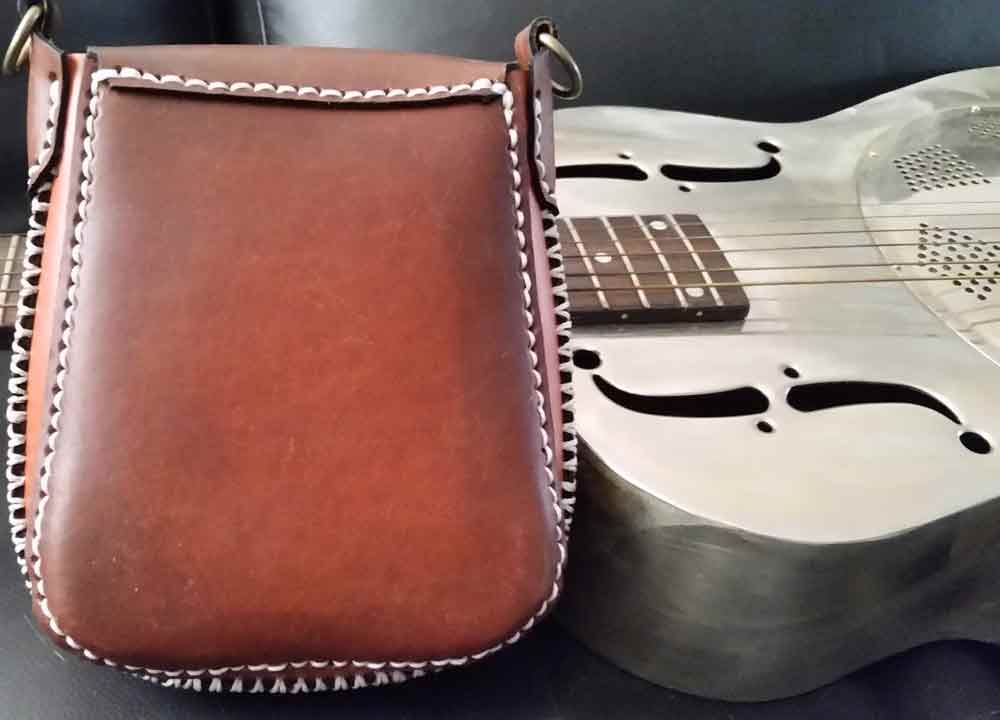
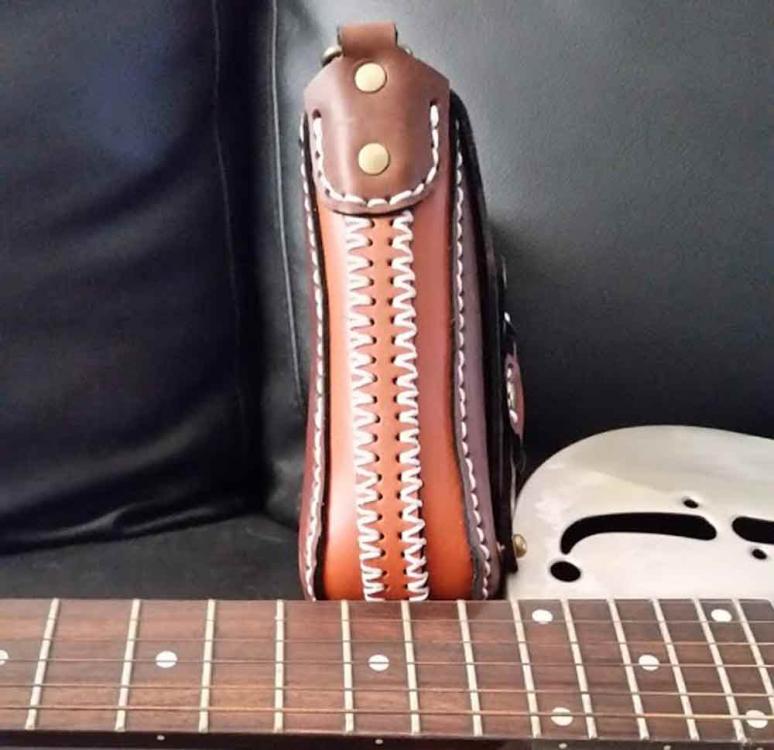
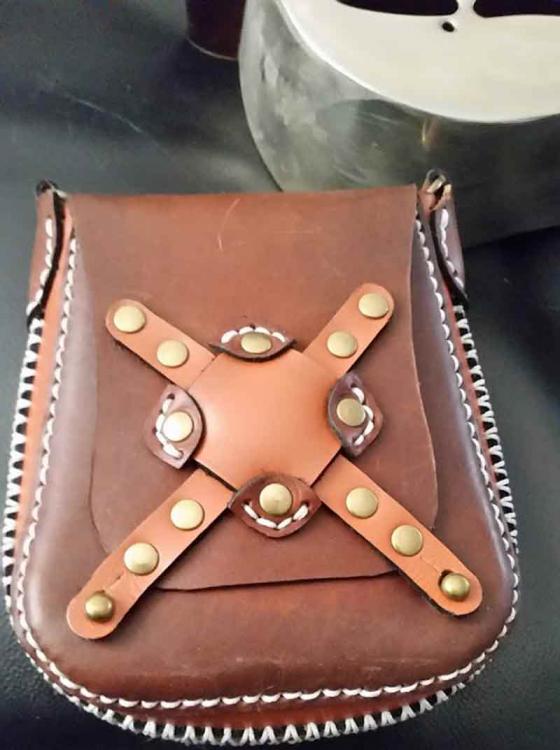
Well it finally happened. My first real project.A Lady's shoulder bag/sling bag. I just have to make a strap for it.
-
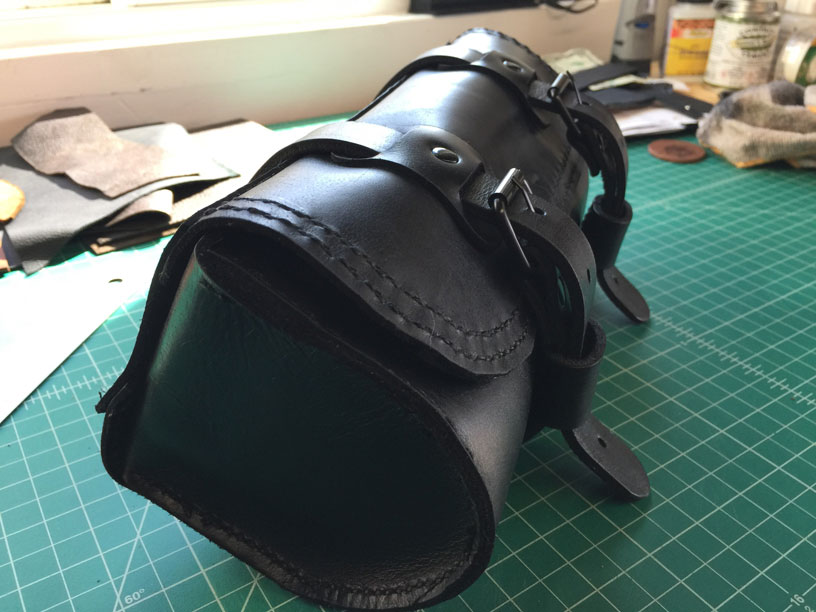
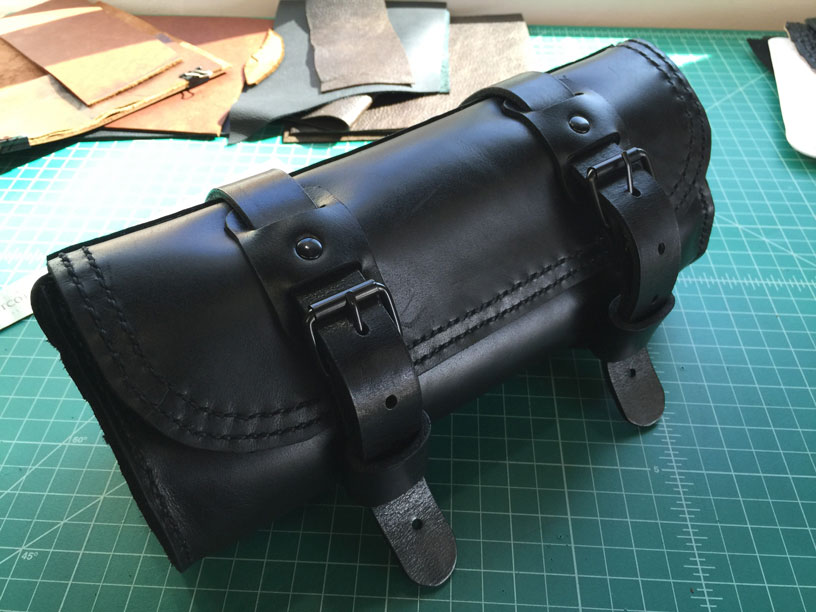
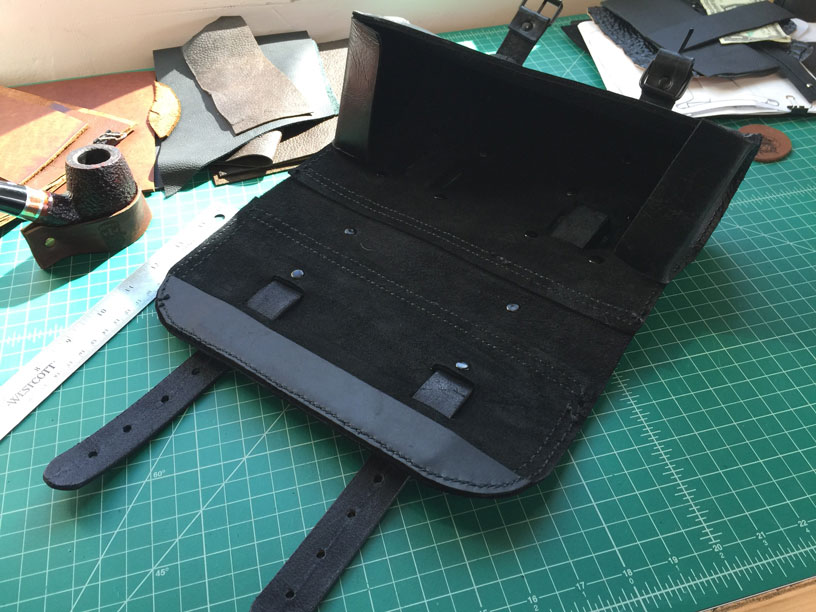
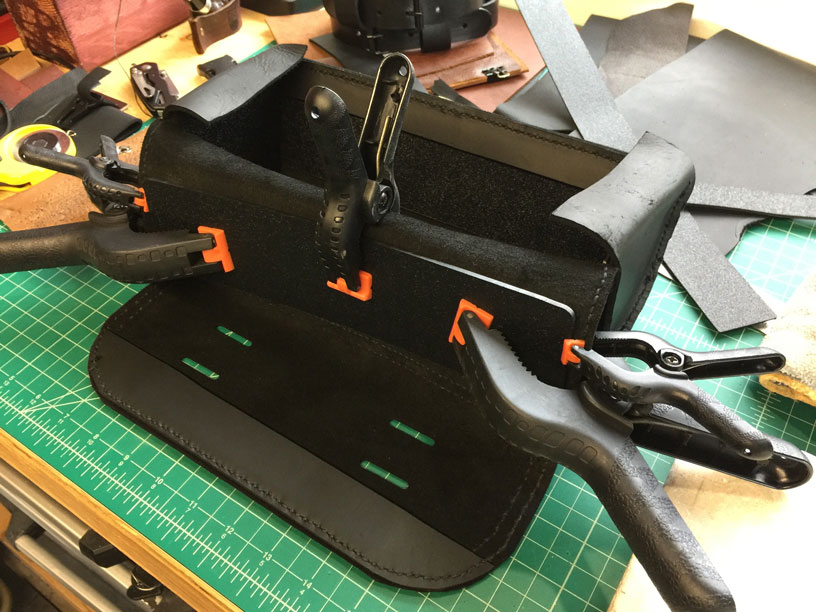
Over the weekend I picked up a piece of leather and started monkeying around. No plans, no templates suddenly I decided to make a tool bag for my bike... I mean how hard can they be? ... HA! Actually it was really fun to figure things out "on the fly" and come up with solutions to problems that came up along the way. My first mistake was using 6-7 oz leather, i should have stated with 9-10 oz. To fix that I rode down to our local Tap Plastics shop and got a piece of acrylic for 5 bucks, then build a box for the inside. 2nd mistake the flap was too short so I added a middle piece of leather and another row of stitching to make it look... well planned. I had to get creative with where to place and insert the rivets, but all in all what a fun little weekend project.
-
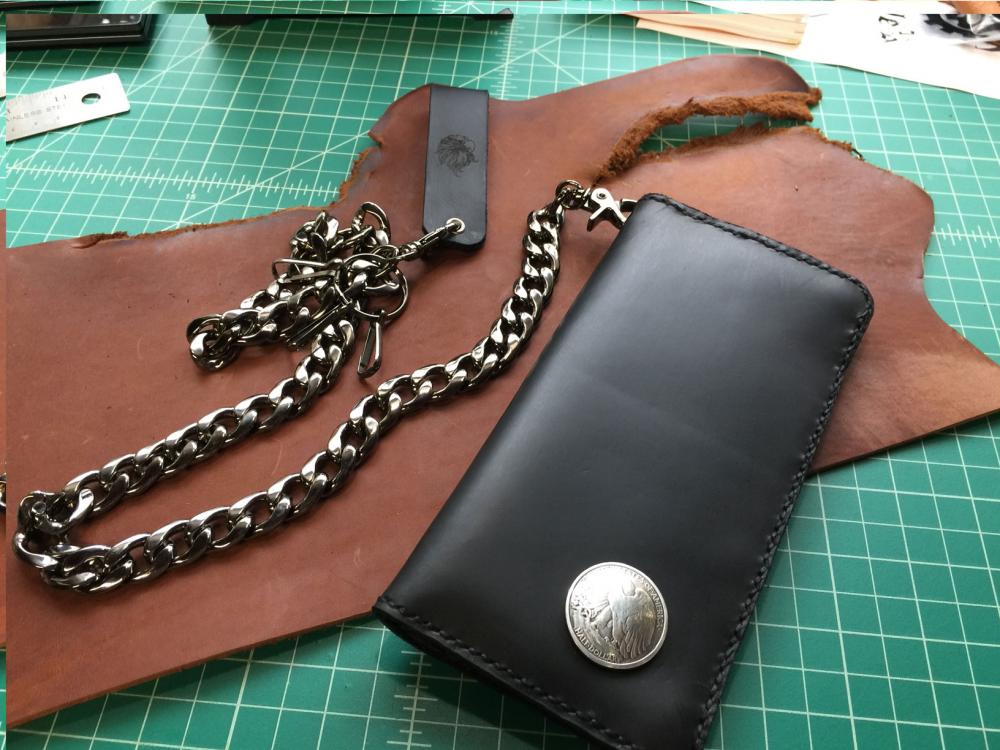
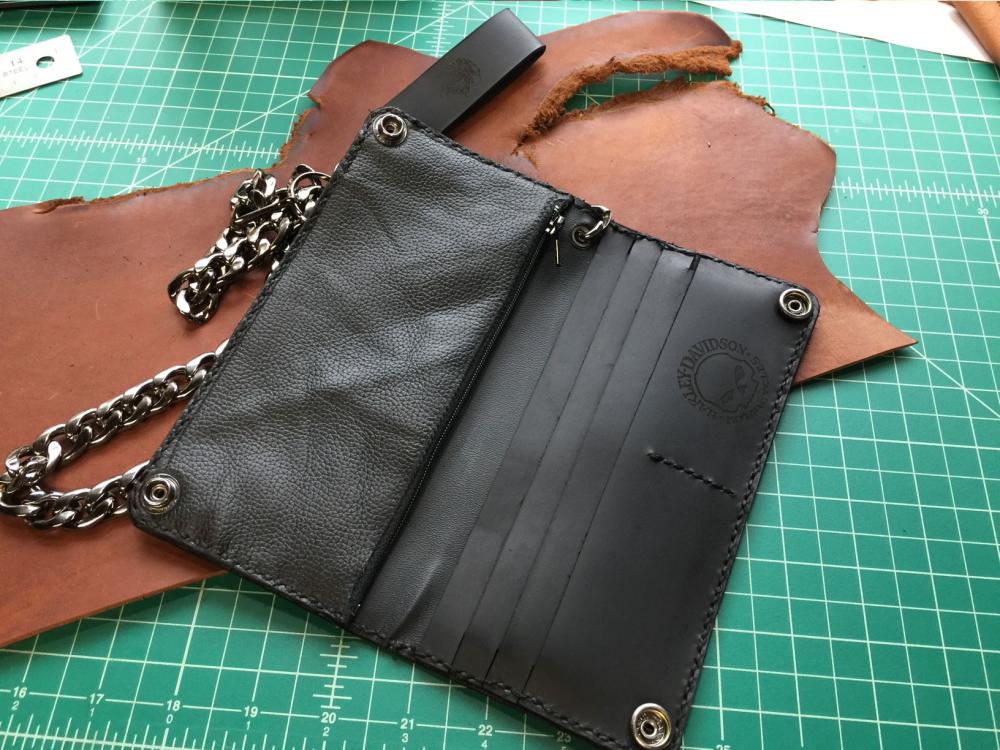
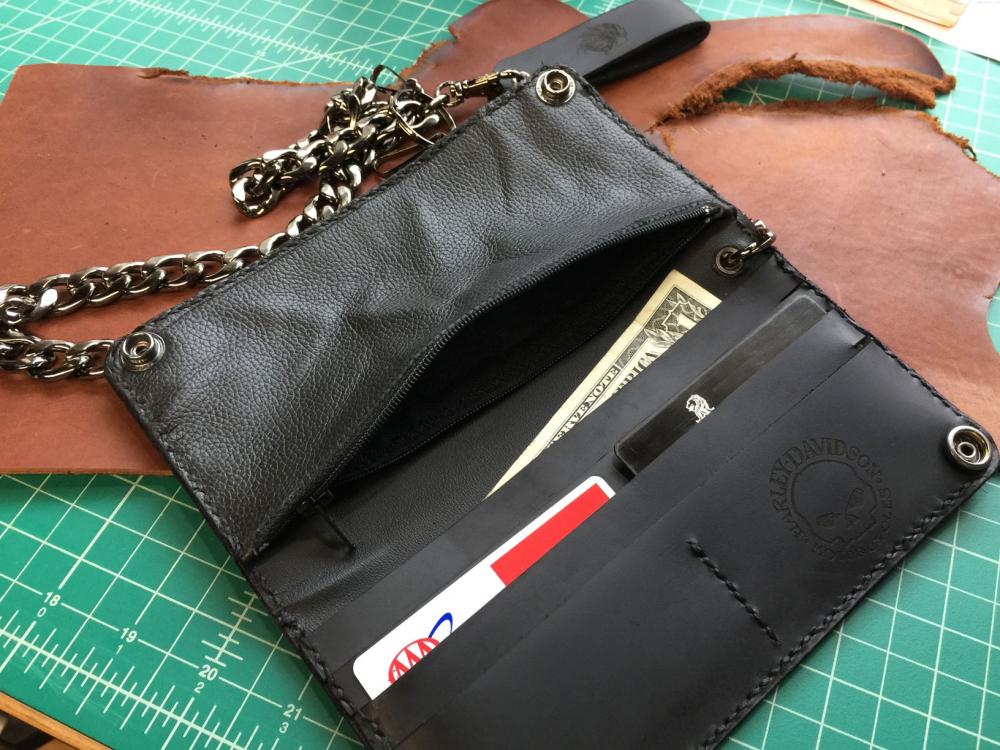
My first attempt at a biker style wallet. I'm only a couple months into the whole leather crafting and really enjoying it. I learned a lot from this project.
- 11 replies
-
- biker wallet
- wallet
-
(and 3 more)
Tagged with:
-
Hello all, It's been a while since I have been here to show some of my stuff, but since I am now (almost) done with my very first saddle (stirrups and breast collar are waiting to be done), I wanted to post some pictures of it here... I have chosen DVDs and books as sources, I've made my own patterns, and since almost every saddle over here is more for recreational riders than the hard working cowboy, I have made some decisions considering weight etc... The Saddle is made for my wife, it is all handstitched, it's got a 16" Seat, Small Skirts, inskirt rigging, and features a rather simple border tooling :-)... I've had some problems here and there, but all in all, for my first saddle I am very proud... Alltough I am a little bit scared; feel free to critique whatever you may find odd or "special"... haha :-) Thanks, Andy
- 6 replies
-
- saddlemaking
- first
-
(and 4 more)
Tagged with:
-
Hello All, This project is pretty much wrapped up now - Assembled this last night. I'd like to say thanks to all who helped me out on this project and to all who pointed out things I should do different next time - This forum/website has been the most valuable education tool to me so far... Now, I would like honest criticism from all of you saddle makers out there - I want to know what to do different /better next time. I am open to all critiques on fit, shape, function etc... A few things I have noticed: 1. Rear jockeys - Not tight enough - Didn't cut them deep enough so very hard to get them really tight. Next time will add 1/2" extra. 2. Rigging plates - Too round on front edge and too far up fork - not quite as clean as ideal @ front end. 3. Cheyenne roll - Stitching on back looks like hell. Need to really practice on that, 4. Rear rigging plate set too high. Caused issues with seat ear and saddle strings 5. 13" Wide cantle - Probably do a 12.5" or maybe even 12" next time. 5. Plug rigging plates next time to eliminate bump @ rigging plate. 6. Consider using 2.5" stirrup leathers. Here are the pics I snapped yesterday evening - Oil is still evening out. Once again, thanks to all who helped me on this! Kind Regards, Ron L
- 13 replies
-
- wade saddle
- first
-
(and 1 more)
Tagged with:
-
I am just starting my first saddle project... Tree: Timberline Wade - 15.5" finished seat, 13" cantle, 1.5" dish, Horn 3" x 4.25" cap @ 1.25" tilt - Bars set-up for typical Canadian ranch horse... Leather - Herman Oak Hardware - Stainless Steel from Sheridan leather I have attached a pic of the tree - What I would like to know for starters: I am trying to achieve the look / feel of the saddles you see Buck Brannaman riding - Really like how his horns are set-up - Sloping top, lots of diameter. This tree - Seems like there is a lot of undercut under the front of the top cap, a little more than I hoped for...Would there be anything wrong with cutting and skiving a piece in that woudld wrap around the front face of the horn post only to build it out? Nailed and glued of course? Would this be a bad idea? Basically it would reduce the undercut by 1/4" or so... How much undercut will dissapear once I finish this - wrapped in leather and then wrapped in 'mulehide'? Also, have read that some don't finish their horn posts in leather - They just use donut cap and proceed to finish wiith the horn wrap? Any comments on this? I'm inclined to think I want my horn post finished in leather and then wrapped in mule hide... On a horn this size - Cap and wrap or donut & filler - How to finish post with donut & filler? Any advice and comments will be appreciated! Also, a bit of background - Fairly new to leather work - Have built several pairs of tooled chaps / chinks, built rear cinches etc. Have all of Al Atohlmans saddle making books as well as Harry Adams, However, going to be using Steve Brewers ground seat techniques as they seem like a better way to go... My goal is to build a plain, smooth out working saddle - Be nice to have it ready for branding season.
-
I made my first wallet today, which is my second finished leather project to date. I designed It myself. I know it is nowhere near perfect, and I have learned a lot in the process, but I still have a few questions: Im pretty sure the reason why the dye on the edge transferred to the other side of the wallet on the inside is because I didnt do a final burnish with some gum trag (second picture). As far as I know that helps the dye from bleeding/transferring. Am I right? The wallet is really thick, probably because I used what I am assuming is around 3 oz leather (I dont have a thickness gauge, I should probably pick one up) It wont stay shut by itself. What oz leather do you think would be best for this style wallet? To finish the wallet, I applied a couple of coats of neatsfoot oil, then topped it off with 50/50 acryllic resolene (only on the outside), and then some obenaufs leather preservative(also only on the outside). However, I didnt do any of this until after I stitched it all together. Is that the recommended process, or should I have done something different? I dont really like the glossy looking finish you can see on the outside (you can see in the third picture). What do you think is giving it that look? I like leather that looks more satin than glossy. I also noticed the color on the backside has a slightly pinkish hue. Is there anyway to remedy that without using dye? I know, I ask a lot of questions. I am a perfectionist, and as you can probably guess, I am pretty frustrated with the outcome of this wallet. Thanks! Zayne
-
Hi Everyone, it is really amazing how much knowledge are shared on this forum! I have found that there are a number of master craftsmen here who are more than willing to share their experience and help newbies out. People are so active and helpful, which really surprised me! So even though I am also a newbie here, I've decided to share my very limited knowledge. My friends have given many good comments to my first wallet made, and they asked me about how I made it, so I registered a blog and wrote a tutorial there. , Hope it could be a little bit helpful for other starters. I've shown all the leather, thread, tools, dyes and finishes that I used in the process. Okay, here is the link to it http://minimalistleather.wordpress.com/2014/01/27/how-to-make-a-leather-wallet/ Feel free to give it a glance. Ask any questions you have, I'd be happy to answer. Please also leave your comments if there are some places need improvement. Thanks!
-
Hi all, Thought I would introduce myself. I'm a scot living in Wales and, like a lot of people in the forum, I took up this craft whilst recovering from a visit to hospital. I bought a starter kit from Tandy and completed the projects in that during my recover period. I really enjoyed it and like other people have said, it is quite relaxing (except when I make a mistake I can't cover up;-) ). Unfortunately, at the start of this year I had to have my dog put to sleep so in memory of him the very first piece I designed and created is a wallet with his profile as attatched. I looks better in real life, It's quite plain when compared to the real crafters on here. Any comment please go ahead, I thirst for knowledge on this.
-
I just finished making this pattern, Then I realized, Whats the point of making a pattern and not sharing it with everyone. I hope you guys enjoy the pattern and make some use of it. A small side note, I did not include how to fasten this mask to your face. I will leave that part open-ended. Because there is no correct way to do so. Also, I had to upload as a PNG. Guess they dont like use sharing vector files... Even though that would make this all so much easier.
- 3 replies
-
- mask pattern free
- mask
- (and 4 more)
-
I was looking for a good project to use my newly acquired tools on and I thought I should solve a problem with the problem itself. So I have sewn normally for some time but use a tomato thingy for my needles normally but these big leather ones need their own holder. Inspired by another pouch I saw on a website for leather goods. Colors are pretty close in photos, natural finish. Learned a ton for my next go around, mainly in how to stitch and how to cut in a straight line.


