All Activity
- Past hour
-
I see reference in posts from ten years ago for how to become a contributing member, but none recently. The curious mind wants to know: What are the monthly hosting costs How much advertising revenue comes in monthly How much donation/subscription revenue comes in monthly How does one become a contributing member
-

Edge beveling 101
Cumberland Highpower replied to ThisIsMyFirstRodeo's topic in Leatherwork Conversation
I guess that makes sense. I don't have much experience working bellies so never thought about it. I usually just throw away bellies or sell them for a few bucks a piece when I accumulate a pile. - Yesterday
-
Welcome to the site Do share photos of your finds with us Somebody on here may be able to help with information about your finds
-
I have seen that advice a couple times with no reason given to back it up. The flesh side can be a little harder to bevel sometimes because of the stringier fibers, but that shouldn't matter in what order you do it as long as your edger is sharp.
-
Some parts of the hide, like the belly, are softer on the flesh side and beveling just won't work well but then its not needed due to the softness.
-
IT depends on the look you want or the construction. If you are gluing two pieces together, then only the outside edges gets beveled so that it glues up flush. A welt doesn't get beveled at all. A one-piece belt gets both sides beveled. You can bevel the edges round or more square, also, depending on the use or the look of the product you are making. Nothing is really written in stone about how you make the edges.
-
Very nicely done. kgg
-
Thanks!
-
Sound like it was wax hardened and the excess wax is rising to the surface. Play a hand-held hair-dryer on heat over the surface and rub/buff at the same time. See if that cures it
-

Stirrup bar rivets
Mulesaw replied to Kbeldam's topic in Saddle Identification, Restoration & Repair
@Kbeldam I can't say for sure, but I am pretty sure that they are either #9 or #12. I am uncertain if the rivets are iron or copper, so you just have to substitute 1:1 You can measure the diameter of the hole in the stirrup bar, and that should be the diameter of the rivet. I would guess that you need a rivet that is at least 3/4" long, given that it has to go through the tree and the stirrup bar, but again that is something that you can measure. Without having seen your saddle, I am more worried about why it came loose in the first place? To my knowledge it isn't a common thing to come loose, so please check the tree very carefully to see that there isn't a crack of some other damage that has caused the stirrup bar to come loose. The stirrup bars carry a lot of weight, so if one fails e.g. during a jumping competition, someone might get hurt. Do you have a picture of the saddle with the tree exposed that you could post? Brgds Jonas -
Looks very good. I like the diamond shaped strap holders. They are a really nice touch. Brgds Jonas
-
 acem77 joined the community
 -
Hello, I am scuba diver that discovered a debris field of a ship accident. I have been finding a lot of cobbler tools. Thos has lead me to your post. Would you be interested in assisting me identify some of my items. I have found a few of the items you posted here. I just found a "Cobbler’s Leatherworking Brass Welt Mill" with what looks to be "Davies & Jupp" on the side. I found info on Jupp London online but not Davies. I assume it's the same lineage. If needed i can create an account to share more info. Thanks
-

How to prevent posts from being merged
friquant replied to friquant's topic in Feedback and Suggestions
Whoo whoo! Two minutes...I'll get my egg timer 😀 -
Edge beveling 101
Cumberland Highpower replied to ThisIsMyFirstRodeo's topic in Leatherwork Conversation
Really probably not a big deal either way? I'd maybe guess it has something to do with marring the leather edge on the grain side? Especially if you're edging damp leather. -
Okay I see, thanks!
-

Newly crafted set of saddle bags
BlackDragon replied to Wildwest2029leathercraft's topic in Show Off!!
I going to comment on pricing but not the saddle bag itself since this isn't the "Critique My Work" section. Generally speaking I price items based on cost of materials, my time, shop costs, and locality. They look like swing arm bags but I can't tell the size of the bags. I'm going to guess at 12" wide? I round up to the nearest sqft. So if something is 1' x 6" I count it as 1 sqft. 1sqft front, 1sqft back, 1sqft gusset, 1sqft lid. add your thread, glue, dye, hardware, etc. What does it cost to run your shop? Rent, electricity, water, insurance, etc. I'll take those costs and go up to triple. So if all the costs add up to $50 it'll be at $150 Now add in your time. Lets say it took you 8hrs. What are you paying yourself $8hr or $40? This is going to depend on your experience. Hopefully the more experience you have the higher quality you're producing. You'll have to also decide what are the going prices in your area? If the max for a custom leather bag is $300 you're probably not going to get more than that, unless you're selling online and have a broader reach. Sometimes I'll make deals with people. If they buy several pieces I may do I group price. Or if they are veterans, LEO, paramedics, FD I'll knock 10% of the price. -
a picture is worth a thousand words🙂
-
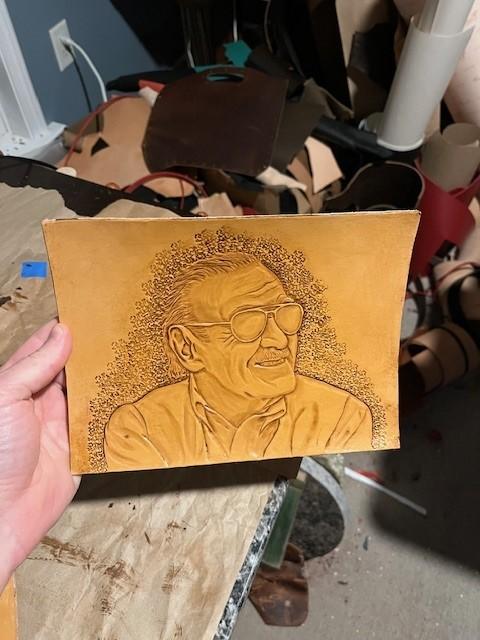
Added the high-lite stain from eco flo. Gave decent contrast with the background.
-

Newly crafted set of saddle bags
DocReaper replied to Wildwest2029leathercraft's topic in Show Off!!
I really have to ask if you ride a motorcycle yourself, how would the bags mount on the bike (picture says bolt on) do you have the hardware for a specific bike?? Is there anything supporting the structure of the bags so they don't collapse? what weight is the leather itself? How much weight can each bag hold repeatedly and still look like they do from day one? Don't hate me for this - the buckles need to be a bit more masculine, I would of went with a wider strap with a roller buckle! how big are these bags? Are they made for an electric bicycle or a motorcycle (gotta ask)? We are 3 hours of each other, I do bike week on occasion. I direct messaged you. -
 wjw joined the community
 -
I have an old set of hardened leather armor. It has developed a white film on top. How do I recondition it to remove it? I am thinking it needs to be re-heated, but I do not know the temperature or for how long. Thank you for the help!
-
That's what the factory recommends BUT if you do it the rings might get gunked up with carbon & start using alot of oil. Then you'll have to look for a video on Youtube on how to repair it.
-
I have no idea what the market is for saddle bags but pricing is a constant problem for the hobbyist turning pro. Price them to pay yourself a fair wage, make a profit on materials, cover your overhead and turn a profit for the business. I'm definitely interested in how this goes for you.
-
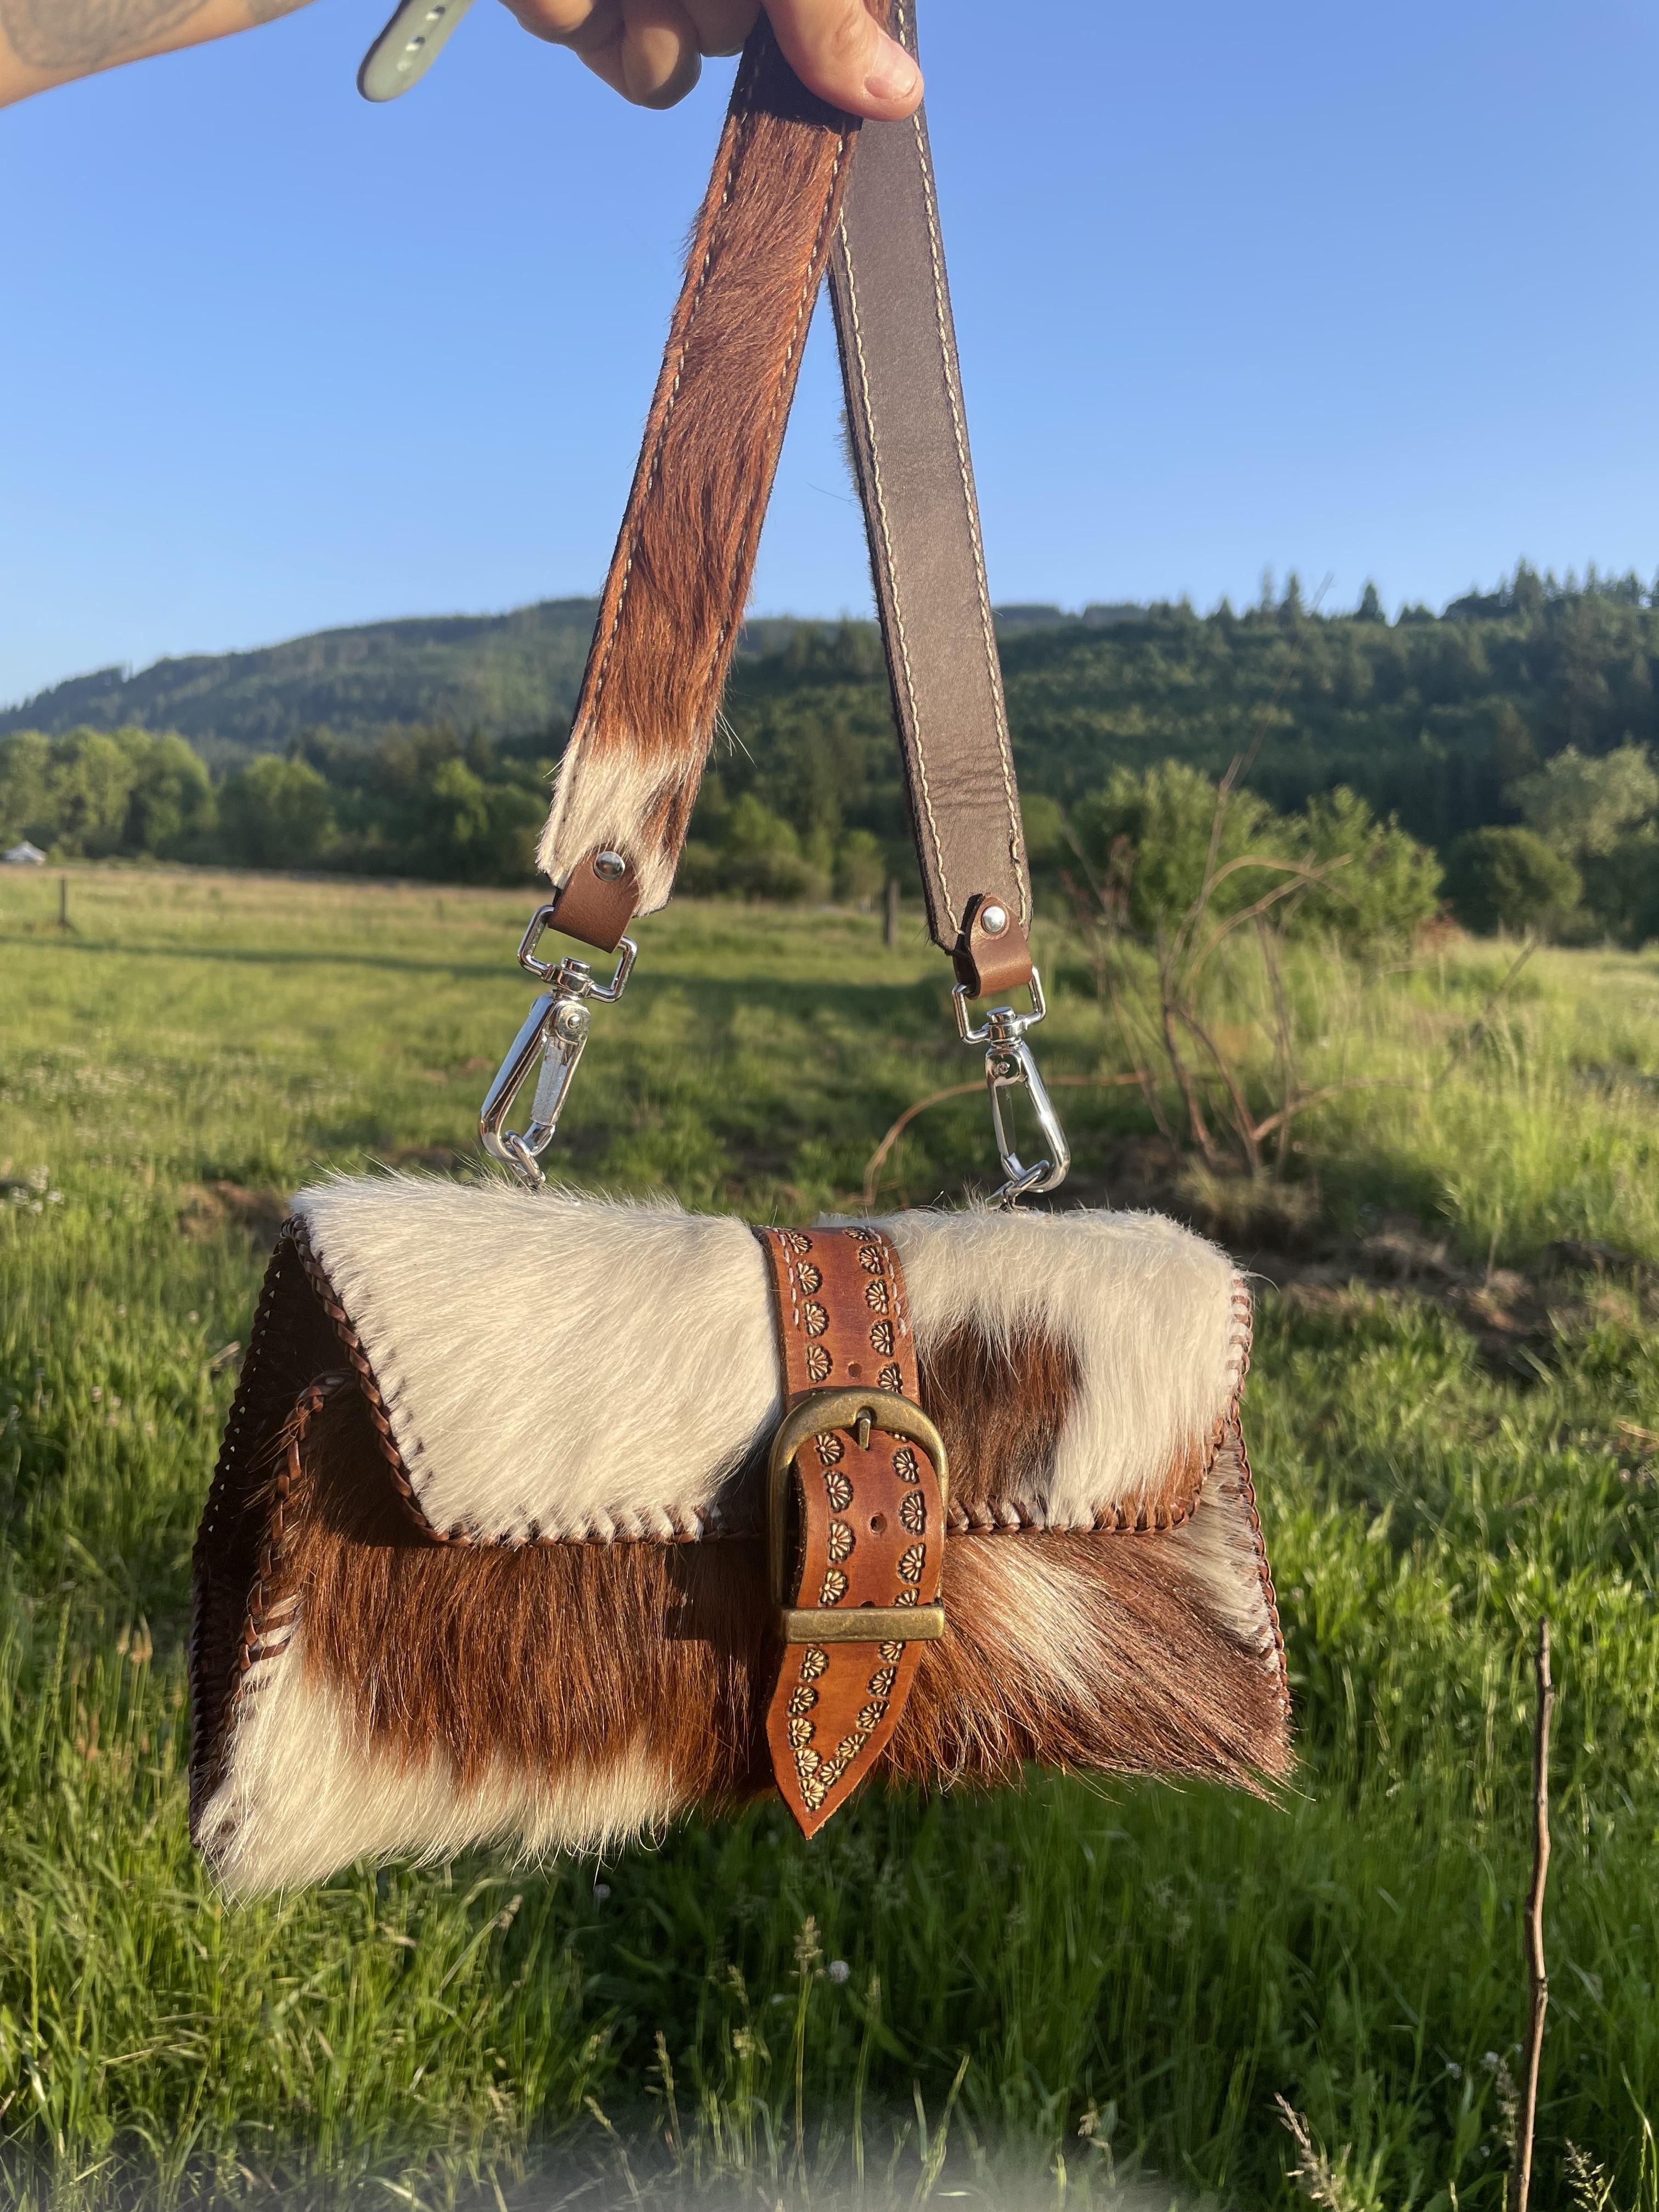
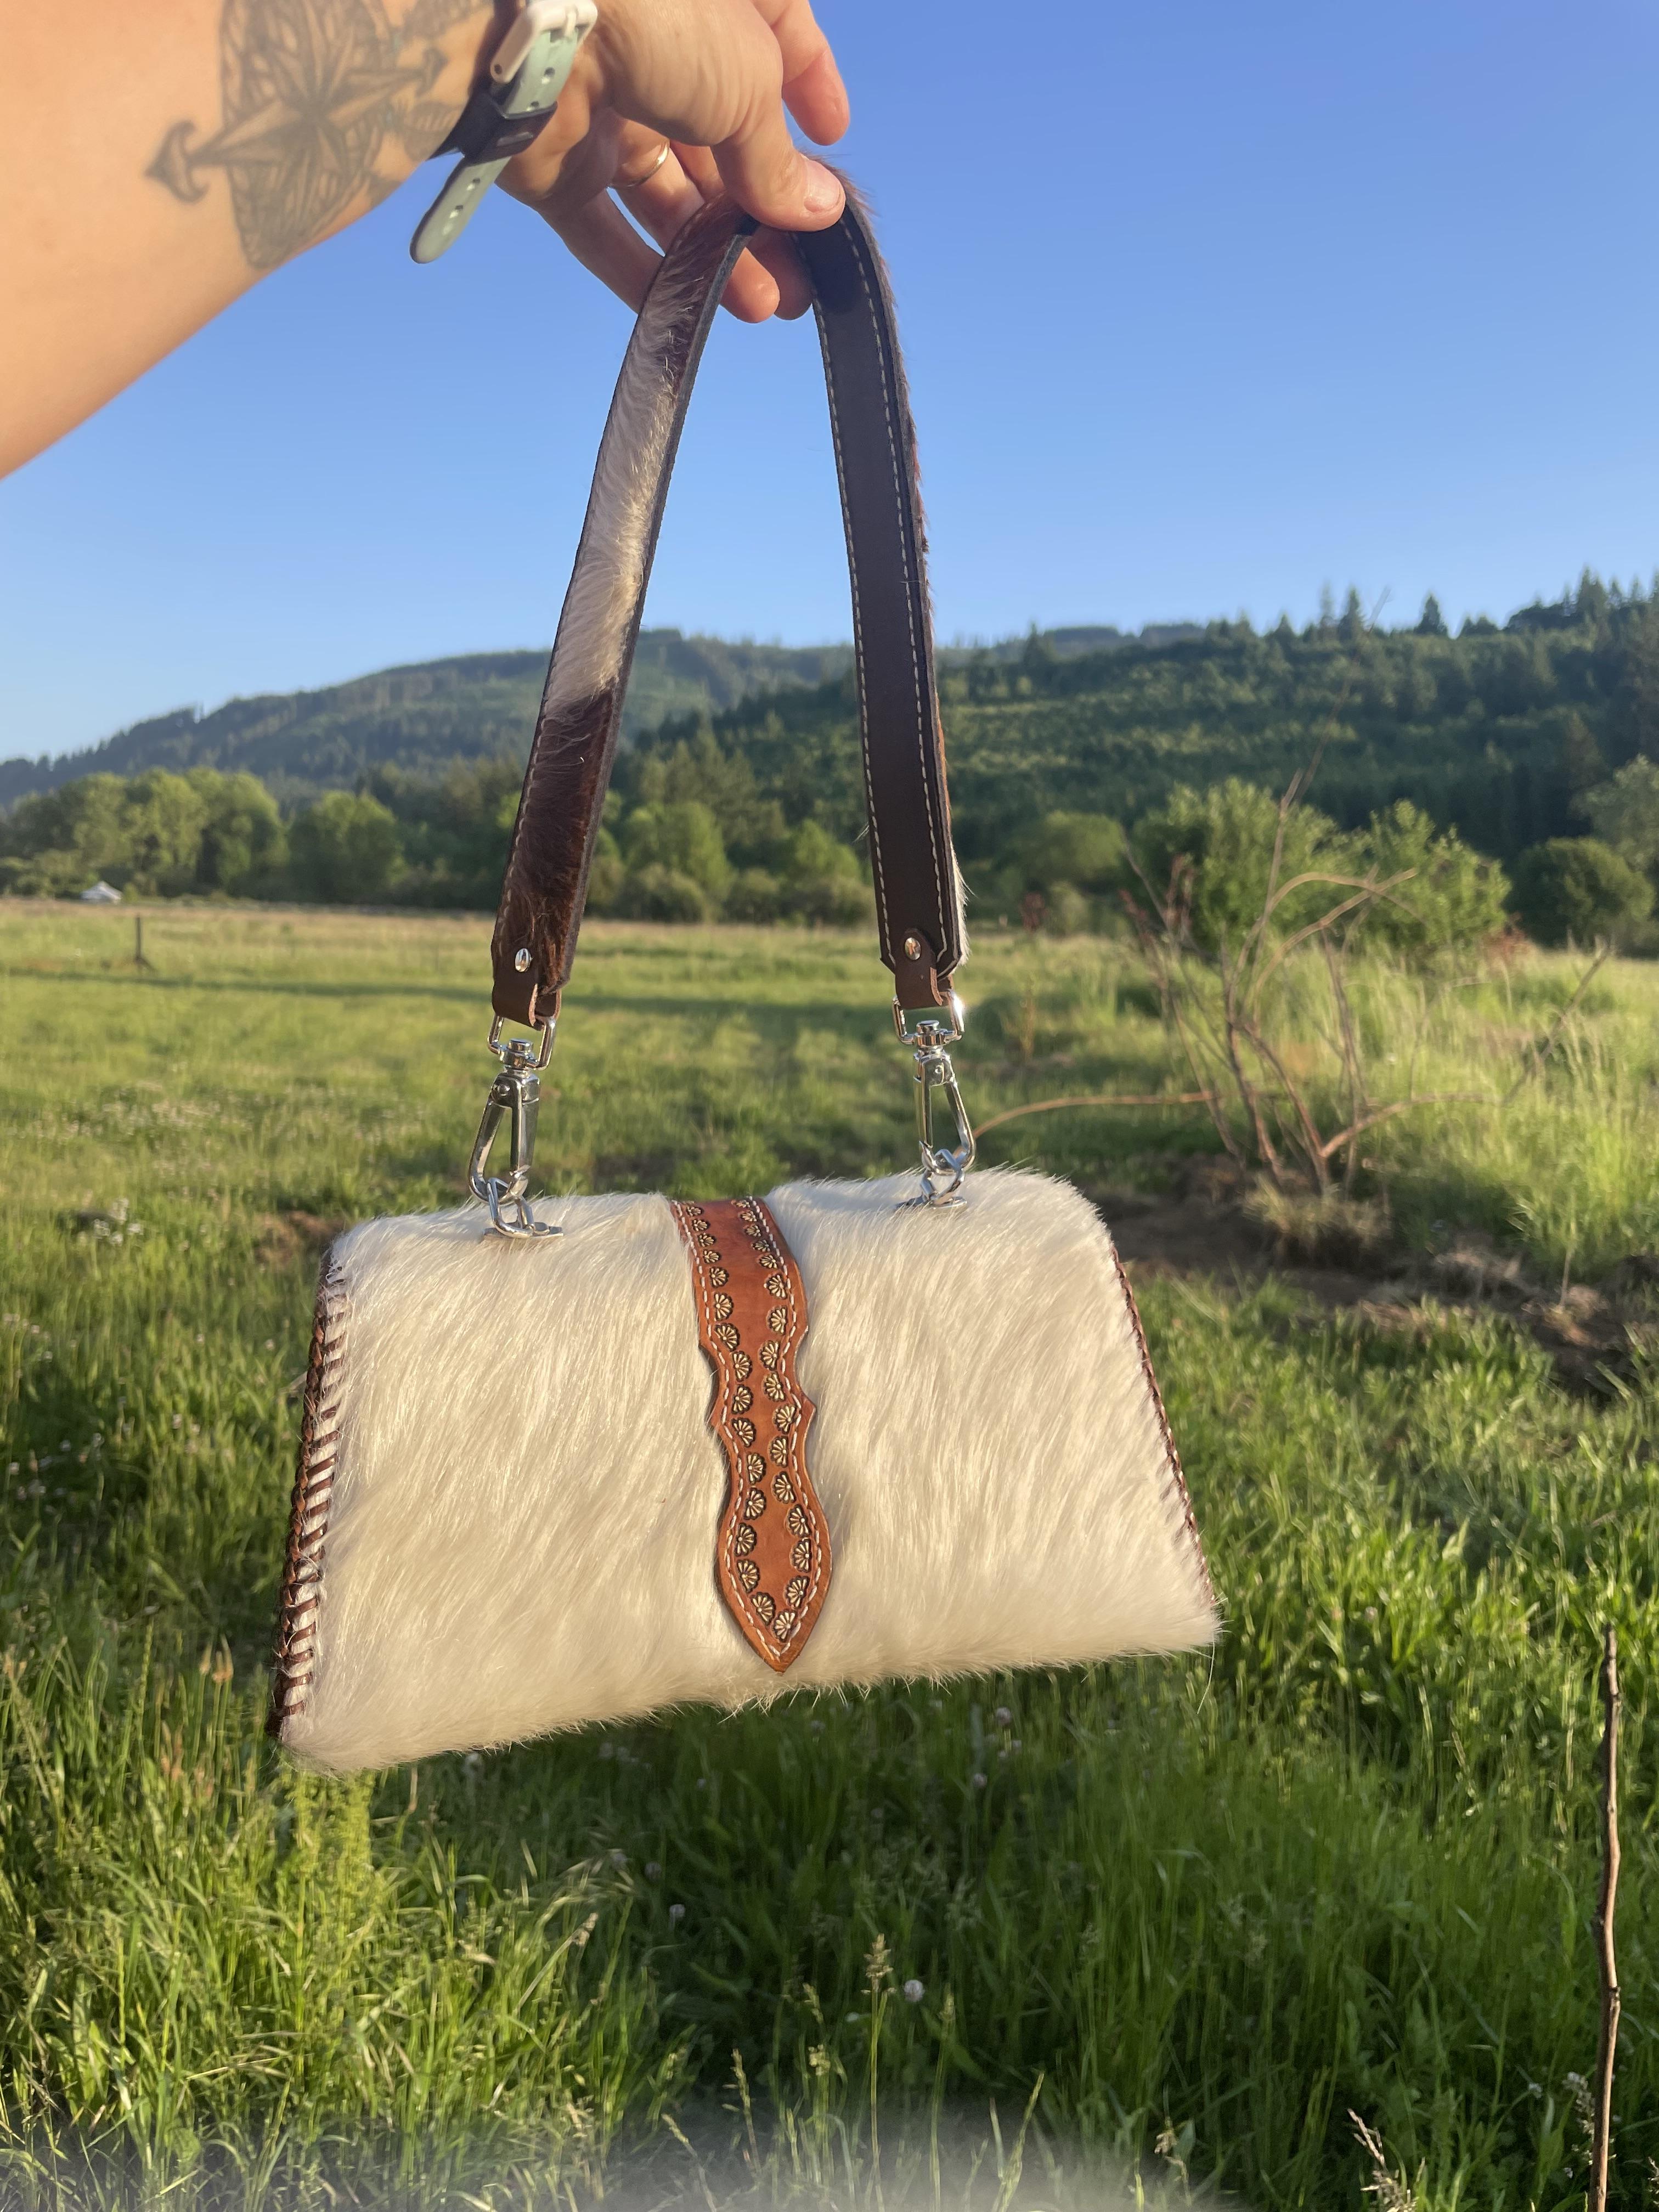
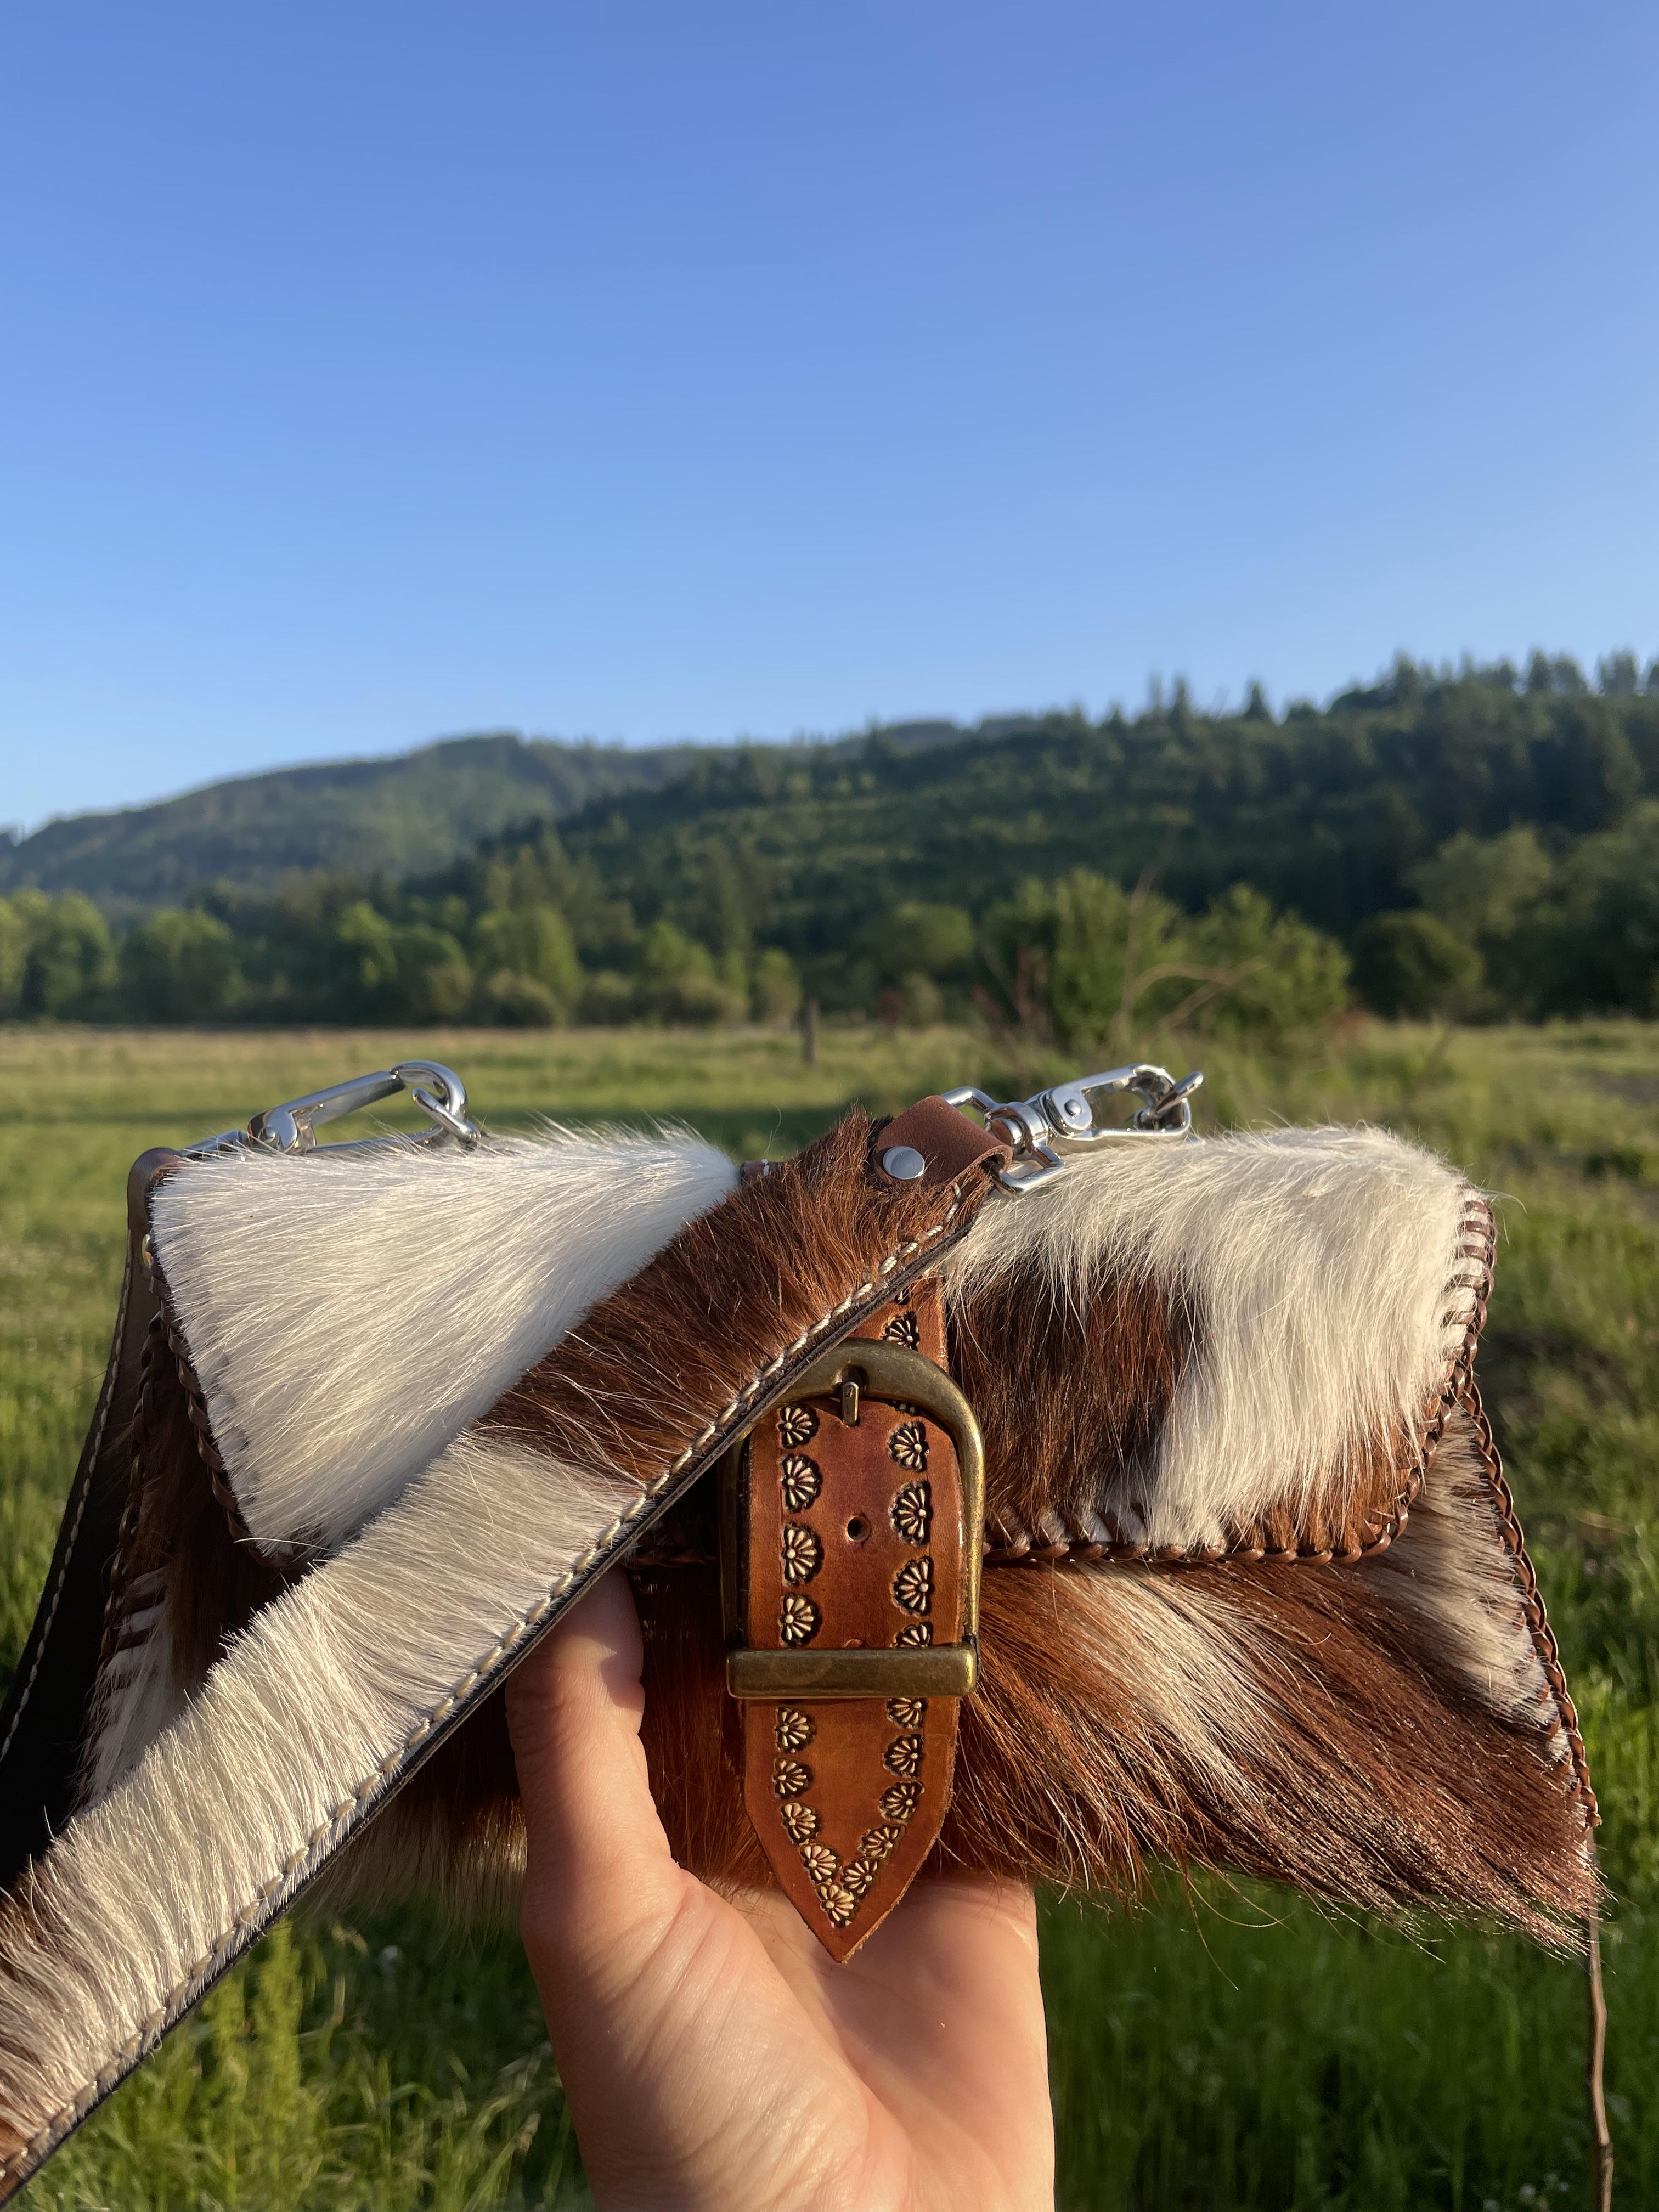
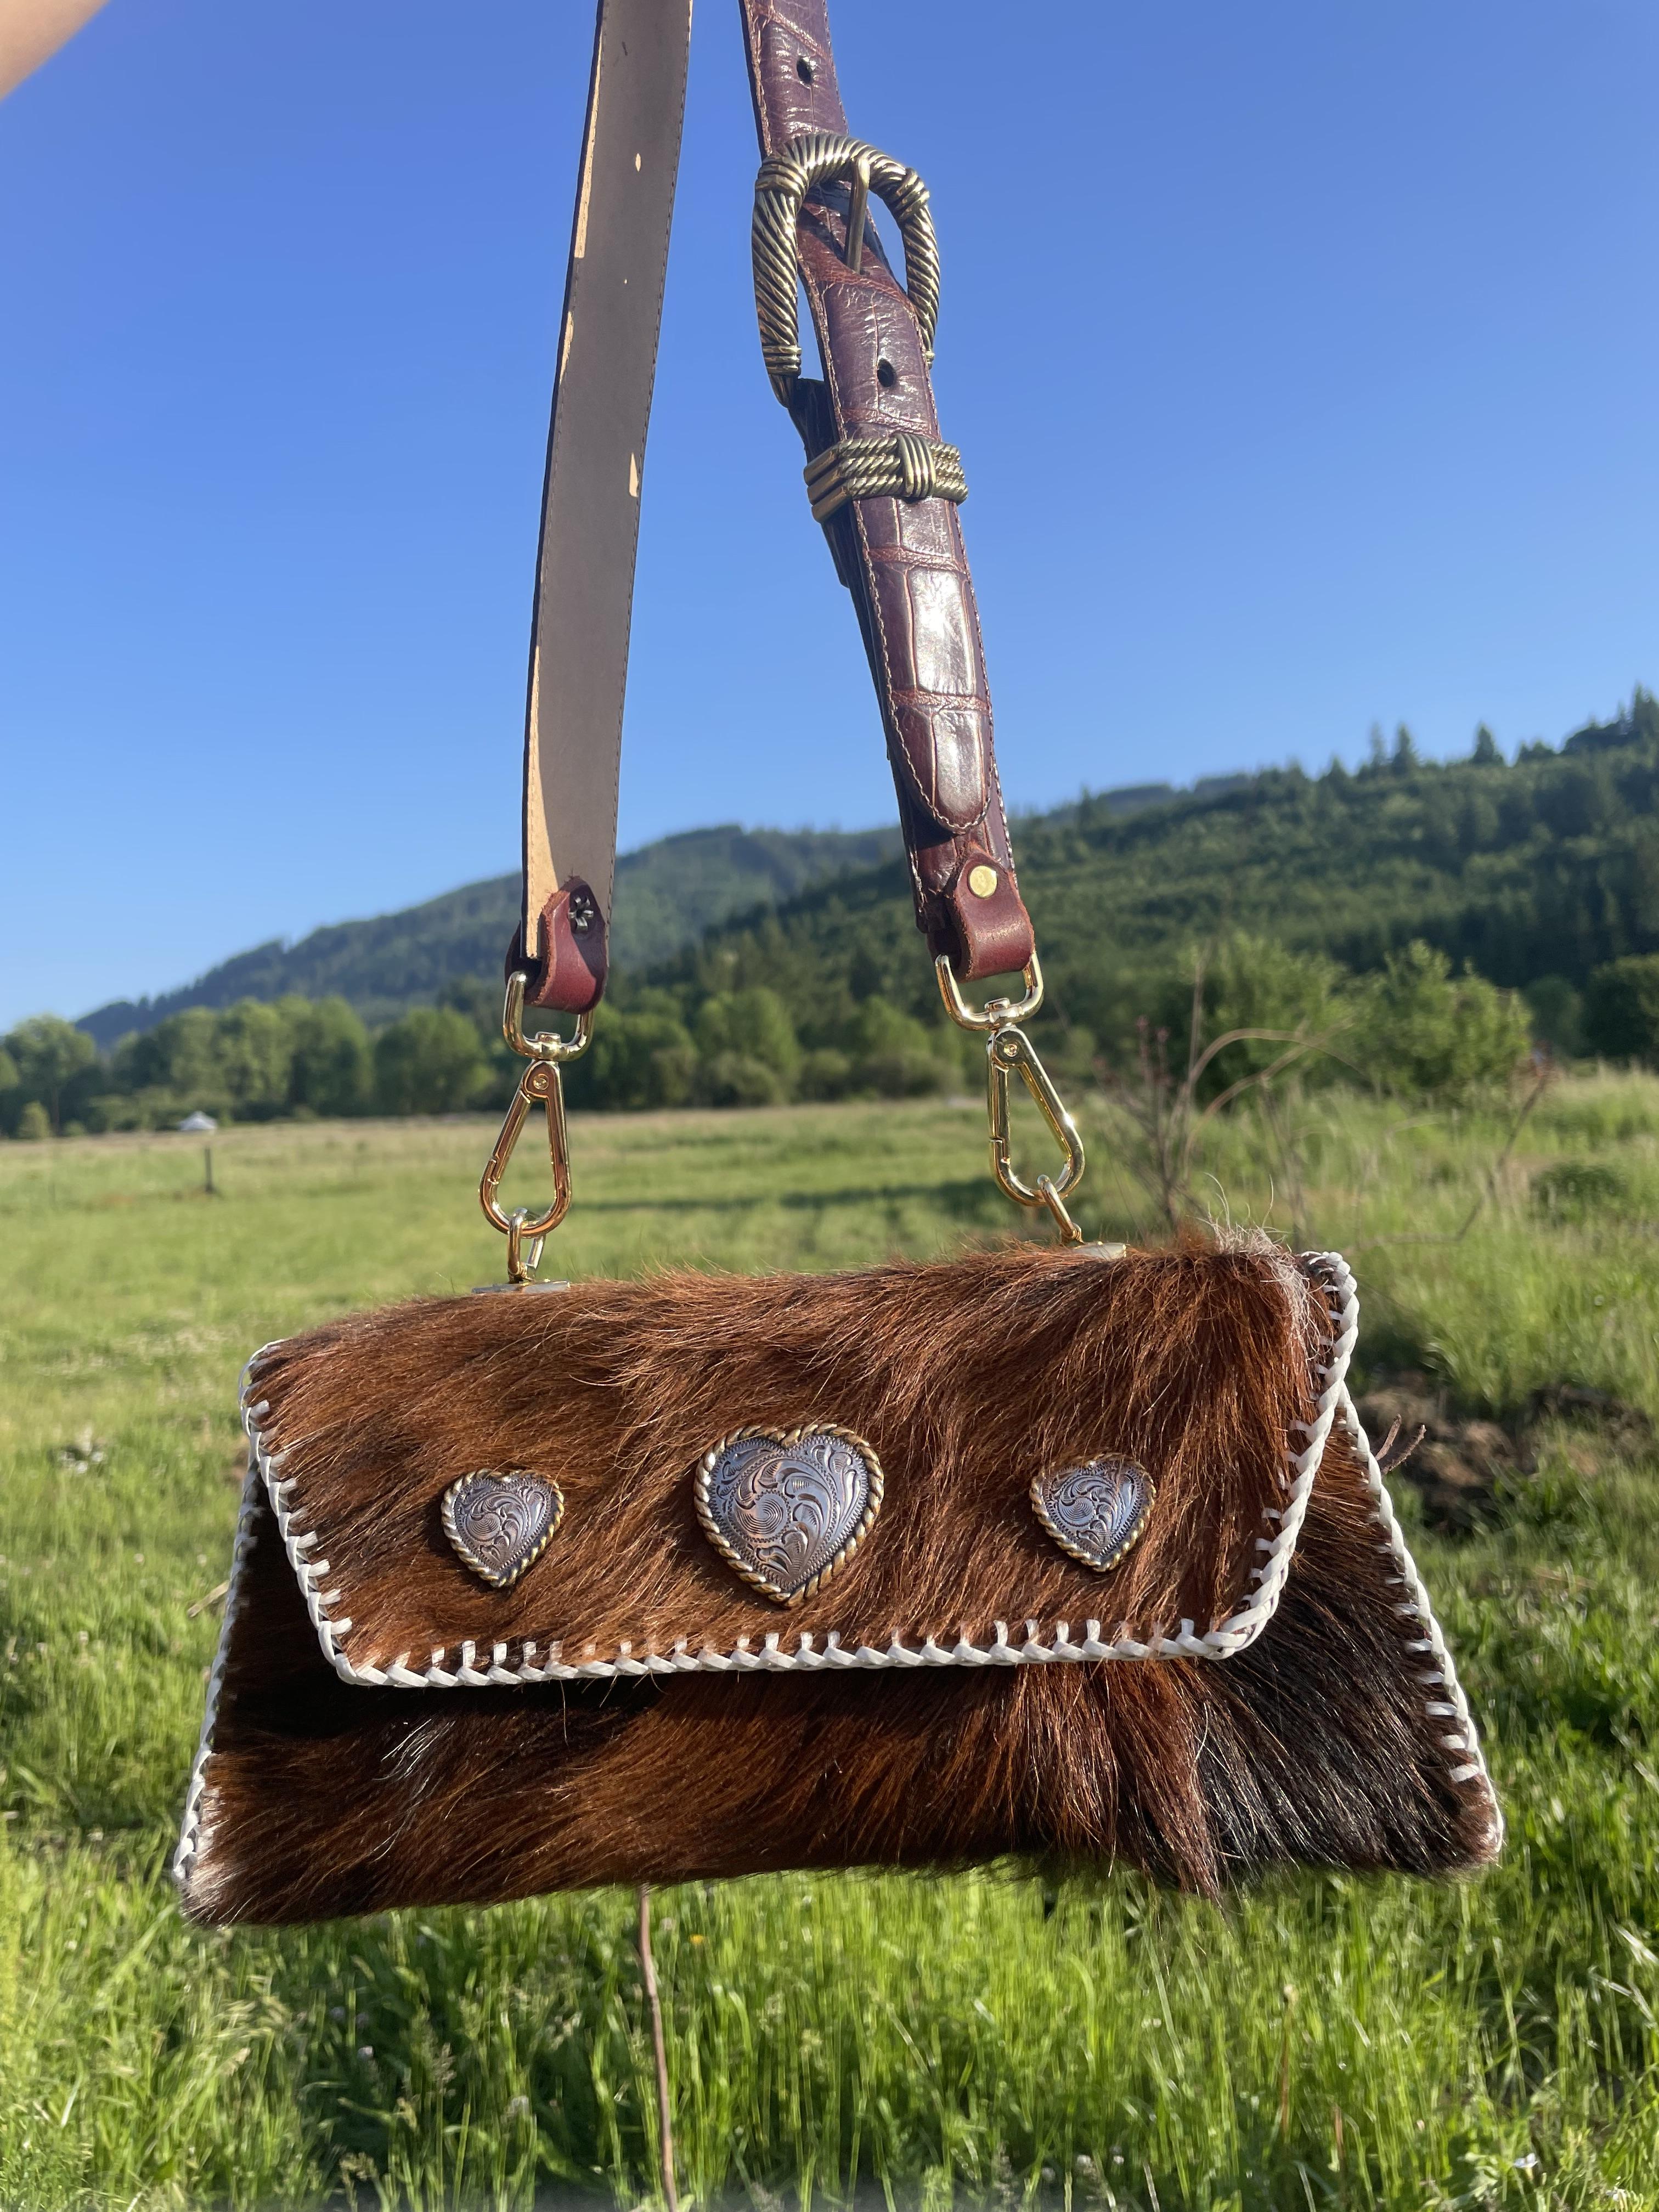
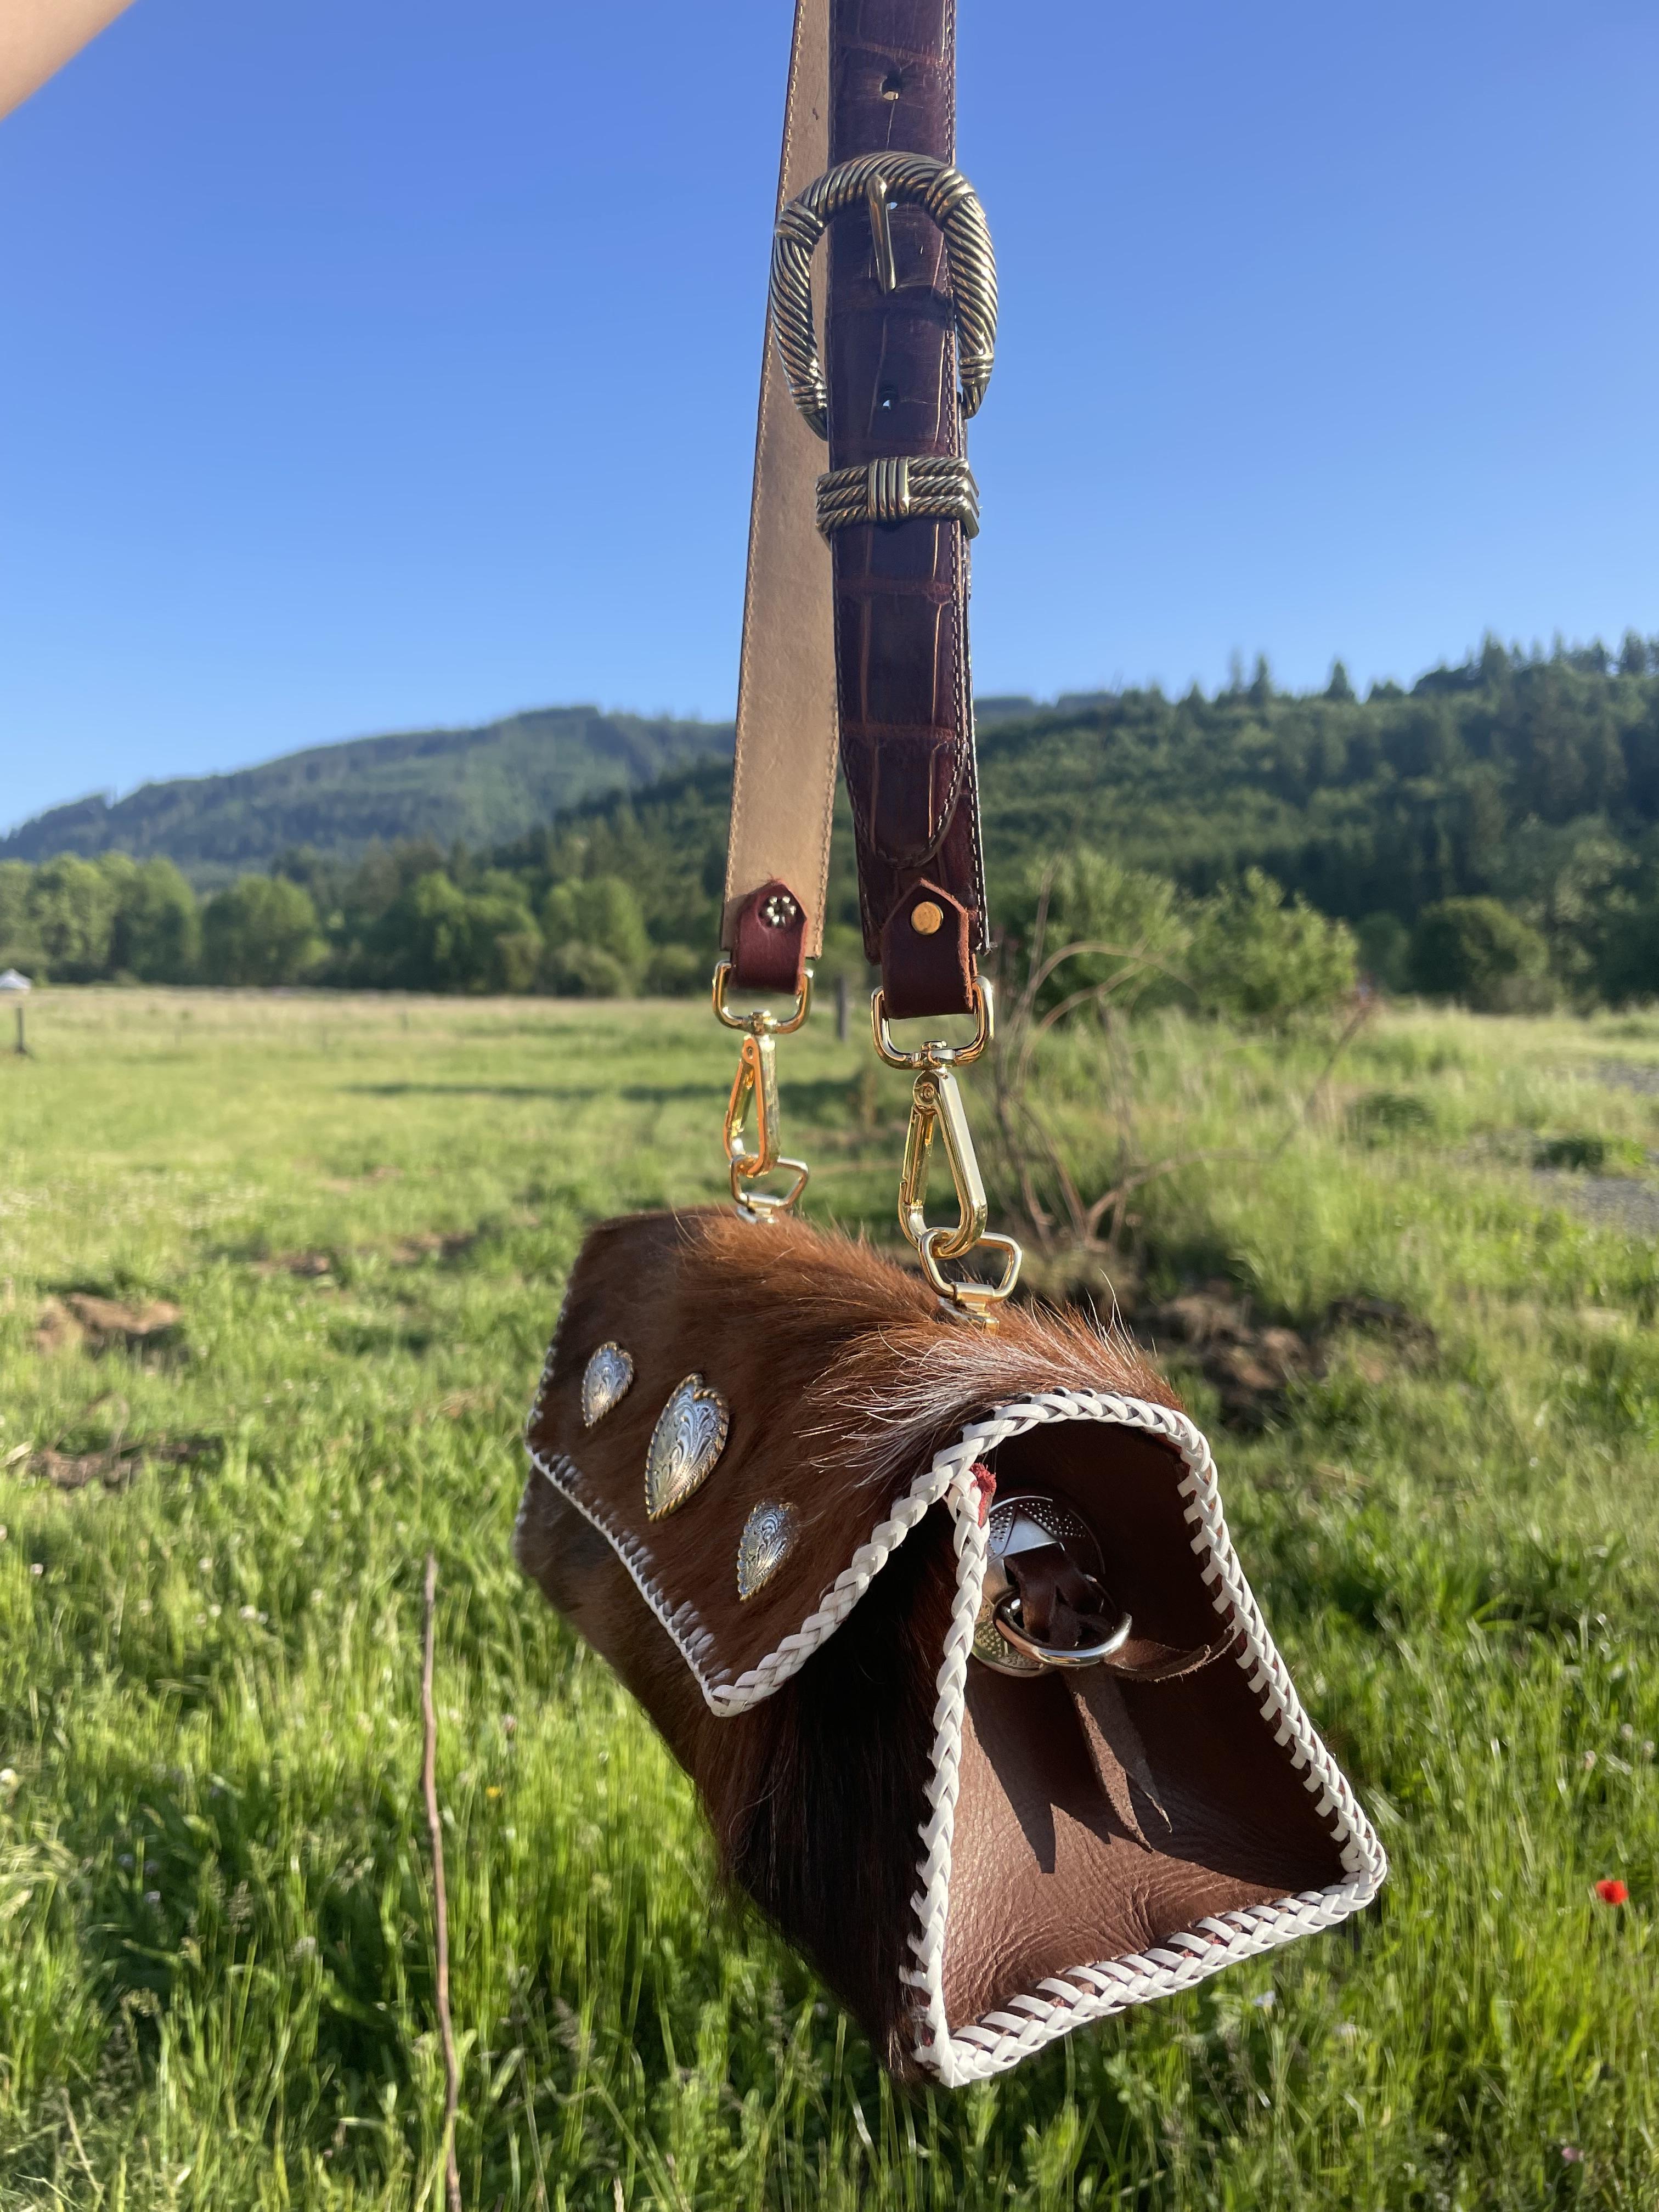
This is a purse pattern from an old Tandy pattern pack - the “ranchero” Used some brown/white Hair on hide. One has a matching strap, one has a reworked Brighton belt for a strap. Great size for a small bag and loved the structure of it. Definitely need to play around with some stiffener. also learned my lesson the hard way re; lacing direction on HOH
-
I rarely bevel the flesh side unless it's heavy leather like 5mm harness vt. I regularly bevel the grain side on most projects ,and fancy belts, but i dont bevel the plain belts as there are so many . HS
-
First, welcome to the forum :-) I have no clue what price you can command for the saddle bags, since it varies greatly from country to country. But take into account that if you sell it for XX $, and suddenly a friend of the person who bought them wants a set just like it, then you either need a good excuse like familiarly price or similar to not sell a set for the same amount to he next person. And if you think that would be to little, well - then you should sell the first set for more. (I hope it makes sense). Critique: There are a few places on the front and back panels that show the light coloured inside. Those would benefit form some black colouring (like your edge paint). The inside of the lid flaps, could also be painted, but that is just a more of a personal choice. I can't see how the bags should be attached to the bike (I'm assuming they are for the triangle near the rear wheel). This could be something that you have already discussed with the buyer, so it might not be a big deal. But if they are to be fixed with some sort of strap, then I'd attach two pieces on the back of each bag that the straps can go through. The stamp pattern looks good to me, and I like that it is only on the front panel, it gives a visual interest compared to if it was all over the bag. I like that the diagonal cut of the closing straps is mirrored, not that anyone would see the bike from both sides at the same time, but it shows that you have thought about it. Brgds Jonas