All Activity
- Past hour
-
Beautiful work!
-
I made a set a few years ago. 12x12x4 Funny how I never seem use them? They just sit here over the back of my couch on display. I planned to hang them over the seat in my truck but figure someone might break my window to steal them?
-
I don't understand your question. Are looking to purchase this class of machine or ???? As a note the Class 18 is a clone of the Juki DNU-1541S and if you want quality build and stitch wise by a Juki but they are going to be expensive. If you looking to buy a machine what are you planning on sewing, thread size, thickness of material??? kgg
- Today
-
Great job Phil. Must've taken a while.
-
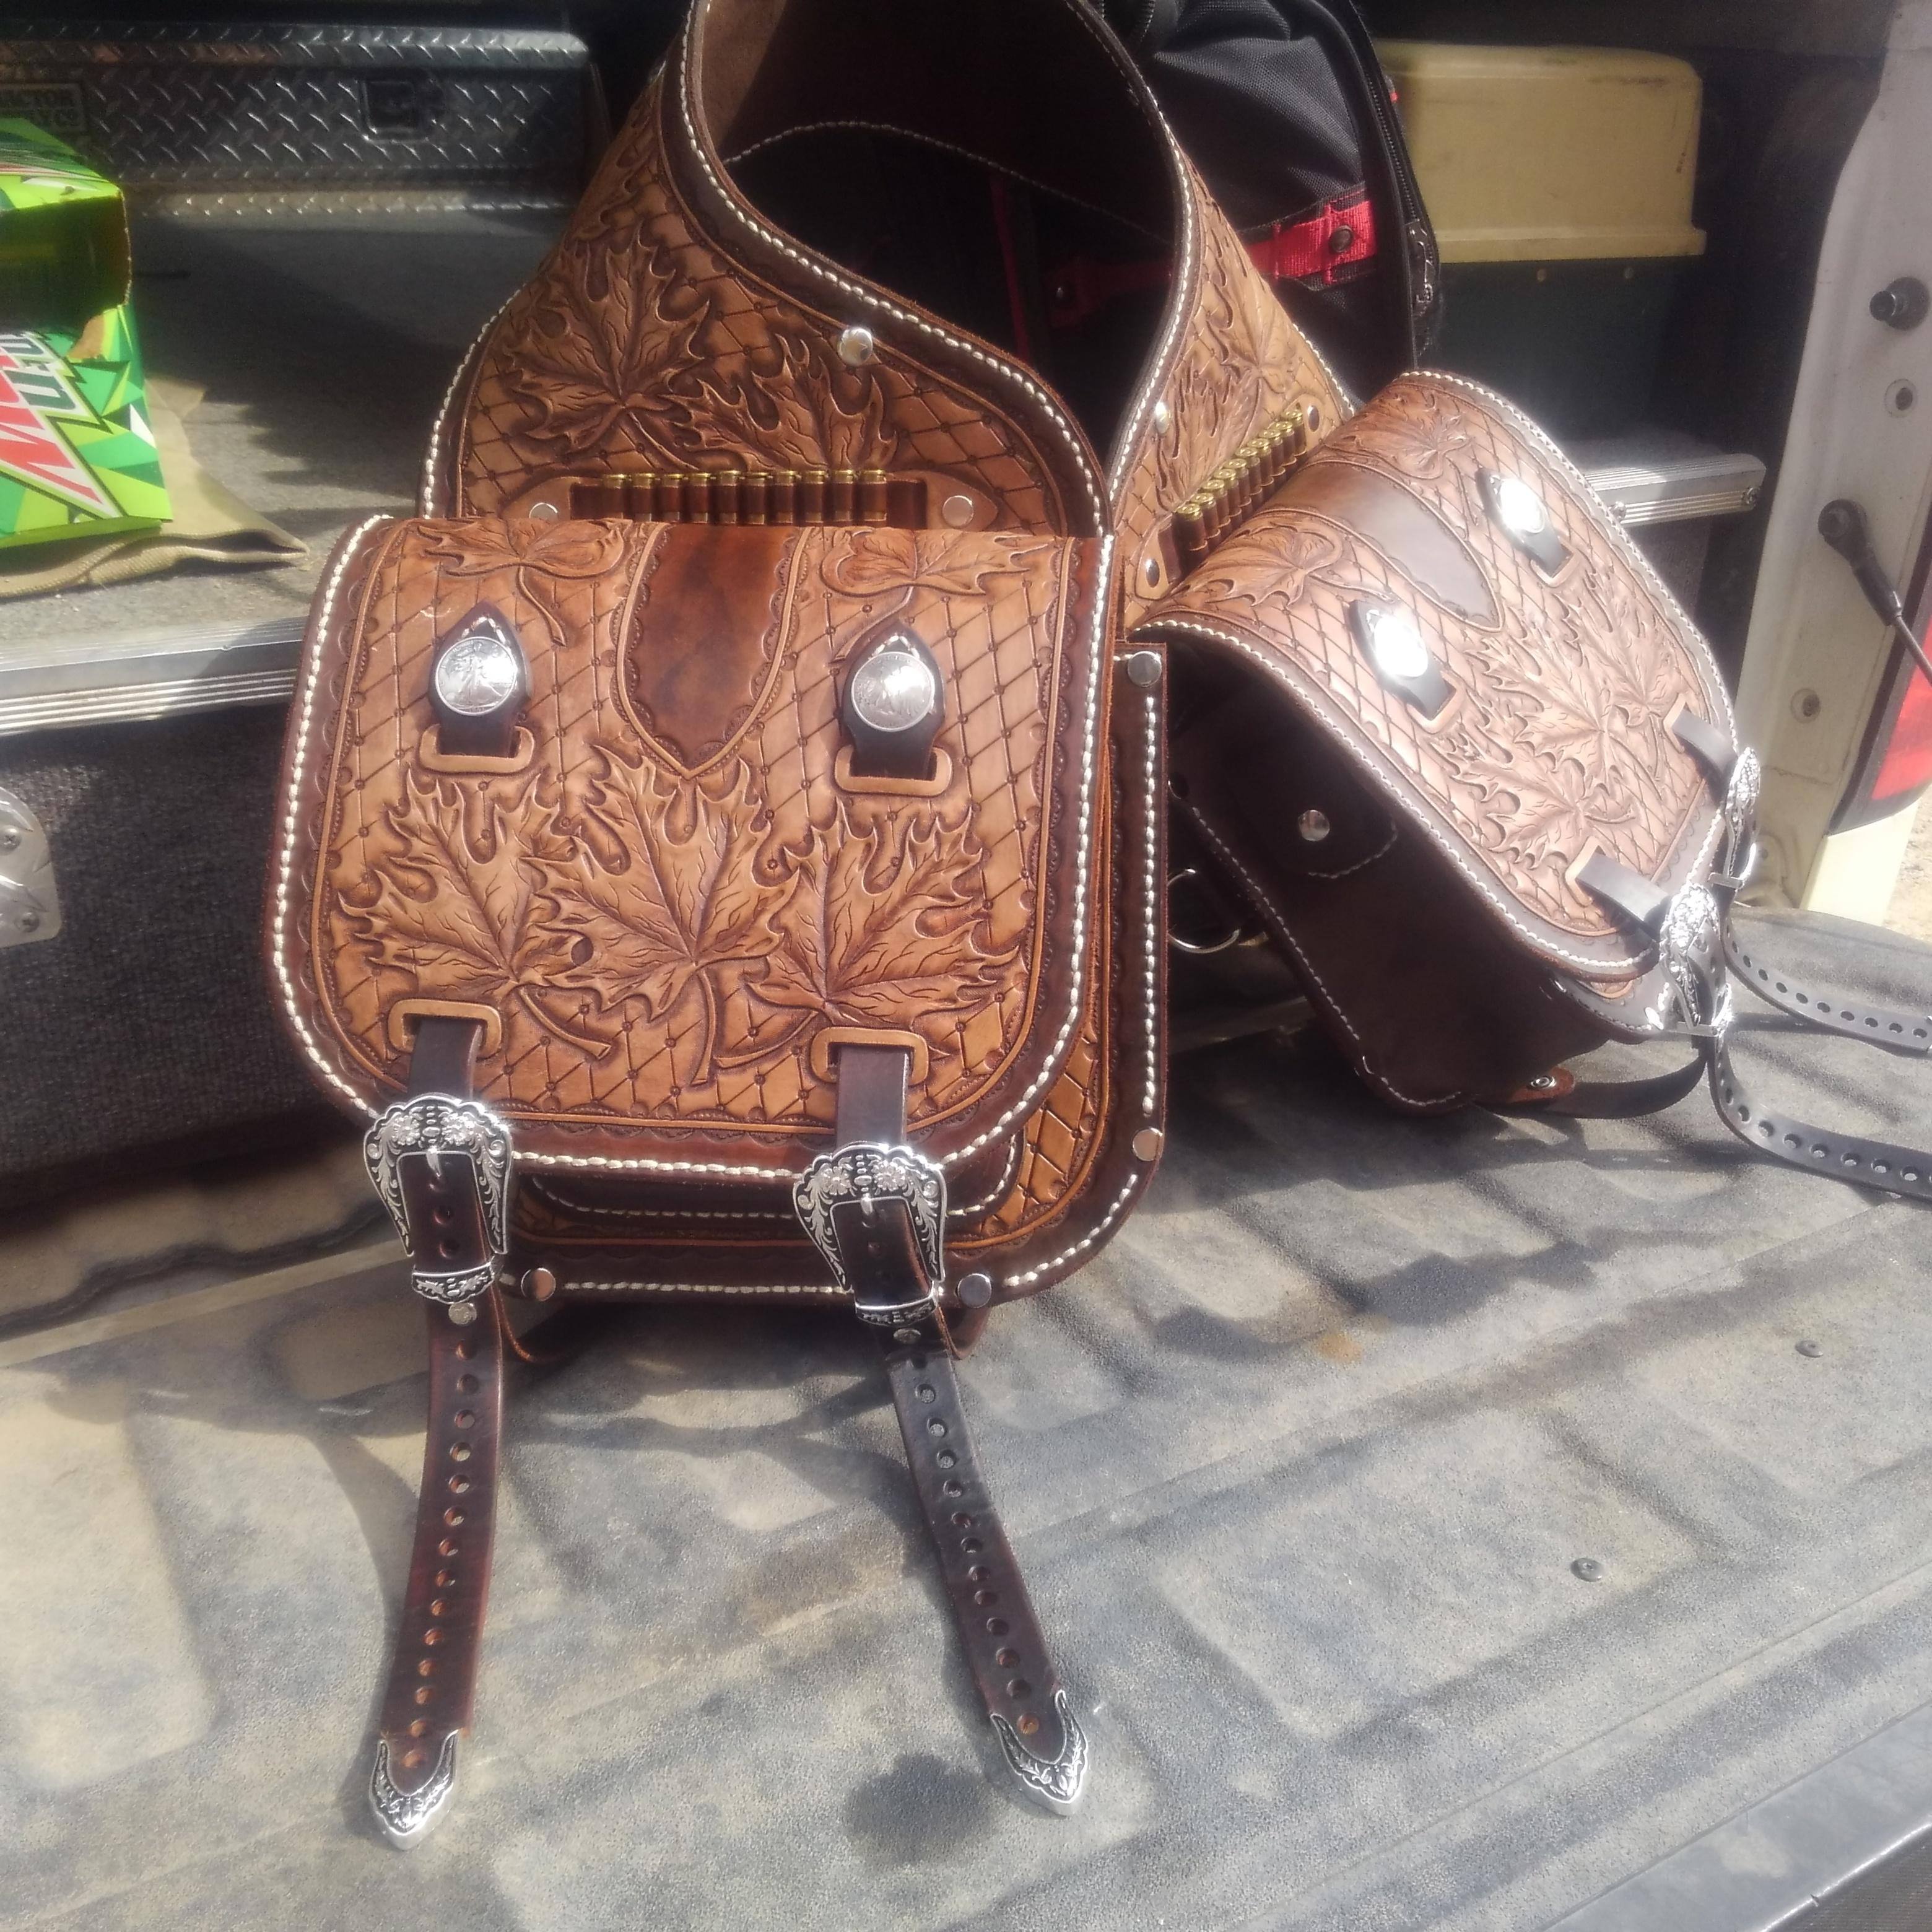
This is what I would consider a medium-large size. It's 8" wide, 9" tall with a 4.5" (cut size) gusset. Randy
-
Thanks for the compliments. Nothing is attached to the belt. Everything slides on, so you can move items where you want. However the pockets on each side are all sewn and riveted together. I think I have enough leather left to build a smaller tool pocket if he wants to change it out. Randy
-
Wow! Wish I had one of these when I was in construction!
-
Newest creation, hope you enjoy IMG_0891.mov
-
I screwed up on my last post, should be a cobra 18. If anyone has one can you show me the back side stitch. Looking for something that has an attractive front and back stitch.
-

first pancake holster
Thadrick replied to Thadrick's topic in Gun Holsters, Rifle Slings and Knife Sheathes
Thanks guys. I got bored after that holster and started a cowboy style holster for my Lil GP100 and made it half way through the project before realizing I made a rooky mistake. I made it left handed. Couldn't help think that if I was making a pancake style I wouldn't have mattered. -
I have two spot setters for sale. Wm. Brown Holster Co. text or call…970-200-6328. Bill
-
Outstanding work!
-
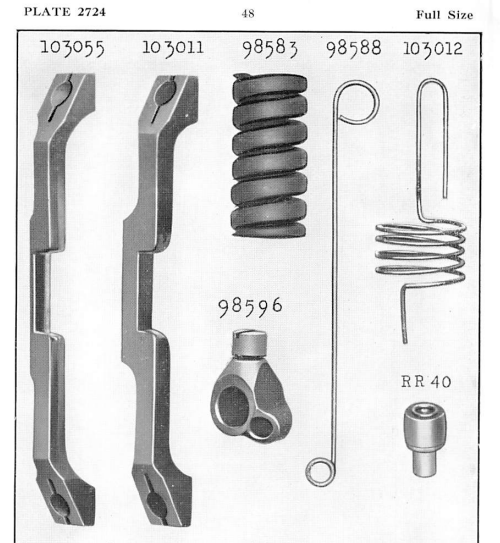
Download for a 133K manual but not exactly for the 133K13 but it may help: https://leatherworker.net/forum/topic/56667-singer-133k-information-wanted/page/6/#findComment-546077 the 2 parts on the left are positioning fingers and you notice the gap, right?
-
I guess you alreday have figured that is is a darning machine that ex factory is not set up for sewing operations. I once owned 133K3 but it´s long gone. There it a Bobbin case positioning finger that holds the bobbin case in position. You see it in your picture (that part is the "bar" above the hook / bobbin case in your picture). The top end of the bobbin case has to sit in the gap of the positioning finger (remove the needle plate and you have a better view on it and I think you will know what I mean when you see the gap). You only can insert and remove the bobbing case when the hook is in the right potion and you have to flip the bobbin case retainer aside before you can insert the bobbin case. EDIT: hope this helps

-
@pierre2171 I split this out into it's own topic so maybe we can get you some help. It looks like an interesting machine. EDIT: In fact, a search for 133k13 turned up a few hits. I'll leave you to sort through them. https://leatherworker.net/forum/search/?&q=133k13&search_and_or=or
-
What is a Cobra 13? Do you maybe mean a 3? I'd you have one you're dissatisfied with, maybe post a picture of the problem? Stitching problems tend to be fairly generic.
-
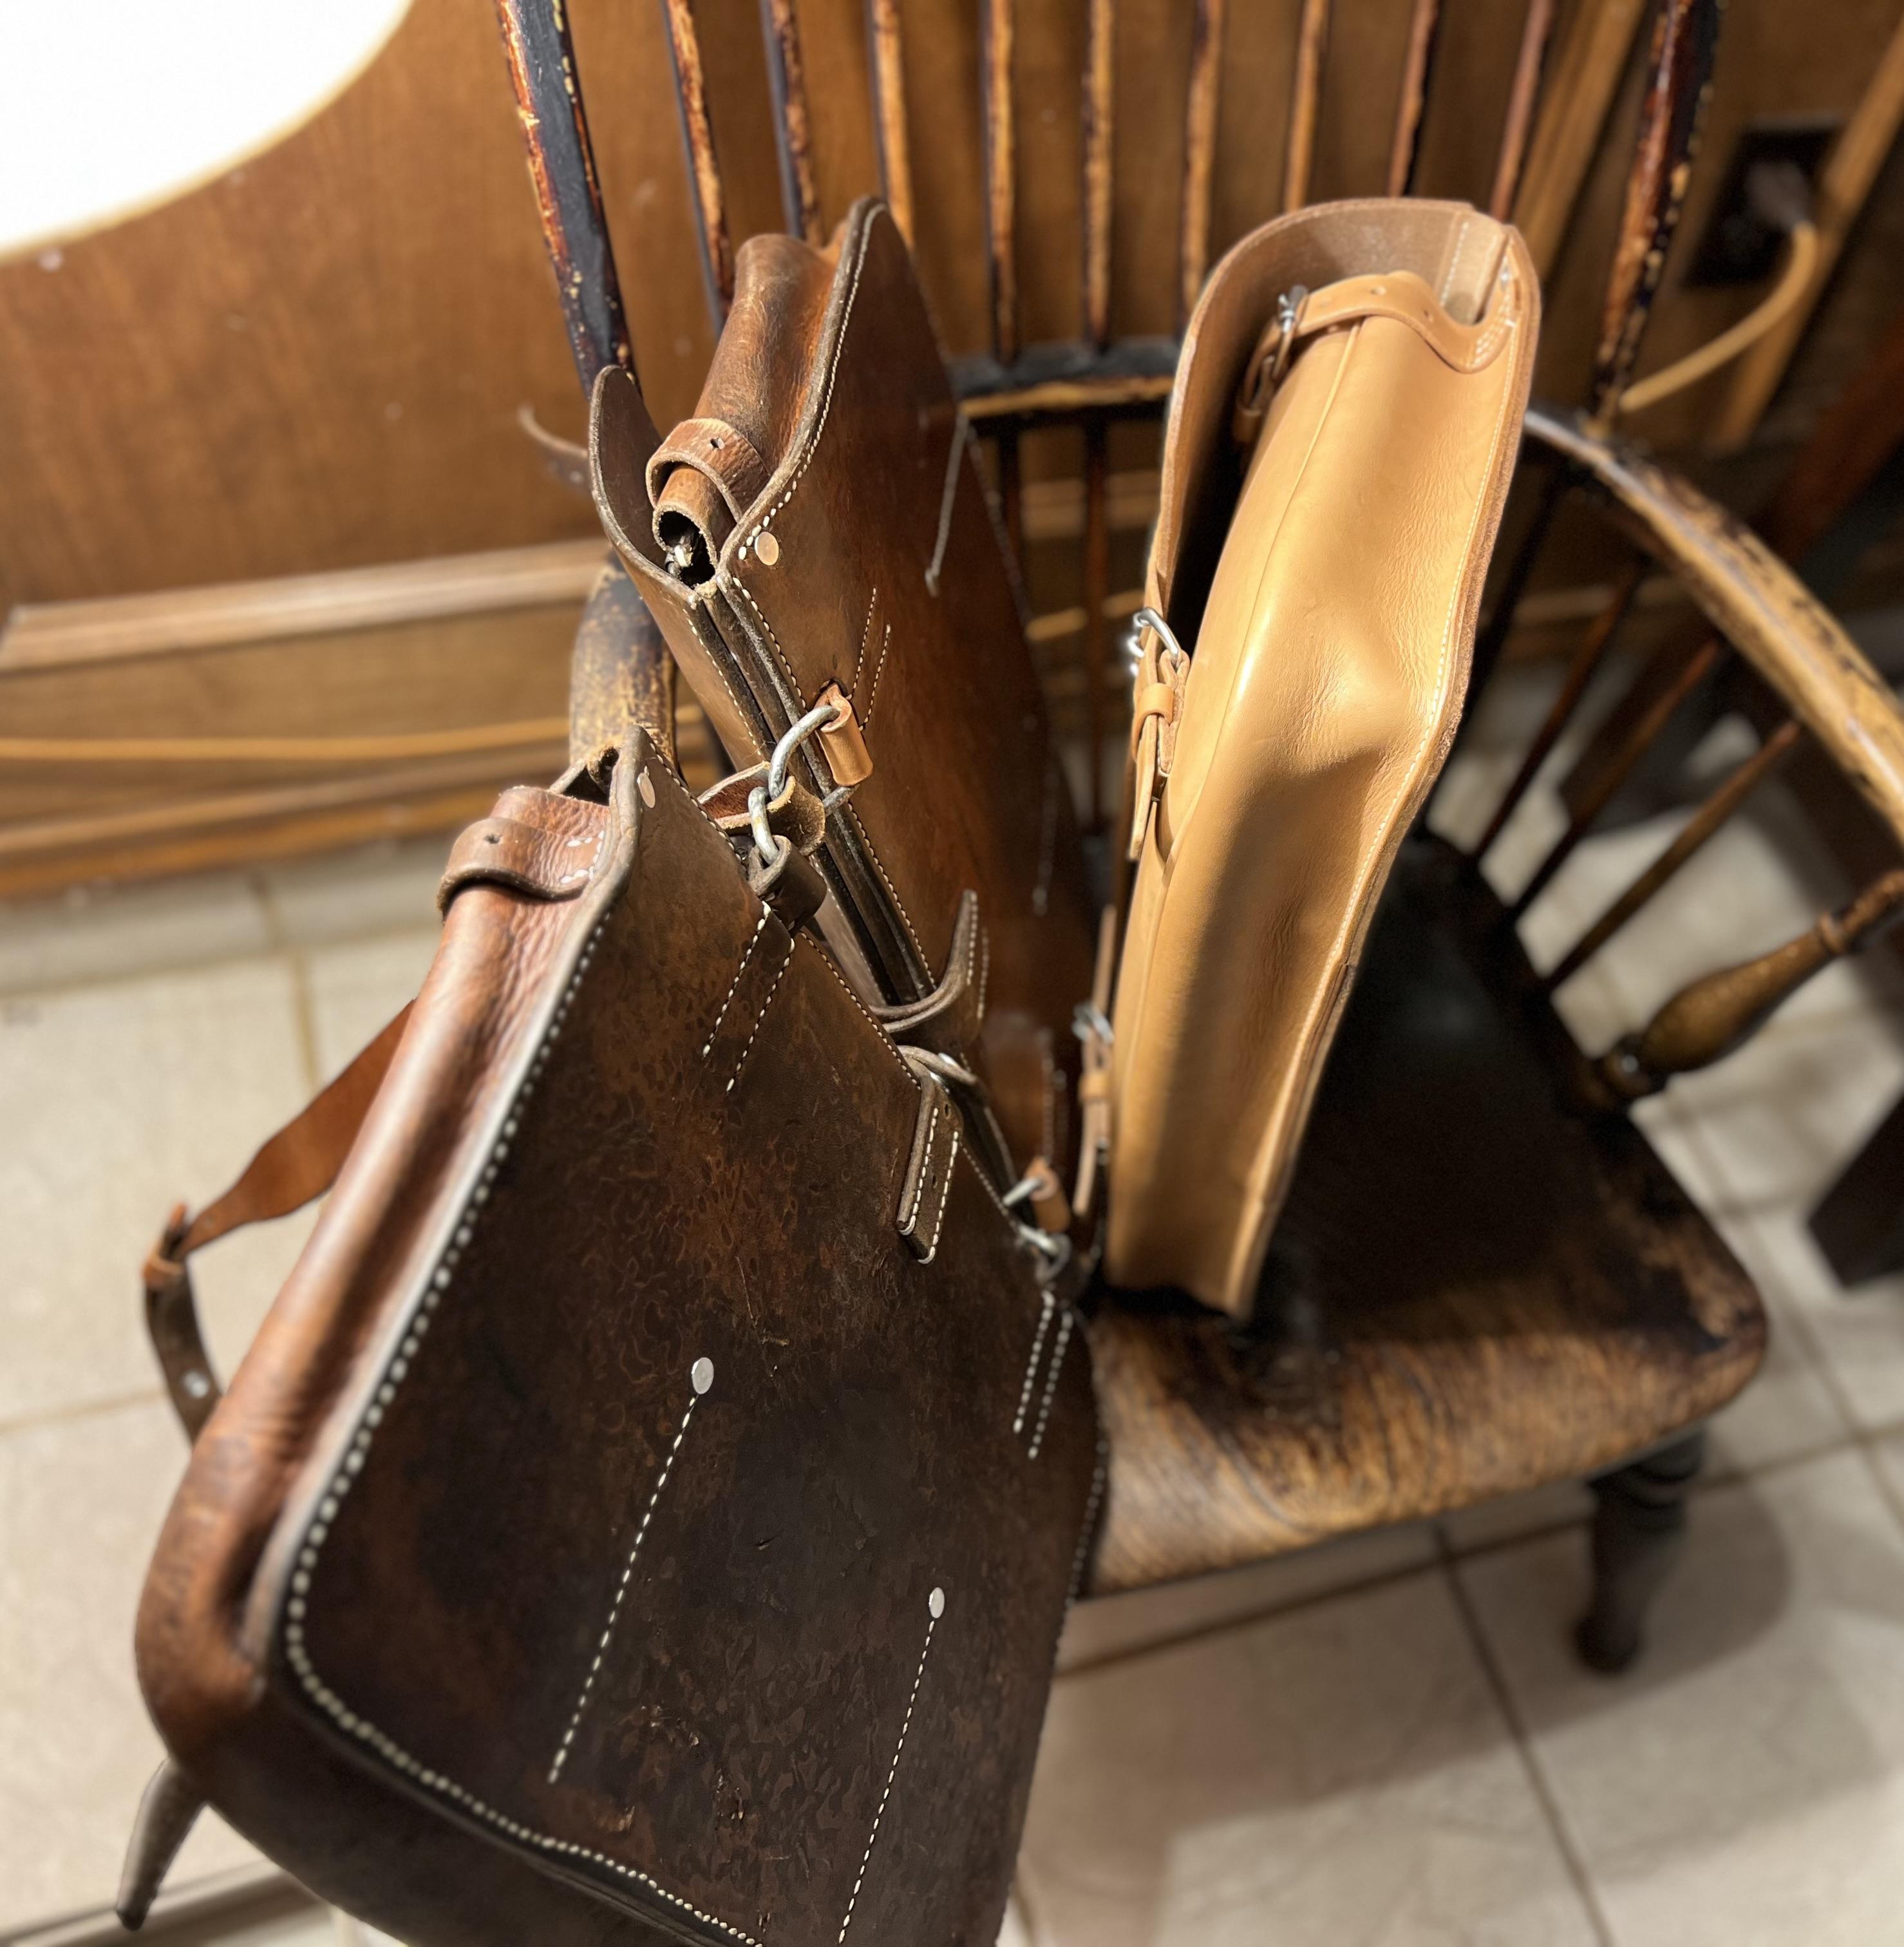
Nah, you couldn't have bought one that nice. The only way that gets better for me is if the pouches are modular. It's one of those bespoke things you can afford to have because you're a leather worker.
-
 japty joined the community
 -
AIZilla, Tony V, Oddball, ClaimedVacancy . . . thanks to you all . . . Lots of ideas there to digest . . . see if I can get anything out of the process that will work for me. May God bless, Dwight
-
Does anyone have one and if so can you tell me or better yet post a picture of what the underside stitch looks like.
-
 Thanks for the generous offer, Leo! Just grabbed a sample to test on my next project — can't wait to see how it handles with different leather weights.
 -
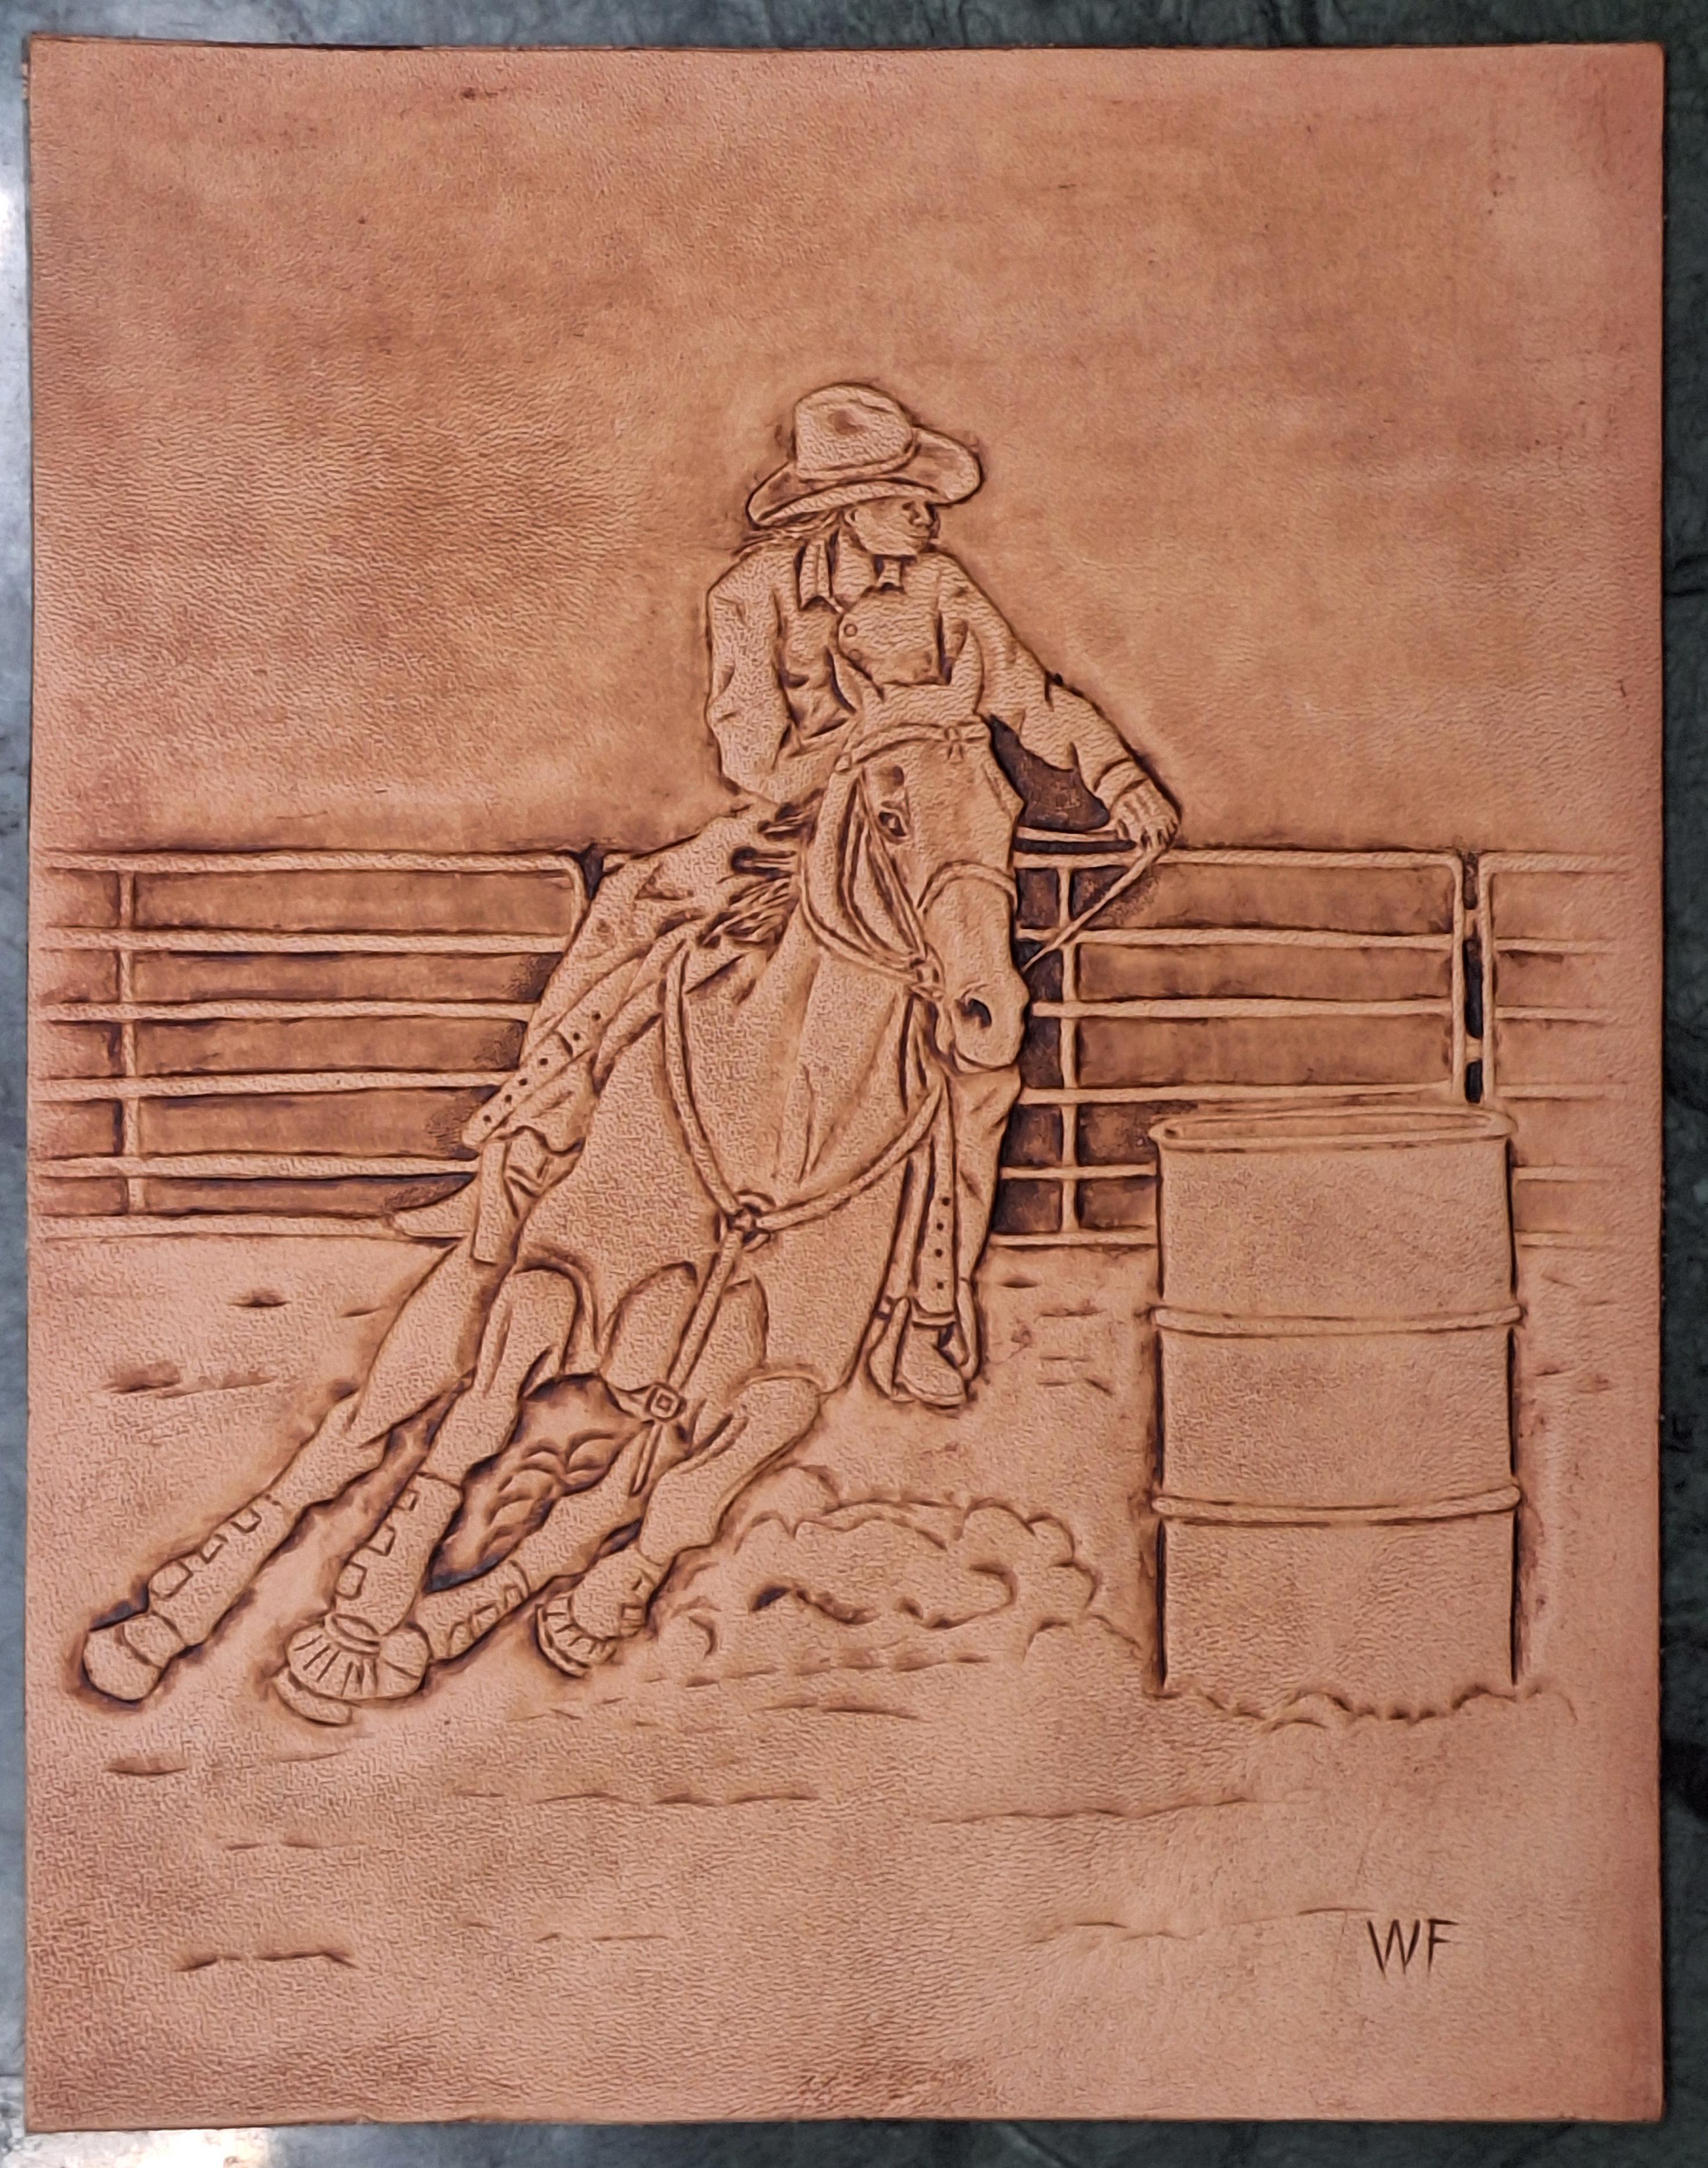
I would be mad to if someboody burnt my leg! Thank you, they are fun to do. Done next to frame it.
-
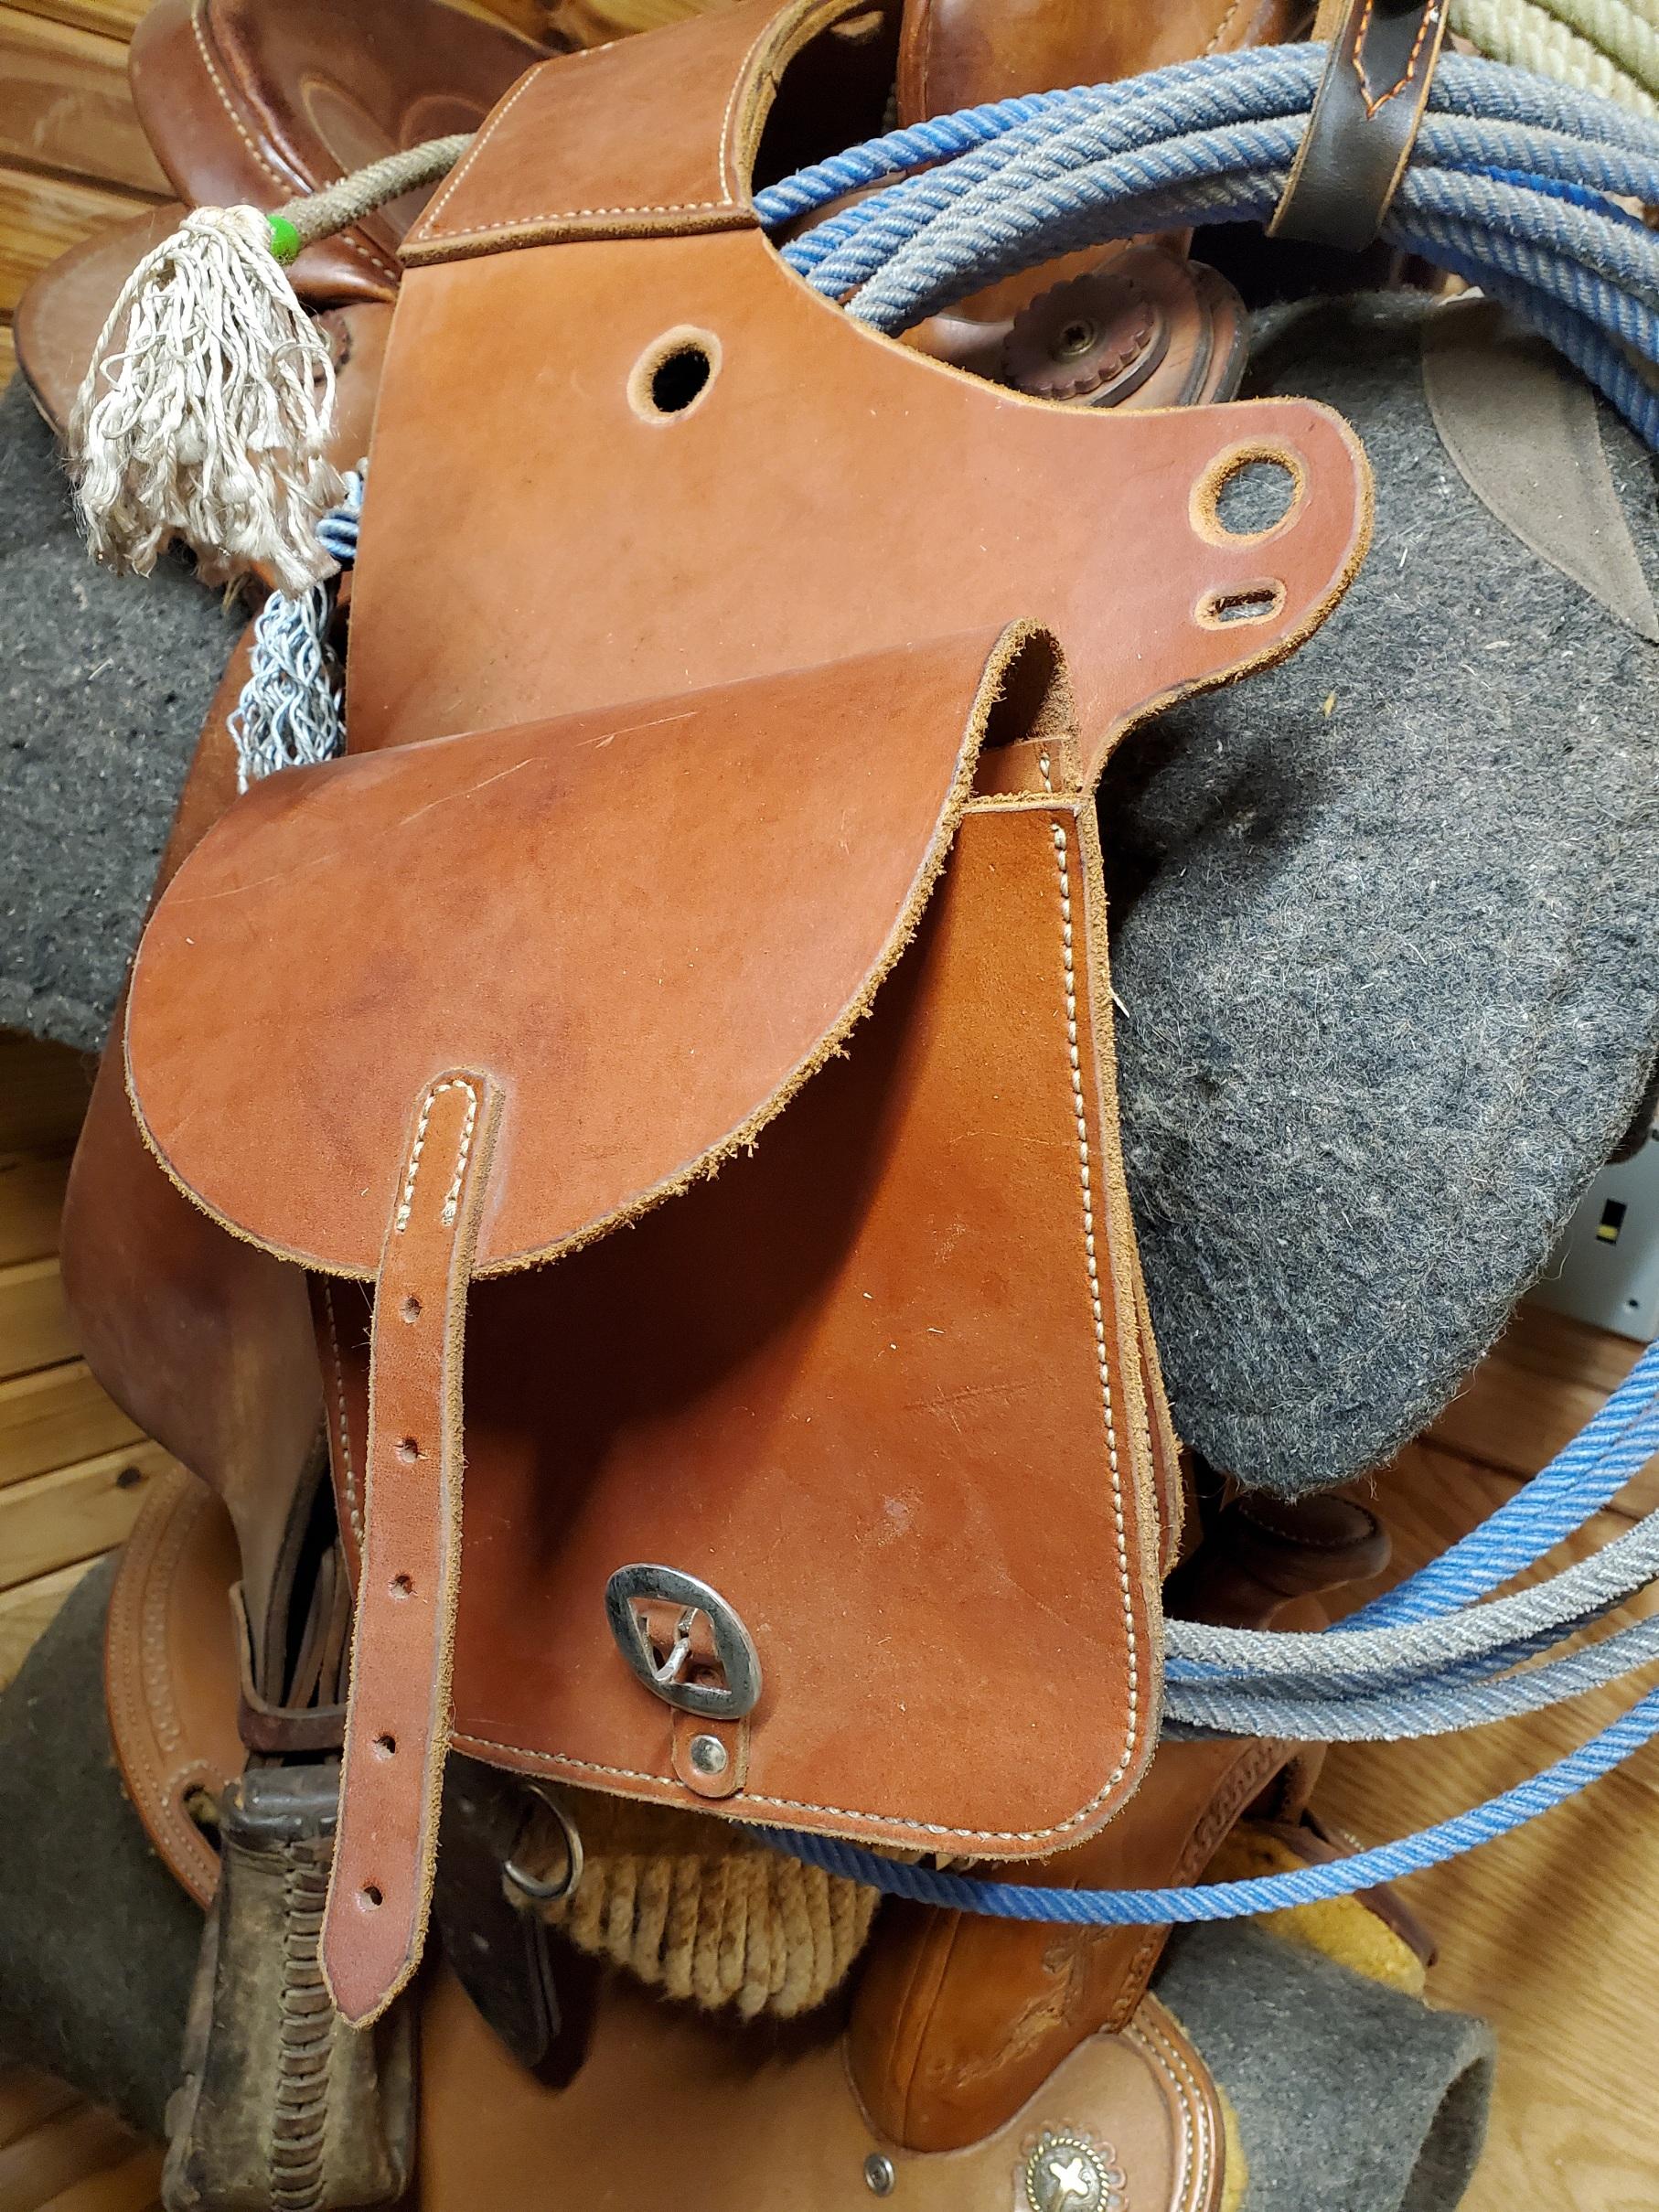
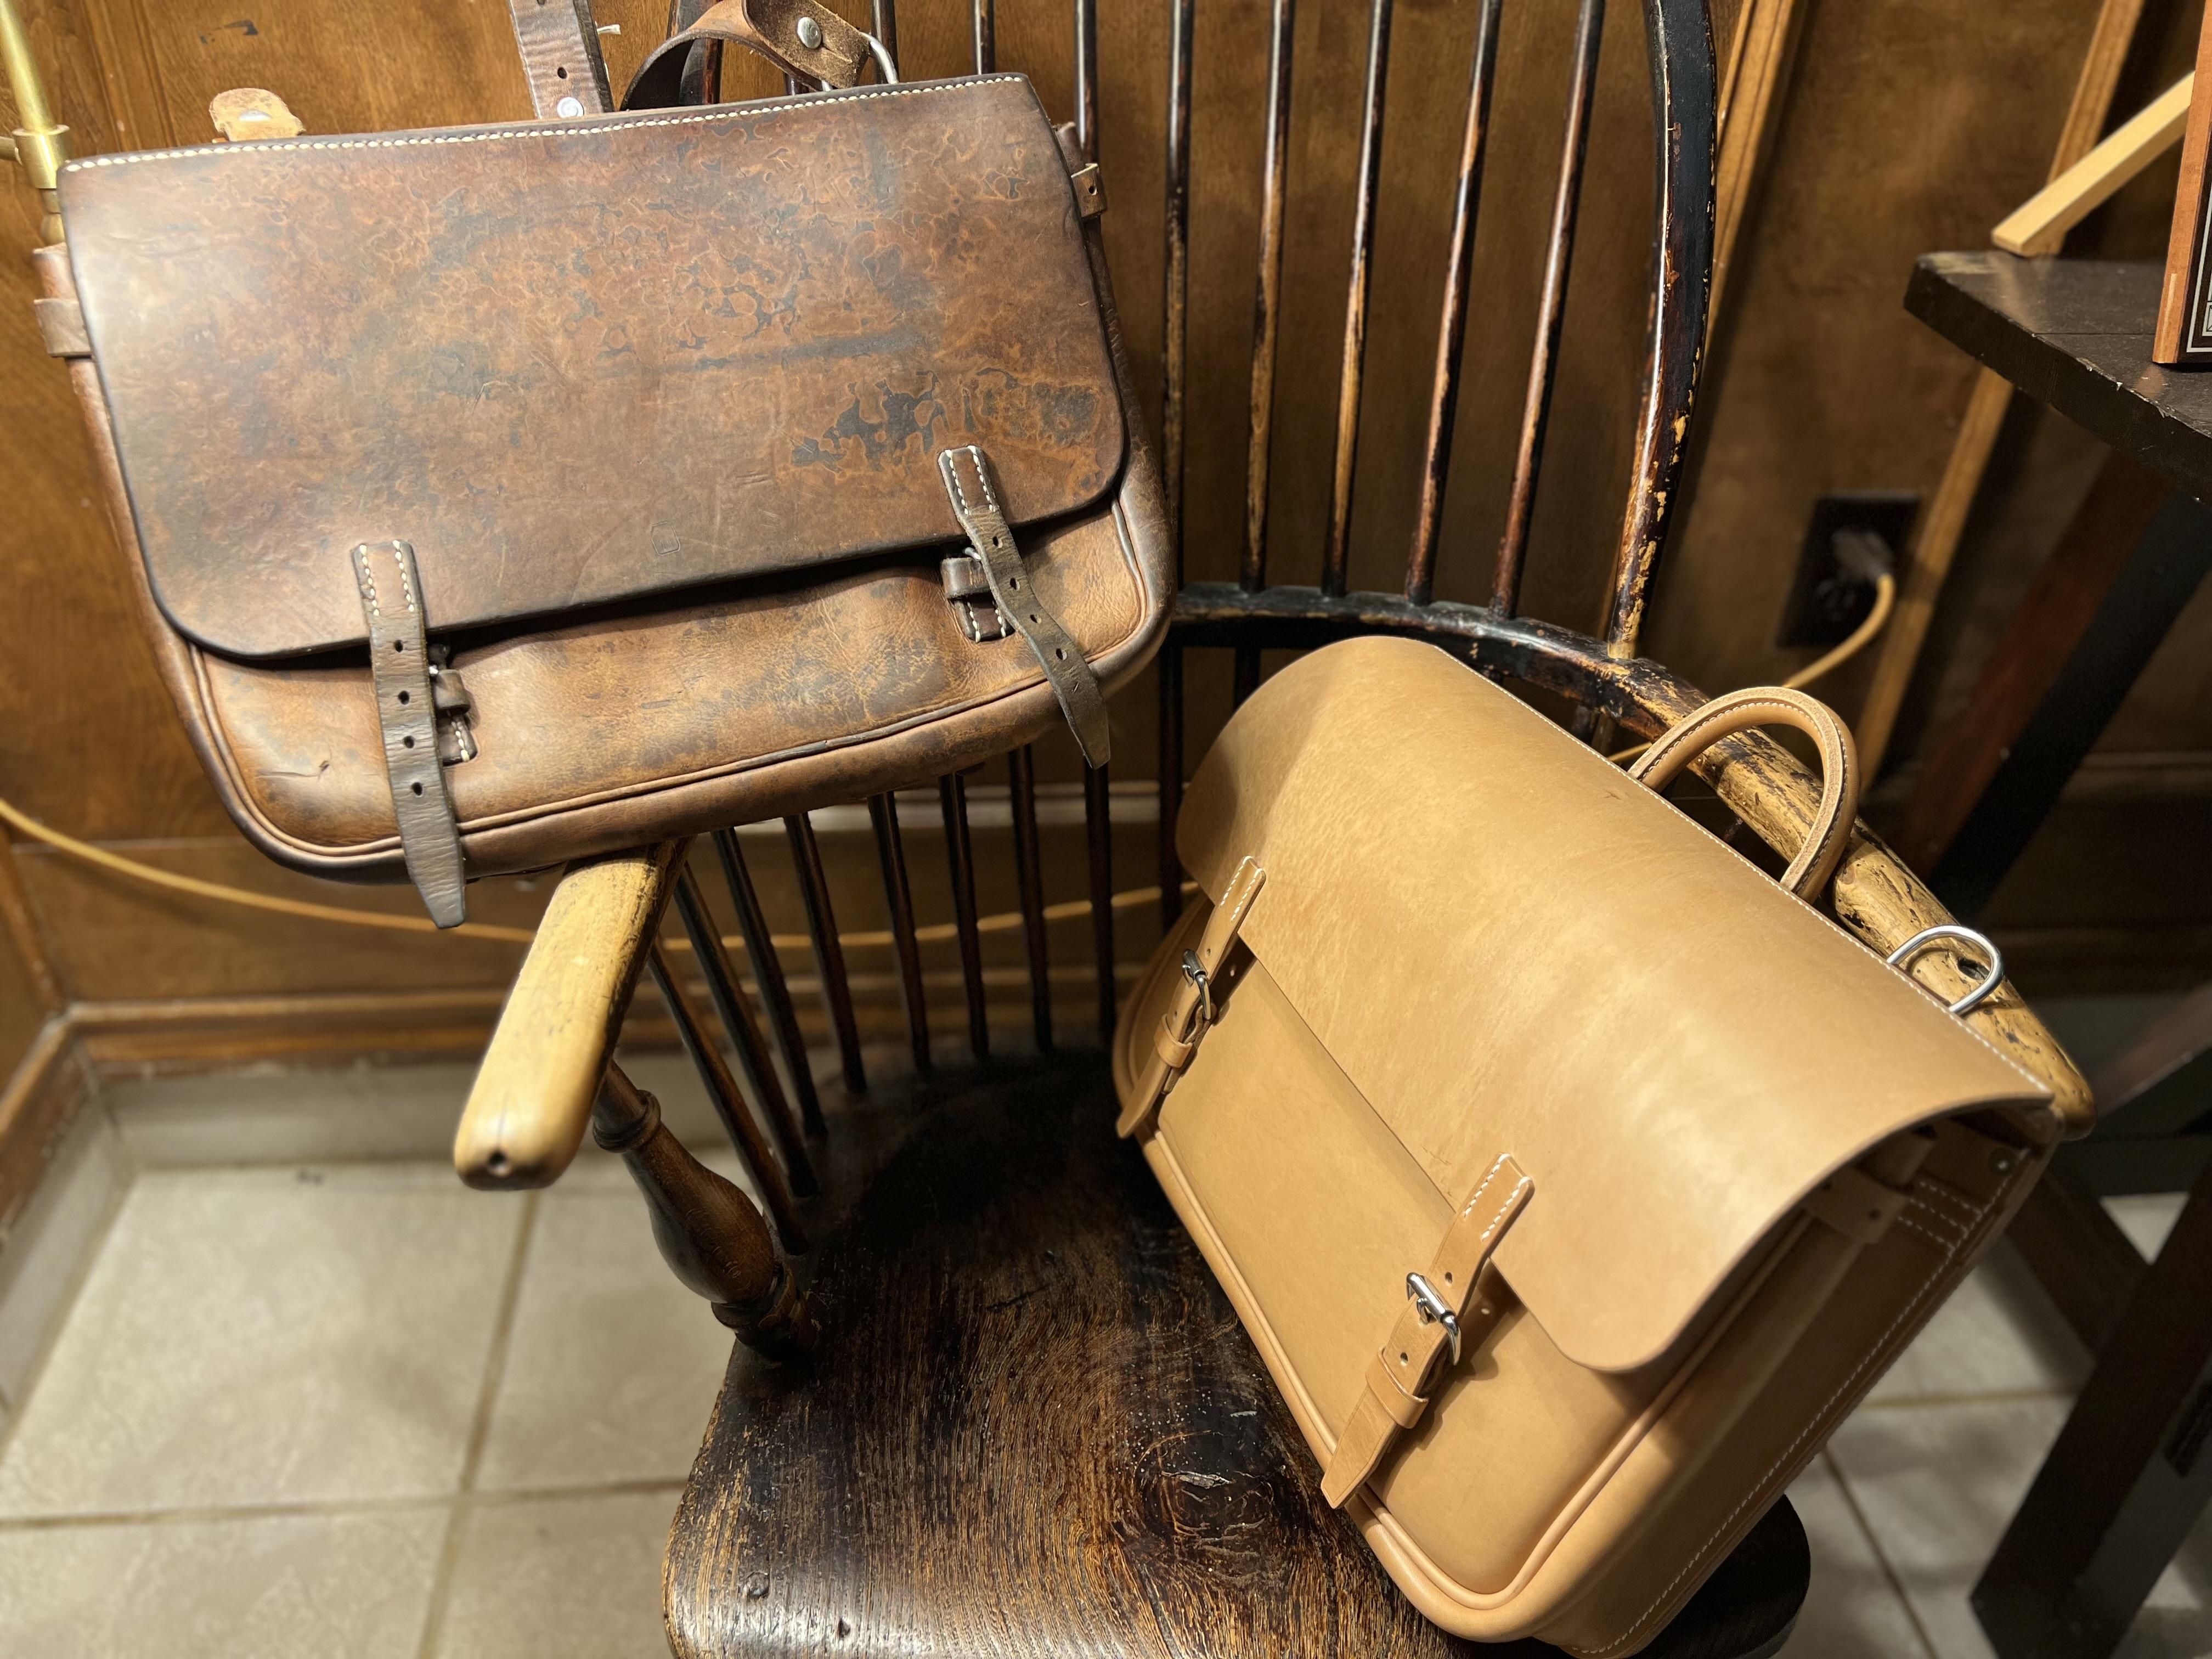
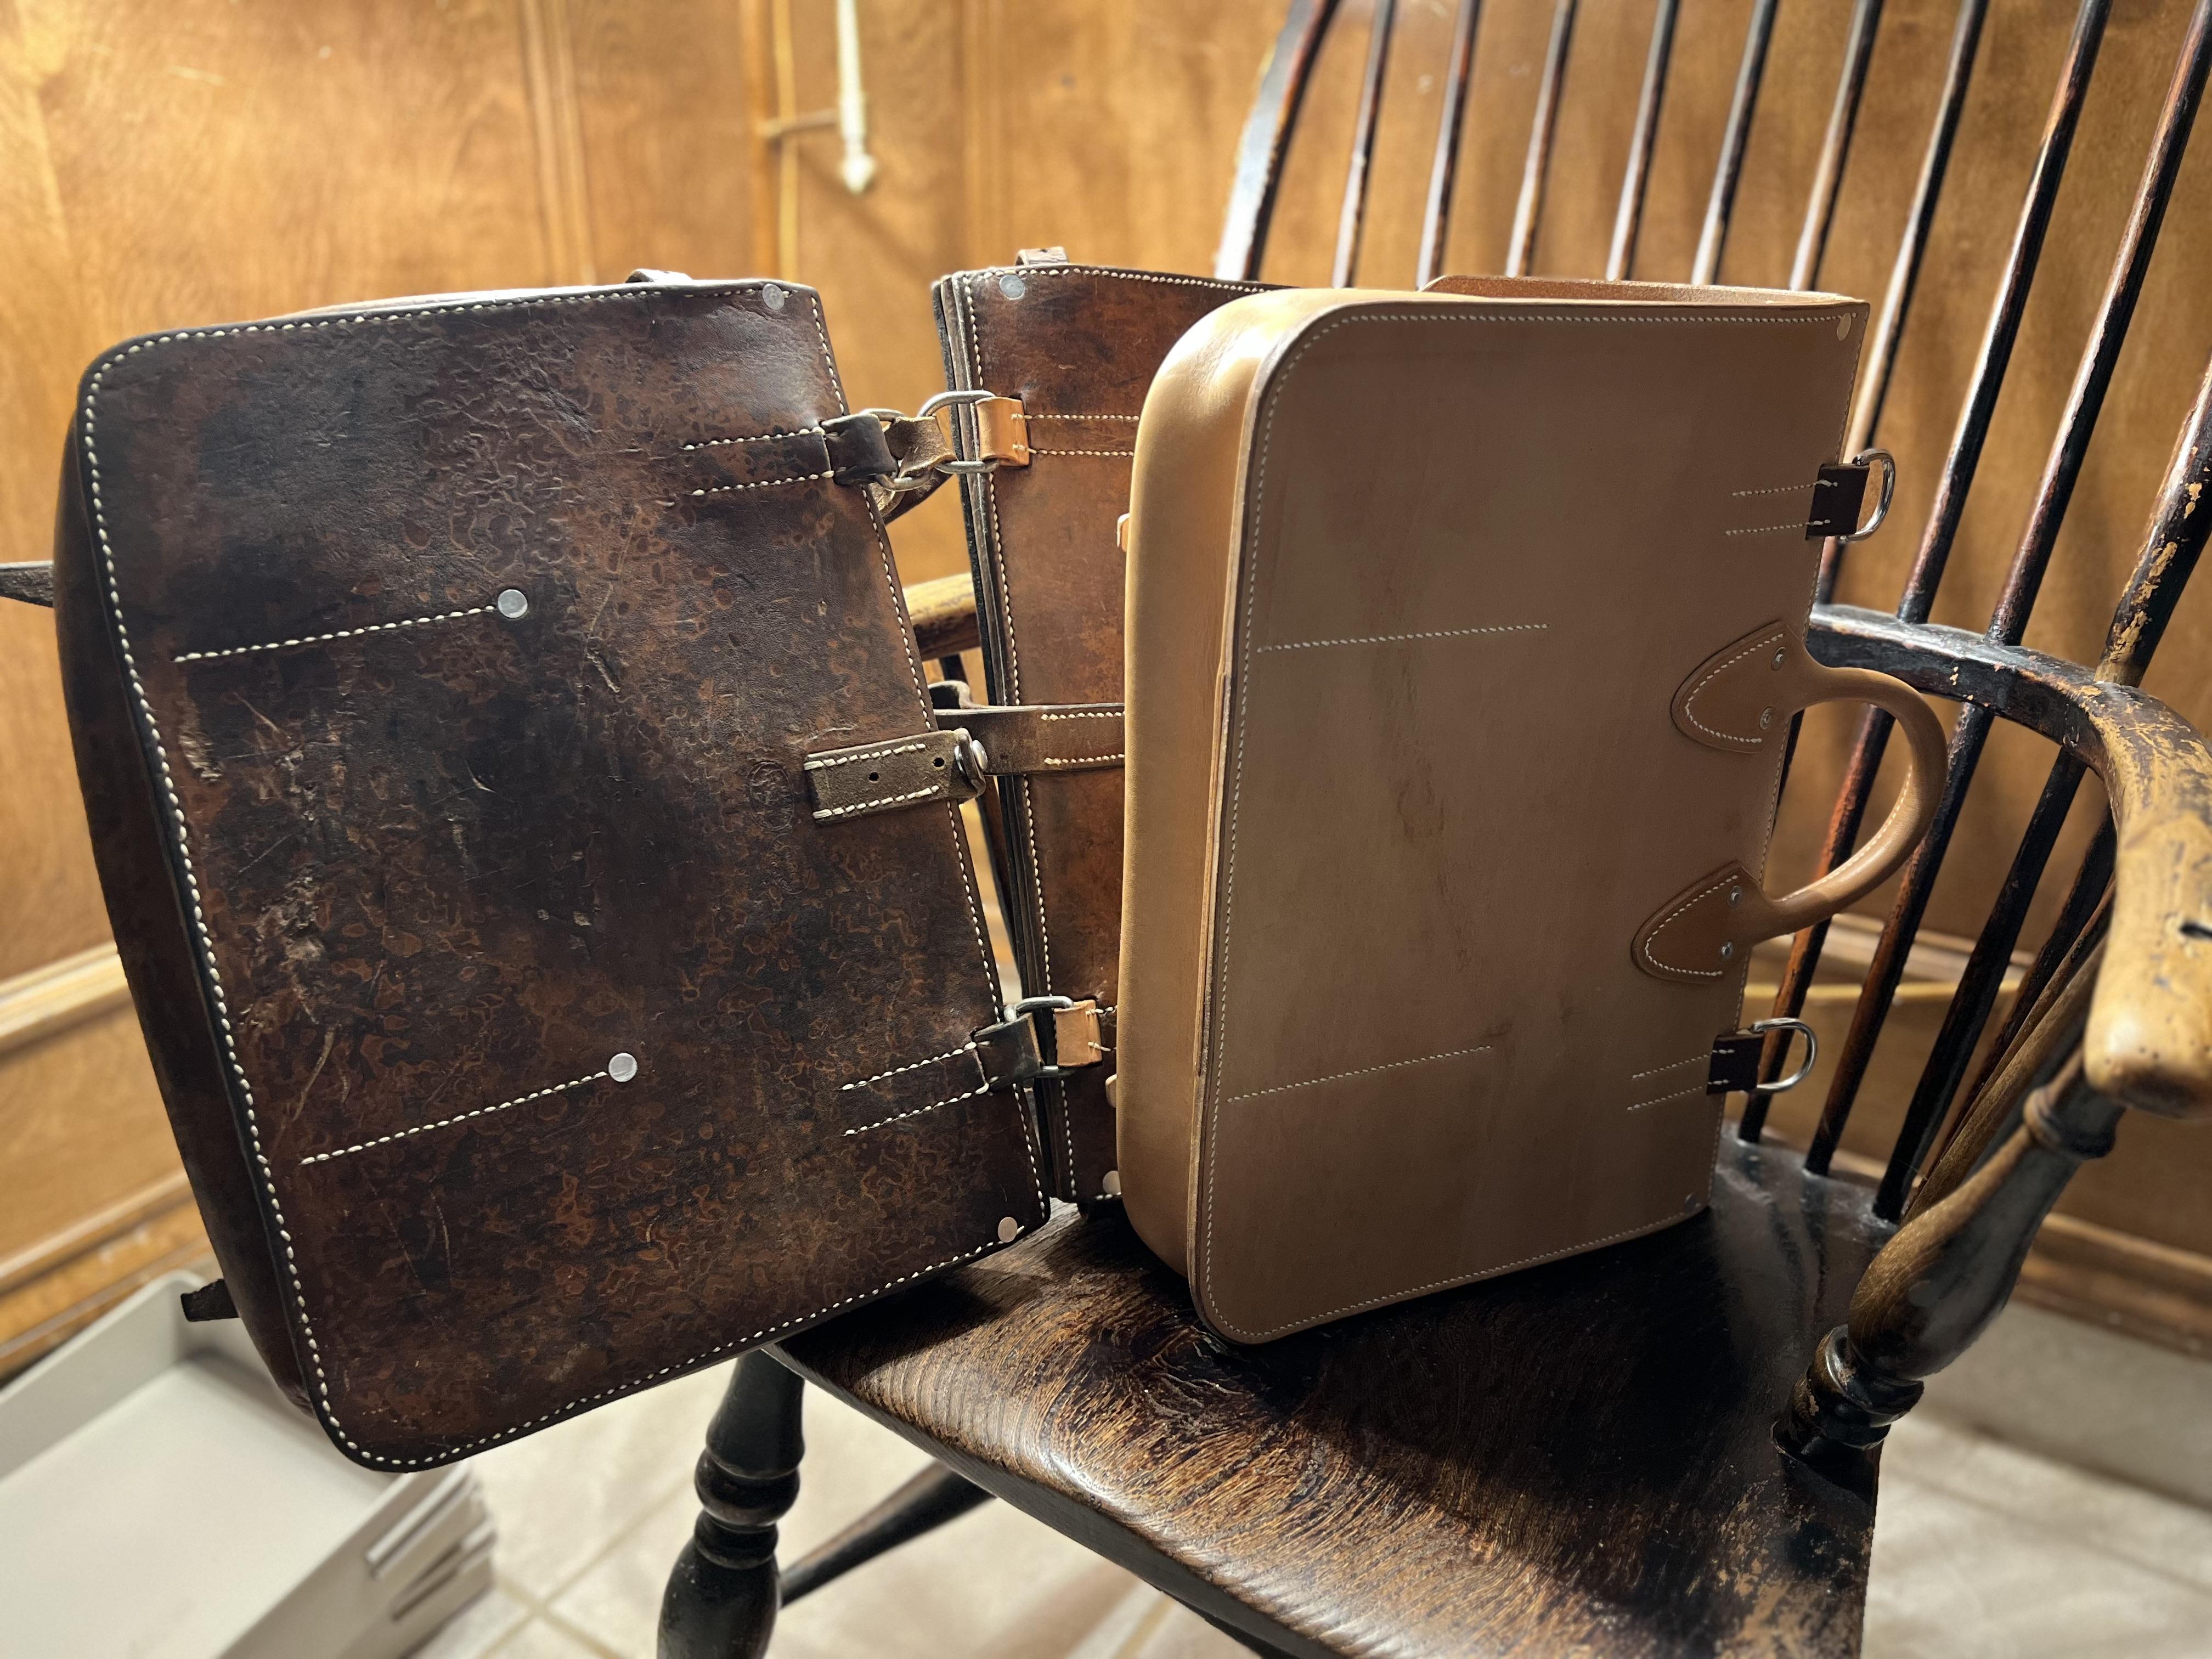
@Dwight Looks like I might have inspired ya huh? So the size of the one I posted is 16” long, 11” tall, and 4” deep. Only problem is that it’s not an available template since I had to create it. This book https://archive.org/details/leatherworkingha0000mich/page/128/mode/2up by Valerie Michael has a template in the advanced section that is close to the same size if that interests you. And with the online archive you can just borrow the book versus buying it. If you would rather the Swiss type, you can get one for $50 and take it apart to create your own, or! Just use it as is. This is BY FAR the best price for these bags. Most still have a ton of life left in them too. I’ve purchase from Teskey for years, and they are just down the road from me. https://teskeys.com/collections/salebarn-tack/products/used-vintage-german-leather-saddle-bag-copy-3 This one would be a lot more simple, and it’s about 13-14” long, 9-10” tall, 3-4” deep. I have one and it is fantastic. https://teskeys.com/collections/salebarn-tack/products/used-vintage-german-leather-saddle-bag-copy-1 Take a look on their barn sale page.
-
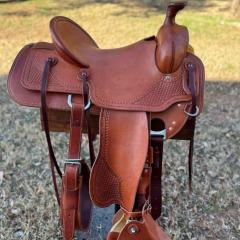
It's too nice to use.
-
Thanks for the compliments. All in all, it was a fun learning experience. Not sure it's a new direction though. I'll be really interested to see how it holds up during use. Randy
-
 Thinner leather - grain side only. Skirting leather - heavier on grain side/lighter on flesh side. The fibers on the grain side are denser and slower to wick through. The flesh side is looser and wicks in faster. Butt and top of the back is denser, lower belly and neck is looser on grain side so that is a factor also. Just because a piece of leather sucks in the oil does not automatically mean it is dry. Likewise oil that sits and does not absorb right away does not mean the leather is well oiled already. Apply light coats and wait. I applied my oil to nearly every project with a fine napped paint roller and paint tray. Dip the roller in the oil, roll off the excess on the ramp, and apply. I did 3 to 4 belts side-by-side, spur straps arranged in a single layer, and most other small projects. If I needed to overlap for wider projects I just butted up the next roll to the last one, I didn't overlap and over oil that section. It will wick over to the dryer areas faster that it will wick away from an over applied area. After a few times you develop a feel for how often to wait and decide to reapply and how much oil to leave on the roller for thinner or thicker leather.