

All Activity
- Past hour
-
Let us know how you make out . . . I actually built a box out of 1 x 12 pine lumber . . . a piece of clear plastic . . . put a fan in one end . . . bored a hole in my shop wall . . . and all the burnt leather stink gets blown out into my side yard. I do have the benefit of doing a lot of wood stuff . . . so wood scraps are usually laying around for me . . . but even if you have to buy it straight up at Lowes or Home Depot . . . it's still a lot cheaper than the enclosures the mfg's want to sell you for the laser engraver. May God bless, Dwight
-
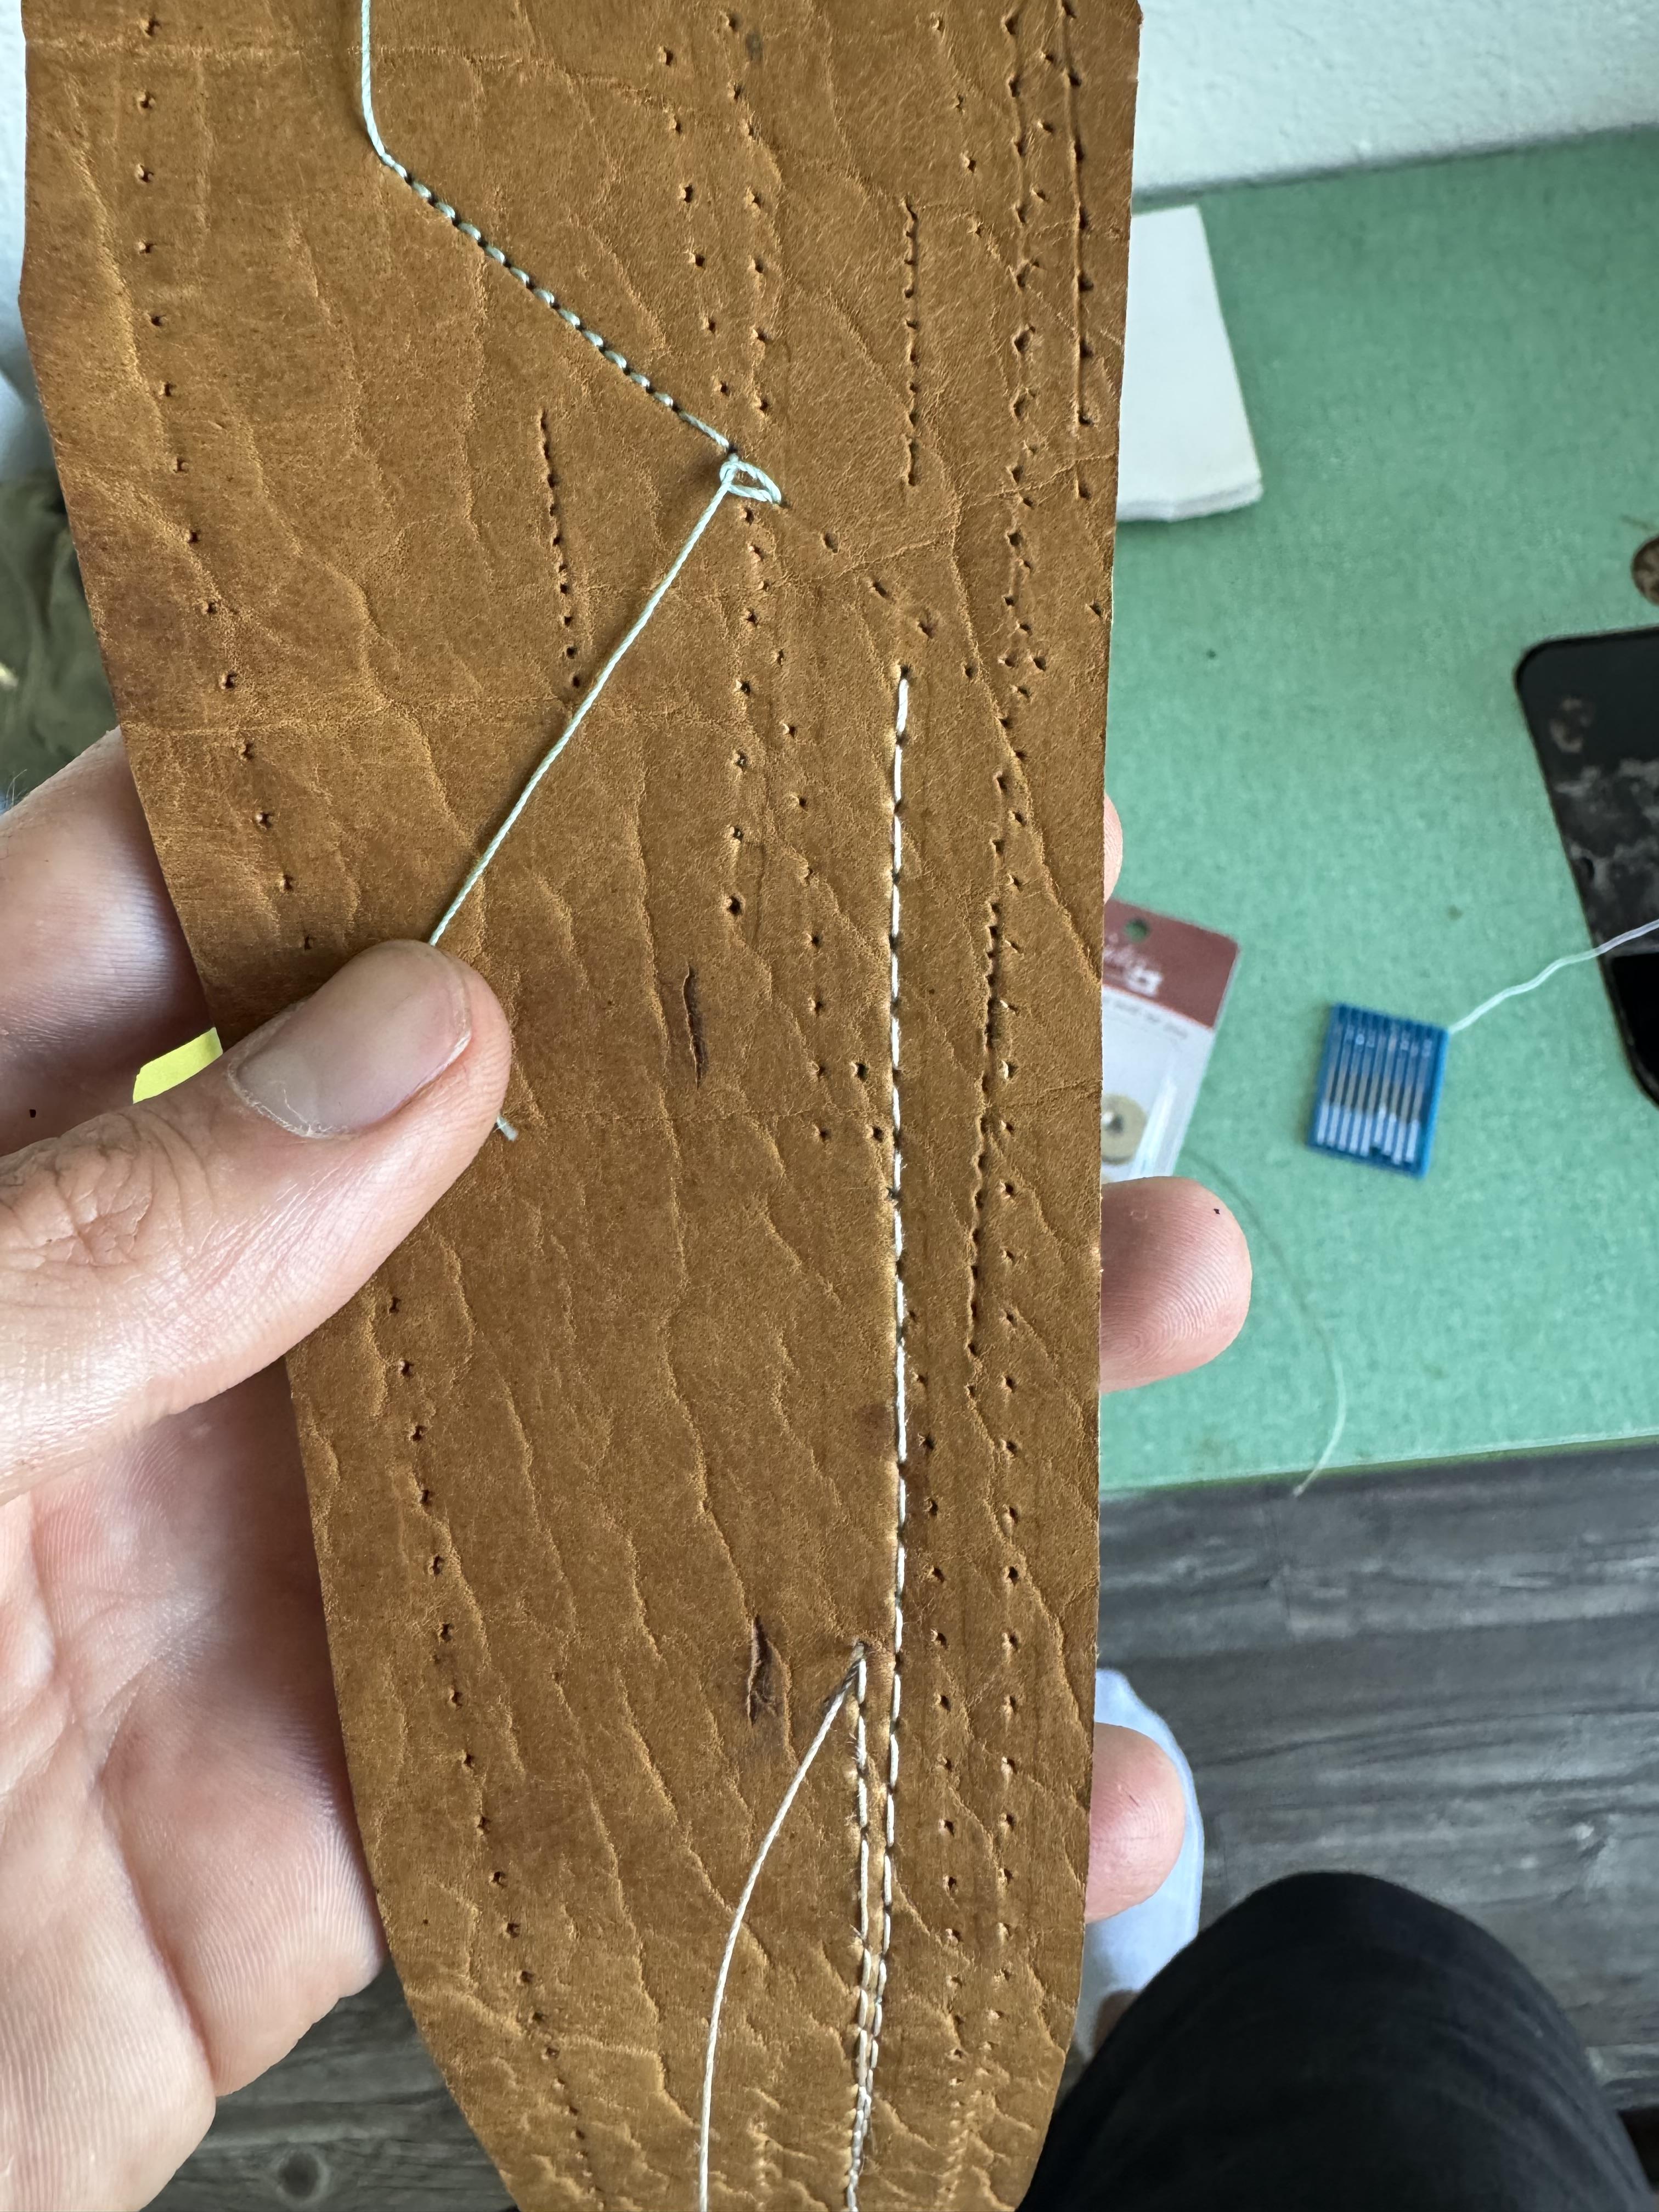
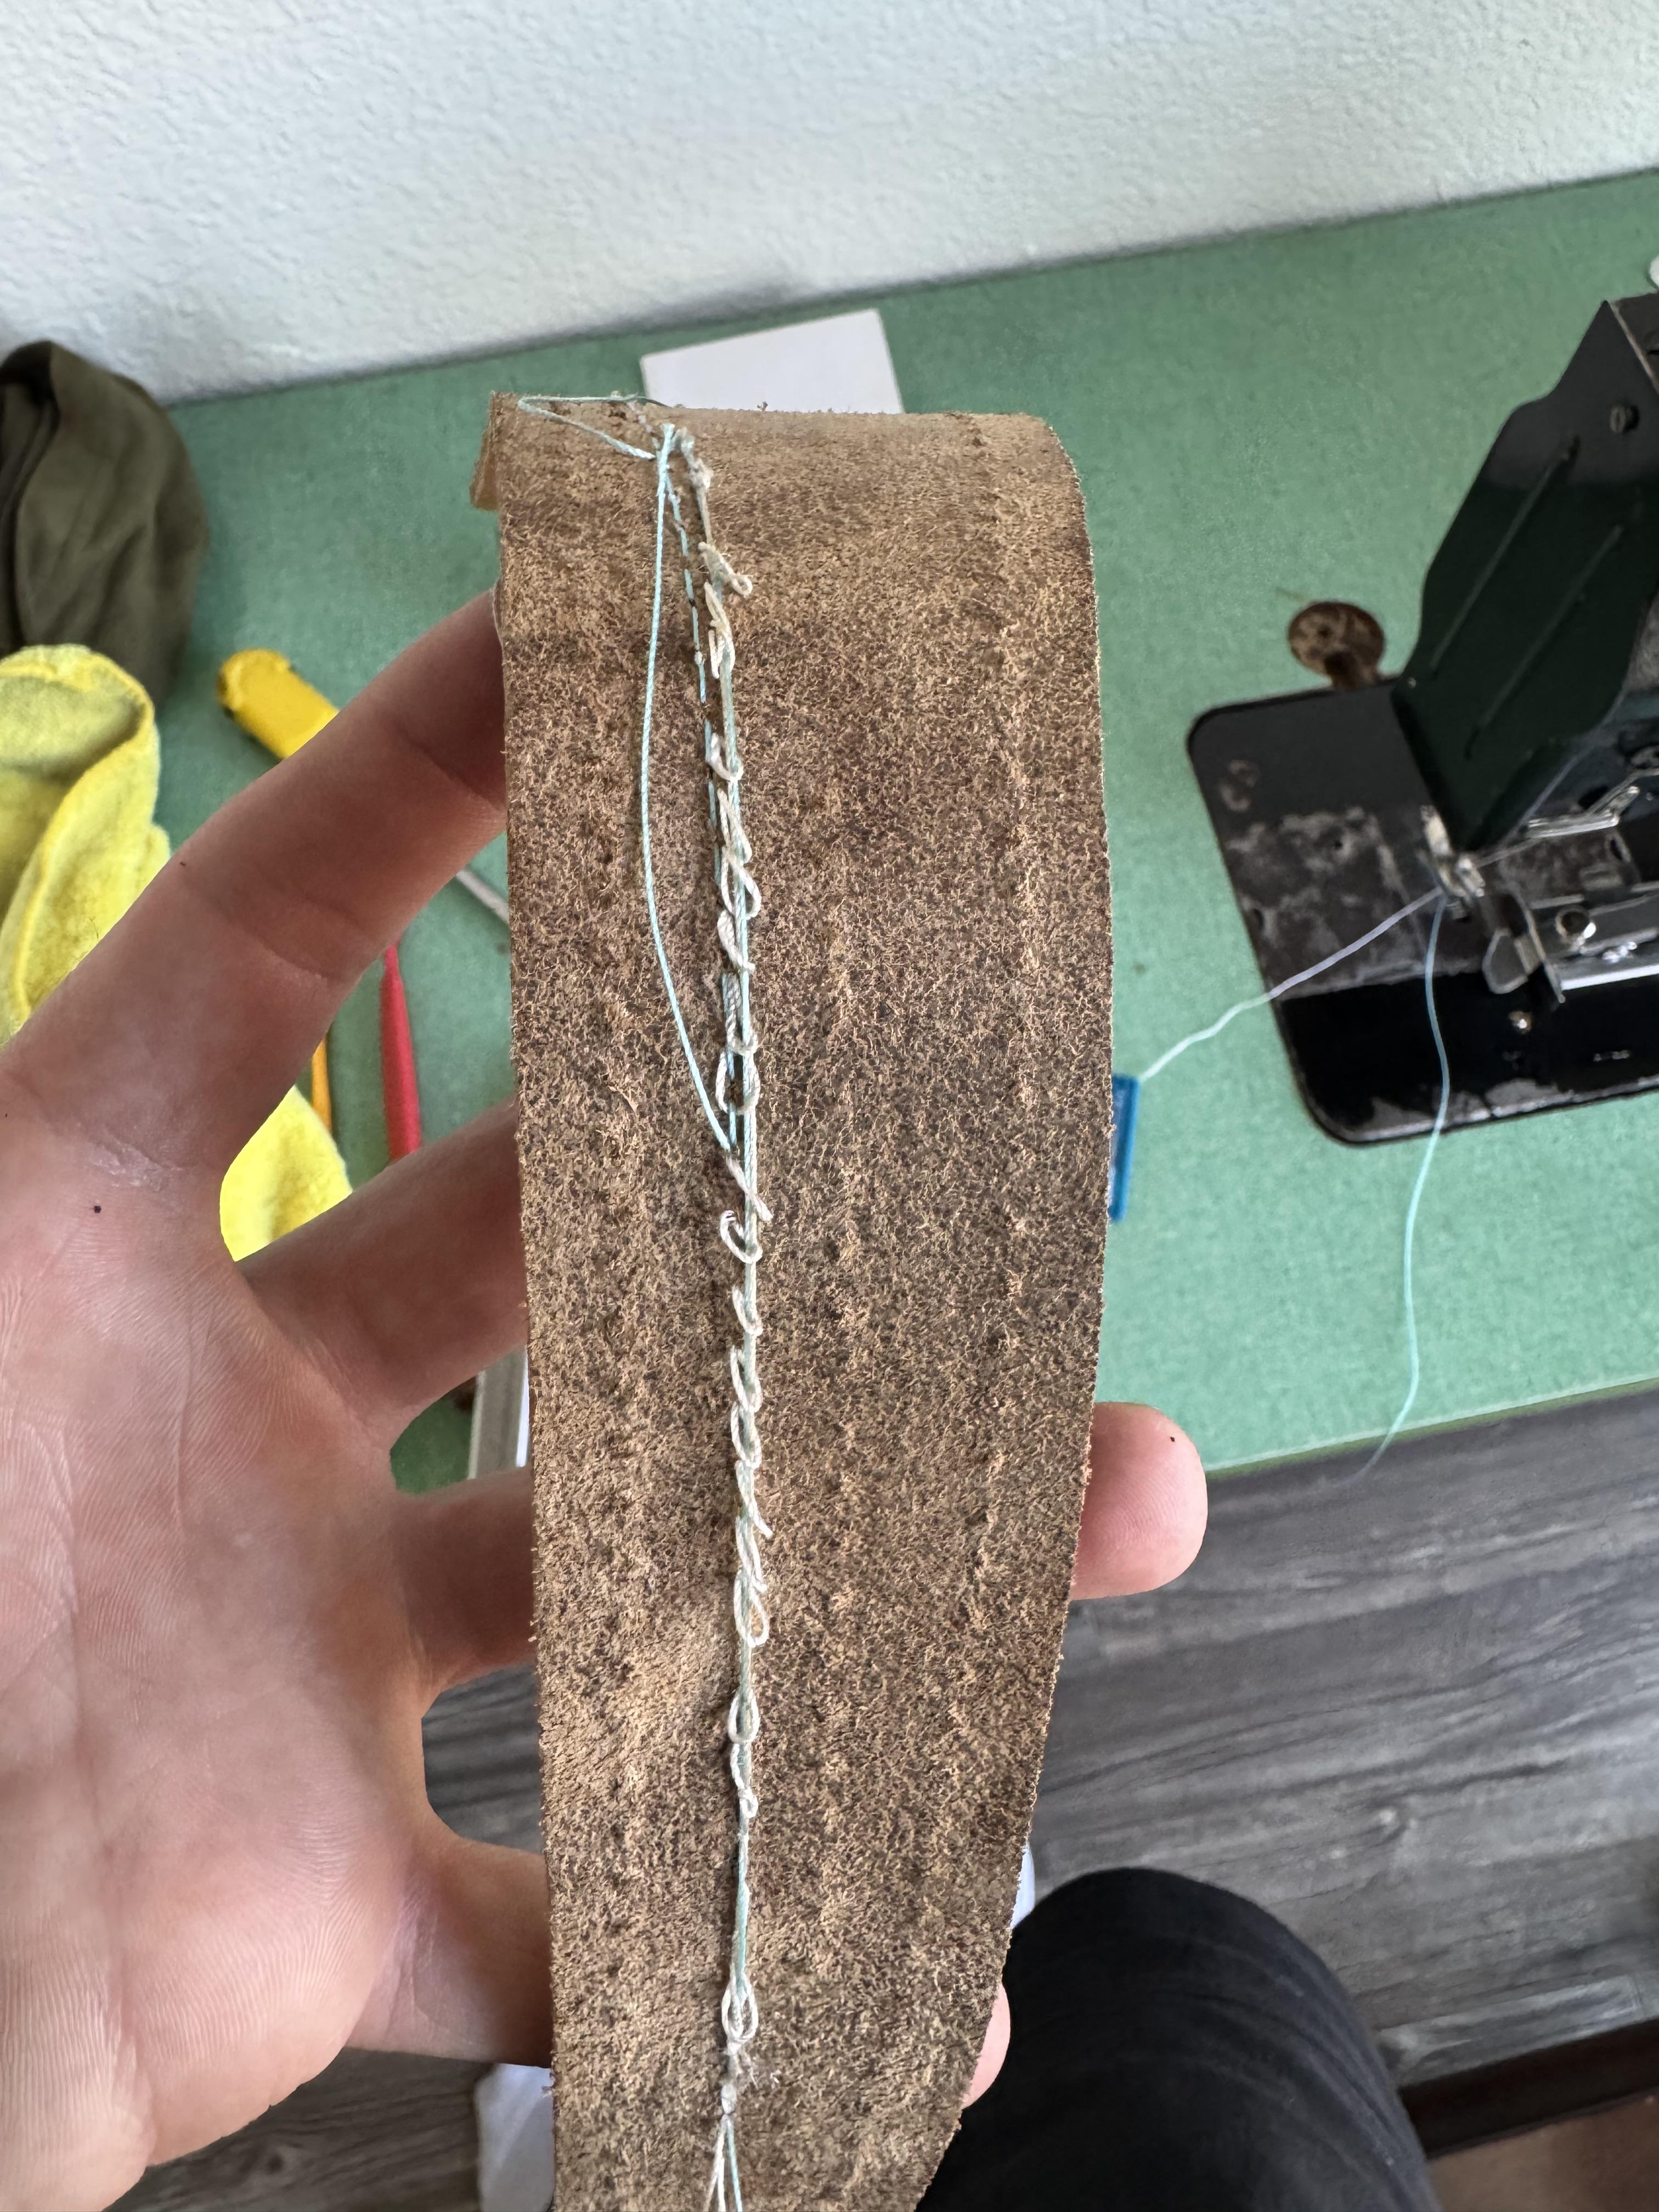
The biggest issue going on is the top thread is not being pulled up all the way to form a tight stitch...rather, the loops of top thread are hanging free on the bottom. As kgg said, tighten the top thread tensioner, and if that does not clear it up, post photos of your top thread path so we can see if it is threaded correctly. The other issue is that it is skipping stitches. Here you will want to make friends with the service manual so you can set the hook to needle distance, the needle bar height, and the needle bar rise.
-
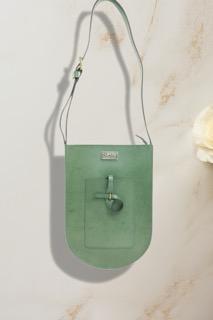
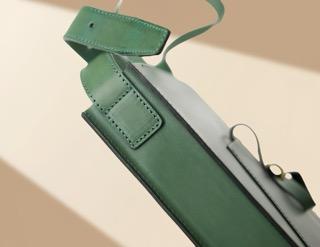
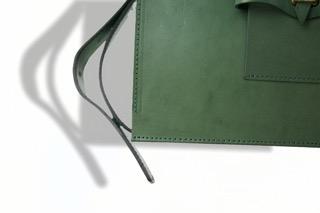
 Not exactly the style I would build . . . but from what I could tell . . . the craftsmanship looks good . . . the dye job looks very even . . . and that is a cute little tie thingy in the center front to set it off. All in all probably would sell on the uptown market . . . You did a good job. May God bless, Dwight
 -
 Original design, handmade, sustainable cowhide. We strive for the ultimate simplicity and elegance. We use simple lines to outline every line of the bag, giving you a unique beauty.njipens-bag.com


-
I would suggest taking a couple of photo's showing your top threading from the spool of thread to the eye of the needle. I figure it is incorrect threading of the top thread or a top thread tension issue. kgg
- Yesterday
-
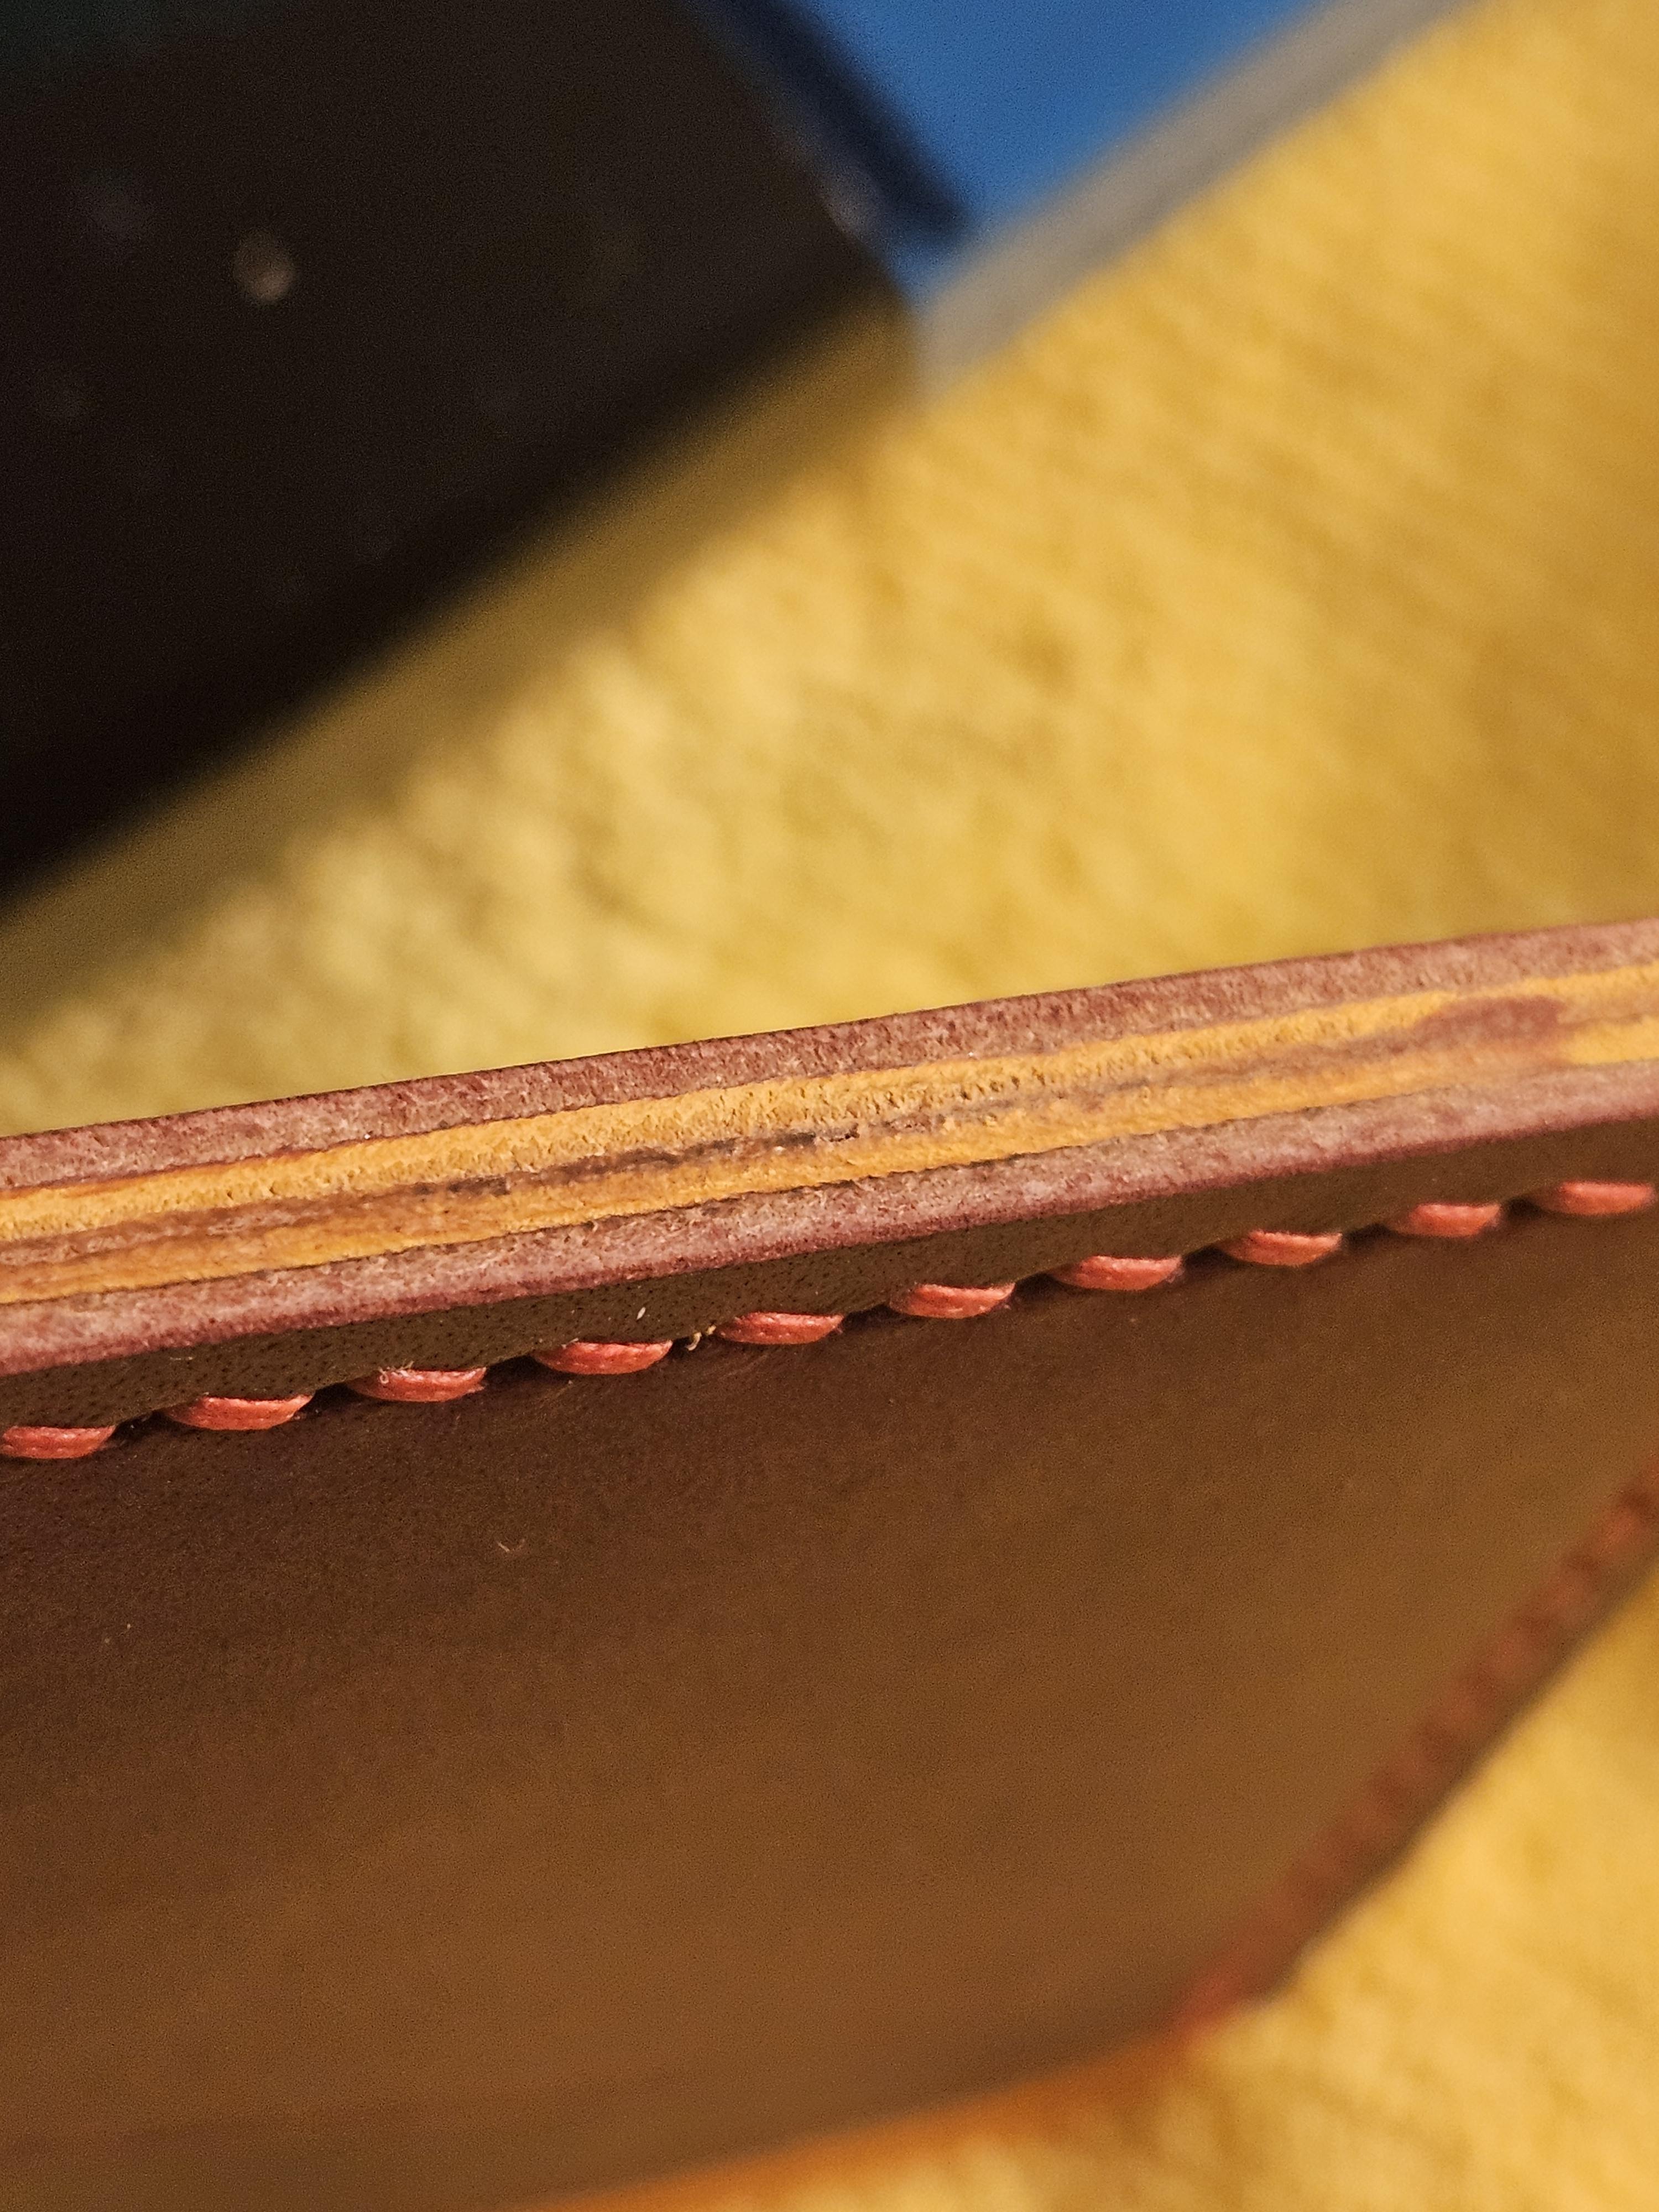
Ok, so this is how it looks like in the end. Much better than before. Thanks guys 👍
-
This is on my singer 111w155. Does anybody have any idea what I might be doing wrong? Or how I might correct this from happening. Thank you so much for any feedback!
-
Definitely not pretty , but yes, functional. Using a cam to operate the push rod, which could be shorter, is what I have in mind, just an idea kicking around.
-

Hand-cast solid Brass Buckles from a small foundry
dikman replied to Origibelts's topic in Suppliers
I'm curious why that is the weak link? What am I missing? It doesn't look any different to me than other buckles I have. -
Black powder double shot snake need help
dikman replied to DoubleKCustomLeathercraft's topic in Leatherwork Conversation
Bit of confusion there Jonas, he's talking about the lead shot not Black Powder. Brass would deform and crush if dropped/sat on whatever. Some sort of polyethylene funnel cut off and stitched inside? Or sheet polyethylene (milk bottle?) rolled into shape and stitched inside? Or as Chuck suggested, veg tan made to shape and stiffened (hot water?). -
glad it works for you.
-
He wanted info added, not removed from for sale. Did you catch that?
-

Black powder double shot snake need help
fredk replied to DoubleKCustomLeathercraft's topic in Leatherwork Conversation
Cow horn can be re-formed by boiling water, a constant rolling boil. But water boils at different temperatures according to how high you are above MSL -
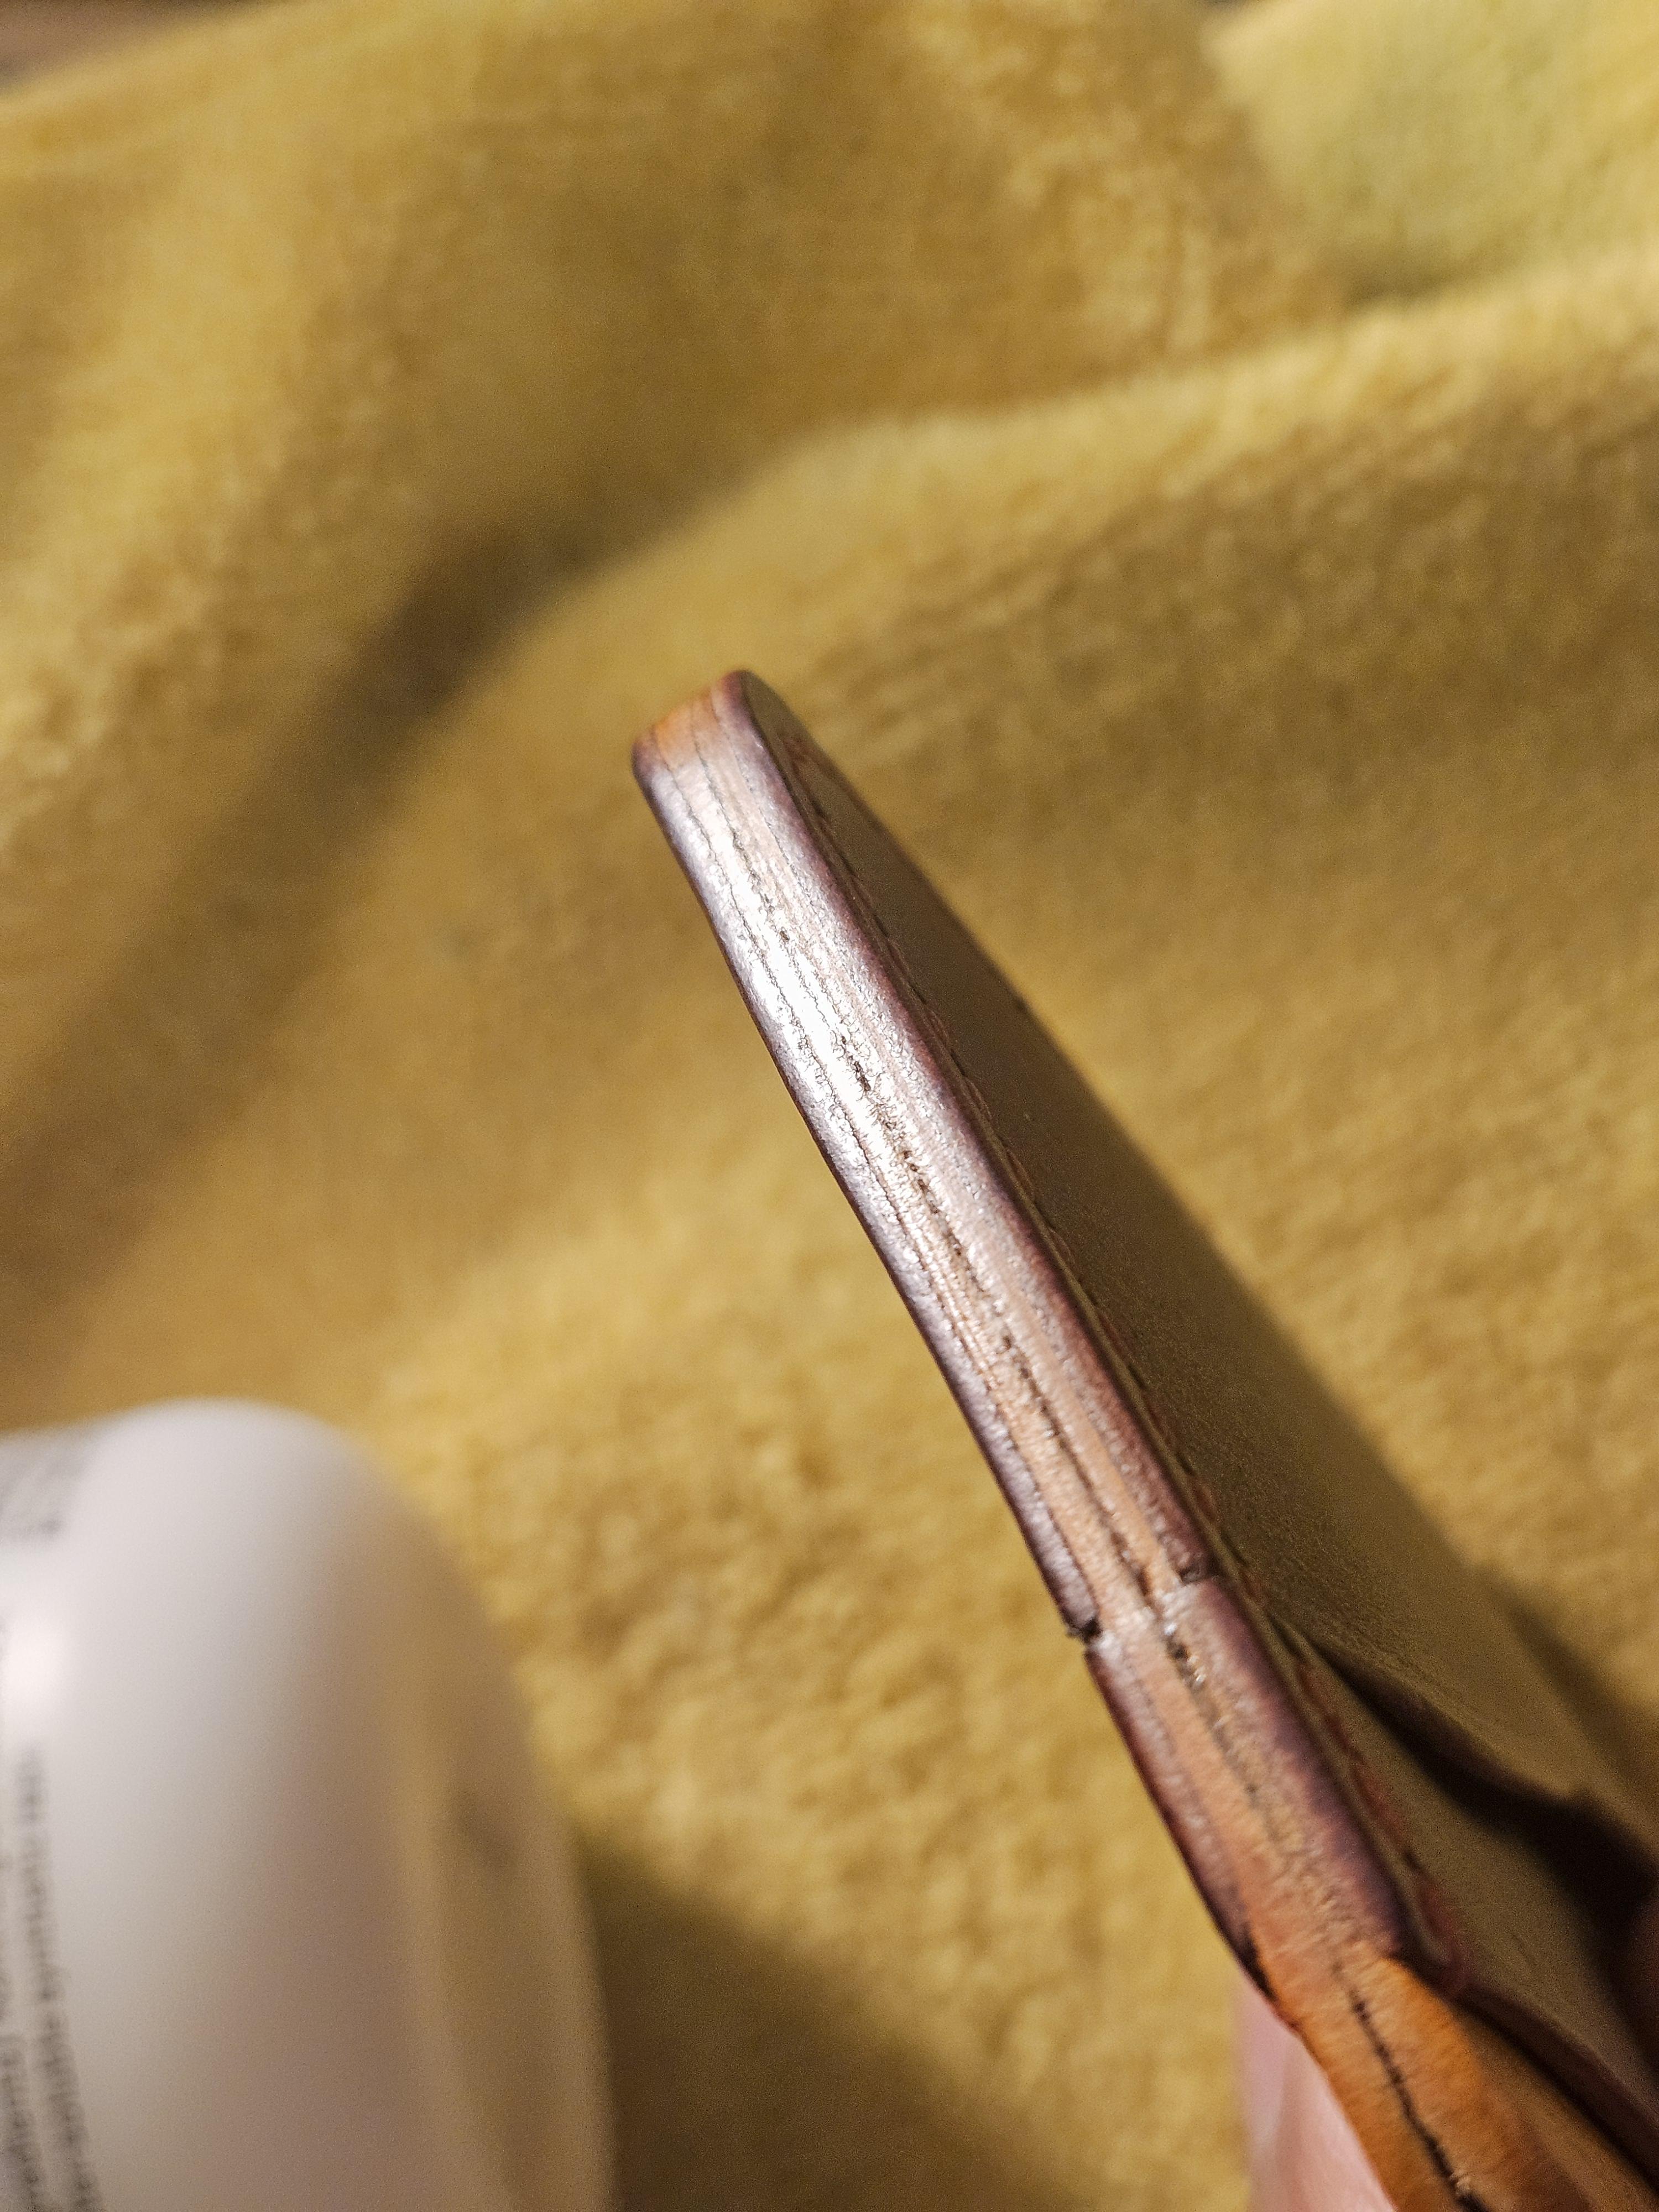
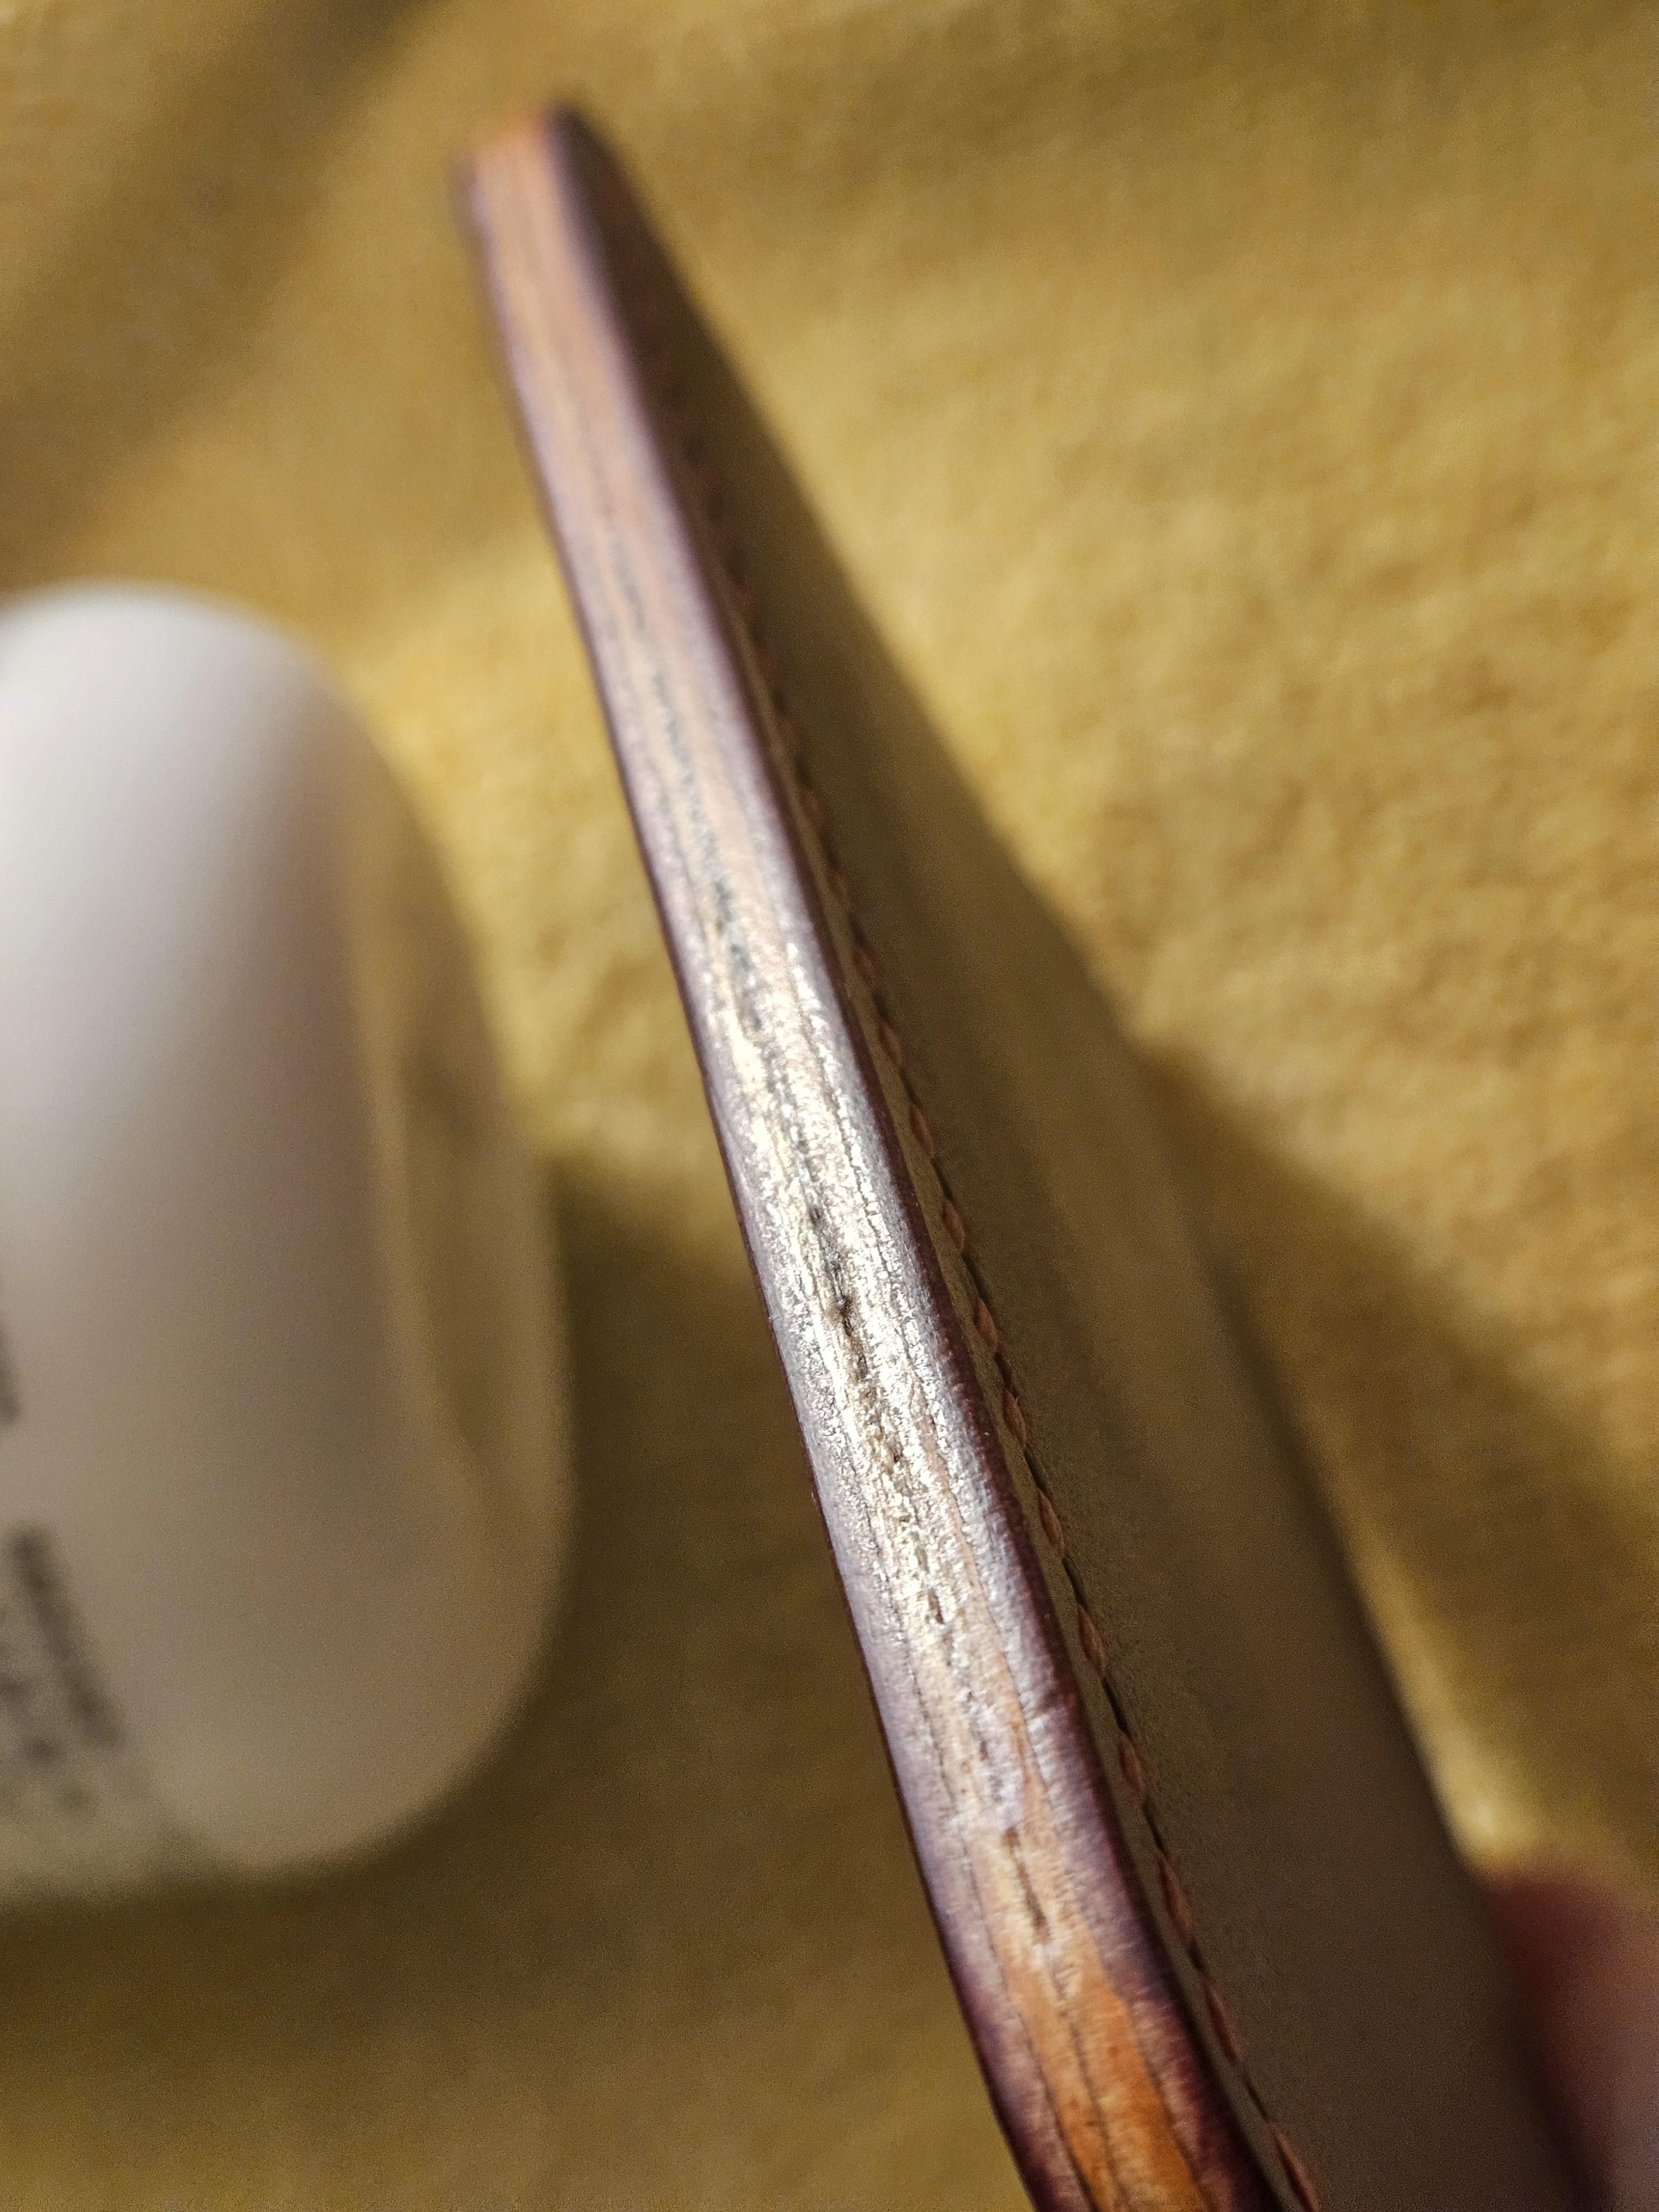
That looks great! It would be time for tokonole or gum trag, or you could go with Nigel’s method, which he swears is not licking it off-camera before slicking. (It does work, though… 😉) -AZR
-
Yeah, that's lookin' good. Apply the Tokonole! Good luck!
-
 thicker veg tan, wet mold it to shape. for that 2 " piece you have sewn in. tool it too lol.
 -

Clicker dies, no clicker press?
ThisIsMyFirstRodeo replied to ThisIsMyFirstRodeo's topic in How Do I Do That?
Thank you for tossing the idea out there. TBH, I don’t actually have a computer, anything digital that I do is through my iPhone. (I don’t dare touch my wife’s or daughter’s machines…) But, adding a $200 pc to a $300 engraver is still less than many clickers, especially if adding in the cost of the dies. Definitely not a prohibitive expense in the grand scheme of leatherwork. Thank you again, AZR -
Thanks for the input guys. Here's me latest project. Sanded the edges upto 1000 grit. Shall I apply Tokonole now?

-

Black powder double shot snake need help
Mulesaw replied to DoubleKCustomLeathercraft's topic in Leatherwork Conversation
That is really a specialty item! Looking really good I must say. My best suggestion would be to use a cow horn. In Europe it was the standard thing for holding black powder, so it won't be damaged by the chemicals in the powder. Cow horn can be shaped if you heat it up first. I am unsure about what temperature, but I think 325-350 degrees Fahrenheit seems to be the spot as far as I can see on the Net. You heat it up in some hot oil, and then you shape it. I'd make a tapered piece of wood with a broom stick as a handle. The tapered piece should look like a small cartoon christmas tree, with the brrom stick out the wide end. Cut a cow horn to a length a bit longer than the tapered piece. Heat up the horn, and press the tapered piece into the horn, and when it cools down it should retain its shape. An alternative route is to take the wide part of a cow horn, cut a piece off, slit it open and heat it up. Then you flatten the piece. WIth the flat piece you mark out to form a tapered pipe. THen heat it again and shape it over a prefabricated piece of wood. I have never tried working with horn this way, I just know the theory behind it. But I guess it might be a heckuvalot of work to make something like that when no one is ever going to see it. A second option would be to form a small cone using some sheet metal brass. Brass is easy to solder and if you get something fairly thin, it is easy to shape as well. Brgds Jonas -
Black powder double shot snake need help
fredk replied to DoubleKCustomLeathercraft's topic in Leatherwork Conversation
A polythene measuring cup, with the bottom cut off. The polythene will be flexible enuf to deform but re-take its shape -

Singer 211 U166A walking foot problem
AlZilla replied to NowhereMan01's topic in Leather Sewing Machines
Does that clutch only engage in 1 position? If not, you could just be locked in the wrong place. -

Singer 211 U166A walking foot problem
NowhereMan01 replied to NowhereMan01's topic in Leather Sewing Machines
Thanks! That diagram is very helpful. I loosened the end screws and was able to kick out the safety clutch, and get it to snap back into place (with the clear, distinctive sound that I've seen on YouTube videos). I don't have any feel for how tight it should be set, so I suppose it is safer to leave it at a relatively loose setting for now. The bobbin thread is still not getting picked up, so I'll post a video of that shortly. -
Nice. Got it done, looks pretty good. Having lined pouches for blackpowder and shot I feel your pain keeping things all together and lined up. Not sure what you used for lining here? I ended up using waxed cotton canvas to keep things moving freely and mostly waterproof, although the bison was fairly water resistant anyway. Nothing, I mean NOTHING sticks well to waxes. I used heat and tried to clean the wax off the edges, and that didn't really help. But I didn't need to punch stitch holes through the canvas. I figured that out after an hour or effing around trying to get things lined up so I could punch everything. The needles go right through haha. So in the end it wasn't too bad, but it was difficult none the less. Ensuring there's at least a folded edge so the stitches don't pull through, while keeping it all nice and flat against the leather (glues and cements don't work) was really frustrating and I think I went through double the material before I got it right. Any kind of pouch with loose lining is a nightmare to make imo
-
I'll go remove it, unless someone got to it already.
-
 I just got an order for a double shot snake. I've made one before, for the same costumer but it's been a few years. Definitely not a very common item, even at all the black powder supply companies online. There's no need to make any changes to my pattern, but he suggested using something on the transfer from the shot bag to the spouts to help keep their shape. I was thinking something like a funnel but not a thick piece of plastic. Was looking for something thinner but crush resistant. I have no clue what to call these tapered tubes other than that, tapered tube. That's not working for me on Google and was curious if anyone has any recommendations where to start? I could go with plastic sheeting but i think that'll crush. Anywhere here's a picture. The area I'm taking about is between the 2 powder/shot spouts connection and the main body. Any help is appreciated. Thanks
.jpg.8af876c9f9fc03c31b2dc1d34e6afe5d.jpg)


.thumb.jpg.6e903dd66163ad5672f00f144058c571.jpg)
