Spinner
-
Posts
1,373 -
Joined
-
Last visited
Content Type
Profiles
Forums
Events
Blogs
Gallery
Store
Everything posted by Spinner
-
My pleasure guys, it worked out to be a good time as I realized I pretty much had an example picture for everything I was talking about. One thing I need to put together is a step by step of how I run two opposing runs of double loop lace into each other, maybe something to work on this weekend.
-
Looks good, you got a nice aged look to the coloring. Any reason why you didn't lace the whole thing (flap and all)? Just curious. I like the tie out idea for closing the flap, gives it a look that it's been around the block a few times and the straps just plain aren't there anymore but were once upon a time. Cheers, Chris
-
A few more:


-
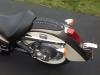
Here's a sample of pics of rear fender bib I have made, hopefully they will inspire someone:


-
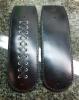
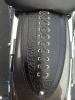
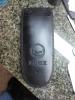
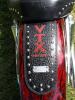
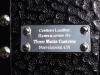
Patternmaking tips When making the pattern for a rear fender bib, it's best to start at the known point, the rear pillon bolt. I usually extend the bib 1" - 2" past the pillon bolt (towards the taillight) to give it some extra space in case the client wants to use a custom bolt or bolt cover which can be as large as 1 1/2" in diameter for the larger ones. When measuring the fender distances, use a cloth tape measure if possible to get the most accurate measurements. A hard ruler won't follow the curves as well and will result in your measurements being off slightly causing fit issues. For Harleys and other bikes with the seat bolts on top of the rear fender: Measure the distance from the center of the rear pillon bolt to the center of the seat bolt(s) to get the correct spacing. If the seat uses two bolts to mount, measure the distance between the bolts center to center. Fold a piece of hard pattern board (poster board works just fine) in half, marking the locations of the bolts using the fold line as the center line of your pattern. Measure the distance of available space under the seat from the seat bolts (usually 1" - 3") Mark off the distance past the pillon bolt, the width desired at the widest point and the rear edge that will terminate under the seat Using a ruler, french curve set (packing tape rolls and coffee cans can also be used for curves) design the curve and outside edge profiles for the bib With the pattern still folded, punch out the holes for the bolts and cut the shape out of the poster board. This will ensure the distances are equal in 2 bolt configurations and that the edges match each other. Unfold and use your new pattern For Imports and other bikes without fender mounted seats: Measure the distance from the center of the rear pillon bolt to the rear edge of the seat. Measure the distance of available space under the seat from rear edge (usually 1" - 3") Fold a piece of hard pattern board (poster board works just fine) in half, marking the location of the pillon bolt using the fold line as the center line of your pattern. Mark off the distance past the pillon bolt, the width desired at the widest point and the rear edge that will terminate under the seat. Using a ruler, french curve set (packing tape rolls and coffee cans can also be used for curves) design the curve and outside edge profiles for the bib Punch out the hole for the pillon bolt and cut the pattern out while it is still folded in half. Cutting it out while still folded will ensure the edges match up. Unfold and use your new pattern. Tooling & decorative designs One thing I have noticed is sometimes a client will send in a drawing of a fender bib to be made and the artwork is 'backwards', facing the front of the bike. Now, it's their bib so they are welcome to design it anyway they want but I always point out the orientation is typically towards the back of the bike. Why is this? Well, those folks tend to think of when they are getting on the bike and during their approach the artwork will be facing them. So during the 5 seconds it takes to get on or off the bike, the artwork is oriented correctly. However, when they and others are checking out the bike at Bike Night or wherever, they are standing beside or behind the bike looking at it for minutes/hours/etc. and the artwork is upside down. It will also be opposite of any tank bib artwork or custom paint job orientation. The only pieces/areas that are typically forward facing are the headlight(s), windscreen and seat since they are all forward facing and generally only viewable from that direction. Here's an example of a tank & fender bib set from a typical bystander view point to show how the rear facing orientation works: Protecting the paint The last thing you want your fender bib to do, seeing as how it is essentially armor for the fender's paint job, is for it to mar the paint. Adding a layer of soft material, I prefer felt, will keep the stitching, lacing, rivet & spot back and anything else on the underside from contacting the paint and rubbing it raw. Some folks use deerskin and such but I find felt to be softer, doesn't harden with age and is easily cleaned and replaced if necessary. Cut the felt slightly oversized using your pattern as a guide. Using a strong heat & waterproof spray adhesive like Loc-Tite 300, spray the back of the fender bib and the piece of felt and let it tack up. Apply the felt to the back of the bib (glue side to glue side) and press firmly together. Using a pair of scissors, trim the felt to the edge of the bib, making sure not to cut the lacing edges. Now, flip the bib so the bottom is facing up and using the scissors at an angle (nearly flat against the bottom of the bib) trim the felt to a feather edge so it blends into the lacing without being visible from the top or sides. This ensures the lacing can't contact the fender paint but also isn't seen when mounted. If velcro is needed to sure the seat side of the bib, attach & sew it to the very back edge of the bib. Putting the velcro back as far as possible makes it hidden under the seat if the bib is taken off. This is the reason for the extra 2" - 3" of bib that extend under the seat. Here are a few examples of the underside of a completed fender bib: Hopefully that helps sort out some of the questions. Feel free to drop me a line with any others. If I think of more tips, I'll make another reply. Cheers, Chris Three Mutts Customs

-
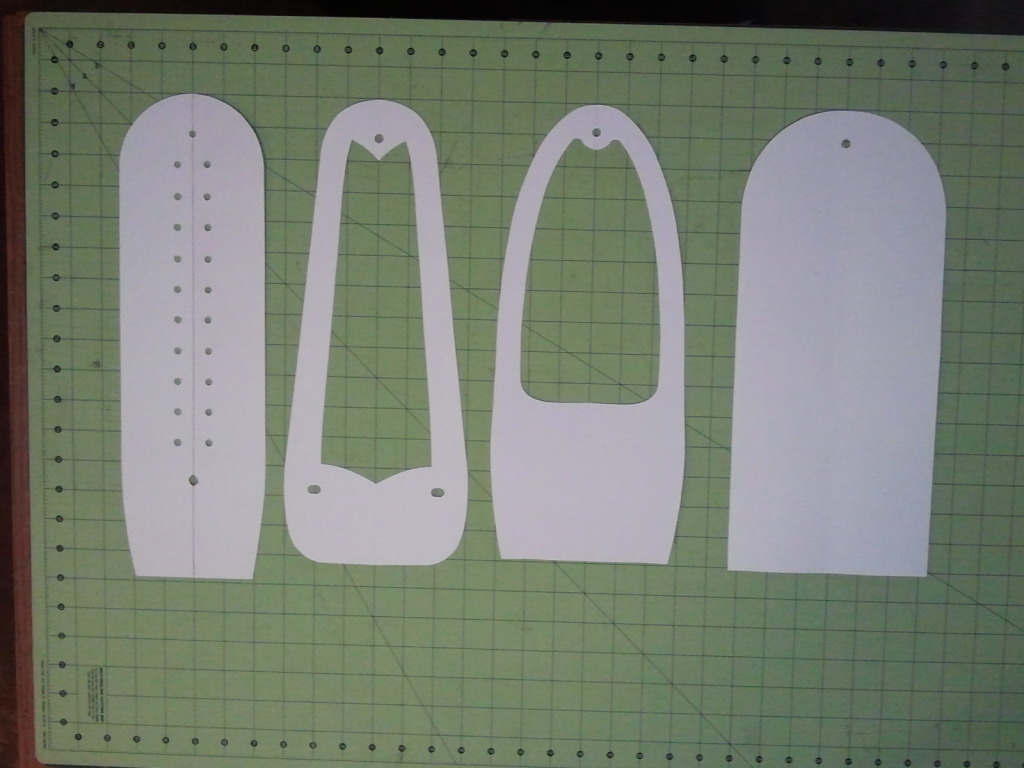
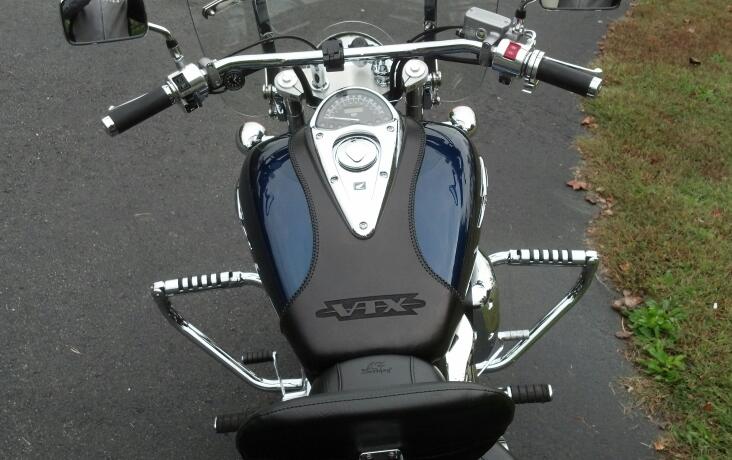
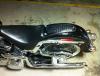
I've had a few questions pop up since my last post, mainly regarding rear fender bibs so I thought I would share some design thoughts and a few tips on making them along with some photos for inspiration. For most riders, a rear fender bib is purely decorative. When someone switches to solo riding, there is now a big empty space on the fender that many feel needs to be customized and fender bibs are a great way to do it. Shapes: There are 2 common shapes, along with limitless design variations, that a fender bib typically comes in. The standard "U" and a tapered shape. The photo below shows a few standard variations (R to L) Standard U, Bullet, Taper and long U. The shape will be somewhat determined by the fender width and the style the client is looking for. Thinner fenders like on Harley Softails, Blacklines & Slims work better with a taper or long U. Wider fenders like on Harley Street Glides, Road Glides and most import crusiers like the Honda VTX, Suzuki M109, etc. work better with a standard U or Bullet variation. And occasionally you'll find someone who breaks the trends and goes with a different combo to carry on a theme like this VTX1800 with a tapered style fender bib. Size: Length: The size of a fender bib is pretty much a fixed variable. The length will be determined by the pillon (rear seat) holes & bolts that were left after taking the seat off and by the distance from the rearmost pillon bolt to the driver's seat back edge. Most Harley's have two sets of bolts, the driver seat rear bolt(s) and the pillon bolt. Most imports will have only the rear pillon bolt and are secured using velcro under the driver's seat. Width: Width of a fender bib is preferential to the maker/buyer but I stick to a guideline of 1" - 1 1/2" narrower than the top of the fender. At 1 1/2" narrower than the fender, this provides almost full coverage without having to worry about the edges falling over the side or catching in the wind and flapping. The double & triple loop edge lacing (or mexican round braid if you prefer) will add approximately 1/4" to the width leaving 1/2" of fender top on each side of the bib making a nice framed look for your custom leather. (to be continued after lunch, please don't comment yet so all the text stays together...Thanks!)


-
Also keep in mind that latigo lace is thicker than kangaroo or calf, the two most commonly used for braiding and lacing. Likely why it's filling the holes more than you were expecting.
-
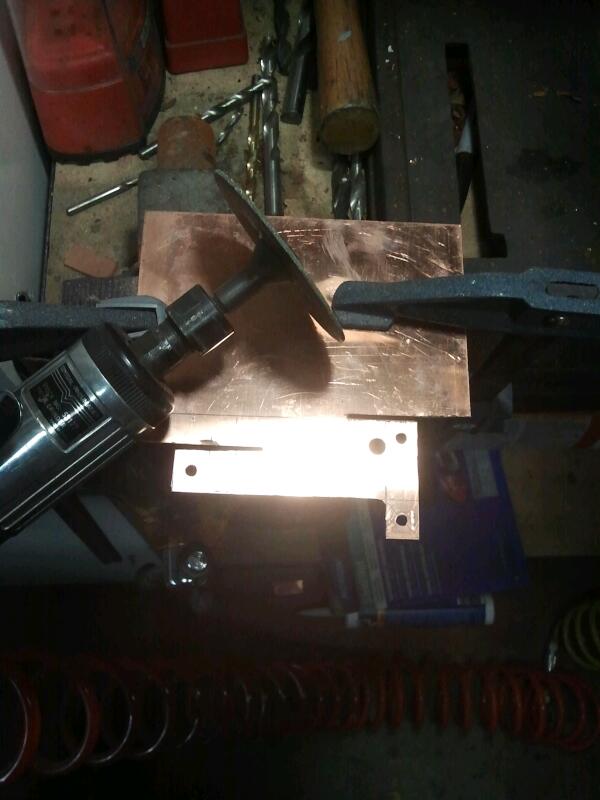
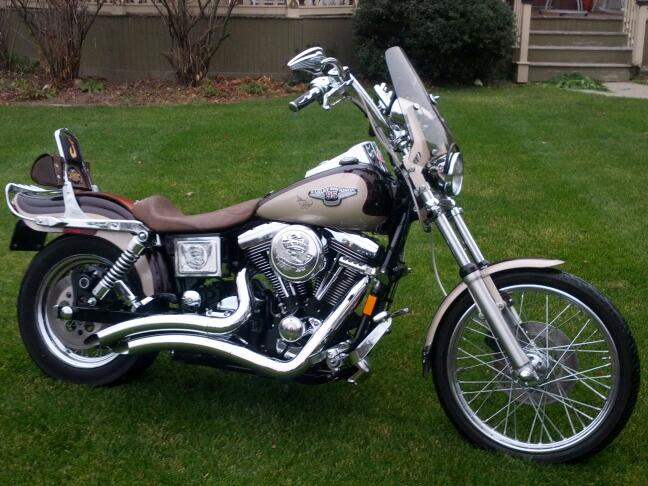
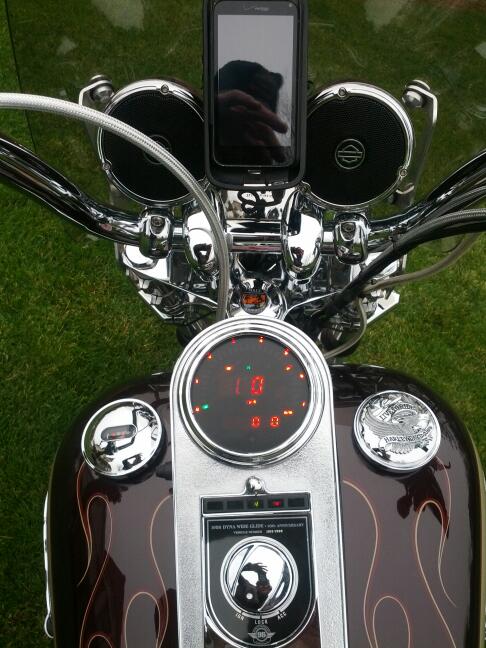
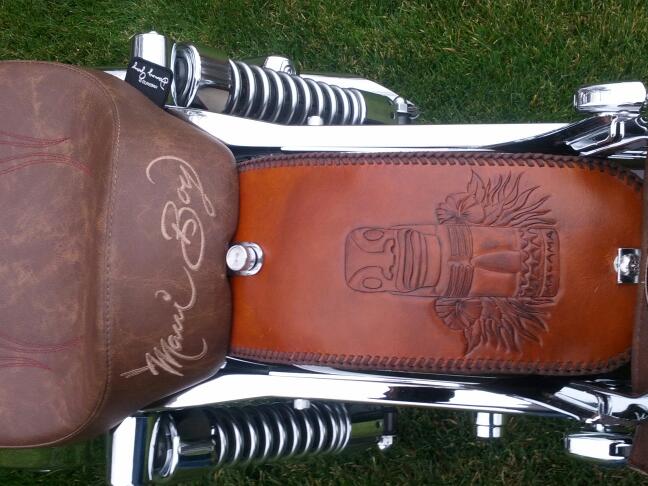
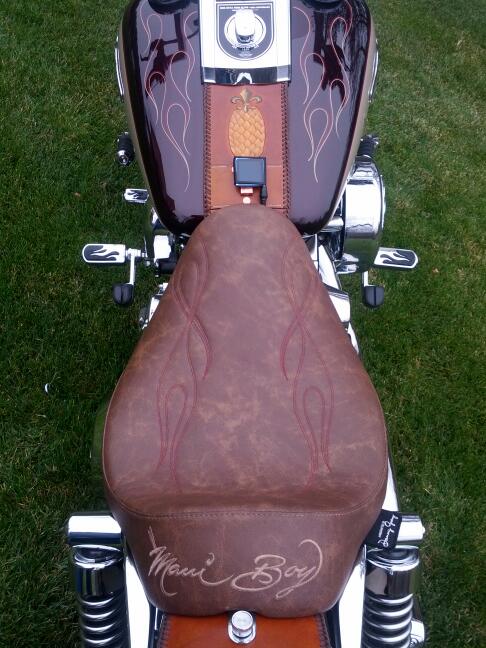
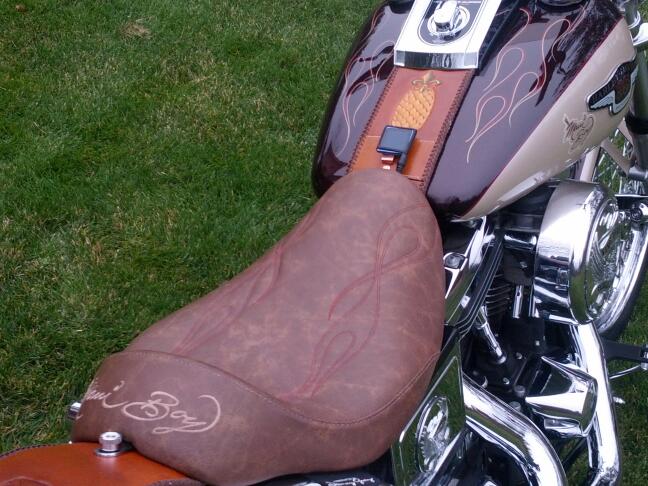
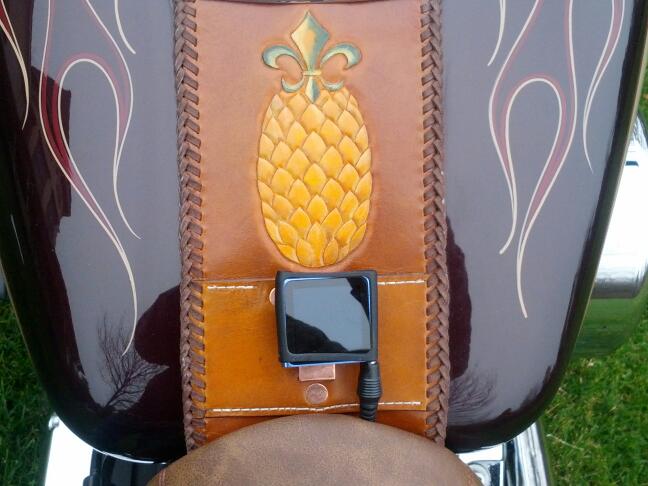
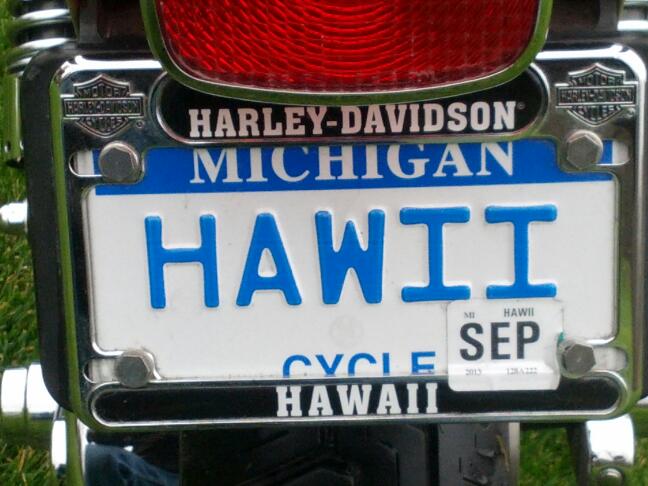
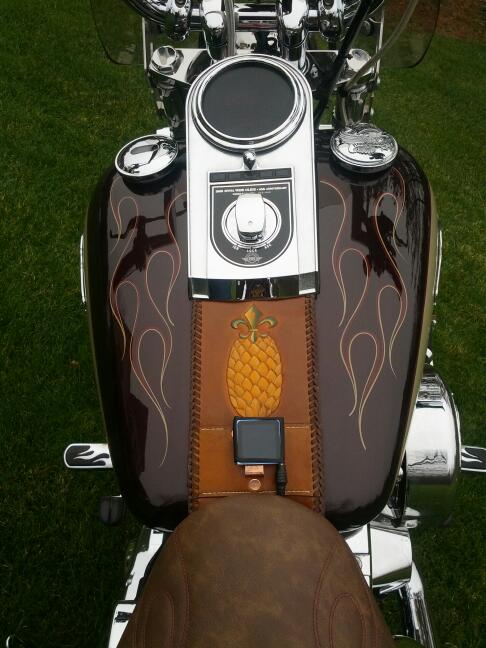
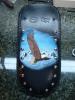
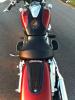
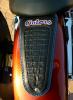
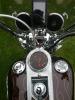
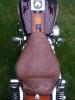
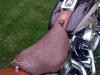
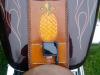
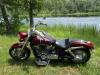
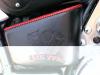
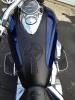
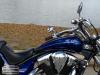
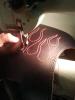
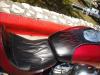
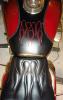
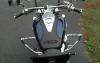
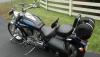
As mentioned in a previous post, here are a few more recent project pictures... The first set is of a tank bib, fender bib and backrest pad replacement panel set I did for a 1998 Harley-Davidson Wide Glide (FXDWG). The client spent 28 years in Hawaii and is now in Michigan, think he's a little homesick? The tank bib features a custom iPod clip bracket which I made out of copper to stick with the color scheme and it will patina nicely to help it match the antiquing later down the road as it ages. I also buffed & polished the copper rivets to match. The rear fender bib is saddle tank & black antique gel, the tank bib is the same but with the pineapple dry brushed with Citadel acrylics for the color & shadows. The edge lacing was done using the kangraroo lace backwards (flesh out) to get a closer match on the color and texture of the custom Danny Gray seat he also had made. Enjoy! Chris http://www.threemuttscustoms.com


-
Looking For 1/8" Burgundy Kangaroo Lace
Spinner replied to Spinner's topic in Leatherwork Conversation
Received an email reply from them, nice folks so far. Sounds like they either have a batch brewing or they are making it on request as they indicated 3-4 days before it would ship. I'm ok with that as long as it's the right color. The ship time estimate is 7-14 days as it comes via AirPost but expedited shipping is available, sounds like an email requesting a paypal invoice would be required for the faster shipping though as I couldn't find that option in the online store. -
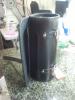
Water Bottle
Spinner replied to ReneeCanady's topic in Purses, Wallets, Belts and Miscellaneous Pocket Items
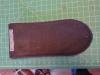
Nice Renee, did you soak/line the inside with anything like beeswax to keep it waterproof? -
Thanks for the comments folks, appreciate it. Glad to help shed some light on the designs, feel free to hit me up with any questions.
-
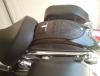
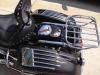
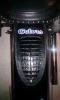
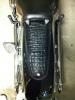
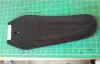
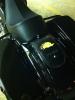
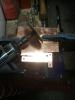
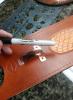
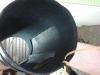
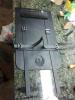
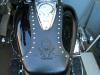
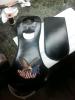
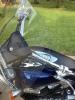
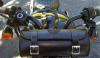
Thanks 2hole cbeatti, actually, the part you can't see is the storm flap on the inside. Everything fits very closely to begin with, but to ensure an actual seal, there is a smaller secondary flap made from 3/4 oz goatskin inside the outer flap. When the outer flap is closed and cinched in the buckles, the storm flap is pressed down very tightly, overlapping the bag opening by 1/2". For water or wind to get into this bag you'd have to riding in a hurricane. Here are a couple of shots from during the construction showing the flap and how it secures. The last pic is kind of cool as it shows the bag all laid out before it was assembled.
-
A full set of leathers for a 2002 VTX1800C nicknamed "Evil Twin" tooled & spotted tank bib, rear fender bib, custom side covers and (not shown) backrest pad for when he switches to 2-up. I'll be doing a roll style bag and a speaker enclosure for the bag sometime in January as well. Thanks benlilly! Scary part is, this is only about 25% of the work I have done since my last posting in August. Seems not everyone wants to take a minute and send me a pic of their new leathers...probably too busy out riding! I have more fun pics but I still need to reduce the file sizes so they are easier to load, so maybe another post tomorrow or Wednesday. Cheers, Chris


-
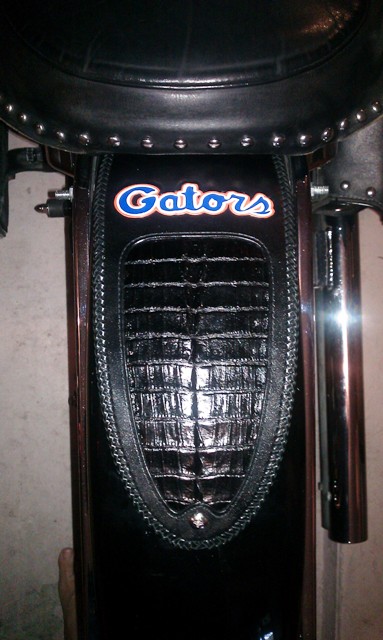
A few more projects, but not the last post yet... 2003 VTX1800R whaletail tank bib with VTX Knight tooling 2008 Honda Shadow Aero 750 tank & fender bib. Tank bib is tooled & painted with Citadel acrylic paints, close-up of the artwork is included. Two different Honda VT1300CT Interstates, one with a tooled whaletail tank bib, the other with a Tuxedo style bib & wedge style handlebar bar with tooled cross on the flap. Rear Fender bib for a '99 Harley Softail Heritage with alligator tail inlay and tooled & painted "Gators" text.


-
Thanks everyone. David - I use a combination of Pro Oil dye and Black Water Stain on all my black work. 2 wet-on-wet coats of the dye then a good coat of neatsfoot oil and topped off with black water stain and resolene for the sealer. For the all black items, I finish with a coat of Pecards Black Weatherproof dressing. For items with some color (dye, lacing or paint) I use the natural dressing. Eugene - The dragon is the artwork from a tatoo the client has. I had to work off pics of his shoulder as he had misplaced the original drawings.
-
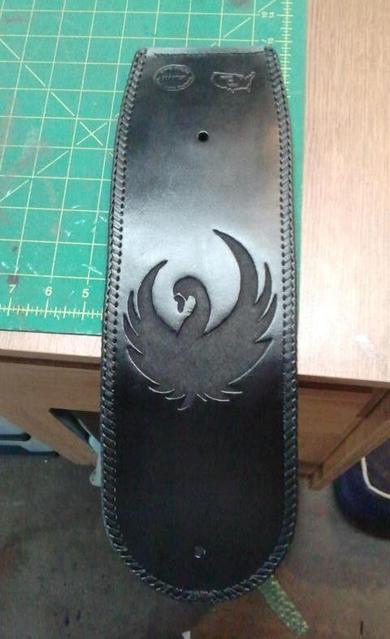
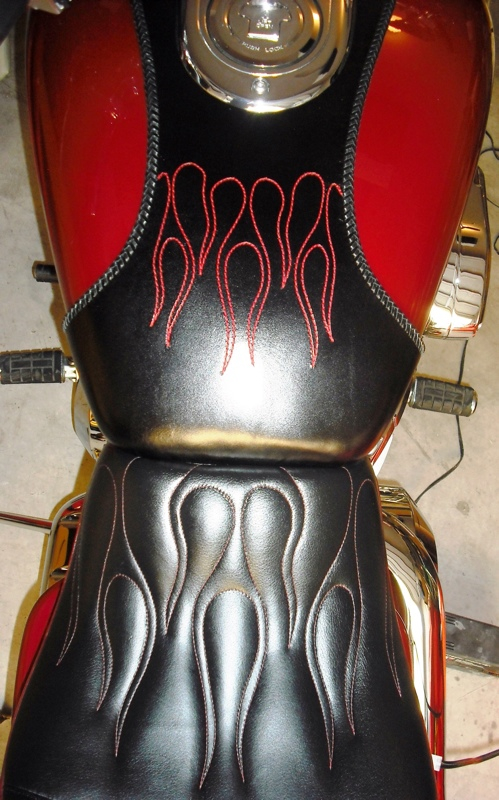
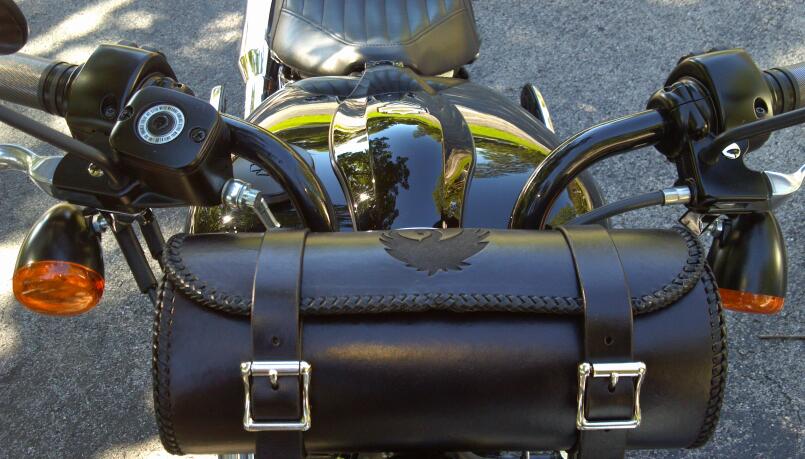
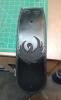
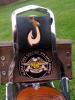
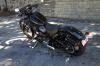
Here are a few of the latest pieces to roll off the workbench and onto client bikes. It's been awhile since I posted so I'll likely do this in a few replies. Whaletail Tank bib - 2002 VTX1800C with stitched hot rod flames in 207 flame red thread Rear fender bib and handlebar tool roll bag with matching "Black Swan" icon tooled into them - shown on a 2011 Harley Blackline Whaletail tank bib with VTX logo on a 2006 VTX1300R Dragon with bagpipes tooling for a tank bib project Cheers, Chris http://www.threemuttscustoms.com


-
Looking For 1/8" Burgundy Kangaroo Lace
Spinner replied to Spinner's topic in Leatherwork Conversation
Yeah i saw that but the color is off. Thought it might just be a web RGB color thing so I called and Emma at SLC confirmed it's more of a Fuscia color than Burgundy. I ended up placing an order with the place in Australia you mailed me about but haven't received a shipping confirmation yet. Hopefully they get it out soon so I can hit my deadline. Client has already told me he'll wait for burgundy (original order was for red) if I can find it. -
I started out by wanting a custom seat for my motorcycle. Hand made the pan, padding and seat and enjoyed the whole process so I started dabbling. I have an art background so the drawing/carving/tooling of designs came easy and it was a matter of figuring out how to manipulate the tools correctly. Early on I just did whatever came along and bid on pretty much everything in the new Etsy custom request area. Made a few wallets, dog leashes, etc. but nothing really felt right. One day I decided to make a simple tank bib for my wife's bike and while working had an inspirational moment regarding the side covers on my bike. A couple of weeks later I posted them on the bike forum I was on constantly and orders started rolling. About 6 months later, the guy who originated the whaletail tank bib design for my bike and a few others posted that he was retiring. Seeing an opportunity, I spent the next couple of weeks figuring out how to make them and posted my own designs. Bought a handful of popular gas tanks (a few = current count of 13). Haven't seen a day without an order to work on since. A corporate relationship that developed in the last year is now pushing me towards rear fender bibs as a main item, which is fine with me. I've made a few bags and enjoyed it but haven't found the right market for it yet but it gives me something to work on for the future.
-
Brother, you came through nicely! I thought it looked brown too until I looked at the color chart they have on another page. Definitely has the red/wine tone to it I'm looking for. Thanks! http://www.amazing-lace.net/store/downloads/roolace_large_colors.jpg
-
Best Paints To Use For Seats And Final Finish
Spinner replied to troy's topic in Motorcycles and Biker Gear
agreed, that is one hell of a nice carving. -
Thanks Brad, I checked with SLC right after Y-Knot. The picture struck me as odd though so I called and Emma confirmed it's not burgundy, it's a strange fuscia color. I thought maybe the picture was just off but that is the true color, appears they need to rename it.
-
Hey Folks, I'm looking to buy 20ft or so of the 1/8" burgundy lace like y-knot sells. Sent Barb a message to find out when it will be back in stock but I have a feeling it won't be in time. I just started experimenting with cutting my own lace so that's not an option for the project. If you have a roll and are willing to part with some of it, drop me a message with a price and let's talk! Cheers, Chris
-
Leatherburnishers.com ... Anyone Have Their Tools?
Spinner replied to RoosterShooter's topic in Leather Tools
You can, and many folks do. It's still not going to be 100% like with sanding though. What you end up with is 4 smaller, more obtuse corners so the 'burr' will be smaller and more compacted but it is still there. This is typically what creates the gravelly (totally made up word) look. Without sanding, it's pretty much impossible to get the shiny, smooth, gorgeous, long lasting edges that Bobby achieves and describes in his tutorial.