Spinner
-
Posts
1,373 -
Joined
-
Last visited
Content Type
Profiles
Forums
Events
Blogs
Gallery
Store
Everything posted by Spinner
-
That's one of the things I've been impressed with in reading about them. Some of the forums I have read talk about the well made sheaths retaining their "pop" for tens of years. (A true Scandi sheath actually makes a small pop sound when the knife is drawn due to being formed around the knife it's meant for and the design of the knife/sheath combo). The thing that is impressive is that their stitching isn't set as far back in the leather as a pouch sheath and they still remain that tight after regular use. If you haven't read this article yet, http://www.mamut.net/gjknives/subdet1.htm it's a good way to see the differences in Scandi vs. pouch sheath construction.
-
No problem Ray, I actually came across all the information by accident one night, can't remember why, but I have been intrigued ever since. The shop I am working with is http://www.brisa.fi they have been very nice and have a number of folks on staff that speak/write fluent English so that has helped. They carry both the half tanned and lapp leather mentioned here as well. (Side note, if you register for their website before ordering the pricing is 10-20% less than normally displayed). I also splurged and bought and Enzo Nordic style knife kit so looking forward to making my first knife as well.
-
Depending on what geographic area you're looking at, it may be similar to the process I'm researching right now. In Europe in the 1700s and 1800s there was a process of making sheaths, particularly for knifes but also for swords, that used what is called half tanned leather. The tanning process is stopped about half-way through so the end result is a leather with 3 parts to it. The exterior flesh and skin sides are tanned but the middle 50% (think the filling on a sandwich) is still rawhide. This allows it to do a couple of things: a) when it dries, it shrinks more than fully tanned leather making for a more precise fit the center/core of rawhide dries harder than boiled full tanned leather making it more rigid I ordered some half-tanned leather from Finland today and will report back once I get it and have more first hand knowledge. Hope this helps.
-
Thanks for the confirmation Dave. Crap...was hoping to have something to push part of the blame onto but it looks like it's all on me! back to the 3P's!
-
Maybe that's why your lifter is busted? Have fun re-doing it.
-
David, The site looks nice and is easy to use/fast to load on my crappy work computer so that's a good thing. Question for you. Your design/carving style is pretty much what I am striving for and I'm curious about something. The lettering for the Smokeout and Sucker Punch Sally title seats is crisp, and well defined even in tight areas. What bevelers are you using in these areas? I know practice definitely makes the difference but so does the right tool and I'm not sure if what I am using is the best for this. I'm using the Barry King smooth bevelers sizes 1-3. I don't mind spending money on tools as long as I know that with practice they'll get me where I want to be. Any help would be appreciated. Thanks, Chris
-
Anyone Give You The Look Of Horror...
Spinner replied to Shorts's topic in Gun Holsters, Rifle Slings and Knife Sheathes
Interesting that you bring this up Shorts. I occassionally get similar reactions here in L.A. but to the even broader, simple answer of "I do leatherworking as a hobby". Here you sometimes will get a reaction from that seemingly simple statement. "You cut and carve up the skins of defenseless animals for fun?!?" Yeah, the PETAites and wannabe do-gooders here can be and are very hypocritical in certain areas. Even when you point out that their Nike runners, Itailian leather BMW seats or their monogrammed briefcases were all made the same way, they still act shocked and appalled. One gallery buyer that I used to deal with for woodturning turned me down for potential leatherworking pieces due to the fact that "they refuse to sell animal flesh". Needless to say I pulled all my work from the gallery and told them to pucker up and K.M.A. -
Well, the US distributors didn't work out, but I did speak with someone at Brisa Knifemaking Supply in Finland and they ship to the US quite often. Dropping you a line Noah, to see if you want to piggyback on my order of leather to get a few pieces yourself. Chris
-
For many of the aftermarket bib companies, velcro is the most common. There is an 'automotive' version you can pick up at Joann's fabrics for about $10 for a decent sized roll, includes both the hook and loop sides. The nice thing about self-adhesive velcro is that if it ever needs to be removed, a hair dryer produces enough heat to peel it back up and then Bug & tar remover will get rid of any residue without harming the paint. Other things to consider, depending on the bike model: does the seat mount up against the gas tank, does the speedometer have enough space underneath, etc. If you can use any of the bike's parts or bolts to help keep the bib down without using additional adhesives or magnets, that's the way to go. You can see here that I am using the seat and speedo to help secure the bib: Here is the unmounted bib. The cutout at the top allows it to wrap around the hardware under the speedo. I used velcro at the straight parts of the "C" shape so the adhesive side will be under the speedo so even if the bib is off the bike, the velcro won't be seen. Hope this helps... Chris
-
Nice work on the seat and the vent Chain. Funny, sad and right on the money all at the same time. If you don't mind, I'm gonna add FULL OF THEM SELF'S -SELF PROCLAIMED PRO WOODTURNERS FULL OF THEM SELF'S -SELF PROCLAIMED PRO COOD CARVERS to your list...unfortunately, leather doesn't have the market cornered on these folks.
-
Hey Noah, After some extensive research last night I found two U.S. based distributors for Brisa (Finnish Knifemaking Supply Co.) that have 'access to their full catalog'. I'm in the process of contacting them to see if they can order the leather as well and if so, how long/how much. If not, my boss has friends in Germany that could do a mail chain to get it here. I'll let you know how it progresses. Chris
-
Nice looking seat Billy. What kind of Shadow does your girlfriend have? I have a 750 Aero and my soon-to-be-wife has a 750 Spirit. I don't know if you're interested in having some fun with it (and possibly picking up a sideline for custom Shadow seats) but I think I still have pics of the custom pan process I used for mine (the foam/leather is in process now). Either way, the nice thing about Shadow seats is the pan is ABS and the foam is dense so modifying the OEM seats to look custom is a cake walk.
-
Hey Az, I know this reply is late (just saw your message) but if you still need something for the show, I have a big roll of about 5/8" Memory Foam (Blue - automotive use) in my shop. When I bought it I didn't read carefully enough and bought a huge thing of it thinking I was just buying enough for a seat or two. Drop me a PM and I'll make ya a heck of a deal on some. ~Chris
-
A little more info on what I am looking for...
-
Hey folks, I'm trying to find a supplier of half tanned leather in the US. I have found a few individuals that do it, but I'd like to find a supplier that carries it normally to help with costs and the fact that it's for more of learning/experimenting. I'm trying to learn an old world technique that works best with half tanned leather but it appears to be more common in Europe than here. Thanks, Chris
-
I've been looking into how to make these sheaths after I saw the term 'pauting' in reference to leatherworking without cutting into the leather (sort of like whittling whereas all you need is a stick & a knife, all you need for pauting is wet half-tanned leather and a modeling tool). Anyway, I can across this web tutorial that covers Scandi-style sheaths and also Pouch Sheaths with loads of pictures on this guy's process. Hope you find it useful. ~Chris http://www.mamut.net...ves/subdet1.htm Side note: if you read carefully in the last paragraph or so when he talks about finishing, he covers his formula for a homemade, waterproof/resistant finish. Could be handy for those on a budget or are looking for something to try.
-
hmm....good info I tried lacquer thinner and denatured alcohol but didn't think of using a deglazer. Might be one more chemical compound is all I need! LOL. I'll give that a shot and see what happens, it can't get much worse and if I can get the black to soak in, I can always do a watercolor wash over the black to get some color back into the piece. Thanks for the thoughts.
-
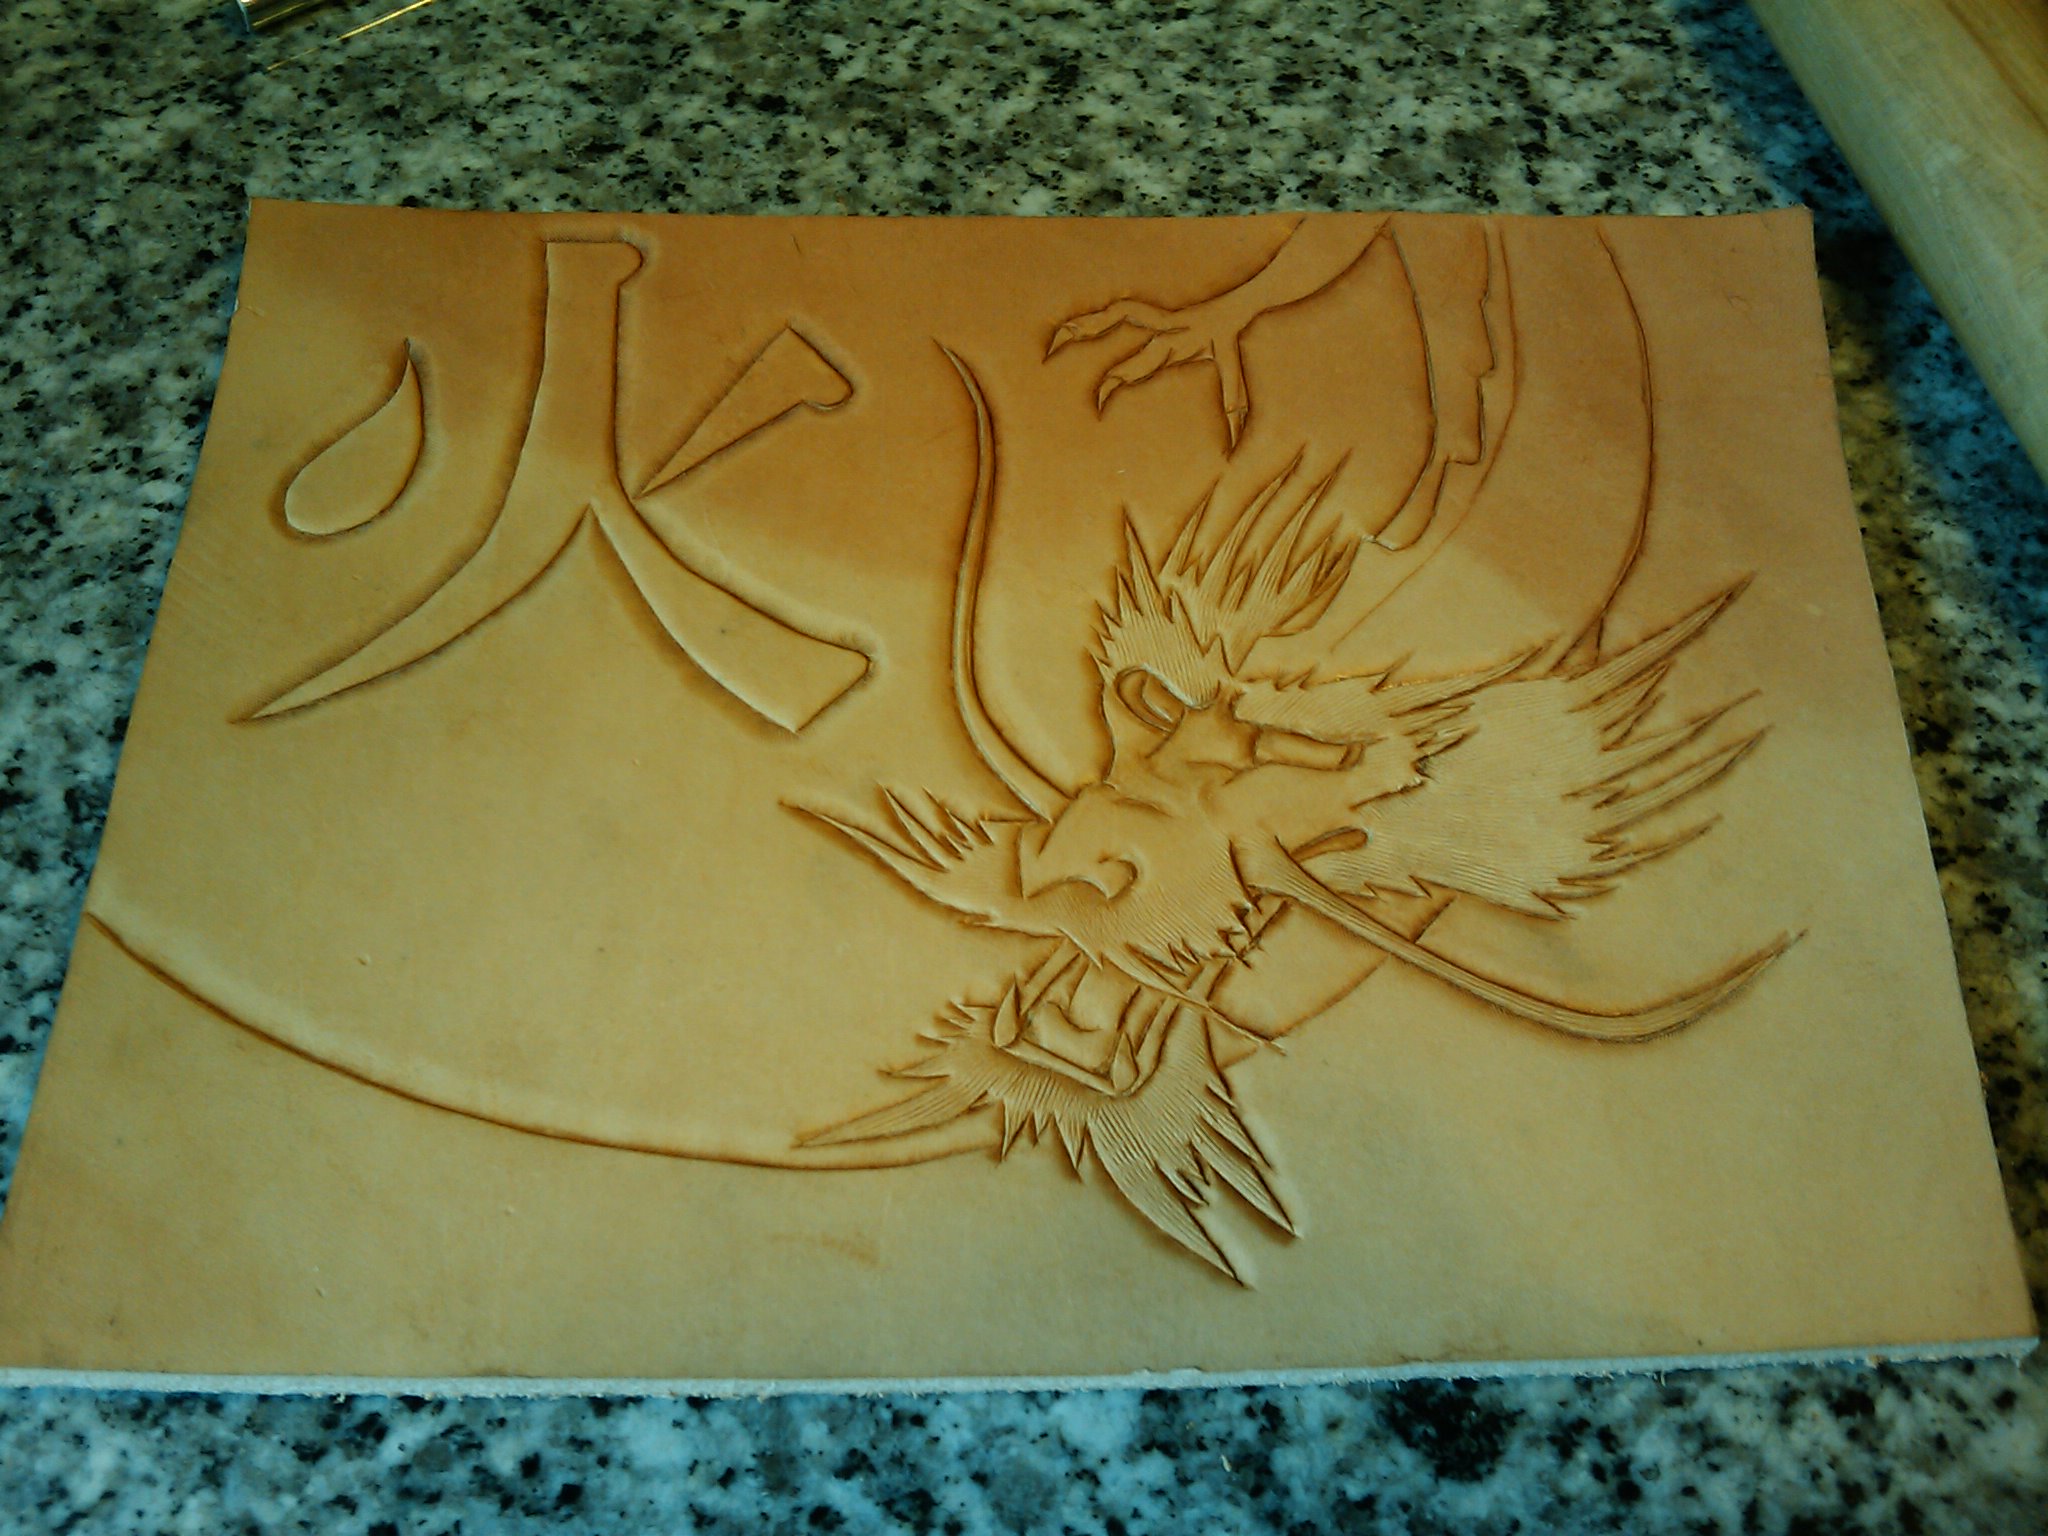
I started Jen's seat this weekend and everything started out well, the pattern worked nicely, the tooling went well. Got the top wet molded, holes punched and was starting to dye everything when certain parts began resisting the dye. I had done my prep work, cleaning everything well, and then used Super Sheen as a resist for antiquing. What I didn't realize was that in three areas around the carving I either hadn't been as careful as I thought or something had bee missed. Long story short, make sure your resist goes where you want it to and not where you don't want it. Approx. 20 hours of work and $50 in materials down the tubes. I was saavy enough to get a picture of the carving before it went to pot though...
-
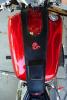
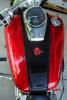
Finally finished the tank bib & pocket for my girlfriends '06 Spirit 750. I was able to use the one I bought for my bike years ago as a template and simply adjusted the design for the differences in the bikes. 4 oz veg tan for everything, I did my first wet molding on the pocket. I probably could have made the flap longer to cover more but it does the job. The edges are round braided (first time doing that as well). The red for the dragon is a dye I found at a local art store called Neopaque. There is a layer of black felt glued/sewn to the bottom to protect the paint. A lot of firsts in this piece and it came out as planned which was nice to have happen.
-
Very nice and clean design David. It's also a cool visual collection of a bunch of lacing methods. thanks for sharing!
-
Thanks MadMax, the paint quality is excellent so far and I'll definitely be using it some more... Here's a better quality shot showing one side with the round braid that I am doing on the sides.
-
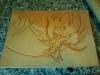
Here's the first 2 progress shots of a tank bib I am doing for Jen's bike. We're sticking with the dragon theme, the bib will be pretty basic, a basket weave will run down the sides, the tooled dragon will be mid way between her phone/wallet pocket (not shown yet) and the speedo. Main reason I wanted to show it was the new colors I found for dying solid color area. The red of the dragon was done with something I found at the local art store today called Jacquard Neopaque. It's a concentrated textile dye used for anything from t-shirts to wood & leather. http://www.jacquardproducts.com/products/paints/neopaque/ it brushed on nice and smooth and left a deep, vibrant red that super sheen went over with no bleeding or issues. There are 13 colors available and they can be mixed. Once the pocket and lacing are done, I'll post an update. ~Chris
-
HELP! New pan.... New ground for me
Spinner replied to KliffsKustomHouse's topic in Motorcycles and Biker Gear
Looks good Kliff, and thanks for confirming a few things (visually) with the wetforming that I wasn't sure would work (like the multiple curves on the front). This will be helpful when I finally get to doing my fiancee's seat. -
practice makes perfect...gonna do it a few more times to make sure I get the results I want...
-
Thanks Roger, looks like it's time to break out the Badger!