-
Posts
301 -
Joined
-
Last visited
Content Type
Profiles
Forums
Events
Blogs
Gallery
Store
Everything posted by robs456
-
Aye, so it does!
-
I can never understand why vegans "can't" use leather, it's not like they're going to eat their belts or bags. And the cow didn't die for the skin, someone else ate it and the skin would go to waste unless we used it. So if you're vegan because you love animals, I think you're disrespecting the animal by NOT using leather products. But I ran into something weirder when trying to sell yoga mat holders to a girl and her group. She said no one would by them as they didn't use leather because the soul of the animal was trapped in the hide. WTF? I believe yoga is from India where they believe the soul passes on to the next life so what kind of new age hipster makes up a quasi-religion just to avoid buying leather products? If she'd just said that cows are holy animals I would understand, but these were no Hindus, just a bunch of new age yoga freaks.
-
The Al Stohlman leather tools guide. Good reference.
-
Perhaps you shouldn't? Ketchup, battery acid, vinegar, cleaning products...this thing looks sprayed with whatever it was.
-
This. You don't want superglue so try some other flexible glue, but you need to soak the edges if you want to keep them. If the hole was caused by any type of burning -chemicals, fire, laser- the fibers are ruined and brittle and will fall apart over time. If you're really going for the wasteland look just remove all the brittle parts and check the vest afterwards, might look the part better. And if not, cover the now larger holes with uneven patches in various colors sewn on with Frankenstein type stitches.
-
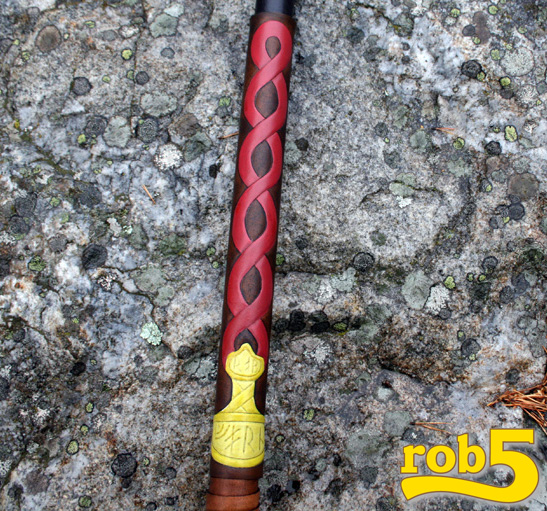
Thanks guys. Yes, it's tooled veg tan. As this was a quick side project I just used that little plastic swivel knife beveller to bevel the thing and it seems to work fine. Though I wouldn't use it on more intricate designs. The braiding idea came as a result of just having procured the Bruce Grant 'Leather braiding' book. Written 68 years ago it's old school and great, I recommend it if you are at all into lacing.
-
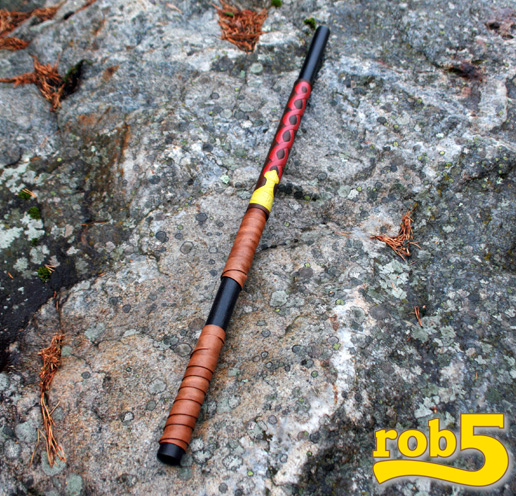
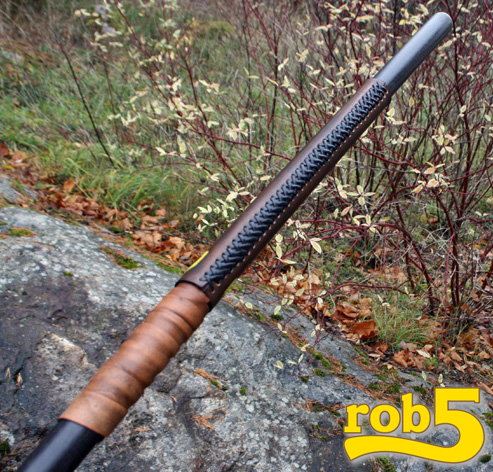
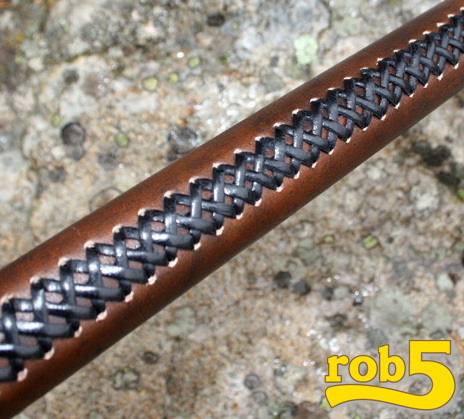
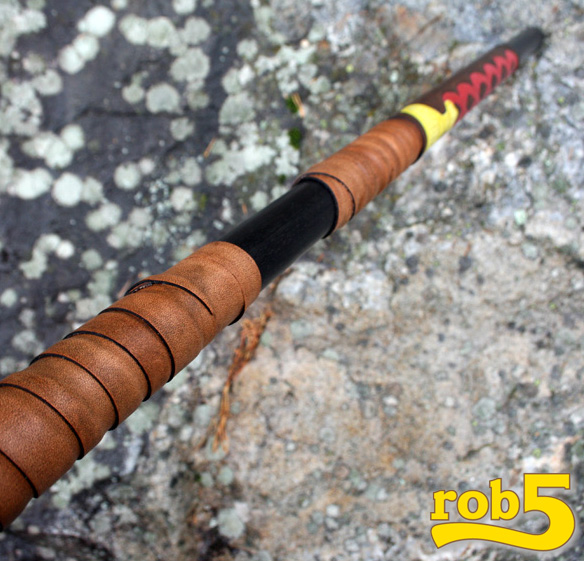
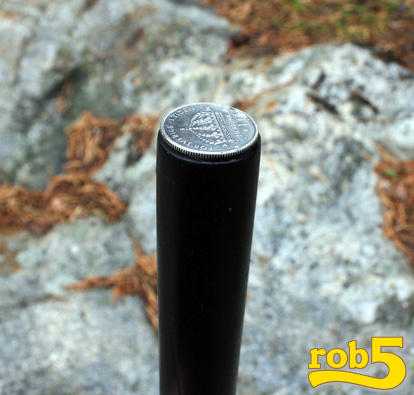
So I've had this ashen stick for a while, the top weighted with lead shot to make a nice 'hittin' stick' for those occasions when a hittin' stick is needed. After binge watching the viking drama 'Norsemen' on Netflix I decided this trusty but meager looking stick needed a make over. A viking make over. The result is as per the pictures below (no goats or thralls were hurt in the making over of this stick): Yes, the yellow thingy is Mjölnir. Handy to have for invoking the power of Oden. Instead of the normal cross stitches I decided to go for the classier 'S' applique as shown below. Handle(s) are wrapped with 2-3 oz leather strips, and tied not glued 'cos i'm not gluing on this stick... And to prevent splinters when used as a walking stick (or in anger) I have a coin affixed to the top: Thanks for watching!
-
Cutting Leather With Laser Questions
robs456 replied to pillpusher's topic in Leatherwork Conversation
Well, I would see the clicker press as the evolution to handheld blades and the laser as some sort of side track as it is in fact burning the leather and comes with the effects of doing that, to both surface and structure. Lasers are more the evolution of pyrography though, I think. Good for him, he's got himself a factory. And people to con sell his stuff to. Most likely they've never seen a handmade leather product and will go 'Oh wow it's like raised up how cool is that OMG!' First time I saw an embossed product after I learned to just stamp a simple pattern I went like 'WTF did they do to this leather?' Not so many know good leather, or even care, but there's a lot of people that want a 'rustic' leather bracelet saying 'Love', or more fittingly 'Atrocity'... -
Try pressing the stamp quite hard against the leather, making sure that it is straight and even, then hit it while pressing. This is slow as a hippo in a ferris wheel but is good practice and with time you'll get faster and more relaxed. Oh, and make sure you hit the stamp from the top and not with a tilt of the mallet.
-

Dying only the (laser) engraved parts of leather?
robs456 replied to blackmad's topic in How Do I Do That?
HaHa, that's the Bacardi.... -
From reading your post it seems like you should find a proper leatherworker to handle the leather portion of the project. The cost should be about the same or less than all the specialized tools you need to procure. Unless you see this as a chance to get into leatherworking big time, of course.
-

Talk to me about rough out leather
robs456 replied to FloridaLeatherGirl's topic in How Do I Do That?
Yes. It's sanding. Start low grit, go to as high grit as you need. Yes, and if it is too fuzzy from the store, get better leather. Sorry for the few words, but you seem to have the idea down already. -
I made one once. It's just two pieces pancaked and filled with lead shot. It's heavy but surprisingly well balanced.
-
Sorry, but from a practical standpoint that's exactly what I said. You don't get an argument from me.
-
Glad I could help!
-
As you may know, the very nature of how an airbrush works make it so the dye will never penetrate as well as other forms of application, the best being dip dye of course. Because the airbrush will vaporize the dye, the tiny tiny drops that make it to the leather will not be able to penetrate, and some may even hit the surface dry and get 'smashed' into the leather due to the air pressure. Only if you oversaturate an area, spray so much it gets wet and drips etc, will you get any penetration. But then you may as well dip dye. Using fredk's technique may work to improve things but not give 'good' penetration, also spraying layer on layer with an airbrush MAY mean that you put the dye on top of the previous layer to make it more durable yes, but not with better penetration. I've done this but didn't really experiment a lot so if someone could post some cut-throughs it would be great. For things that see hard use I dye 'normally' and then only use the AB to apply fades etc on top, but you guys seem to want the rustic look so then things should be fine by airbrushing only.
-
I've had the Don Gonzales book for a while and I do recommend it. At the time I was a complete beginner to Sheridan design, and the way he explains flow and the circle layout and connection is great. Also great is how he explains how to build up the different elements, like scrolls. It is not going into much detail on how to draw leaves and flowers though, there are some pics and explanations but not much. And there's nothing about stamping etc. But then again, it is a DESIGN book after all, he never said anything different, and as such it is great. If you're on a beginner or intermediate level I recommend the investment in knowledge from Don.
-
Thanks!
- 6 replies
-
- nice looking
- basketweave
-
(and 2 more)
Tagged with:
-
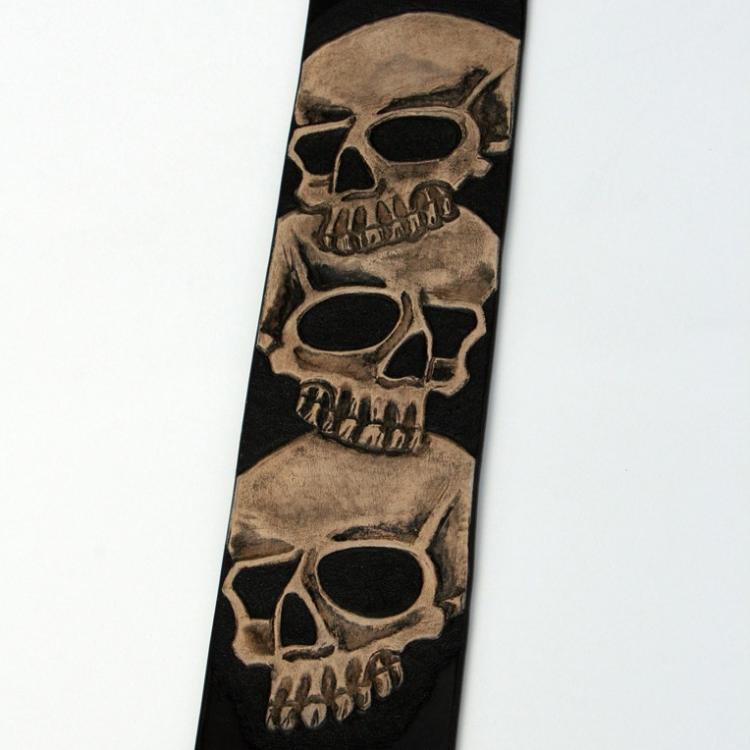
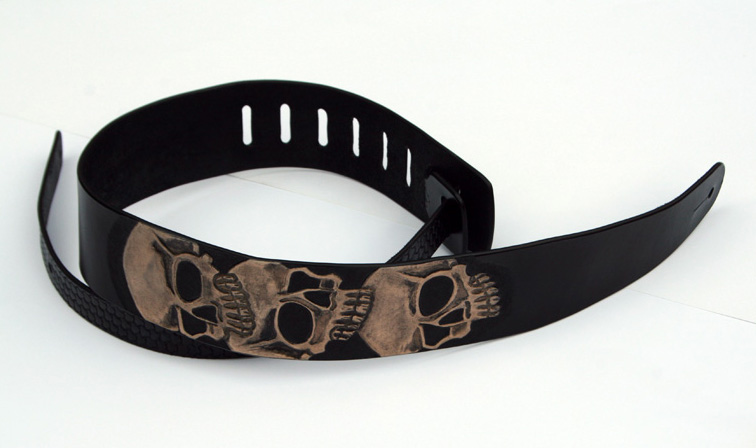
Thanks again. Yes the finish is nice on that one, I went for a gritty look for the skulls and they were hard to make so that they don't look too identical.
- 6 replies
-
- nice looking
- basketweave
-
(and 2 more)
Tagged with:
-
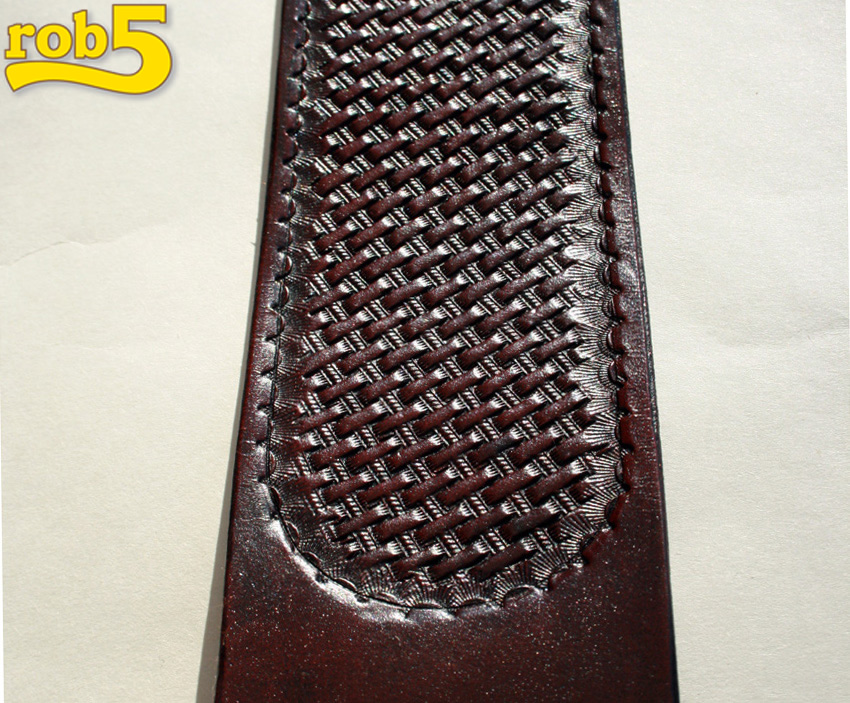
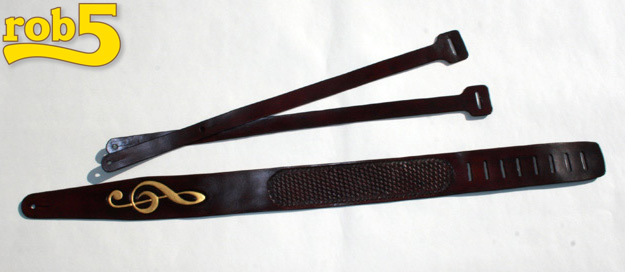
Thanks. Actually this is the second strap for me, the first one is posted below. If I was making one for myself I would probably make a fixed size 'one strap only' unless I was changing guitars a lot.
- 6 replies
-
- nice looking
- basketweave
-
(and 2 more)
Tagged with:
-
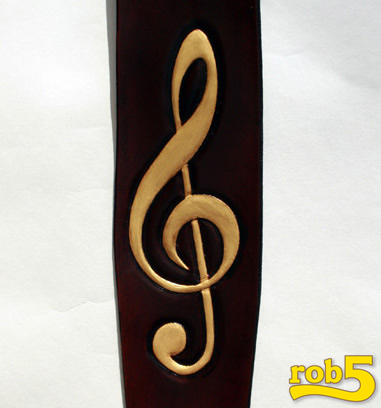
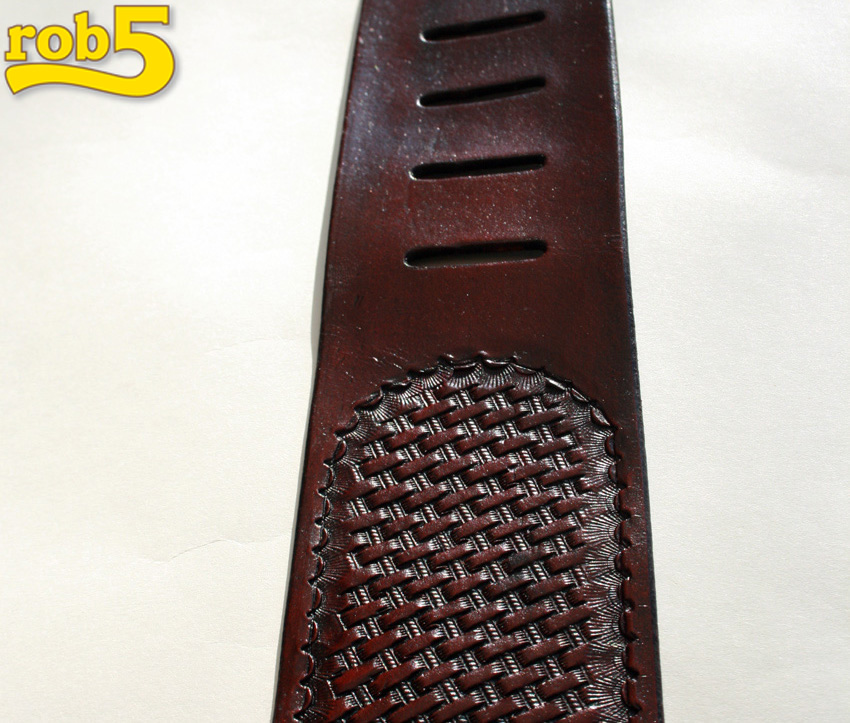
Made this guitar strap thinking I would gild the treble clef. After several failed attempts I just resorted to painting it with Jacquard gold acrylic paint. Still looks good, but I wish the gilding would have worked... I don't have a guitar, so no 'action pics'.
- 6 replies
-
- nice looking
- basketweave
-
(and 2 more)
Tagged with:


