camano ridge
-
Posts
1,907 -
Joined
-
Last visited
Content Type
Profiles
Forums
Events
Blogs
Gallery
Store
Everything posted by camano ridge
-
If you have not yet found someone to take on this project I would be inertested in discussing it further with you. I make all manner of gun leather and have made several derringer and compact pistol holsters. I do alot of western holsters with floral carving so something in the style you want would not be a problem. If you send me a PM with your email address I can get back to you with some pictures of my work. I have some specific questions I would need to have answered before I could give you a price. I use Herman Oak leather not import and all of my holsters are hand stitched and I have access to a PT738. Scott
-
I have a Tippman Boss for sale. It is the cast Iron version with stirup attachment, 2 bobbins extra needles manual and how to use video. $1150 plus shipping. i also have the Tippman Boss bench $150.00 or both for $1275.00 plus shipping. Paypal only. I will post pictures later today. PM me if interested.
-
Dummy Guns For Holster Forming?
camano ridge replied to Sandman0077's topic in Gun Holsters, Rifle Slings and Knife Sheathes
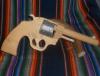
Like most on here I use dummy guns rings, duncan etc. If you watch the for sale of this site you will frequently find them for less then new price. However there are times when you can't get a dummy for a certain model. I am making a holster for a person in Canada it is a holster for a Colt New Service .455 eley (no dummy found for it). There is no way for him to get the gunn to me. Yesterday I found a picture on the web found the length of the actual weapon and resized the picture to correct size. I cut it out so I had a paper pistol. Any measurments I could not get from the picture I could call the customer for. I went down to my shop found some dowel and a scrap piece of 1 x 6 pine layed the paper pistol on the 1 x 6 and cut out the pattern with a jig saw. I then drilled out a hole for the barrel (3/4") cut the dowel to the appropriate length inserted it into the hole. The cylinder is 1 3/4" I had 1 1/2" dowel cut to the right length and wrapped with duct tape to get the right diameter. In less then 30 minute using jig saw, drill and scrap found in my shop I had a dummy gun. You don't even really need the grip cut out unless you are going to build a flap holster and you don't really need the hammer unless you are going to add a retention strap. It's not pretty but it will work, this is not for a holster I will need to do a lot of detailed boning to. If it were I would just use a dremmel to ad some detailto the model. I will probably clean up the trigger area alittle not because I need to, but just because.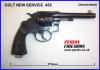
-
Both Tandy and Springfield Leather have embossed gator, ostritch and python. Call Springfield leather their back room is amazing and has a great deal of leather that does not appear in their catalog. Call and tell them what you are looking for if they don't have it they can probably get it. I am pretty sure when I was there a couple of weeks ago they had some embossed elephant on one of their tables.
-
I would reccomend the marble or similar material. If you get damp leather in contact with metal (steal iron etc.) you may end up with some black caused by iron oxide that you don't want.
-
My Belt Hole Punch Is Anemic
camano ridge replied to renegadelizard's topic in Gun Holsters, Rifle Slings and Knife Sheathes
If you watch the entire video they do show sharpening hole punches, edgers etc. -
RMB Custom Leather (rob bennet) Rob is frequently found on the holster forum. He rents and sells blue guns. However if you have the actual gun why do you need a blue gun. if you are concerned about the finish wrap the gun in plastic wrap. Other then to draw a pattern the only thing you will need the gun for is wet molding and you only need to leave it in the holster for 10 to 15 minutes to set the shape.
-
This is the style I am looking for I may have to by a cheap one on ebay and use that to develop my pattern. Thanks I had looked at those, they are not quite what I am looking for. The Border Patrol style I am looking for was made famous by Bill Jordan and Don Hume and became the main stay of law enforcement in the late 60s, 70s and in many place into the 80s until revolvers started being replaced by semi autos.
-
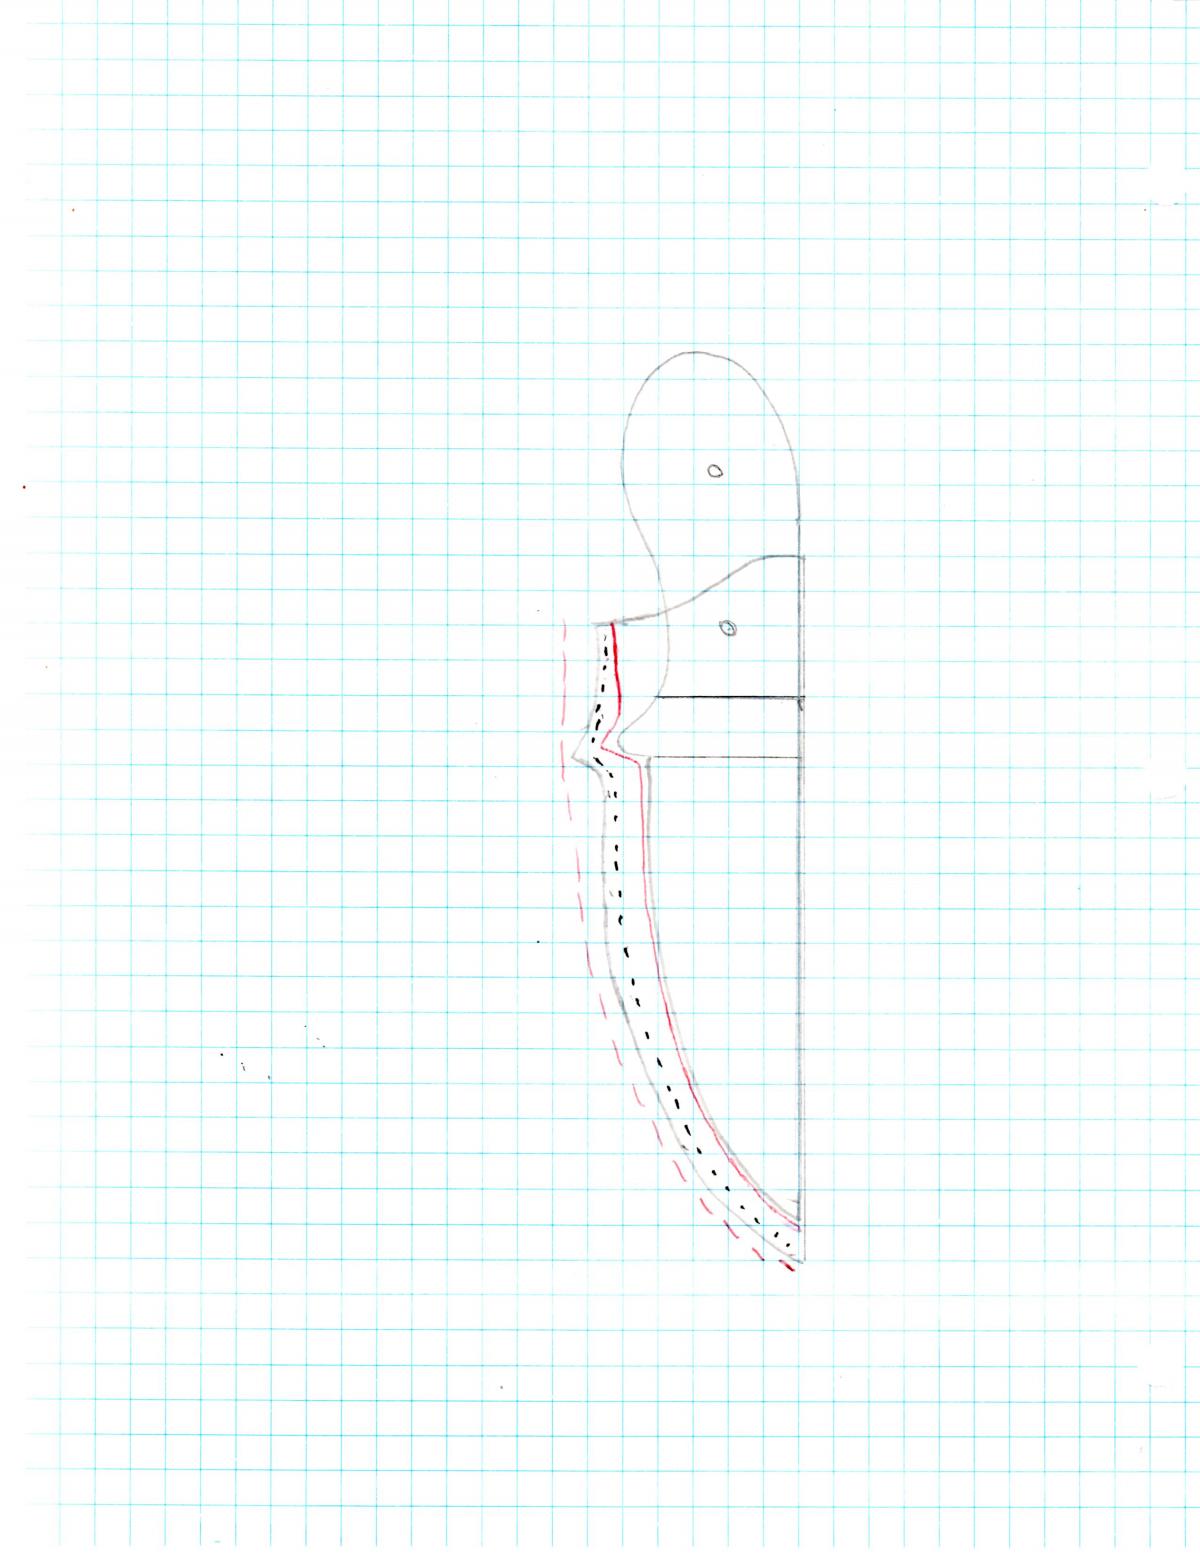
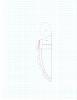
I use a welt on my pouch sheaths to protect the thread and to give a little thicknees in the area where the guard will reside you may need to stack or layer the welt to give space for the guard. Attached is a more refined drawing of a pouch sheath or single welt sheath. The solid red line is were the inner edge of the welt would line up. The dashed red line is the overhang or excess welt. I glue the welt to one edge of the sheath lining up on the inner line that I drew on the inside of the sheath. Then I glue the other side of the sheath to the welt taking care to line up the two edges of the sheath, I then trim and sand the welt so that there is one smotth even edge, then I use my stitching groover and lay a stitch line. This should give you a nice smooth stitch line that follows edge contour of the sheat.
-
Funds for XDS sent
-
I will take the Springfield XDS if still available. PM sent
-
Does anyone have a pattern for a border patrol holster. I don't care for what gun, I will be making it for a Colot New Service 5" barrel. If I have the basic pattern I can adjust for the gun. Willing to pay for pattern. Thanks, Scott
-
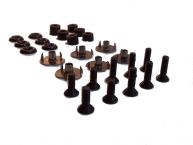
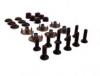
Sorry the first picture was a bunch of white screws in a snow storm, I attached a new one that shows up better
-
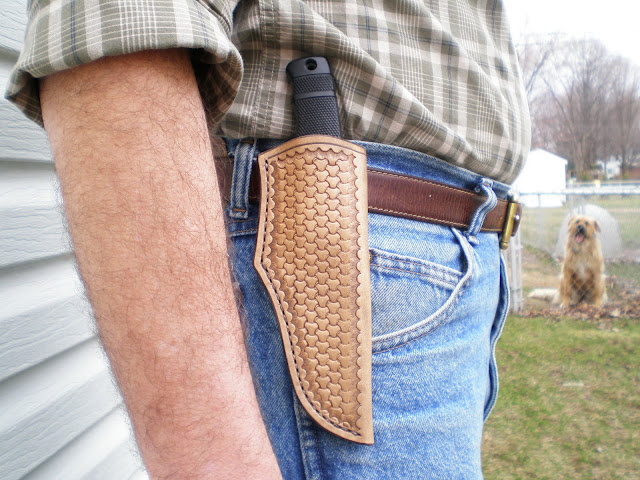
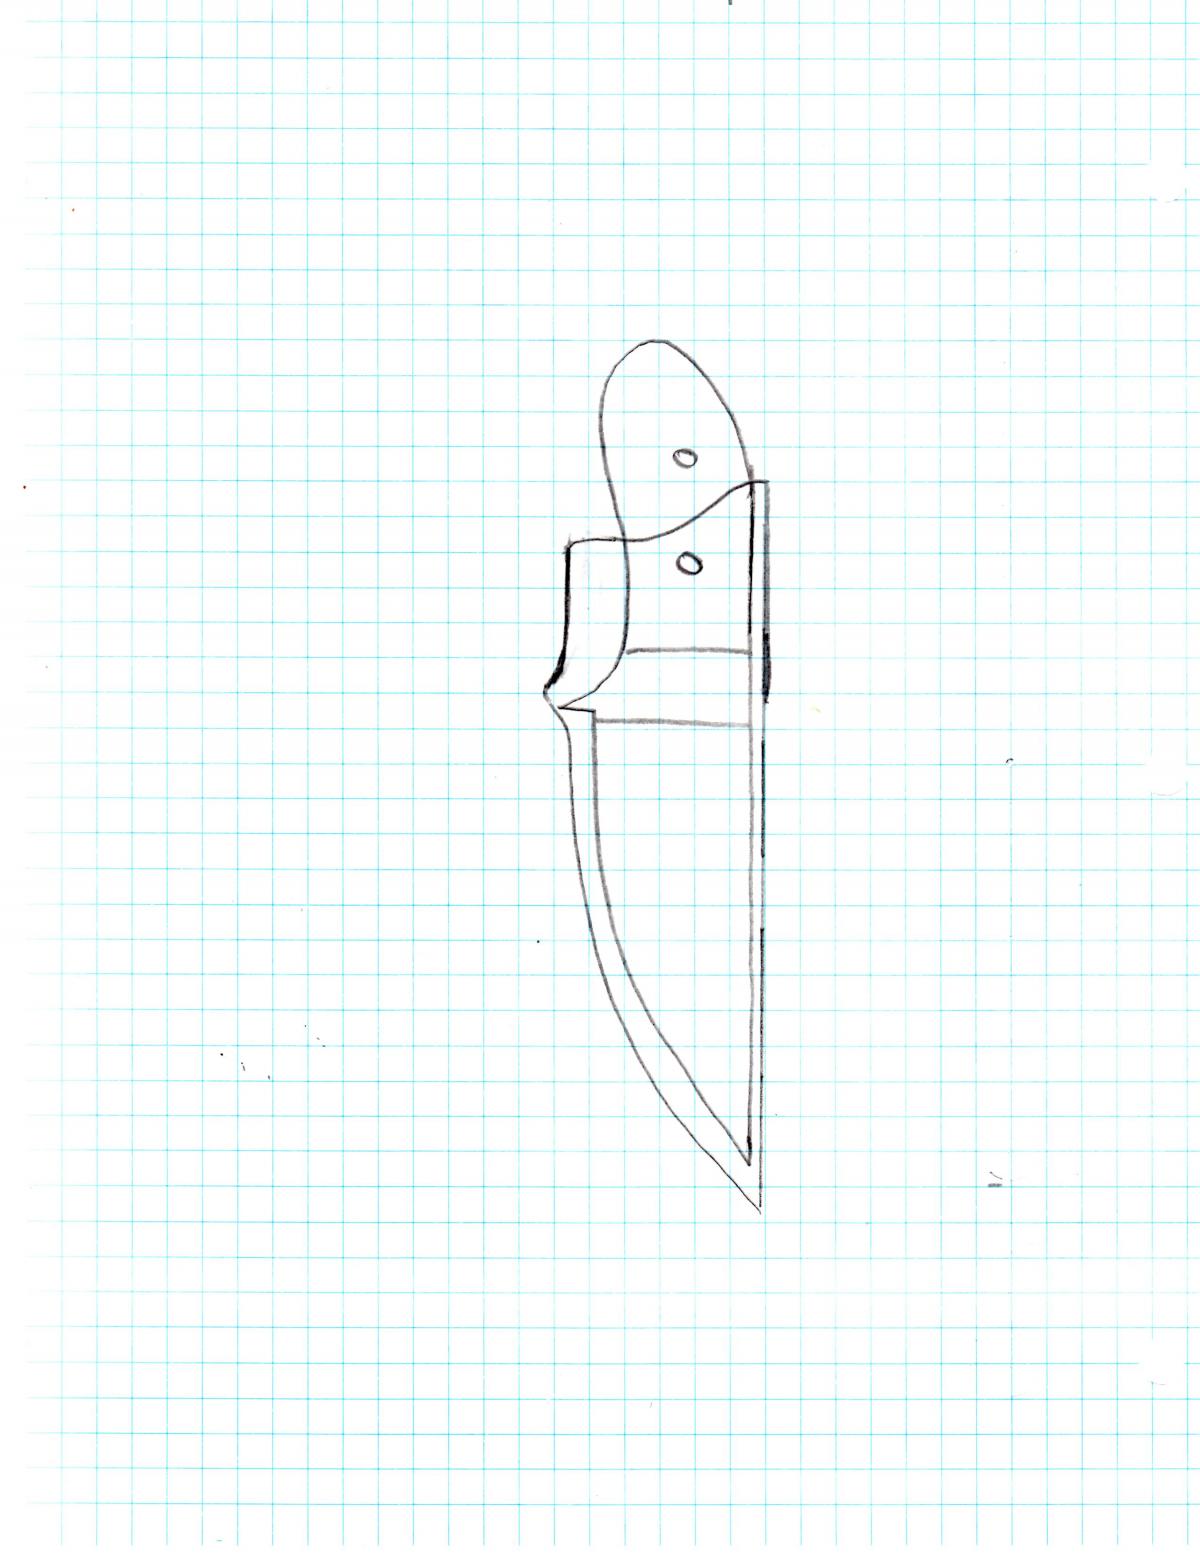
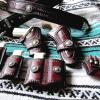
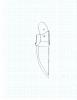
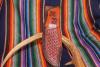
I don't know what model Freeman you have. Attached are pictures of a pouch sheath for a Gerber Freeman hunter. The handle does not really have anything to do with holding the knife in a sheath. It really is the fit of the blade and the guard that keep the placement of the knife. I also attached a rough drawing of a knife and sheath to give a rough idea of what I am talking about.

-
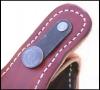
The picture below shows what you need for a tension set up basically a Tee nut, a cupped or countsunk washer, screw and rubber washer (slice of rubber hose). You can find most everything at home depot or lowes etc. If you don't need black. You can get most everything from Knifekits.com or Old Faithful Holsters in black.
-
Old Faithful Holsters sells it for $1.95 per foot. However like Cranky Yankee said it is just fuel line and you should find it at any auto parts store. What youu have might be vacuum line.
-
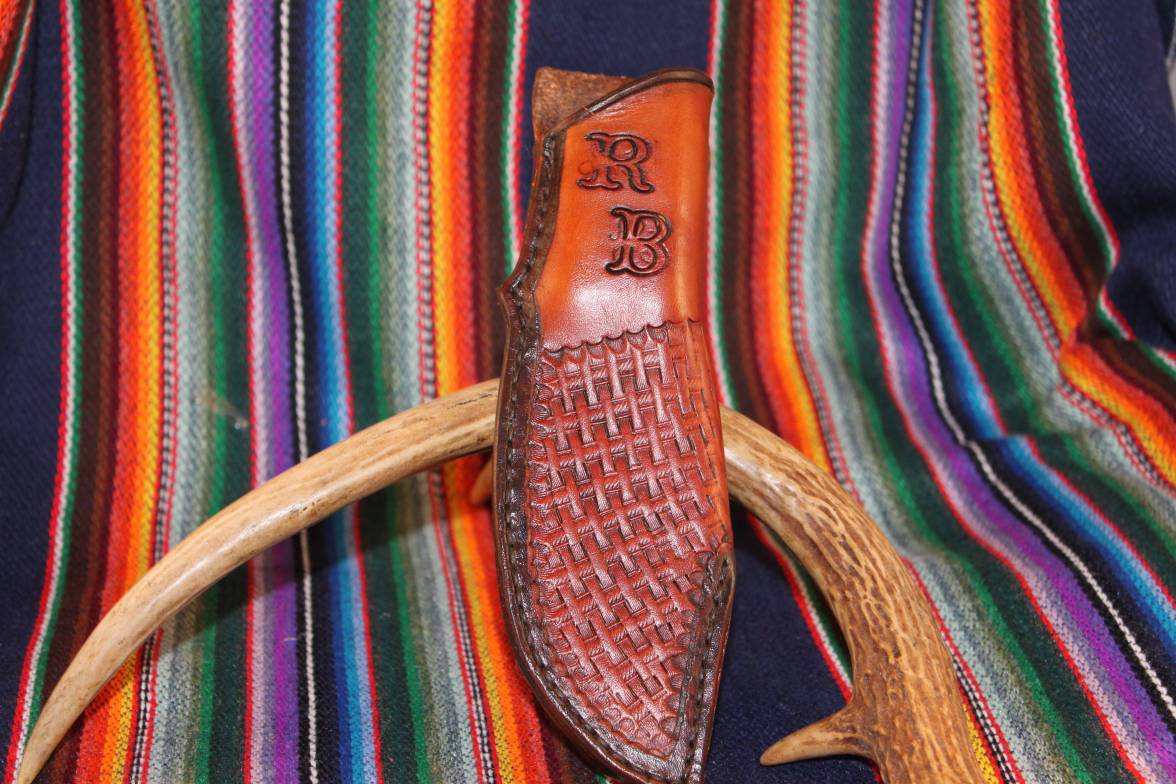
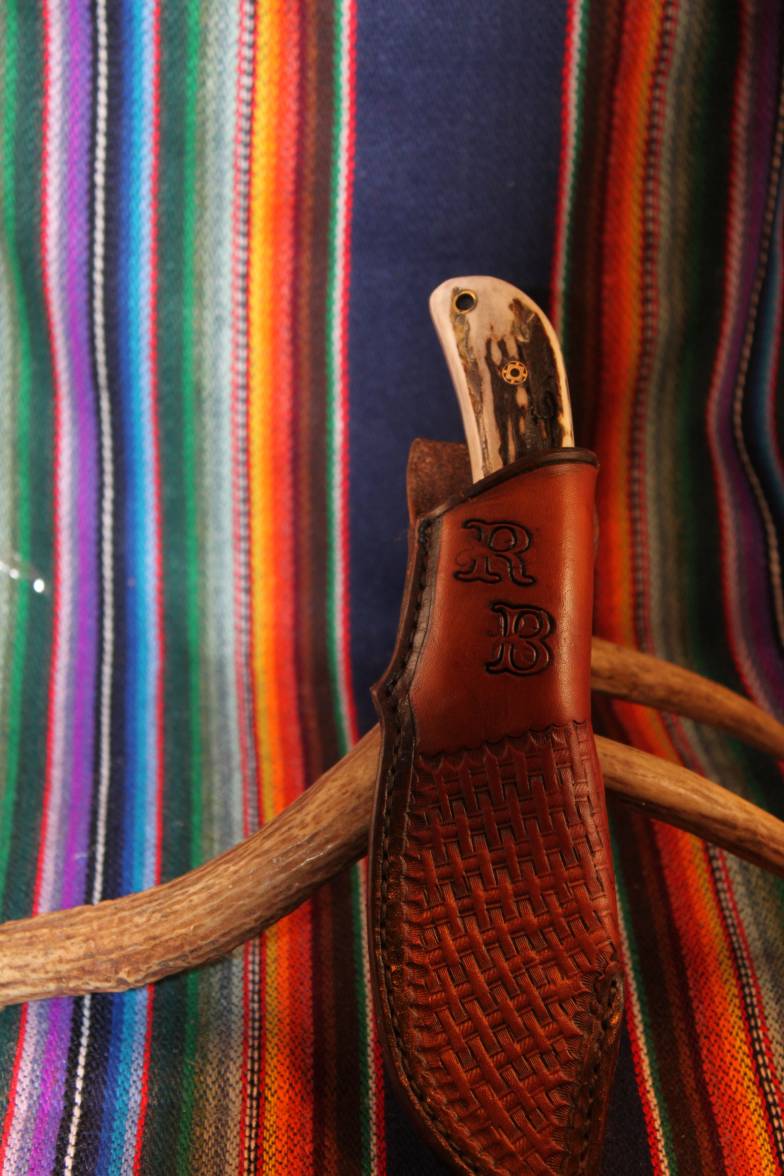
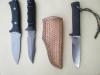
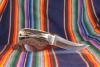
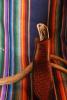
Hotwing, don't give up if making knife sheaths and holsters is what you want to do. I have a box of pieces of leather that wanted to be a sheath or a holster but never quite made it. Most of the sheath and holster makers on this forum have a similar box or bin. You have already identified some of the problems so correct them on the next sheath. I just finshed a knife I made and made a sheath to go with it (pictures below). I can't send you a pattern because I make each sheath to fit a particular knife. I can give some tips that may help you. Use them or ignore them as you wish. Get some manilla folders take a folder open it up and lay it out. Take the knife and lay the spine of the knife on the center line of the folder now carefully roll the edge of the knife to the right (if you are making a right handed sheath) and lay the knife on its side. Now trace around the knife. If you are making a pouch type sheath pick where on the handle you want the top of the sheath draw a line a cros the drawing of your handle . Measure out about a quarter of an inch from the blade and draw a line from your mark for the top of the sheath along th e length of the knife past the tip to the center line, you are basically drawing another outline of the knife 1/4" larger, that 1/4" space is the outline of your welt and the outer line is the edge of your sheath. If you want a diffrent shape adjust the lines accordingly. Now cut the line for the top of your sheath to the center line, fold the manilla folder in half so that you are looking at your drawing of the knife/sheath. Cut the out line of your sheath until you get to the top, you have already cut the top of your sheath on the right side of the folder now on the other side of the folder leave the top of the sheath extending several inches this will be folded over to form your belt loop. Now you have a pattern for your sheath lay it on the leather and cut it out. Cut out a strip for your welt cut it over sized so the when you line it up with the inner marks for the welt it will hang over the outer edge of the sheath. Fold the tab over that you left for the belt loop and stitch. Now glue your welt to one side of the sheath remember it needs to hang over the edge of the sheath now glue the other edge to the welt making sure both edges of the sheath line up withe each other. Once the glue is dry and your edge are set trim the welt so it is even with the edges of the sheath. Sand or smooth the edge of the sheath. Use your stitching groover to lay out your stitch line and stitch. since this is a pouch knife your knife won't fit in yet. Wet your sheath dunk in water 15 - 30 seconds (if your knife is not stainless and I do this even if it is wrap in plastic wrap). Now insert the knife into the pouch until it stops slowly start working the knife into the sheath the leather is wet and pliable and will stretch to fit around the knife. When you get the knife where you want it leave it in the sheath for 15 to 30 minutes. Work the knife in and out a few times if it feeels good remove the knife and let dry. When dry the knife should fit in nice and snug and now you are ready to dye. Some times I use a hammer handle or something a little larger then the knife handle to begin opening the sheath up then continue working the knife into the sheath. This is a simplified how to but should give you the basic idea. If I can assist further Pm me.
-
What Is Rolled Border
camano ridge replied to soaring eagle's topic in Gun Holsters, Rifle Slings and Knife Sheathes
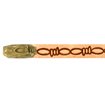
Here is an example of a rolled border. I have seen a wheel with a border similar to the one on page 112 can't remember where you might check tandy and springfield leather. You don't need a machine, the one pictured below is a wheel that will fit the handle for your overstitch wheel. Case the leather layout your guide line and roll on the border. Hope that helps explain things.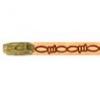
-
What Is Rolled Border
camano ridge replied to soaring eagle's topic in Gun Holsters, Rifle Slings and Knife Sheathes
There are tooled borders and there are rolled borders. A tooled border you use a swivel knife and or stamps etc. to tool your border design on to the holster. A rolled border you use an embossing wheel to roll on your border either by hand or by machine. There is also rolled edges. That is when the liner extends beyond the lip of the holster and is rolled over the outside edge of the holster then stitched. Scott -
Duncan makes cast aluminum dummy guns used for molding holsters. PPS is a pistol made by walther. A duncan PPS is a cast aluminum non firing version of a Walther PPS.
-
Here are a few more that may help depending on what you are looking for. Sept/Oct 2004 pg 32 Native American Knife Sheath. pg 74 Beautiful Knife Sheath. Jan/Feb 1999 pg 62 Cross Draw knife sheath July/Aug 1996 pg 20 Making Welted Double edge Scabbard (Sheath). A fold over is also refered to as a pouch sheath Just one sown edge. A double edged or three piece is a front and back piece plus a welt (leather insert between front and back piece along the seam. On most any sheath you will want a welt a leather piece that fits in between the front and back along the seam. This will keep the edge of the knife fron cutting your thead. Hope these help. I make a lot of sheaths. If their is any way I can help further just ask. Scott
-
I do not have an index, however I recently searched through my LC&SJs for knife sheath patterns. Here is a list of some of the ones I found: Jul/Aug 2010 pg 28 Frontier Knife Sheath Sept/Oct 2008 pg 12 Sheaths for two Green River Knives Mar/Apr 2007 pg 50 Randall Military style with sharpening stone pouch July/Aug 2003 pg 34 Custom Pancake Knife Sheath Nov/Dec 2001 pg 34 Making a Custom Knife Sheath, pg 58 Two sheath patterns, pg 66 Custom Knife Sheaths Mar/Apr 1996 pg 23 Making a Custom Knife Sheath, pg 52 Making youself a Sheath for that special knife. I have a couple more sitting on my bench in my shop when I get there tomorrow i will see what issues those are and let you know. This should at least get you started. Scott
-
Sir if you are still interested in selling theses blue guns I still want to purchase Bersa and Beretta and may decide to purchase Keltec PF9 if still available please let me know. Scott
-
The picture at the top of this thread shows a top and bottom rivet with the snap in the middle. Most of the metal backing that i see for thumb breaks have two holes. All of the thumb breaks that i do have two holes top hole i use for rivet, bottom hole for snap. This site has several pictures that show pretty clearly a two hole strip with rivet at top and snap bottom http://search.aol.com/aol/imageDetails?s_it=imageDetails&q=thumbreak+holster&v_t=keyword_rollover&b=image%3Fquery%3Dthumbreak%2Bholster%26s_it%3Dkeyword_rollover%26oreq%3D194f05d2271b4423850b4fa7a0f49340&img=http%3A%2F%2Fwww.hipowersandhandguns.com%2FRoss%2520Holsters%2520for%2520the%2520BHP_files%2Fimage004.jpg&host=http%3A%2F%2Fwww.hipowersandhandguns.com%2FRoss%2520Holsters%2520for%2520the%2520BHP.htm&width=101&height=90&thumbUrl=http%3A%2F%2Fimages-partners-tbn.google.com%2Fimages%3Fq%3Dtbn%3AANd9GcTWy8ERRyjqLecXYTVwayGaeHGAsQXLd6QmwYwNkLMjGO7sDTgg8D1ou2c&imgWidth=302&imgHeight=270&imgSize=12605&imgTitle=thumbreak+holster.
-
IF you still have them I will take the Bersa UC pro 45 and the Beretta PX4. PM sent Scott