-
Posts
166 -
Joined
-
Last visited
About TheCyberwolfe
- Birthday 05/31/1972
Contact Methods
-
Website URL
http://www.rogueleather.com
Profile Information
-
Gender
Male
-
Location
The Great Wet NorthWest
LW Info
-
Leatherwork Specialty
SCA gear and archery tack
Recent Profile Visitors
The recent visitors block is disabled and is not being shown to other users.
TheCyberwolfe's Achievements

Member (2/4)
-

iso knight surcoat pattern/template
TheCyberwolfe replied to stampingdelight's topic in Patterns and Templates
Got to Target or Goodwill and buy a cheap bathrobe with the desired shoulder width, cut off the arms and trim the front so it doesn't overlap as much. That should give you a running start, and you can cut it apart at the seams to make into a flat pattern. -
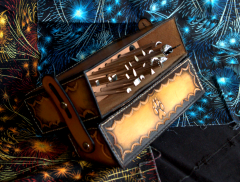
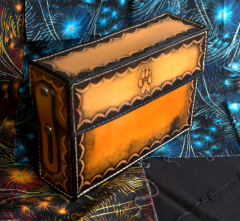
With a few subtle changes, a valet tray becomes a dice-rolling box for people that play tabletop role playing games. Nerds have money and appreciate quality
-
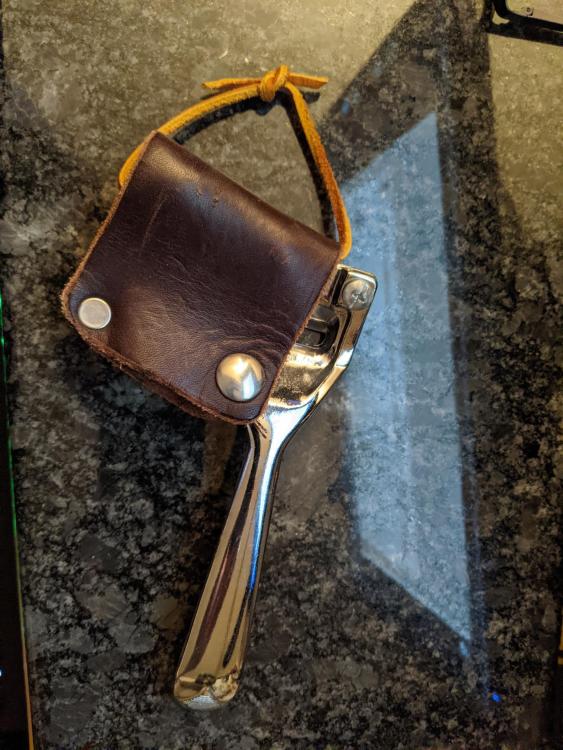
I had the same thought when I got mine and was carrying around all my tools in a bag. Folded over a piece of scrap, added a rivet on one side and a snap on the other.
-
-Leather will generally lay flatter as time goes on, but if you want to speed up the process spray it with some water (just enough to dampen) and maybe encourage it with something large and flat on top. Another method would be to roll it up grain side out for a day or two and then unroll it, this should help convince it to be flat. -Definitely use a top coat of some sort. Resolene is a pretty good all-around sealant and should prevent any dye rub-off. -Check out the paper section at your local crafting store (Joanne's and the like), they usually carry a line of "vintage" deco stuff that may be suitable. The classic desk pad would have a diagonal corner piece of an accent leather, I always thought that looked good, and it would be a good spot for some tooling. -The finish should protect the leather from any ink transfer, but be wary of extensive Sharpie use.
-
The one I saw - probably in that same video - was just a slat of wood that had been run through a tablesaw once or twice to get a suitable slot. Useful for both hand or hand-held machine burnishing (think Dremel or drill with one of those cocobolo burnishing tips.)
-

How to prevent "droop" for a split-tank bib?
TheCyberwolfe replied to JHLeatherwood's topic in Motorcycles and Biker Gear
A little late to the party, but consider Kydex rather than aluminum for the next one. Aluminum may interact with water/gas and leather over time, but Kydex is inert. It also won't dent (not that it would be likely in this application). No affiliation, but this place sells sheets in many varieties: https://www.indexthermoplastics.com/thermoplastic/kydex/solid-colors/black-kydexr-sheet.html -
Looks like that row of pics is just whatever was posted last. You're welcome
-
-
The method I used on the belt I'm wearing now, after a year with no rub-off or bleeding. Method told to me by an ancient leatherworker at Oregon Leather Company when I was first starting out. 1. Oil it first. It will help the dye penetrate the leather deeper and give you a better color result. Use Neatsfoot oil, in thin coats until it looks even. Let this sit 24 hours in a Goldilocks environment (not too hot, not too cold, or dry, etc.) before you reach for the dye. If there are any dry spots after 24 hours, give it another coat and try again tomorrow. 2. Dye it using Fiebing's Pro Dye (no longer called Pro Oil, just Pro). This is a bit of a misnomer in that it is still an alcohol-based dye, it's the pigment that is oil-based now instead of powder based. This means you won't get the powdery residue like you get from the non-pro dyes like the USMC Black, and you won't wear your elbows out with buffing the project. Go over it with thin coats until you get the color you want (airbrush is a good applicator). If you're using black, no reason you can't dip-dye it for an absolutely dyed-through result. Again, let it dry for at least 24 hours before the next step. 3. Buff the project and check your color finish. If all looks good, go for the top coat. @ScottWolf is right with the Resolene mix ratio at 50/50 and keeping track of your bubbles. Again, an airbrush makes a good applicator, but daubers, rags, and sponges can still get good results if you're patient. Resolene is a good finish for general-use projects, but if you want something a bit tougher I can recommend Fiebing's Saddle-Lac, which comes in an aerosol can. 2 or 3 coats is good enough for rugged outdoor gear like saddles and tack, or biker gear. Be aware, however, that Saddle-Lac is a bit of a "creaky" finish - my cell phone holster makes noise when I adjust it on the belt or move around. The part I always have the most trouble with is the patience.
-

New Prototype Belt Key Holder
TheCyberwolfe replied to VYO's topic in Purses, Wallets, Belts and Miscellaneous Pocket Items
@Retswerb, I had rivets on the small strap pinning the hook down, and that snapped. About a week later the stitching holding the hook on lost grip and started pulling out. I guess the best advice is to use lots of backstitching or tie a really good knot somehow, and don't use too thin a piece for the strap holding the hook down. -

New Prototype Belt Key Holder
TheCyberwolfe replied to VYO's topic in Purses, Wallets, Belts and Miscellaneous Pocket Items
Made one very similar myself, lasted about a year. I think the solid body clip puts too much stress on the seams and it might be better with a rotating clip. It also dug a hole in my upholstery in the car. -

Any help on punching a clean tip on the end of a strap? >>
TheCyberwolfe replied to DONAG's topic in How Do I Do That?
The most-versatile method is to put away the punch and just use a sharp knife. Cut about a zillion 4" straps to practice with, and by the time you run out of practice straps it will be muscle-memory. The technique is to hold the edge of a razor-sharp knife vertically and perpendicular to the edge of the table with your 'off' hand, and then you take the strap in your other hand, place it flat on the table with the side against the edge of the blade, and with a bit of a "swooshing" motion rotate that strap against the blade. Now flip the strap over and repeat. The resulting cuts should give you a nice English point. At the start of this "swooshing" motion, the strap should be touching the blade at an acute angle, and the natural motion of your wrist pulls the strap through in such a way that the angle rotates through and traces the bottom of a Nike "swoosh" emblem, from the tip of the long end through the curve at the front, and eventually all the way trough the leather. When you flip it over and do the other side, the two sharper ends of the curve cuts come together in the middle to make the point. The biggest trick is making sure you start both cuts at the same "longitude" of the strap and use the exact same motion. -
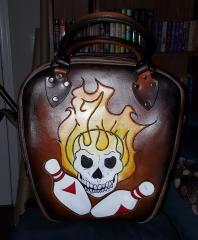
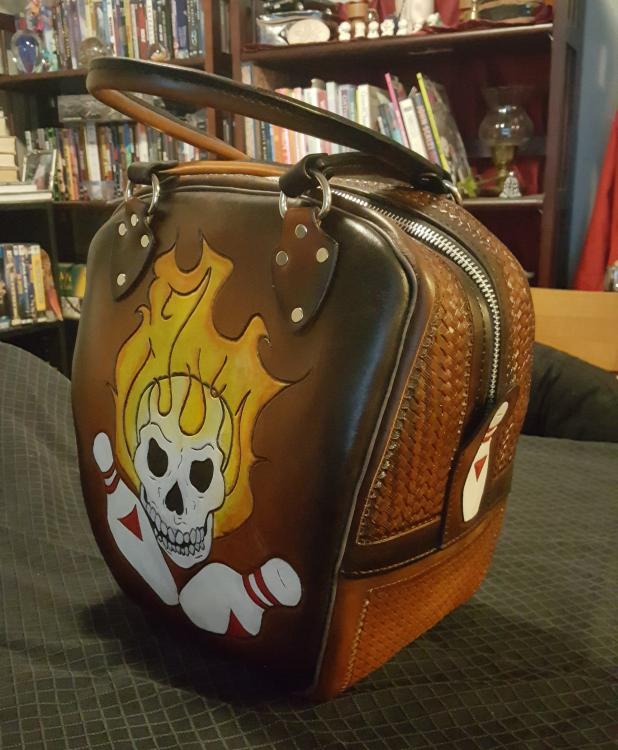
Airbrush is a great way to control exactly how much dye you use to achieve a certain look, and for doing multi-shaded designs like the "sunburst" effect or to help fine-tune areas around a resist. If you just want the same color over the entire piece, then dip-dye is the way to go for consistency. And because I love to show this bad boy off, I did everything but the white on this with an airbrush.
-
My own humble submission to the horizontal-carry pantheon: http://www.rogueleather.com/2014/03/smartphone-holster/ That one has lasted through three phones so far, still wear it daily.
-

Pictures Please? How do you store your hardware?
TheCyberwolfe replied to bikermutt07's topic in How Do I Do That?
I'm currently working off of what used to be my computer desk, but my original plan was to be portable. I never buy more than about a dozen of anything and have it all in a mix of small parts boxes and Altoids tins. That Husky organizer is darn slick. I may have to get one.


