jimi
Members-
Posts
1,418 -
Joined
-
Last visited
Content Type
Profiles
Forums
Events
Blogs
Gallery
Everything posted by jimi
-
Possibly? you would have to try it out. It would probably not stick to it like the stone feed but you might have less grip? I am mainly using calf and horse leather so i find it better with the stone feed wheel. I did get the 801 type Wheel feed but it sticks a lot and does not turn very well.
-
Yes Folker, that would be good, thanks.
-
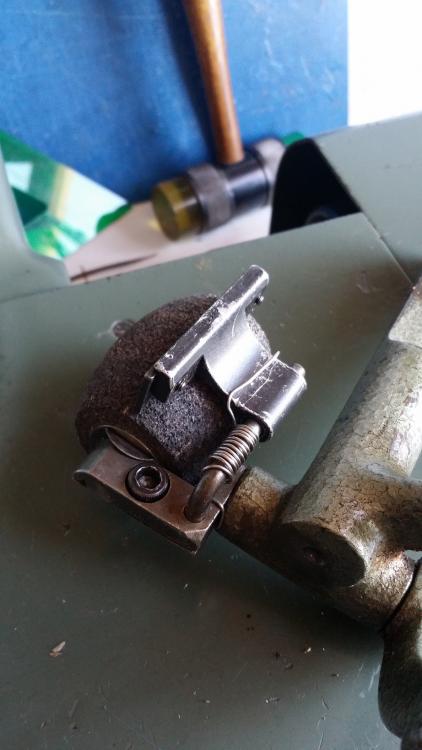
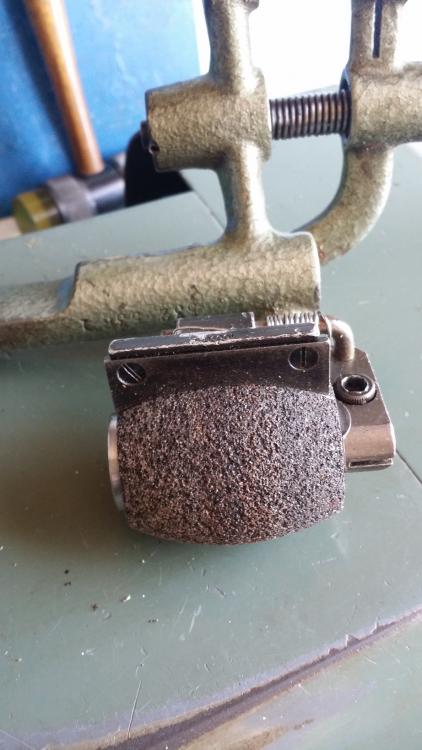
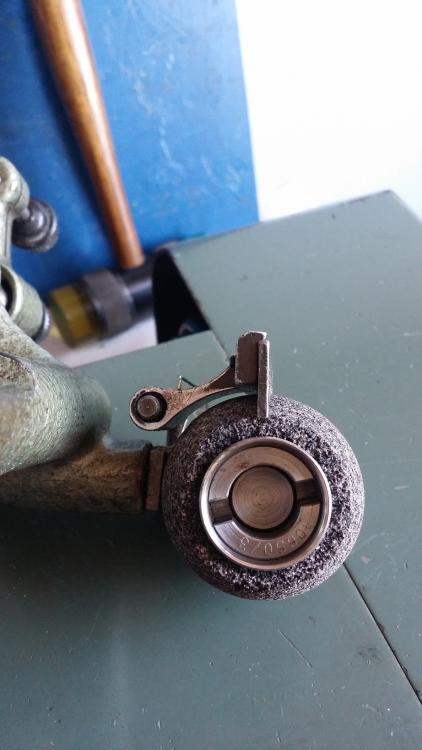
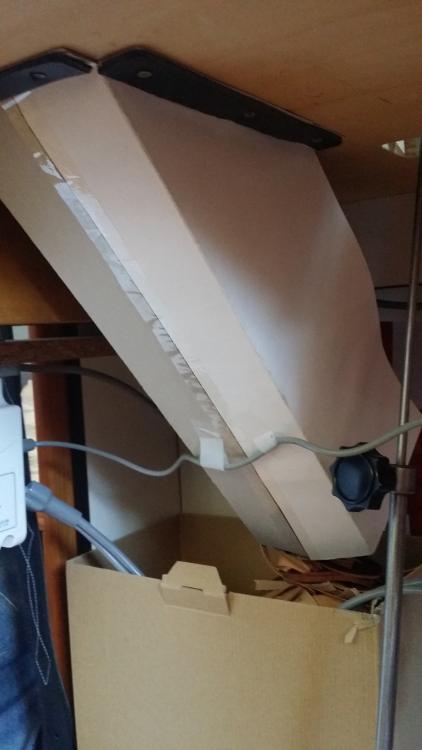
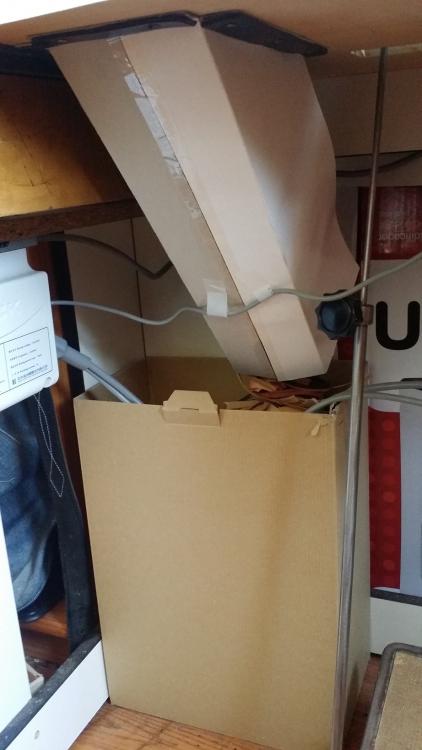
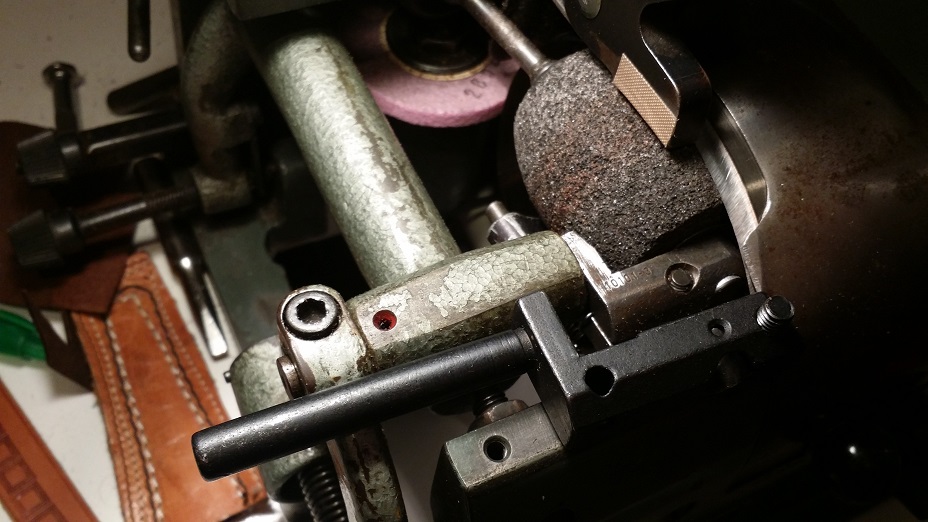
Your welcome, Here are some more pictures in case you need them Brian. The body is made from aluminium and the scraper blade steel. Bennettm, you can make a chute from cardboard, The one that came with my machine was to big for the small table i made so i had to make another one, and form cardboard it was...
-
Ok, Thanks Glenn.
-
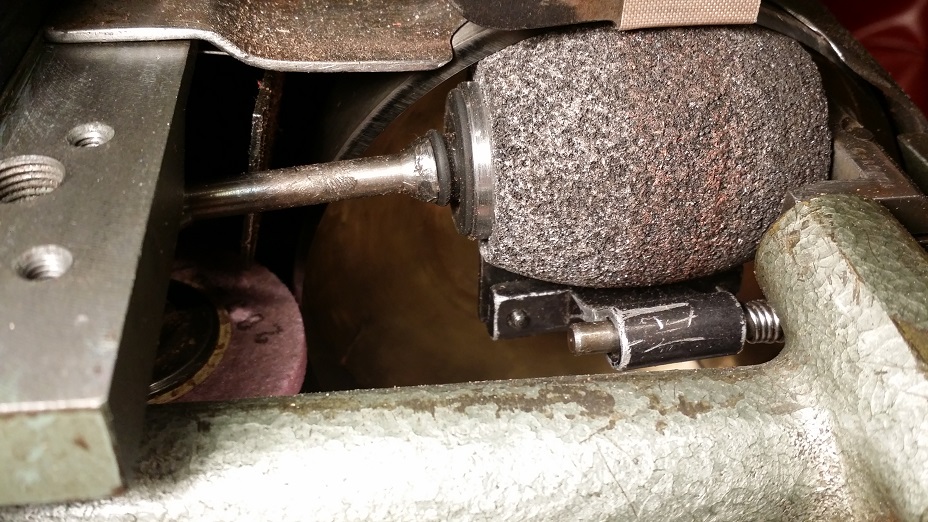
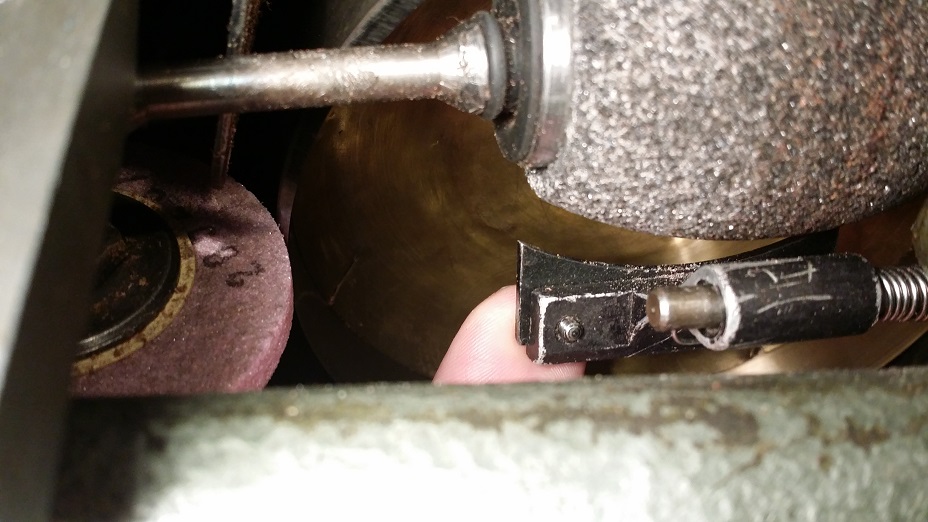
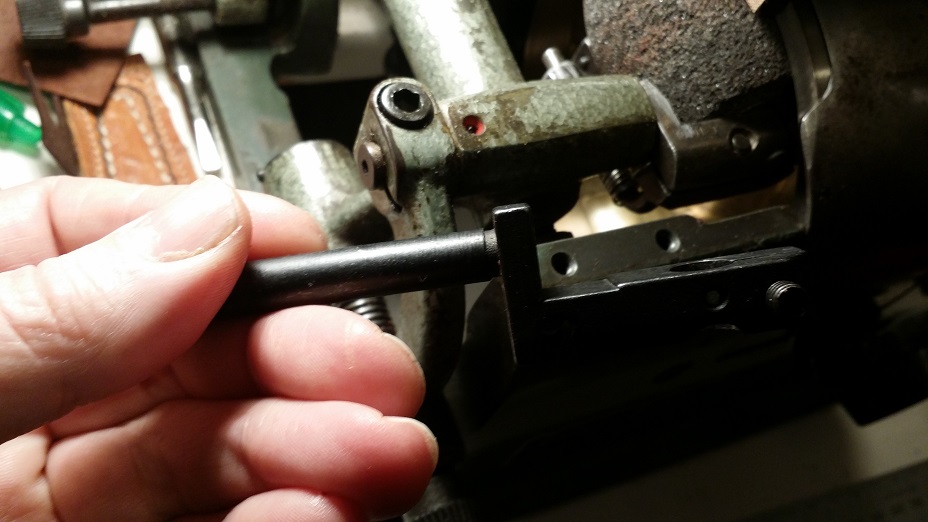
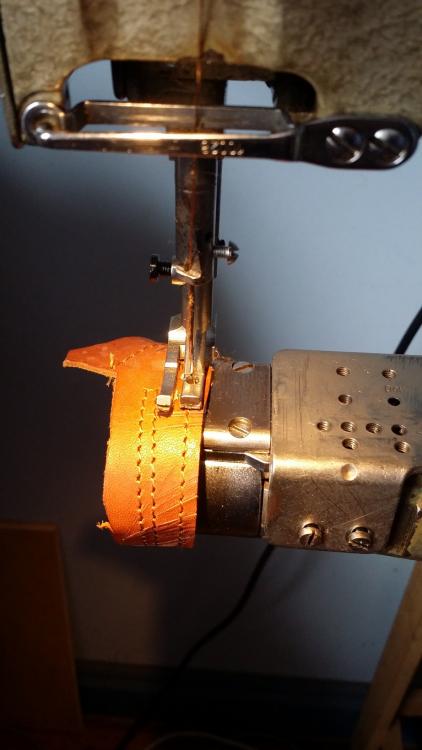
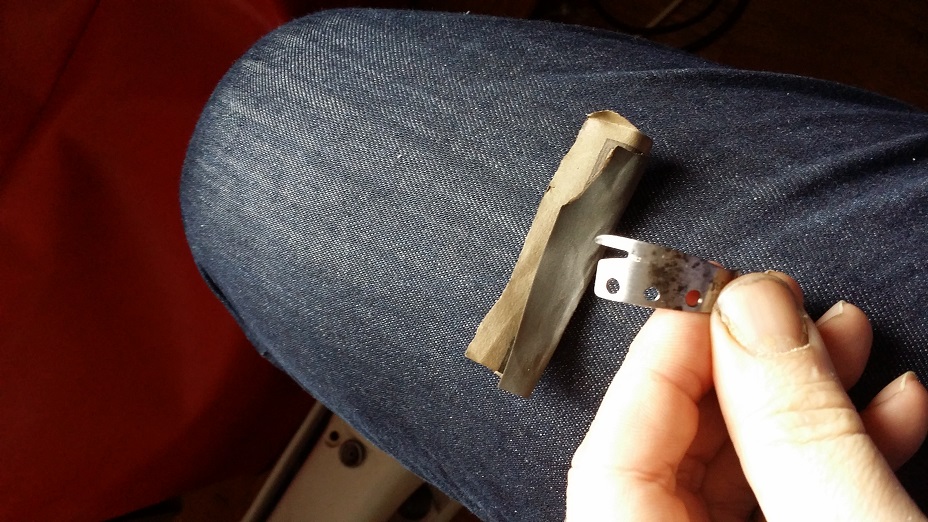
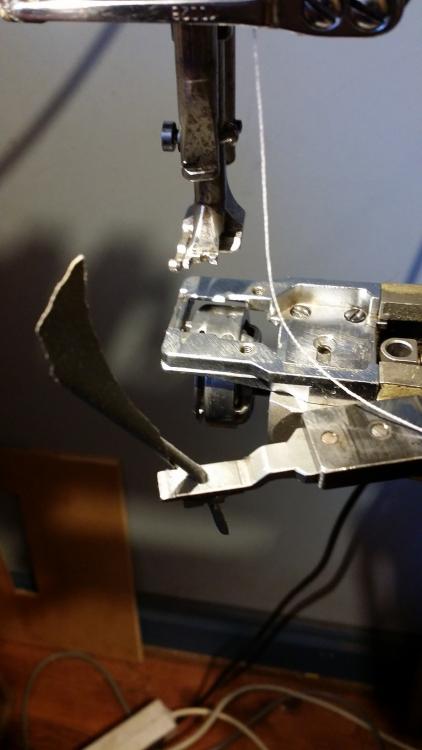
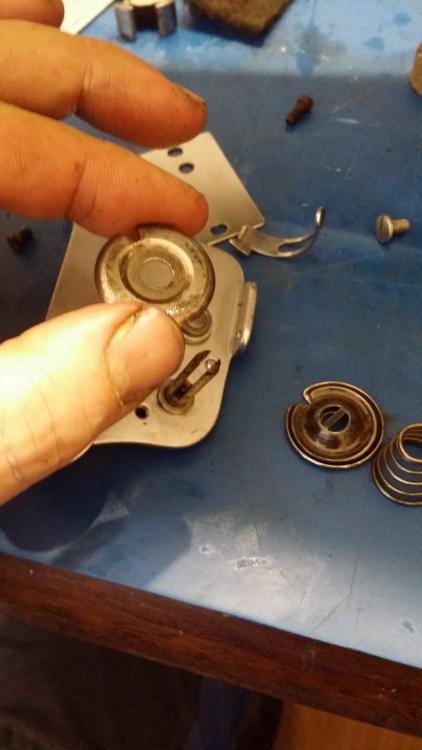
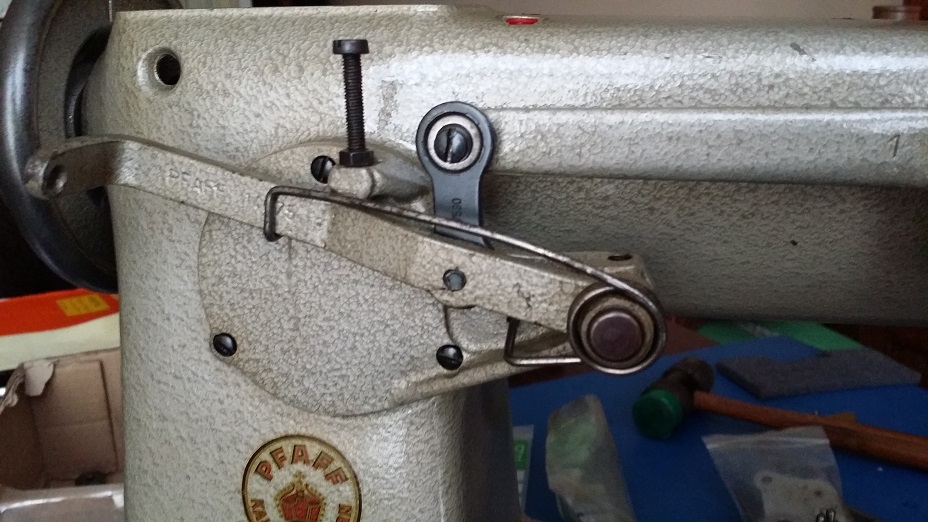
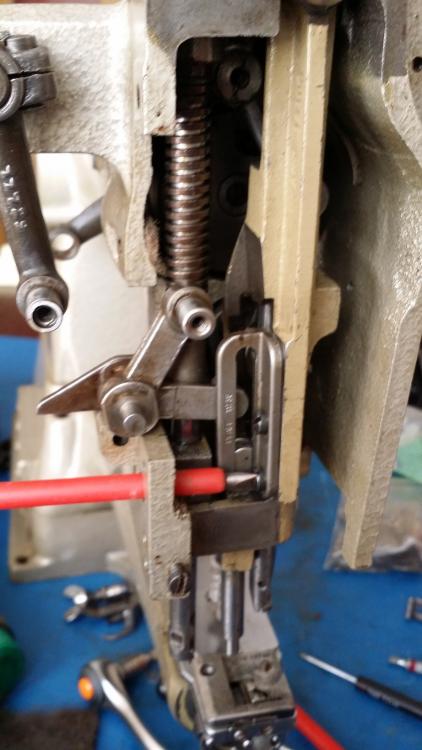
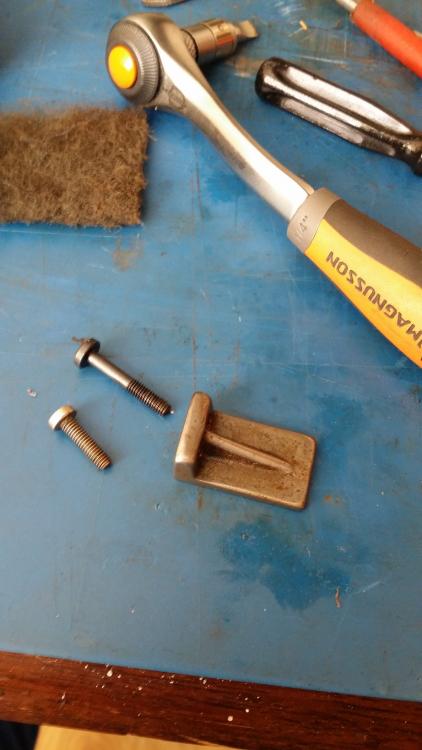
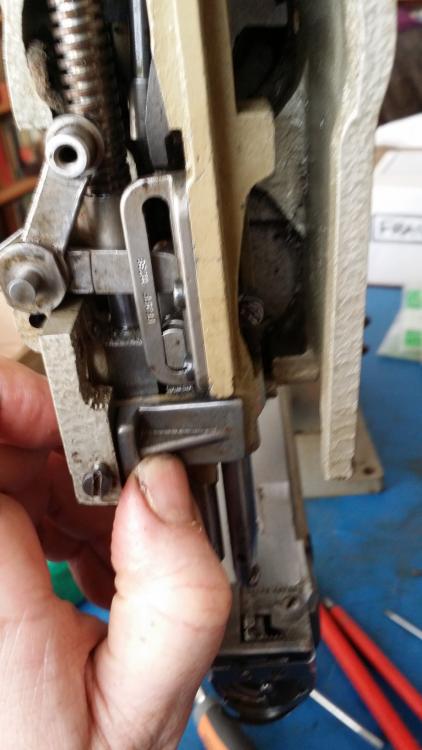
First of all do you have the ejector inside the bell knife?? That is the brass domed plate that goes inside the knife??It should be aprox 15mm from the edge? Also, There is a small accessory that fits onto some skivers. I don´t know if your machine has this option but i would image so because it looks like the 801 type clones and they sell parts for them cheap from china. i got a few parts to see what they were like and looks like the hole for the small scraper is there. Have a look to see if they have this part as an option for sale, if not you could always try to make one up. I botched together the spring as the original one was missing, and the rest does not look to difficult to do, but this scraper does a great job of getting you scrap off the feed wheel.It is not 100% because sometimes with very very soft leather it might stick on the wheel and get passed but not very often. I think it is a good alternative to a noisy vacuum. You can use it on the rubber and the stone wheels but not on the steel ones. Also you can take the 2 screws out and change the small scraper blade when it wears down too much, which just looks like a normal piece of steel. here are some pictures, the spring pressure is very light on it.. This is the part from china which has the hole for the arm for the scraper i would imagine??
-
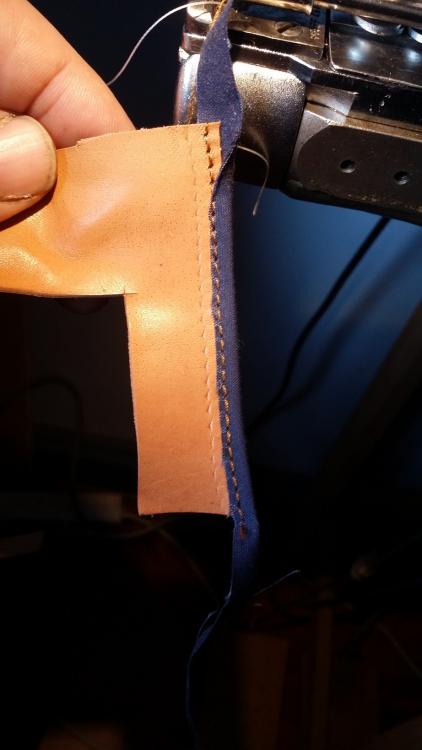
I also smoothed the toe a little on the foot which was broken and hand wheeled over a few times to see how everything went..This is a 12 x 3.5 binder. Seems to go good, so i think we might have saved the Original bobbin case from it.
-
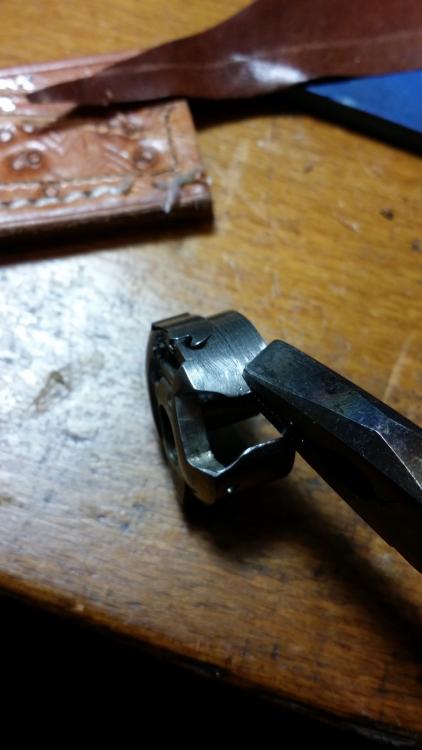
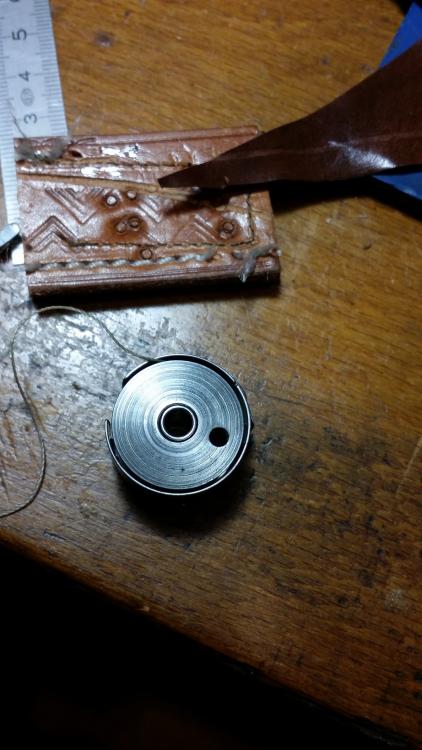
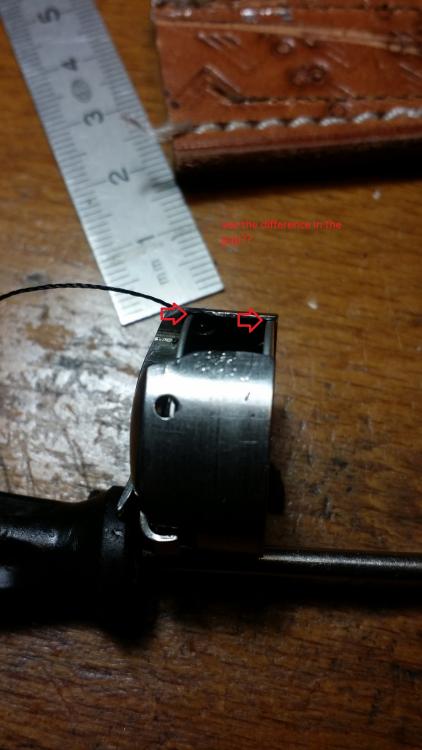
So i took the pliers and carefully bent the ends out again. Sorry for the small letters here, just says can you see the difference in the gap each side? the outer side on the right is what is stopping the spool from fitting.(just click on the image a couple of times to zoom) After the ends were bent out, and old bobbin from the old 335 dropped in. And now the generic ones also fit. This was the one they put in. quite a gap there eh?
-
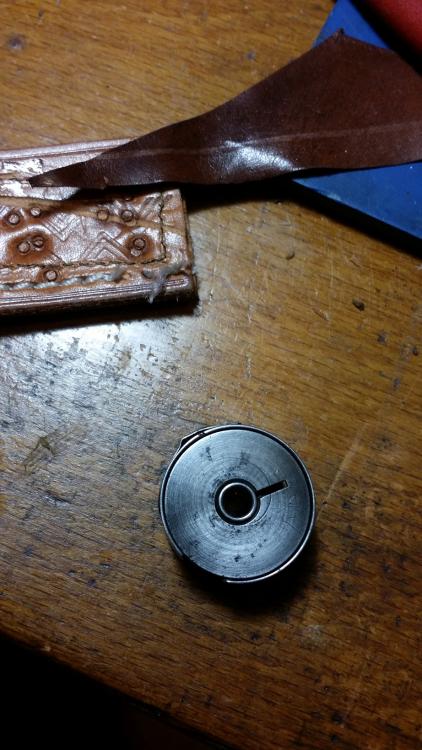
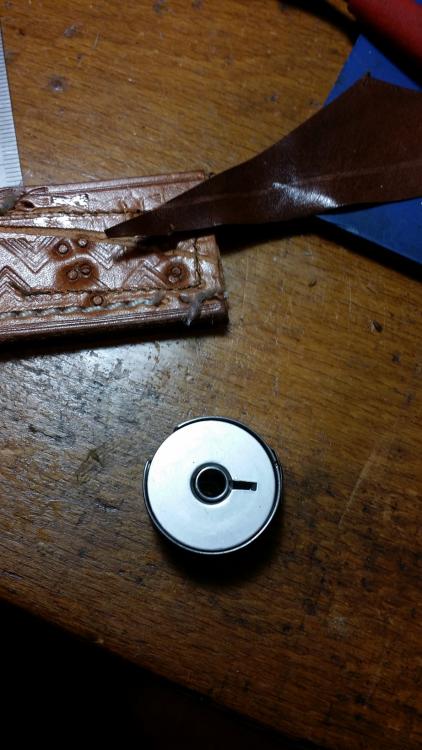
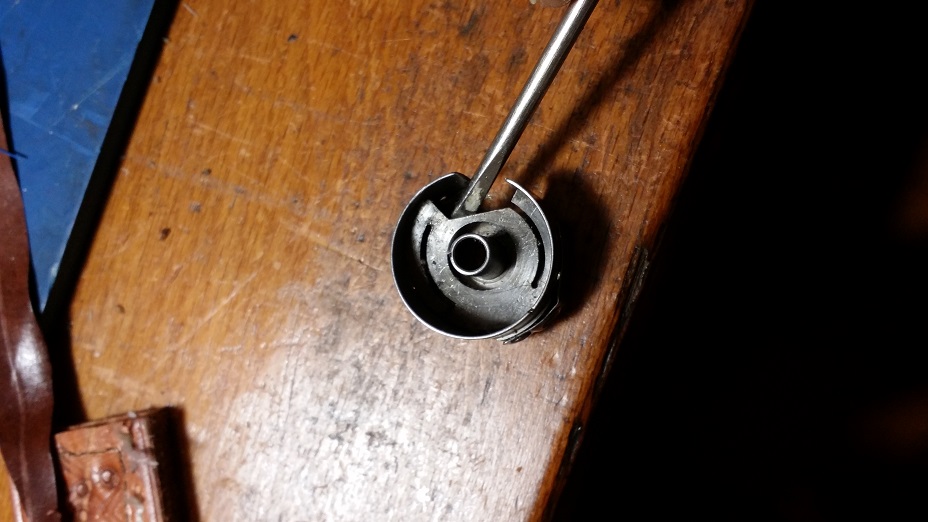
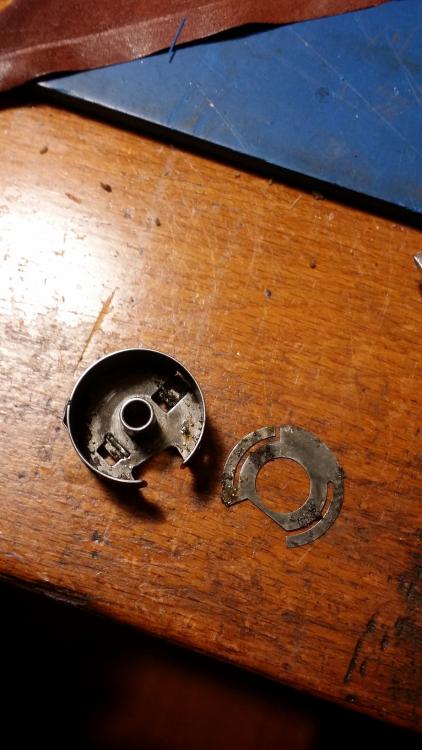
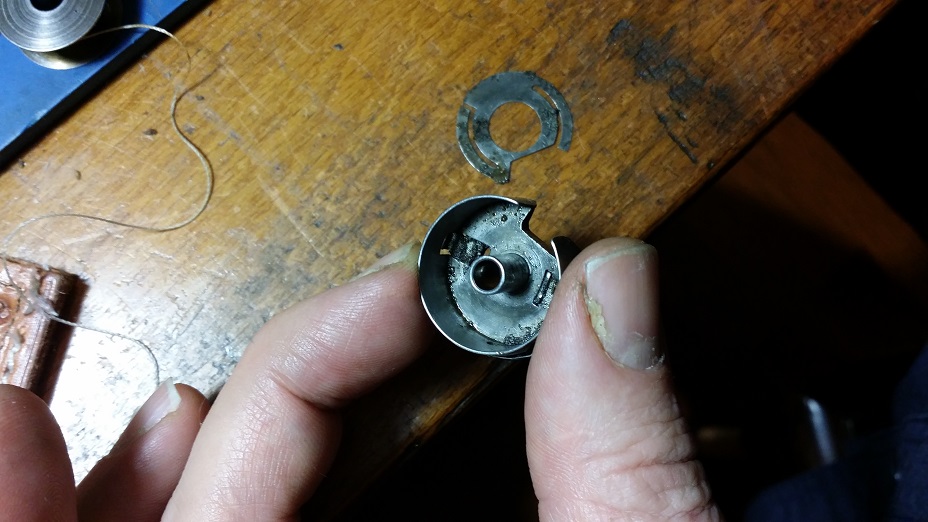
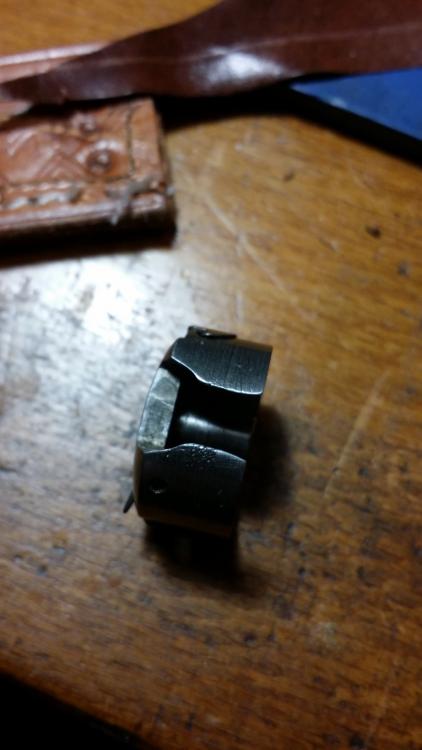
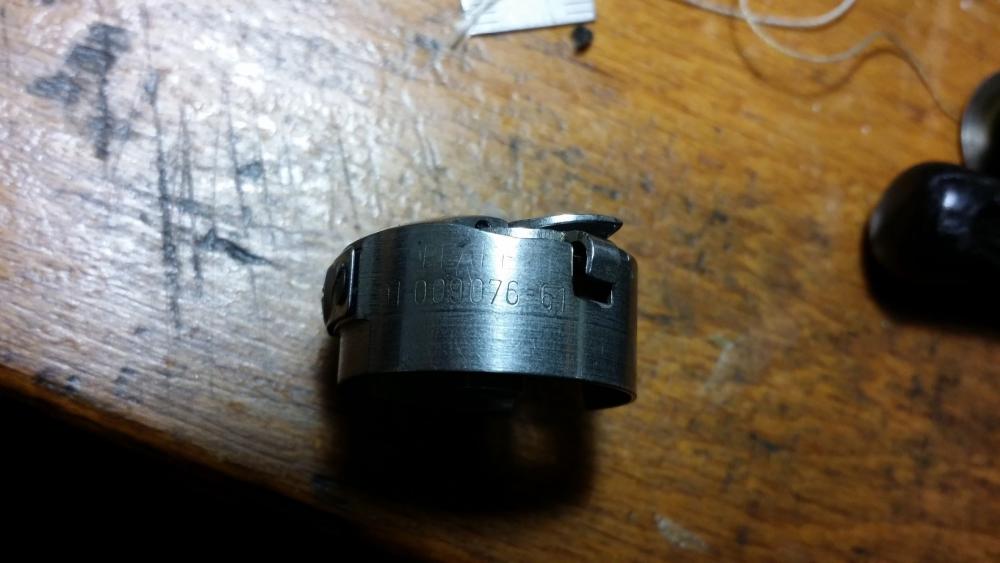
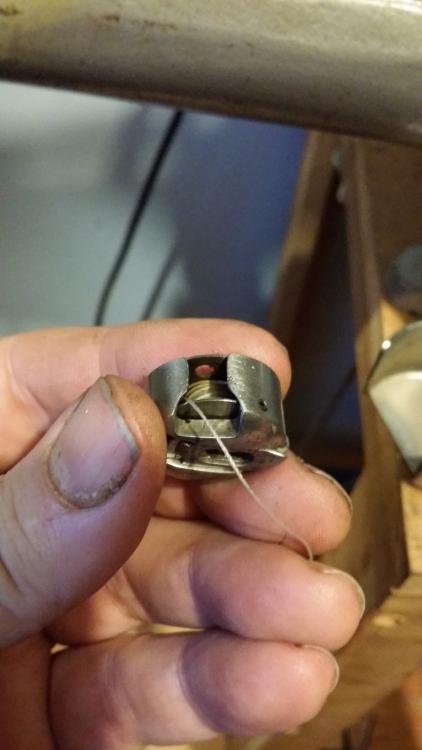
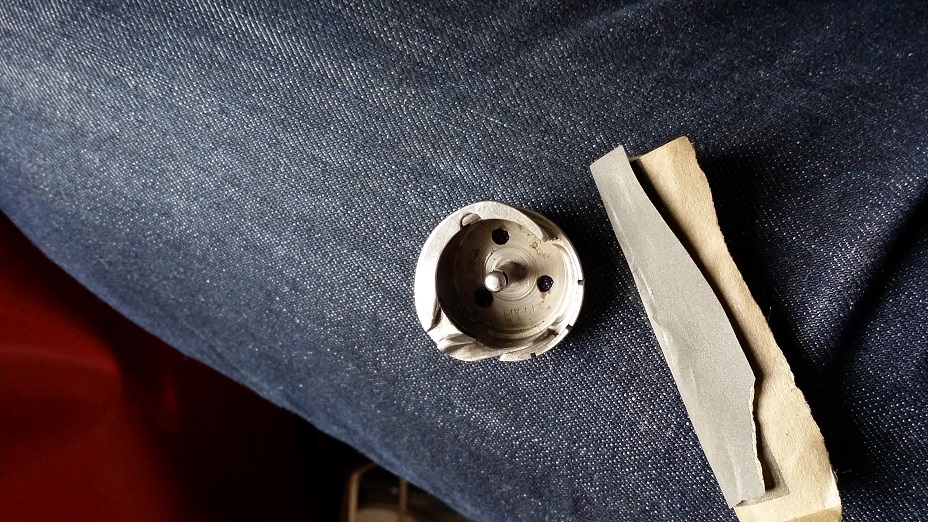
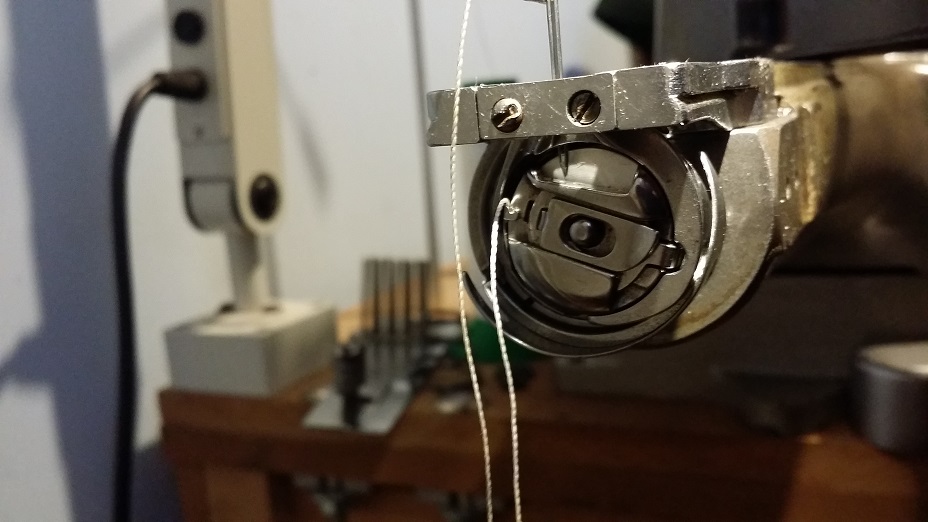
Just a quick update, I went back to the bobbin case to see what was going on with it as i found that both new and old spools from the old 335 would not fit?? so i took out the springs (tension one also) and gave them a clean and looked up the number and lo and behold it is the correct one for this machine??? On the old 335 the case just says 9075 which is referring to just the case, the number here 91 009 076 91 is for the case,latch,springs and screws. So what was the problem here? if you look at the case you can see that it has been hit a good few times each side with the needle and those two have no support under them? looks like they put in a smaller spool to overcome this problem. Tried the spool again and saw the two ends were where it was touching.
-
Thanks for that Alex, and hope your 194 reaches you in good condition this time. Happy new year. Jimi.
-
Hi Glenn, yes i did check that up after i got it, i don´t use the binder a lot at the moment but will try to leave one of the 335´s dedicated to that purpose. when you change the feed dog and needle plate to normal sewing, as i have it at the moment, i find it best with the plate off because i rest my hand or fingers sometimes on the arm and the plate will move your hand. For sure the synchronized binding feature is a plus to have underneath there when needed. Regards, Jimi.
-
No i never put anything on there yet Glenn, i did not feel the need as the belt holds it down well enough. I could easily make one up from some steel plate but never got there, also i have seen them on Aliexpress i think??, it was cheap also. i did get feet and a couple of bobbin cases with bobbins there also but one has already popped the latch so they are not the best but okey to get you going until something better comes along. the feet are real tight also, not a good fit. I don´t know if college would have good fitting ones either?? they look like the same ones on Aliexpress?? I always try to find cheap original used parts if i can as they should work first time and no problems. As long as they are not to worn and that is where sometimes you take the gamble. Thanks for the info glenn. Regards, jimi.
-
No problem scoutman and thanks. Hi Dikman, yes not a lot to do to this one, and the plate as usual came with no screws, but i tried the singer thumbscrews and seemed to work in a couple of them so it must be ??? oh cant remember the thread ??? 11/64 ???
-
That looks like a good modern 69/335 looking machine there Glenn. I am sure that costs an arm and a leg and maybe another leg.. but if it is well made then it will last for ages, that we know. Seems like in the photos of it, it has two tension units?? is that correct??, Jimi. Hi Mike, thanks, your patcher will be a different ball game to this. there are a few posts on the patcher machines on this forum. here is one but it is not as extensive as this post. All the best and good luck, Jimi.
-
Hey Al, how ya doing. Thanks, but that was nothing compared with yer overhauling of those 45ks
-
So, Back with the setup that it came with and another try, seems like that toe has to be smoothed down before use?? Well, that is where it is at the moment. in need of a table,motor etc..and will probably be used just for binding at the moment but i have to move something out i think...hehehehe. Soren has sent some spare screws he found in a box and the bracket for the belt guard so when they get here i can update you on that if you like. Big thanks again to Danishman. As you have seen this pfaff was in good condition underneath and only needed a little cleaning and oiling, unlike the old one which had been abandoned and then thrown about by the courier service. This one was like a a day trip compared with the other journey . But i am sure there are some bad cases looking like new out there??? I hope this can help somebody if they are looking to do the same thing.
-
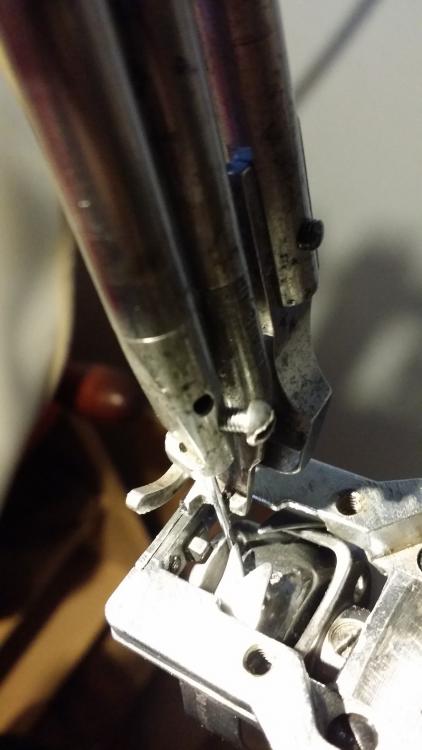
Old bobbin case hit quite a few times with the needle. the other 335 bobbins do not fit in here?? looks like the wrong bobbin was put in?? Feed dog adjusted to the left just in case the thread was getting trapped there. Needle plate and feed dog from the old one on. this Accessory plate was also found a while back on ebay. it can be adjusted in height to match up with your needle plate. this is the other option to the binder plate and recessed one, but would need a half plate to complete. this is where the material/roller guide goes and possibly some types of binders. After the 2nd new needle was put in...
-
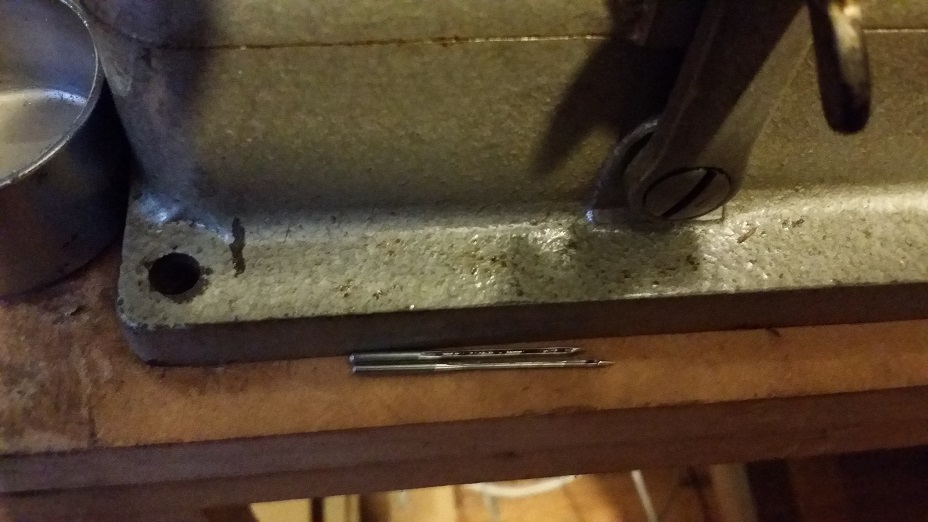
Right then, so everything was now back on the way it came. I tried it on a small piece of leather and it seemed like there was a lot of pulling going on underneath, so followed the thread path, pulling the thread through by hand and nothing?? so out with the bobbin basket again and look for burrs etc?? sanded, polished, sanded, polished...... nothing strange. tried again and same thing?? looked under the feed dog sanded, and same thing. tried the feed dog and plate from the old 335 and same again after e few stitches??? looked at where the thread was breaking and it seemed near the needle or just right under??? set the needle height again? same thing, so took out the new needle and put in another new needle the new needle must have had a burr on the eye! Needle had been hitting here at some time. Toe of foot broken off Needle clamp screw missing. this is the only metric thread i have found up until know. M3 Needle not hitting the bobbin case. they had a shorter needle in before.
-
These are the old pitted ones. This was needing taken off and cleaned as water had gotten in and rusted the inside. It has a small grub screw on the back holding it in.
-
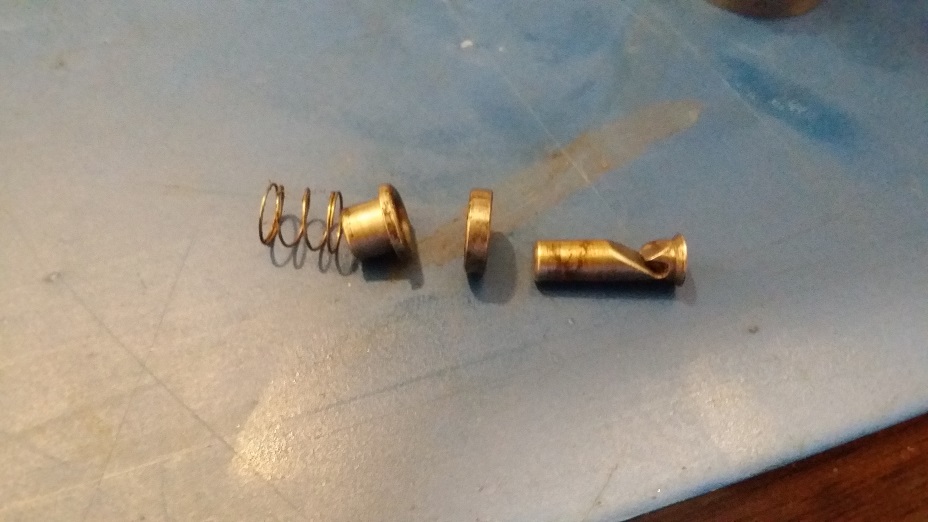
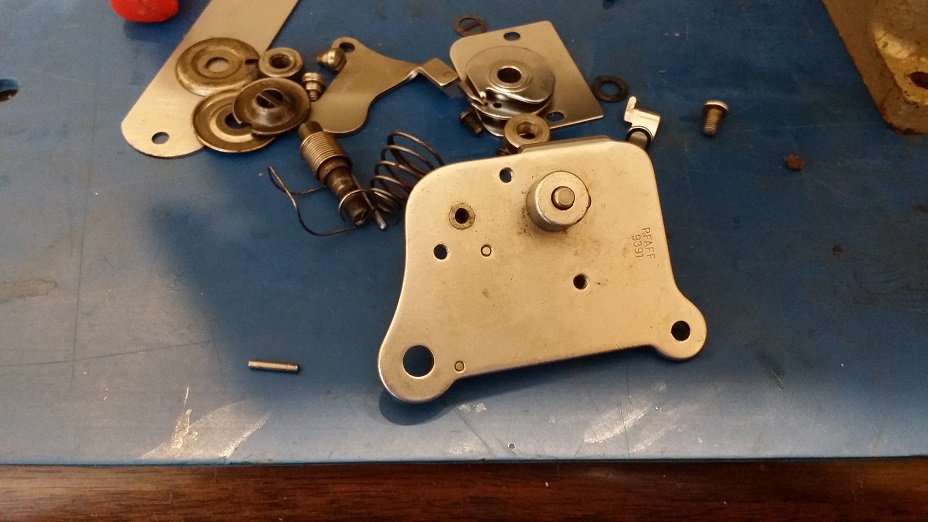
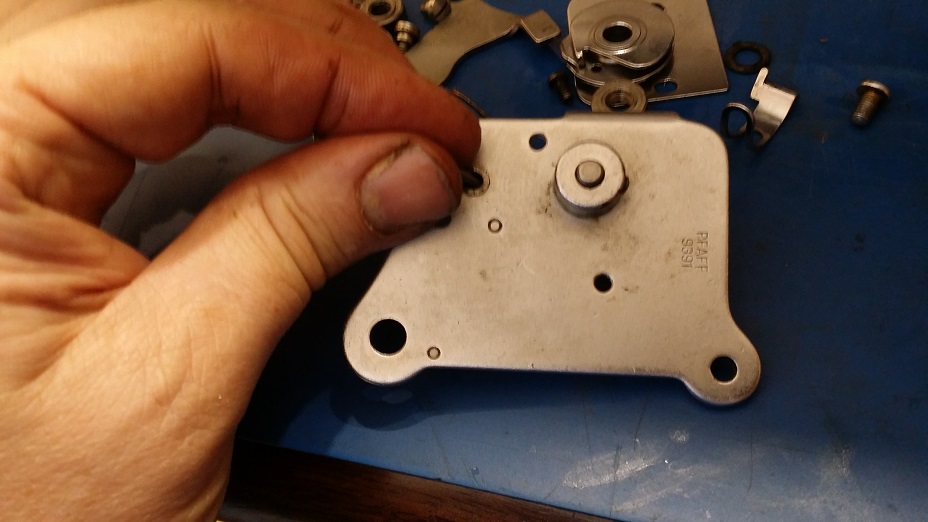
So they seem to have went from a normal small coil spring next to the foot lifting lever to this? This is the parts on the back. (bushings were still not changed yet) Don´t forget this pin?And that small one. That´s where that small pin goes, in the middle of your tension spring assembly stud. And before assembly the disks were a little corroded and pitted so as the old 335 had a double tension assembly the spare disks were a perfect drop in again for this.
-
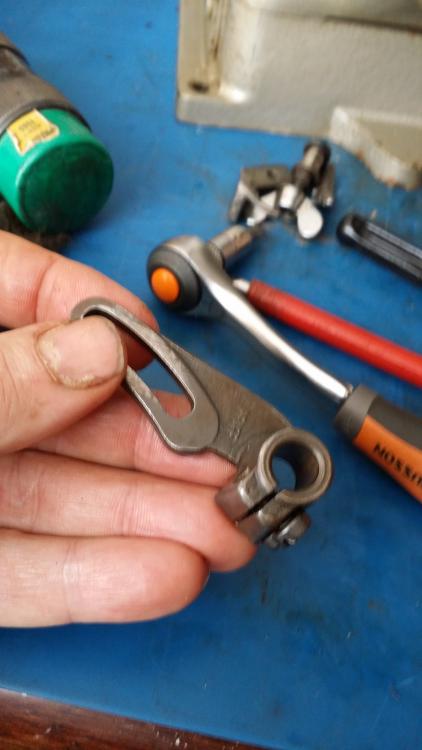
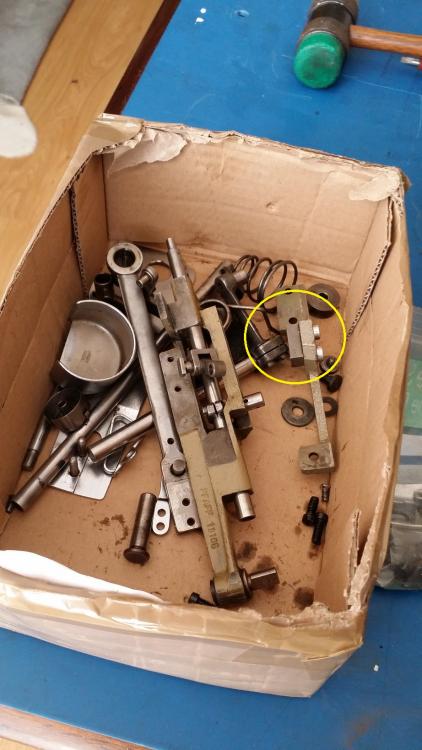
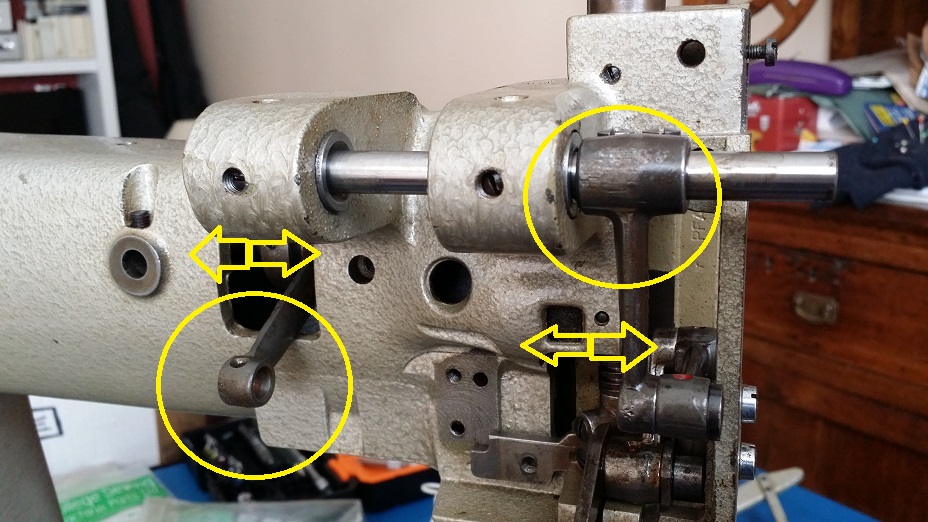
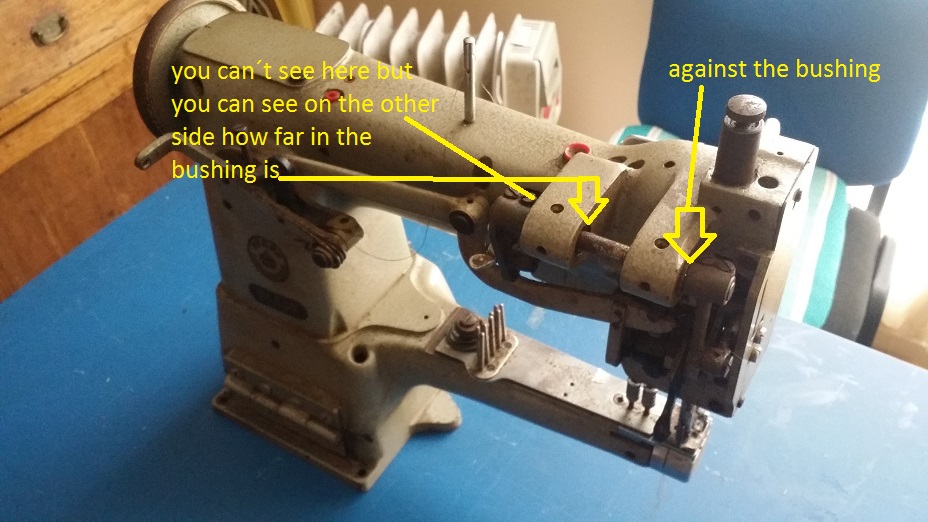
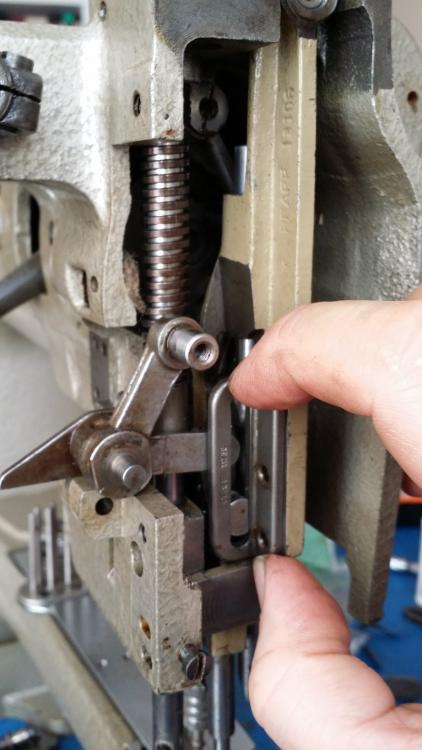
So about this time i realized that something was put in wrong because when i could i would turn the hand wheel over to check now and again if everything was going ok, but there seemed to be something....mm giving resistance? so i checked the front assembly and that was ok and smooth, then i checked the small block and the bushing wheel that is for the foot lifter, but that had not been moved? (the one in the yellow circle in the box) and saw that the arm had moved after a cycle. so i looked back at the first picture, had a look at the old 335 and realized that the holes were slightly out of alignment for that reason, to not let the arms move. so bushings back out again and placed where they were slightly out of alignment before and that felt better after wheelin a couple of times. Here you can see the arm against the bushing, the back one the same.
-
-
-
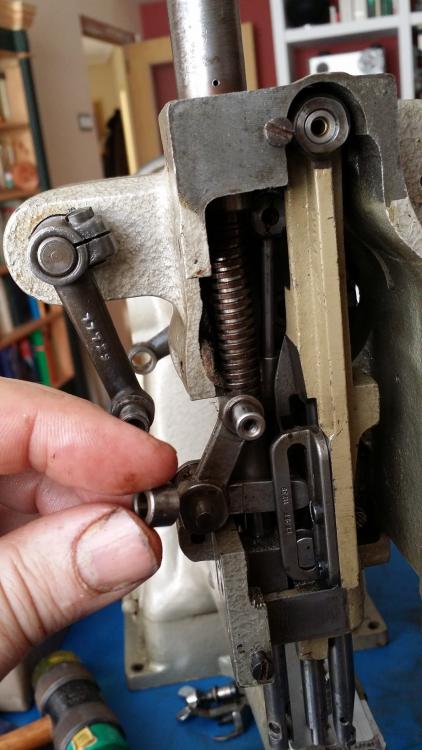
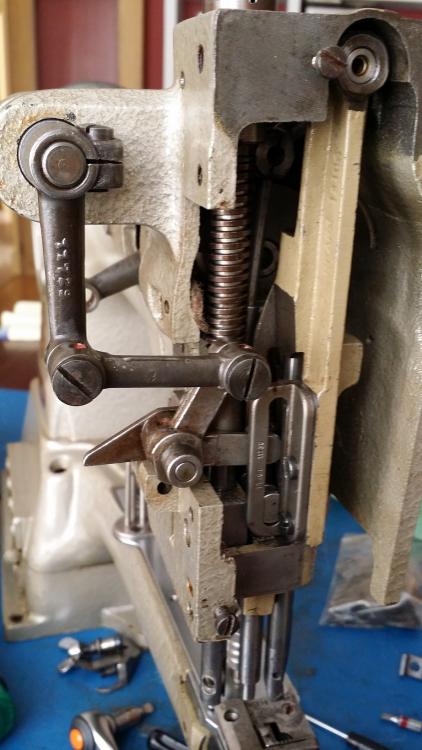
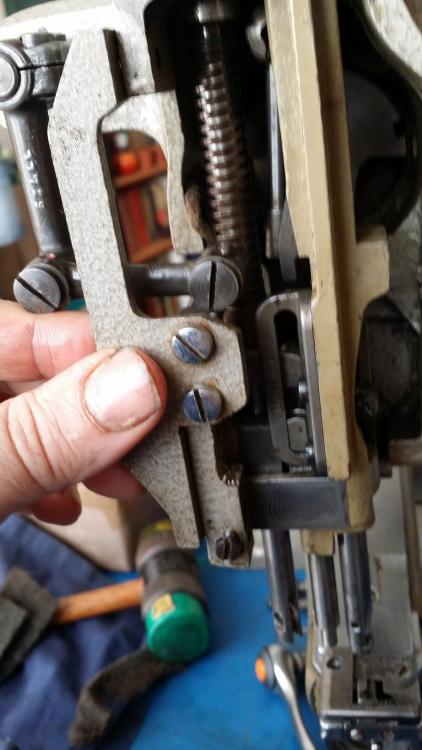
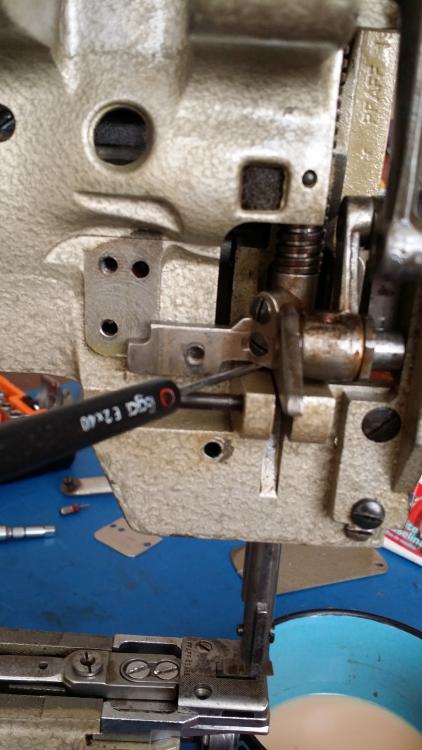
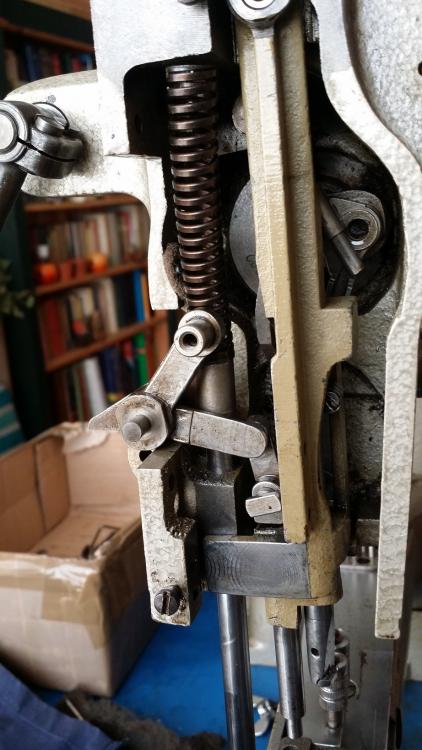
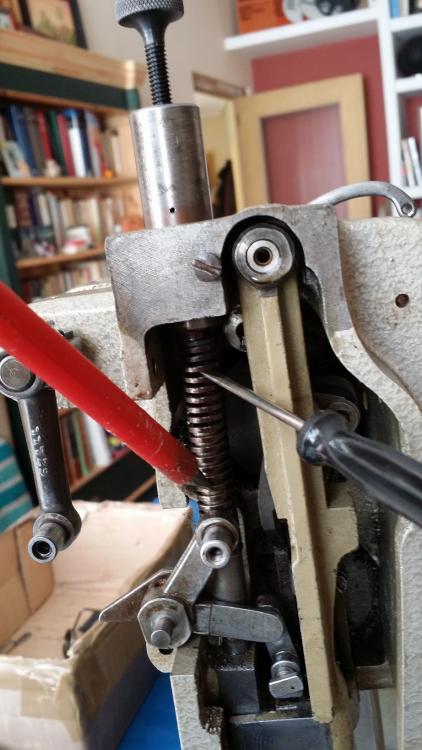
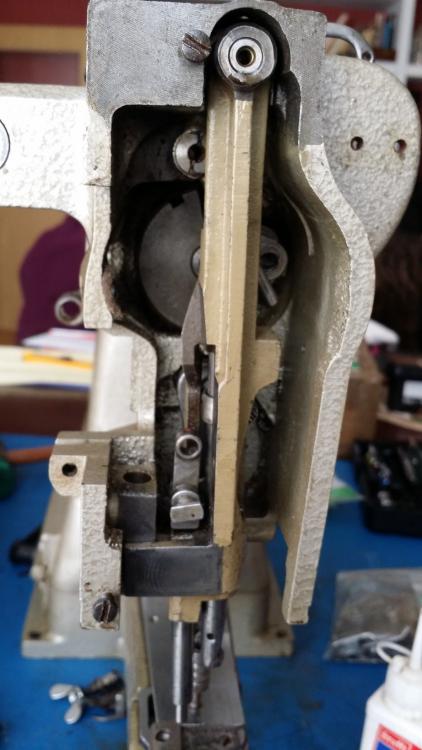
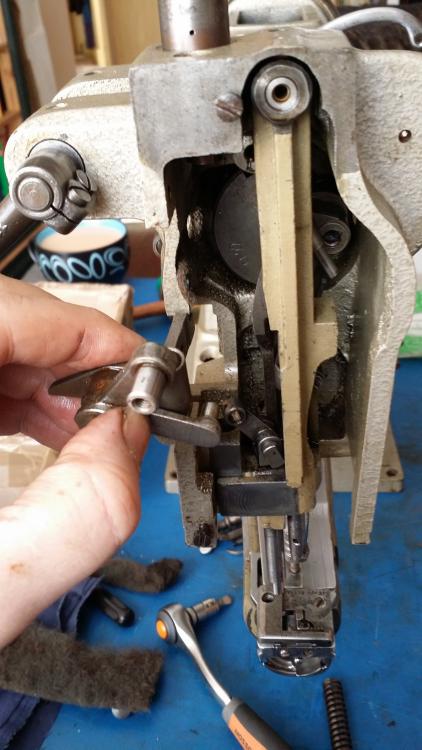
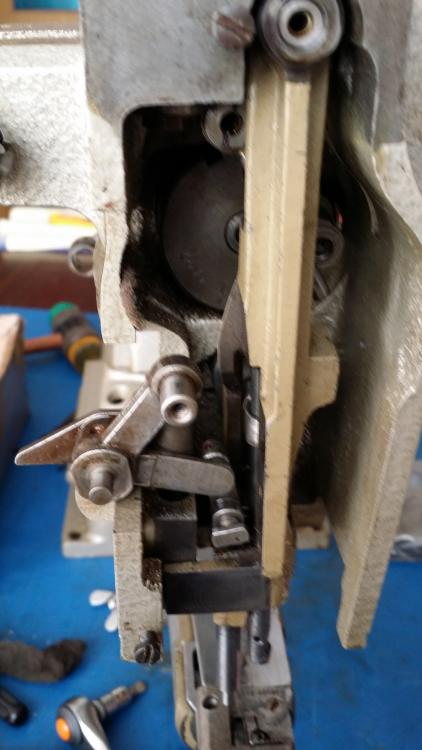
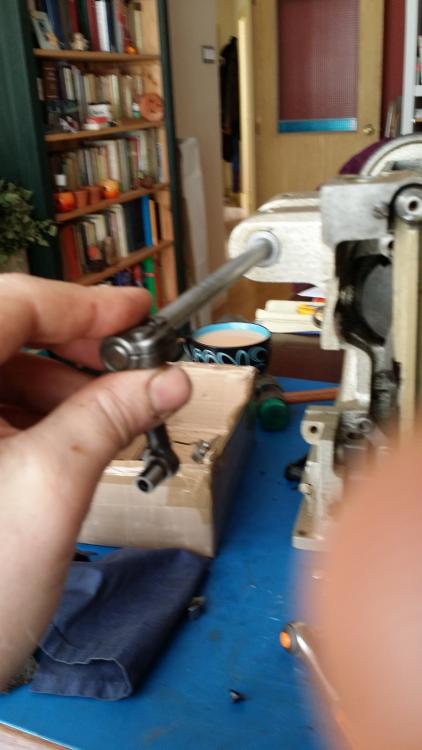
I am thinking i went OTT this time with the amount of pictures??? This spring is very strong!! and i always try to note down where the linkages go, this way it will mate with the same part it was previously worn with. the small one here for the needle bar assembly has pfaff written on the back and the part nº for example so that was my reference. In this picture you can see the screw has been taken out where the needle bar and foot assembly swing, If you do not want to take the whole shaft out then just take this screw out and slide the assembly off.
-
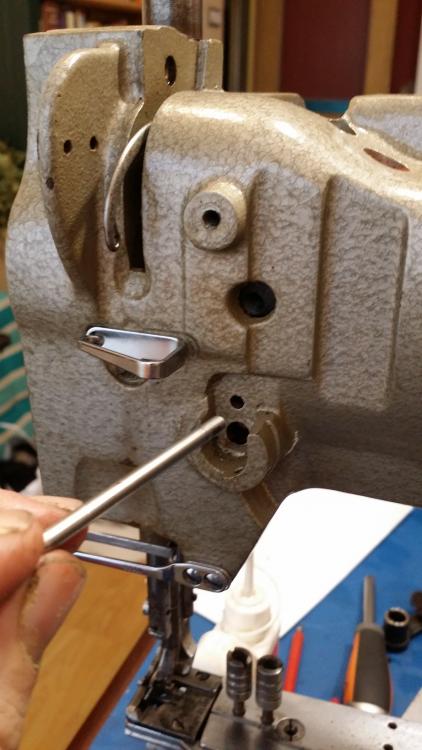
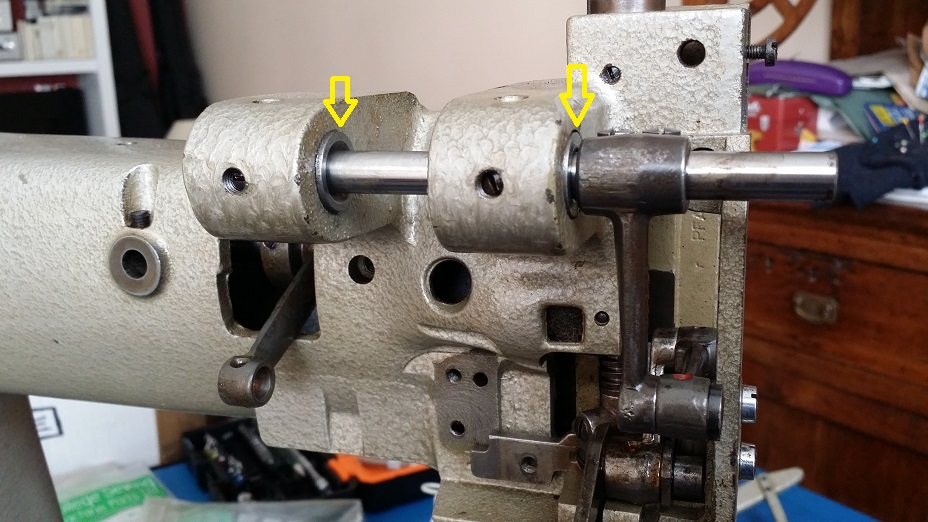
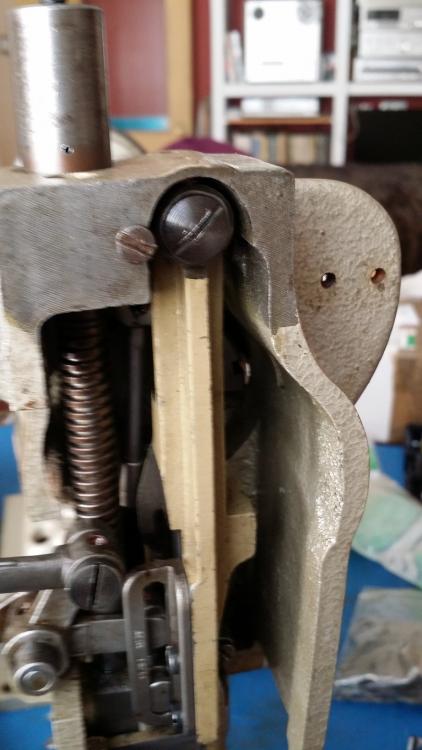
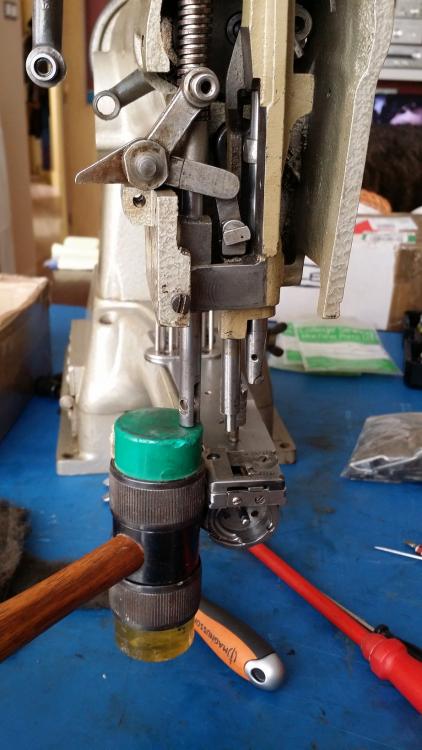
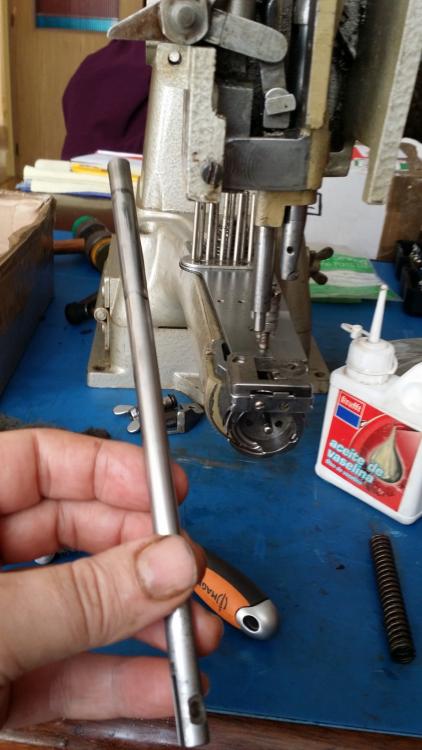
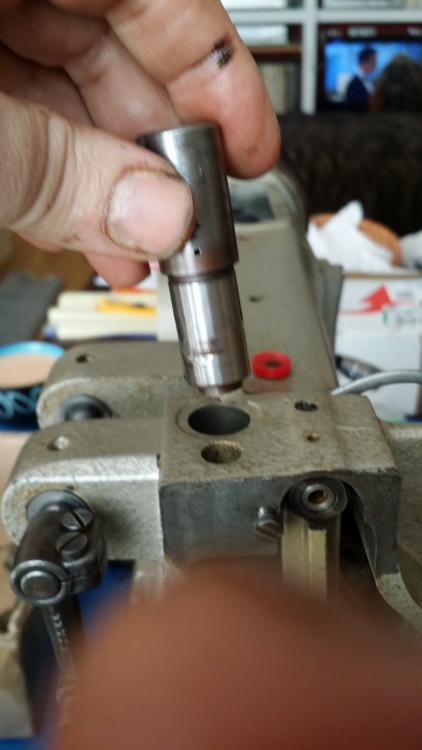
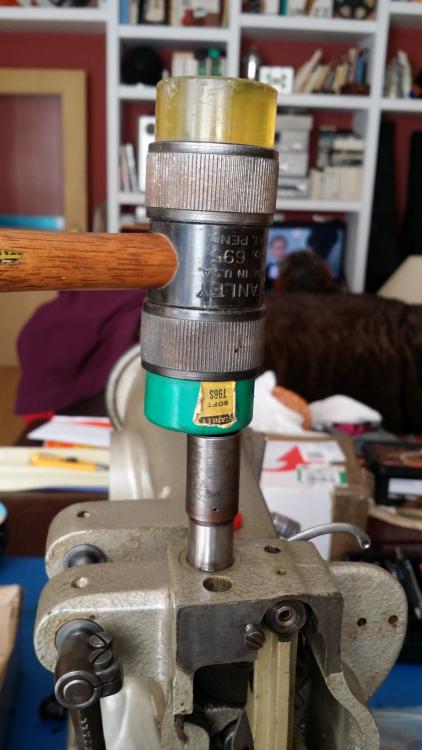
In this first picture you can see the bushings are in and lined up perfectly with the holes for oiling??? but it was not to be... A little oil and a soft face hammer, not a steel just in case. By the way that part was full of dirt on the inside up near the top, it has a small sleeve if i remember on the inside. there is a small hole on the side probably for air as it looks too small for oiling?? Forgot to say, when taking this part out there is a small grub screw on the side to loosen first! Now to get the spring in there for the back foot!!


