Basically Bob
-
Posts
584 -
Joined
-
Last visited
Content Type
Profiles
Forums
Events
Blogs
Gallery
Store
Everything posted by Basically Bob
-
Welcome Crafter. It's always nice to see another Canadian on the board. Not sure where you are located but if you are close to Hamilton, it would be worthwhile stopping in to see the folks at Tundra Leather. They are happy to share their amazing skills with you and are also involved with the Leather Workers' Guild.
-
Making Camera Bag
Basically Bob replied to hunio's topic in Purses, Wallets, Belts and Miscellaneous Pocket Items
Thanks for sharing that, Hunio. What I REALLY appreciate about your work is the skill you demonstrate in design and execution of the technical aspects of advanced leatherworking. -
I would make the case tight. wrap the phone in saran wrap and dampen the inside edges of the case with a wetted cloth (just wet, not dripping wet) wrapped around a bone folder, or ruler (don't soak the leather, just dampen it). Next, jam the phone in the case. Let it sit like that until it is pretty much dry. If it is too tight after doing that, you could cut out a thin piece of cardboard the same size as the phone and wrap it in saran again, dampen the leather and jam that set up in the case.
-
Wow! You, sir, nailed that one! Great job and I hope you continue to share.
-
Watch Strap Prototype
Basically Bob replied to cjmt's topic in Purses, Wallets, Belts and Miscellaneous Pocket Items
Looks really nice! Looking forward to seeing more of your work. -
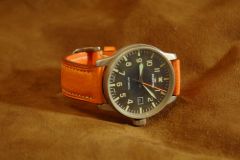 Excellent work! Clean and simple design ... quality all the way. Thanks for sharing!
 -
Nice work!
-
My First (Handstitched) Guitar Strap
Basically Bob replied to Basically Bob's topic in Guitar Straps
Thanks! Cyberthrasher, much appreciated. I was really having a tough time figuring out why my stitching on the back went "wonky" because normally it's pretty good (the worst of it isn't showing - LOL) . That being said, I have never stitched-up anything as long as a guitar strap - almost 100" of stitching. When I was on the second to the last thread run, I figured out what the problem was. It had to do with how I had the strap held in the clam (I use a Brit style stitching clam) Once I got that under control, it seemed to be not too bad. Bob -

From the album: Basically Bob's Leatherworking Journey
This is my first attempt at making a guitar strap. Hand stitched at 7 spi with 5/18 linen thread. Also my first go at stamping. I used 8-10 oz. bridle leather with pigskin for the lining. Custom fit at 48" and punched for strap locks. -
Just finished my first guitar strap. (ummm - or should I say, BASS strap - LOL) I used 8-10 oz. American tanned bridle leather. Pigskin for the lining. Hand stitched at 7 s.p.i. It was also my first attempt at stamping. Learned a few things for sure! I trimmed the pigskin and after I finished, I thought that I could take "just a little more off" - yikes - big mistake - cut into the strap. Can hardly wait to start strap #2! Thinkin' that black bridle is going to look pretty luscious beside the black pickguard on my custom fretless! :-)
-
Another Edging Thread - How Do You Paint Your Edges?
Basically Bob replied to KandB's topic in How Do I Do That?
A couple of things that I have found really helpful ... - burnish in the same direction that the leather was cut. You will know which direction is correct by rubbing a finger lightly over the edge of the leather - one direction is normally smoother than the other - that's the direction to burnish. - I get the cleanest lines by using good quality wool felt, cut in a strip, folded over and held in a wooden clothes pin - as illustrated in Al Stohlman's "The Art of Making Leather Cases (volume one). It also really helps to singe the fuzz off of the edge of the wool with a lighter. I prefer this over wool daubers. Here's the process I like: - lightly wet the edge and burnish. - dye -burnish - lightly apply gum trag -burnish -lightly apply leather balm and wax =burnish/polish I burnish, either with a piece of light canvas (cut from a painter's drop sheet) by hand or a canvas covered cylinder on my drill press. ... or both. -
Hey, thanks Lou. Great job!
-
Few More Wallets
Basically Bob replied to LeatherLegion's topic in Purses, Wallets, Belts and Miscellaneous Pocket Items
Sure looks good! -
My New Belt
Basically Bob replied to Ski's topic in Purses, Wallets, Belts and Miscellaneous Pocket Items
looks great! very clean and awesome stitching. -
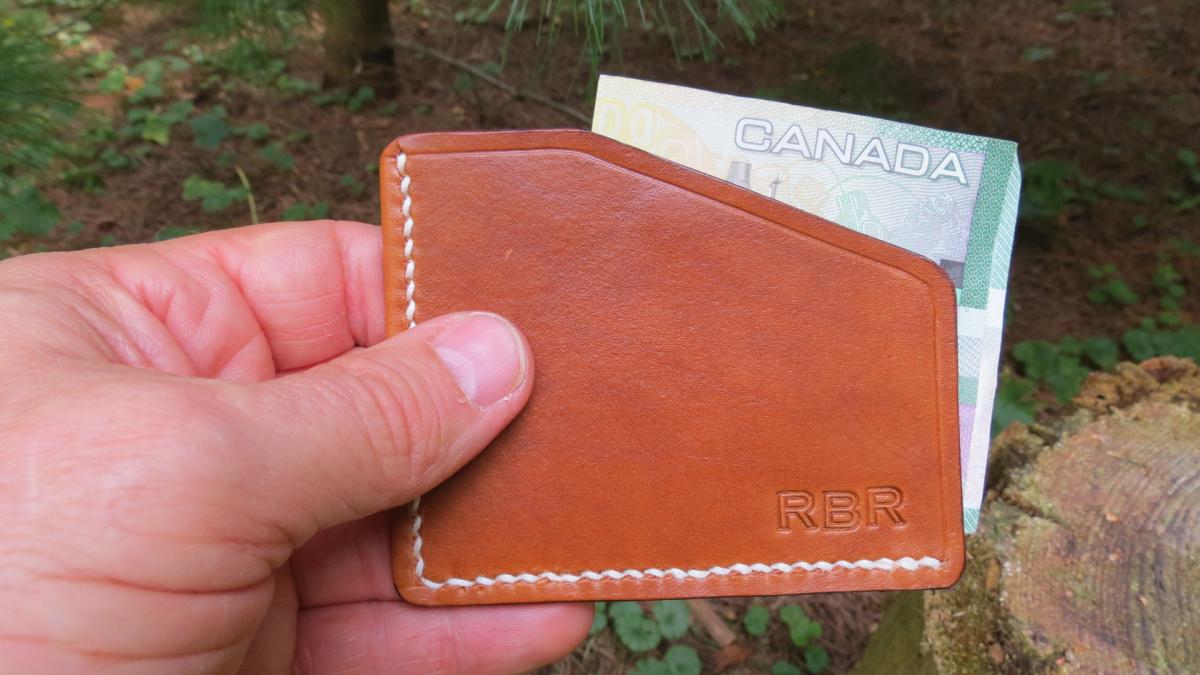
Bill Slip
Basically Bob replied to Basically Bob's topic in Purses, Wallets, Belts and Miscellaneous Pocket Items
Thanks, eh! -
I moved away from using a full size wallet several months ago and have been using a simple credit card wallet ... it's great! However, the downside is that I often end up with a bunch of loose bills/receipts floating around in my pocket. So ... here's a quick and simple solution. I hand-stitched this "Bill Slip" at 7 s.p.i. and used 3 oz. veg tan. Dyed, then applied neatsfoot oil and leather balm. It's hardly noticeable in my pocket and is a good companion to my credit card wallet. Bob
-
A Purse
Basically Bob replied to Tanya's topic in Purses, Wallets, Belts and Miscellaneous Pocket Items
I like it a lot, especially the creativity with your tooling and stamping. The inside is pretty impressive too! Thanks for sharing. Bob -
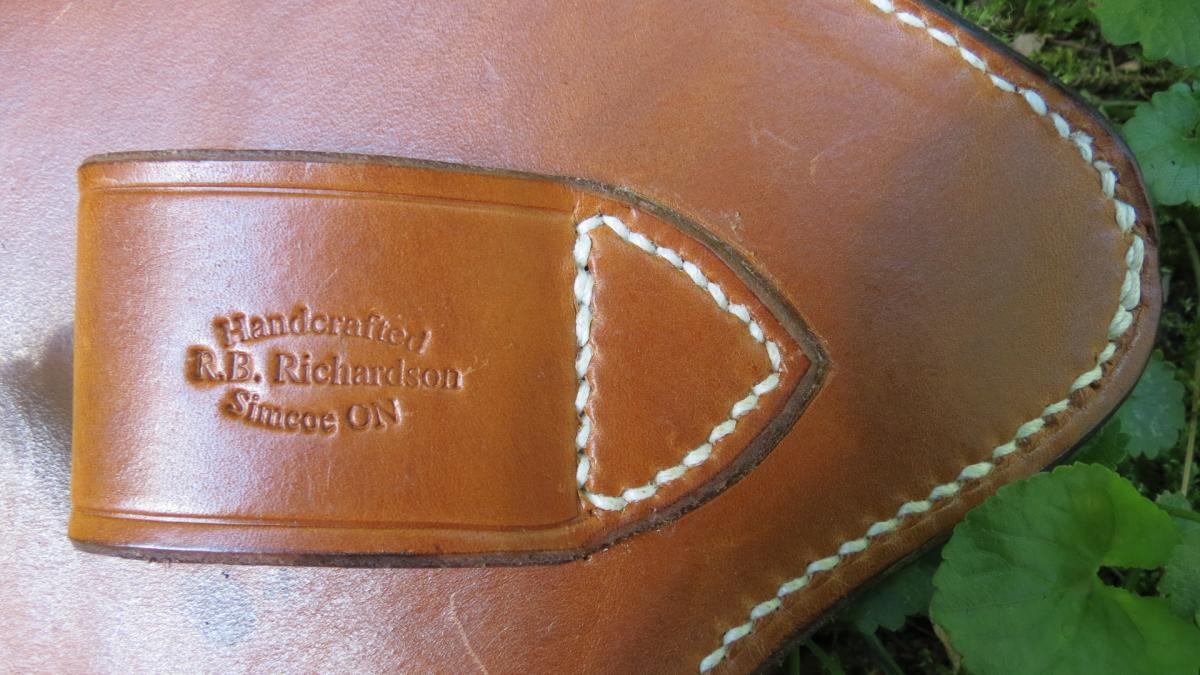
Show Off Your Makers Mark
Basically Bob replied to Dallas Cowboy's topic in Leatherwork Conversation
...this shows it a little better!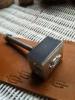

-
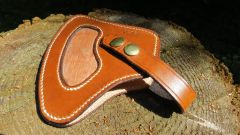
From the album: Basically Bob's Leatherworking Journey
Showing the stitch-on belt loop and strap (and the unwanted smudge of dye!). -
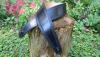
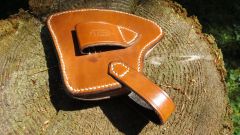
From the album: Basically Bob's Leatherworking Journey
My first attempt at mixing birch bark with leather. -
Ski ... I forgot to answer ... no, I did not treat it with anything. I believe that the natural oils in the bark will be sufficient.
-
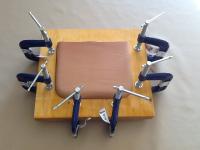
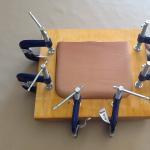
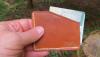
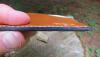
Here is a photo of the stamp. The block portion is a small chunk of scrap aluminum. The block was tapped to accept a stainless steel bolt I had on hand. A "lock nut" was screwed on to the bolt. I really don't have the ability to do this sort of thing on my own and am very fortunate to have a retired machinist that is willing to help me out. I also made a really simple leather case to cover it with so that I don't damage it when not in use. Bob

-
tkirwan, I ok with that, for sure. You really don't need my permission but I do appreciate the respect you have demonstrated by asking. Bob
-
Thanks for the compliments, guys. Ski,I believe that the conversion would be somewhere around 1.5 - 2mm. I am a wilderness canoe tripper and have had an appreciation for the amazing properties of birch bark for several years. The natural oils contained within the bark makes it an excellent fire starter ... even when wet, has been used for canoe building for centuries, shelter and many other uses such as baskets. My plans are to incorporate birch bark into a line of signature items ... just haven't got it all put together yet. Knife sheaths and pouches are in the line-up, for sure.
-
My niece provided me with the art-work and my good friends at Tundra Leather ordered the plate. A retired machinist made the "punch" for me and I epoxied the plate to the punch. Works good and adds a bit of professionalism to my projects.