RiverCity
-
Posts
252 -
Joined
-
Last visited
Content Type
Profiles
Forums
Events
Blogs
Gallery
Store
Everything posted by RiverCity
-
If its for small dogs, you can get by with jiffy rivets, anything bigger than a beagle I would go tubular with a washer on the backside. Why do you want to add rivets? Has the stitching failed in the past? Chuck
-
Barry King Swivel Knife Blades...thick Or Thin?
RiverCity replied to Mudruck's topic in Leather Tools
I like Barrys thick blade for decorative cuts, but I would get the thin as it is a little more versatile. His thin blade is about the same thickness as the tandy, maybe a little thinner. YMMV. Chuck -
Please Explain How To Achieve This Look
RiverCity replied to tanglefoot's topic in How Do I Do That?
If I were going to attempt to duplicate it, I would resist the skull etc, dye the seat. Then airbrush the shadowing on the skull. Dont know how they did it. Chuck -
How Do I Get This Effect On Leather ?
RiverCity replied to Leprechaunleather's topic in How Do I Do That?
Really bad block dye job. Chuck -
For the first and third it is the block dying technique. And you can accomplish it pretty easily with a scrap of tshirt. The leather you stamped needs to be dry. Cover your dye bottle with a piece of tshirt and tip it to saturate a spot on the rag. Blot it off a few times on another rag, then lightly go over the surface. Youll have to play with it, you might need to only blot once or twice etc. Just be sure you go lightly. The middle one is done the same way, then the border is brush dyed the darker color. Chuck
-
For hand setting the given advice is really good. Ask yourself how many snaps you will be setting, if its a lot, the presses are the way to go. Chuck
-
If you want it below the surface, you need to cut a gouge or make a deep crease so it will sit below. Chuck
-
Got an order for a bunch of dog collars and they want them stamped not carved. Looking for 1/2", 3/4 and 1" sets, standard fonts and maybe an "art" set. Needs to be reasonably priced. Thanks! Chuck
-
Yes several of the makers are using an extruded oval tube with a cloth liner, padded or not. It has it's advantages and disadvantages. From a construction standpoint it's way easier, and cheaper to buy a premade interior from a shop in China. If it's padded well it can offer excellent protection, and lighter weight to the case. But it's not "bullet proof" in terms of protection. It's still able to be crushed etc. the PVC pipes are IMO the toughest protection, in terms of what they can withstand. And if they are lined well, they're not rattling around inside the pipes. The compromise is it's heavier. Combined with heavy leather, I use 8-9, it makes a case that is 1.5-2 times heavier than the others. IMO it's not a big deal, it's still only 6lbs, but there are some folks who prefer their case to be as light as possible. As far as your felt, I would recommend against it. You'll never recoup your cost of materials. I could use carbon fiber pipes, but no one would pay an extra 200 for slightly lighter pipes. It sounds great, but it's not practical. And I hate to say it, yes hand stitching will never be worth the dollars charged to a pool player. They don't know about or care about quality in those terms. There are several cases on the market that IMO are made poorly, but have good reputations based mainly on appearance. But they will fail within a few years if they are handled roughly. It's a funny market. Chuck
-
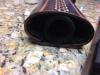
Thank you! Mine are made by just me in my garage, and I'll tell you, some of my cases I've had 40-50 hours in. 2 of the names going right now are both operating shops over seas and their cost of build is probably pennies on the dollar compared to what I've got in mine. The big kahuna has stated he only has 12 hours on average in his cases..... Not sure how he accomplishes that feat, but it would certainly help....lol I am using PVC pipes line with upholstery velvet right now. The little case pictured is a 1x2 with the pipes Chuck


-
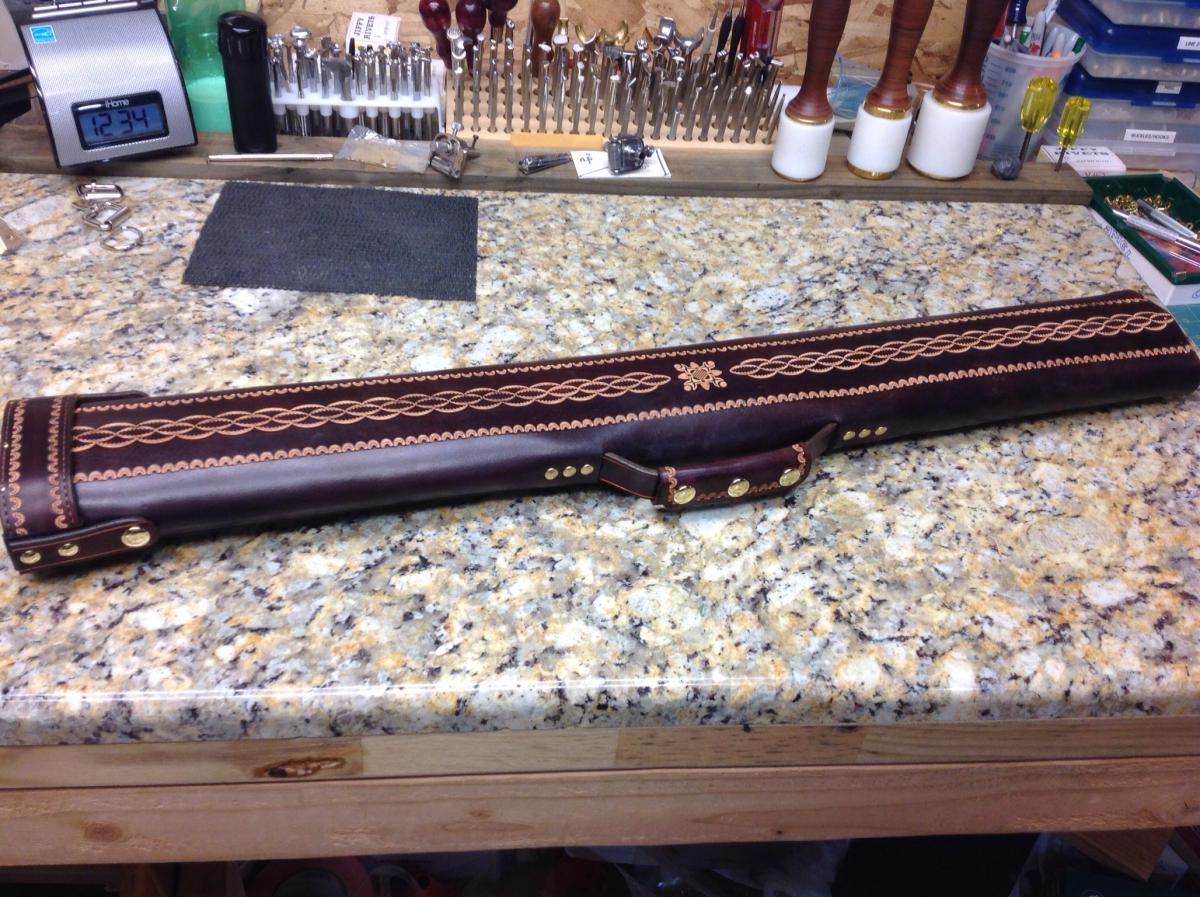
I was refraining from commenting as to suggested pricing. I make cue cases for a living, and I know what the market will bear. Between the wet forming, and hand stitching, you will not be able to sell your design for anywhere near what it is worth, unless you do not value your time. I can saddle stitch, but choose not to based on what I would charge to do so. I purposely did not do pockets on my first cases in part because of not having a sewing machine. Pool players do not understand or care about actual leatherworking. There is one guy in the market right now making IMO some of the most hideous cases I've ever seen, with very bad leather carving, but he is doing well because his stuff looks flashy and he likes to use exotics. He got a fan base from looks, not quality. Show it to a room full of leather workers and he would probably get laughed at. The suggested prices quoted so far are not accurate. For a non tooled case as you have built, you would be doing really well to get 200-250 for it. And that's after you have built a bit of a name for yourself. Pool players are cheap, and as I have said do not know or care about good leather work. I recently sold this case for under 700 http://leatherworker.net/forum/index.php?showtopic=53266 and with the time I put into it, I'm no where near what I set for myself as an hourly rate. In essence I lost money on the case. But in the cue case market, it was a fair price for the case. Chuck
-
Never thought about it. I might come up with something on general case making, as I do the cue cases for a living. Would something covering how to make a case to fit object "x" be of any benefit? Chuck
-
Looks good, nice clean stitch work. Just curious, why did you decide to wet form the case? Chuck
-
No tooling that I can see. Airbrushed all the way. Chuck
-
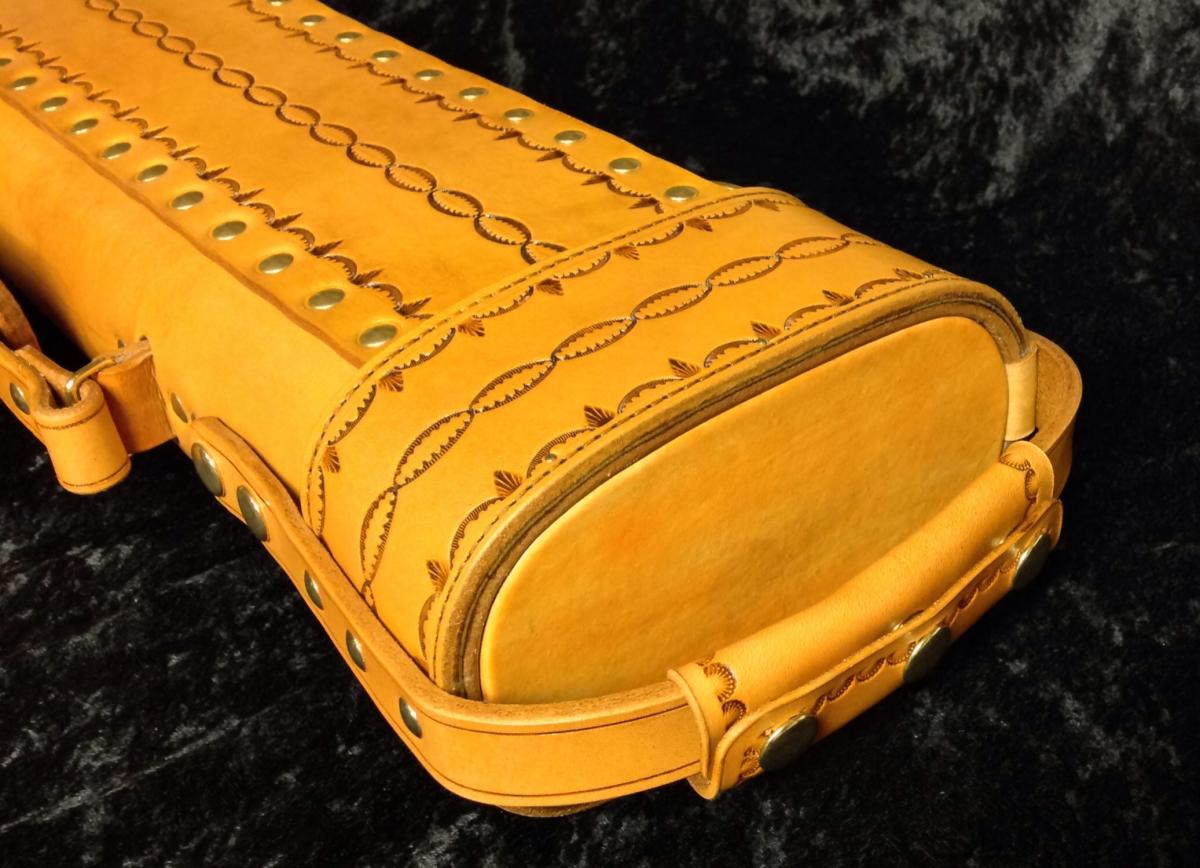
Thanks Aaron! The angle itself is 45 deg to the edges, with a witness line scribed on with a 45-90 triangle. I actually changed the pocket weaves direction from the lid and backstrap so that it wouldn't look factory made...... Lol Chuck
-
Thanks for the kind words everybody, I'm still trying to get a usable pattern drawn for a fully tooled case. I've been working on that drawing for months..... Not enough erasers in the house to finish it yet.... Chuck
-
First case I have done carved more than logos etc. Chuck
-
Same here, I put 2-3 layers of packing tape on the back and go over it with a roller. Chuck
-
Another option is getting a set of circle templates, scribing the arc you want and cutting it out that way. Chuck
-
Looks good! I'll offer a suggestion you can use to see your progress. Get some craftaids, like the Sheridan belt ones. That way you have the exact same starting point each time. Carve them several times on scrap, and you can see how each one gets better as your work evolves. Chuck
-
I'm thinking the wing dividers along a straight edge is what I'm looking for! If you look real close you can see my reference line. Especially when I use an antique paste. I do a lot of linear stamping with veiners and border tools etc. Some stamps cover the line of course, but veiners, especially when you do a line down the middle of something won't. I'm usually pretty good about running a very light line, but as my eyesight goes, the line needs to be more visible.....lol I'm thinking marking the end points with dividers down the line will work perfect, thanks Chief! Chuck

-
Does anybody have any tricks for marking veg tan for a reference line etc that can be removed/erased. I've tried light scribing and rubbing it out, but that sometimes still leaves marks. I've tried different kinds of tape, then there's residue.... I've even thought about a line laser, but haven't gone that route yet. So any tips or tricks that I haven't thought of yet? Chuck
-
Are you using the antique stain or the paste? Chuck
-
Spot setters work as well. Chuck
-
Overall pretty clean! If I were to suggest anything, it would be to feather out your matting to avoid the halo effect. I forget to do this myself sometimes....lol Chuck