RiverCity
-
Posts
252 -
Joined
-
Last visited
Content Type
Profiles
Forums
Events
Blogs
Gallery
Store
Everything posted by RiverCity
-
 Dye it before you do the edge work. Its the soap etc that is keeping the dye from absorbing good. Dying it before hand will fix your issue. Especially if you are dip dyeing. Chuck
 -
Just out of curiosity, how big of a piece can the lasers cut, and how expensive are they? Ive seen some in the 20-30K range Chuck
-
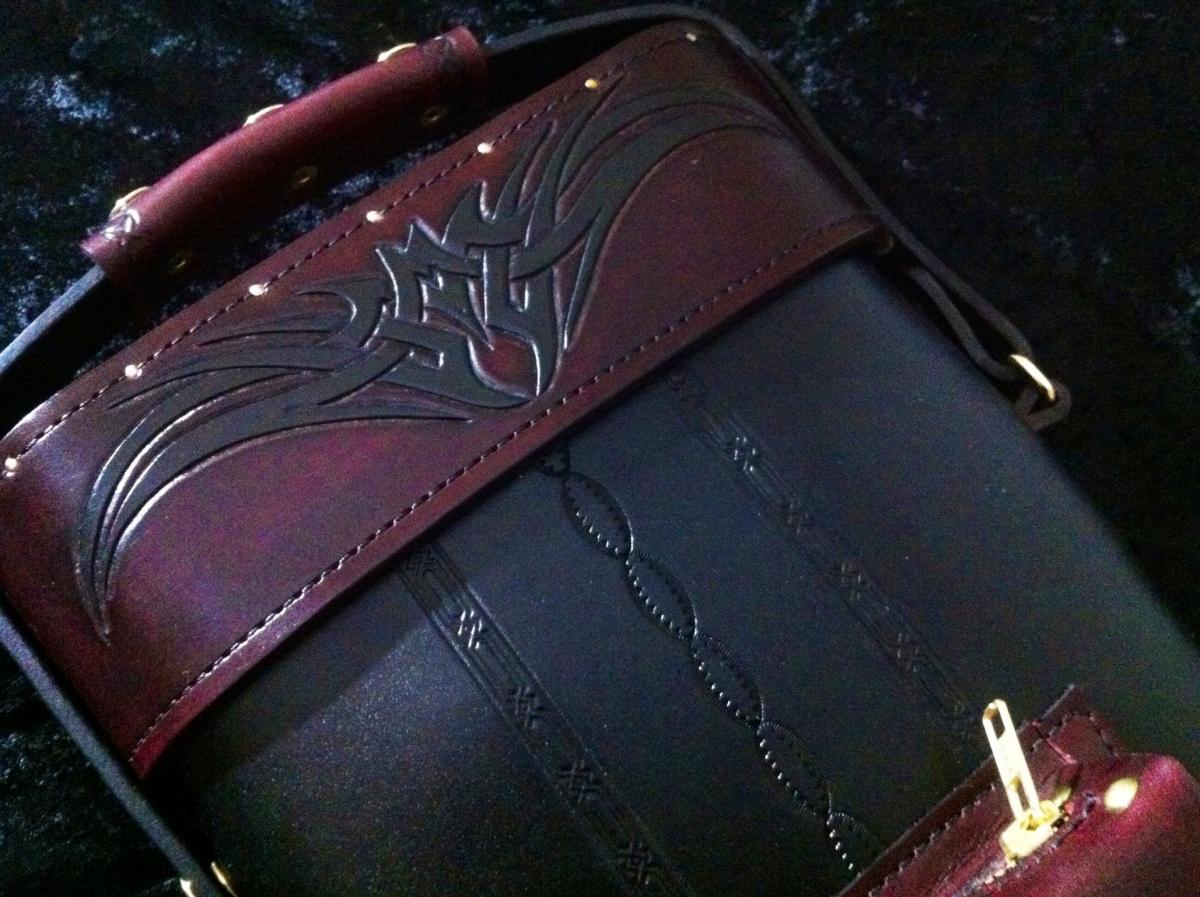
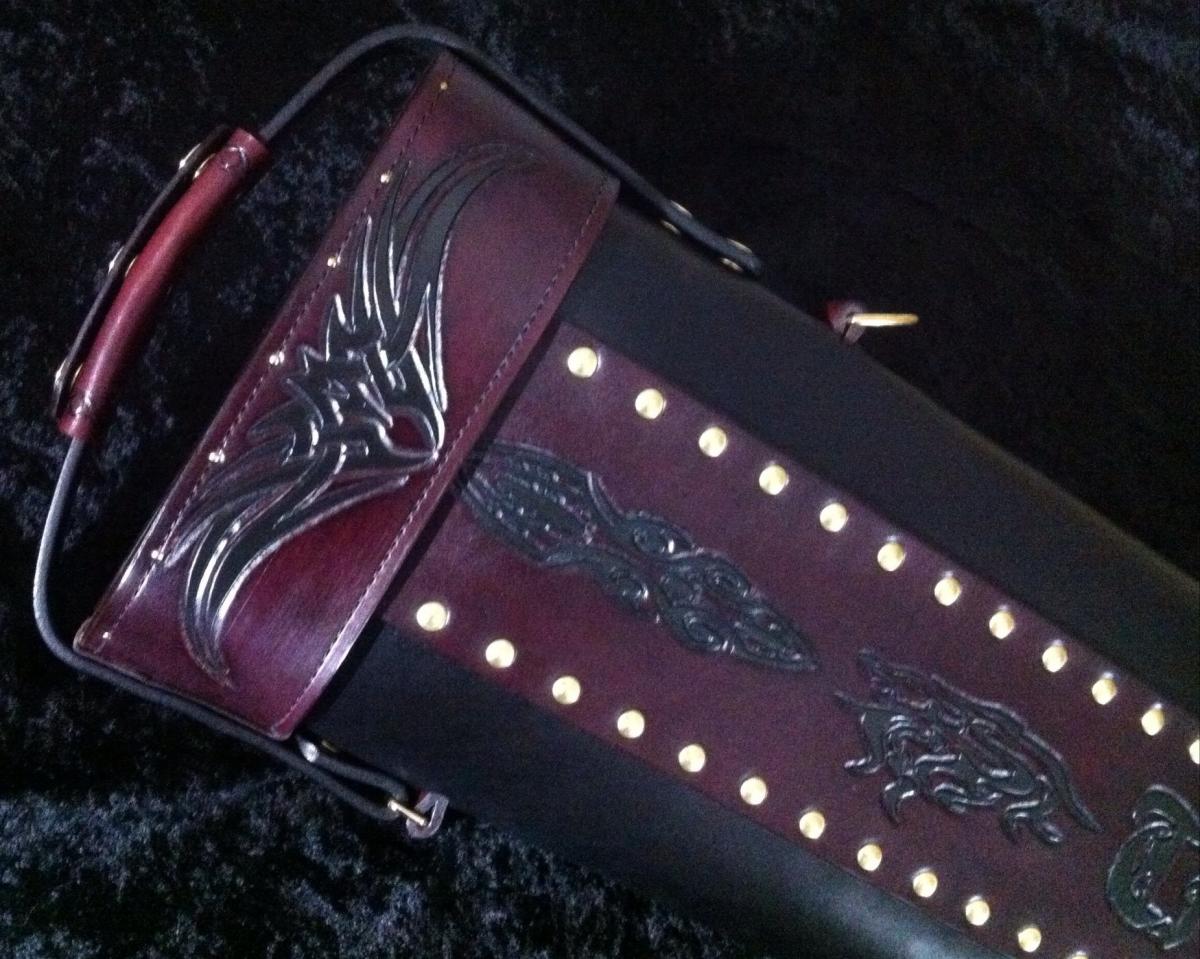
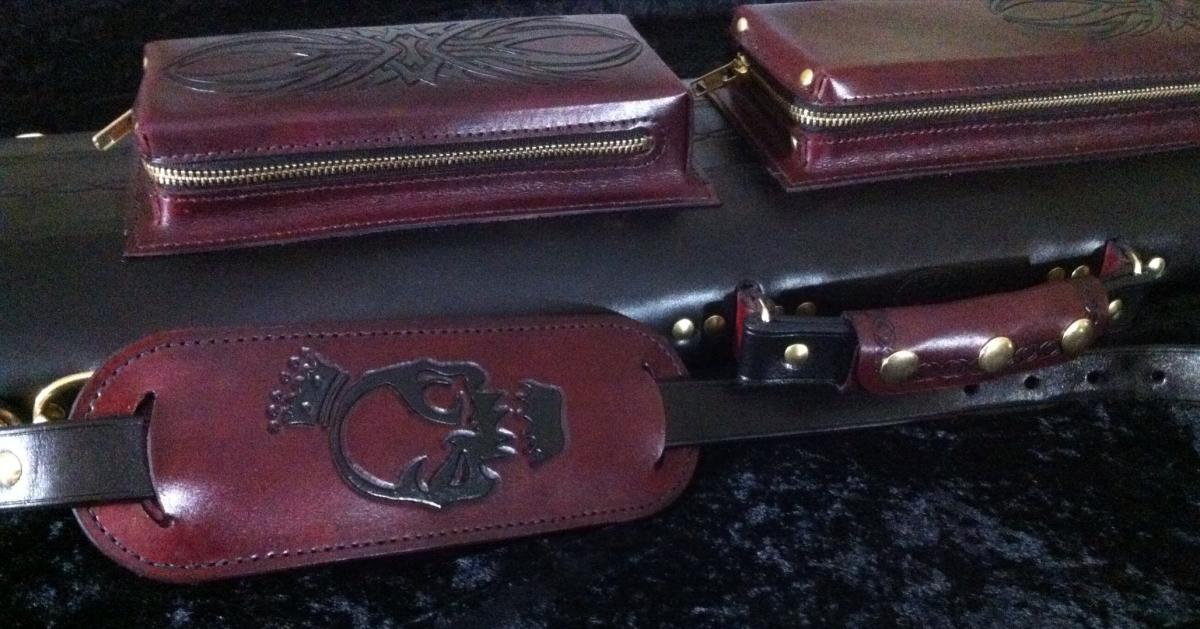
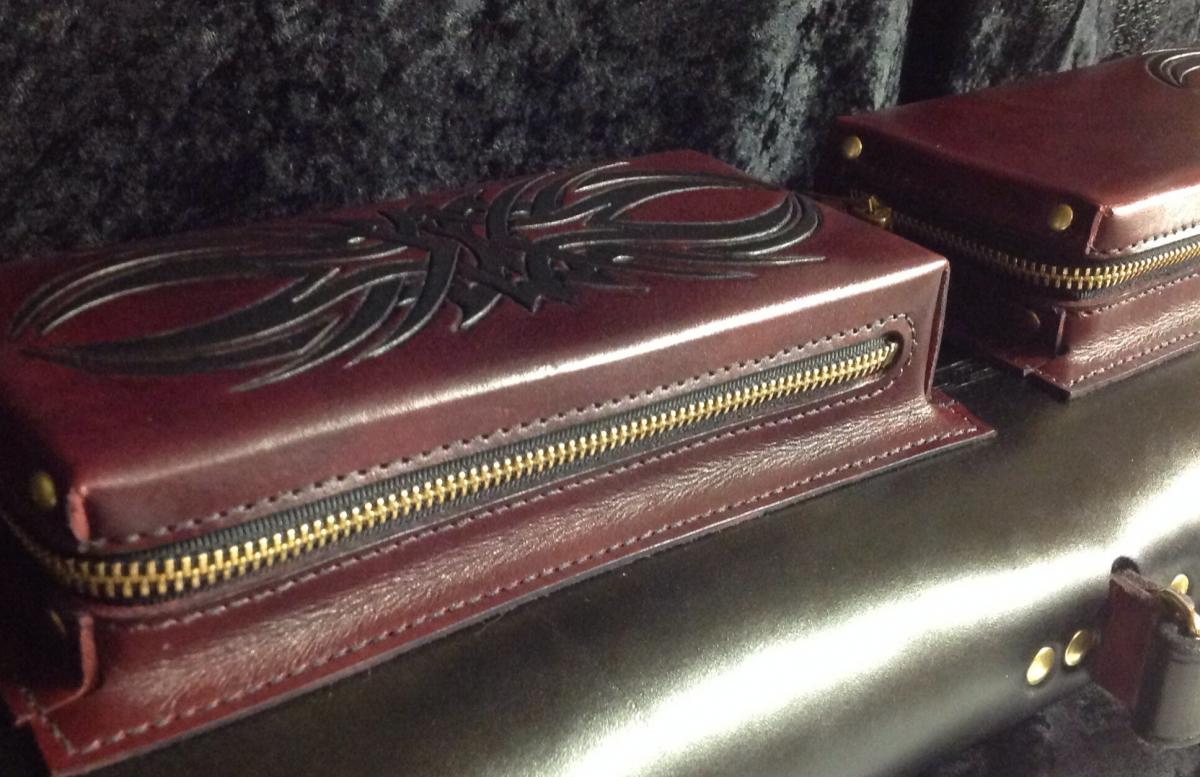
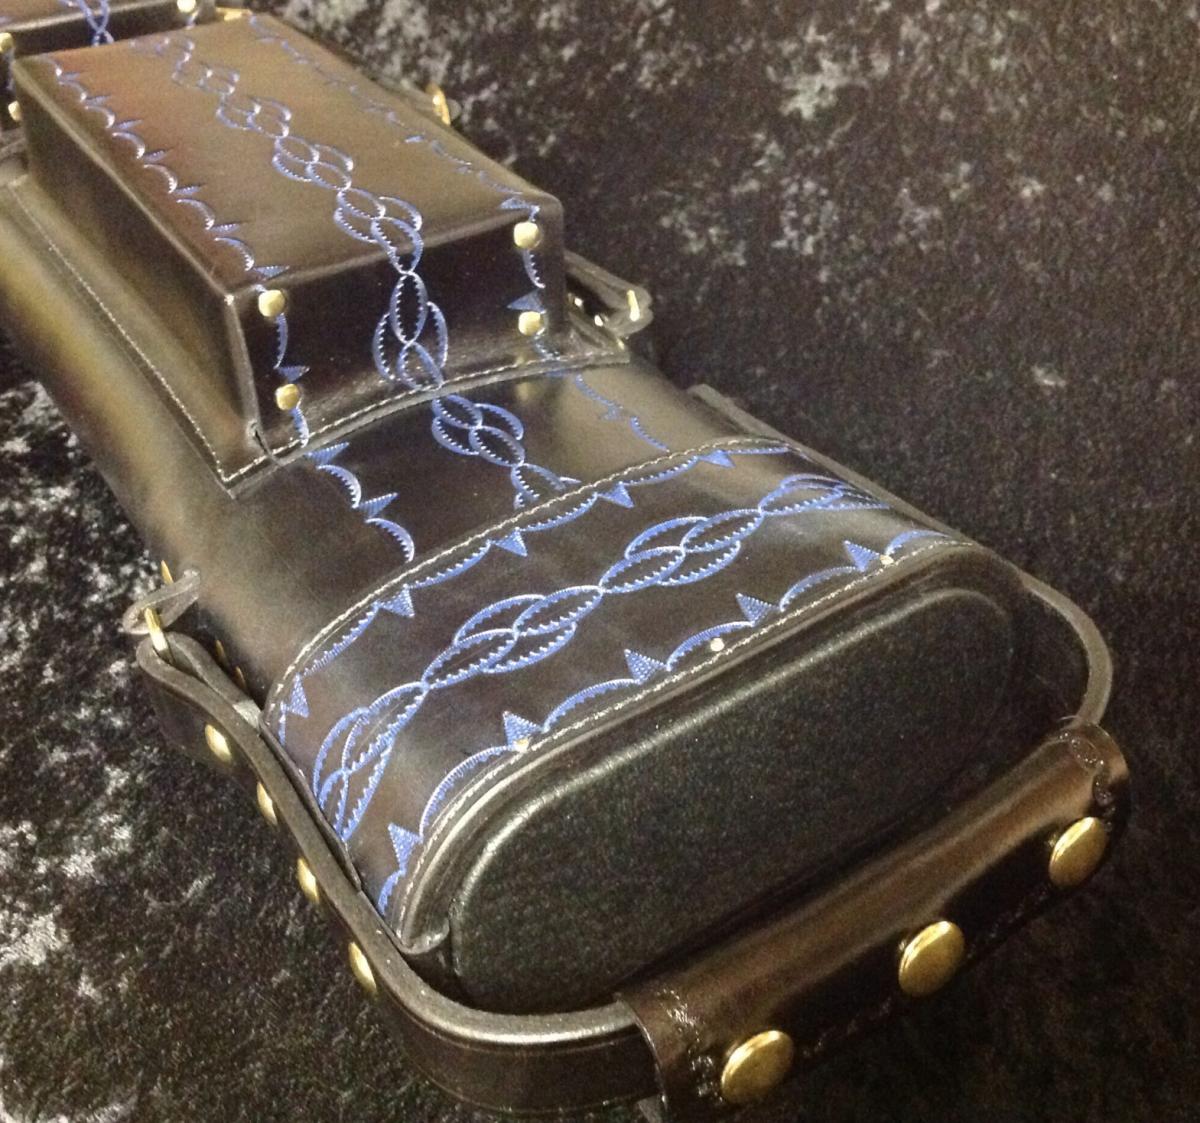
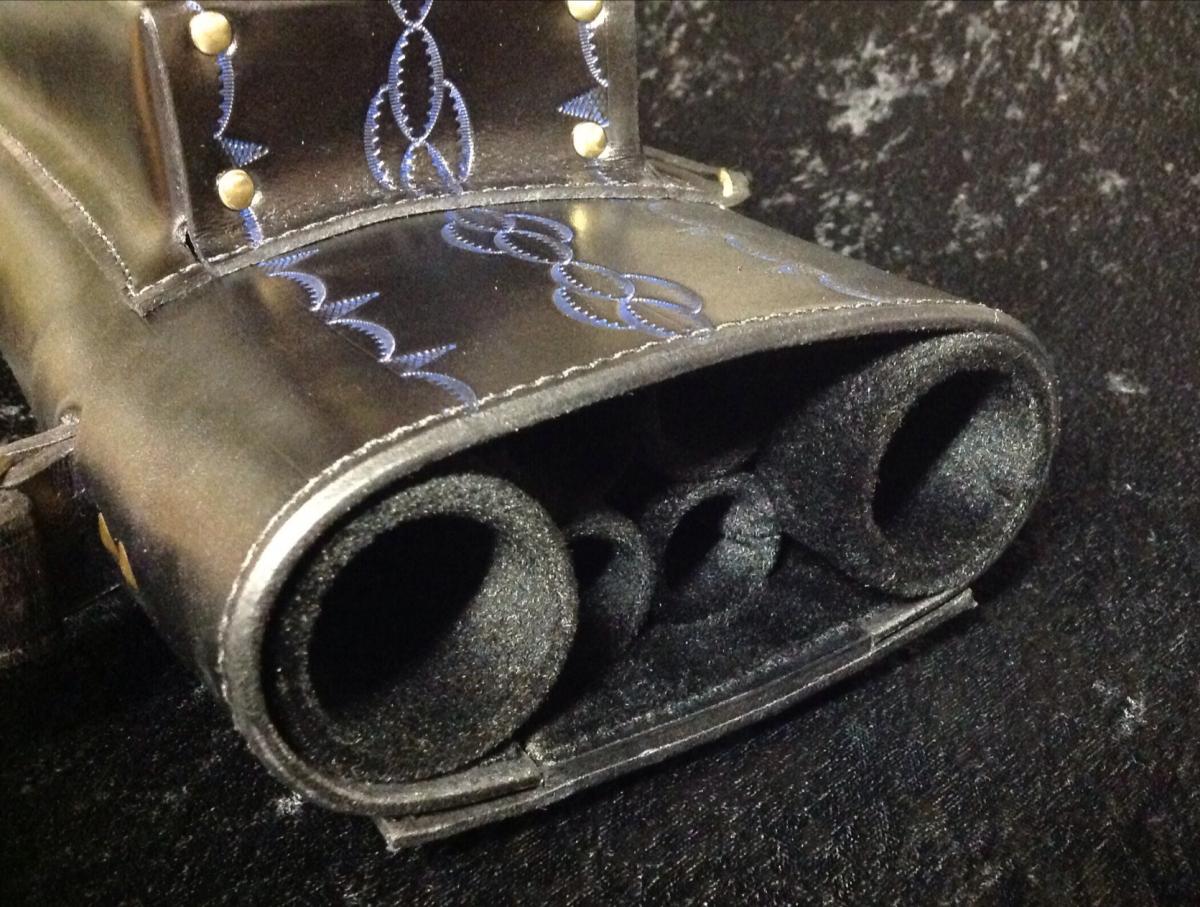
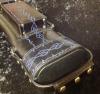
Newest case off the bench. After talking to John Barton, I came up with my version of the "L" zipper. Chuck


-
Along the lines of what Cyber said, Ill add this. Give up the dauber. Use old socks, t shirts etc. You can even buy boxes of t shirt rags. I tip the bottle up on the cloth, then using another rag, daub off a good amount (2-3 times) this will let you get broader strokes across the piece as opposed to a wet dauber or rag that soaks the first point of contact it touches. Chuck
-
Looks good! Chuck
-
Dip dye and let it soak through. It won't get the worn/brown look. But you had better oil the heck out of it, and seal it extremely well after it is dry. Spirit dye is fine, USMC black or the like. Just noticed you said chrome tan. Won't work except on veg tan. Chuck
-
Bonded thread does get old and dry out. It's possible your thread has this issue. Chuck
-
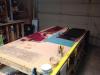
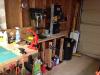
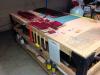
Show Off! Request. Lets See Your Work Space!
RiverCity replied to Ronin101's topic in All About Us and Off Topic
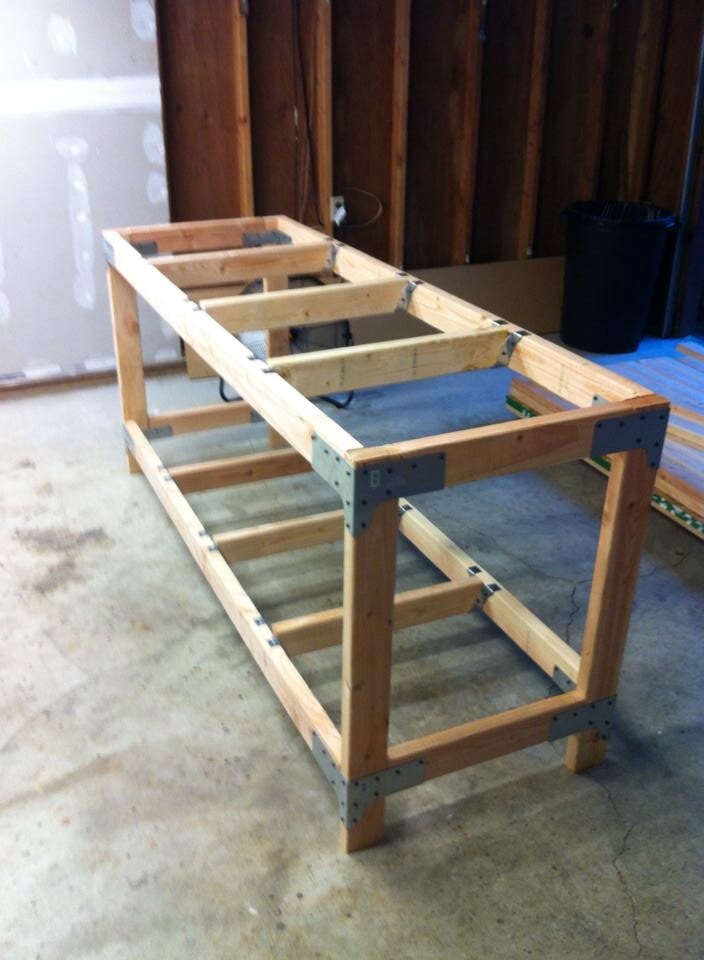
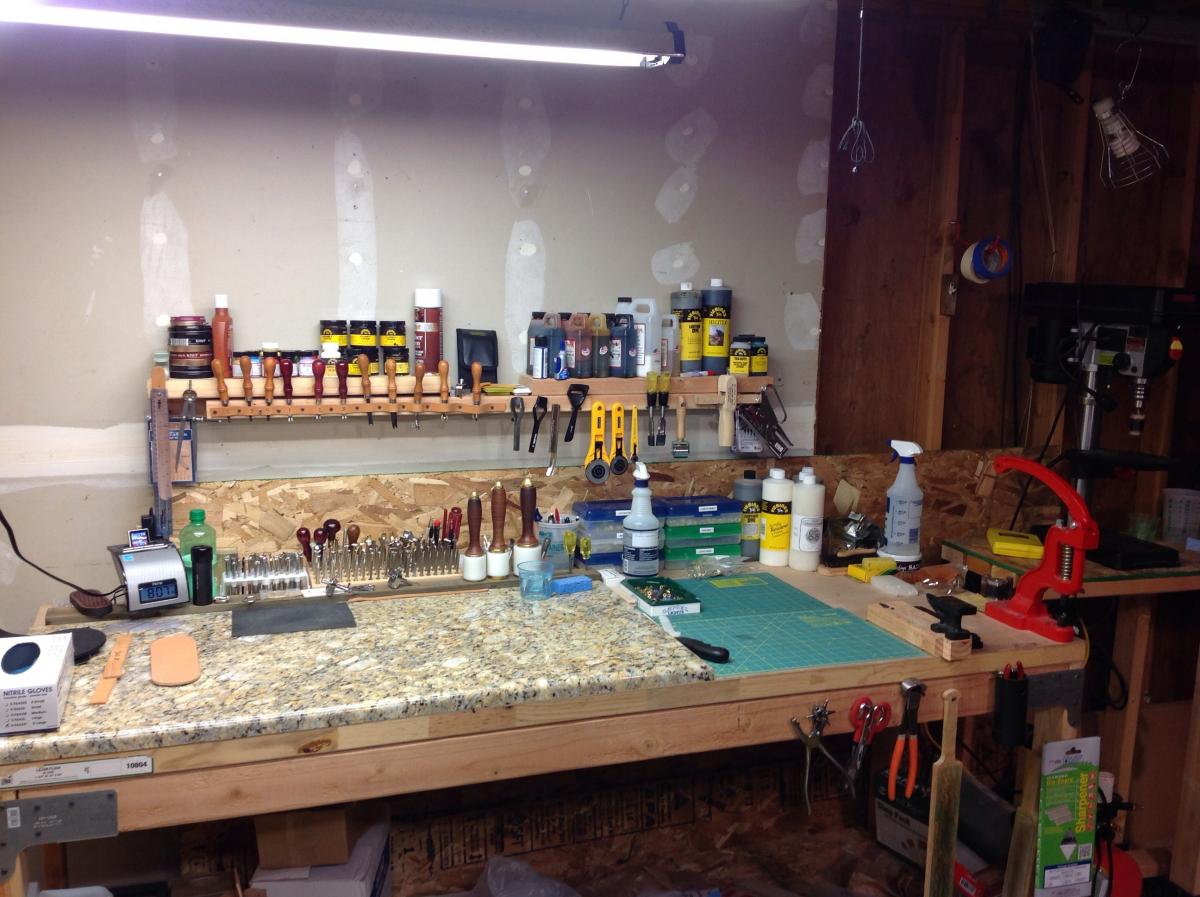
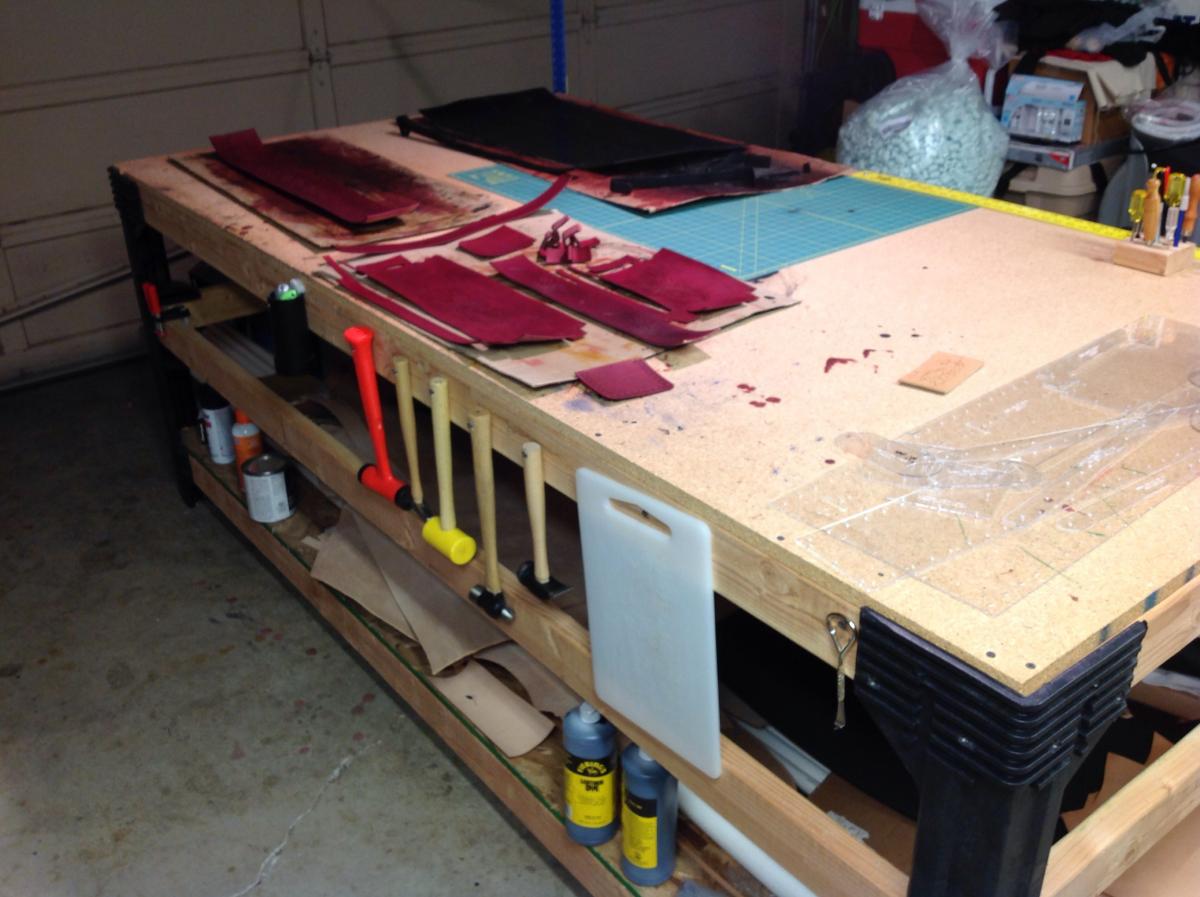
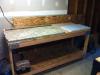
I framed it like a house, I don't have final pics with reinforcements before the top went on. It also has secondary cripple studs between the main cripple studs. The top is a solid core door, screwed down well, and the granite I got for free. It weighs close to 150 lbs by itself. It doesn't bounce any amount that is noticeable. Total table weight it probably 200-250 without the granite. 450+ with granite and all the other crap on there. Chuck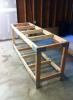
-
Show Off! Request. Lets See Your Work Space!
RiverCity replied to Ronin101's topic in All About Us and Off Topic
Now I need to insulate the damn garage door........ Chuck
-
What Is Your Favorite Way To Use Barge?
RiverCity replied to LNLeather's topic in Leatherwork Conversation
If you like the acid brushes, harbor freight has a 36 pack for 1.99. I've never grasped the glue pot idea either, unless you buy gallon sized cans they don't make sense IMO. Chuck -
You can stamp it still (dry), the impression won't be as crisp or deep. You also risk "breaking" the surface of the leather, but it's doable. Realistically, it's a gift for your girlfriend. She knows who made it....... Do you really need to have your makers mark on it? Chuck
-
To do what you are talking about, you need to figure the length of zipper tape you need, add 1.5-2 inches evenly split on both ends. Remove the teeth that aren't needed. Meaning, if you need 10" of zipper, there should be 11.5-12" of tape with 10" of teeth in the middle of it. With the tape separated, sew each half on to each of the gussets. Depending on the shape of the case, you might want to install the slides and stops now, or it might be easier to sew your gussets onto the case first, you'll need to figure that out for the case you're making. To be blunt, sewing the gussets on is the hardest part of making that type of case. But a separating zipper is just a regular zipper with 2 slides started from each end going towards the middle, then you install the stops to keep the sliders from coming off. To hold the zipper tape to the leather for sewing, you can rubber cement it, staple it, or use double stick tape. I use the tape as it's a lot quicker and cleaner. Hope this makes sense. Chuck
-
Best Place To Buy 138 Thread For My Cobra Class 18
RiverCity replied to TKLeather33's topic in Leather Sewing Machines
Go though Bob at Toledo industrial. Cowboy Bob on this forum. I've bought thread from other places in the past, and you can tell when thread is old. It unravels and breaks easy etc. Bobs stock rotates itself often, so it's nice "fresh" thread. Chuck -
Another option you can try, if the original finish is pretty worn etc. Put a few coats of lexol on it and see if you can get it darker that way. Like Aaron said, dyeing it comes with the risk of ruining it. Chuck
-
Another tip that might help, with walking small width be bevelers, really focus on keeping the tool a hair above the leather and let your fingers give some spring action as you hit it. Chuck
-
I have it winding even. I think Eric might be right, but I broke the finger off last night messing with it..... Have any winders for sale? Lol Chuck
-
Damn.... Very nice! Chuck
-
227 I've tinkered with bending and twisting the finger, tightening and loosening the screw. The mechanism moves freely, but when the thread touches the finger, it jumps to the side closest to where it touched and would just keep going on one side endlessly. Hopefully that made sense. Chuck
-
That brings a good question about bobbin winders. What if you have one that won't click open when the bobbin is full, no matter how much tweaking and adjusting? Chuck
-
Very proud to have been asked by John to build him a case! I can't show the back right now, because I did a logo for him, and he wants to be surprised. Chuck


-
Very cool! Chuck
-
Draftsight was the one I was talking about. Chuck
-
If you plan on doing a lot of padded stuff in the future, look for a cheap yoga mat. Chuck
-
DraftCAD. It's free, and is very reminiscent of autocad 10-11. You can print 1:1, but depending on your printer, you might need to scale it up a hair as it can be off a little bit. Chuck
-
Swivelknife --> Bevel --> Leaves A Line Where The Cut Was
RiverCity replied to Akhenaten's topic in How Do I Do That?
I'm gonna throw my 2 cents in, and say it's partially due to the position of the beveler in the cut. If the heel is to close to the area that is being beveled around you will see the cut line in the bottom of the bevel. Try to keep the beveler straight up and down, with the edge of the beveler in the center of the cut. Undercuts etc will make it worse. Chuck