RiverCity
-
Posts
252 -
Joined
-
Last visited
Content Type
Profiles
Forums
Events
Blogs
Gallery
Store
Everything posted by RiverCity
-
Barry King And Ron's Leather Tools
RiverCity replied to RoyalLeatherDesigns's topic in Leatherwork Conversation
Barry Kings tools are top notch, you can't go wrong with him. As far as tools go, buy the best that you can comfortably afford. They will serve you better in the long run. Cheap tools get bought and rebought for as much or more than higher quality tools would have cost in the beginning. Chuck -
That would look nice. IMO dark leather over a lighter figured wood would look pretty sweet. Black over bacote or similar. What kind of combinations are you picturing? Chuck
-
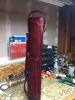
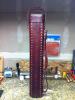
Correct, Im still playing around with what I like best there. You can use a cheaper hardwood like poplar and contact cement leather to the top and make it flush to the lid, dyed to match etc for a nice clean look. Ive used some exotic woods and left them exposed (ebony and rosewood). This one is maple painted black and polyurethaned. I left it above the surface to see if I liked it, cause most of the other case makers use the leather/wood cap I mentioned first. Nailing it you can use different nails, I use brass escutcheon pins pilot drilled and super glued. You could even use a small headed brass screw if you like a mechanical look. Its funny, Ive got the body of my cases dialed in how I want them, but I havent found a lid Im happy with yet.....LOL Chuck
-
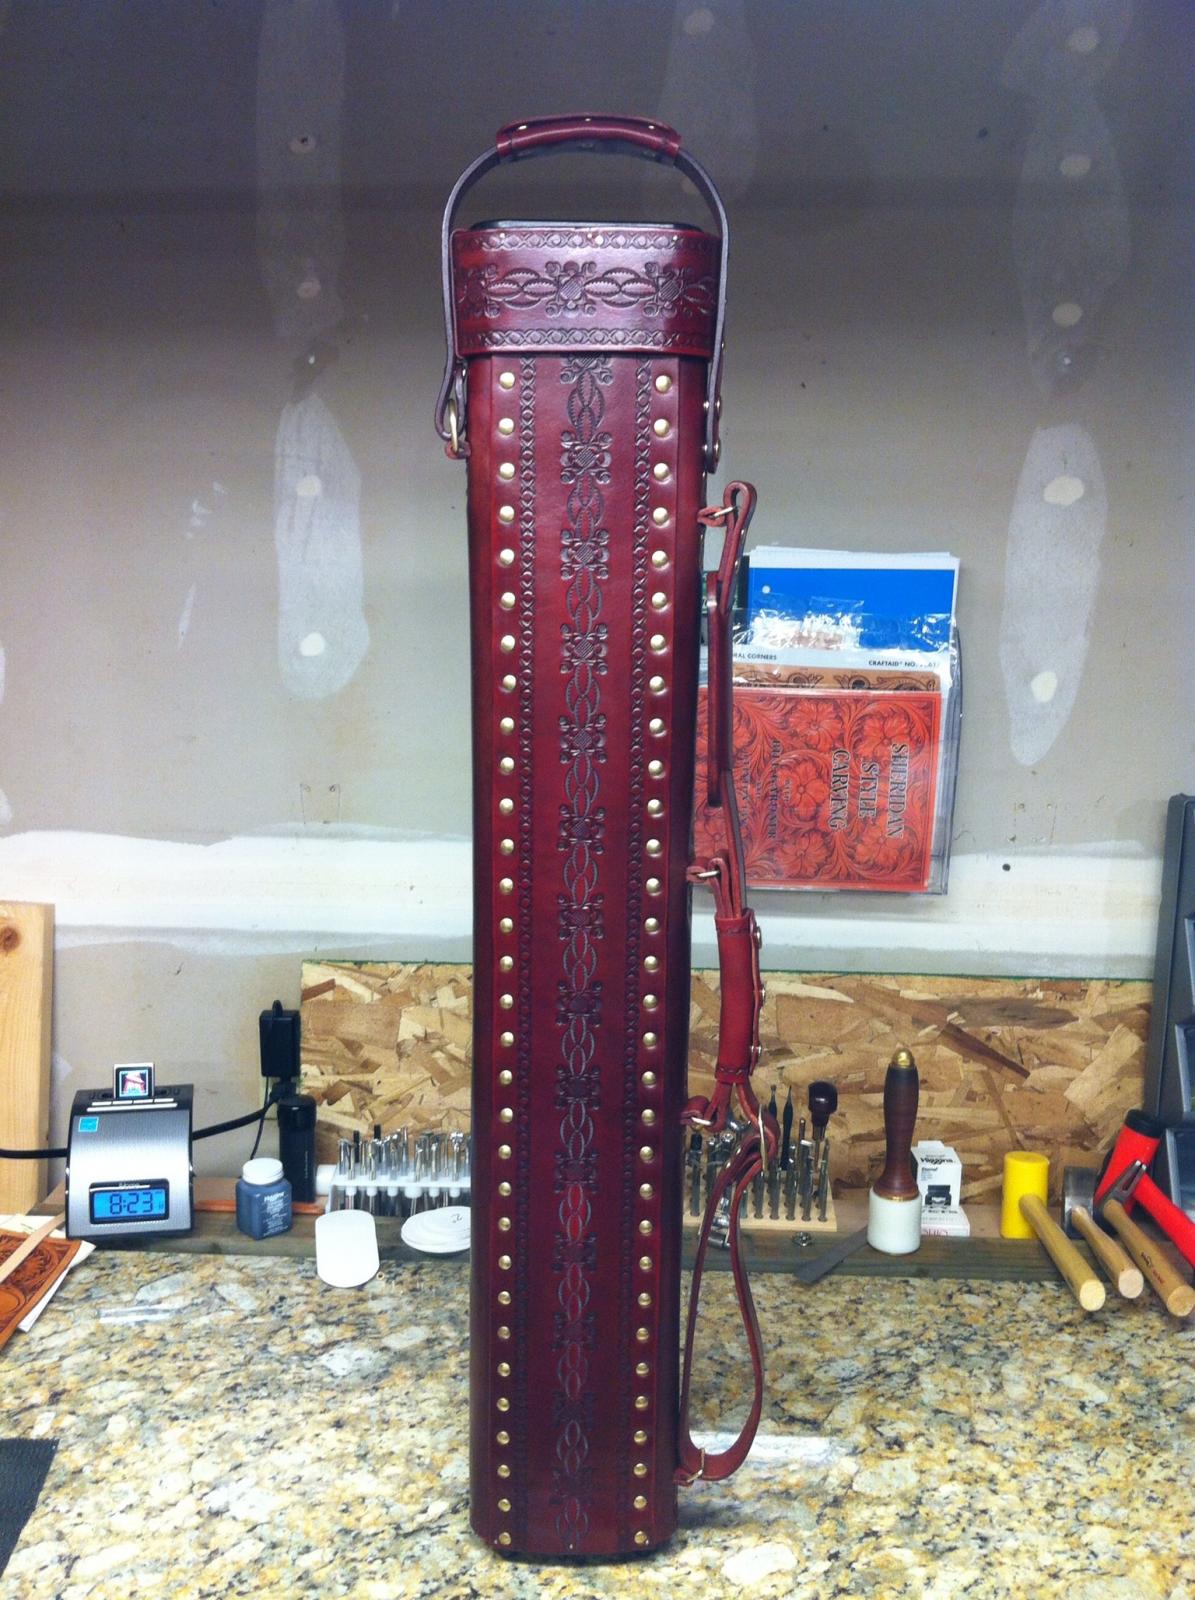
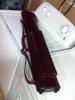
The guts of the case are low pressure PVC pipes lined with upholstery grade velvet. I used to use a thinner velvet, but feel more confident about the longevity of the material Im using now. I go overboard on the leather, using 8-9 for the body and 10-11 for the straps. The stamping design is a classic case pattern from a lady named Norma Van Horn who used to make the Jay Flowers cue cases back in the 80s-90s. Thanks! Chuck
-
You dont really need a groover. Anything thin, blunt and smooth that can be used to make an indentation deep enough for the thread to sit in is fine. The purpose of the groove is only to protect the stitches from nicks and friction by putting them flush to or under the surface of the leather and give a visible guideline to follow. Cutting a shallow gouge as a groover does has been debated to weaken the leather and possibly add to stitches tearing out. Whichever side of the debate you fall on.... you can do the same task with a butter knife and save some money =) Chuck
-
Youll get differing opinions on this because its one of those personal preference things. Overall, your cuts dont look too bad, some are better than others. I do the bulk of my carving with either a 3/8" or a 1/2" blade. For finish cuts I like a thick 3/8" blade, again just preference. Even the regular tandy blades are fine, you dont need anything fancy. The best advice I can give you is pick up some scrap if you dont already have some and practice until you are confident and smooth in the hand movements. Some of your cuts look a bit choppy like you are really trying to steer the knife perfectly. Remember when you learned how to drive? Death grip on the wheel etc? Same thing applies. Loosen up and just guide the knife, but dont try to concentrate or muscle it to where you want it to go. Another tip is before you make your final cuts, grab a piece of scrap and "warm up" with some finish cuts. Hope this helps Chuck
-
Yes, she will ask you to put a couple of dimensions on it to verify scale. Chuck
-
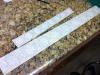
I had a great experience with Joyce from BRL. Ordered several custom templates, she was able to take CAD files so the parts are 100% accurate. Good pricing, and fast turn around! If anyone is in need of acrylic templates and does not know about Black River Laser, they are excellent! Thanks again Joyce Chuck
-
Finally have the shop set back up and am doing some work again.
-
Fixing By Hand The End And Beginning Of A Machine Stitch
RiverCity replied to Red Cent's topic in Sewing Leather
I leave the tails long on the needle and bobbin at the start and stopping point. I sew over top of where I started where applicable, and back stitch a couple of stitches. Then I use a sharp awl on the backside and pull the top threads through the back and tie them off and melt them. This wont be helpful if youre doing something where both side are visible of course, but its a strong fix without a bunch of ugly on the top side. Chuck -
Not sure what an apron case is? If you can provide a picture or sketch it would be easier to help. Chuck
-
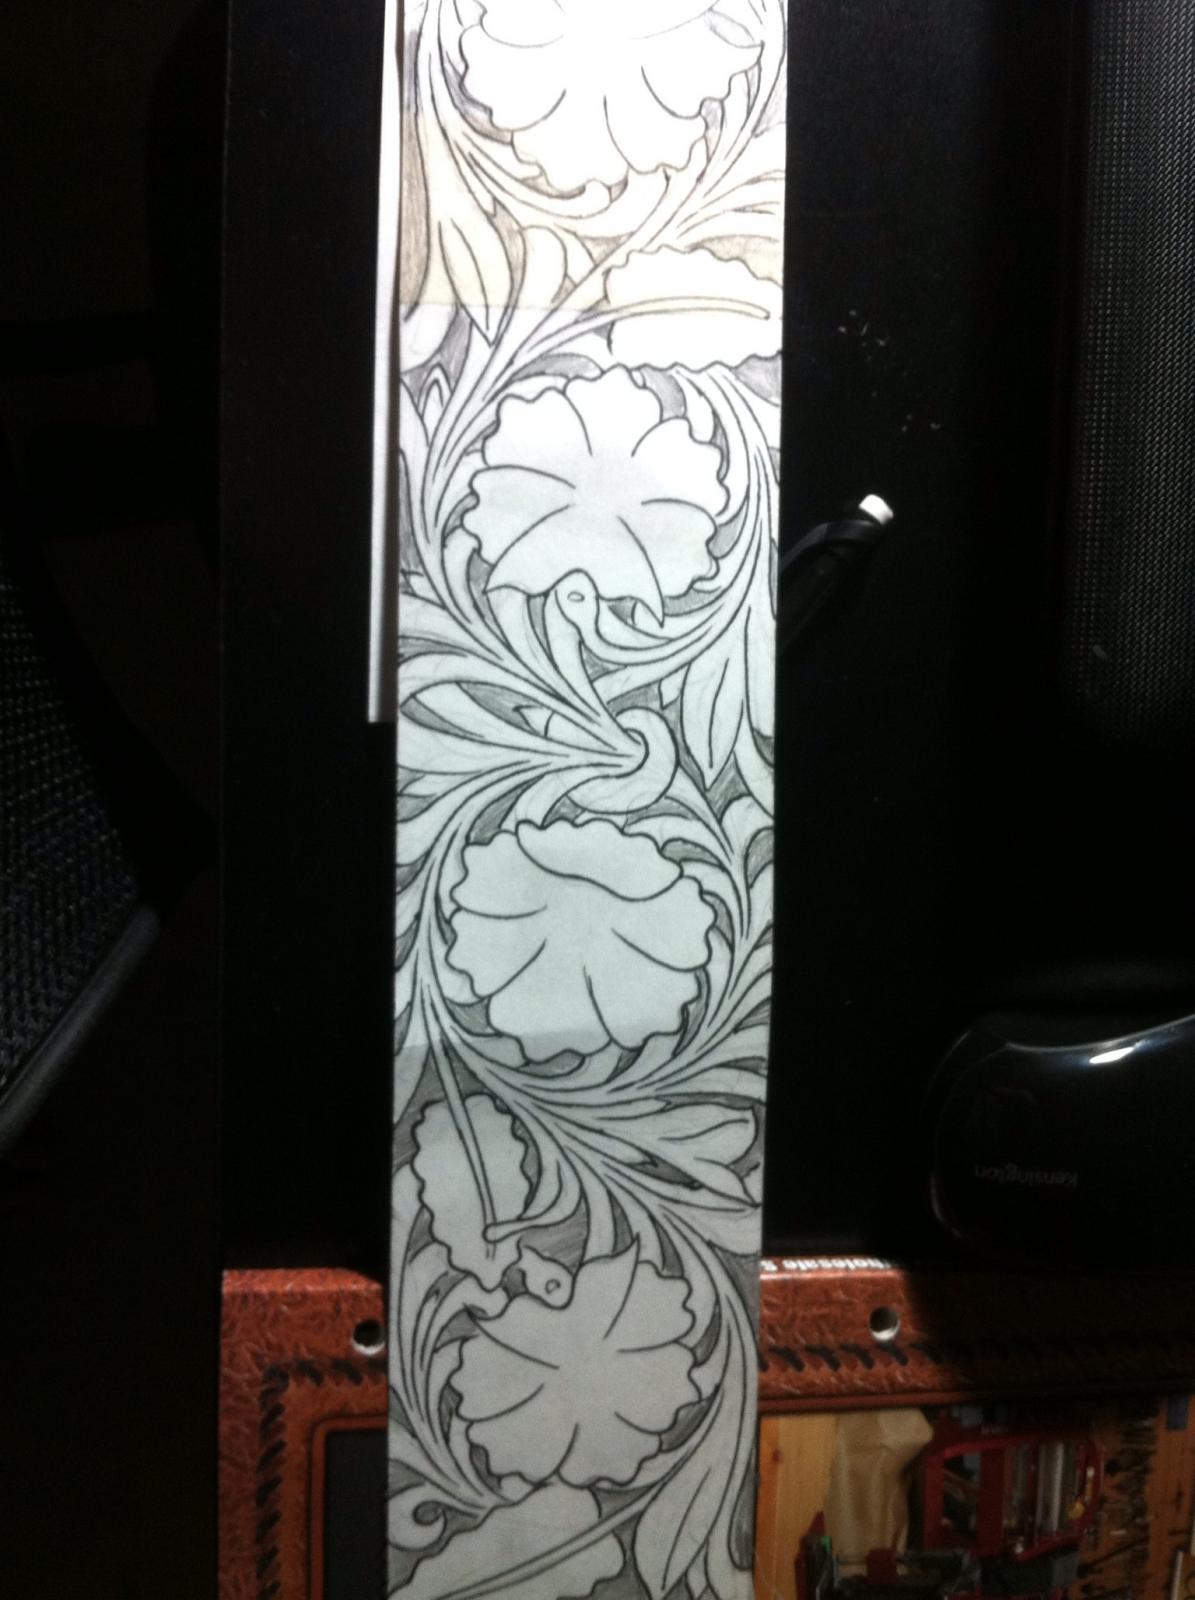
I bought Bobby's book and improved immediately after reading it. For those who haven't bought his book, buy it. Worth every penny if you draw floral patterns. Here's one before and then edited afterwards, I still needs some work of course, but difference is like night and day. Thanks again Bobby for sharing your knowledge! Chuck

-
Spray Setup
RiverCity replied to Red Cent's topic in Dyes, Antiques, Stains, Glues, Waxes, Finishes and Conditioners.
I just read the manual for your gun Note: This Spray Gun is meant for spraying oil-based paints. It is not recommended for regular wall paint or thin coatings of any type. While these products can be used with this Spray Gun, coverage will not be even. Don't know..... You can give it a try, if it won't spray what you need it to then maybe you can return it? Chuck -
Spray Setup
RiverCity replied to Red Cent's topic in Dyes, Antiques, Stains, Glues, Waxes, Finishes and Conditioners.
Mine can spray oil based, but I got one size down from yours because of the smaller compressor. Chuck -
Yes, they're the same. They all use the Schick injector razor blades. Chuck
-
Spray Setup
RiverCity replied to Red Cent's topic in Dyes, Antiques, Stains, Glues, Waxes, Finishes and Conditioners.
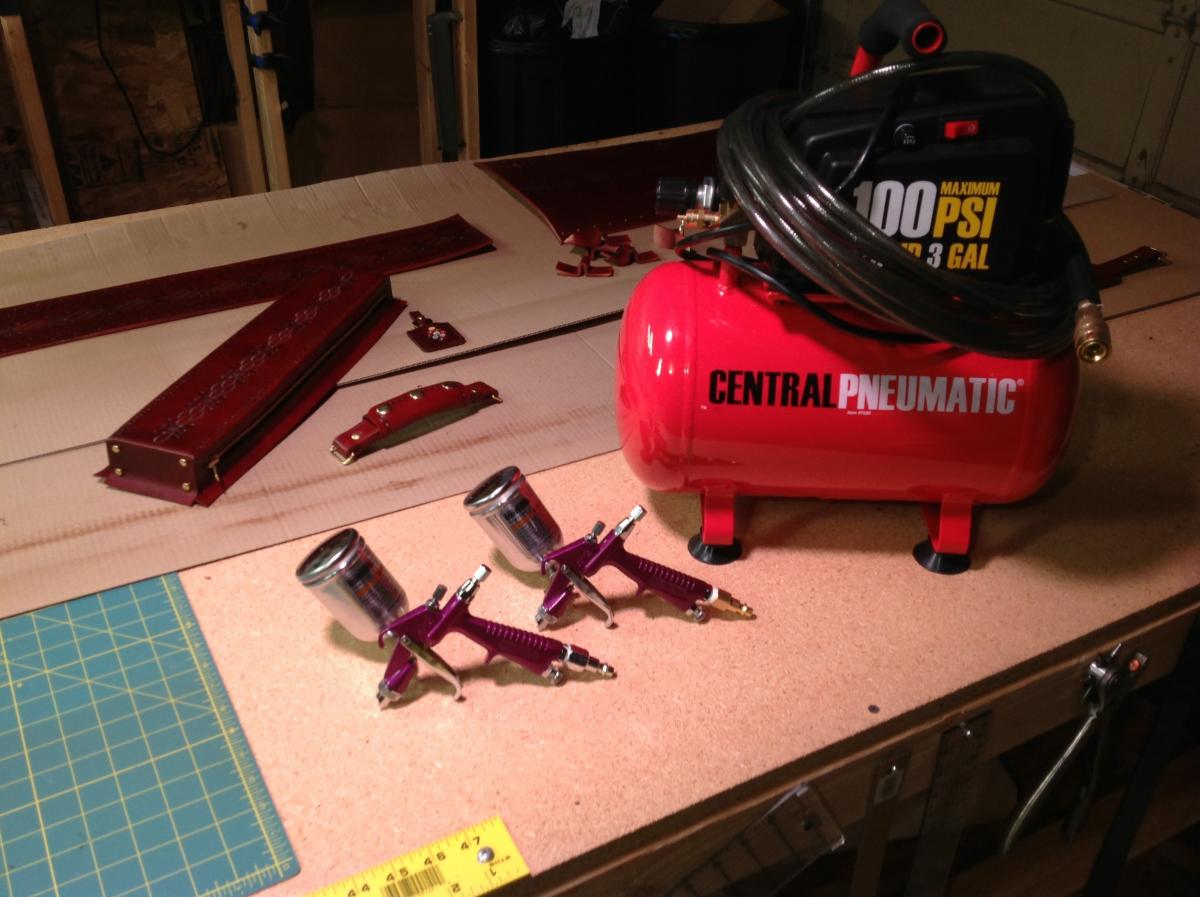
Like camano ridge said, harbor freight. I use their spray guns and the small compressor. The guns were 9 bucks a piece, hose 7-8 and the compressor was 60 plus 5 for fittings. It depends on the size of work you do, the airbrush is ok for small stuff, but the spray pattern is small. If you're trying to get even coverage on a larger piece the gun is the way to go. I use one for dyes and the other for acrylic (resolene).
-
Does this person have a good reason for not wanting 2 pieces sewn together? Or is he just trying to save you work? Chuck
-
Another tip, if you have a method of spraying the dye, airbrush spray gun etc. It helps in getting an even color with diluted dyes as well as layering the color. Chuck
-
Might be worth somebody getting a cheap Lee press and messing around. You could modify it for the other press dies, or possibly even just a setter and anvil. The later would only put it in the $70 range if everything was bought new. Chuck
-
Are you cutting a gouge line on the backside where the fold will be? If not you need to. You can then lightly wet the leather and use a bone folder make the fold and get a nice line/corner over the edge of a table etc. If its really stiff, you can fold it over and hammer it with a mallet and another piece of leather over it as a protector. Caution with hammering a fold, it can and usually does cause the leather to bunch up a little bit at the fold line. Chuck
-
Two New Cases
RiverCity replied to strudell's topic in Purses, Wallets, Belts and Miscellaneous Pocket Items
Nice clean work! Chuck -
Well thats not good.... LOL Do you know of something that I can use to seal it? Im new to this kind of leather, only chrome tans Ive ever used have been oil skins. Chuck
-
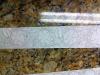
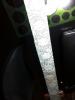
Im making a case that has a lot of white chrome tanned upholstery leather. Do you think it would be ok to seal it with resolene so that it is easier to wipe down and keep clean? Chuck
-
What have you found that will mark white chrome tan and still be erasable? Ive seen the silver pens, but Im leaning towards chalk. Ill test it on scrap first of course. Also, to keep it clean, or make it easier to wipe clean, would resolene work as a finish that would dry clear? Thanks Chuck
-
Are you holding the top and bottom threads straight back and taught for the first couple of stitches? Chuck